Gwar72
Well-known member
- Joined
- Oct 21, 2011
- Messages
- 723
- Reaction score
- 0
Doris said:how cool is that! :grin: well done!!
Cheers Doris.! It works well but i think the compressor is too small.!? So managed to get the bits done that were important but will be better on a bigger compressor..!!

squirt72 said:just read this whole thread, great job !
enjoying this, keep up the good work
Thanks Squirt..!!
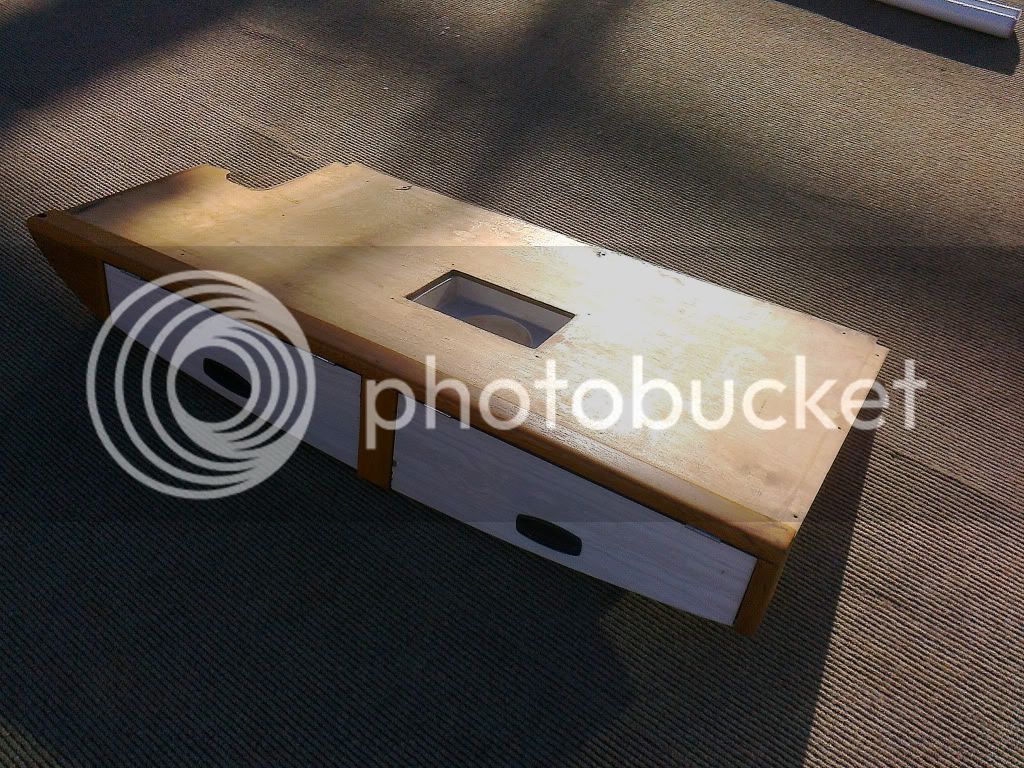
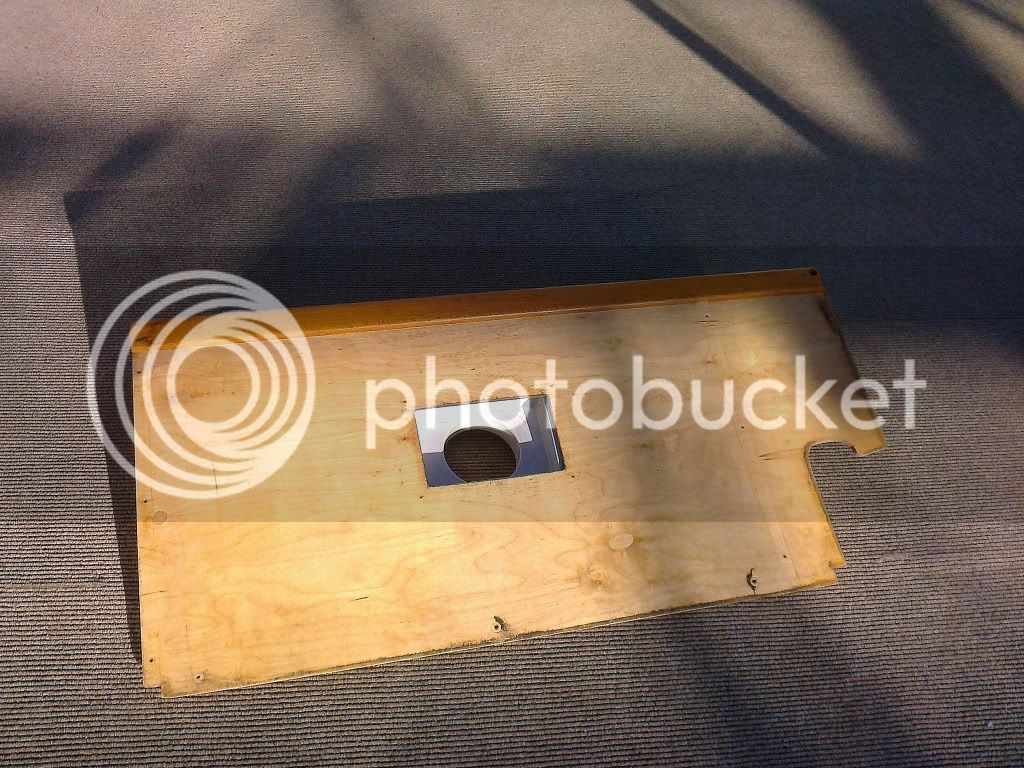
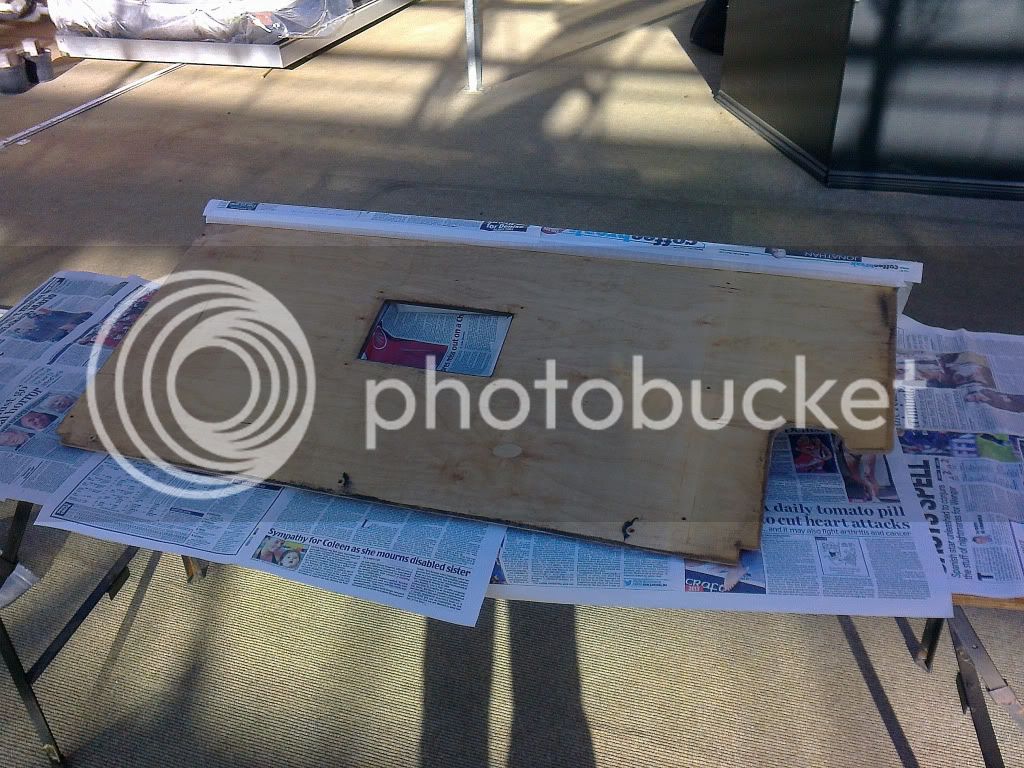
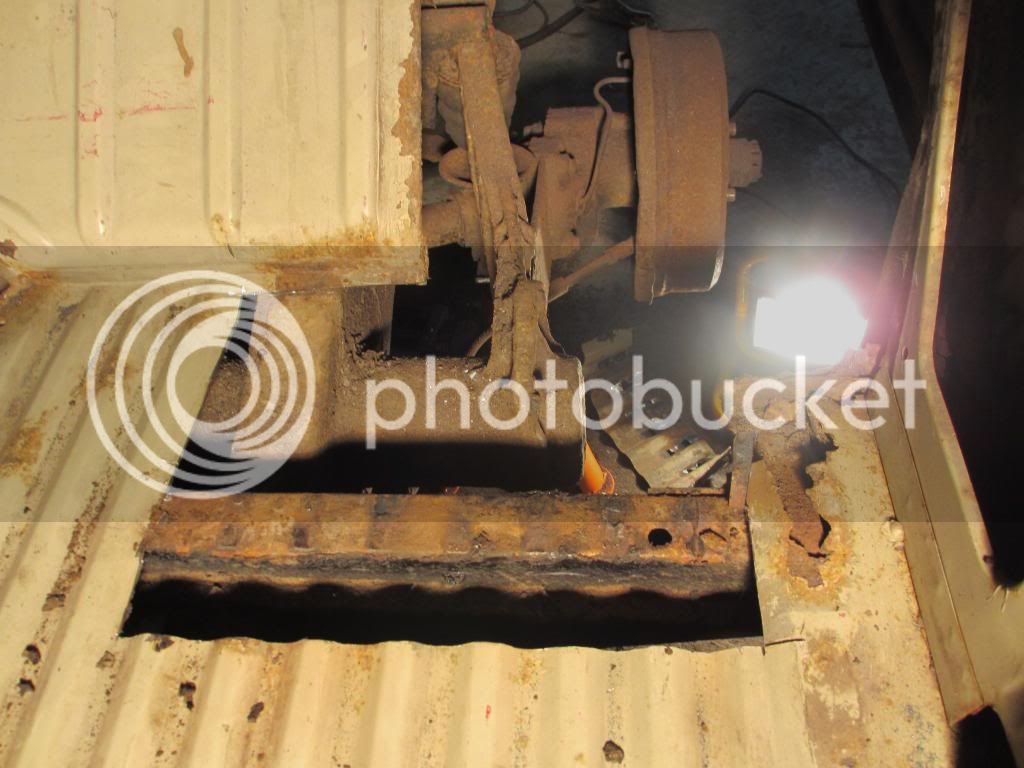
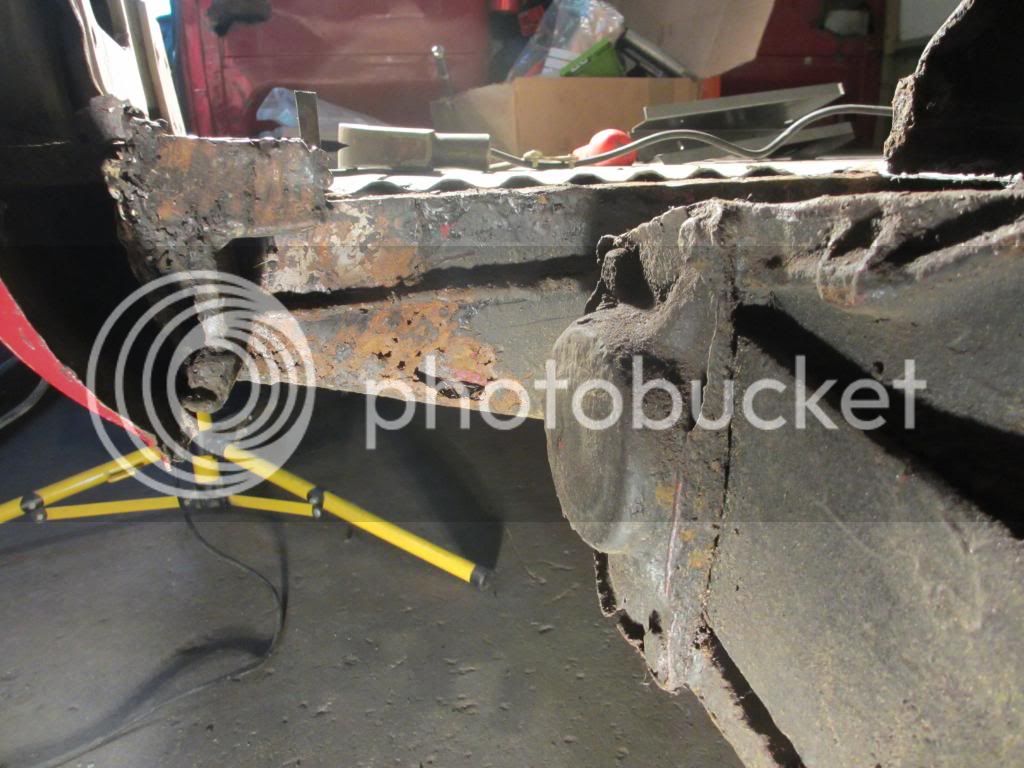
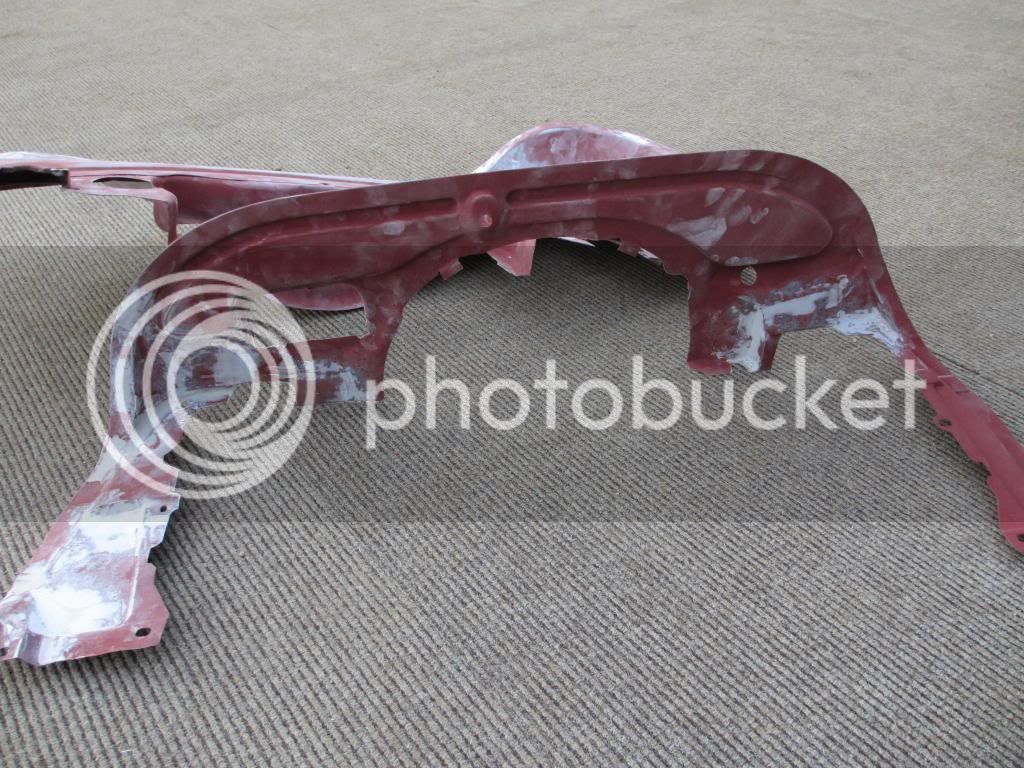
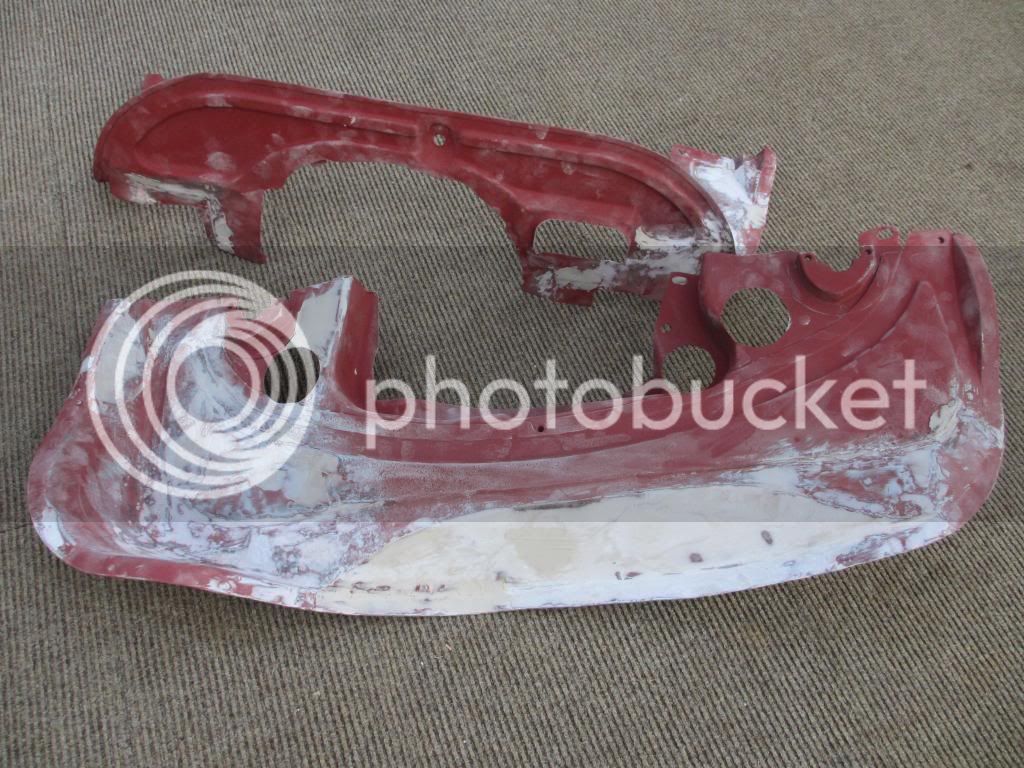
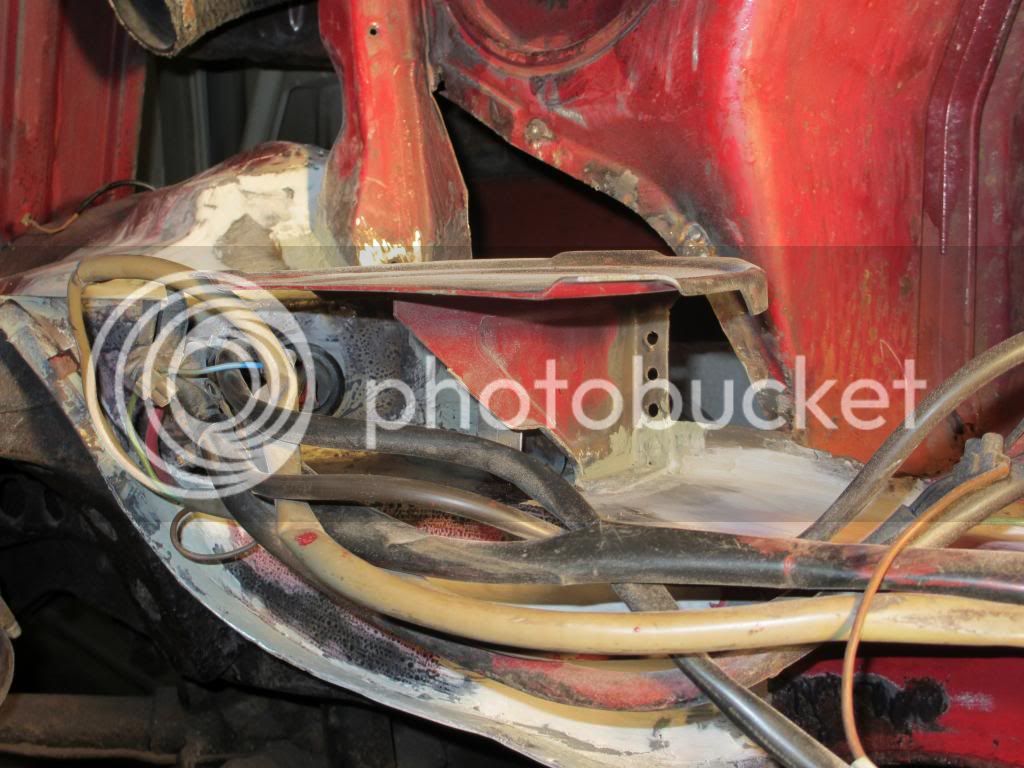
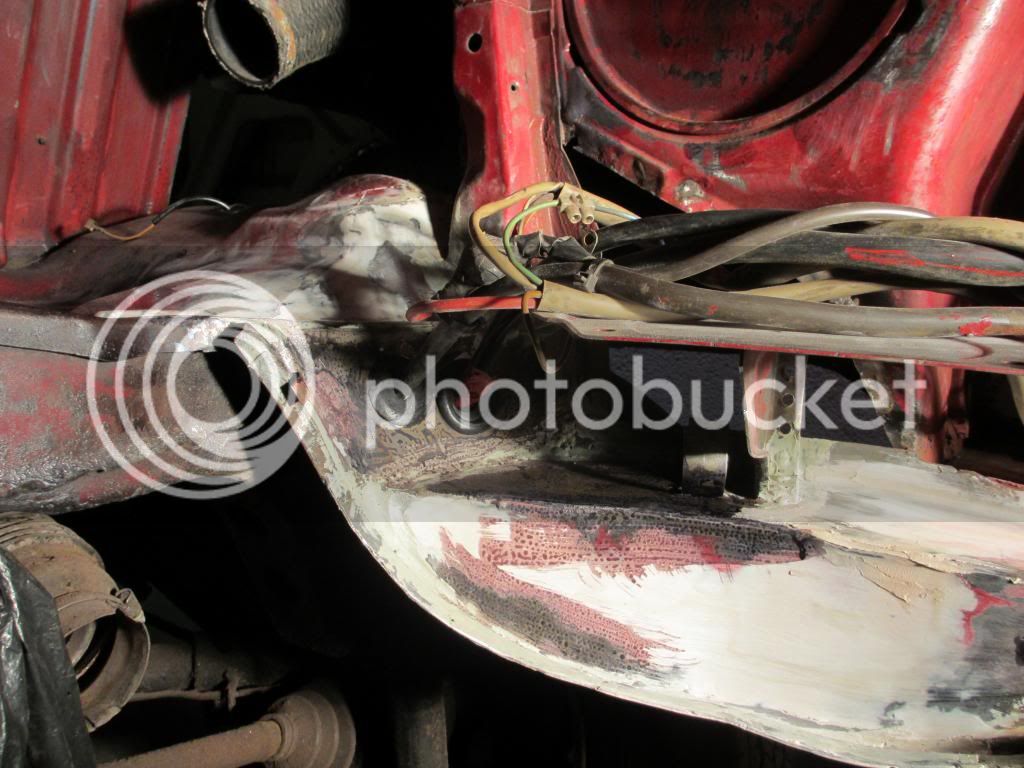
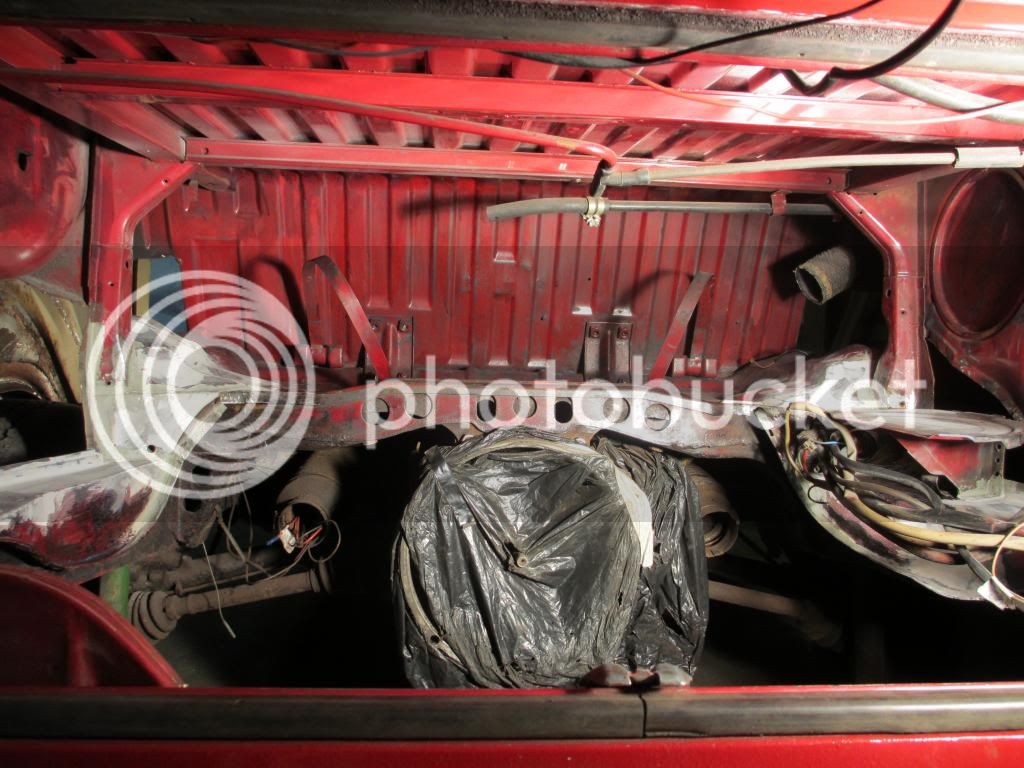
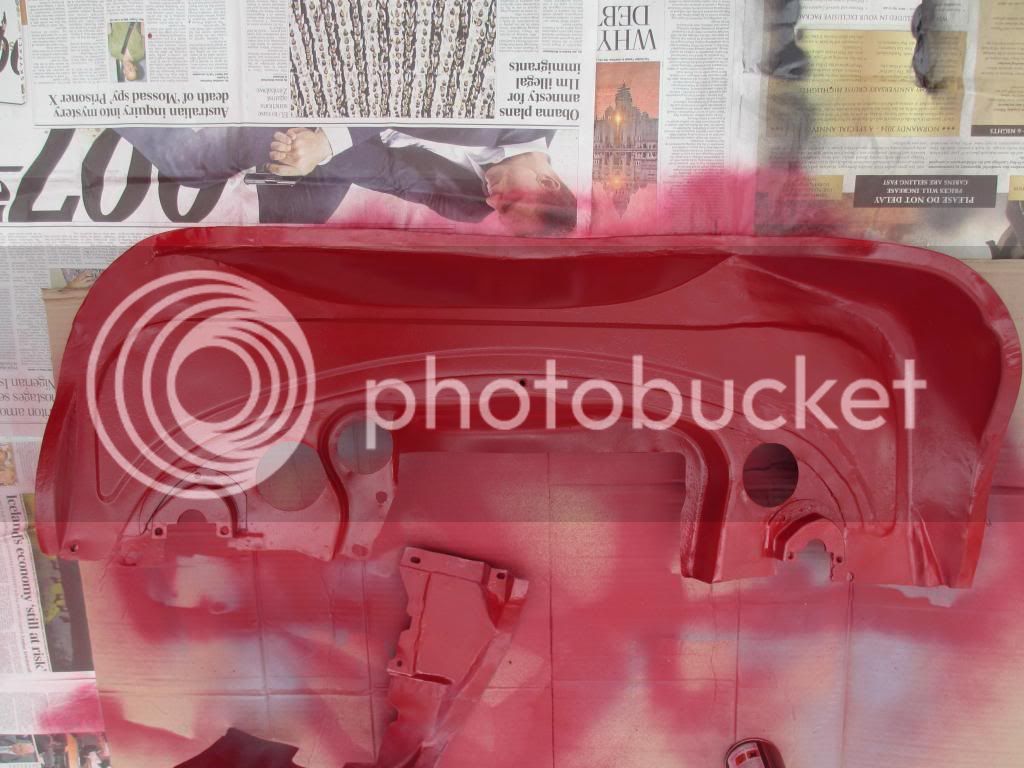
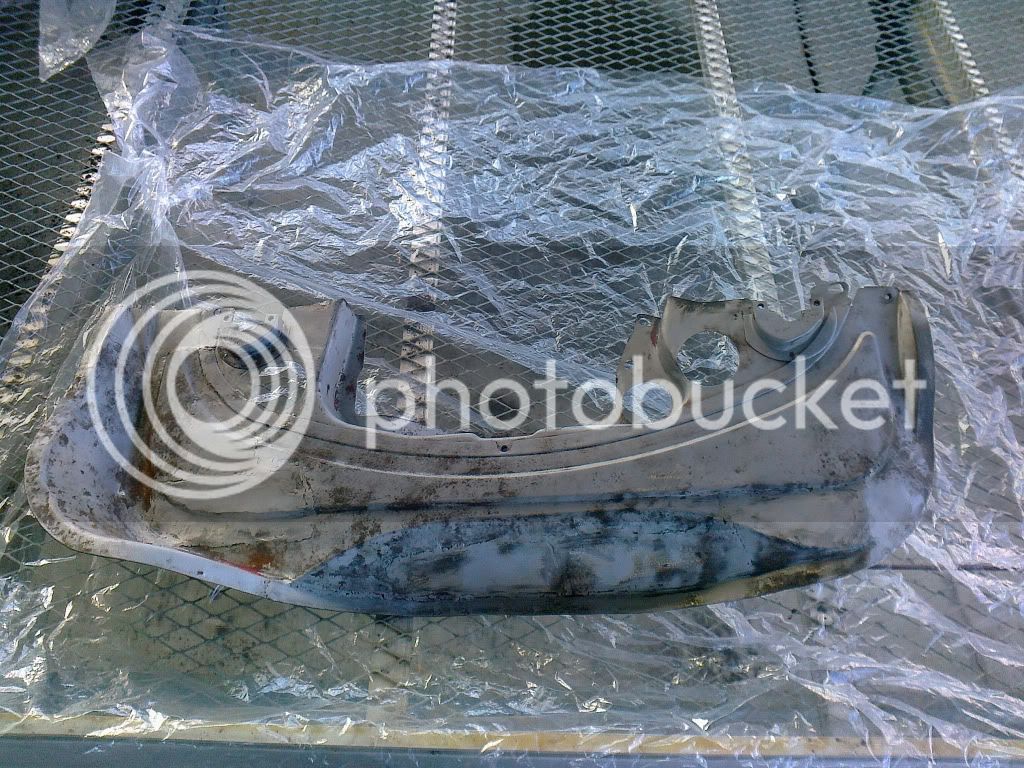
Have you got a thread up yet on your bus..!?? Well Did a bit today.... Tinware after a go over with the blasting media....
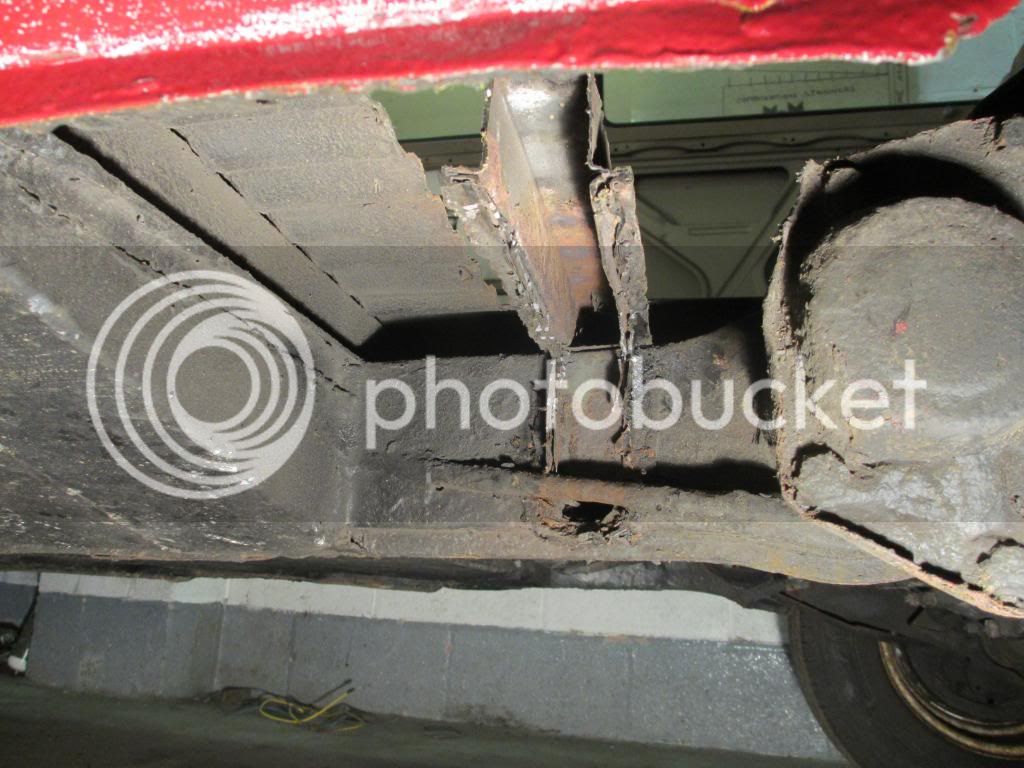
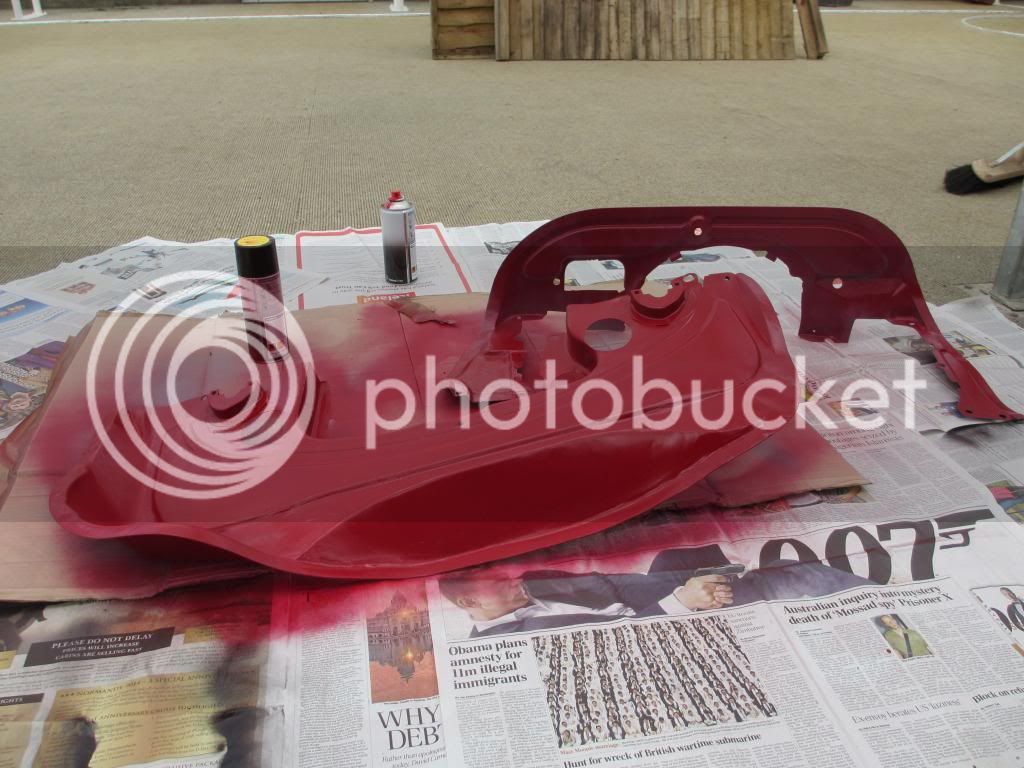
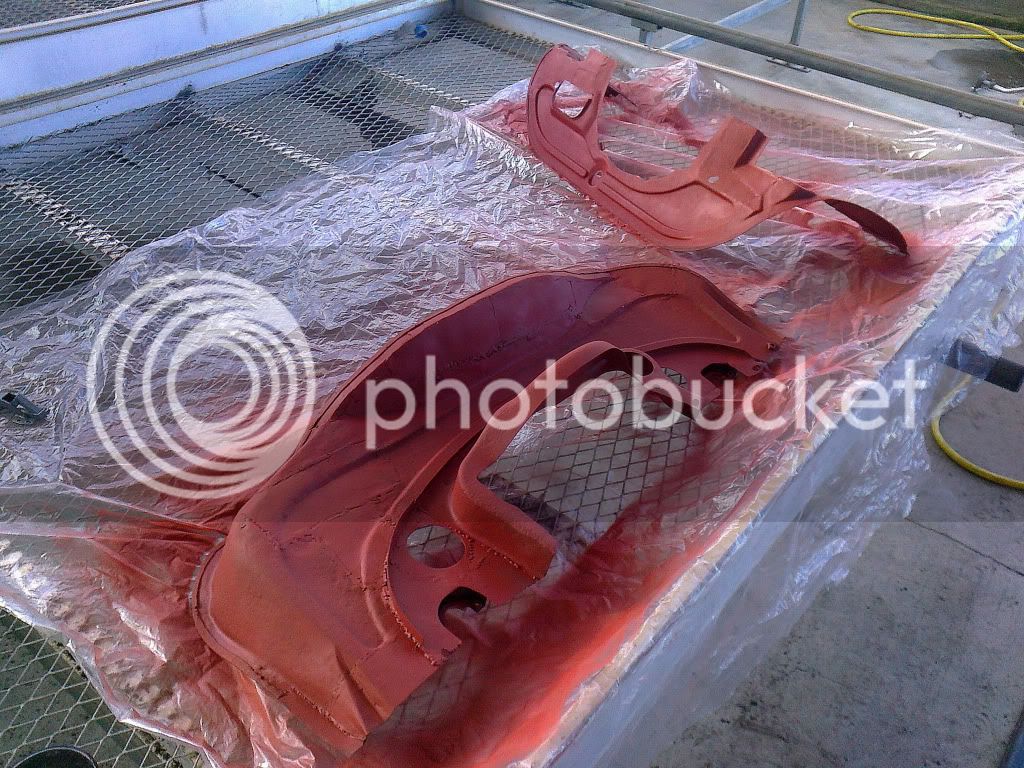
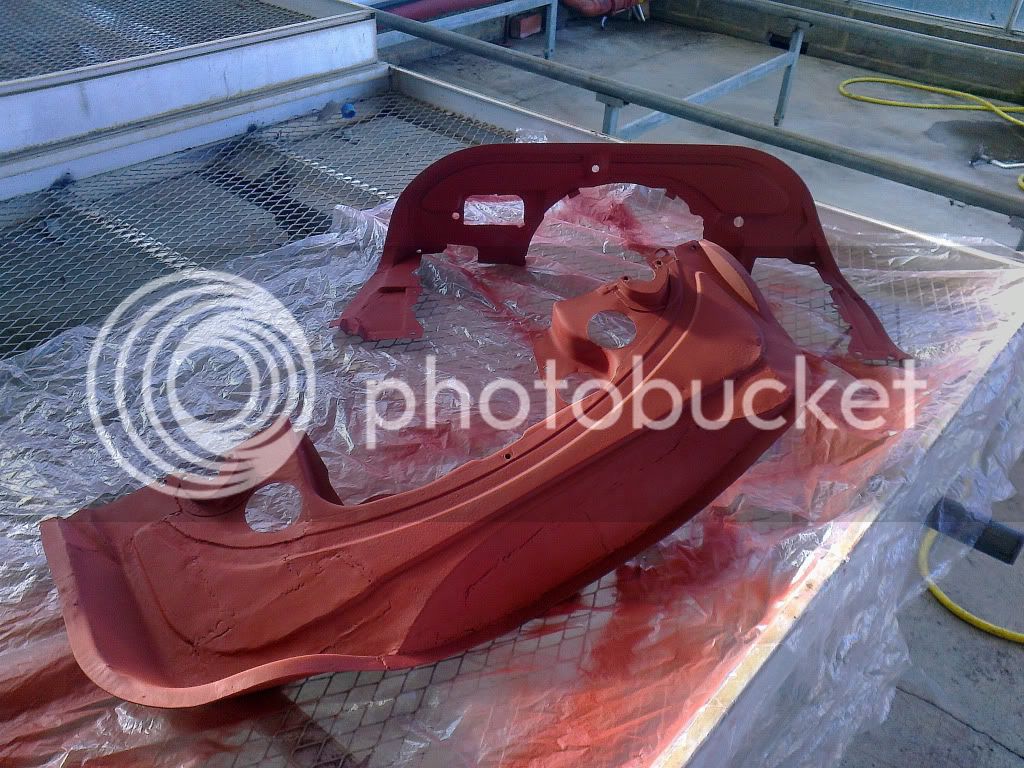
Then a coat of Red oxide to cure it...
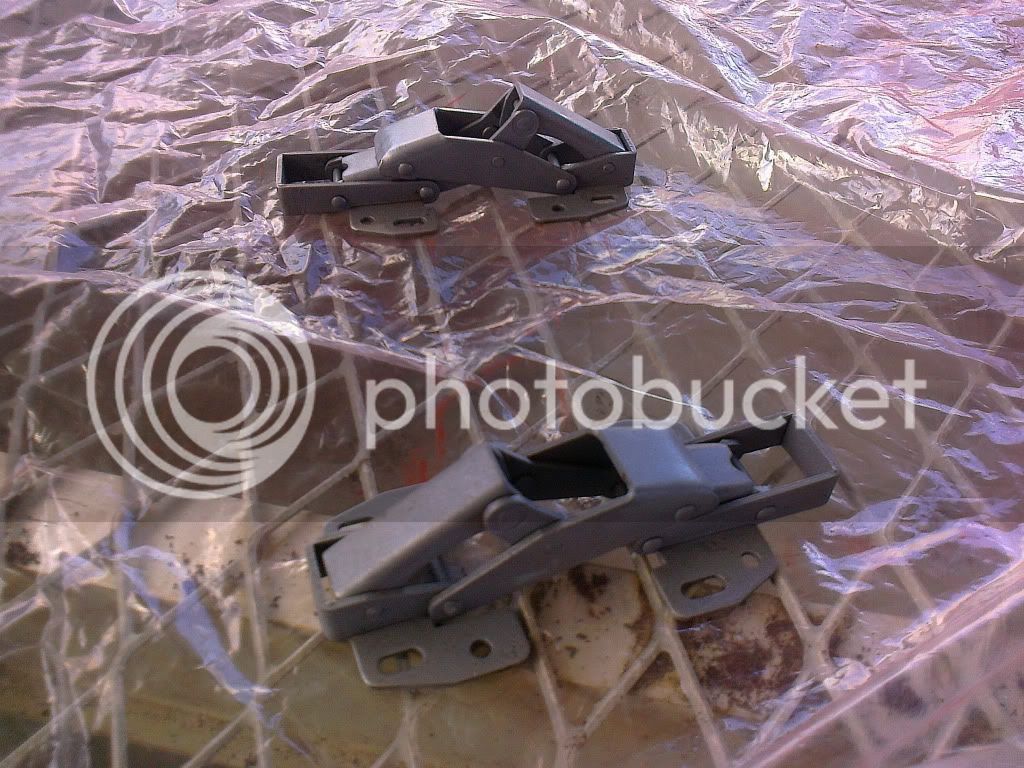
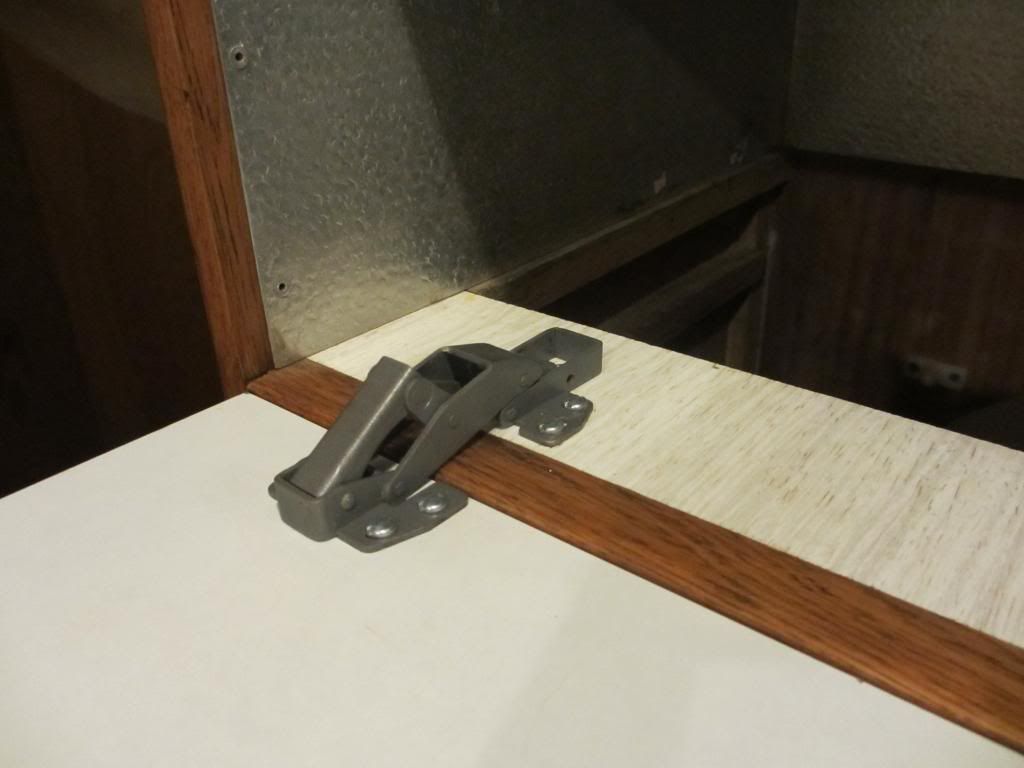
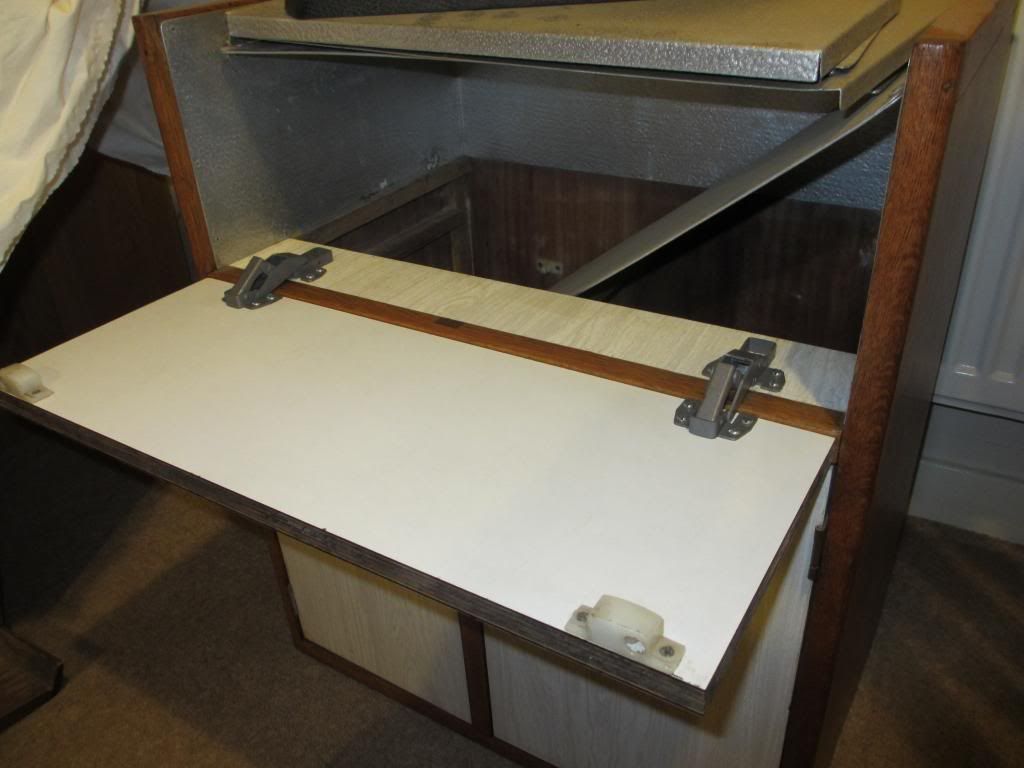
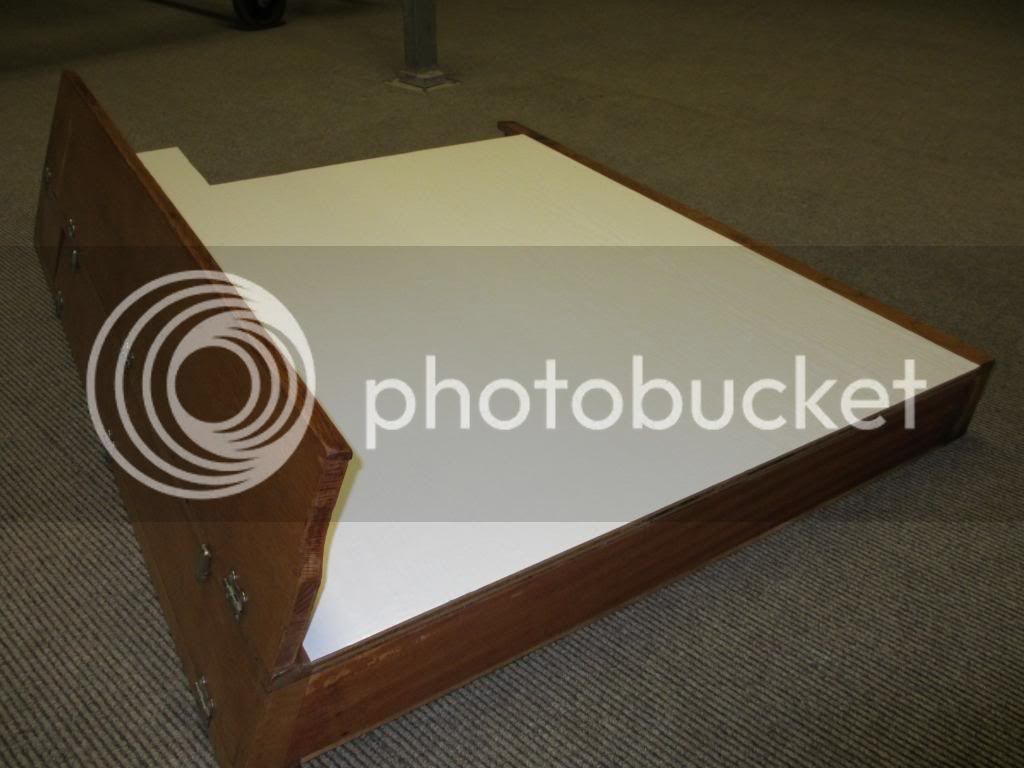
Also put the cooker hinges through the blaster as they were rusting and then just clear Lacquered them..