

Bigbear
Well-known member
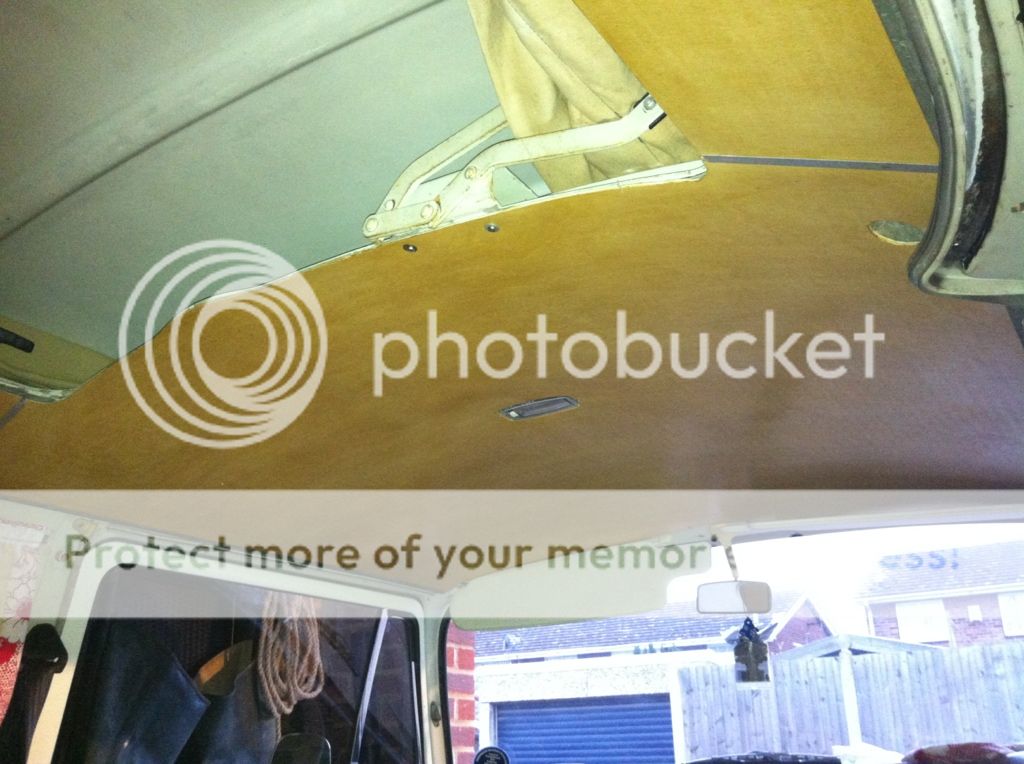
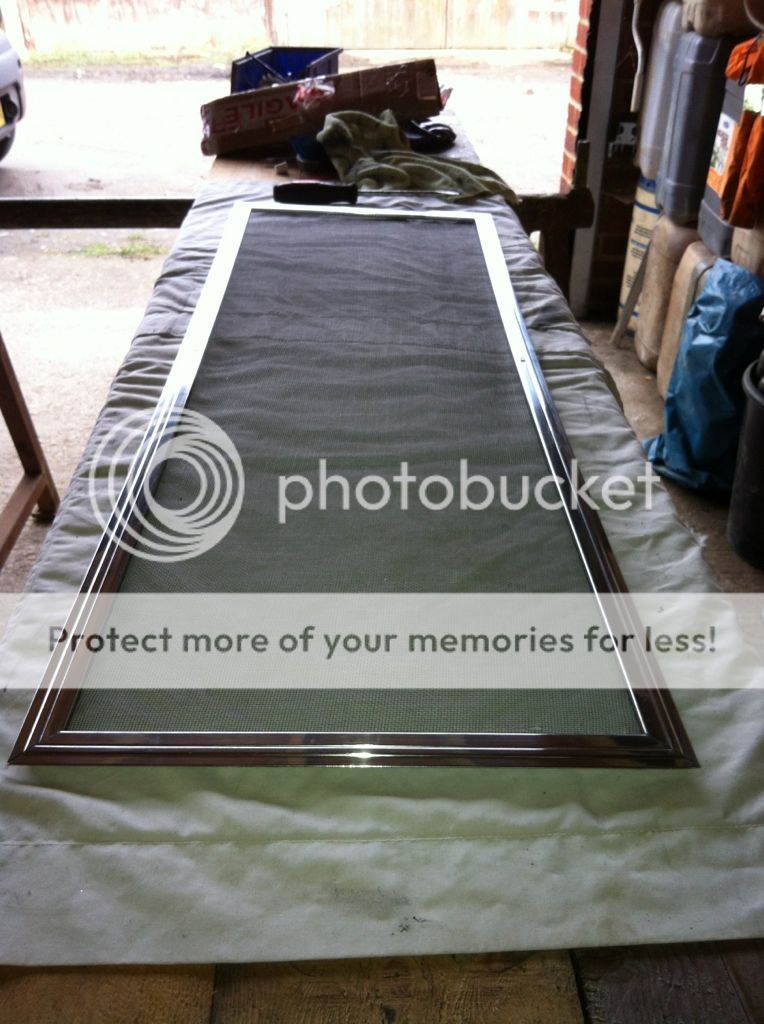
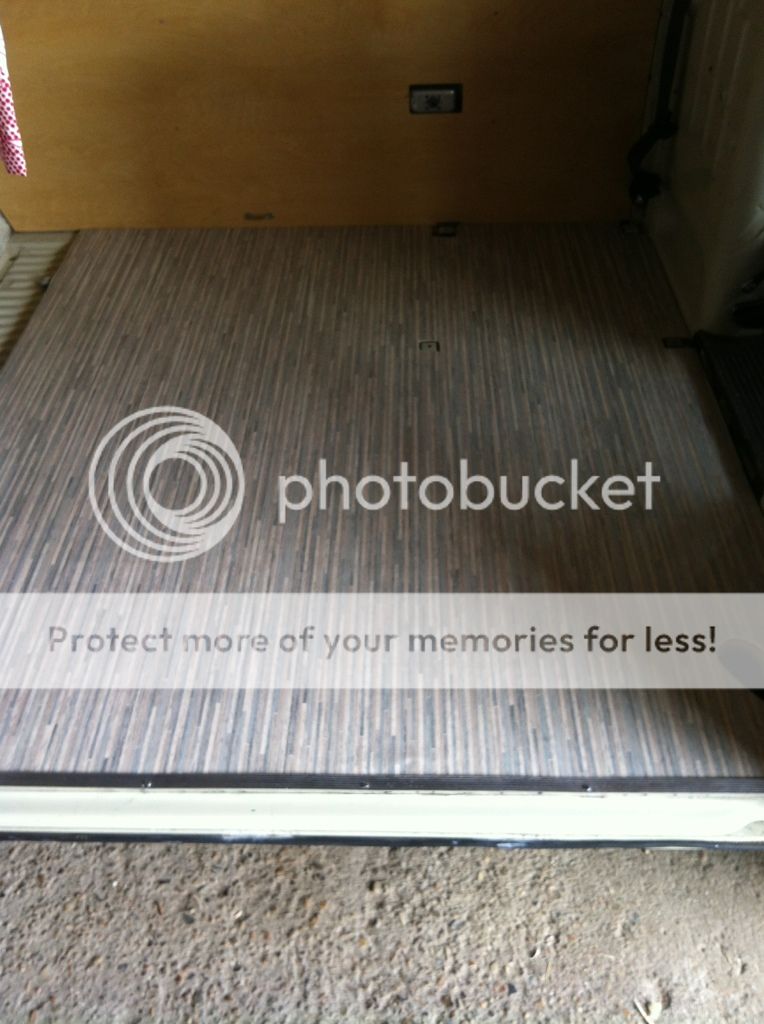
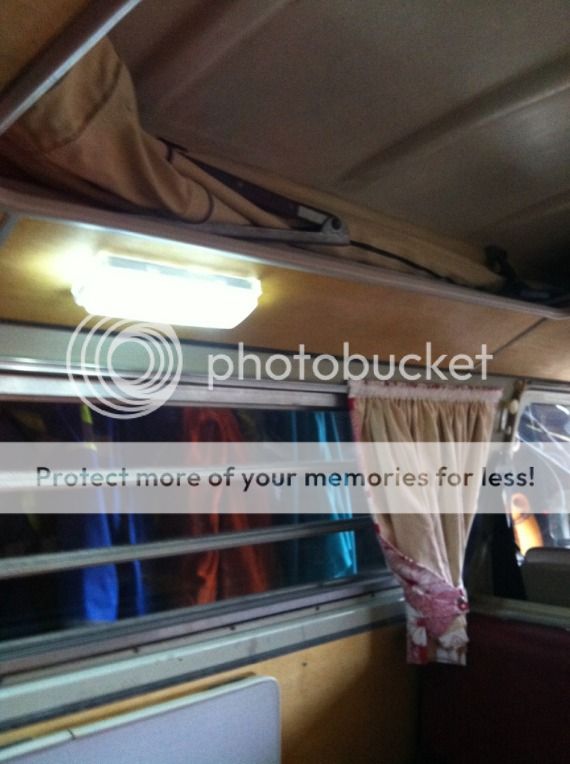
The pic of headlining looks like it has lines in it, but when it's fitted you can't notice really.

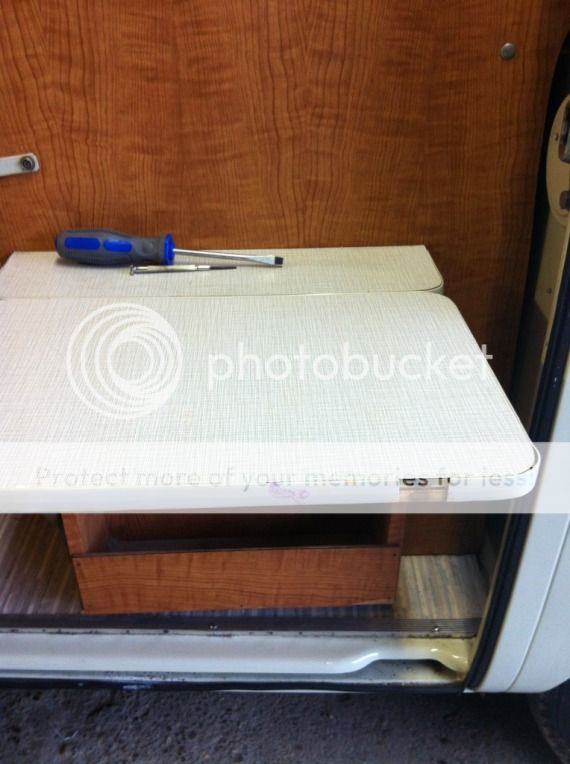
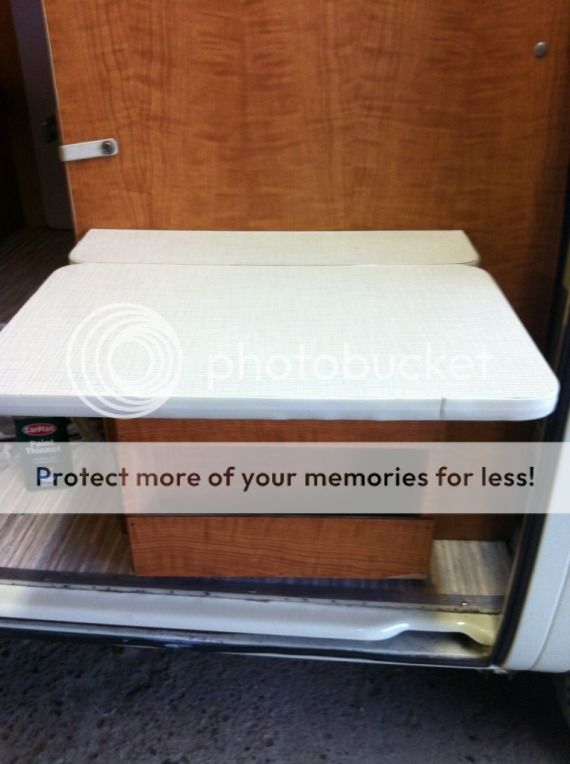
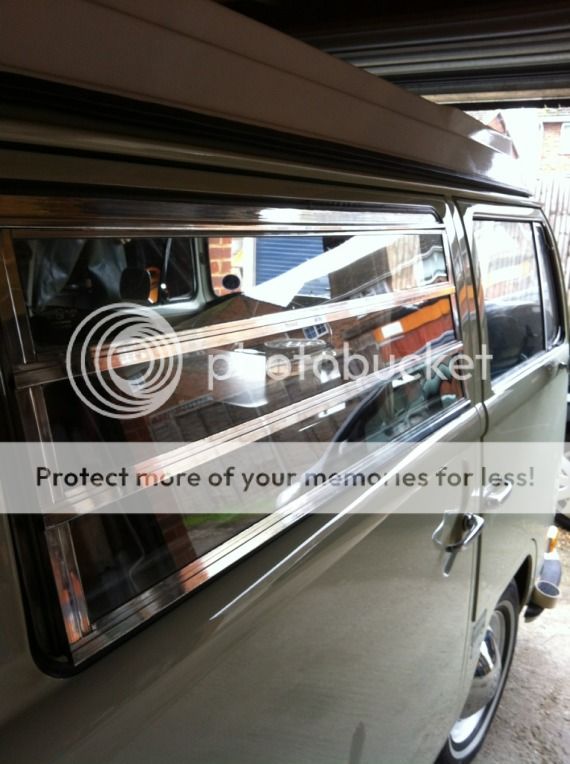
Cheers blue! It's getting there slowly (ain't they all?)creationblue said:Great looking Westy 8)


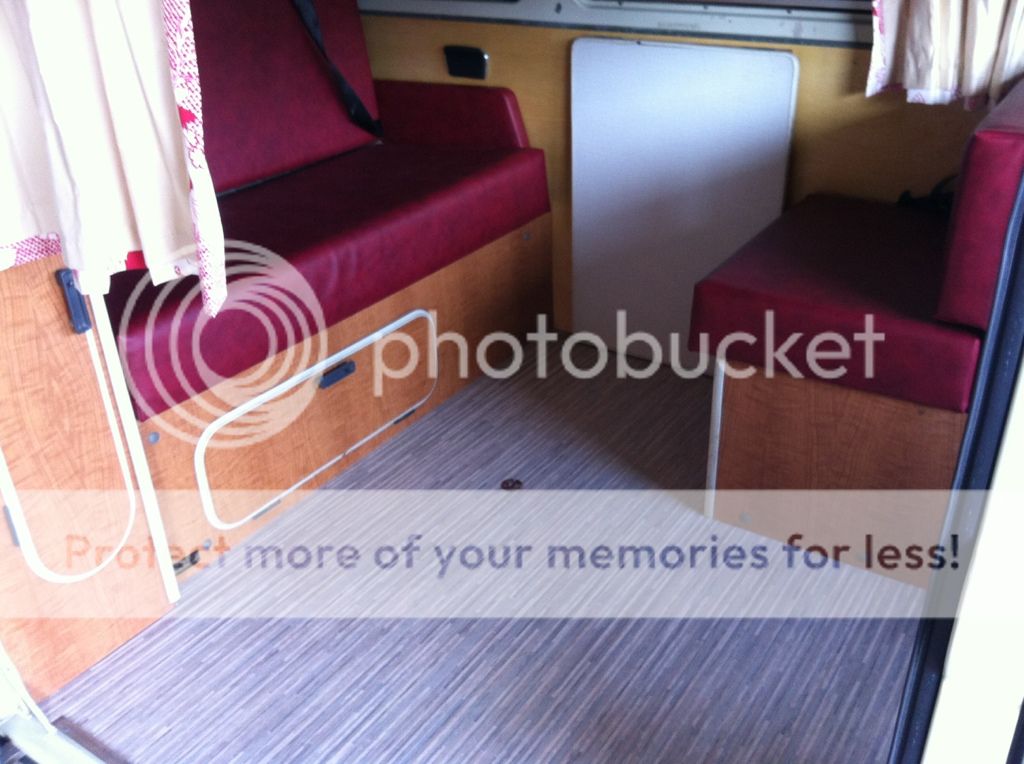
Cheers mate, it was in desperate need of a spruce up. Once it's all refitted and cleaned etc I can start making it a bit more cosy, with cushions and bits and bobs.Lee C said:Looking nice in there noo mind!!
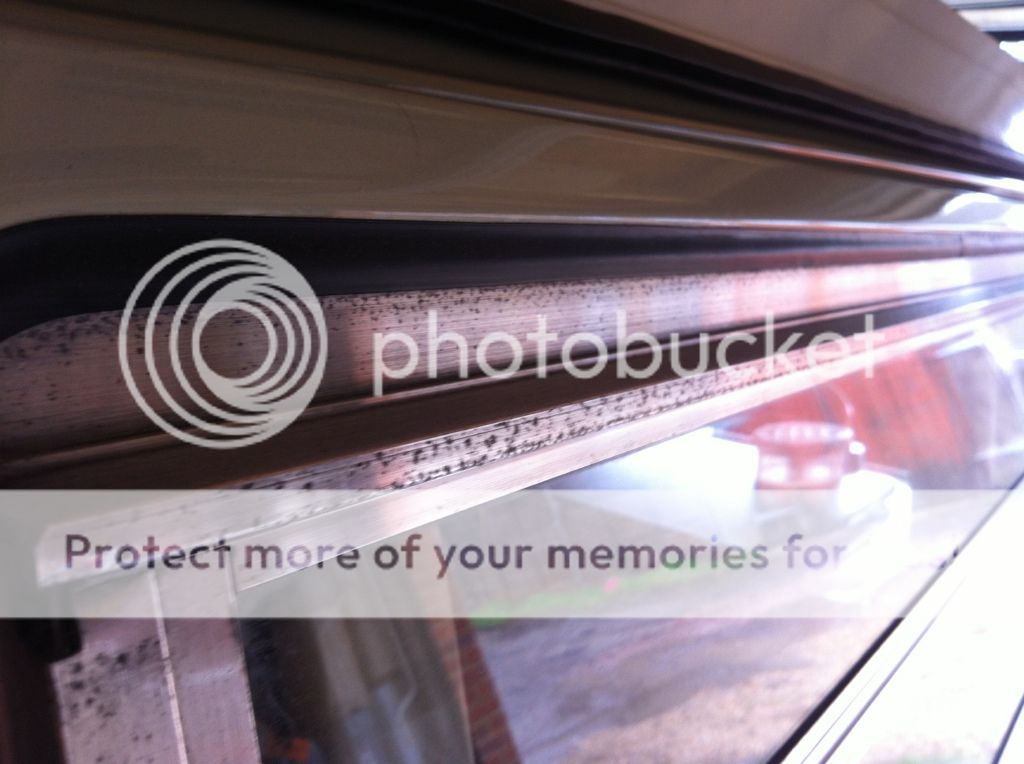
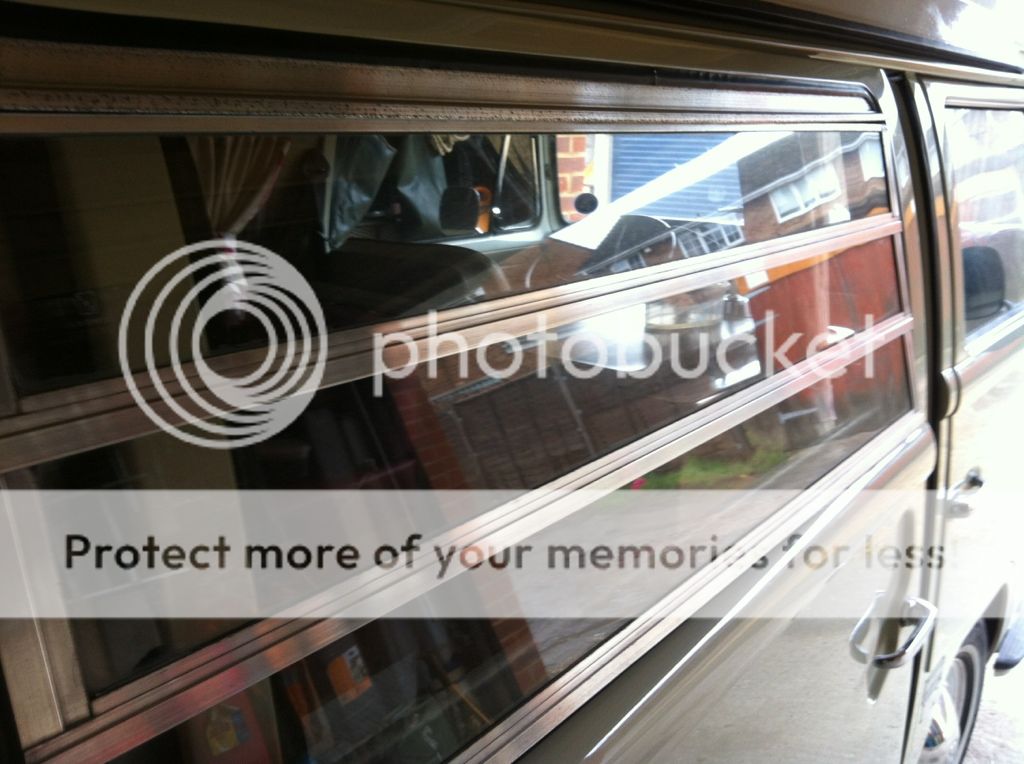
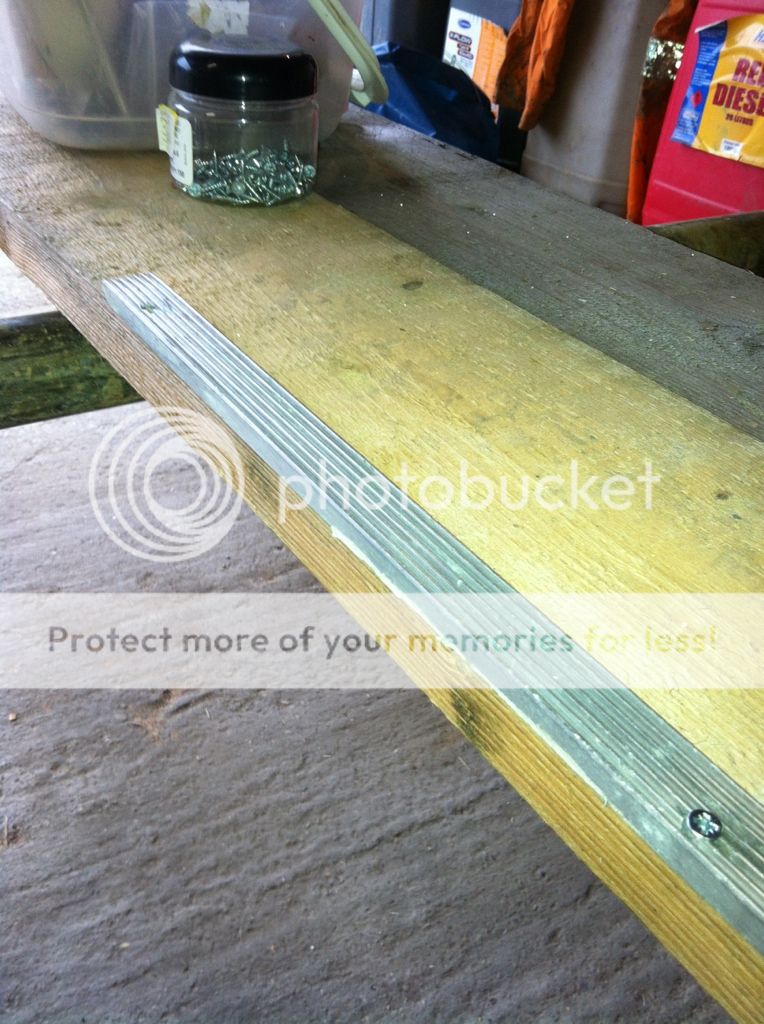
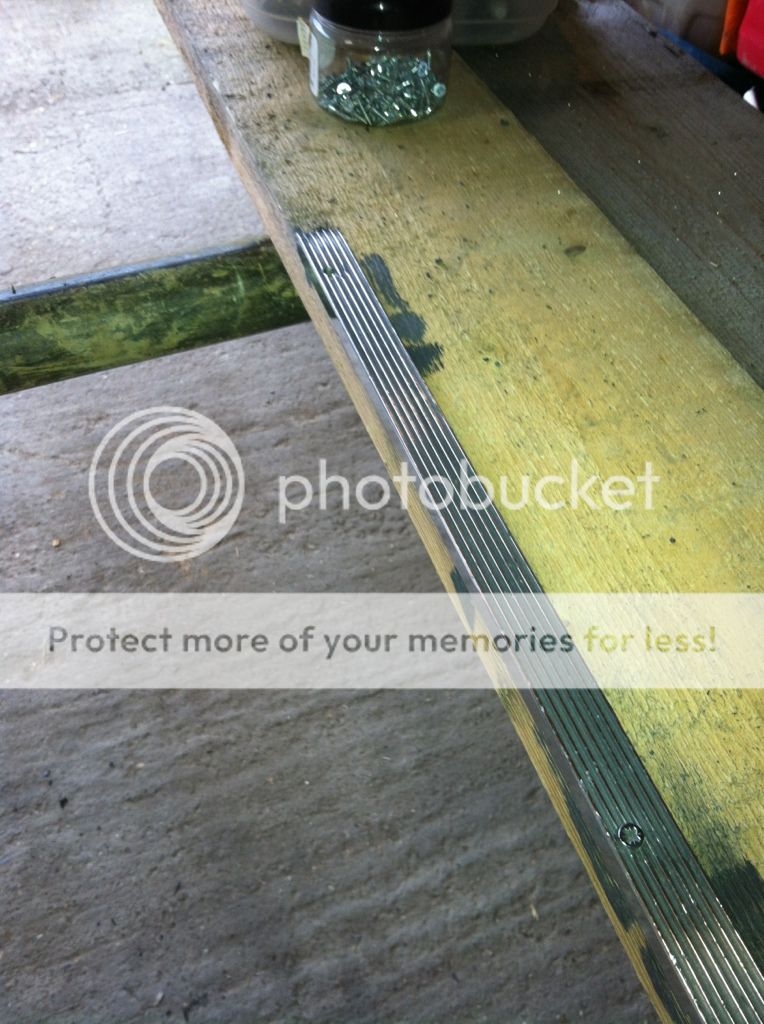
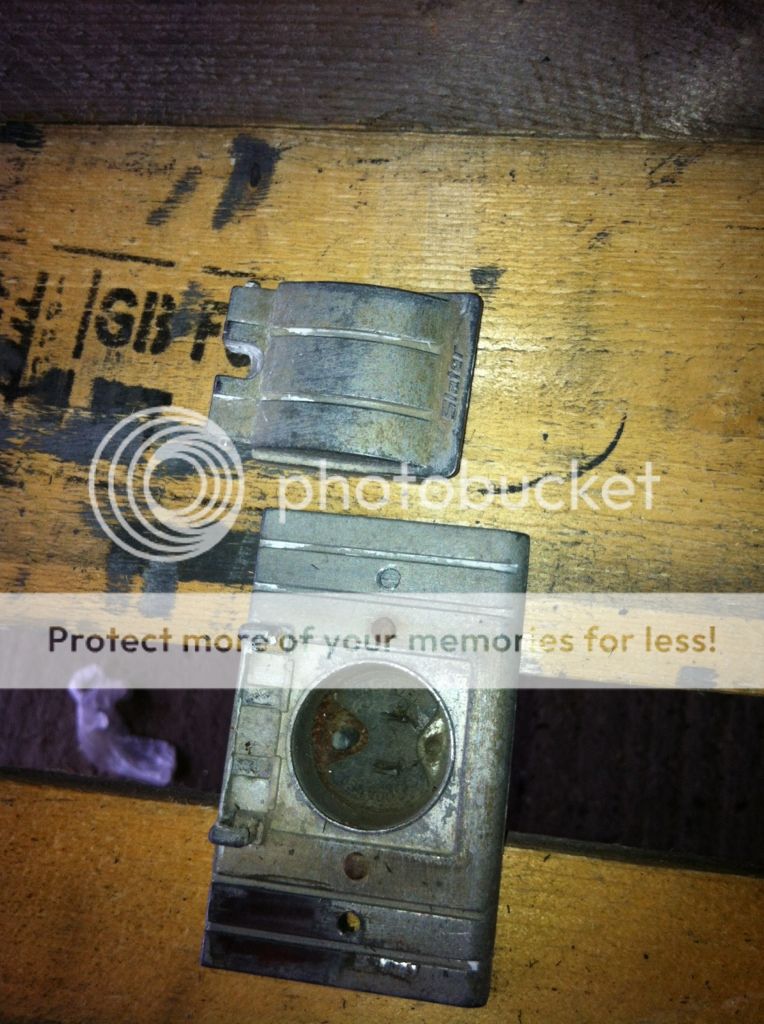
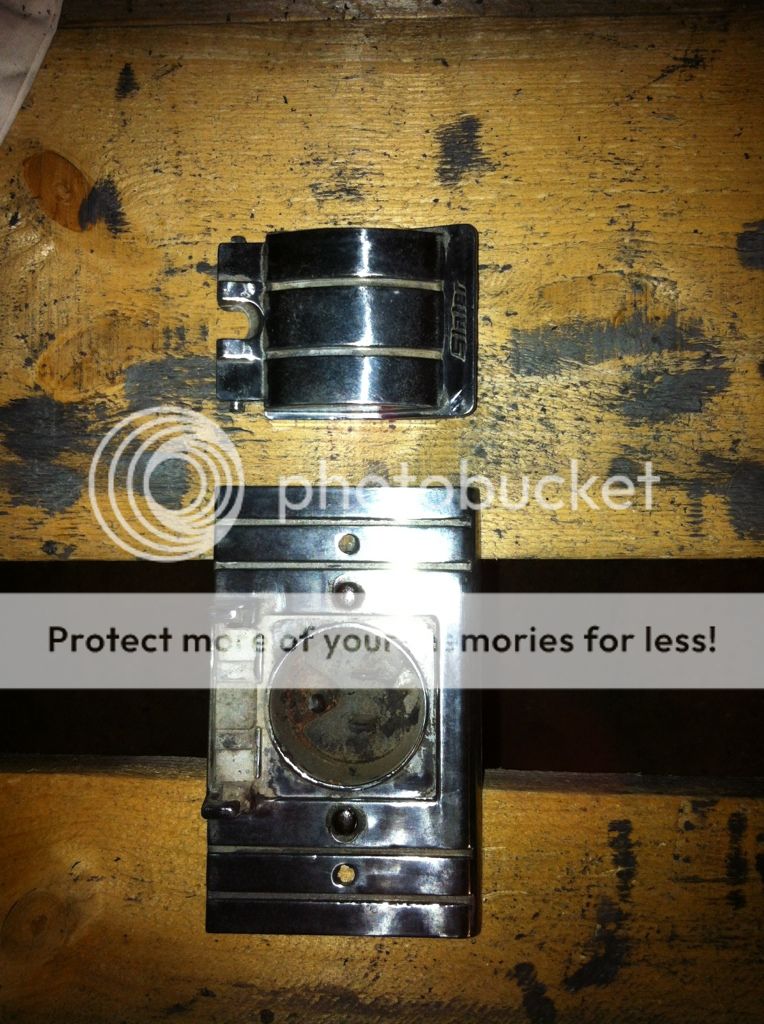
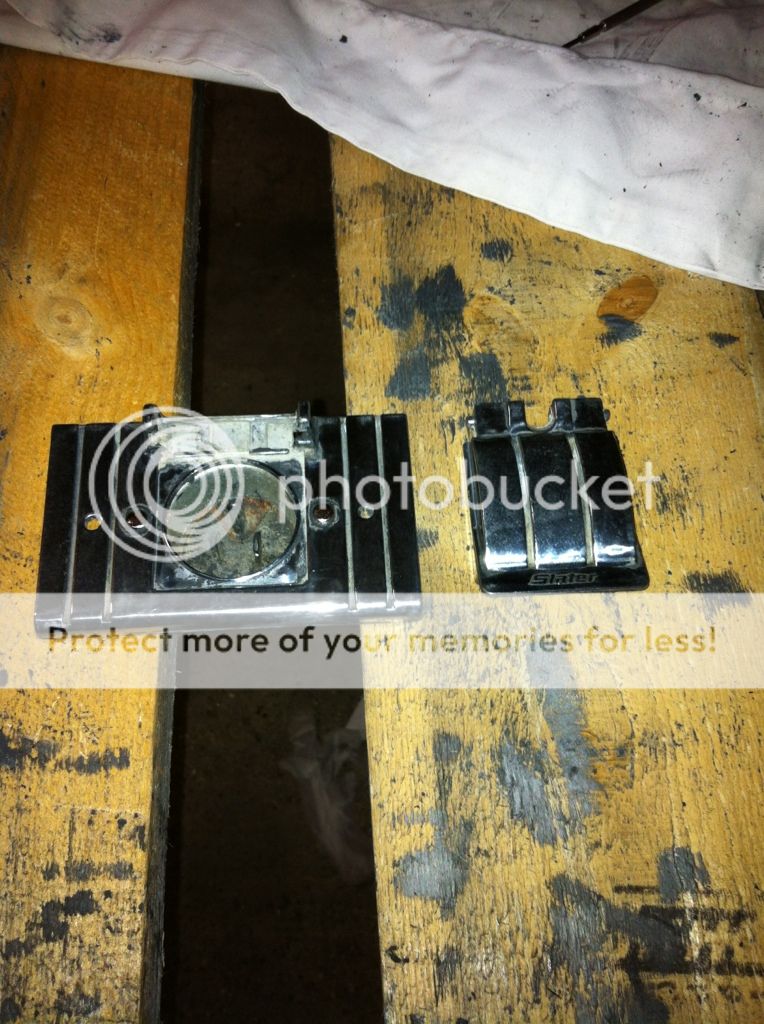
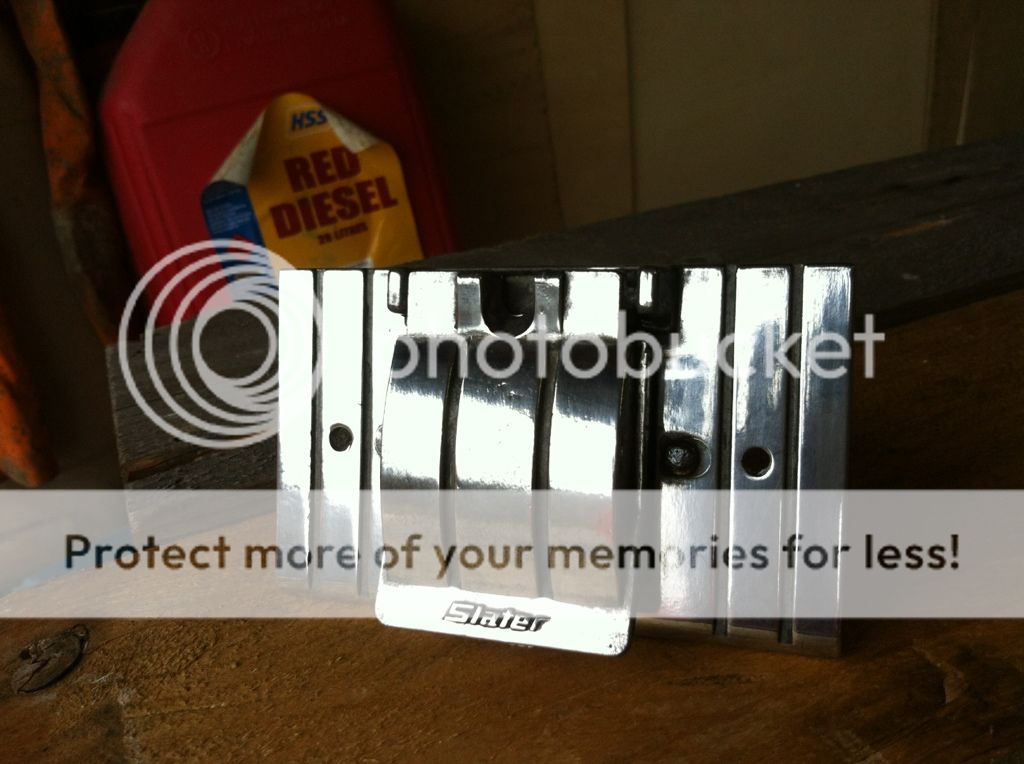
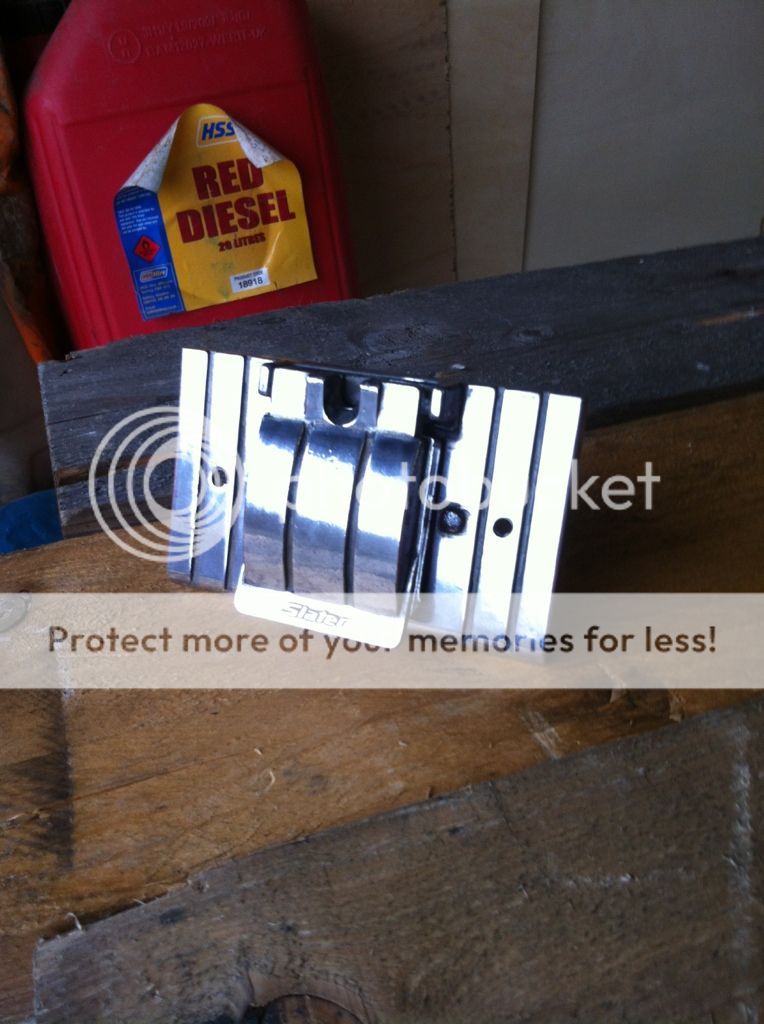
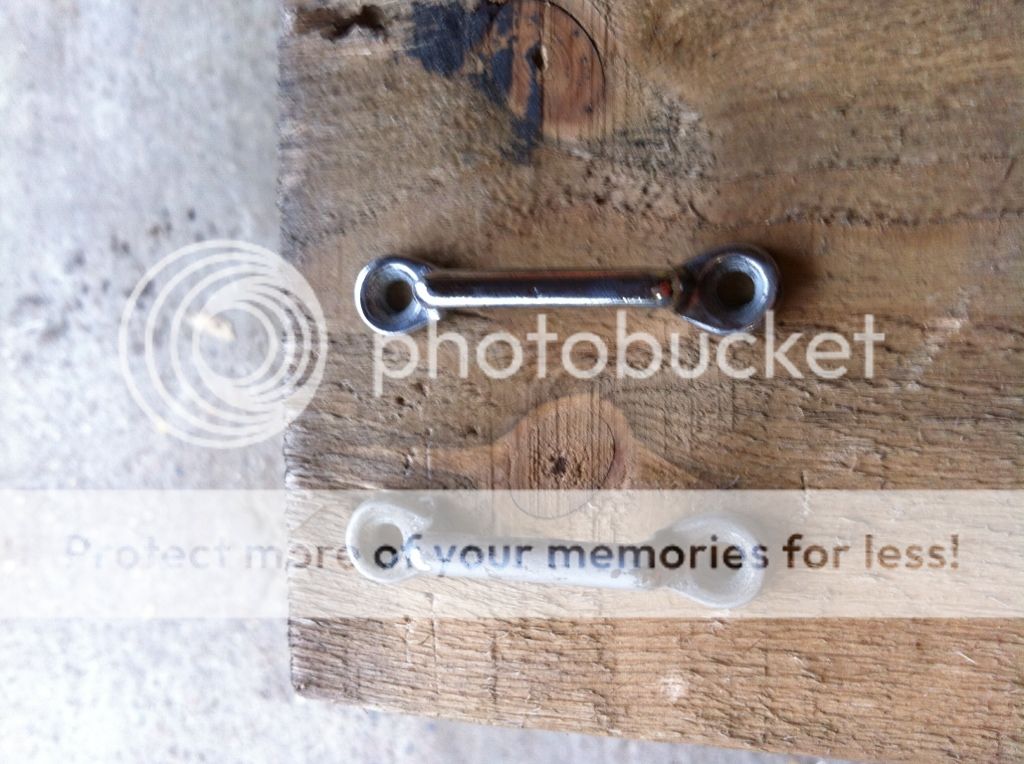
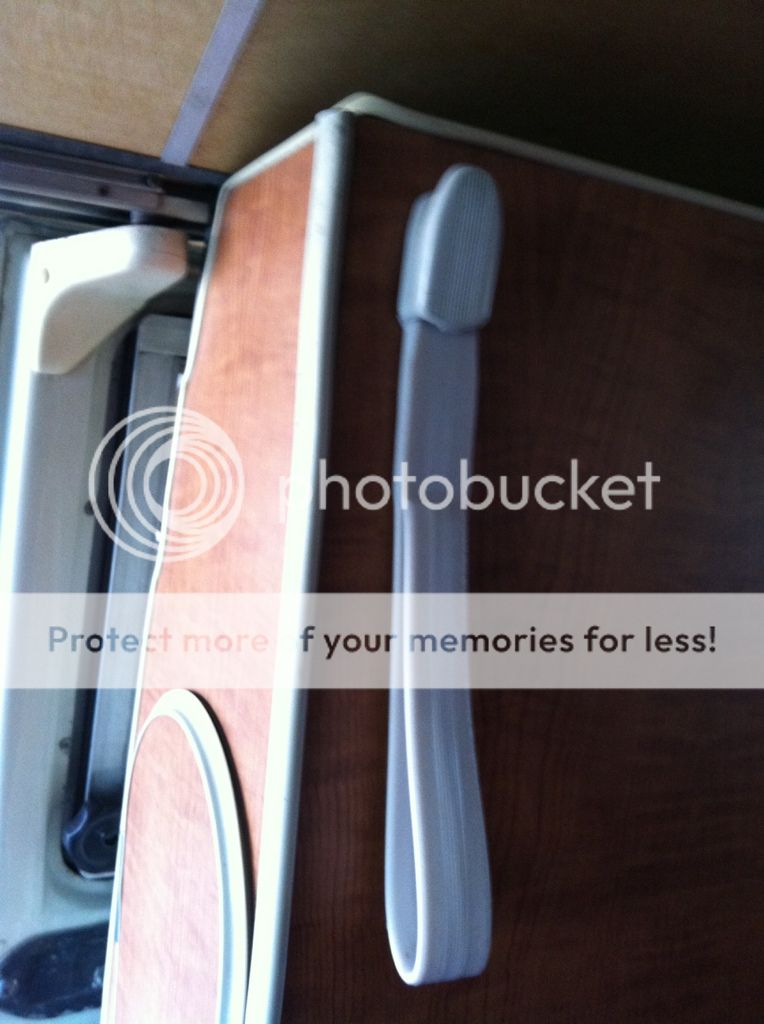
benveedub said:wow some amazing polishing going on there!!!
looks amazing 8)
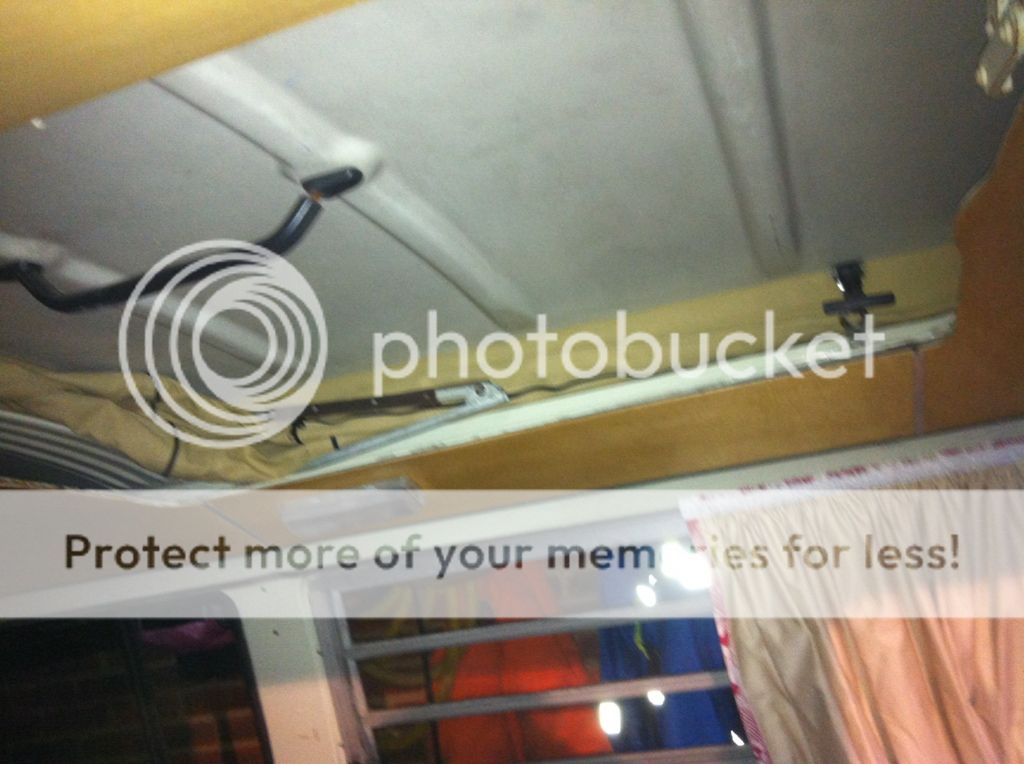
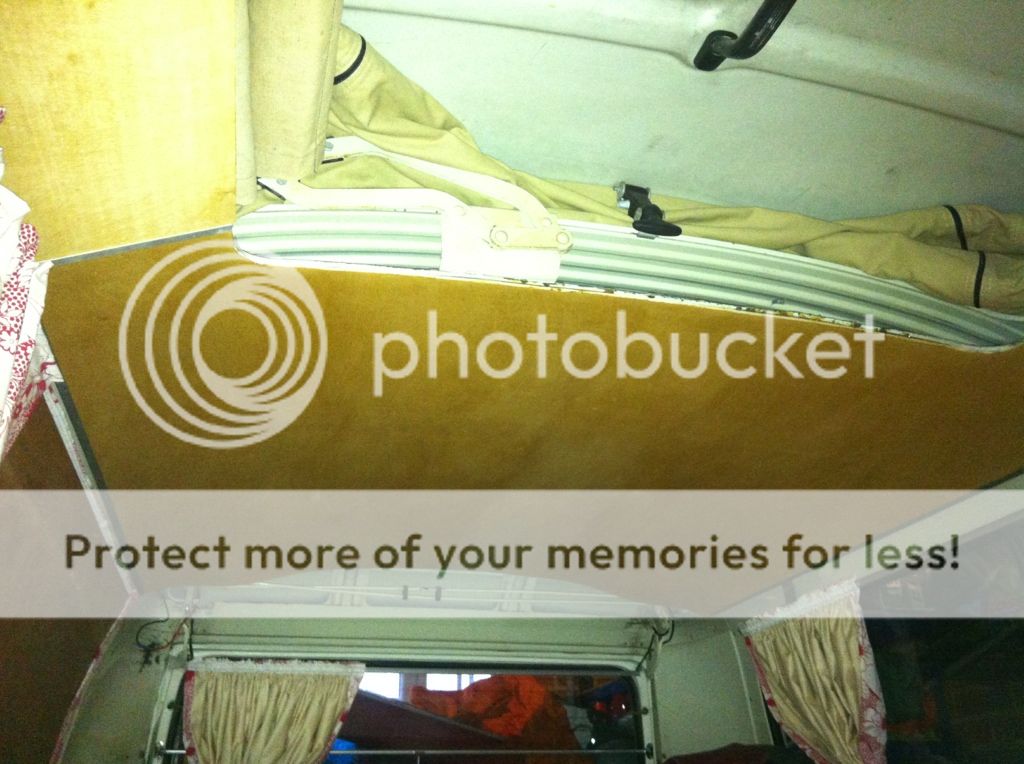
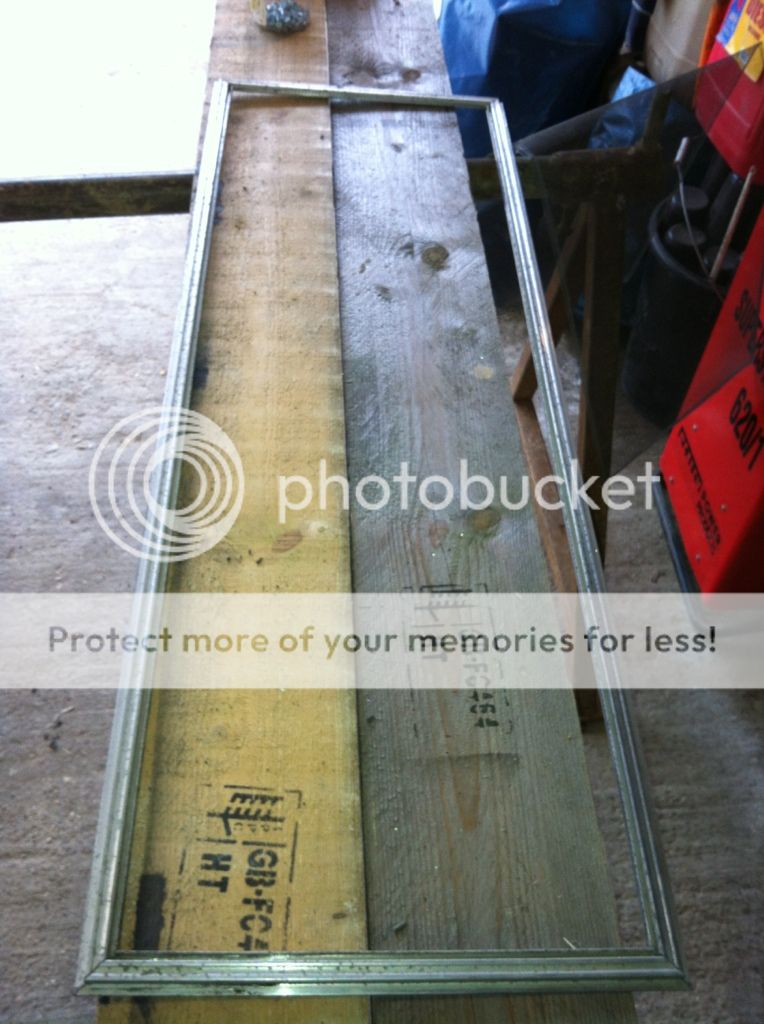
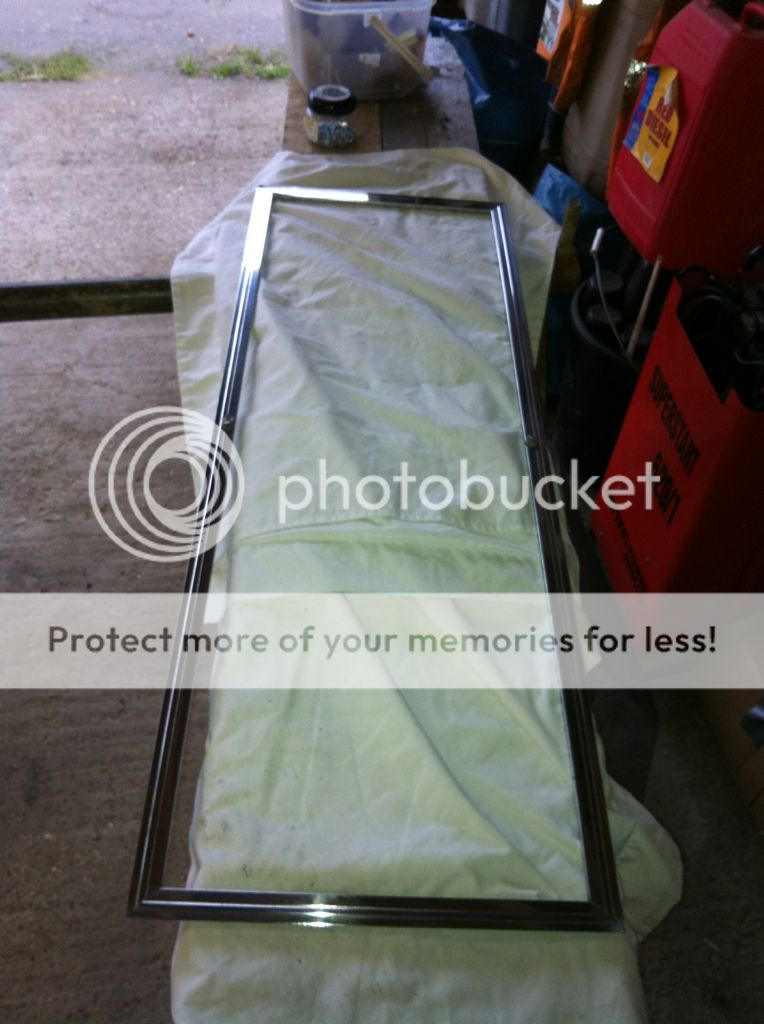
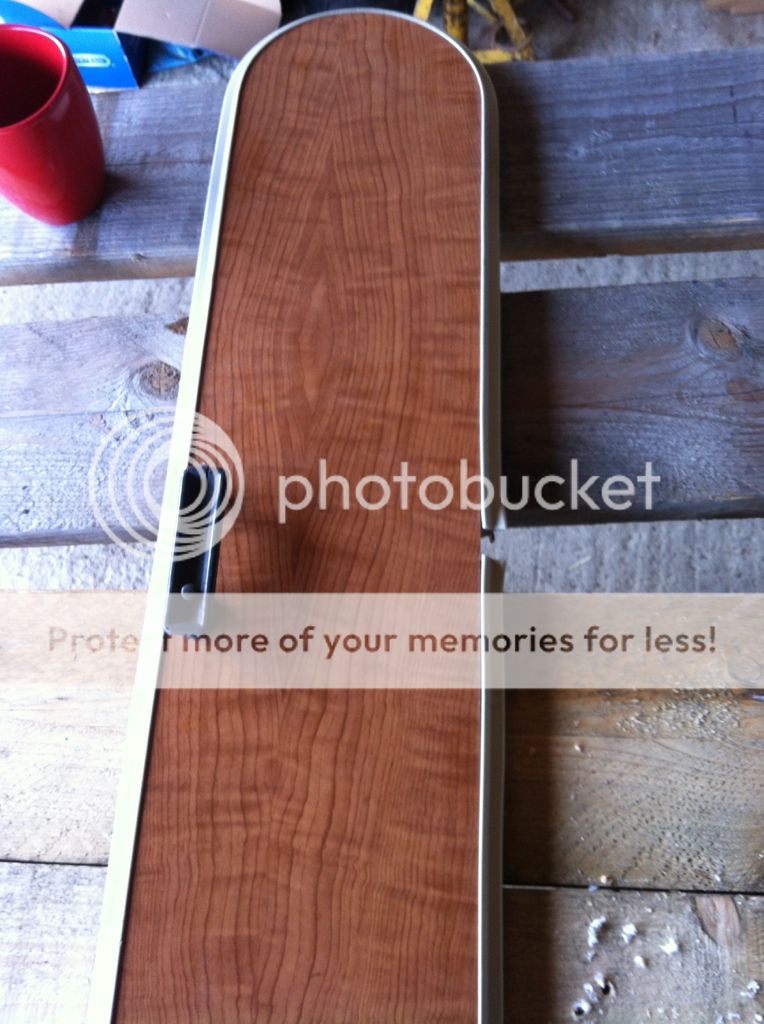
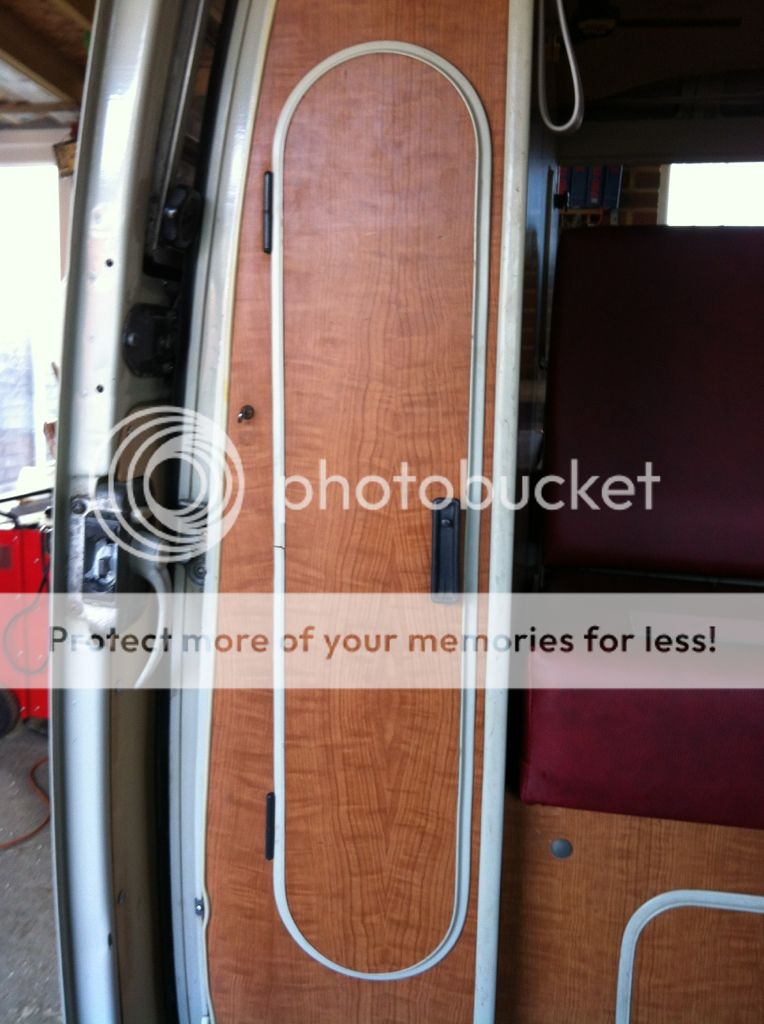
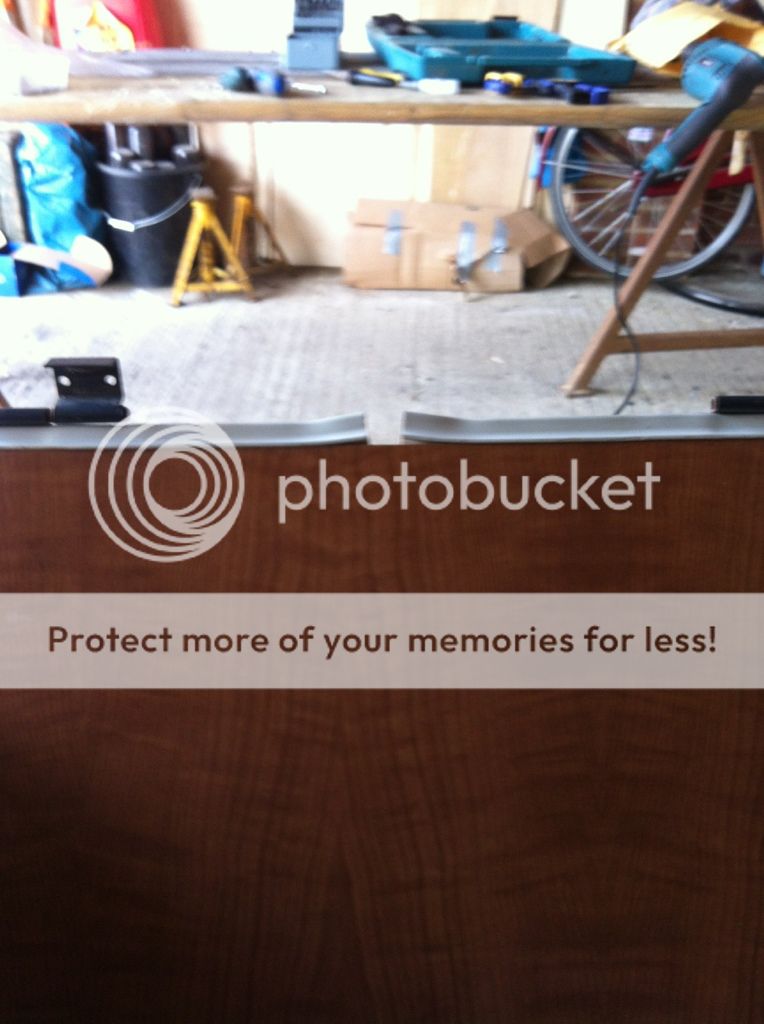
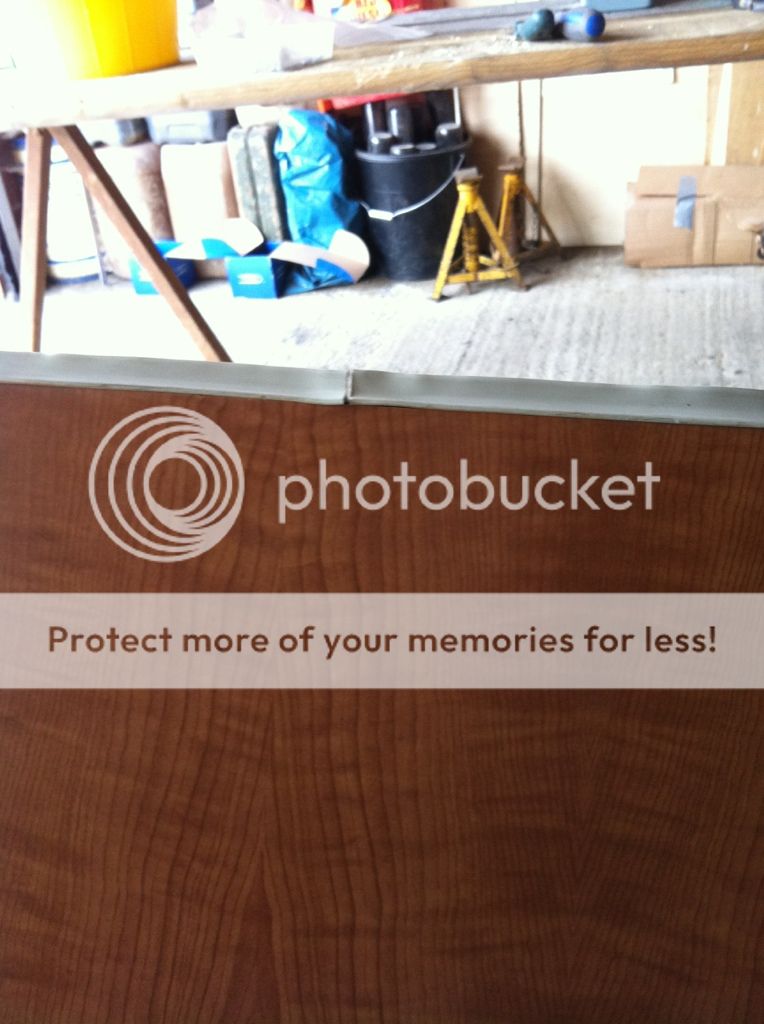
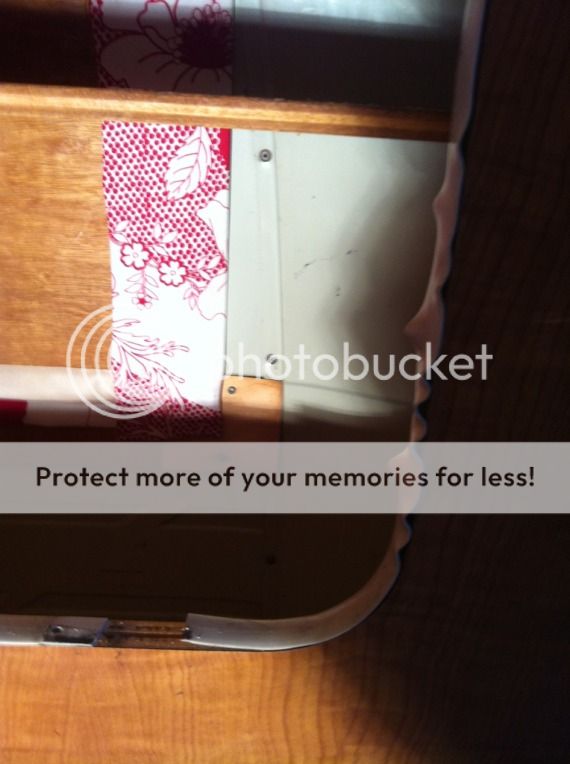
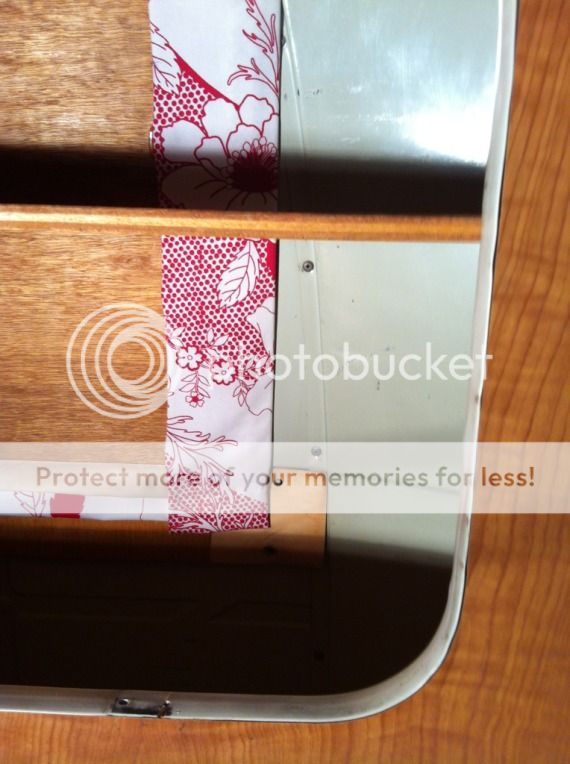
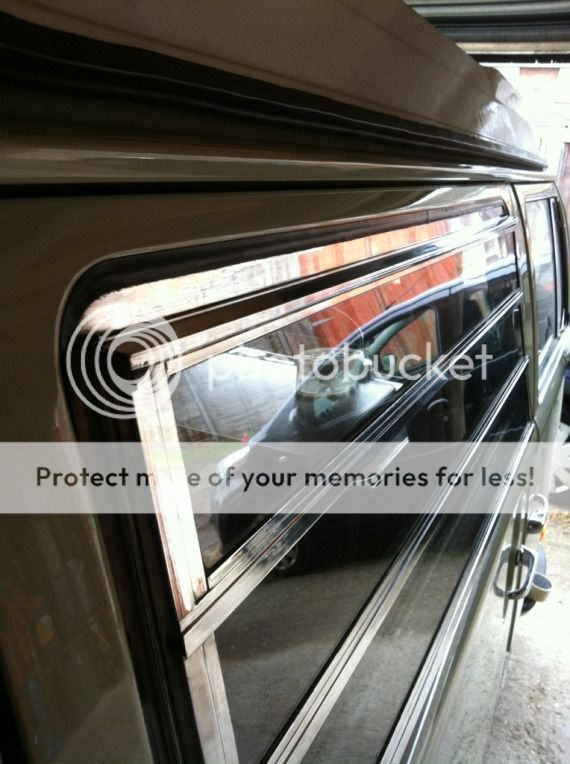
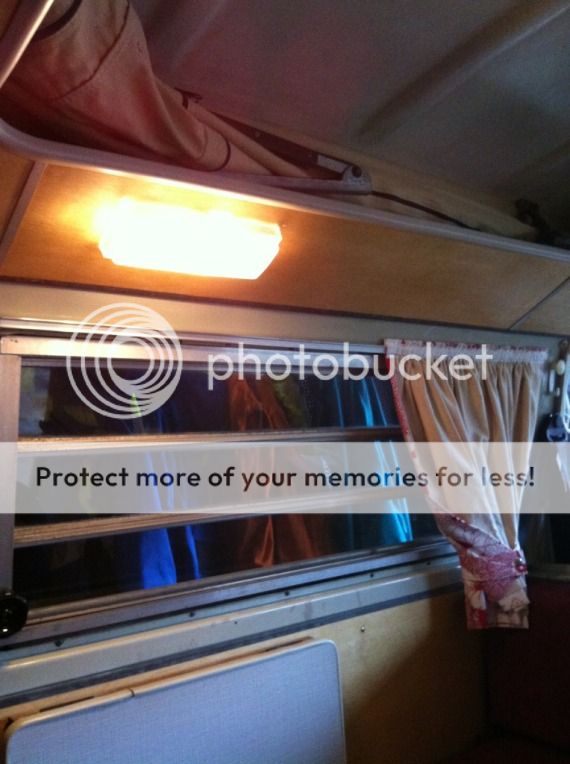
Do ou mean the trim that goes around the pop top opening to tidy up the headlining edge?mike202 said:lovely shiney polished bits of trim you've got there
Looks like you've fitted the westy hatch trim -the plastic strip around the metal - did you fit it all in one piece and did you encounter any difficulties? I had to use a bit of glue with mine and its still not great, its coming away at the corners.
Bigbear said:benveedub said:wow some amazing polishing going on there!!!
looks amazing 8)
Cheers dude, I got myself a polishing kit from eBay it only cost £12.99 which is greàt value for money when you look at the results. It just goes in the end of a drill , you have a cutting compound and a polishing compound, and roughly 20 felt heads. The more effort you put into the cutting the better the result of polishing.


