Our Camper - Dorothy, 1970 RHD Devon

Early Bay Forum

Help Support Early Bay Forum:

This site may earn a commission from merchant affiliate links, including eBay, Amazon, and others.
Cheers Kev! It's been a long hard 13 months since we met at Volksworld last year! I wonder if my face has the same enthsiasm as it did then haha! Did pop over to say hello to you at Stanford when I got the budget box from Paul but you'd gone off on your travels!

Lovely bus you have there! 2nd time I've seen it (saw it at the one in Malvern last year and again you were away :() now and it looks great!
 
Sorry I missed you Mark, I could have put the kettle on. :D

I was dragging the missus around, ogling some right beauties on the show field.

I can't wait to see your bus in the flesh, it looks awesome.

I know that Devon roof will probably turn out to be the easiest job you do, but do share how you restore the cap in lots of detail...please! That is my (intended) job for the next winter, to rid myself of the ugly JK cap and to get back to the Devon original (in a non-leaky state). :roll:

Kev
 
Great work you and Ronnie are doing and agree that when the bus is all in primer they just look cool 8)
 
Great work and really good to see it on its way :mrgreen:
 
Thats looking 1 million times better than last winter you must be well happy and that bloke ronnie where did you find him 8)
 
having seen, worked on this bus! the pictures do not do it justice! it looks amazing up close! Ronnie and Whisler aka my brother have done an amazing job so far! *with some guidance and help from me* :D


but on the other hand, we went and picked up the interior last night all done and looking fresh! and I must say it looks good! :)
 
KevH said:
privatejobs said:
come on whens the next instalment :lol:

There are folks out here getting withdrawal symptoms. :lol:

What's the latest update? :?:


Will slap him tonight and make him do it! I know where it's upto and I'm just excited to see all the feedback and kind words Whisler will get once he does the update!

I just want to post a picture! :D
 
So due to (un)popular demand it's time to update!

Since the last installment we have all been bloody busy on this!

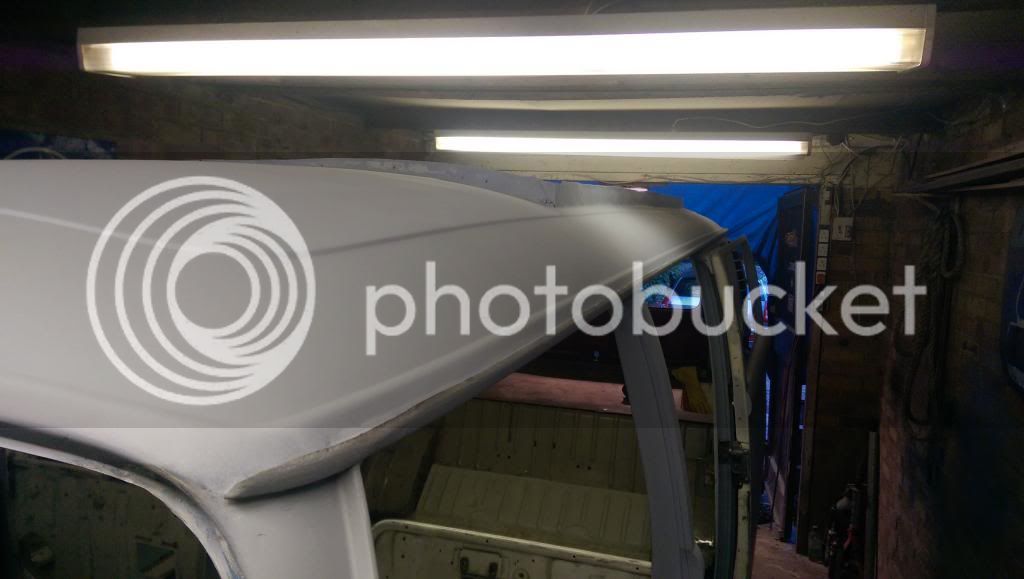
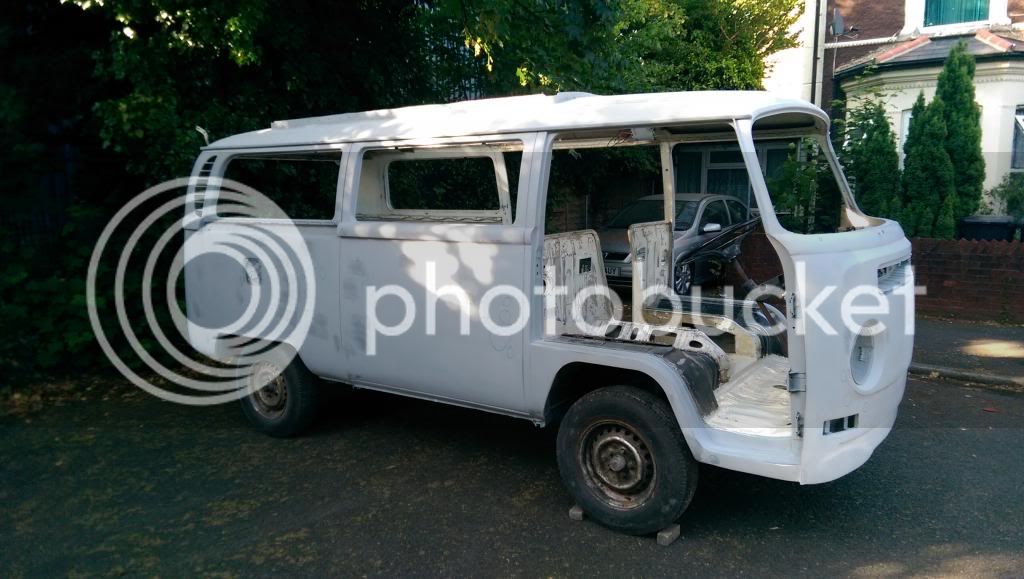
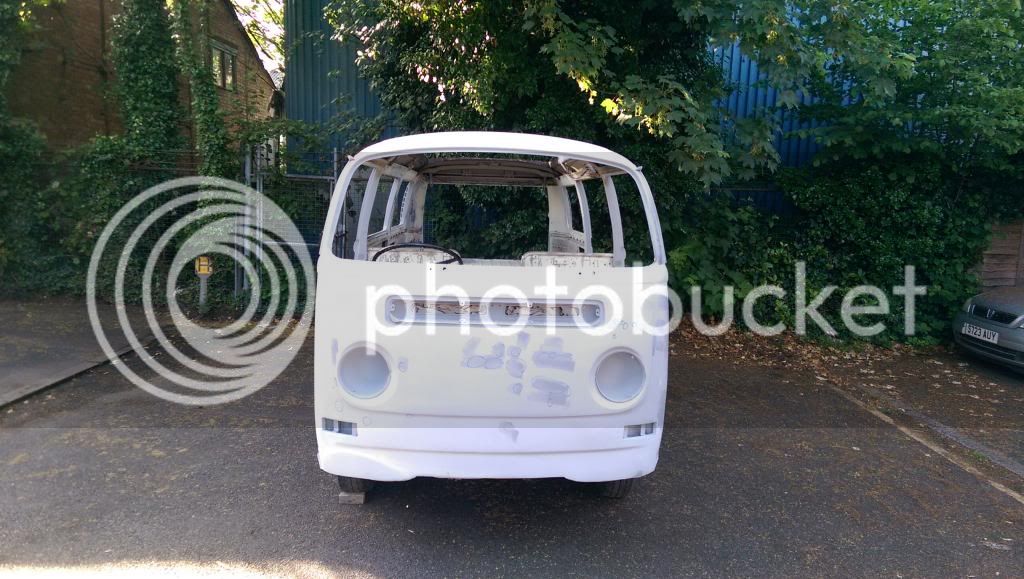
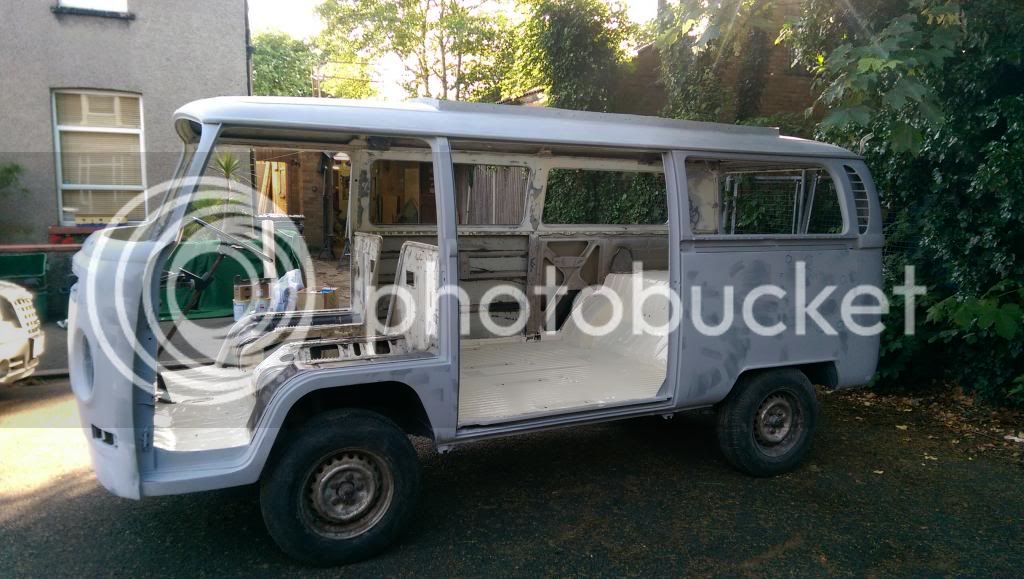
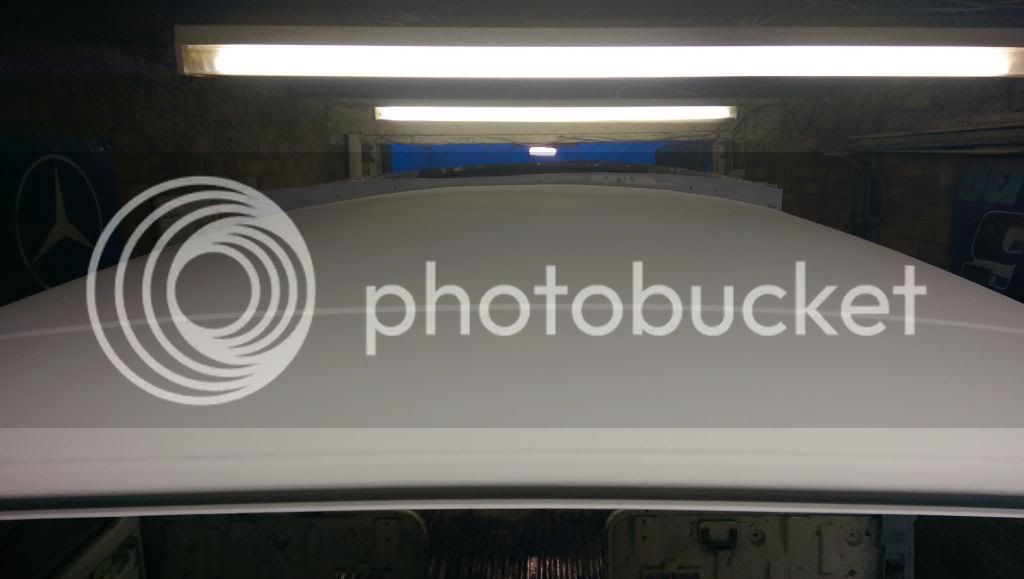
Once the bus was in primer I had a quite small but large list to do. I had to flat the roof down, clean, sand, seal the inside of the bus, clean up the engine bay and finally swap the rear end from wide to narrow 5. I am sure there were loads of other things but at the moment I cannot remember! So I got about sanding the roof down. Some of it came off really easy other bits were a pain in the ass. After spending a couple of evenings doing it and getting it what I thought was flat....it wasn't...so in the end I ended up more or less taking the hole thing back to metal.

After what felt like a week of sanding I etch primed the hole thing.


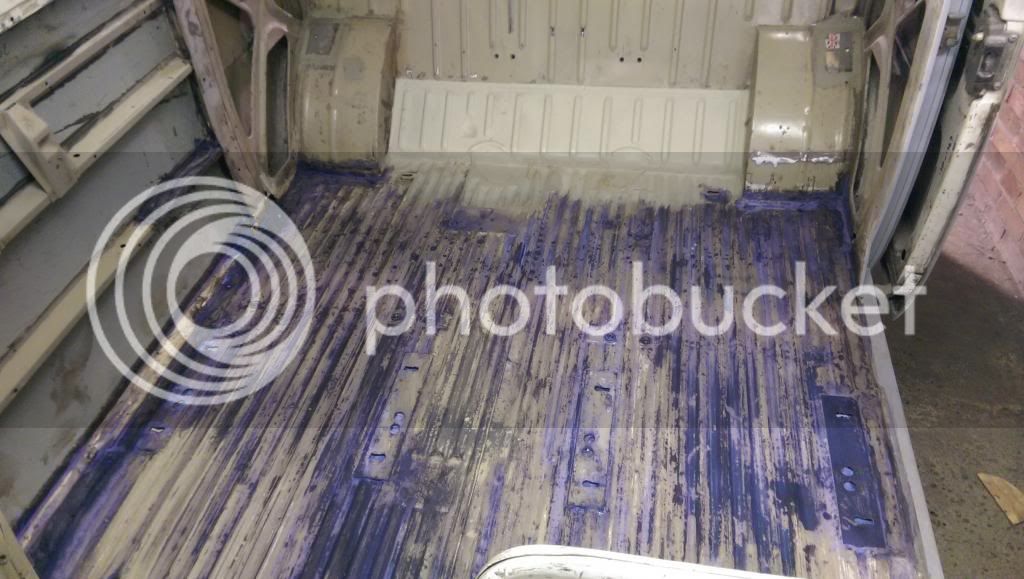
After again sanding and wire brushing I rust treated everywhere inside.


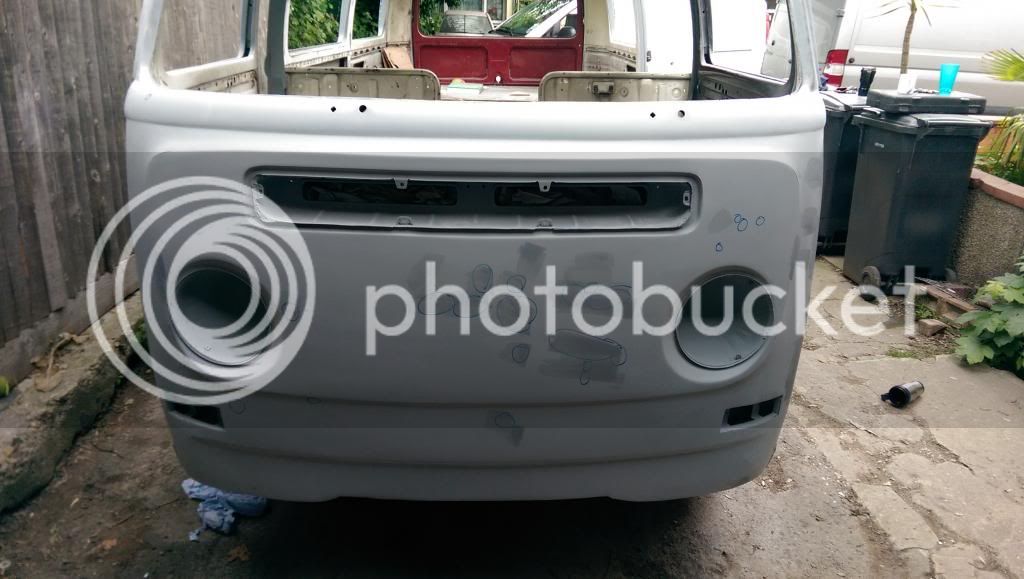
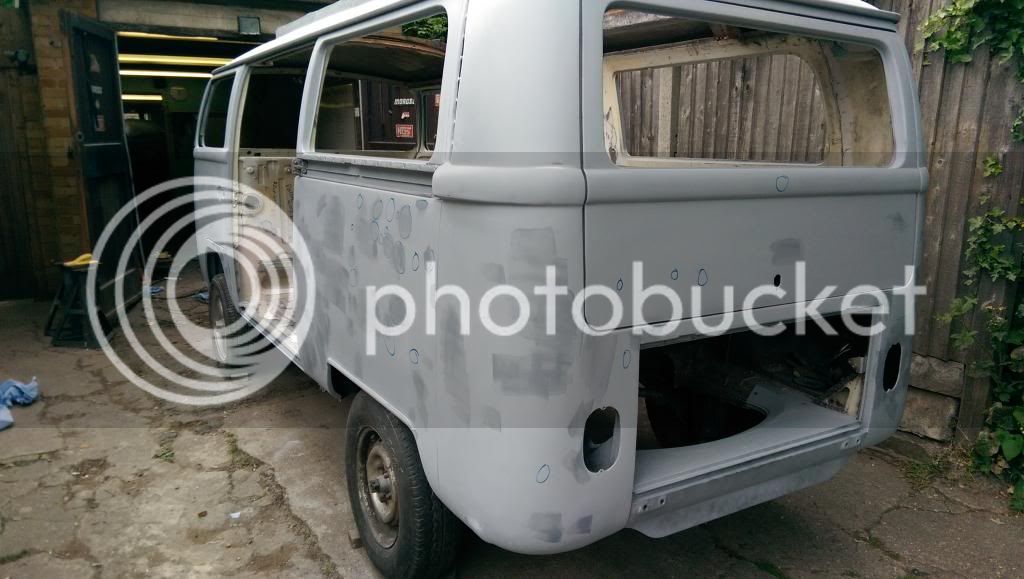
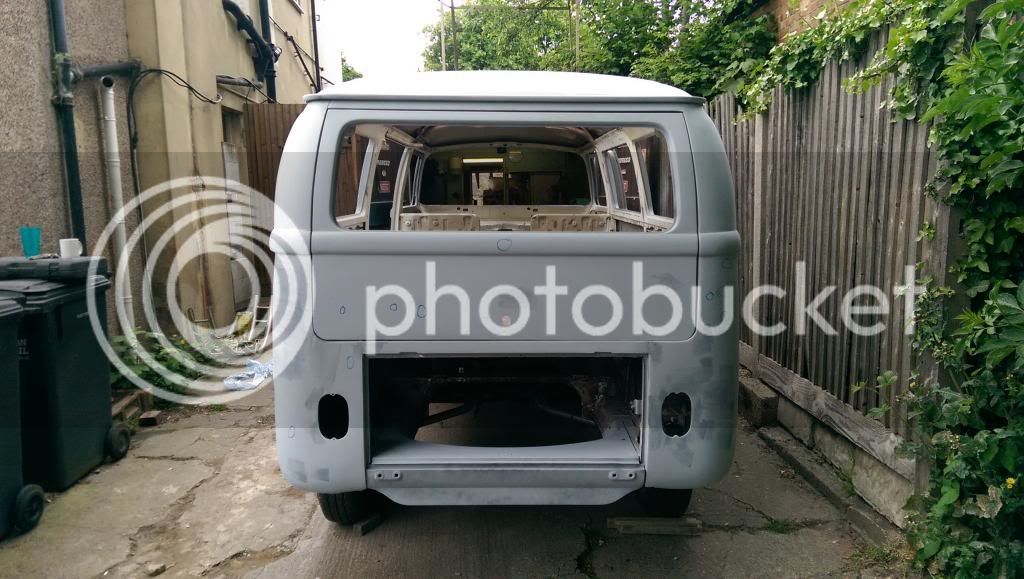
Ronnie was back round to flat the bus down for hopefully the last time! Then it was my job to find all the lil pin-holes so I circled them! I quite liked the bubble look to be honest.
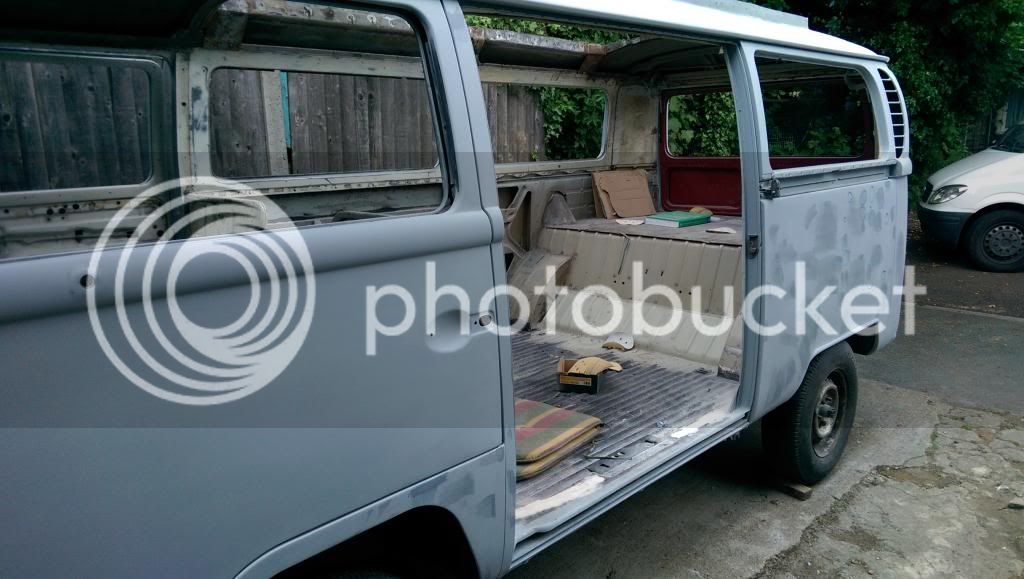


In the week it was time to swap over the rear hubs etc. Off came everything and on went new shocks, drums, backing plates etc. Along with new torsion bar rubbers, my existing spring plates and hubs and spindles obtained from MattP. Then the narrow 5 wheels I had picked up bloody ages ago :lol:
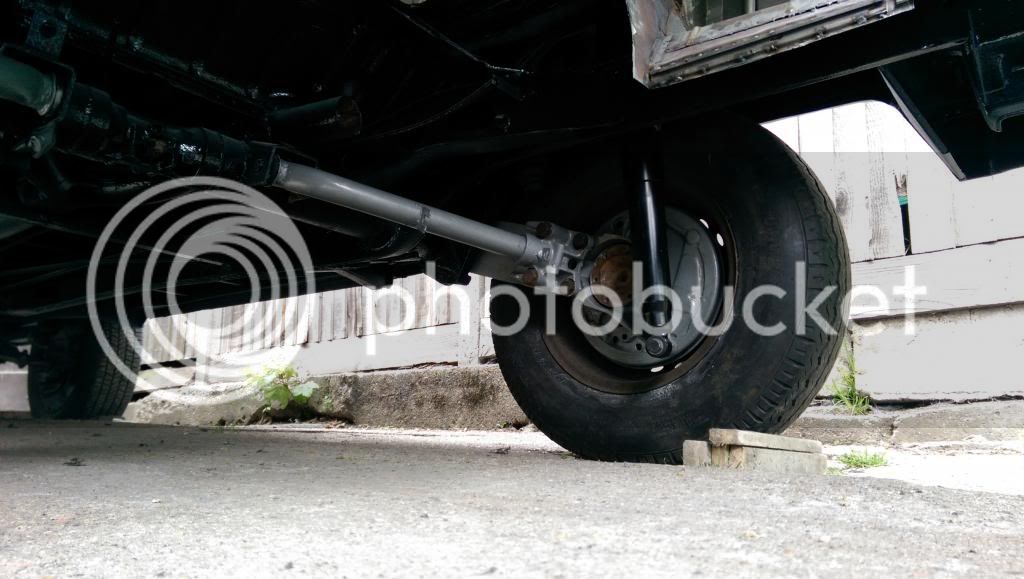
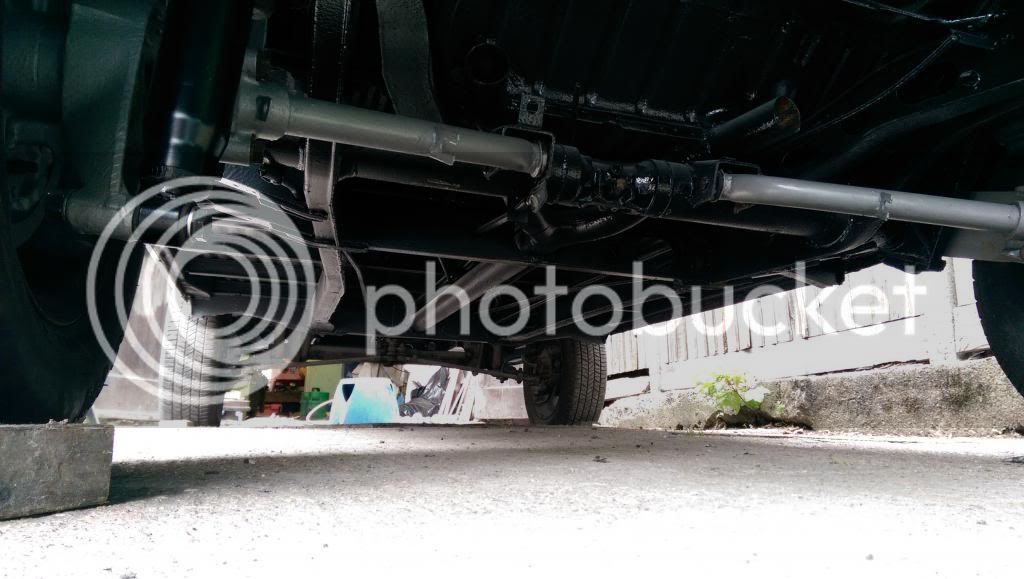
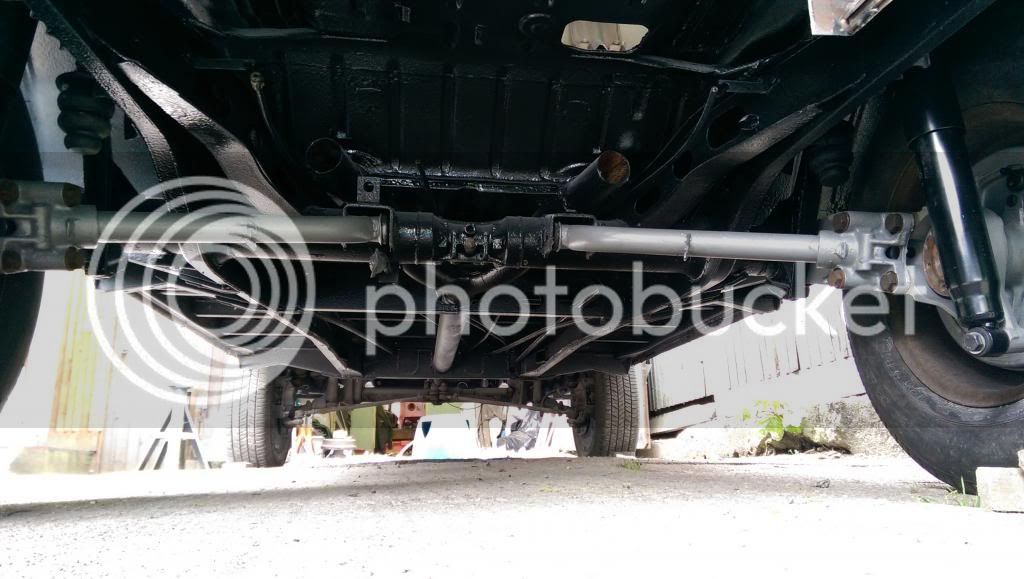
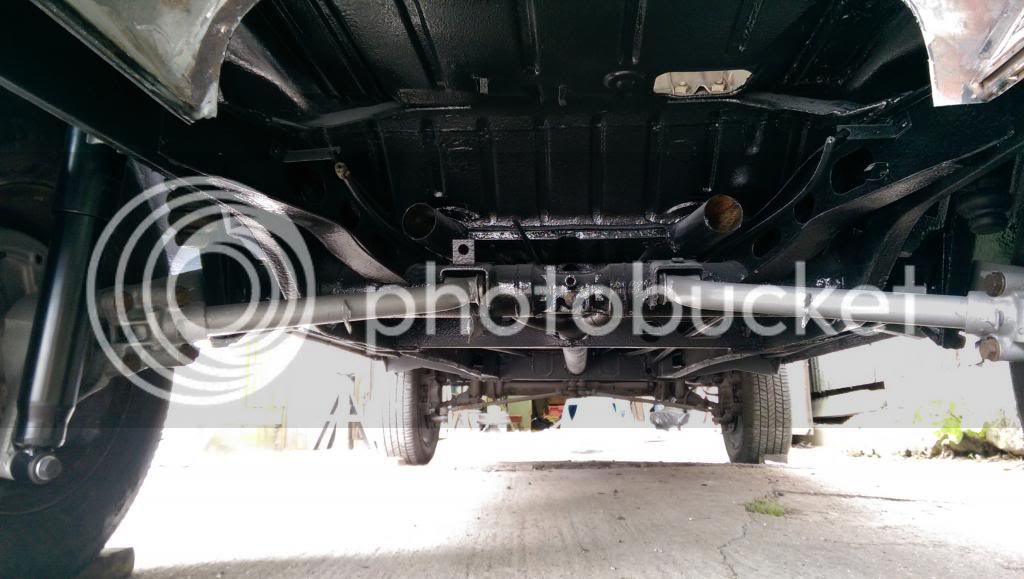
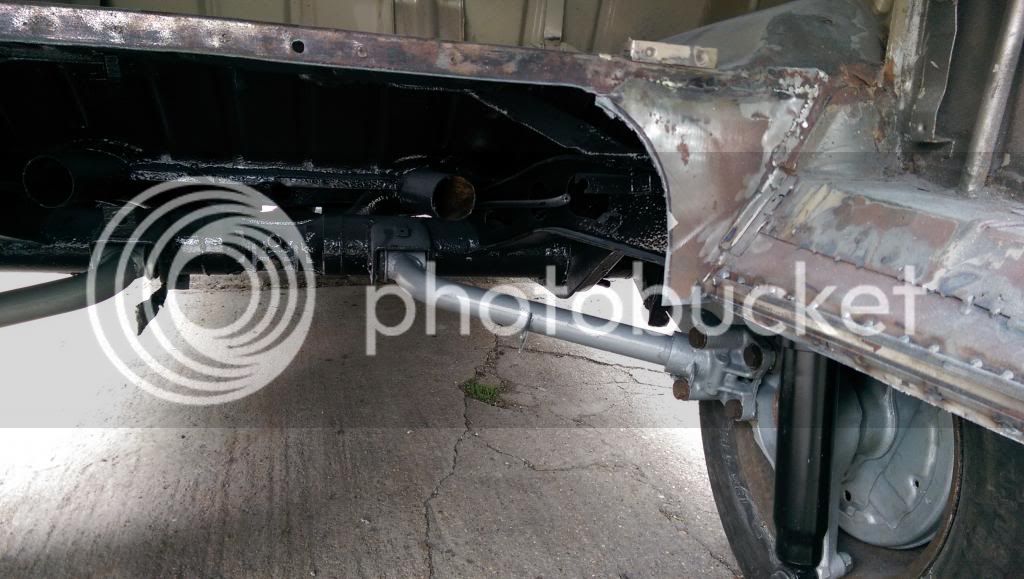
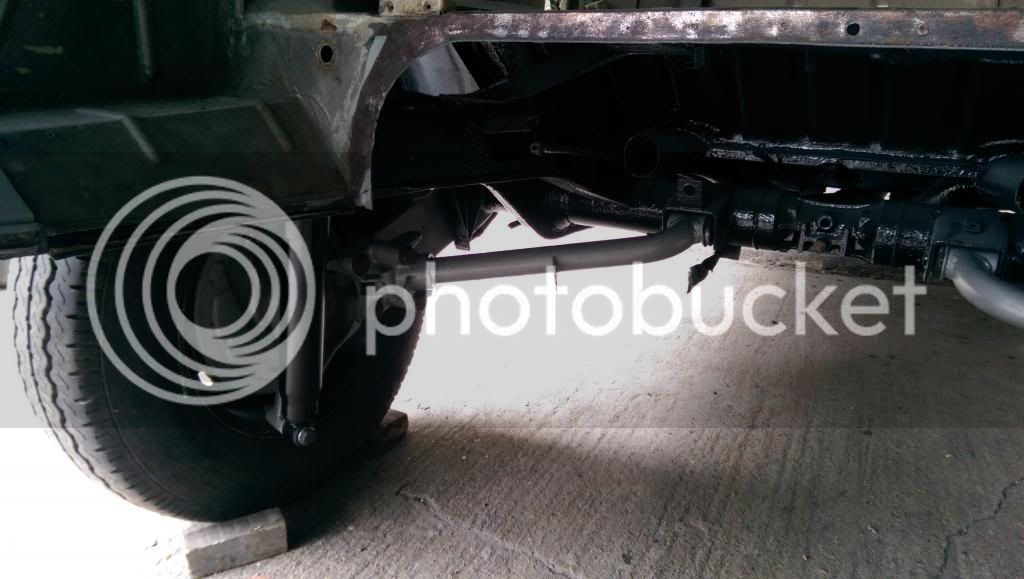


Really happy with how the underside looks :) I need to touch up a few of the areas in black with a brush but otherwise it looks so nice and clean! One thing, I found some new shock bolts but I couldn't find any new hub nuts and bolts. Anyone any ideas where to get them from? Thinking about it, I cannot remember looking on Heritage etc now :?

I still have the front beam to paint but that won't take long and then the underside is finished with!

After that there was a rare day when I could help Ronnie do something! So off I went to help him with his engine in his bay window. Then I went down for a couple of days to Whitstable where my girlfriends brother has a house after working a 100 hour week! And I went to see this.
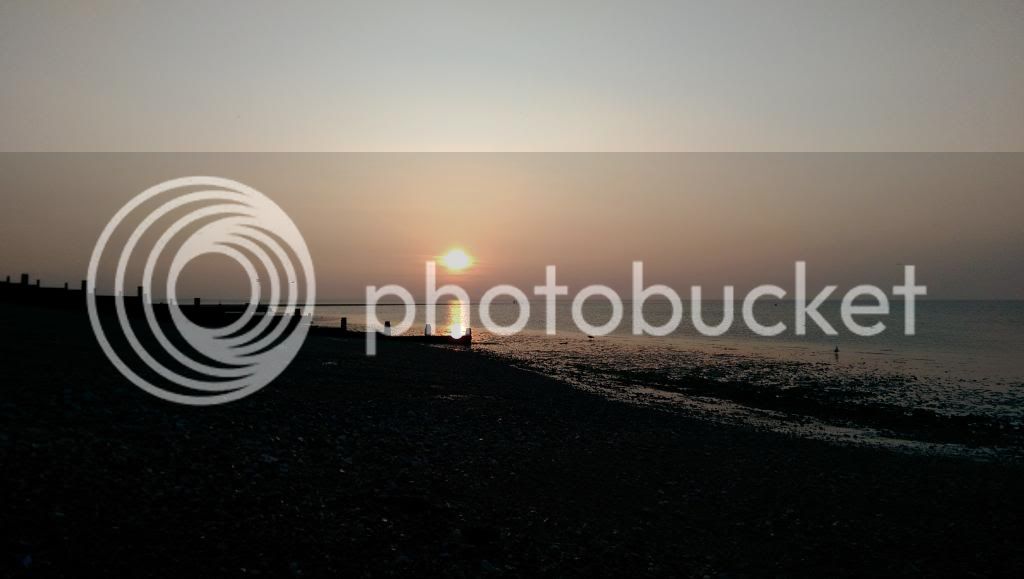


Lovely isn't it.

On the Tuesday it was my birthday :party0003: And I got a lovely new CSP shifter for the bus :D :D (isn't in yet though!)

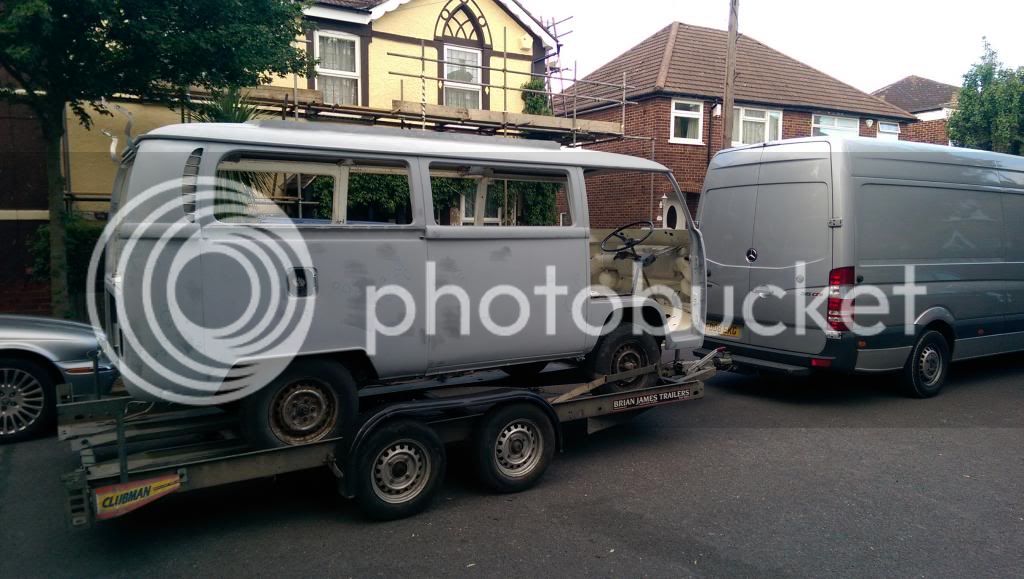
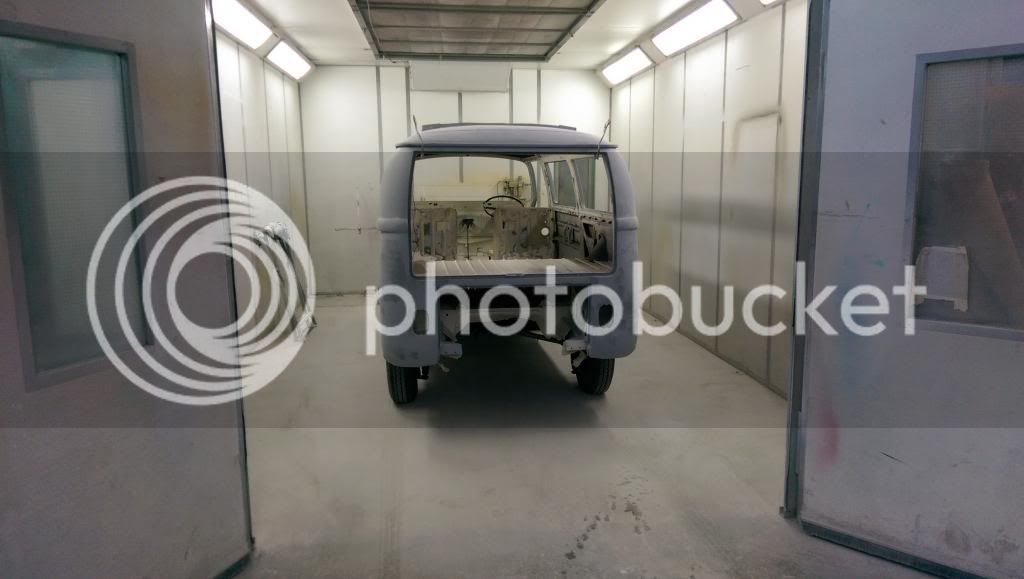
Now obviously we knew what was coming up, you lot didn't obviously :lol: But Friday of that week it was time to paint! So I had Tuesday (when home) until Friday 5pm to get the inside cleaned up further and floor painted and generally the entire bus ready to go in a paint booth. Looking back on it, I know we were doing 8ams-midnights but considering we have never done any of this before I am really impressed we made it.

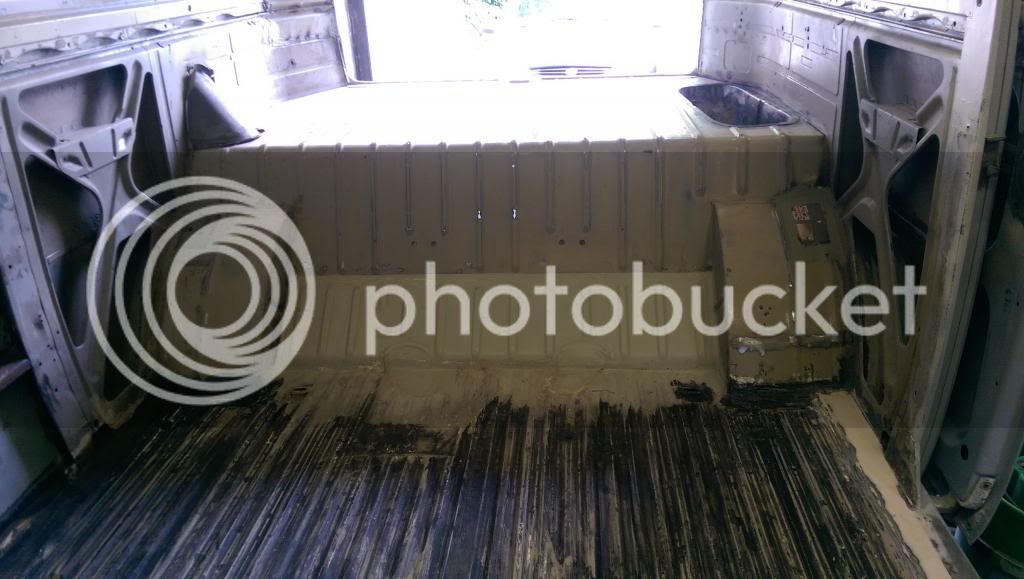
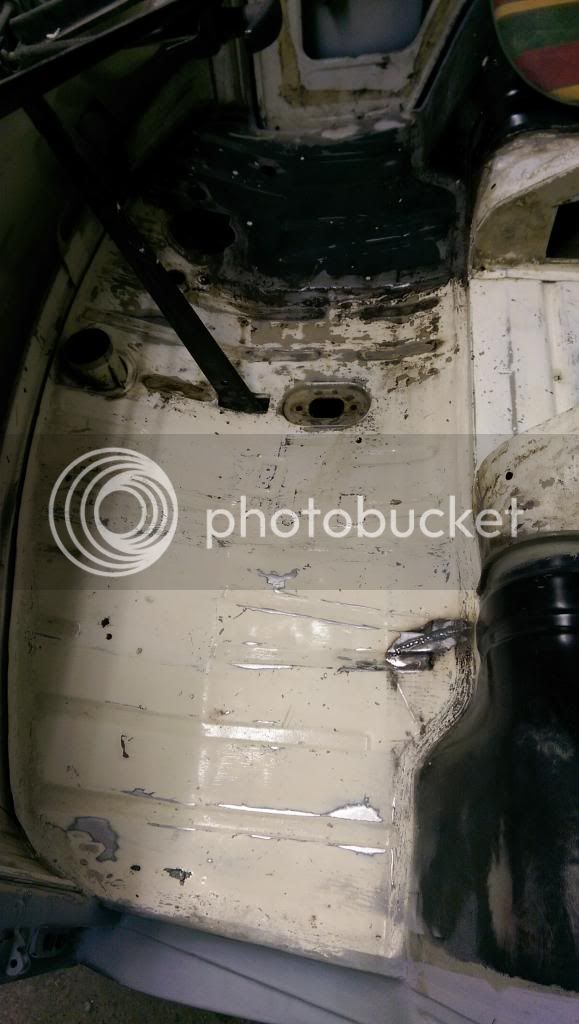
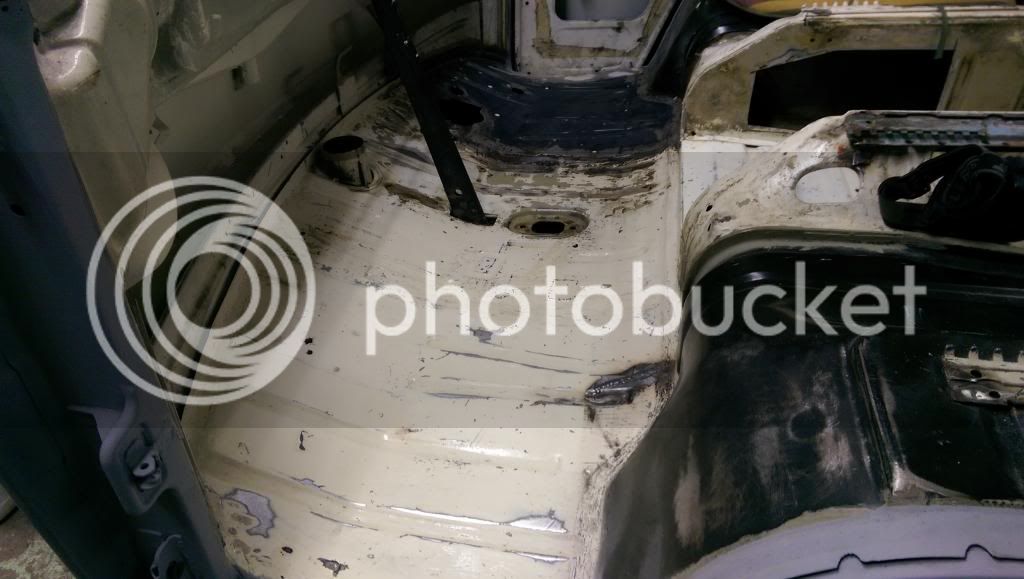
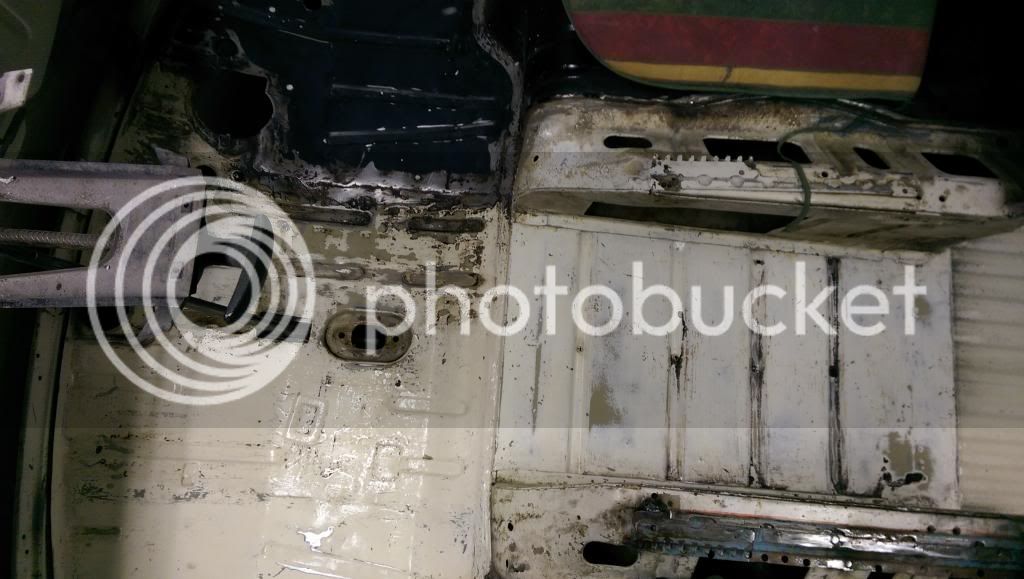
First up was cleaning over the engine bay and the cab floor. Also sanding down the cargo floor a tad to key ready for paint.

*Phone Call*

Ah, the sofa man is going to be early! I've got to tidy up so I'll have to finish this later :oops:

Gutted really, was looking forward to posting the pictures of the bus all painted and back home. Oh well, you'll have to wait a little longer :)
 
Great story and soo looking forward to the next installment............. just make sure it's not to long please ;)
 
The sofa arrived, lovely it is too! Managed a couple of hours on the bus as well so not a bad day all in all. Well it was awesome as I wasn't at work!

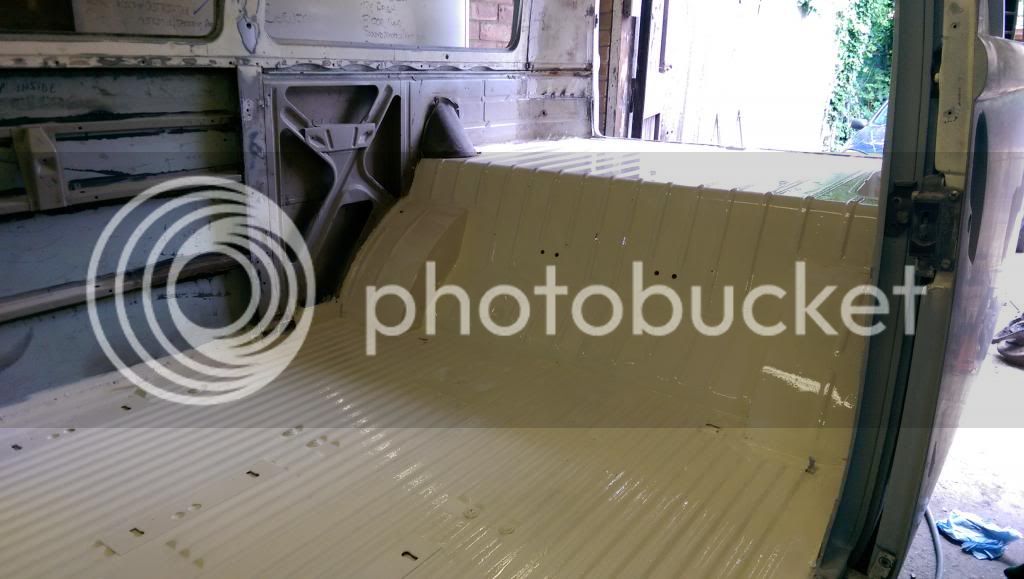
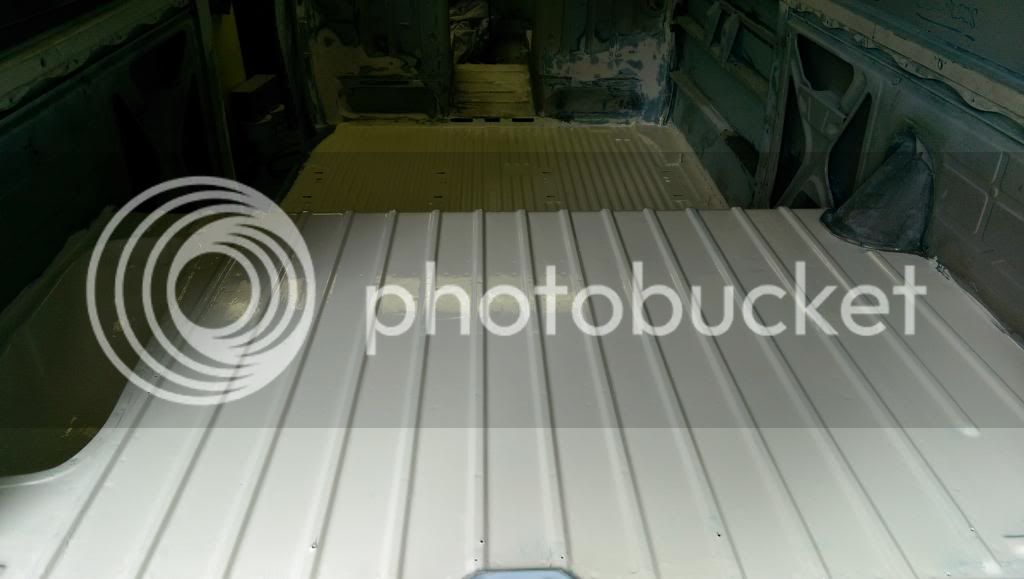
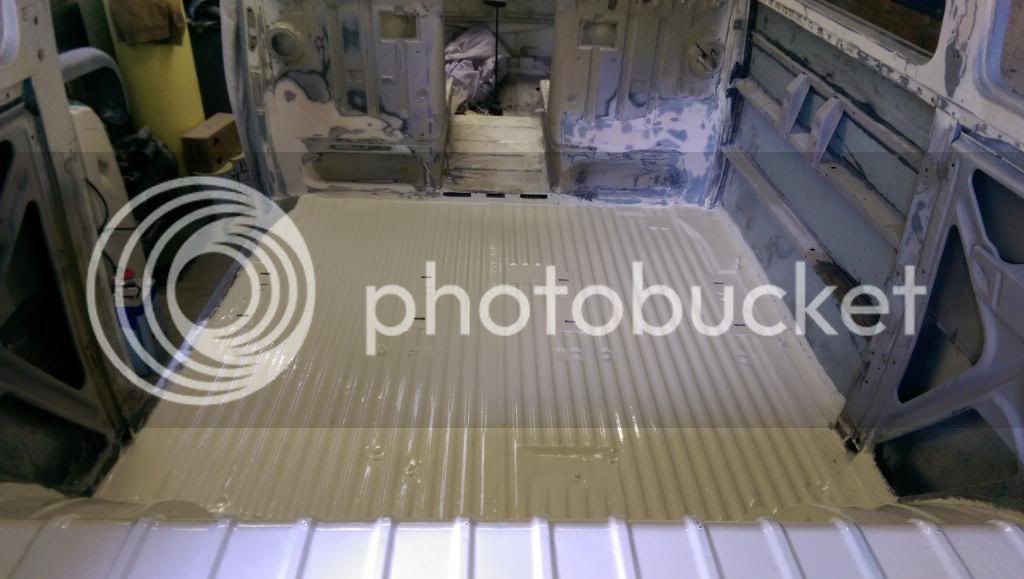
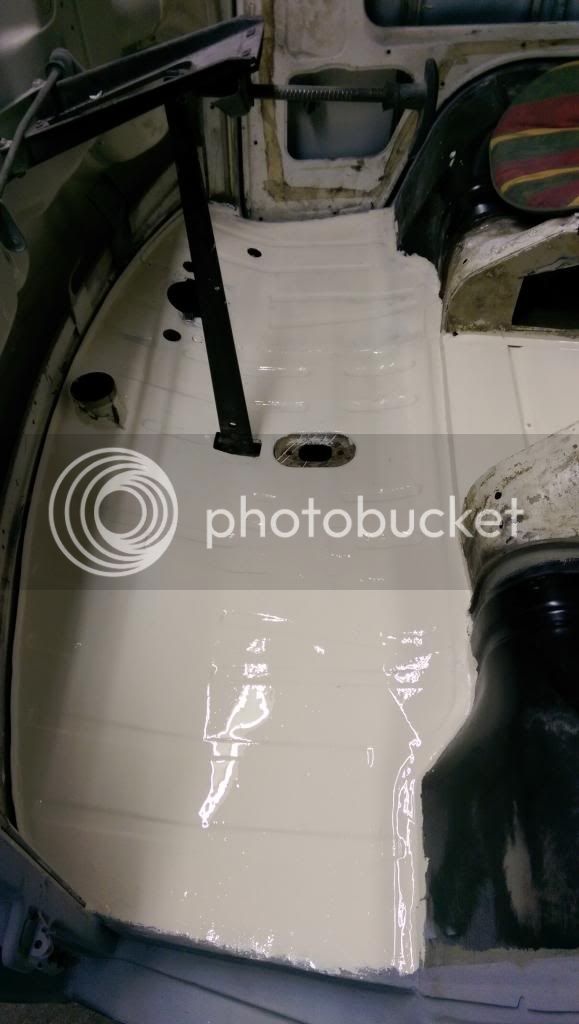
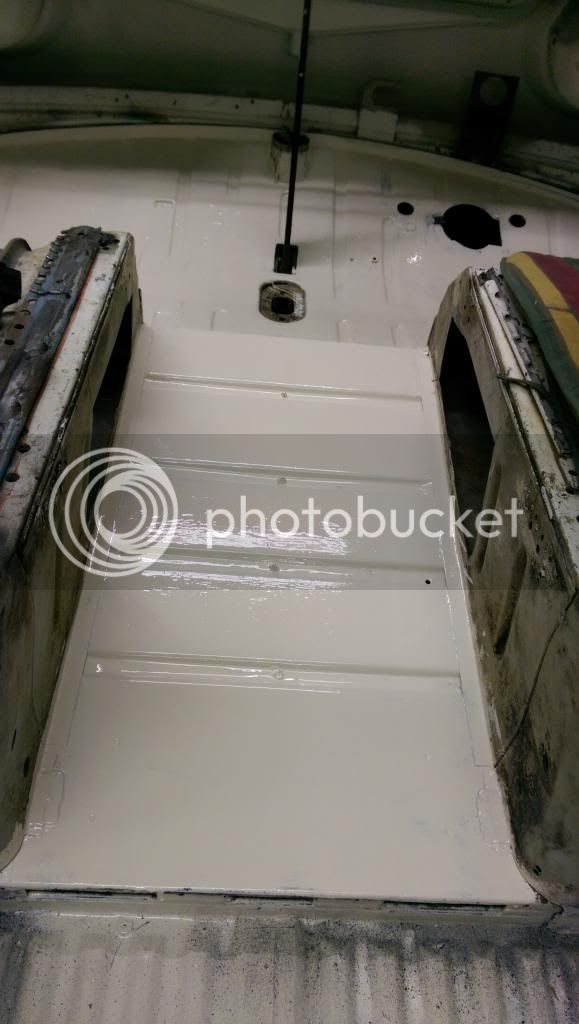
Back to the bus, next up (I think it was in this order :? ) was the floor. We had already sanded, degreased and rust converted the floor. Ages again we had planned on using rustoleum inside but that was changed to the floor only and normal paint being used on the bits you would see. I won't ever use rustoleum again as it reacts with everything and anything...After the rustoleum I planned to stone chip over the engine bay and rear wheels for a little extra sound proofing. Unfortunately it reacted badly so had to stop.


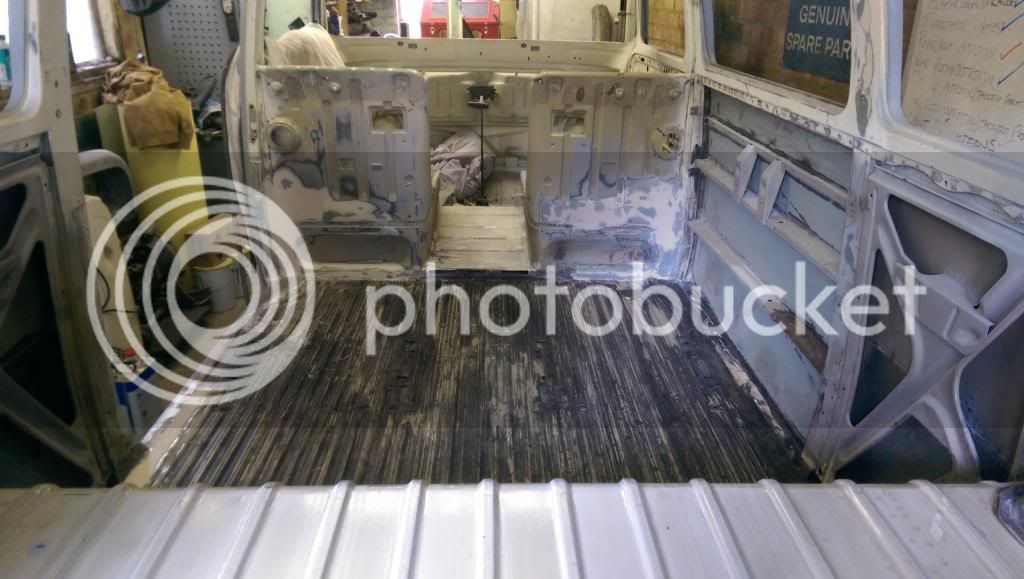
Oh yeah, I also did some filler work on the bulk heads where we had replaced metal really early on in the resto and it didn't look so great. So that took me bloody ages as well, not body shop quality obviously but I am happy with the bits we will actually see once all the interior is in.


You may see that I also cut out the bit under the seat through the walkthrough. Decided that would be a great place for a fire extinguisher or two or something else :) I have some trim to go round the outside to neaten it up and ensure we don't cut ourselves.

So that was the floor all done and looking pretty nice. But again, I won't use rustoleum on anything else. We thought it was something in the stonechip that makes it dry quick but it even reacted with the 2k as well. Fortunately there will be sound proofing over the area it reacted but it just pissed me off as that bit was one of the rare bits we hadn't needed to touch (repair wise). Oh well, live and learn eh?

And another thing, it takes 8 hours until you can 'handle' it and it takes 16 hours before you can re-coat. Over 48 hours later it was still wet...this was all done at the end of May where it was 20+ degrees as well, I could have understood if it was December and 3 degrees...

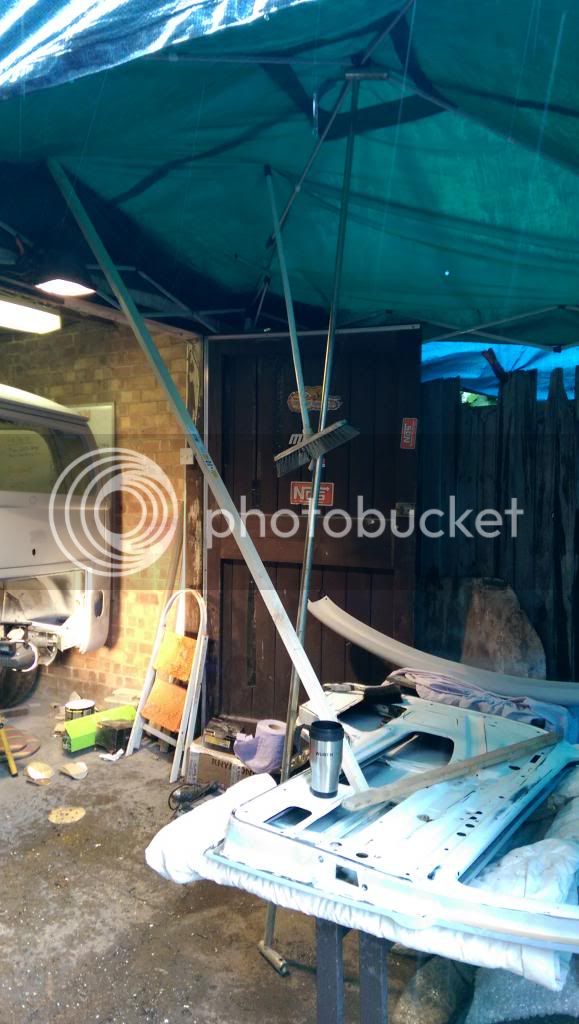
Then it pissed down, and my makeshift car port cover needed suring up :lol:


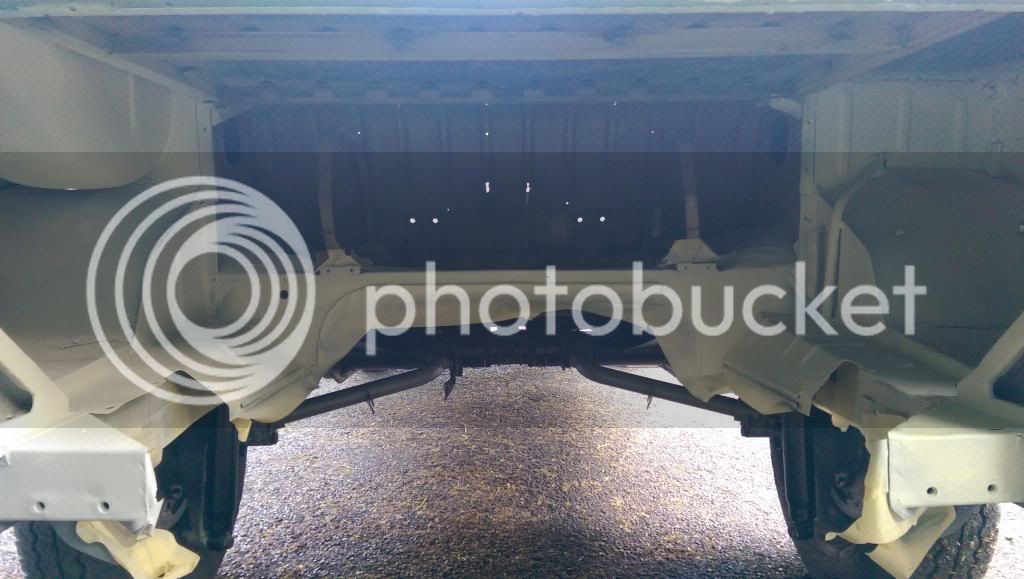
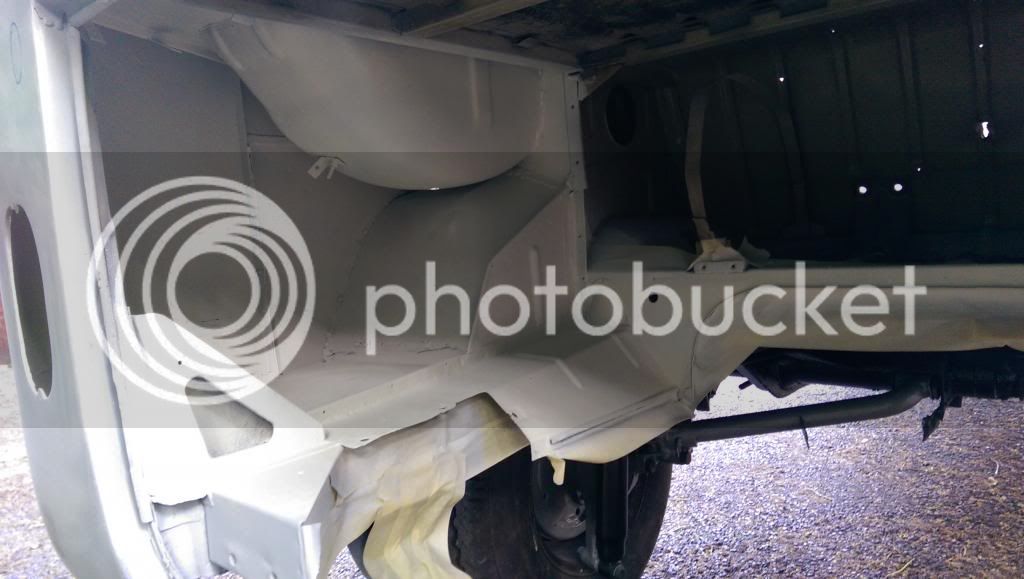
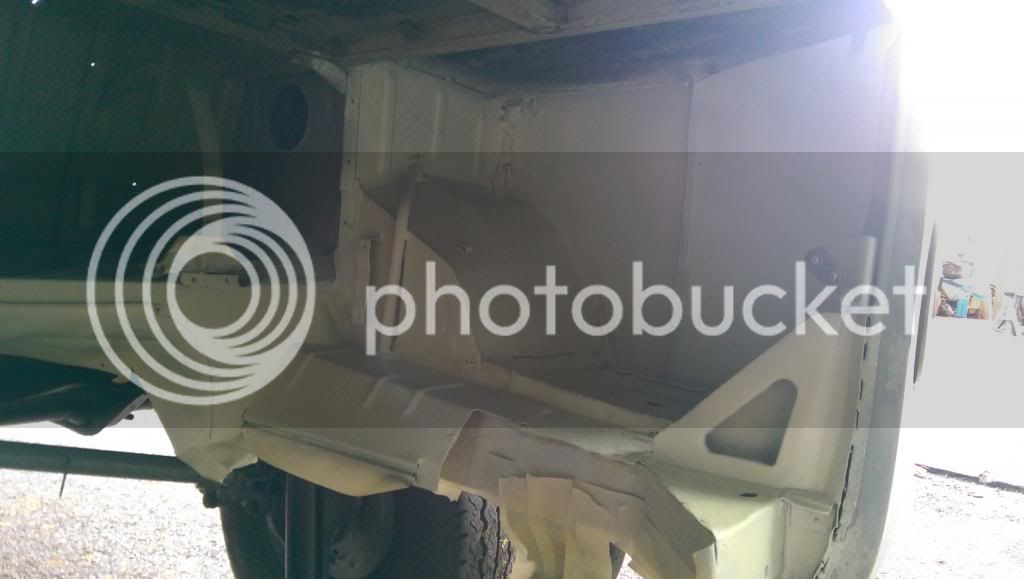
One of my other jobs was to clean up the engine bay. Particularly around the corners as there was so much work done (in hindsight I should have got new corners from Autocraft but by the time they had come out/or I had noticed them we had nearly finished with them both, and Ronnie had spent what felt like a week getting them to where they needed to be). So out came the rust proofing stuff, degreaser, filler, sealer and stonechip once again. All in all I was really happy with what I did considering I definitely rushed it due to Friday evening fast approaching. Also stonechip covers so many ugly things :lol:

Maybe I should be thankful to the rustoleum as I now had 12 cans of stonechip with nothing to use them on. So inside the engine bay it was! I also used a couple of cans inside the corners where the vents are to try and seal the metal up as best as I can. No idea why I didn't take any photos of the engine bay, maybe because I was in a rush. So hear it is all done.


Even the seal channel that I had to replace came out really nice in my opinion.

Then this happened...


And again time has escaped me and today I do have to go to work :(

More later!
 

Latest posts

Top