- Joined
- May 22, 2009
- Messages
- 519
- Reaction score
- 2
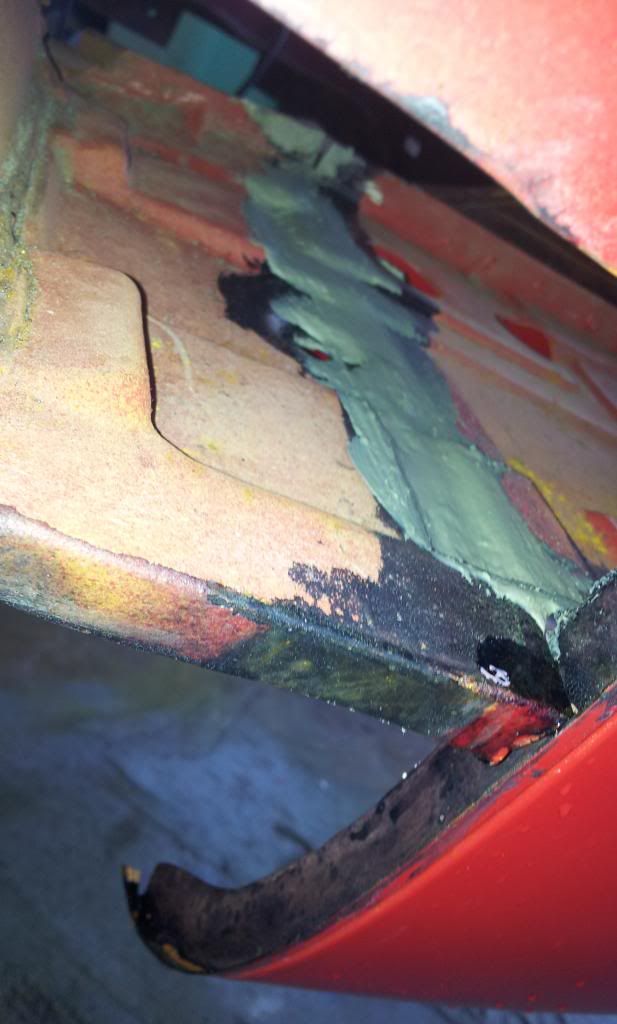
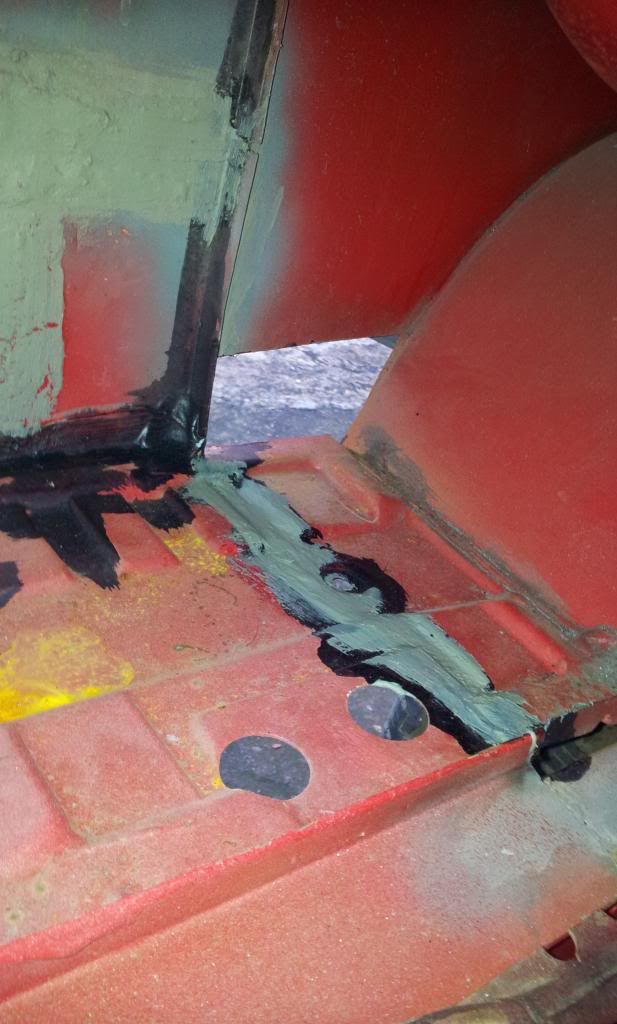
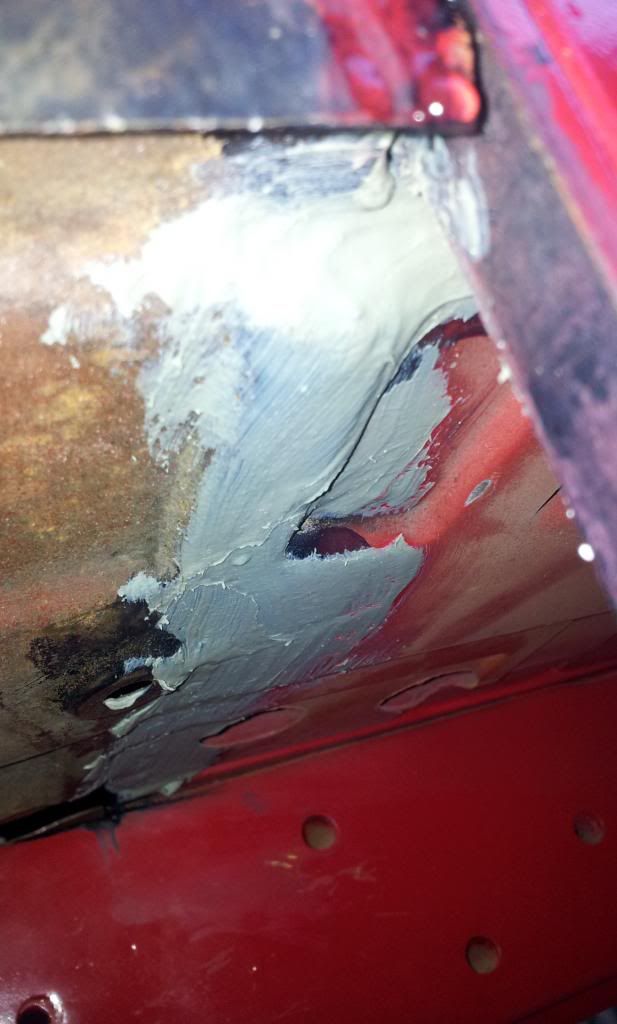
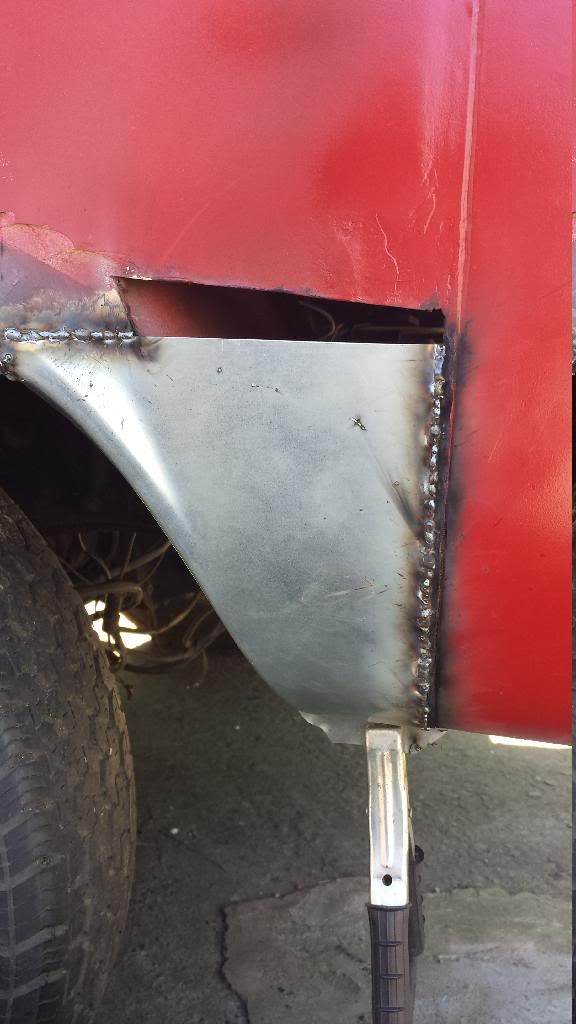
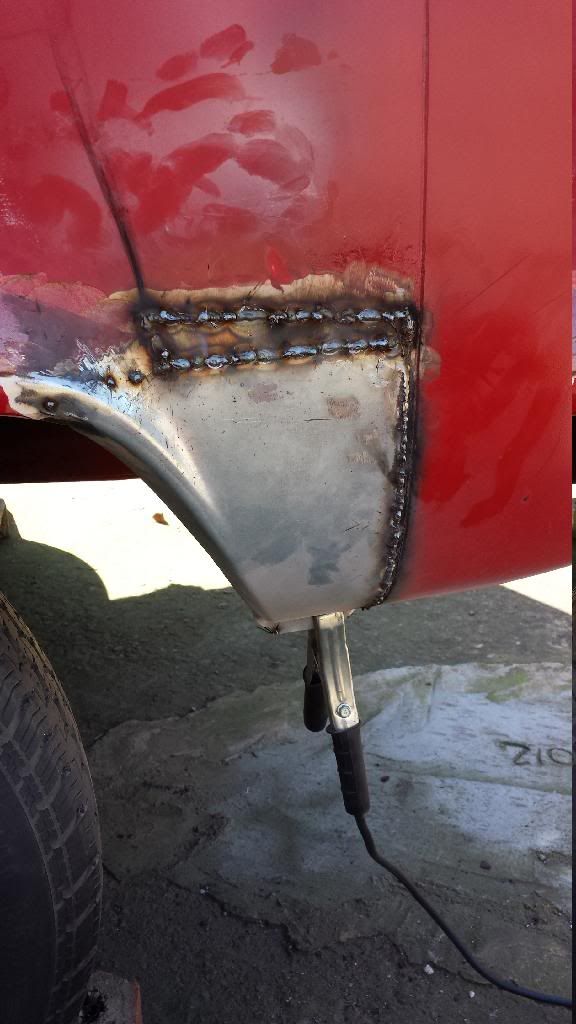
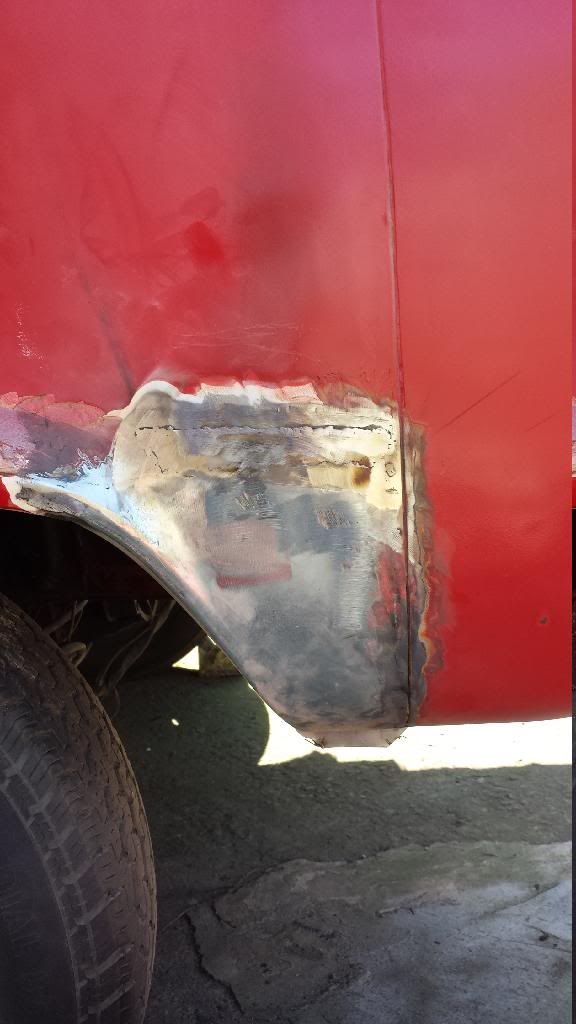
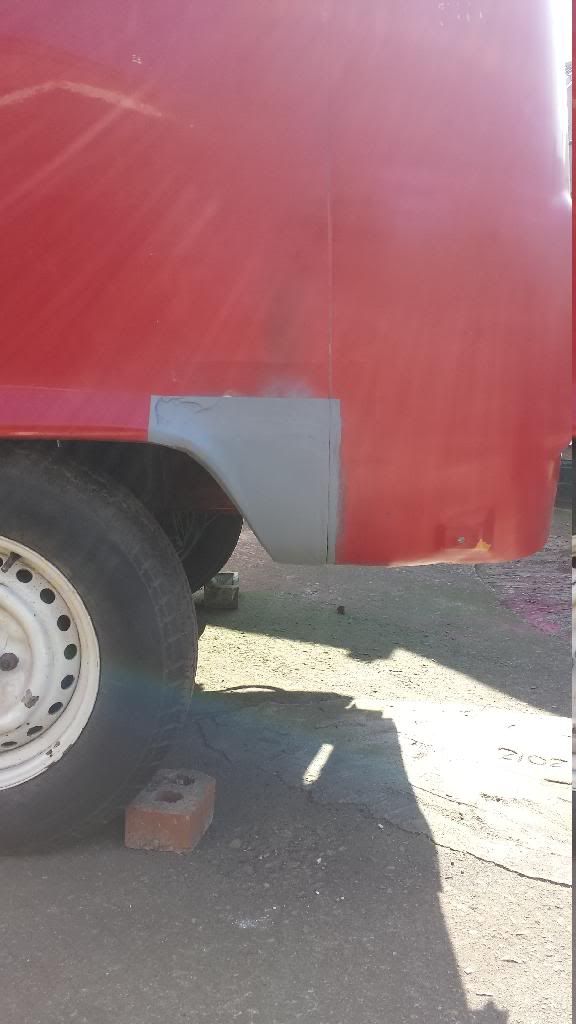
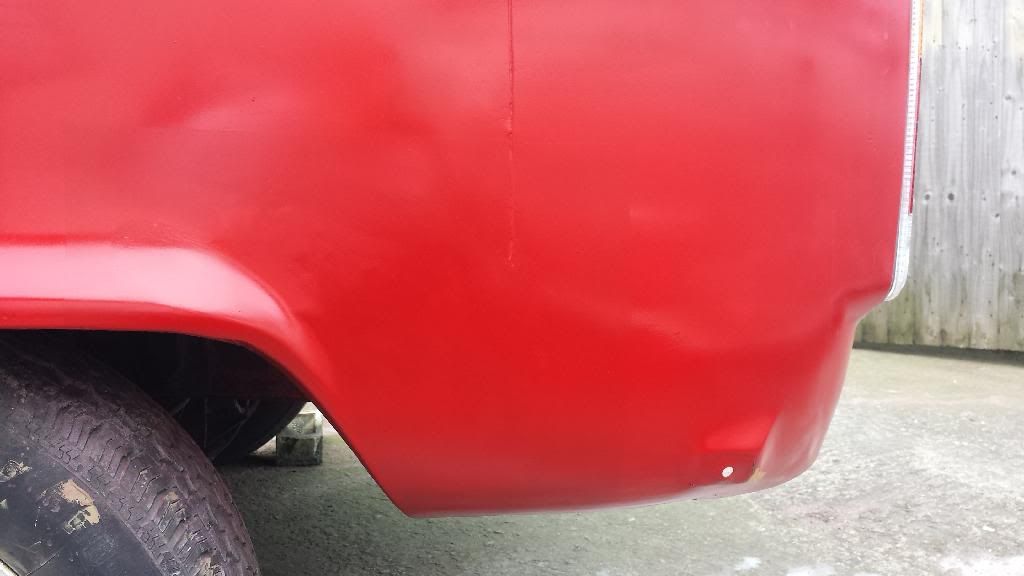
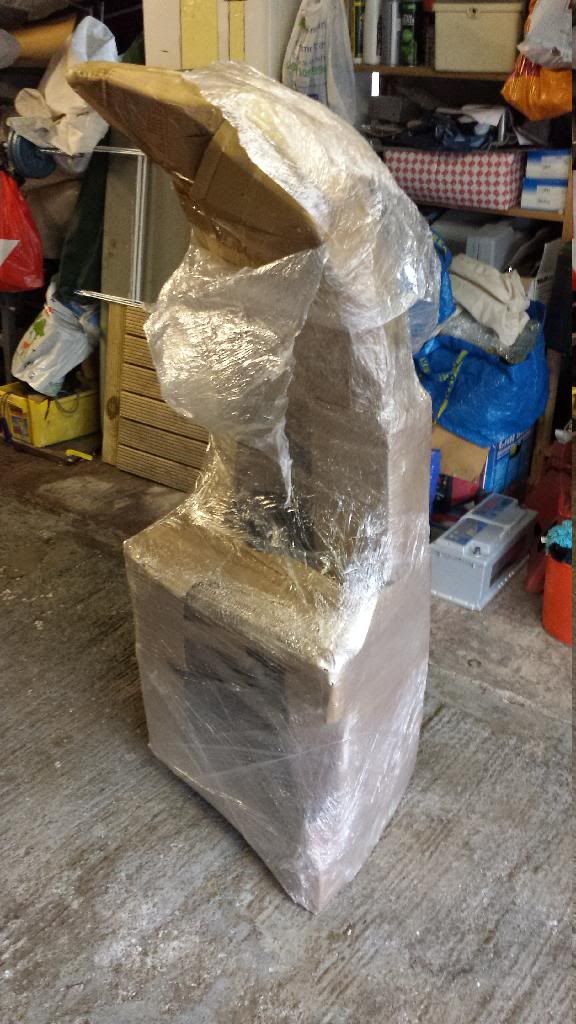
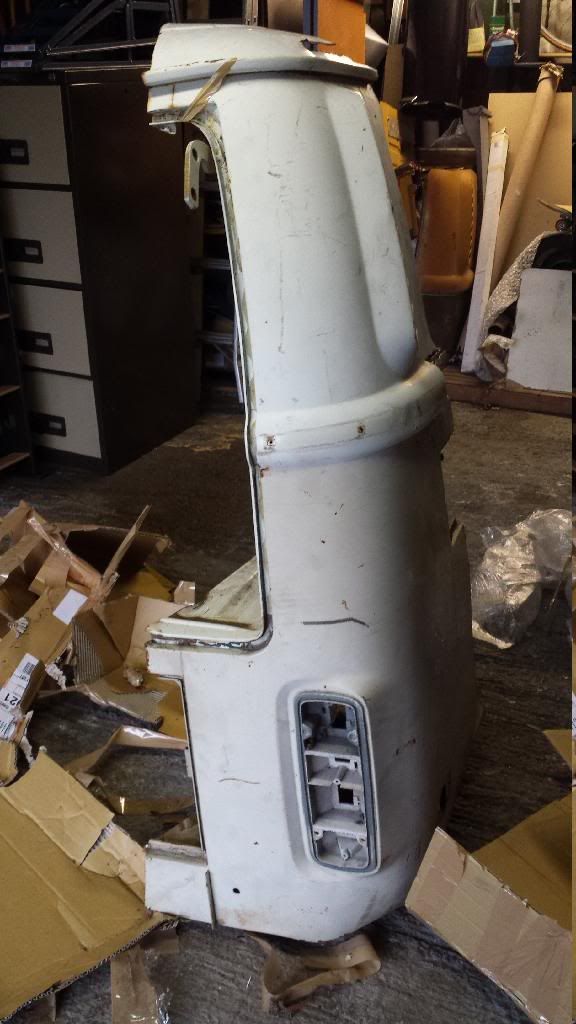
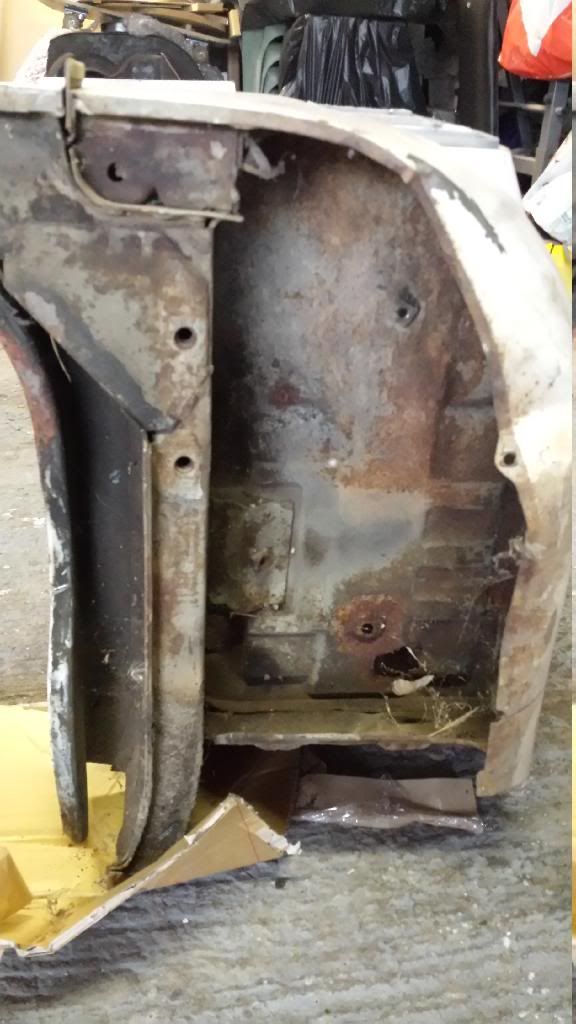
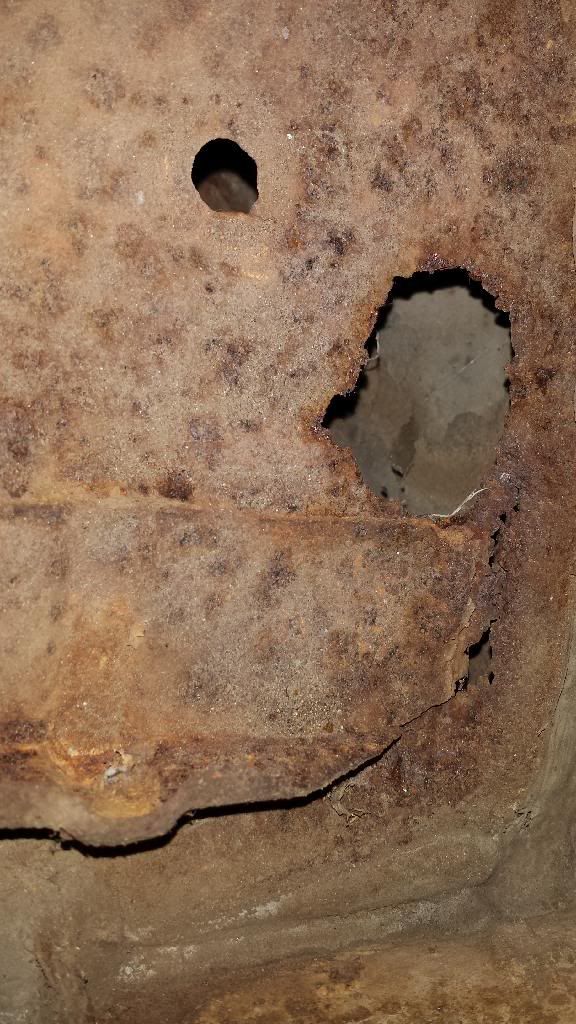
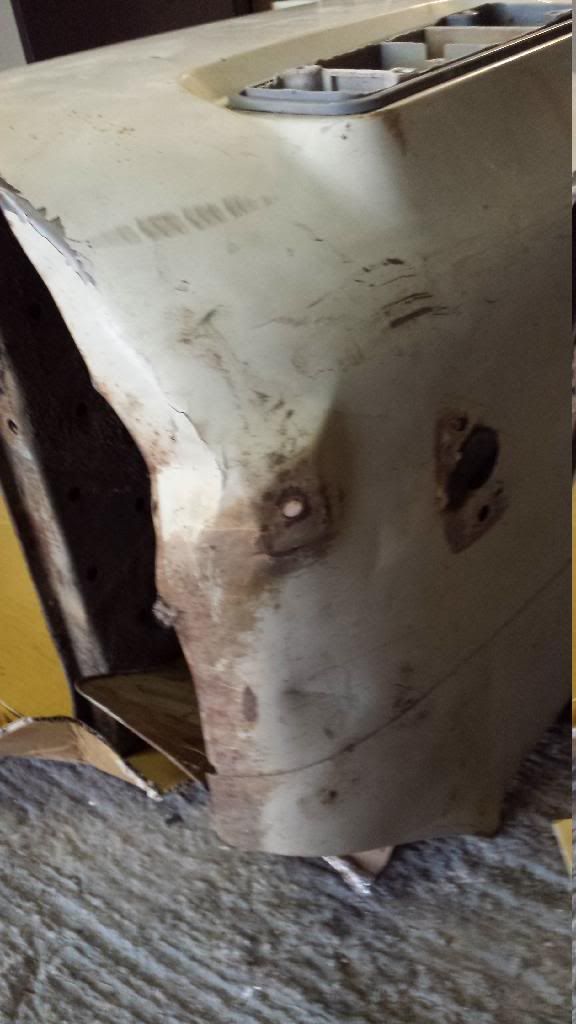
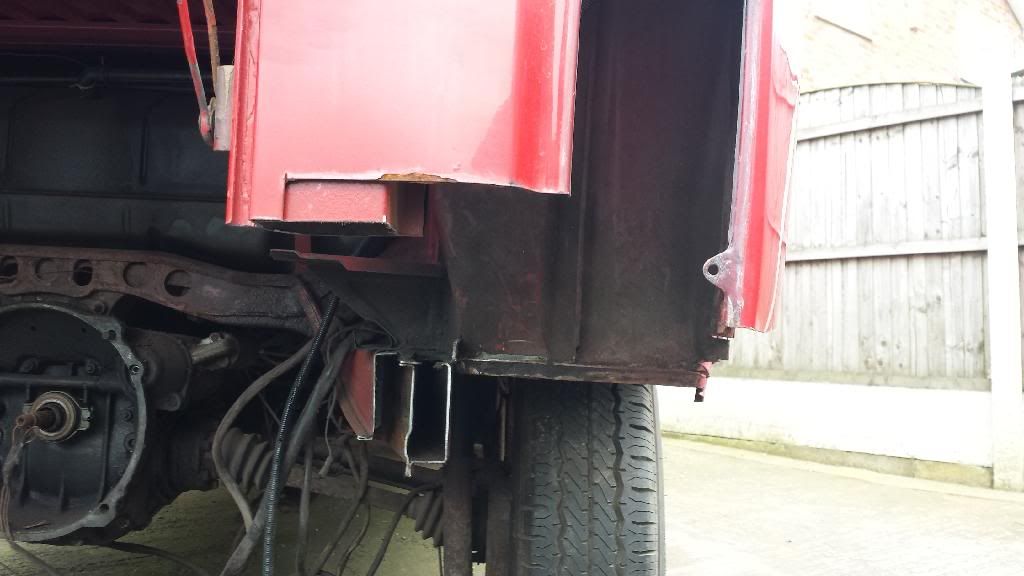
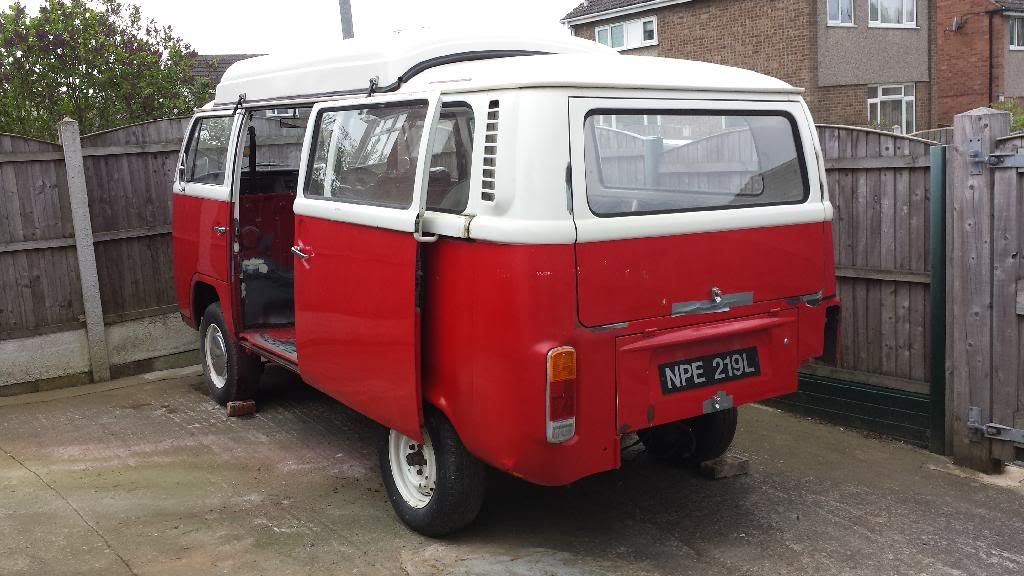
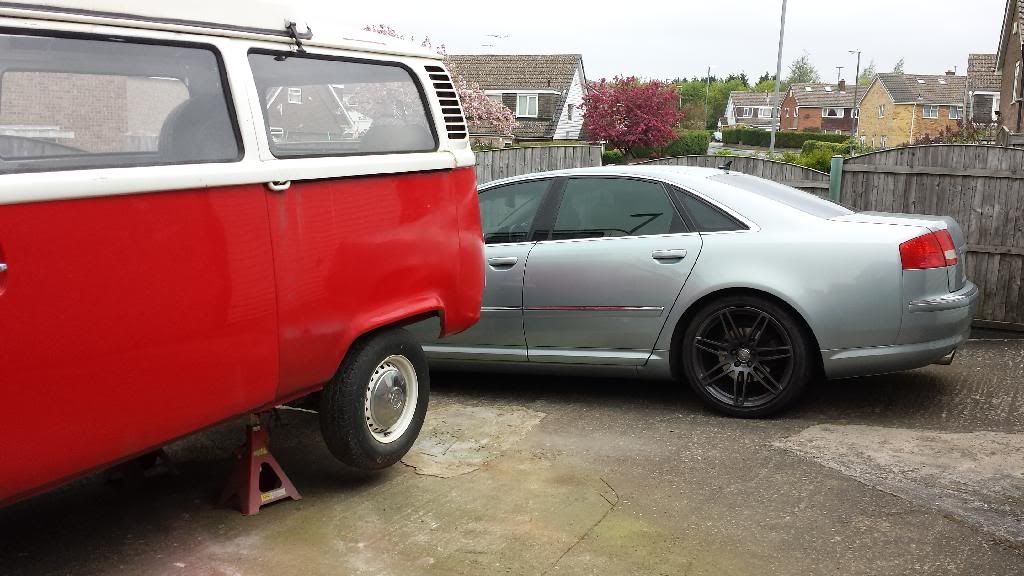
Hi there, Good to see you are making some progress and I'm not the only one who's been doing this for 4+ years now 
You have some nice looking work going on there so keep at it!
You have some nice looking work going on there so keep at it!