You are using an out of date browser. It may not display this or other websites correctly.
You should upgrade or use an alternative browser.
You should upgrade or use an alternative browser.
Progress Pics - Dormobile X-Over
- Thread starter gninnam
- Start date


Help Support Early Bay Forum:
This site may earn a commission from merchant affiliate
links, including eBay, Amazon, and others.
- Joined
- Oct 26, 2010
- Messages
- 3,247
- Reaction score
- 17
- Location
- Leeds
- Year of Your Van(s)
- 1971
- Van Type
- Panel
Nice to see the early stuff too, nice one Andy!
Time fly's and all that :shock:
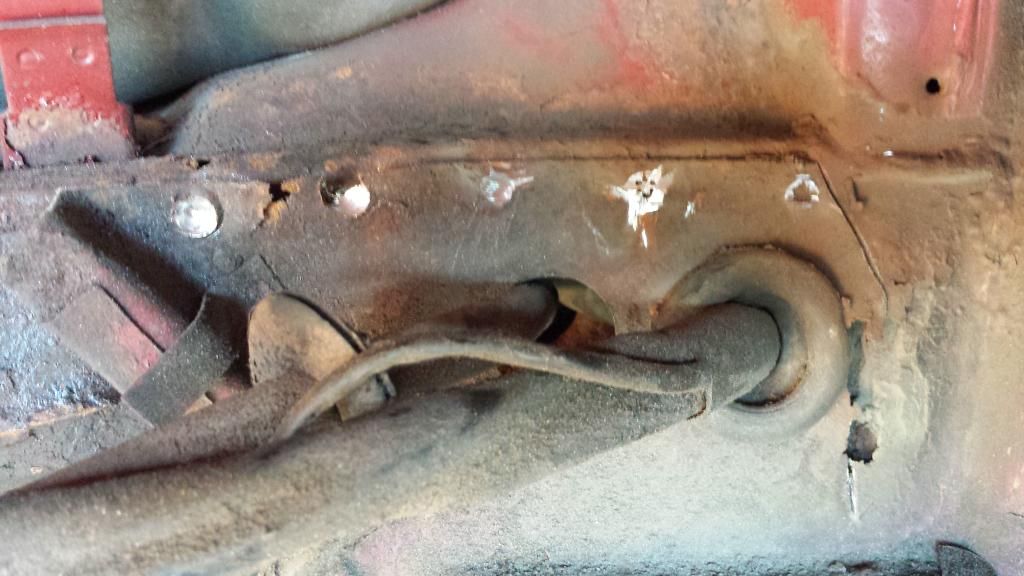
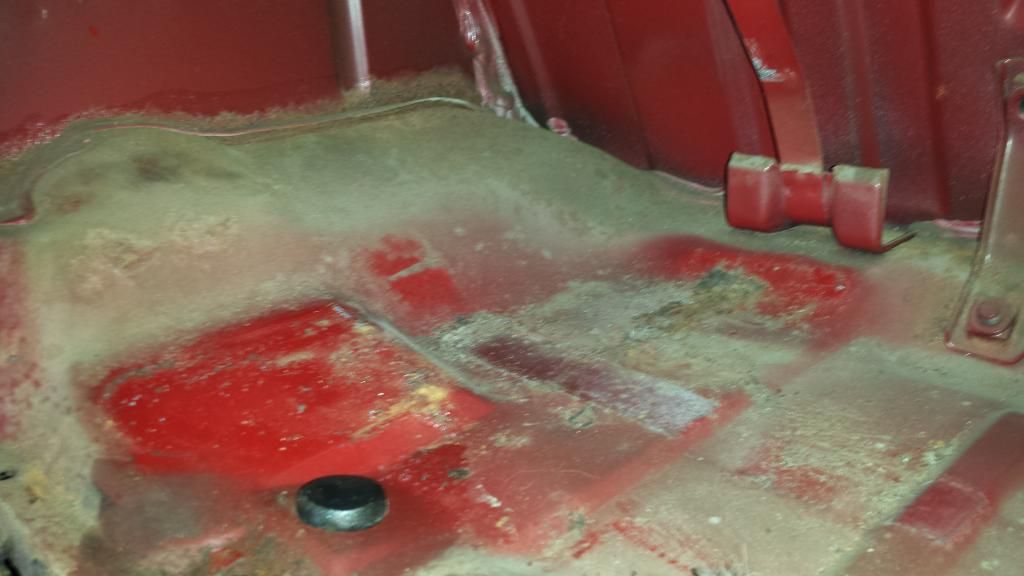
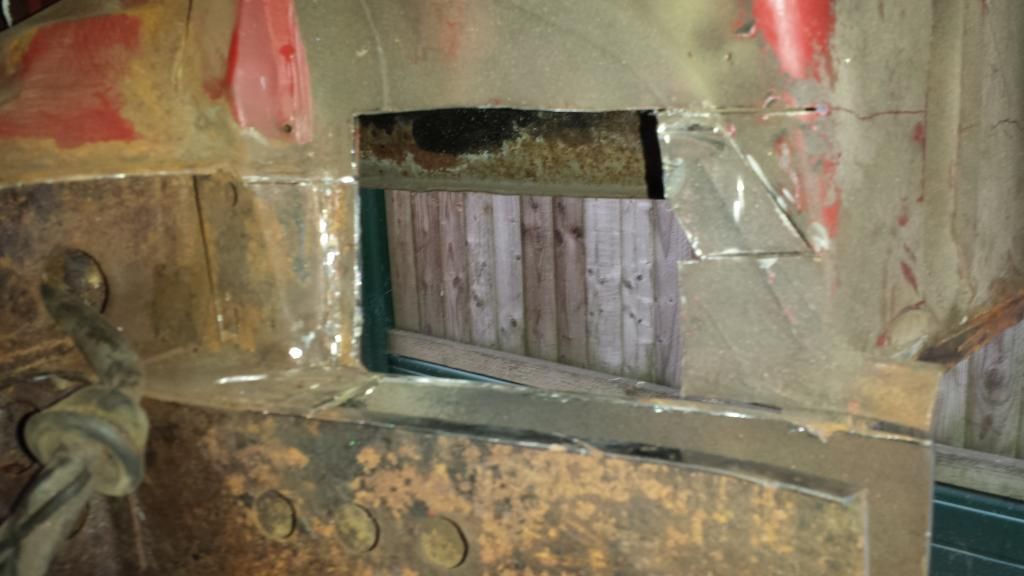
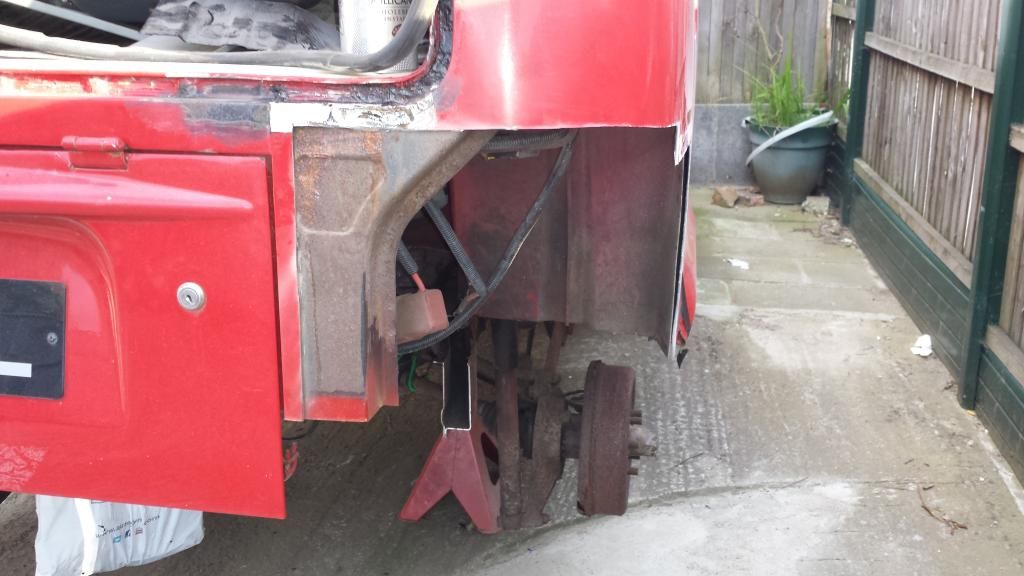
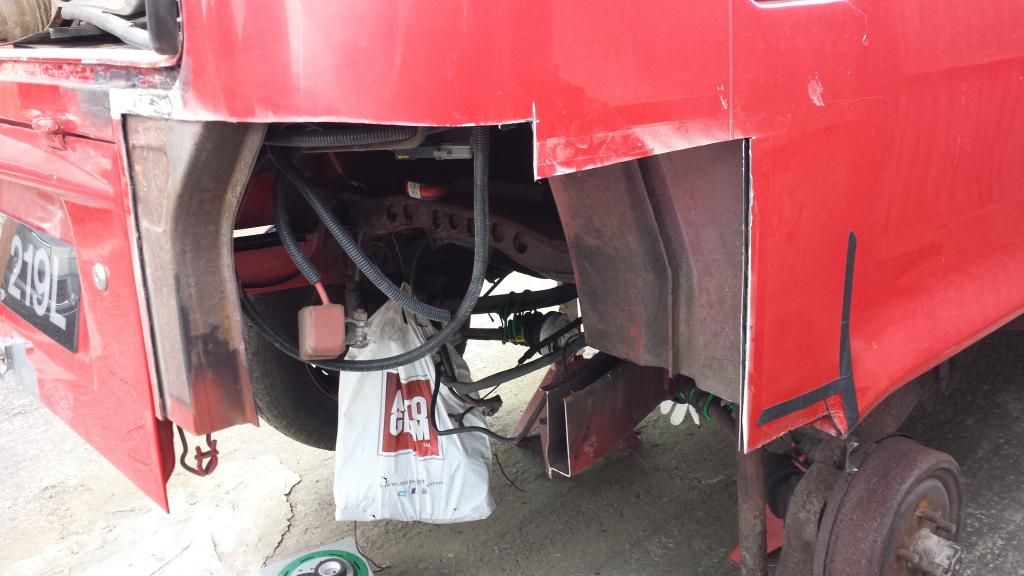
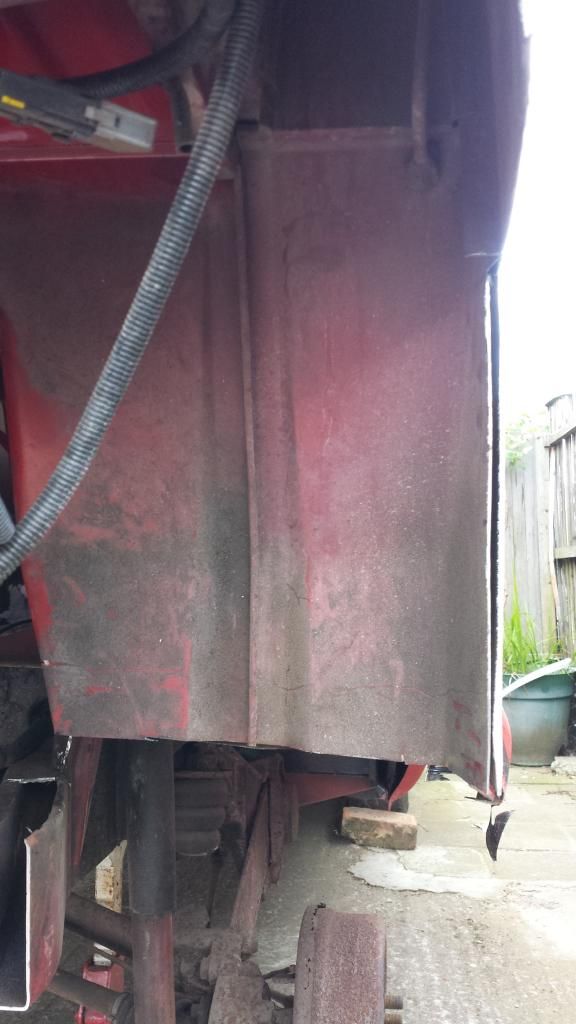
Working in the engine bay, off-side chassis area removing metal which is past it's best and hoping that what is under is OK (which it looks to be") )
)
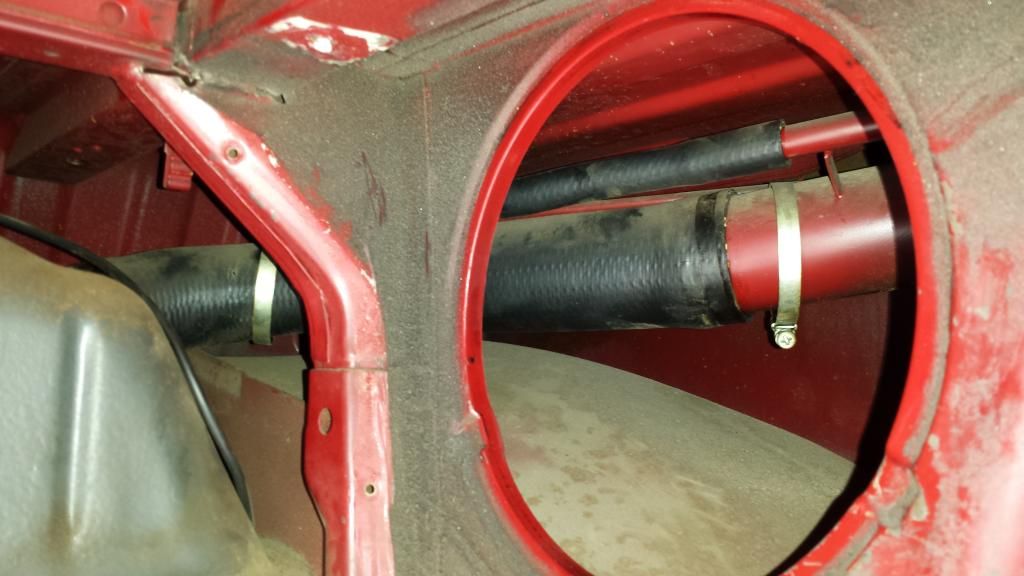
Right - I have to move the fuel tank out as working to close to it now (plus will see what work needs to be done in this area).
Started at around 11:00 with 30 minutes for food ad by 16:00 it was still not out
Took nearly 3 hours to get the nuts that hold the tank straps in place off :shock:
Off to a house warming and tomorrow a christening so probably won't be able to continue until next week:

Cheers
Working in the engine bay, off-side chassis area removing metal which is past it's best and hoping that what is under is OK (which it looks to be
)
Right - I have to move the fuel tank out as working to close to it now (plus will see what work needs to be done in this area).
Started at around 11:00 with 30 minutes for food ad by 16:00 it was still not out
Took nearly 3 hours to get the nuts that hold the tank straps in place off :shock:
Off to a house warming and tomorrow a christening so probably won't be able to continue until next week:
Cheers
Managed to get an hour tonight (spent today taking my daughter for an open day at Manchester University.............)
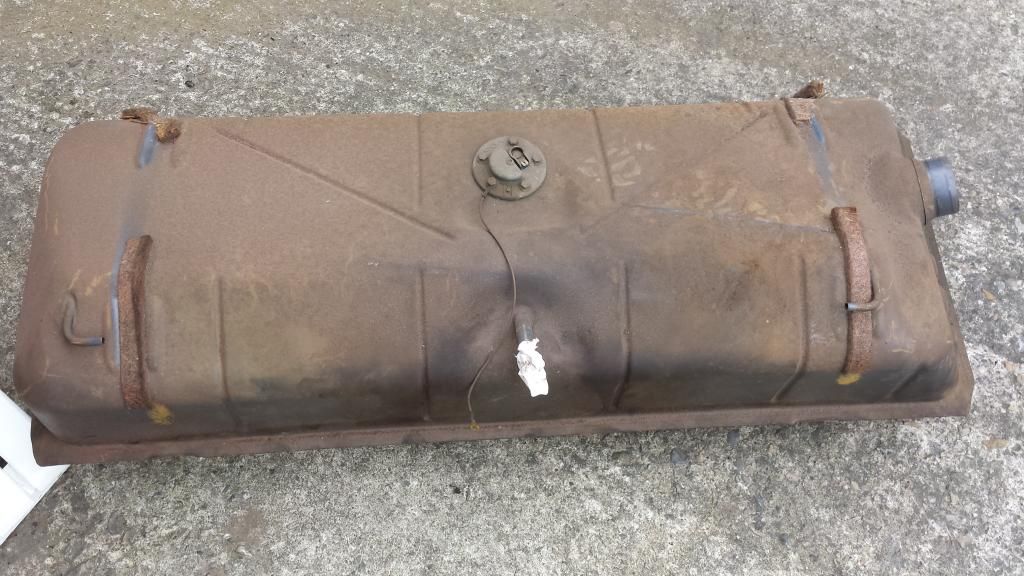
Got the tank out
Not in bad nick - solid on the outside and a few bits of surface rust on the inside.
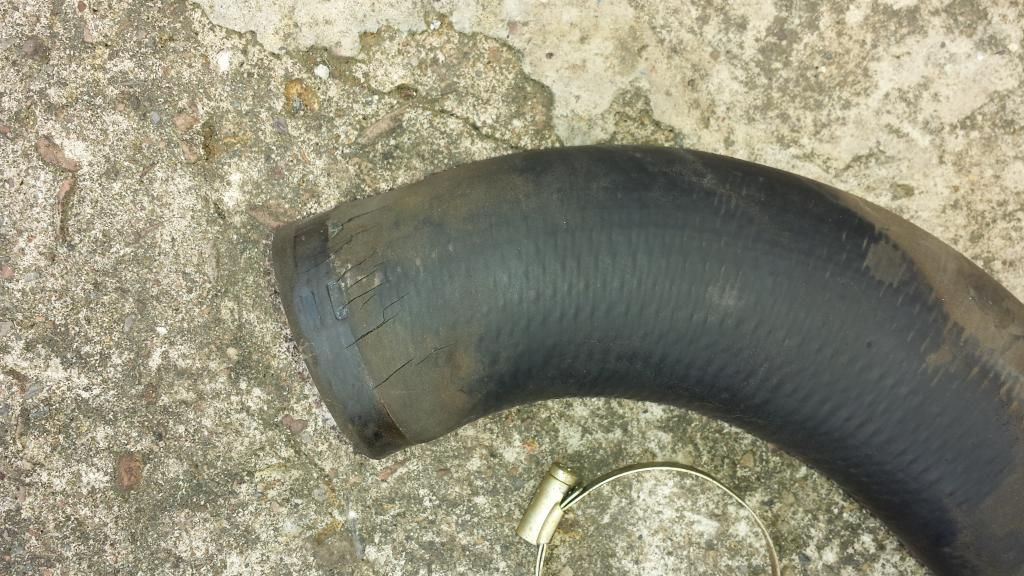
The pipe connecting the tank to the filler is not to well so going straight to the bin:
A few pics of the tank:
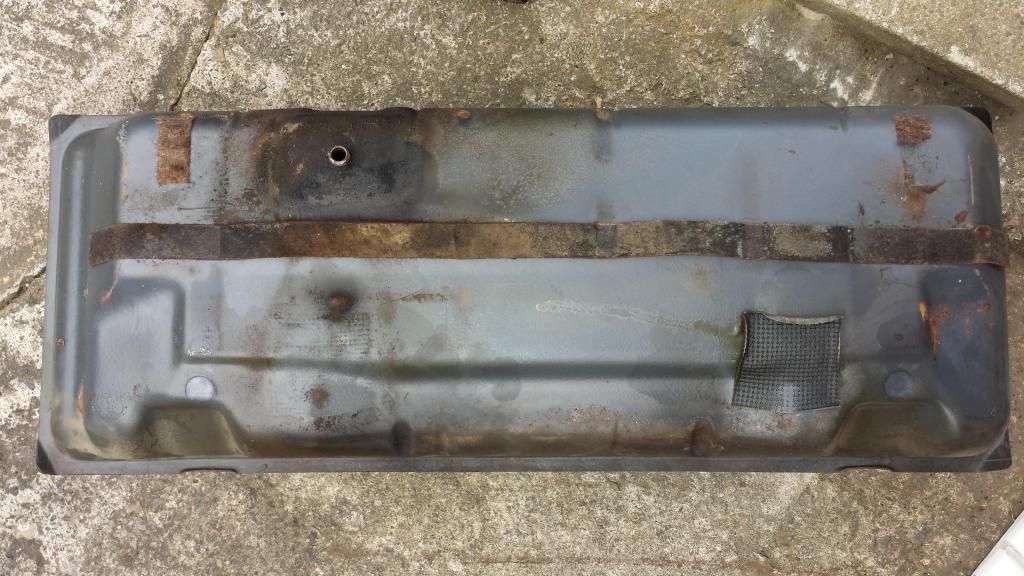
Inside the tank:
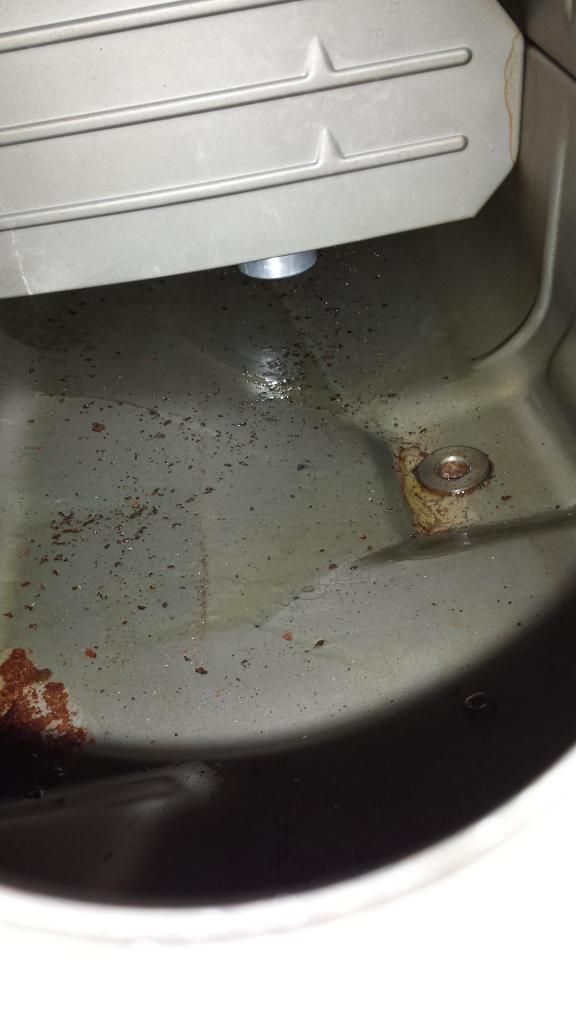
A view of the shelf that the tank sits on:
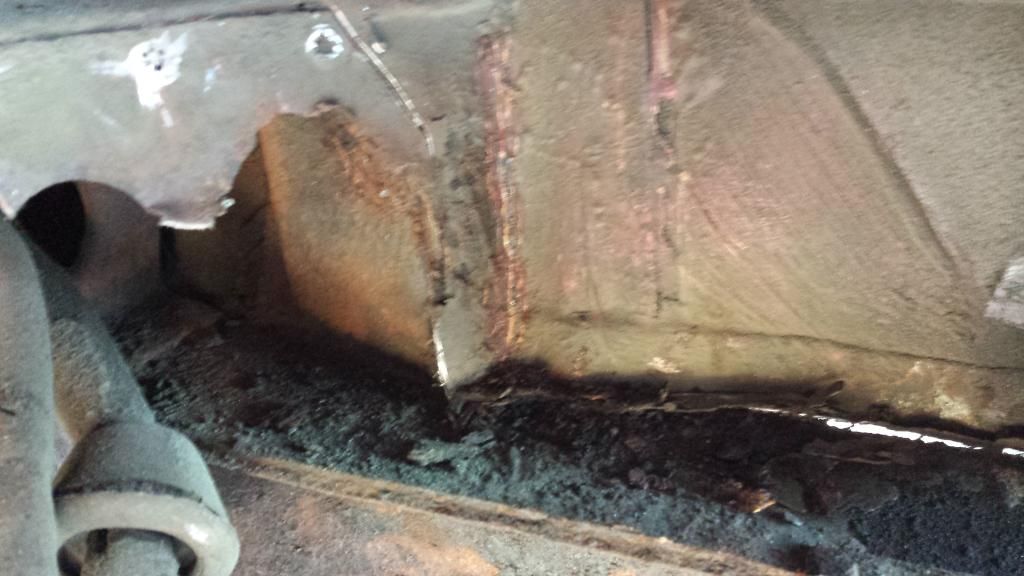
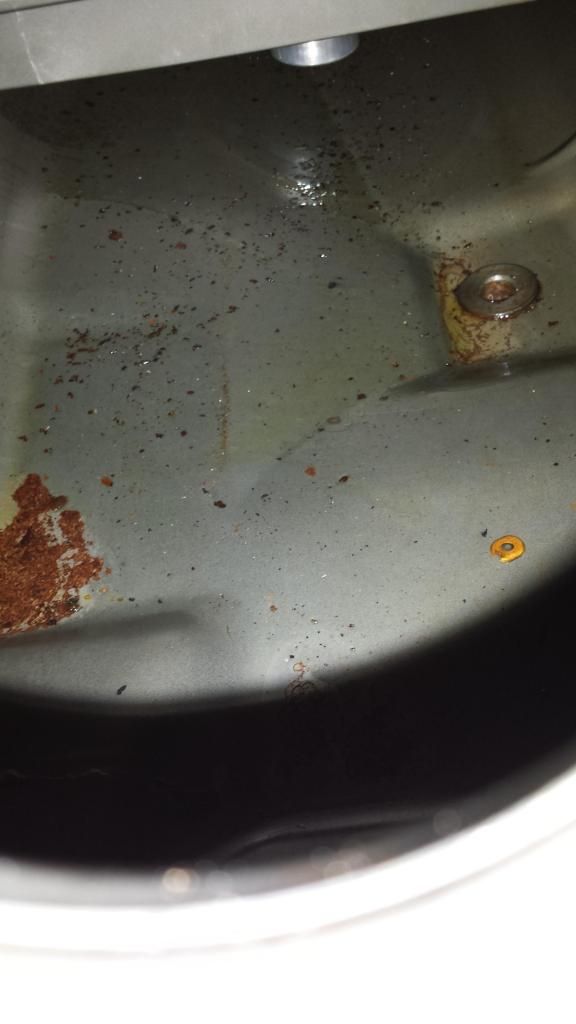
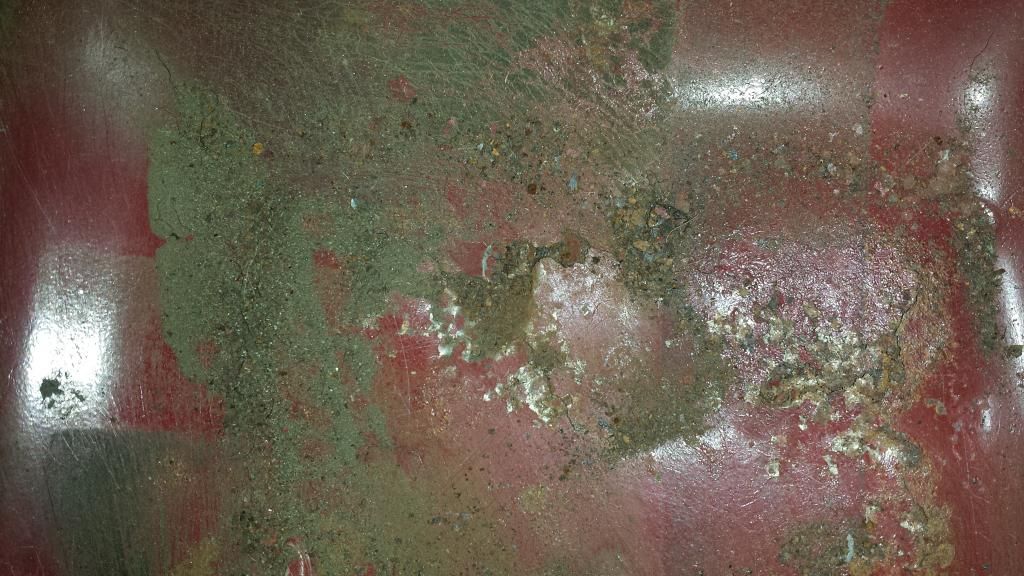
Dreaded rust :

Hard to see in this pic but I think it will be similar to the left side:
So - on Sunday (depends on the hangover) I will be looking to address see how far the damage goes and start the patch process.
Cheers
Got the tank out
Not in bad nick - solid on the outside and a few bits of surface rust on the inside.
The pipe connecting the tank to the filler is not to well so going straight to the bin:
A few pics of the tank:
Inside the tank:
A view of the shelf that the tank sits on:
Dreaded rust
:
Hard to see in this pic but I think it will be similar to the left side:
So - on Sunday (depends on the hangover) I will be looking to address see how far the damage goes and start the patch process.
Cheers
cunning plan
Well-known member
- Joined
- Jul 15, 2008
- Messages
- 2,625
- Reaction score
- 1
- Location
- Northamptonshire
- Year of Your Van(s)
- 1968
- Van Type
- Clipper / Microbus
The fuel tank shelf on my bus was exactly the same

$28.52
$32.37
Airfix Quickbuild Volkswagen Light Blue Camper Van Brick Building Model Kit, Multicolor
Amazon Global Store UK


$27.95 ($13.98 / Count)
Marketplace Auto Parts Window Crank Handle Set of 2 - Chrome with Black Knob - Compatible with 1968-1978 Volkswagen Beetle
Parts Geek LLC


Marriedblonde
Well-known member
Jesus a proper resto!!!! I am in awe of your skills. Looking good
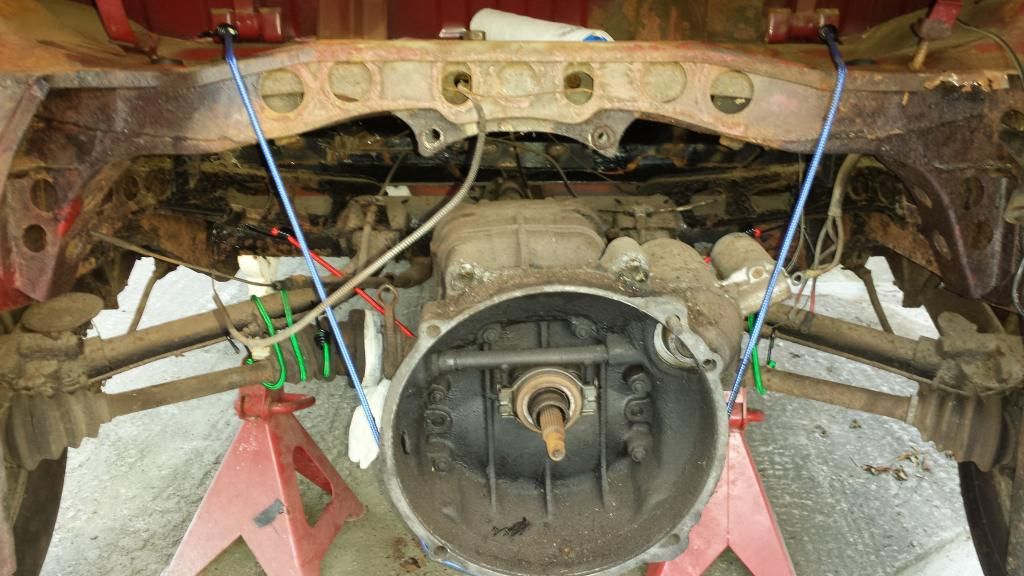
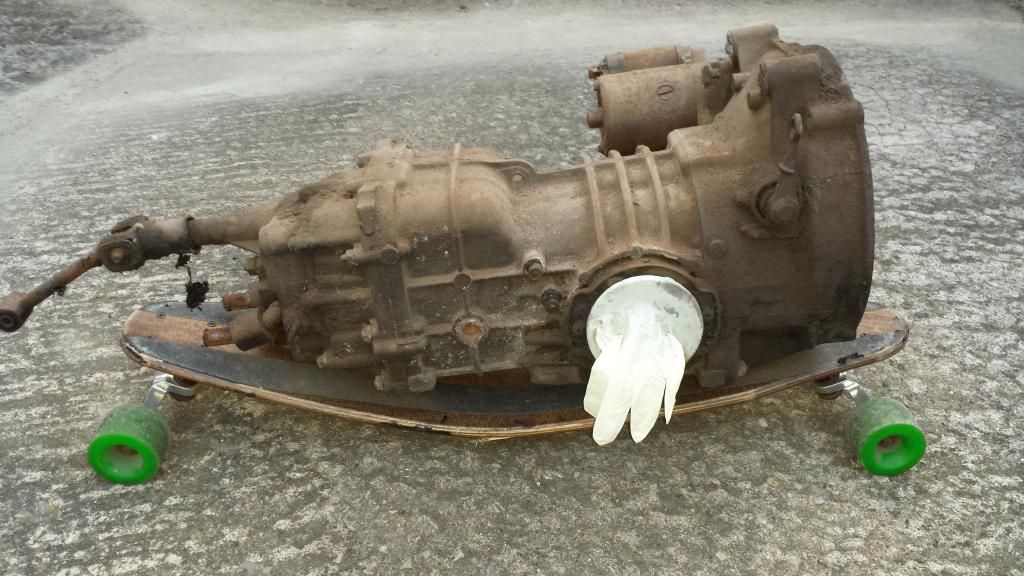
So - started the removal tonight and not to bad - just stubborn rusted bolts and nuts (looks like it has never been out in the 42 years of its life....)
First thing to do was remove the cables from the starter motor and the earth strap.
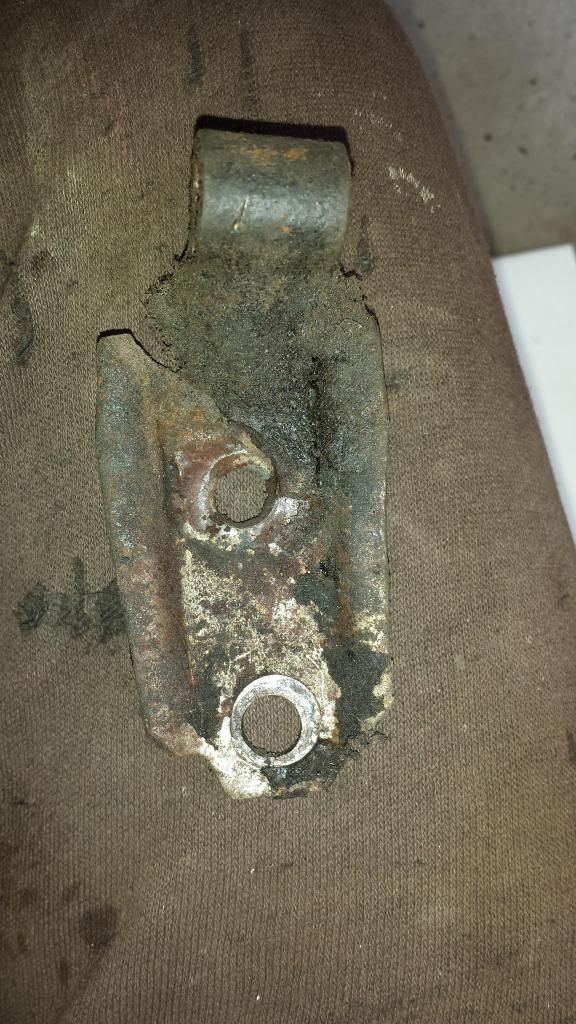
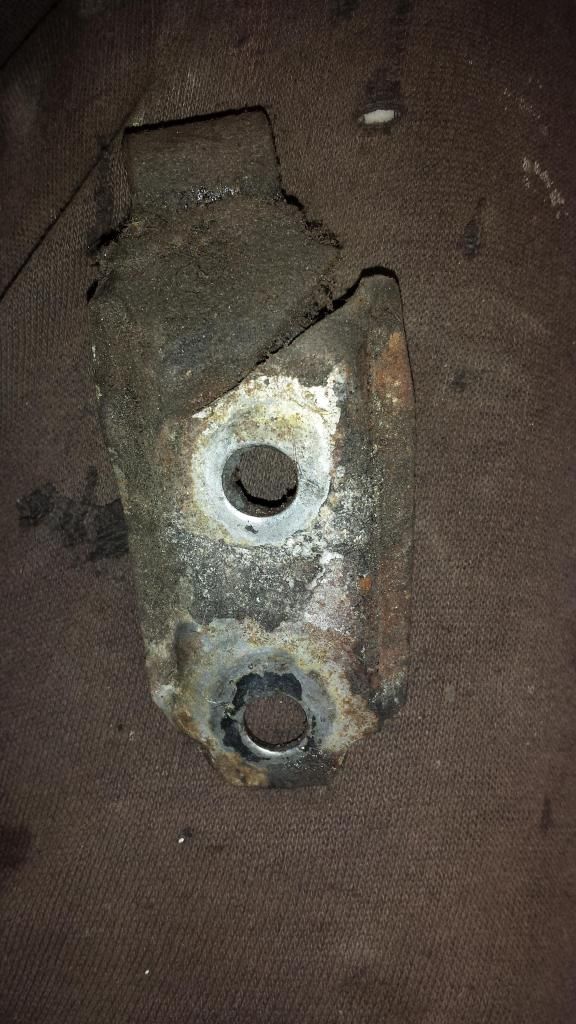
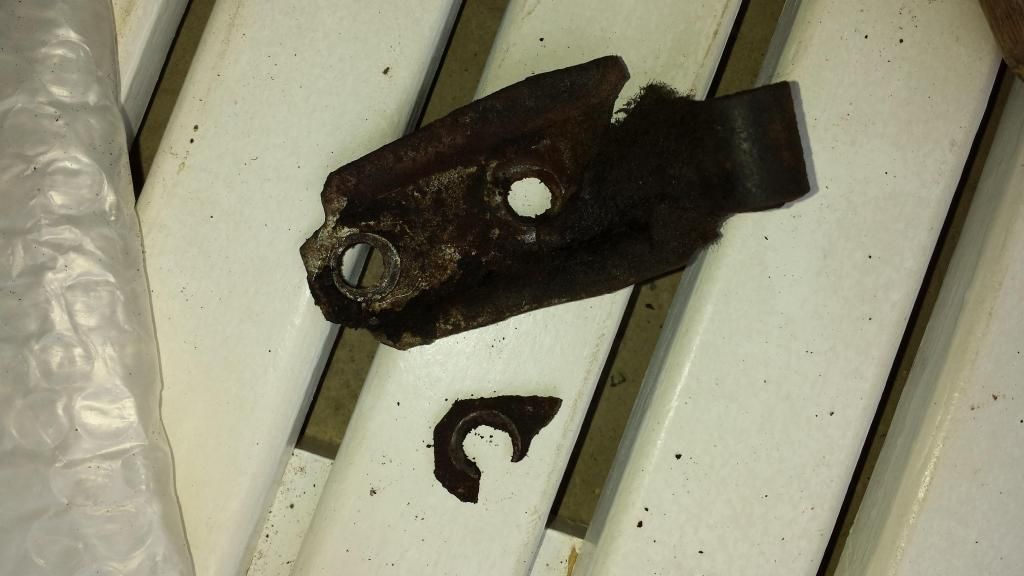
Then disconnect the clutch cable from the end (the wind nut was bloody stubborn) then remove the cable holder from the side of the gearbox. The bracket is knackard - can you still get them??
Once the above was off, then the drive shafts were next - again, not to bad:
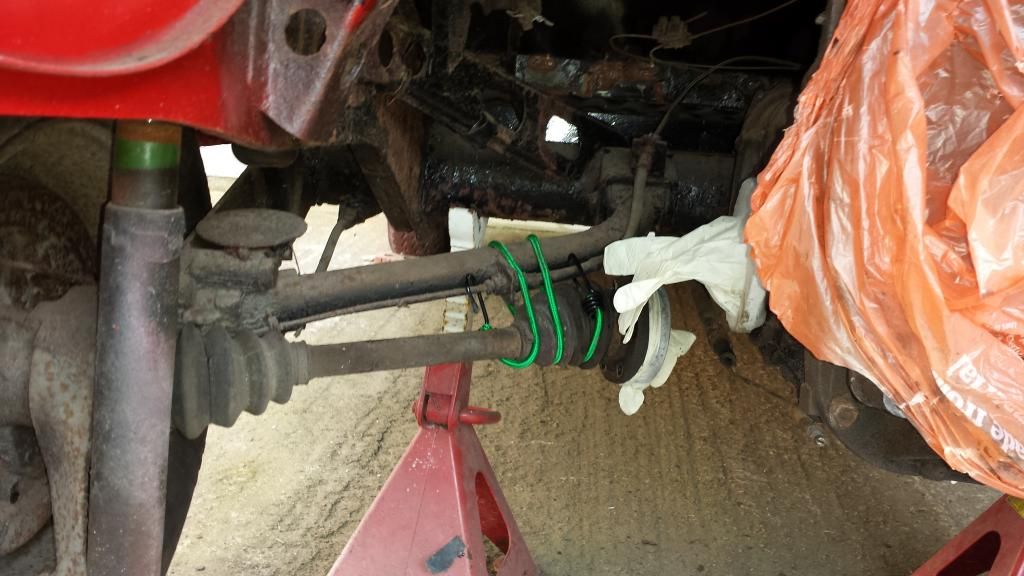
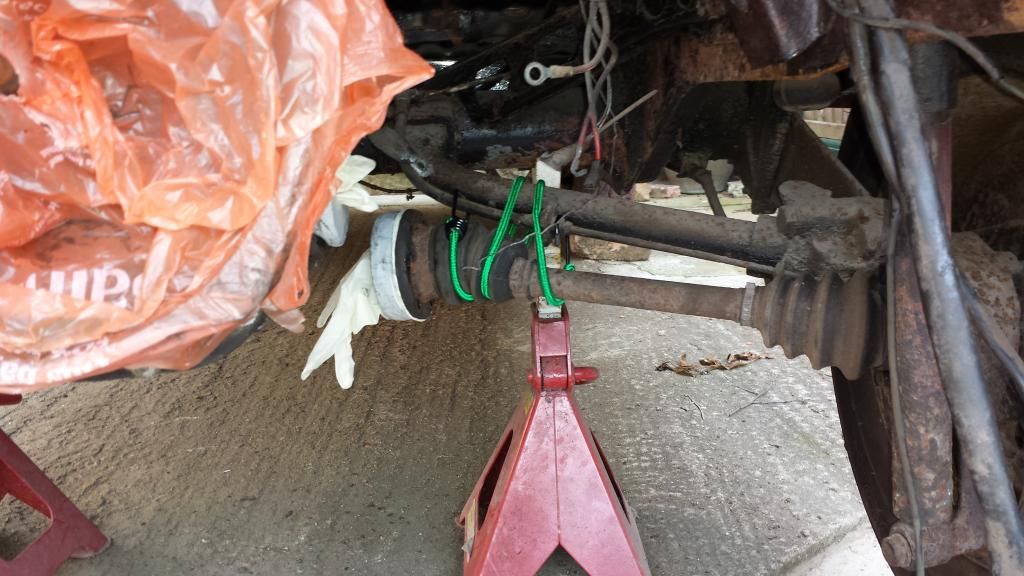
Removed the front and rear bolts (front nut rounded next to the starter motor, but managed to get to it from behind) - now hanging by the bungy cords:
First thing to do was remove the cables from the starter motor and the earth strap.
Then disconnect the clutch cable from the end (the wind nut was bloody stubborn) then remove the cable holder from the side of the gearbox. The bracket is knackard - can you still get them??
Once the above was off, then the drive shafts were next - again, not to bad:
Removed the front and rear bolts (front nut rounded next to the starter motor, but managed to get to it from behind) - now hanging by the bungy cords:

Marriedblonde said:Jesus a proper resto!!!! I am in awe of your skills. Looking good
Cheers - learning as I go along to be honest.
- Joined
- Oct 26, 2010
- Messages
- 3,247
- Reaction score
- 17
- Location
- Leeds
- Year of Your Van(s)
- 1971
- Van Type
- Panel
Good to see things are still ticking over
P.S. got your trailing arms!
P.S. got your trailing arms!
- Joined
- Sep 24, 2009
- Messages
- 1,556
- Reaction score
- 65
- Location
- Warwickshire
- Year of Your Van(s)
- 1970
- Van Type
- Microbus
Reminds me of when i did my original bus.
Real good work going on for another UK bus
Dont ever lose the faith Andy, its all good and nice to see when bits come back together. I dont think i could tackle it again, once is enough. At least when youve finsihed you will genuinely know your bus inside out.
Real good work going on for another UK bus
Dont ever lose the faith Andy, its all good and nice to see when bits come back together. I dont think i could tackle it again, once is enough. At least when youve finsihed you will genuinely know your bus inside out.
Nugsy said:Reminds me of when i did my original bus.
Real good work going on for another UK bus
Dont ever lose the faith Andy, its all good and nice to see when bits come back together. I dont think i could tackle it again, once is enough. At least when you've finished you will genuinely know your bus inside out.
Thanks.
Faith lost on many occasions to be honest :lol:
Will get there though and get to drive and camp in the bloody thing
A few more hours this week spent cutting and prodding....
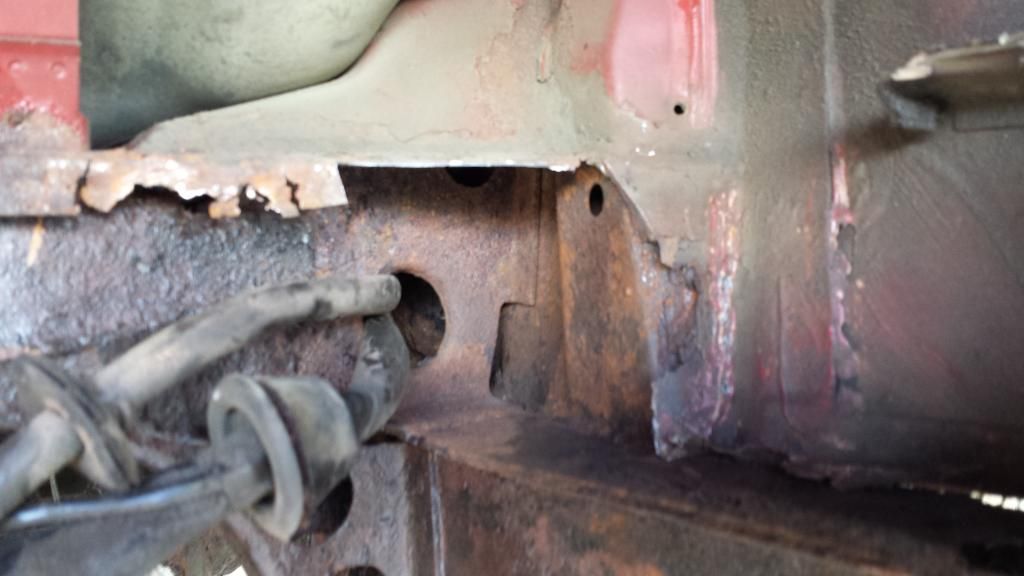
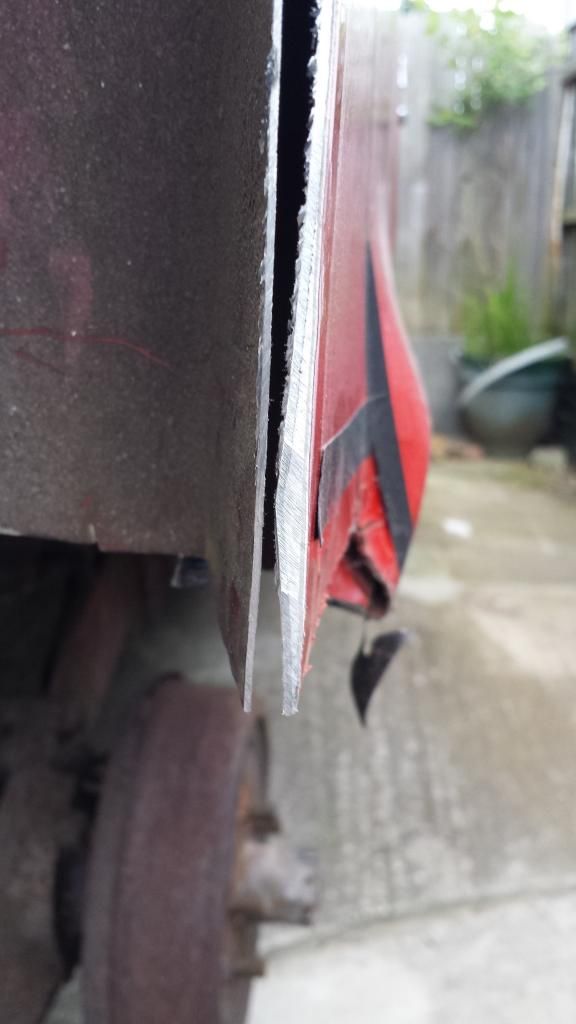
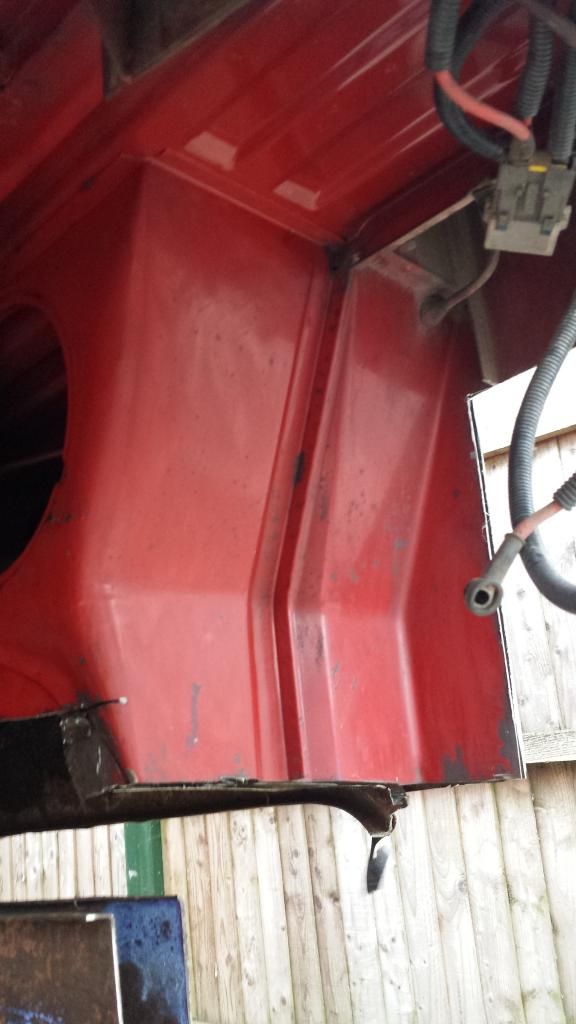
Removed a large area of wing that had the oil bath ledge on and a bit more of the top (well not much of it) of the chassis:

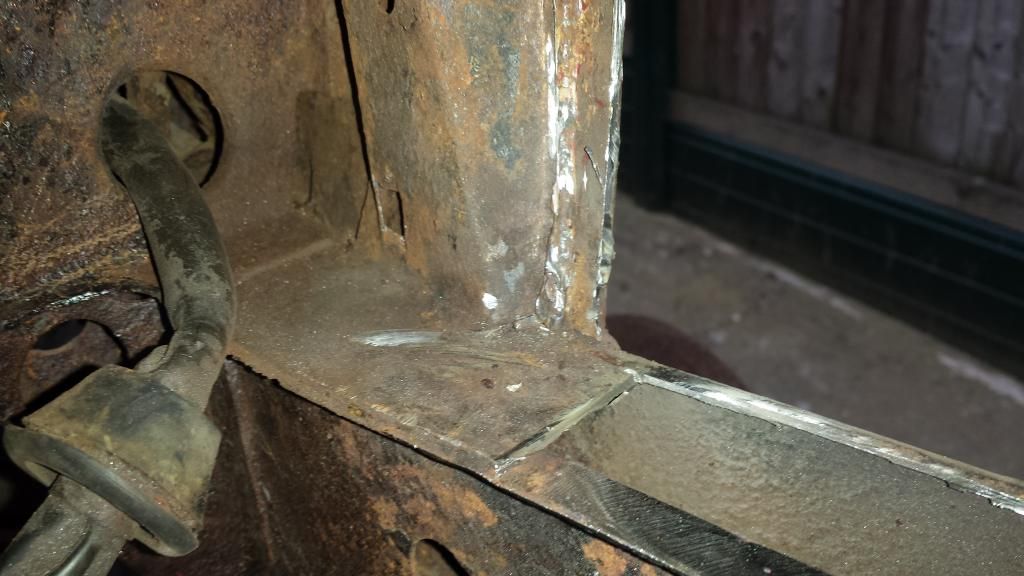
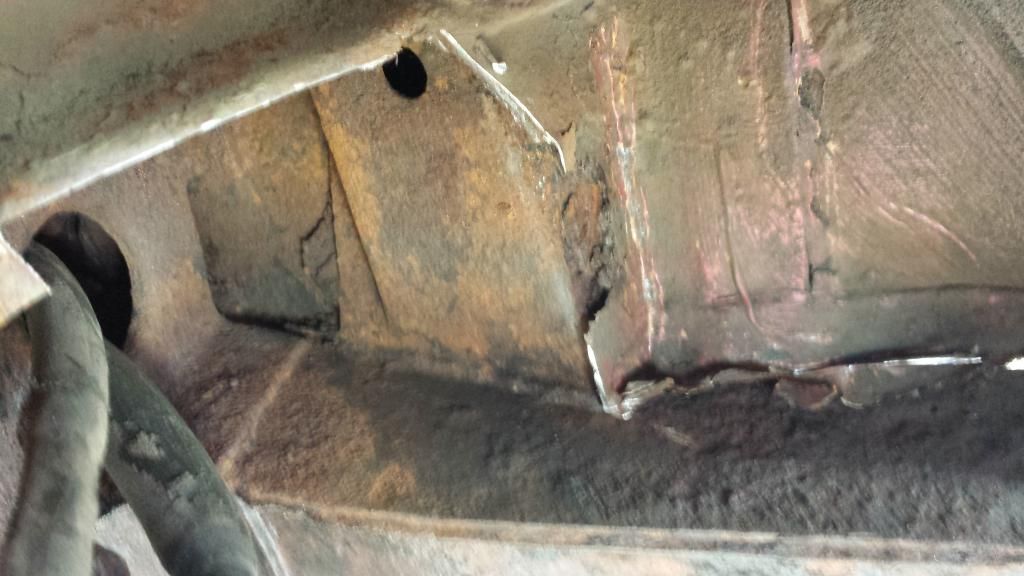
A view of the chassis leg from the top
Removed a large area of wing that had the oil bath ledge on and a bit more of the top (well not much of it) of the chassis:
A view of the chassis leg from the top
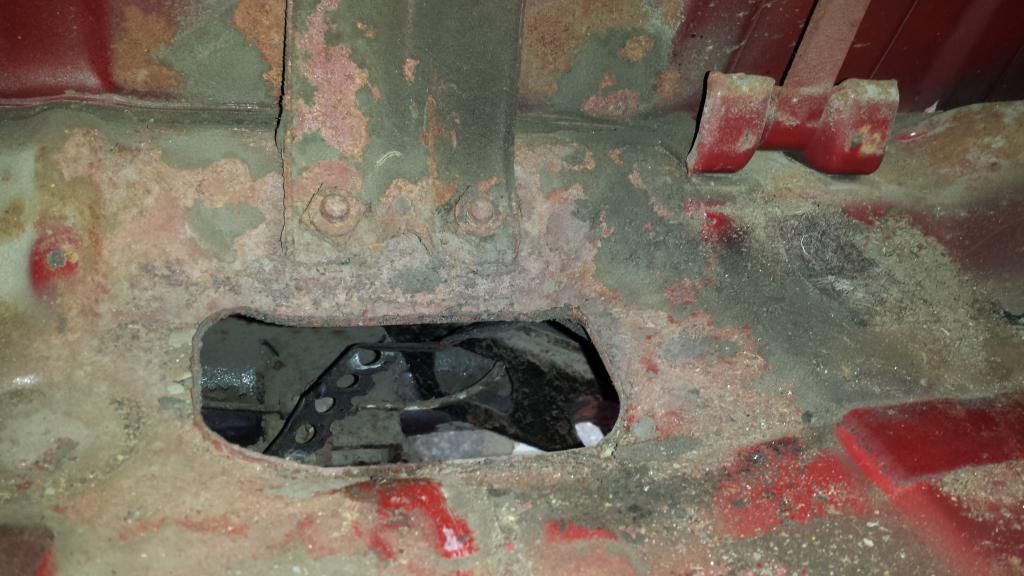
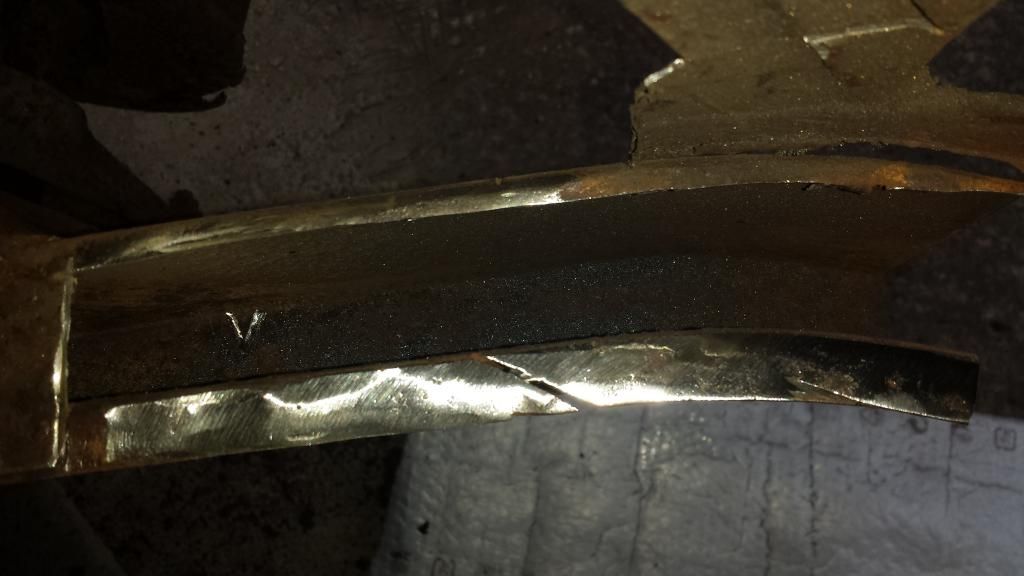
Started to cut away metal. Not pretty and looks a lot but will be good on the night.
Don't know if you can see in this pic, but there looks to have been a dent and filled with lead:
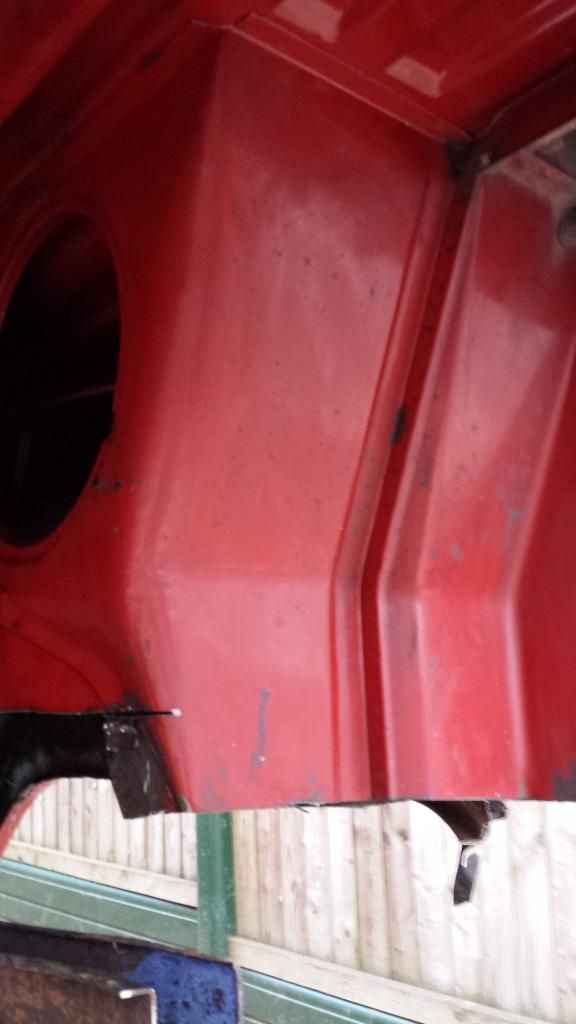
Gave the inside a quick wash (compare to the previous pics) and came up quite nice:
Hope on Sunday to do some more then start to prep the cut I have.
Cheers
Don't know if you can see in this pic, but there looks to have been a dent and filled with lead:
Gave the inside a quick wash (compare to the previous pics) and came up quite nice:
Hope on Sunday to do some more then start to prep the cut I have.
Cheers
- Joined
- Oct 26, 2010
- Messages
- 3,247
- Reaction score
- 17
- Location
- Leeds
- Year of Your Van(s)
- 1971
- Van Type
- Panel
That scrubbed up alright!
What did you clean it with?
What did you clean it with?
gvee said:That scrubbed up alright!
What did you clean it with?
It did, didn't it
First I used a a soft brush (one from a dust pan and brush set) then car shampoo and a sponge - pretty pleased with it :mrgreen:
Similar threads
Vehicle For Sale
1969 T2 Early Bay RHD Dormobile Camper in Velvet Green
- Replies
- 5
- Views
- 3K
Vehicle For Sale
Very rare Oslo edition SO69-01 1969 Early Baywindow £12K Ono
- Replies
- 0
- Views
- 1K
- Locked
- Replies
- 6
- Views
- 2K