Progress Pics - Dormobile X-Over

Early Bay Forum

Help Support Early Bay Forum:

This site may earn a commission from merchant affiliate links, including eBay, Amazon, and others.
gninnam said:
Fernando Palmela said:
You know how it is said in Portugal, "he already has his underpants washed" ahahahaha
Not being from Portugal, not 100% sure what you mean, but thanks for the comment anyway :?

Underpants are looking good. Hot wash at 60 degrees? No wonder you’re running out of powder...I mean paint. I didn’t get the pants humour at first either. You’ve officially got a clean and mean machine according to Portugal. Welcomed with open arms if it visits there. Seriously coming along very, very nicely though. Black is a great choice.
 
Thanks - although I will be giving it some stone chip in the wheel arches then covering it all in red paint.
 
Fernando Palmela said:
In Portugal we use the Hemaritte half brightness to the outside

Do you mean Hammerite?
I have used this before and found it to be very poor so would steer well clear of it!
 
Not the same product as it used to be I fear. Similar to Nitromorse paint stripper, different products back then.
 
Hammerite? Weather makes a difference I suppose. Portugal 🌞 Wales 🌧 Painted my metal patio furniture table and chairs. Green smooth. Painted the same paint from the same tin onto a metal cast iron downpipe. It is under an enclosed space under a polycarbonate roof where no weather gets in. Both furniture and pipe both done about 18 years ago. Pipe? Still ok. Patio set? Left outside all year round. Didn’t last more than a year and a bit. Same prep job on both too.
 
I painted my front beam many years ago after being sandblasted - was on the van for about 4 years (but in a garage and never moved and 1 year on my drive, again never moved).
When I took it off it was in a poor state with lots of rust bubbling through - if you look through my thread you will see.....
 
09.06.2016

Success today.
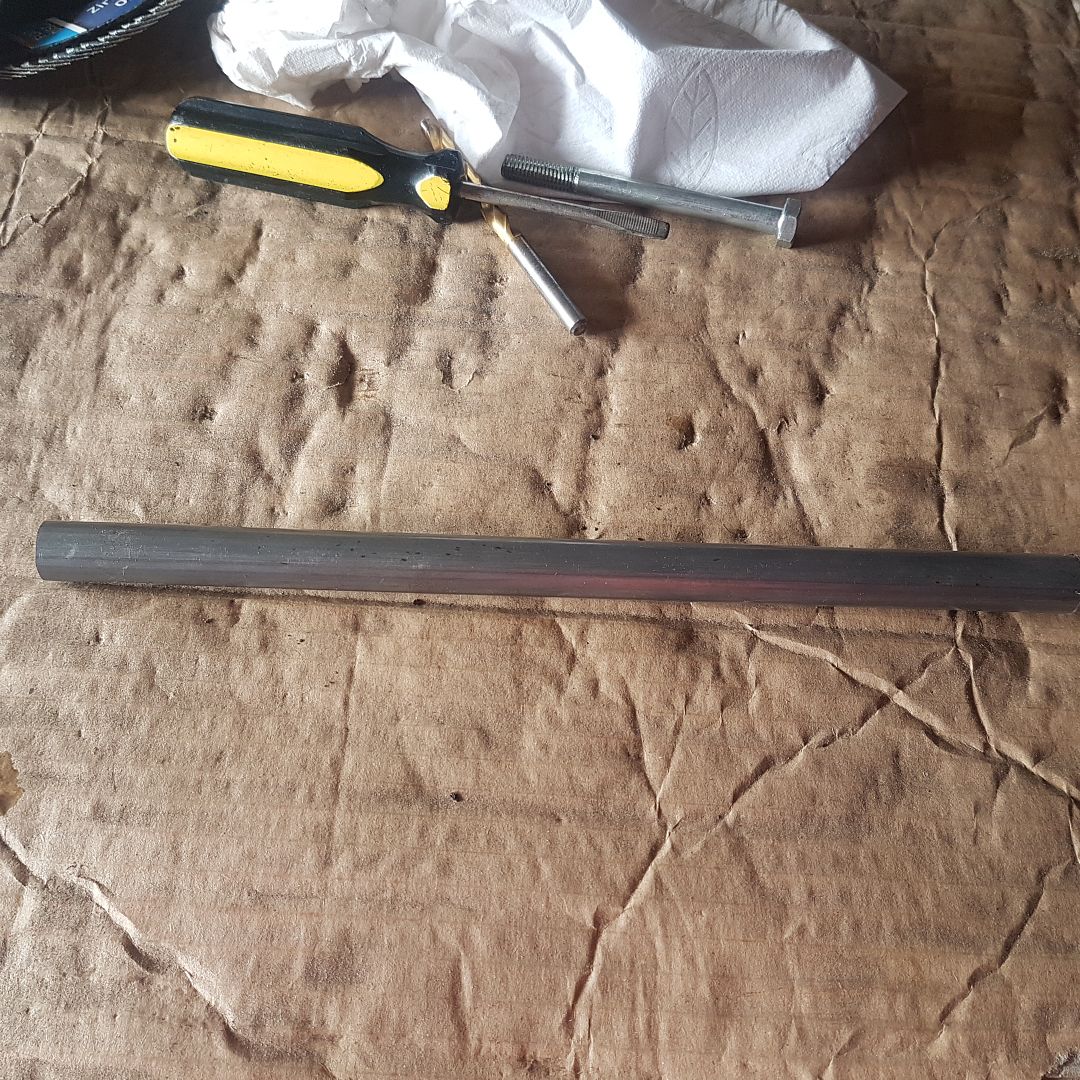
A week or so ago I bought a piece of tubing the right dimensions for creating the pieces that allow the brake compensator to be mounted to the chassis :)

Started with this tube:
20180609_165210_zpsvilbavr7.jpg


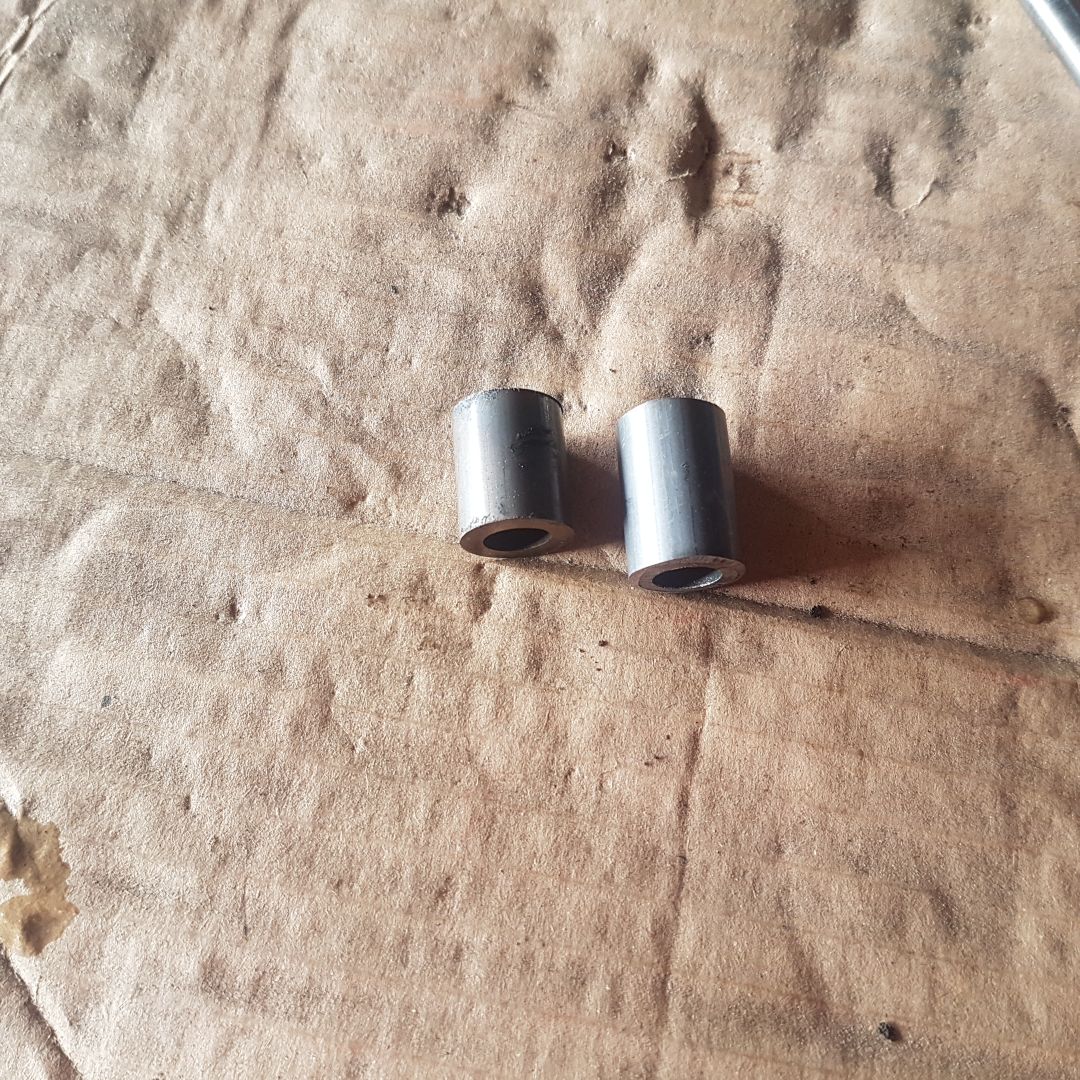
Cut two pieces the right size:
20180609_165225_zps7j8ys7kh.jpg


Used a tap to re-hone the captive nut that was OK.
Then the other hole, pushed a 7mm drill through to remove some more of the metal remains then used the tap to re-do the captive nut thread - bingo - it rethreaded brilliantly.

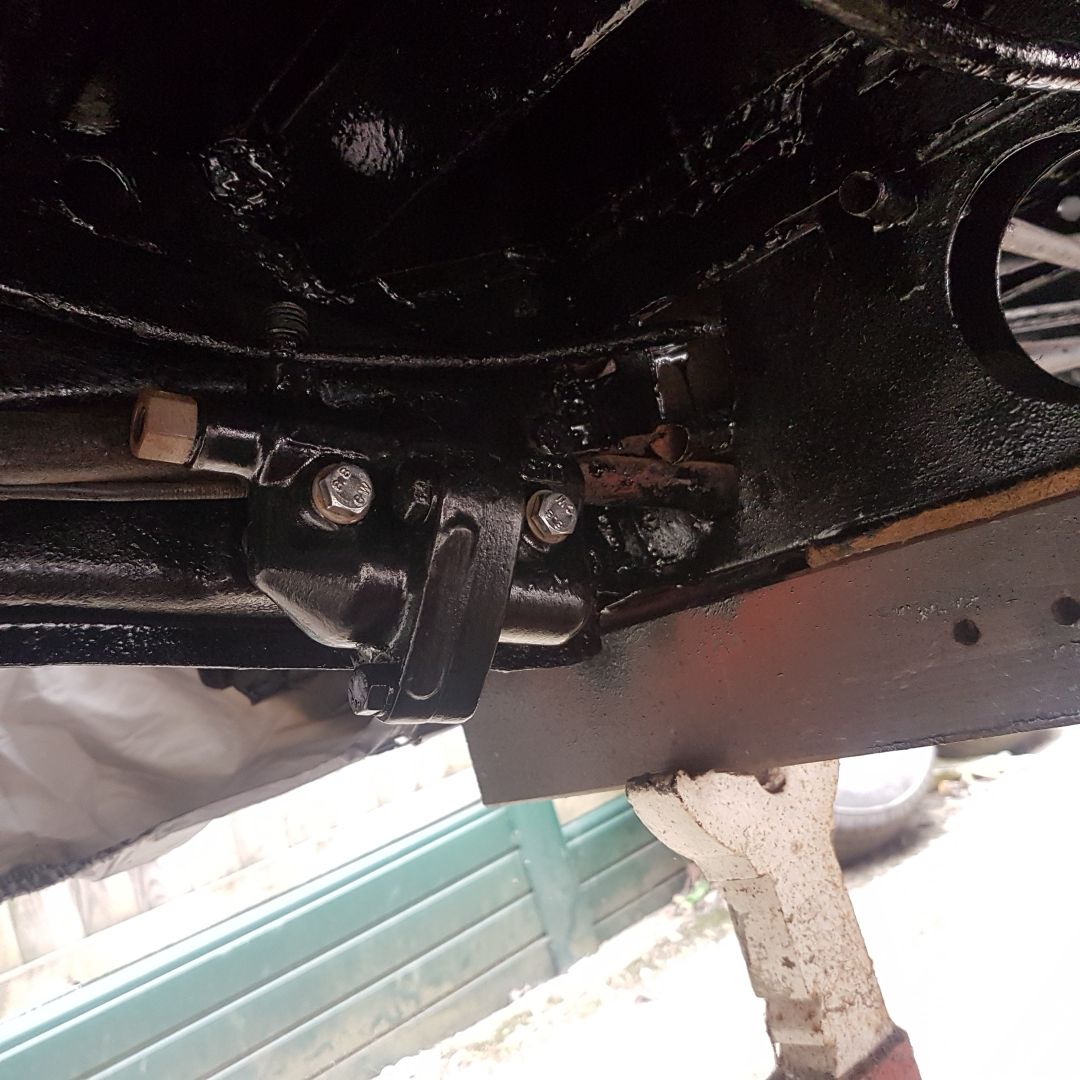
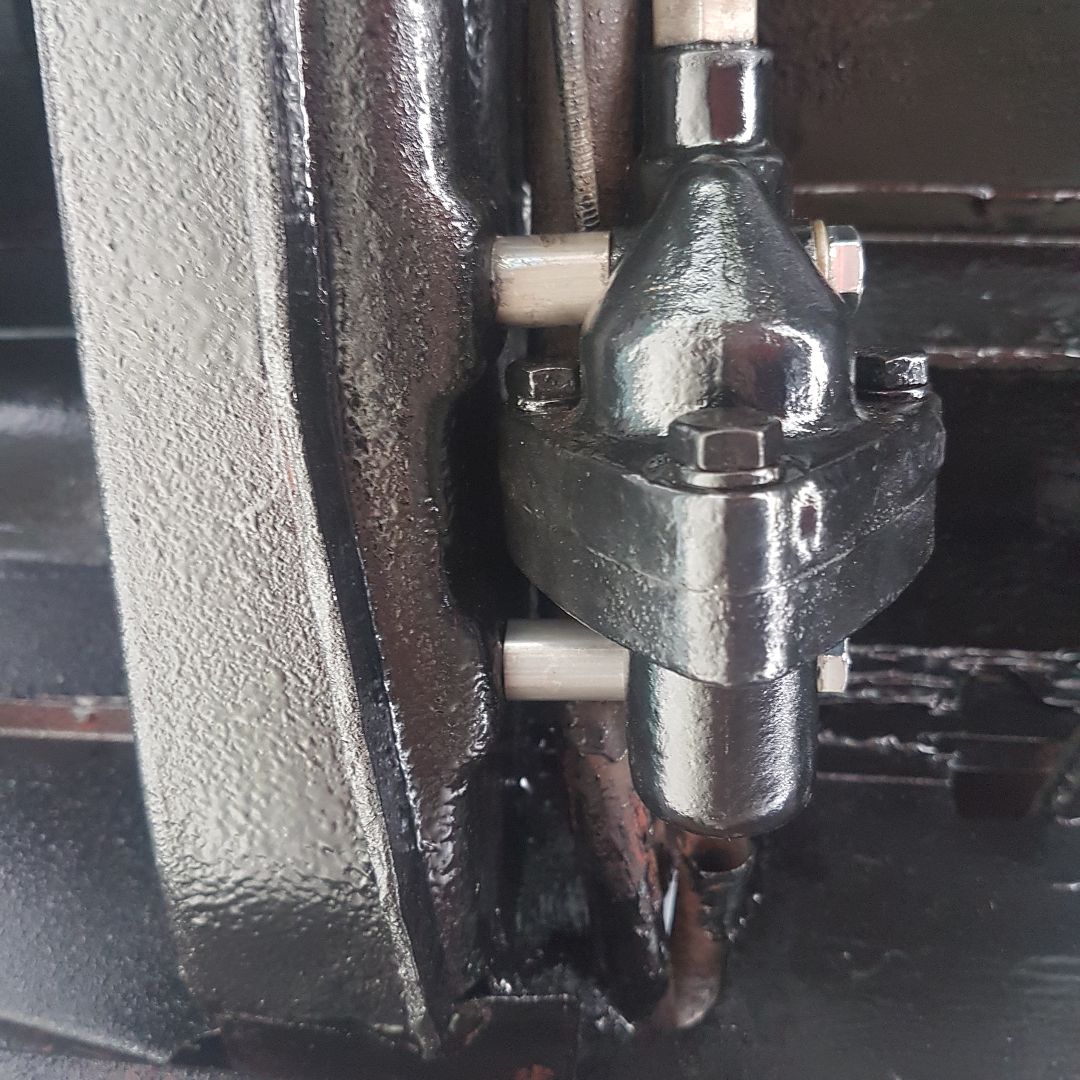
And here we have the unit mounted:
20180609_170533_zpsaklyglxf.jpg


20180609_170549_zpsqa5jkrpb.jpg


Taken it off and will treat the tubes to some protection and once ready to put the brake pipes on, will put it back.

Pleased I have managed to get over that little hiccup :)

Cheers
 
23.06.2018

Brakes time.
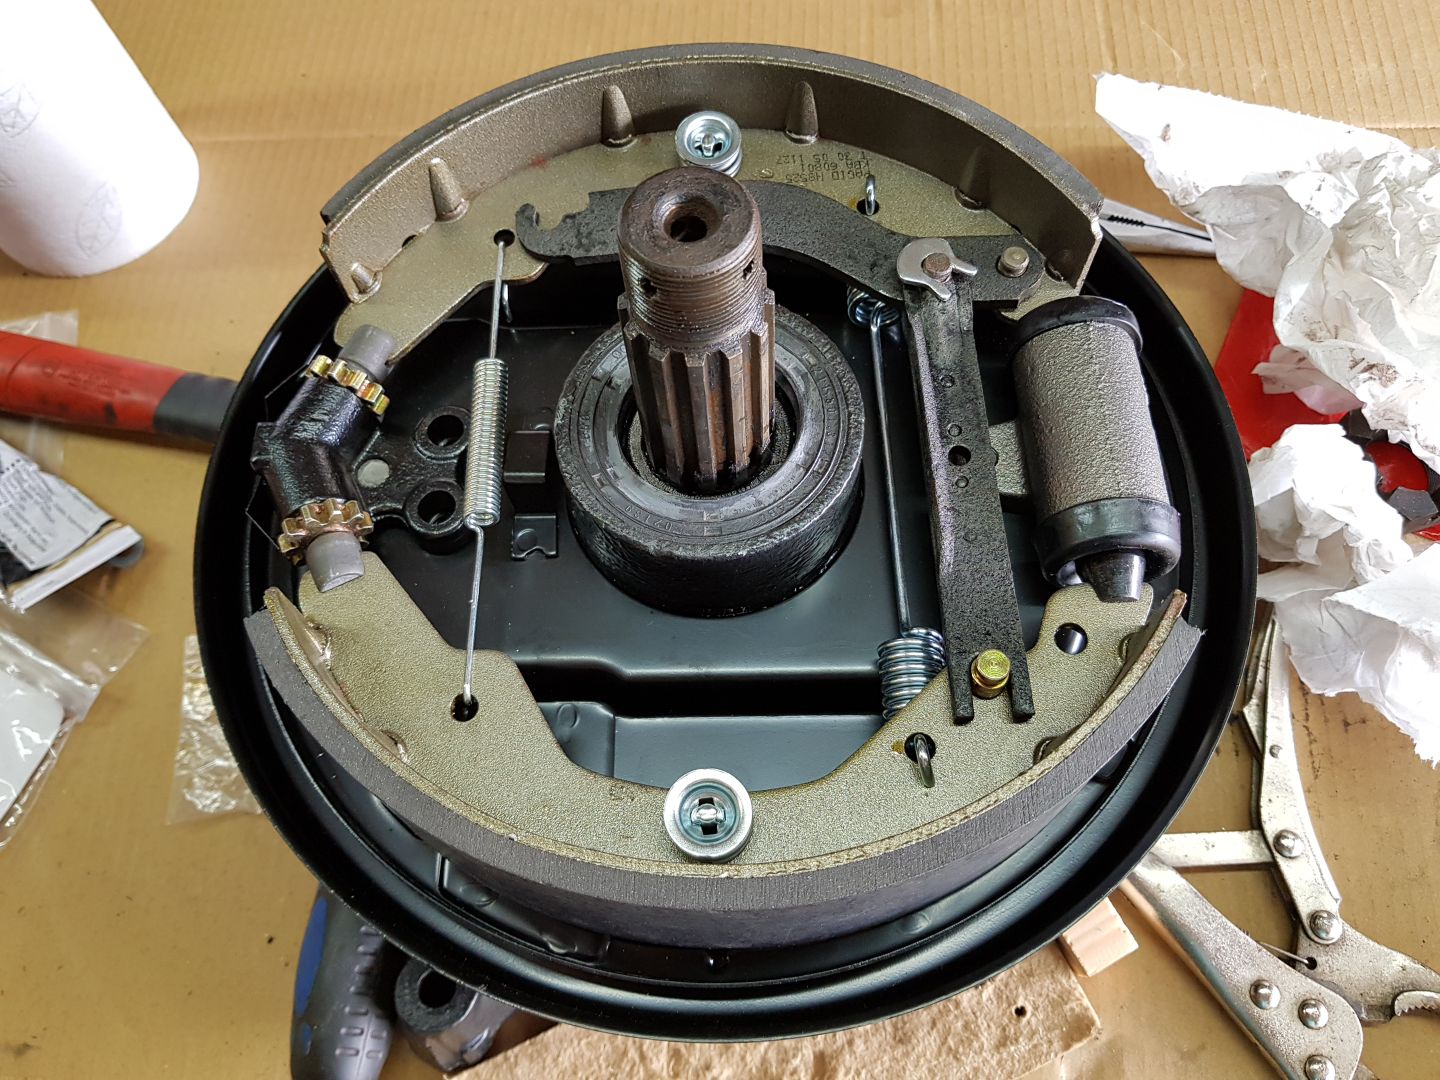
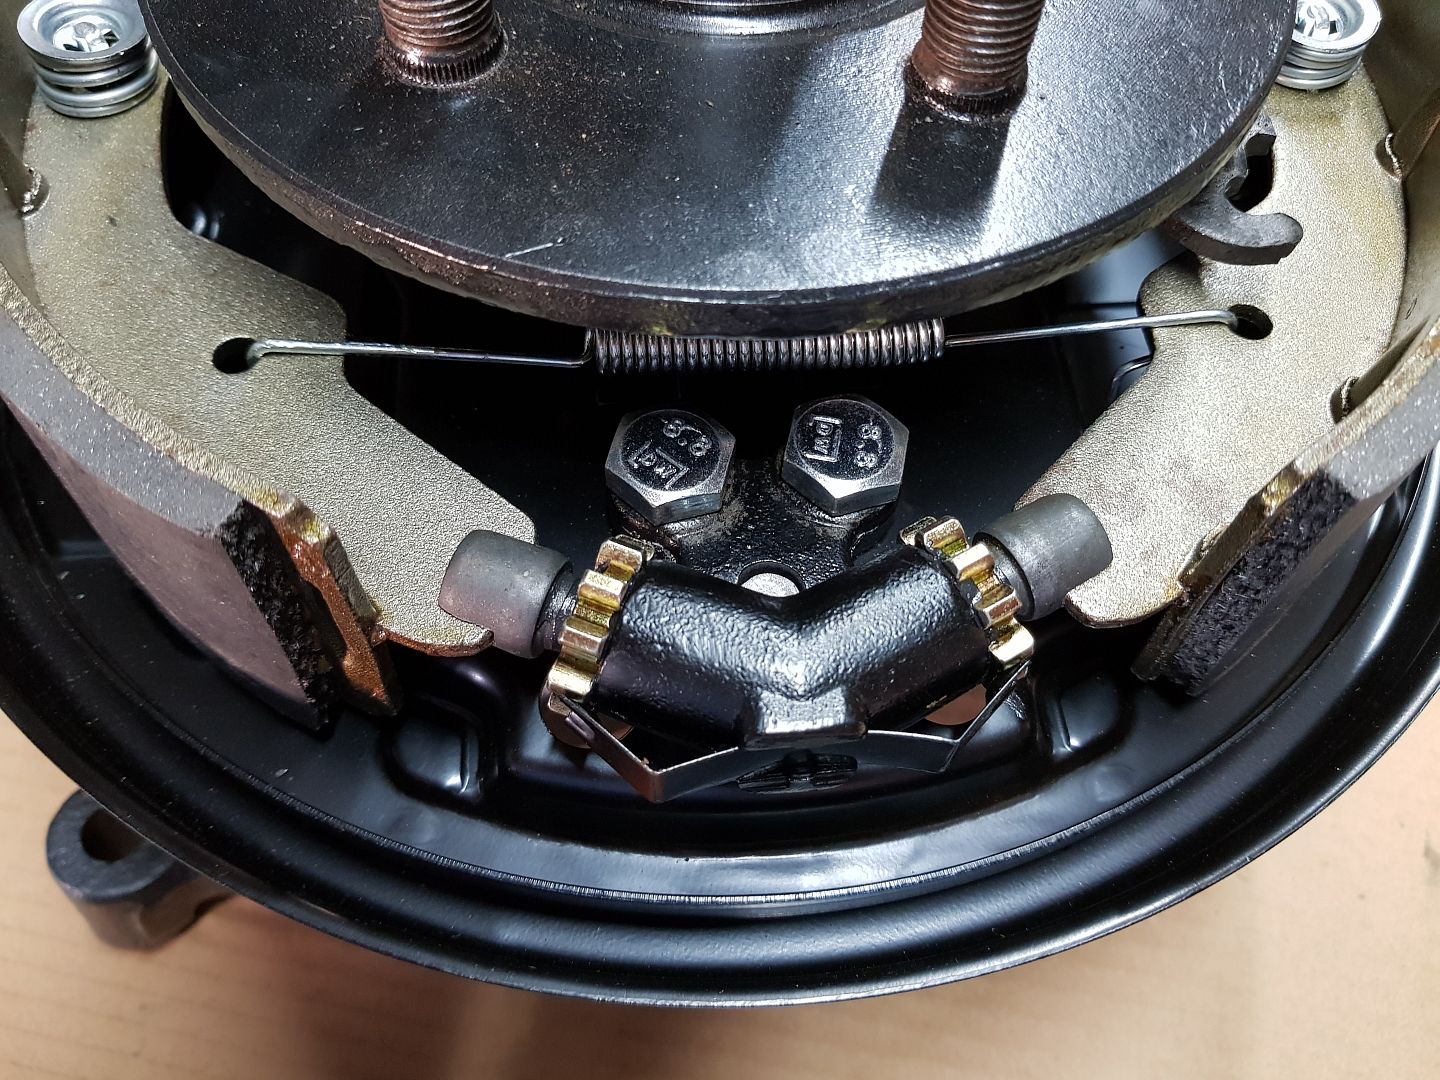
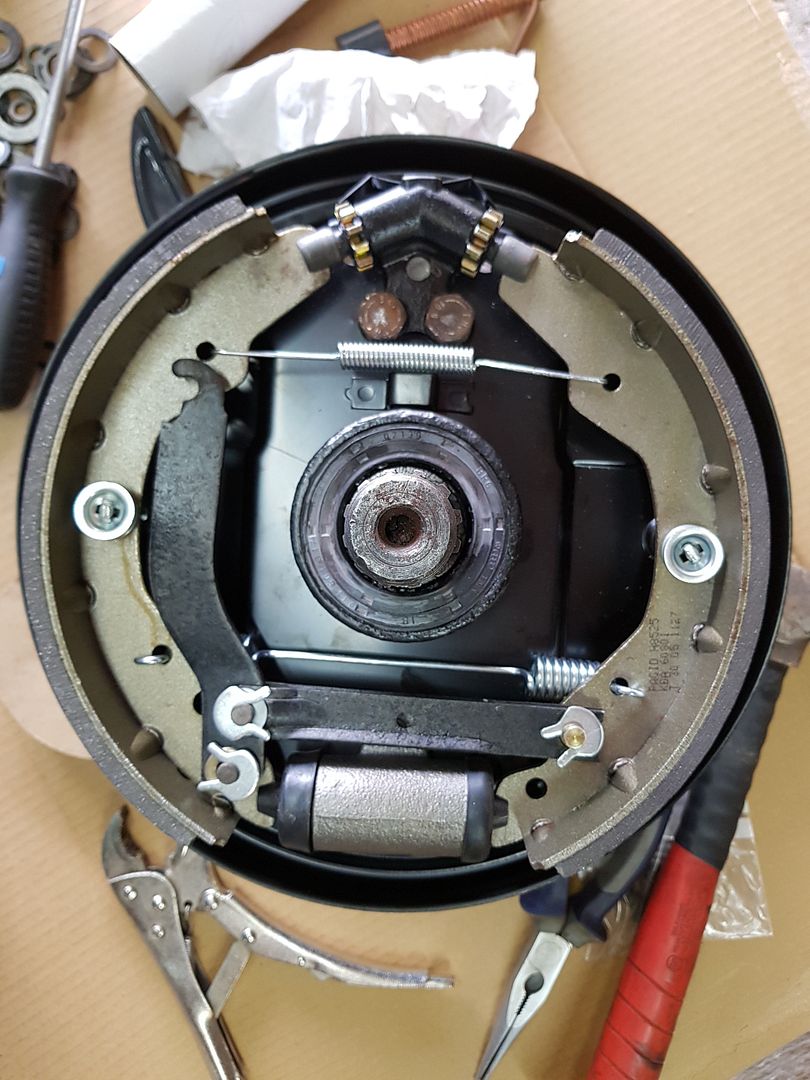
Started to finish off the rear hubs so set about putting the rear drum brakes together and after a few head scratches now coming together.

The nearside was completed without too much drama:

20180623_132809_zpsulvadiii.jpg


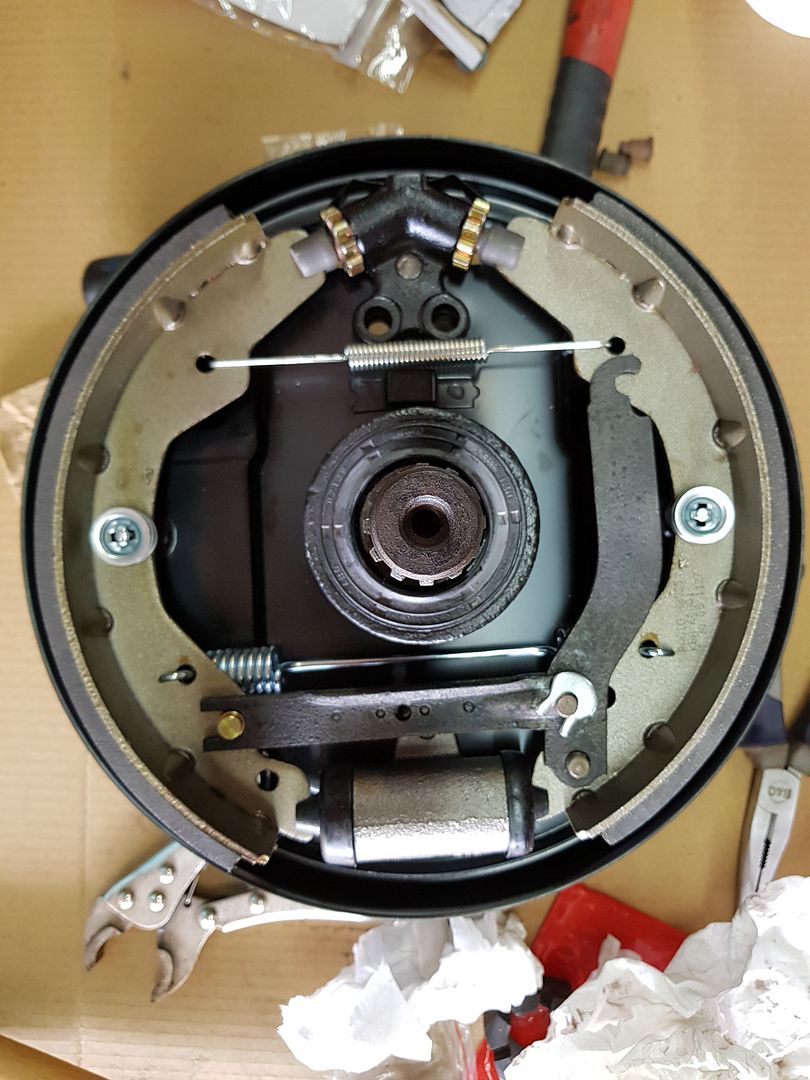
Started on the offside brake and need 2 horse shoe clips so will have to wait

20180623_151644_zpsmboiku5b.jpg


20180623_151652_zpsrz8u5pmo.jpg


Try and finish off the painting of the underneath tomorrow

Cheers
 
" Rear Disc's " ??? :lol: :lol: :lol: Know what you mean.
Very nice and clean. I guess a job I will have to do one day.

J & P
:D :D :D
 
gas1man said:
" Rear Disc's " ??? :lol: :lol: :lol: Know what you mean.
Very nice and clean. I guess a job I will have to do one day.

J & P
:D :D :D

DOH........thanks for understanding ;)
 
24.06.2018

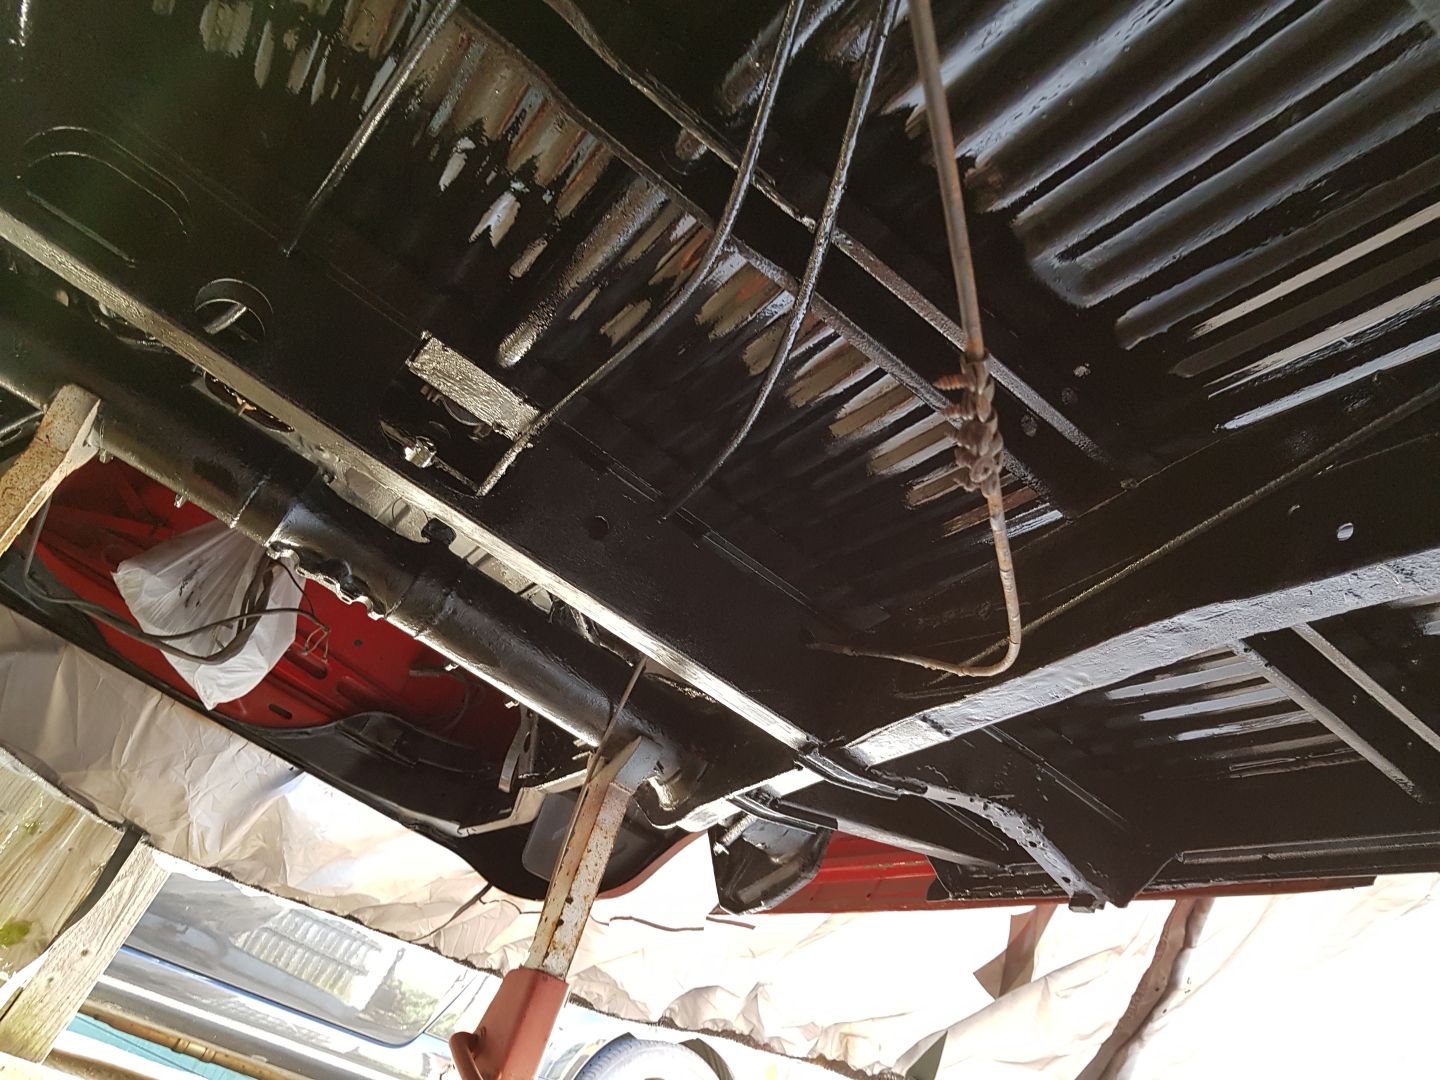
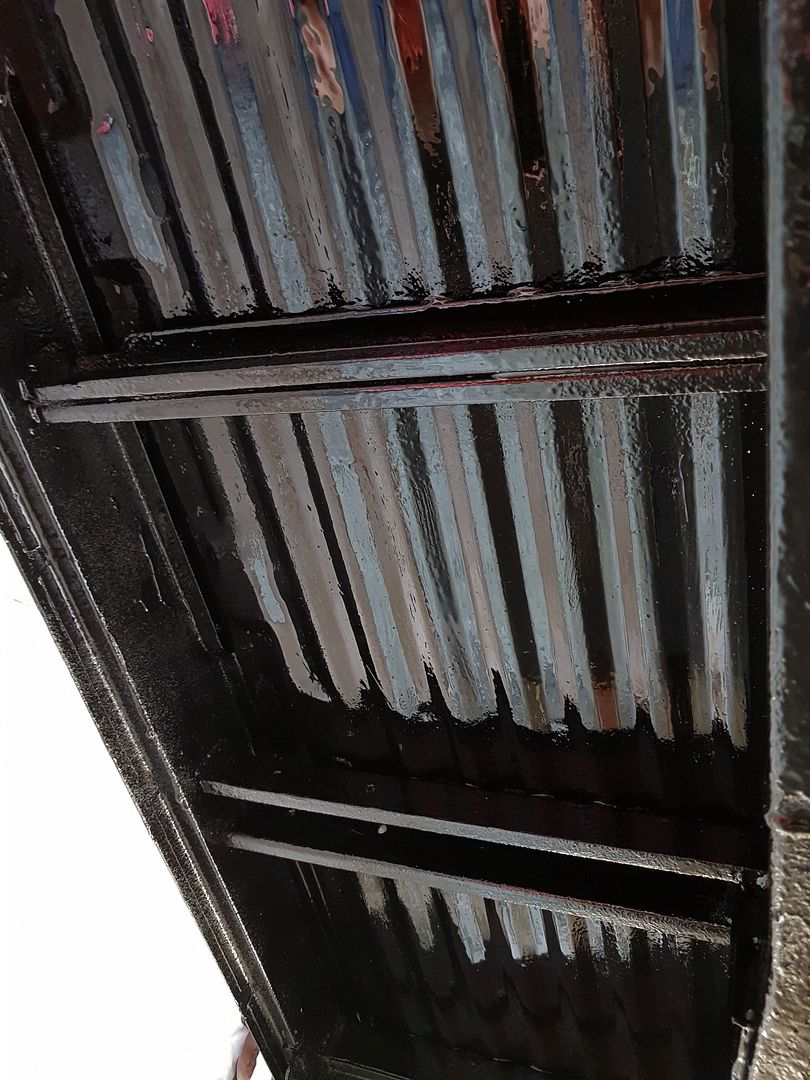
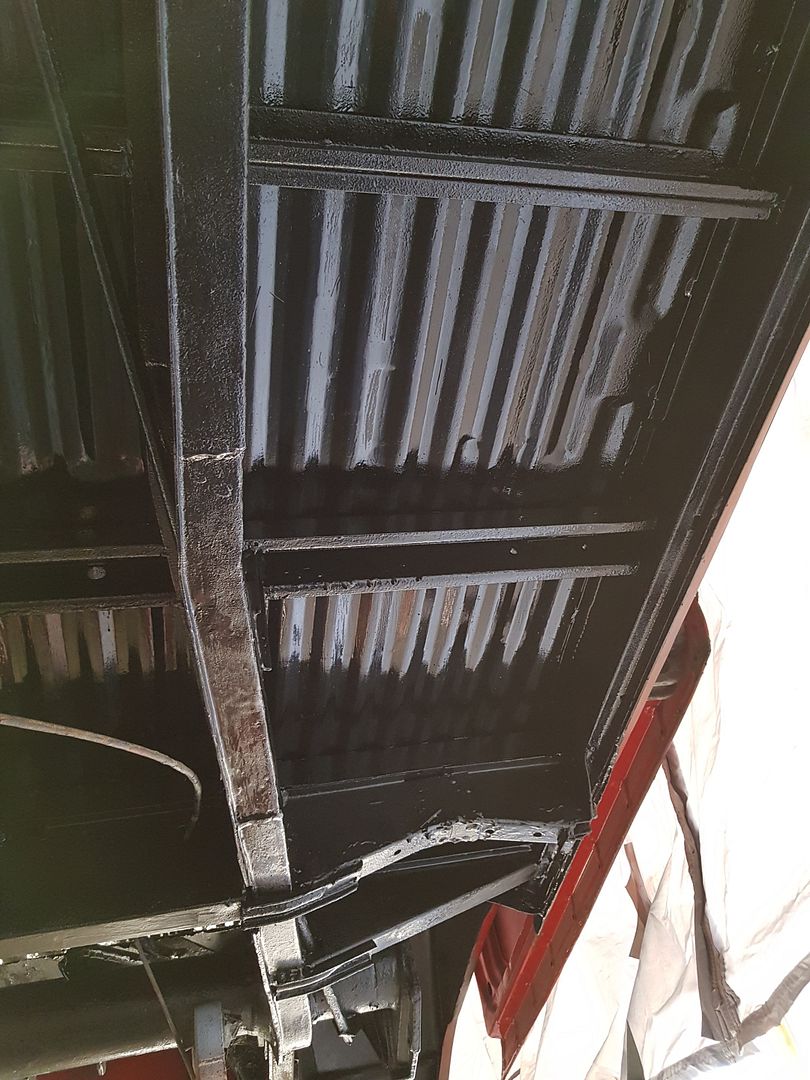
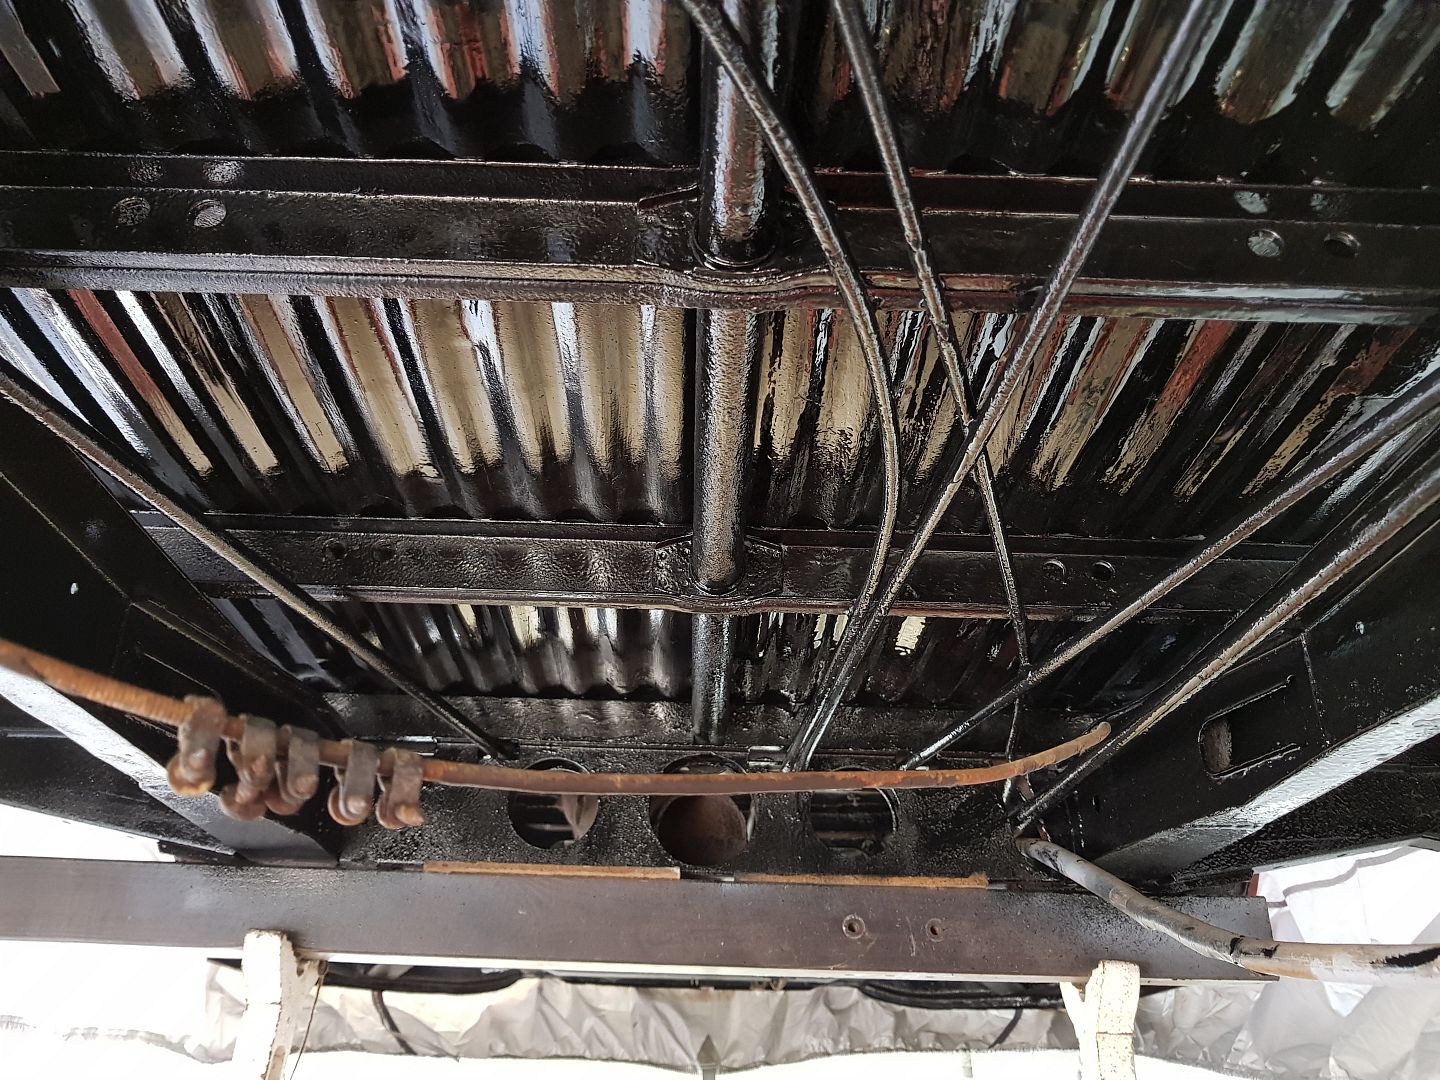
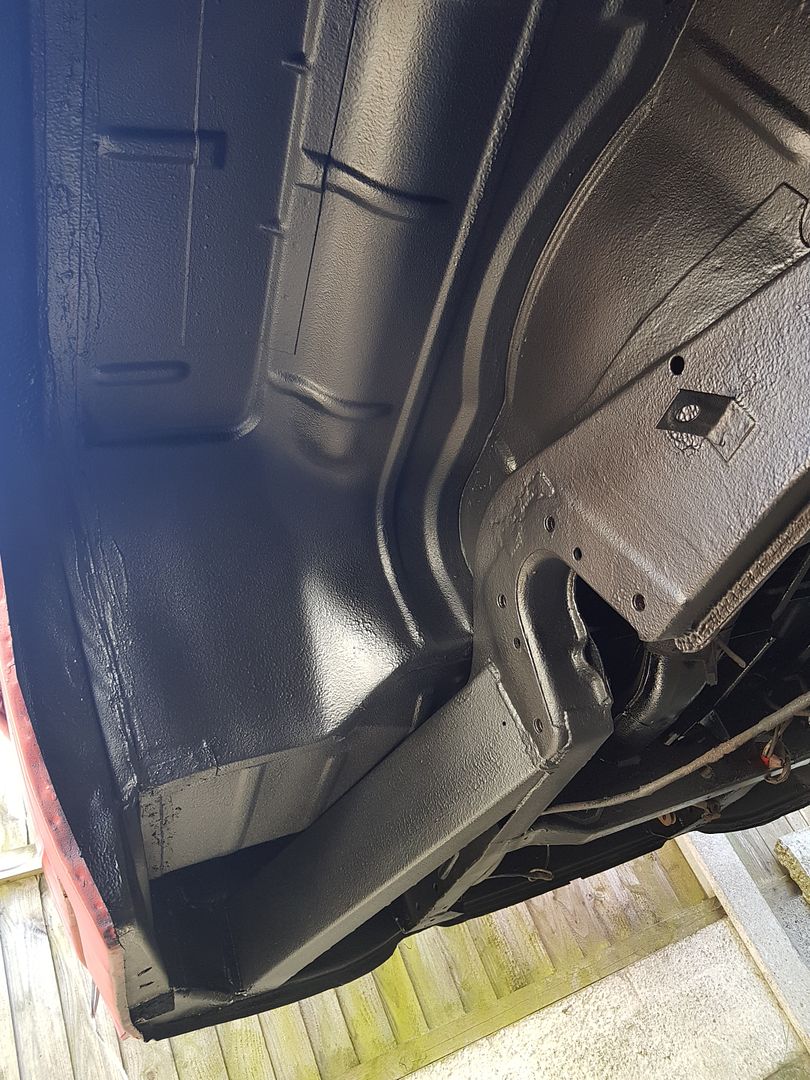
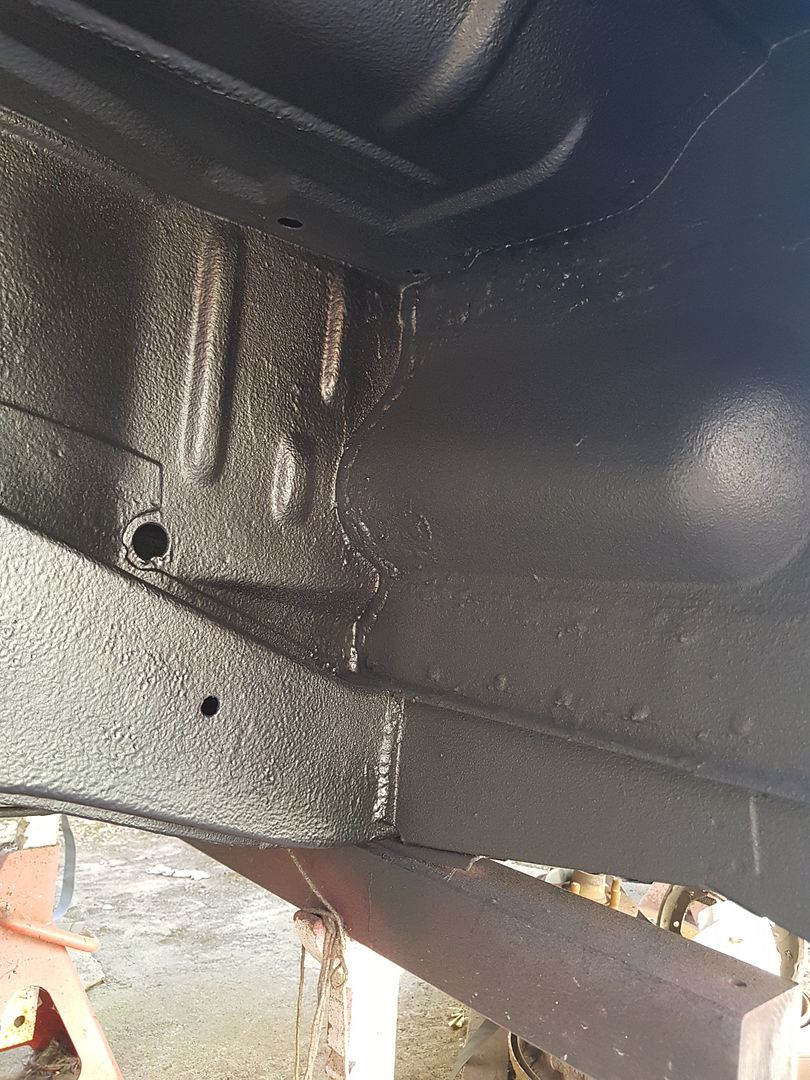
After watching yesterday's WSB race then the football followed by a quick walk to stretch the old legs, mixed some more epoxy and started to finish underneath off (plus a few touch ups) this afternoon.

Looks better already :)

20180624_183845_zpssgct71mt.jpg


20180624_183900_zpspwqn0bdh.jpg


20180624_183906_zpsdgurjfy3.jpg


20180624_183917_zpspgkejmo7.jpg


Also popped to the local motor factors to see if they stocked the horse shoe clips but alas they don’t. Although I did buy some nice and shiney M8 bolts to connect the brake back plates to the hub as the original one’s were a bit worse for wear.
Will bob a picture up later on.

Cheers
 
24.06.2018

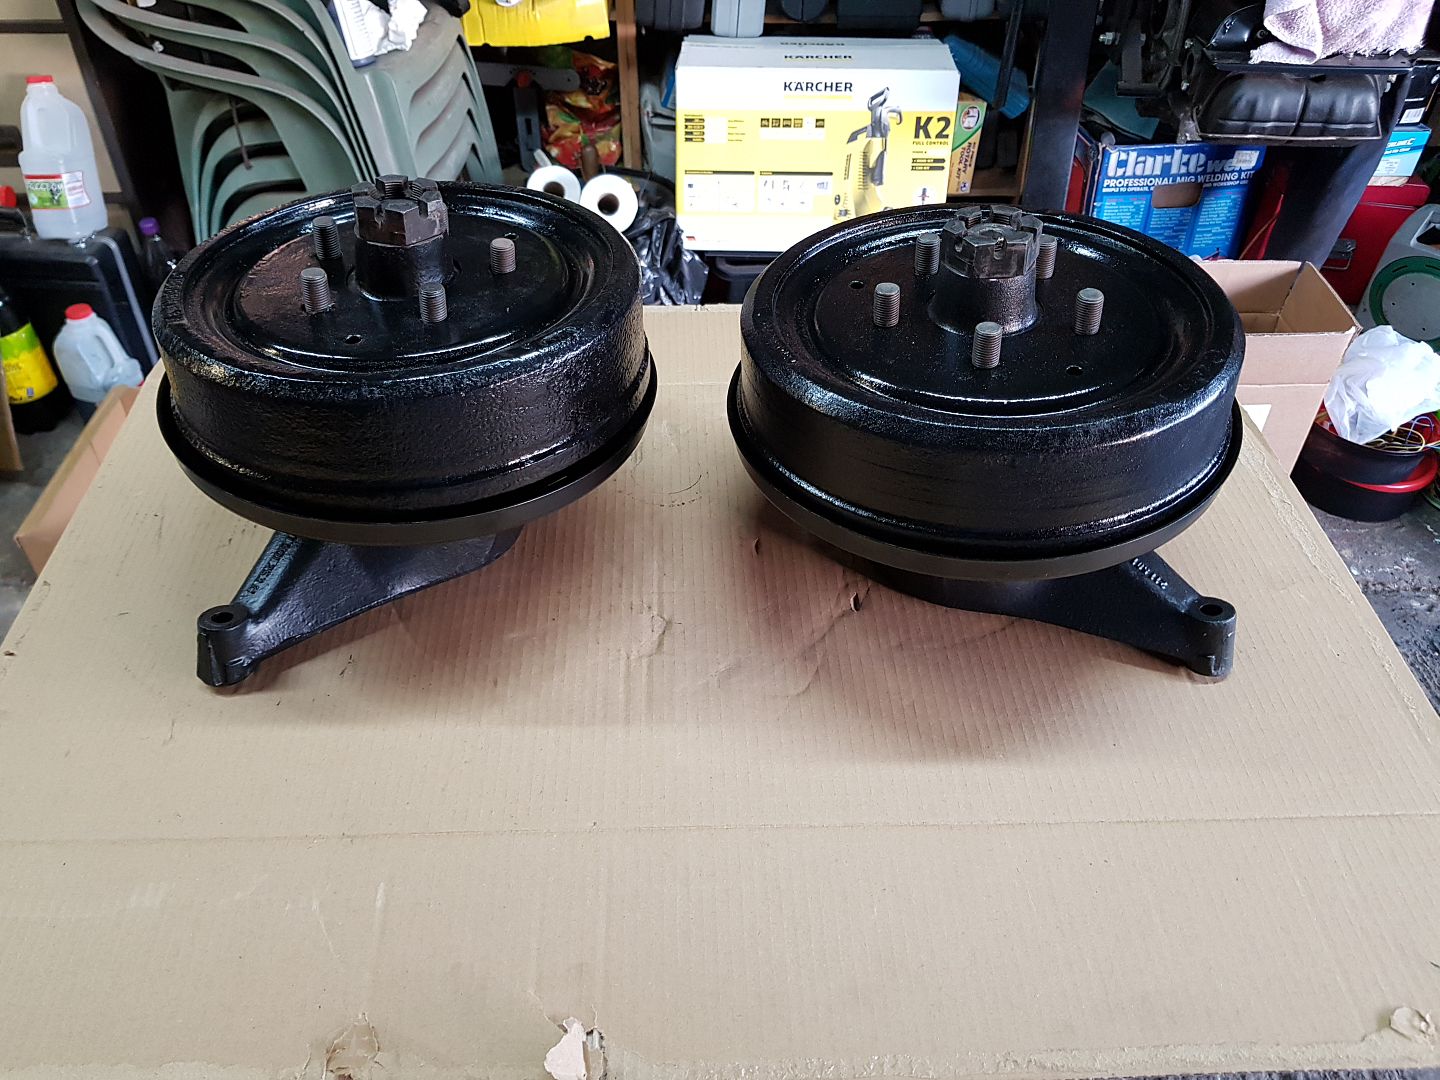
Photos of the drums on the hubs and the shiny M8 bolts :) (I am sad uploading pics of shiny bolt heads…..)

20180624_211145_zpsnncjhgel.jpg


20180624_211224_zpsuha8w4p9.jpg


Cheers
 
Shiny Bolts are reassuringly nice though aren’t they [emoji6] ... great thread [emoji106]


Sent from my iPhone using Tapatalk
 
matty74 said:
Shiny Bolts are reassuringly nice though aren’t they [emoji6] ... great thread [emoji106]


Sent from my iPhone using Tapatalk
They are aren't they :lol:
And thanks :)
 
30.06.2018

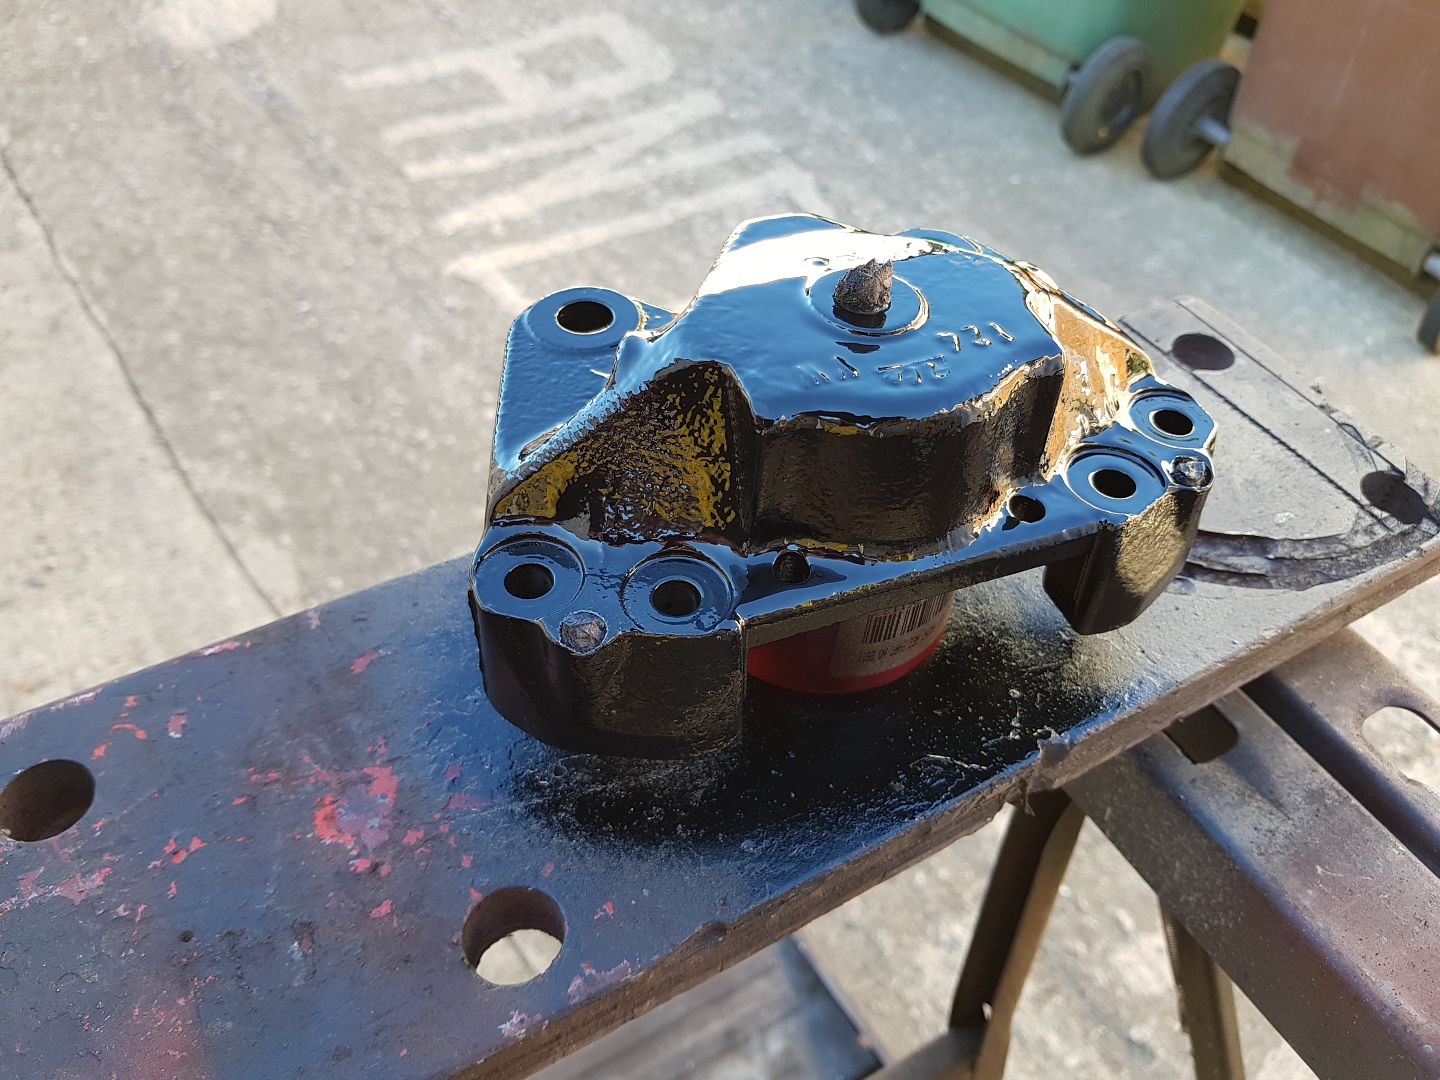
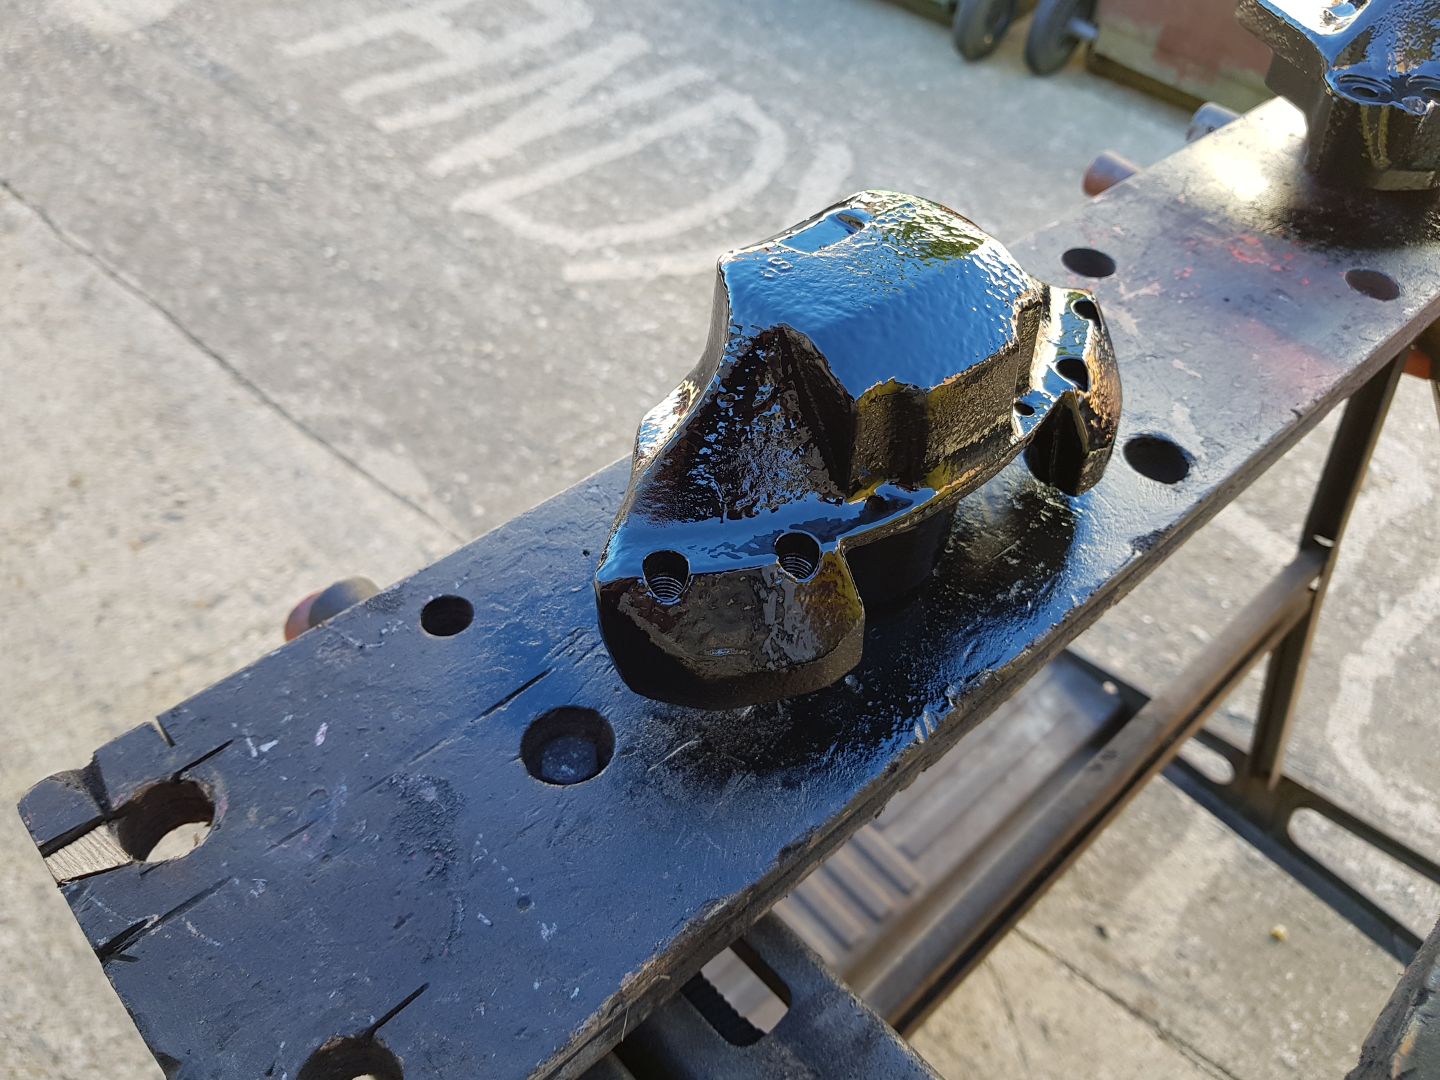
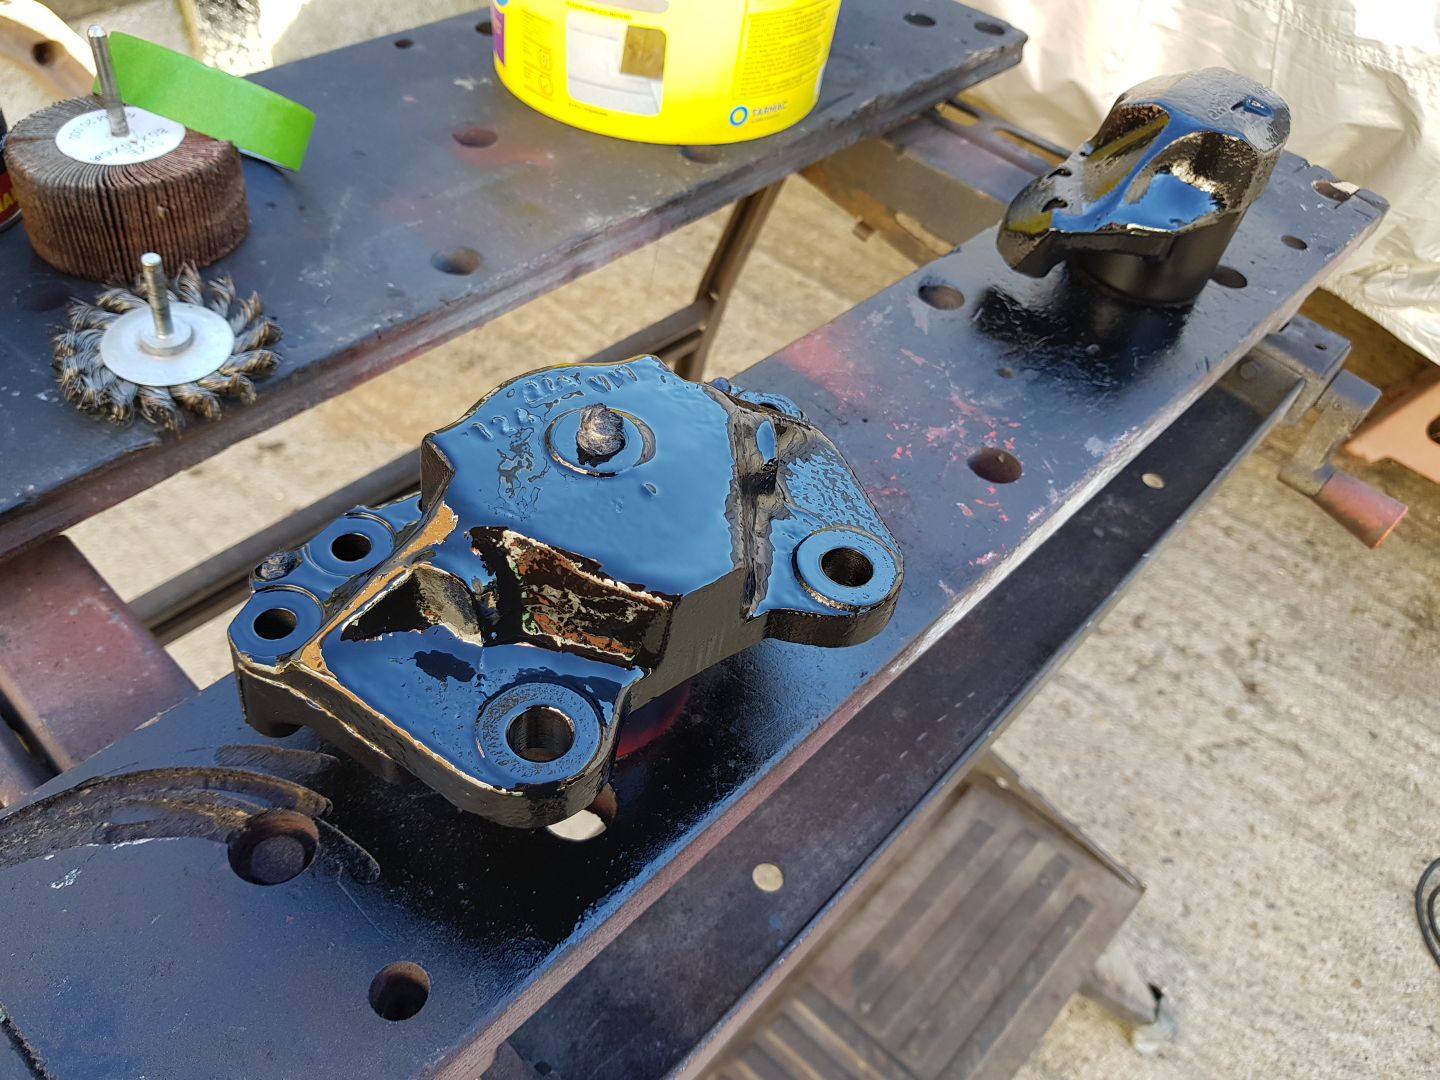
Nice day today so attacked sprucing up the front callipers ready for when the refurb kit arrives next week.

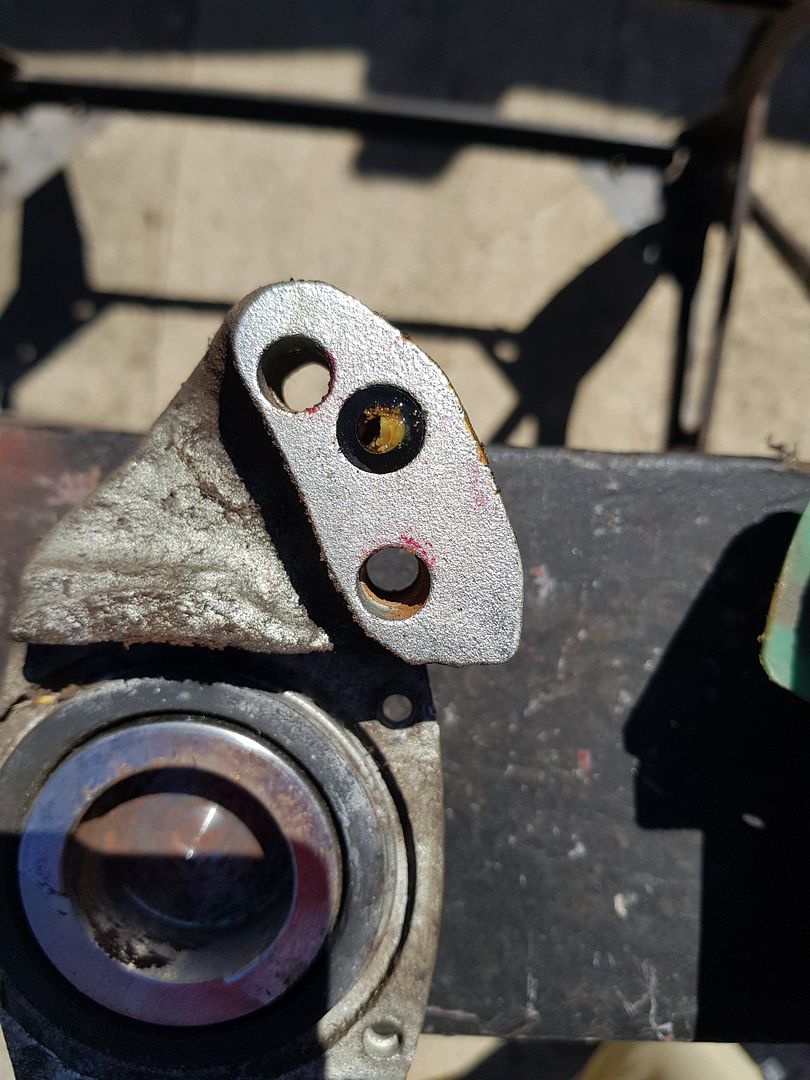
One of the callipers was full of gunk:
20180629_142259_zpsbdscrhac.jpg


Got it all cleaned out, scrubbed the callipers and a few coats of paint:

20180630_182018_zpsvpove73l.jpg


20180630_182009_zpsausapj50.jpg


20180630_181958_zps8vby2tfa.jpg


One side done, try and get the other one done tomorrow.

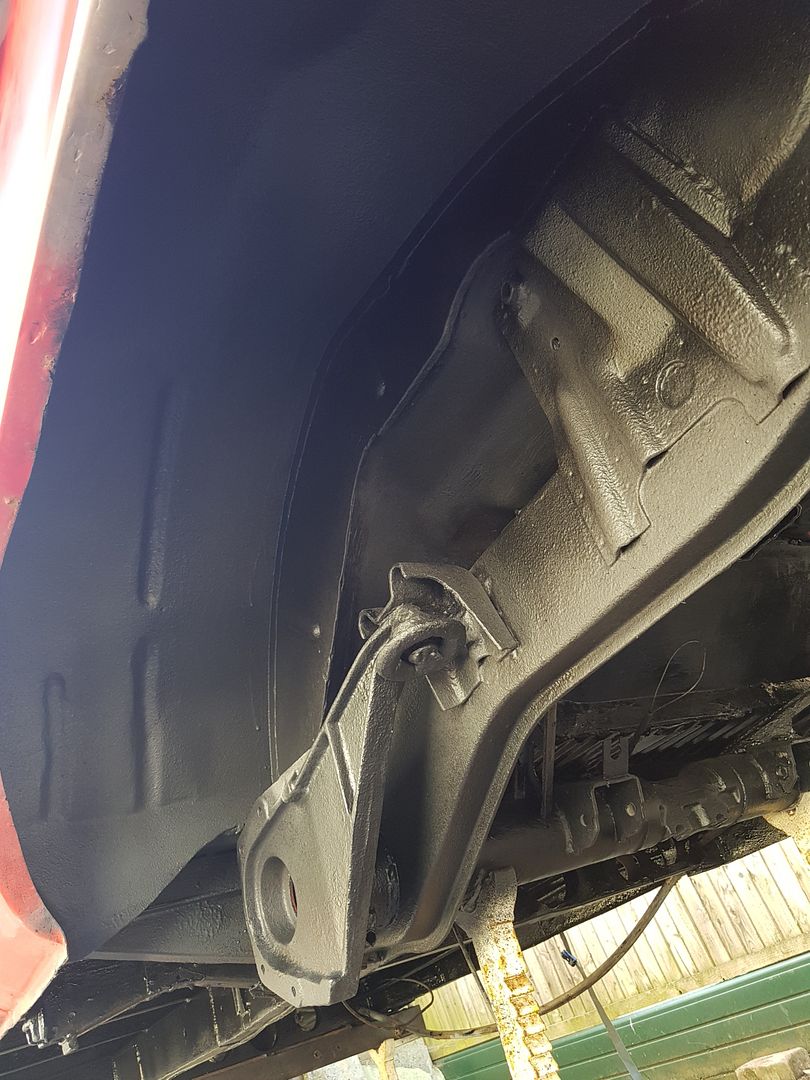
Also bought some stone chip and covered under the front and rear arches with the stuff:

20180630_170048_zpsskfgmidx.jpg


20180630_165912_zpsmt51ed3d.jpg


20180630_165855_zpscx1sfdv6.jpg


So - need to get some body colour paint and can then get the underneath sprayed and the fun will then begin.

Cheers
 

Latest posts

Top