You are using an out of date browser. It may not display this or other websites correctly.
You should upgrade or use an alternative browser.
You should upgrade or use an alternative browser.
Progress Pics - Dormobile X-Over
- Thread starter gninnam
- Start date

Help Support Early Bay Forum:
This site may earn a commission from merchant affiliate
links, including eBay, Amazon, and others.
- Joined
- Apr 22, 2012
- Messages
- 2,285
- Reaction score
- 320
- Location
- Dorset
- Year of Your Van(s)
- 1971
- Van Type
- Dormobile
Thanks Andy , yours is taking shape now and certainly is looking good.
Hope you enjoy the vacation.
J & P


Hope you enjoy the vacation.
J & P
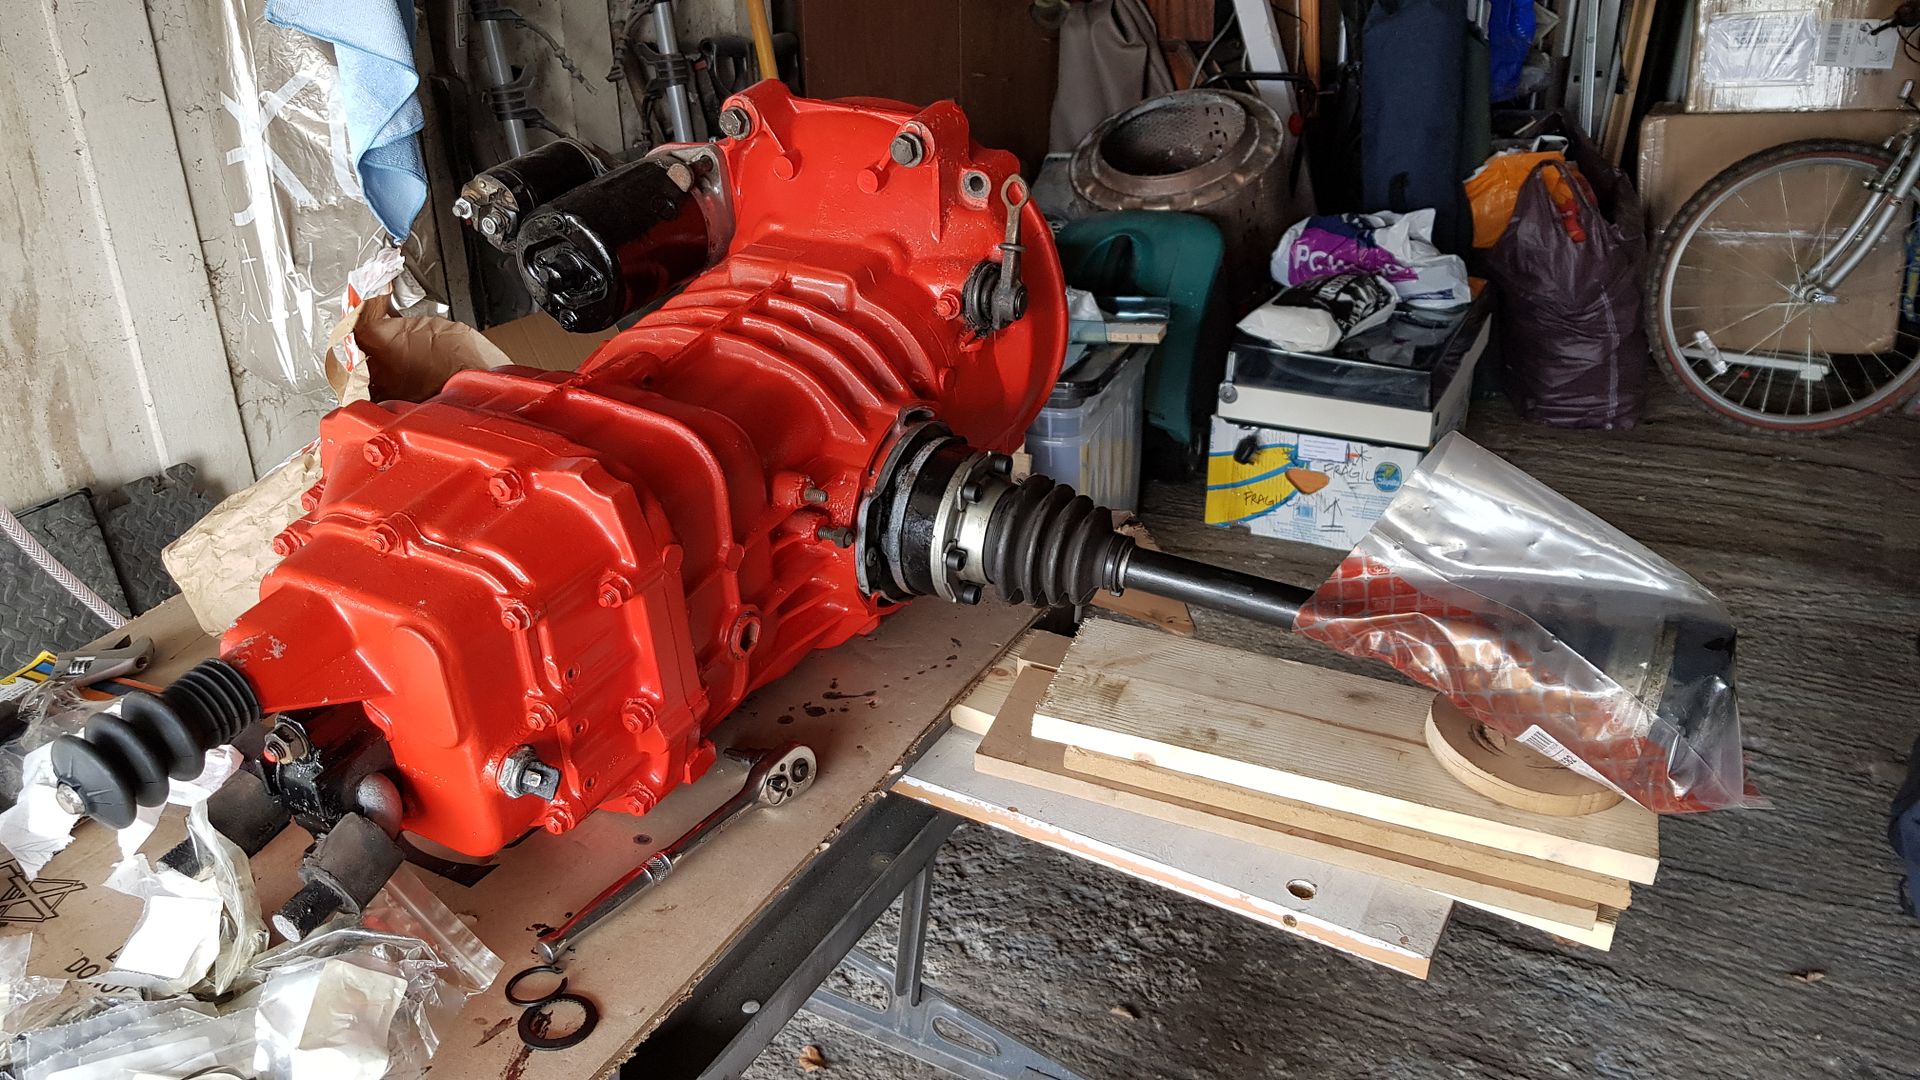
Took it off - will installed them once the gearbox is in 
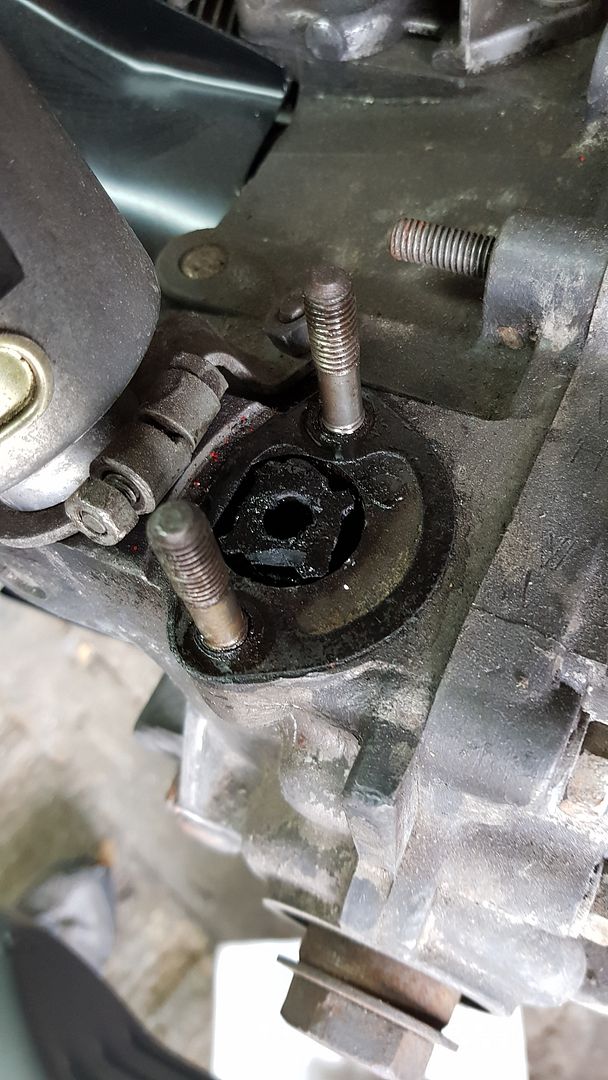
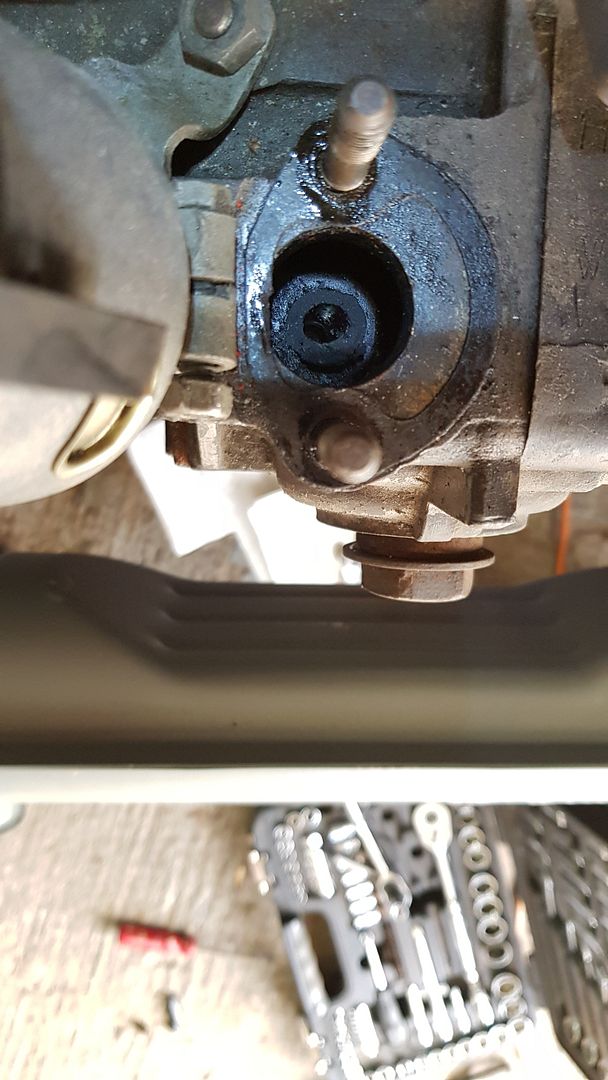
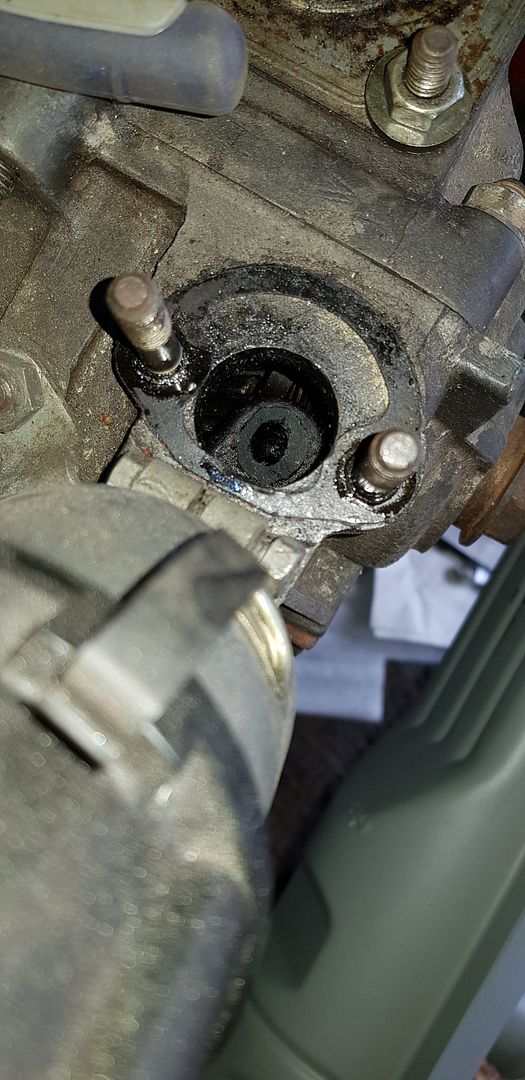
Looked to put the new fuel pump in and when I pulled out the mounting plate thingy it left some behind which is now brittle and just crumbled when I tried to pull it out.
Some of it is still left in the hole so how best to remove without leaving too much floating around in the engine?
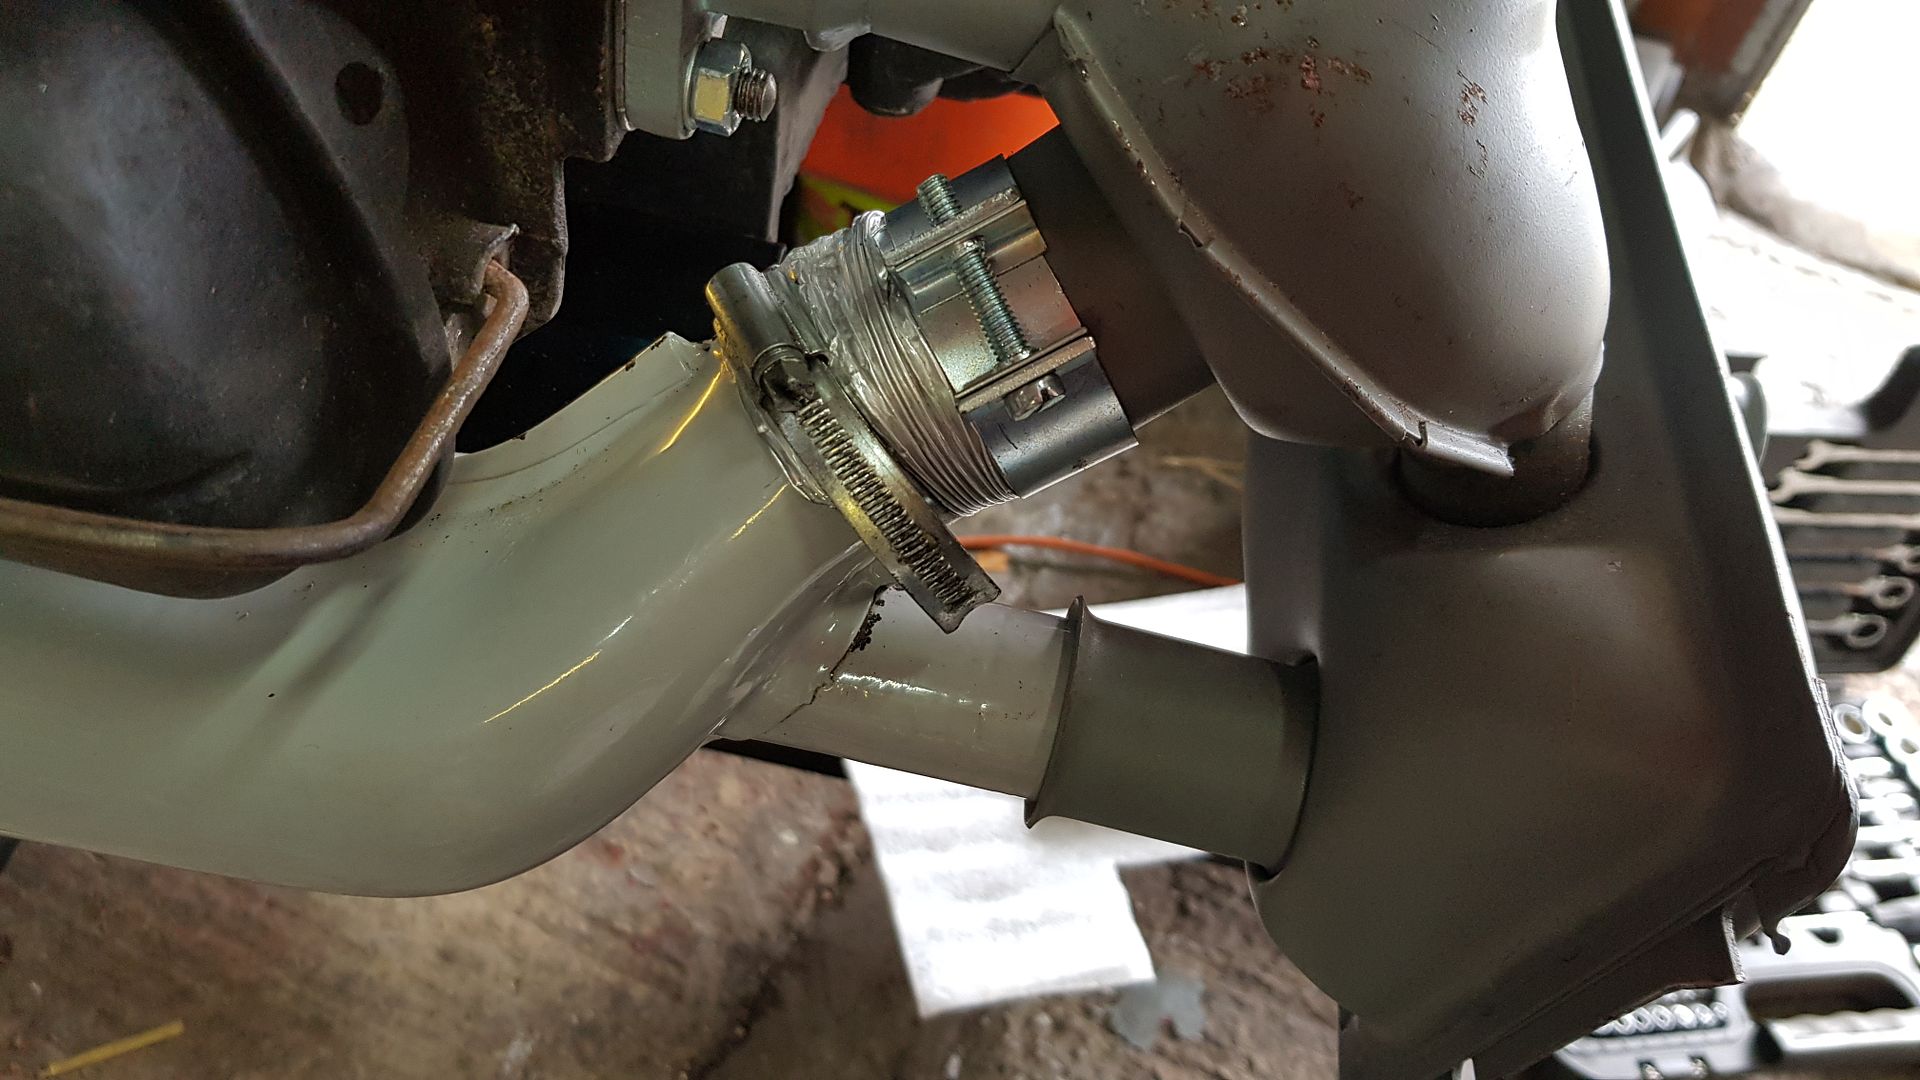
Also bridged the gap I had with the exhaust and heat exchangers using a little piece of aluminium heat exchanger pipe.
Cheers
Looked to put the new fuel pump in and when I pulled out the mounting plate thingy it left some behind which is now brittle and just crumbled when I tried to pull it out.
Some of it is still left in the hole so how best to remove without leaving too much floating around in the engine?


Also bridged the gap I had with the exhaust and heat exchangers using a little piece of aluminium heat exchanger pipe.

Cheers

$27.95 ($13.98 / Count)
Marketplace Auto Parts Window Crank Handle Set of 2 - Chrome with Black Knob - Compatible with 1968-1978 Volkswagen Beetle
Parts Geek LLC
Good luck with the fuel pump rod. Hopefully it will come out in one piece!
With the HX I found the gap with mine was less than yours, but I was still surprised when I first saw it. I managed to connect it to the exhaust pod by just loosening things off a bit and then the wide collar bridged the gap of about 5 or 6mm.
Gearbox looks great, I'm hoping mine looks a lot better soon.
- Joined
- Apr 22, 2012
- Messages
- 2,285
- Reaction score
- 320
- Location
- Dorset
- Year of Your Van(s)
- 1971
- Van Type
- Dormobile
Hey Andy, just seen your dilemma, had the same problem with Boris.
Used a tapered thread bolt or a thread cutting tap and eased it in , then very gently levered it upwards
whilst holding onto it with some pliers or water pump pliers etc. A dose of WD40 down the center won't hurt.
Hope this makes sense.
J & P


Used a tapered thread bolt or a thread cutting tap and eased it in , then very gently levered it upwards
whilst holding onto it with some pliers or water pump pliers etc. A dose of WD40 down the center won't hurt.
Hope this makes sense.
J & P
06.04.2019
Tapped what was left in the hole and a big piece broke off and fell into the engine
Shall I leave it as it will get mashed up and hopefully end up being trapped by the oil filter?
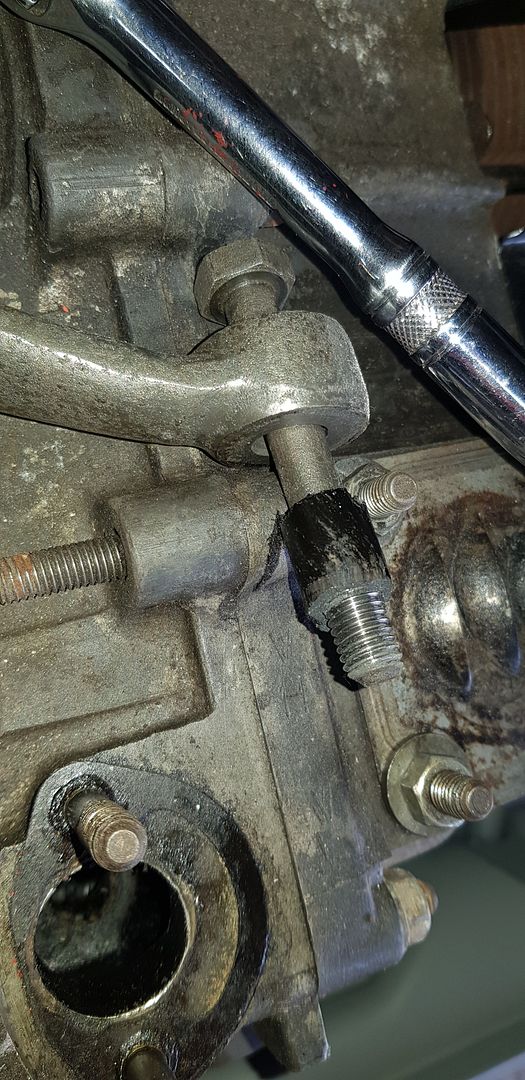
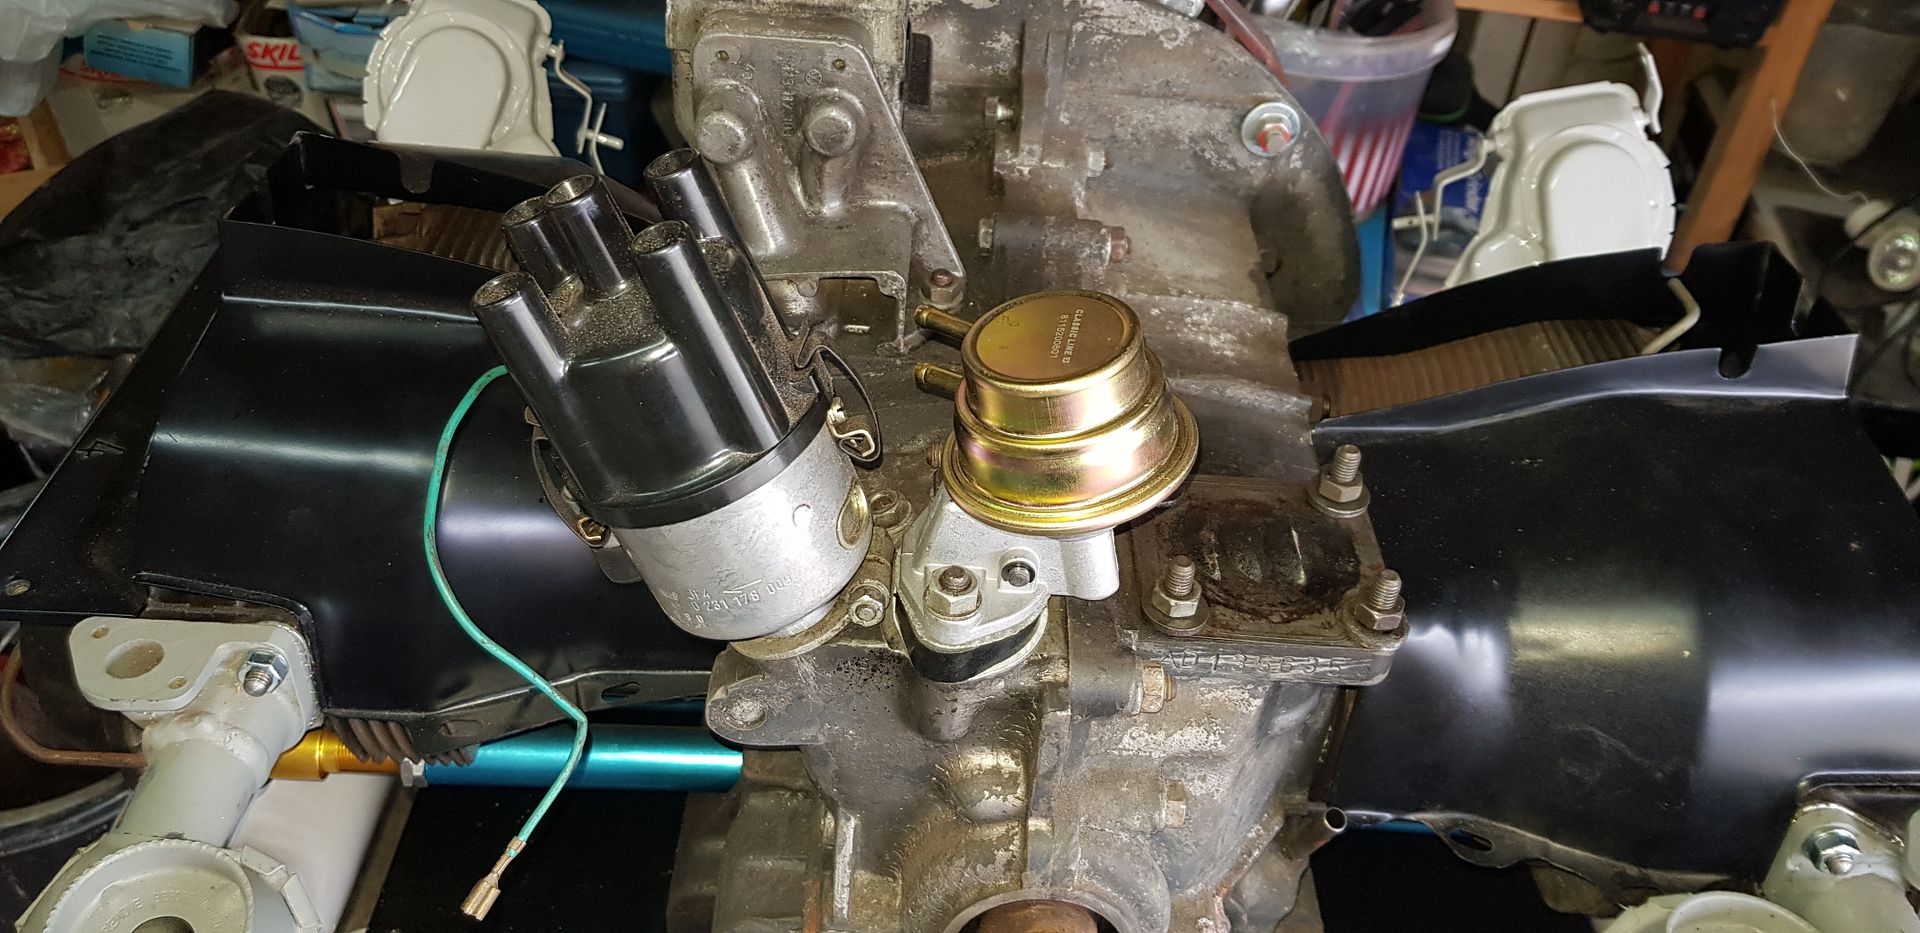
Anyway, using an M8 tap and bolt and as a fulcrum the pitman arm from the steering mechanism managed to remove what was left and now fitted the new fuel pump.
Need to order a few more bits (clutch cable, hot air cables etc) before getting the gearbox installed then concentrate on getting the engine finished then get that mounted…..
Tapped what was left in the hole and a big piece broke off and fell into the engine
Shall I leave it as it will get mashed up and hopefully end up being trapped by the oil filter?
Anyway, using an M8 tap and bolt and as a fulcrum the pitman arm from the steering mechanism managed to remove what was left and now fitted the new fuel pump.


Need to order a few more bits (clutch cable, hot air cables etc) before getting the gearbox installed then concentrate on getting the engine finished then get that mounted…..
14.04.2019
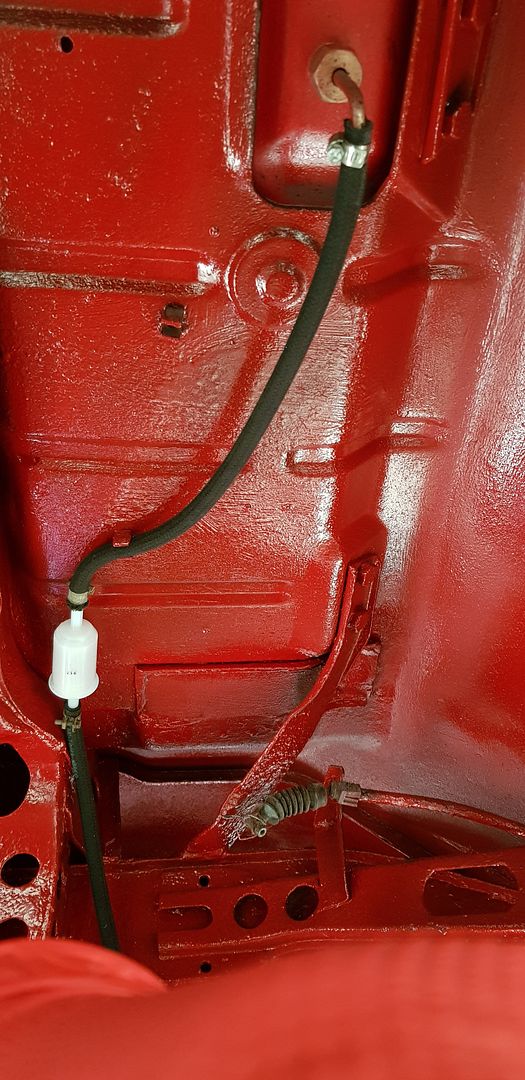
Had a delivery at the weekend so added the fuel pipe and filter to the fuel tank feed.
Started to add the fan shroud but not a good fit so will need to do some fettling:
Not to bad on this side.
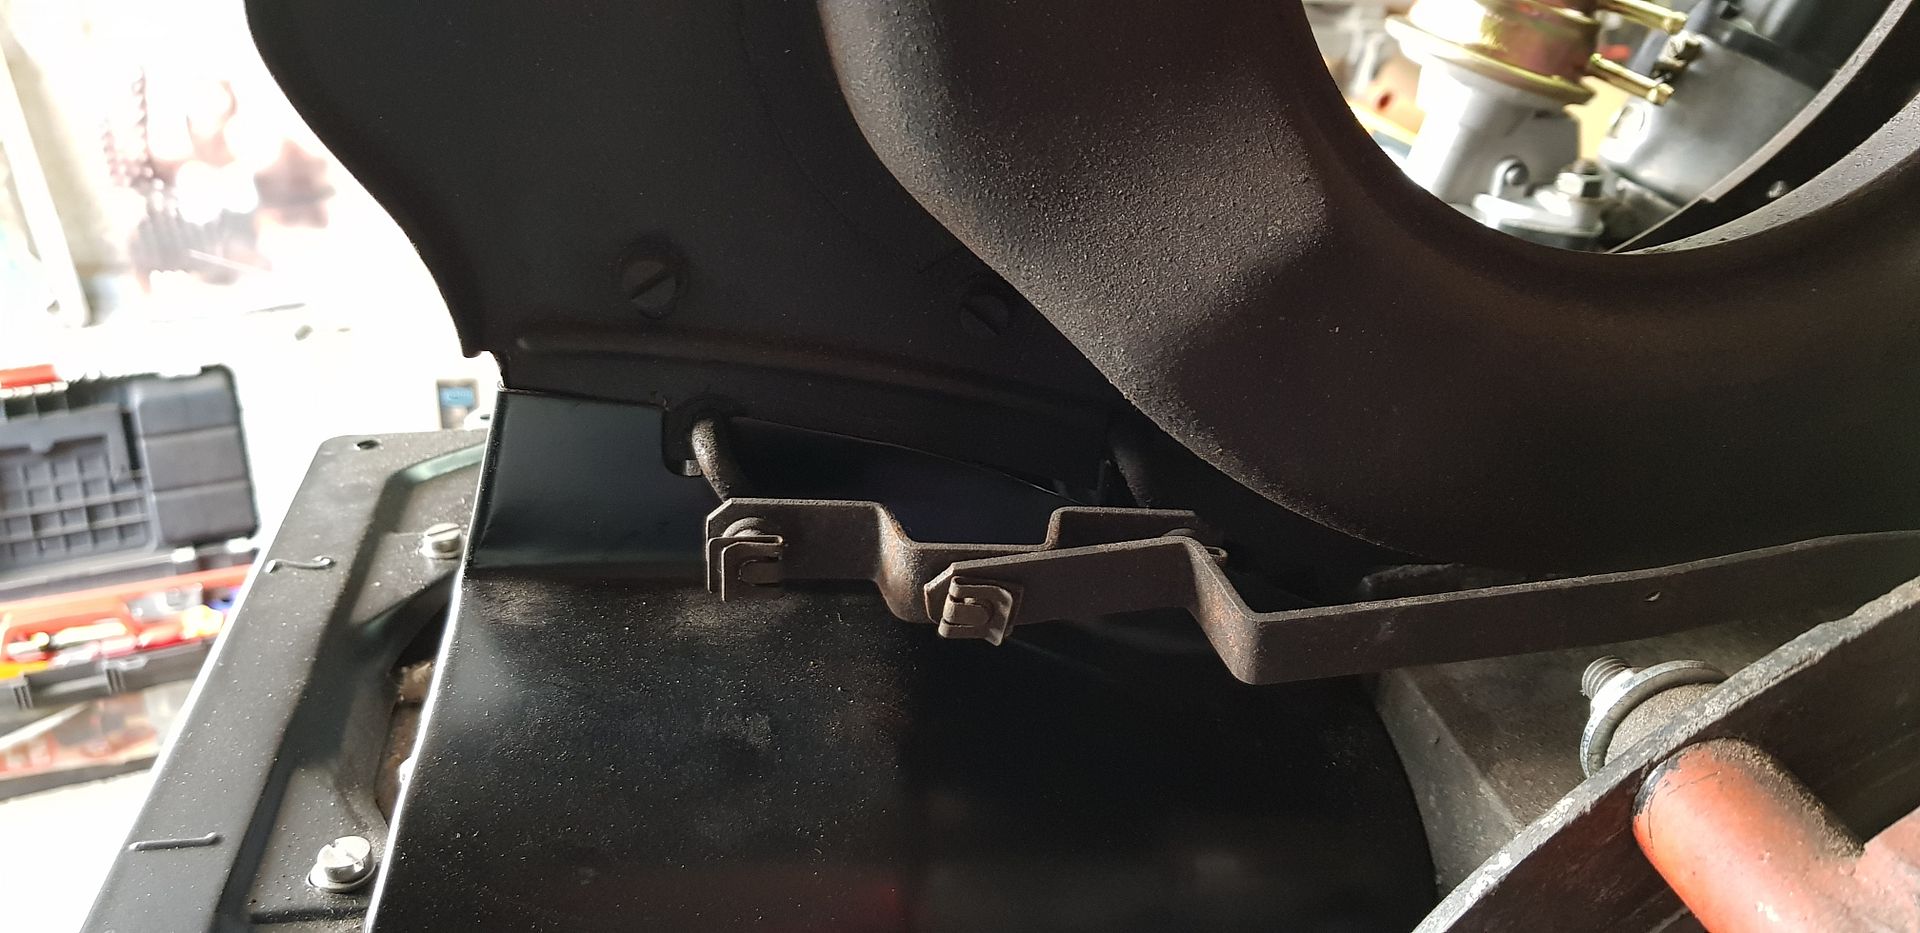
But the other side;
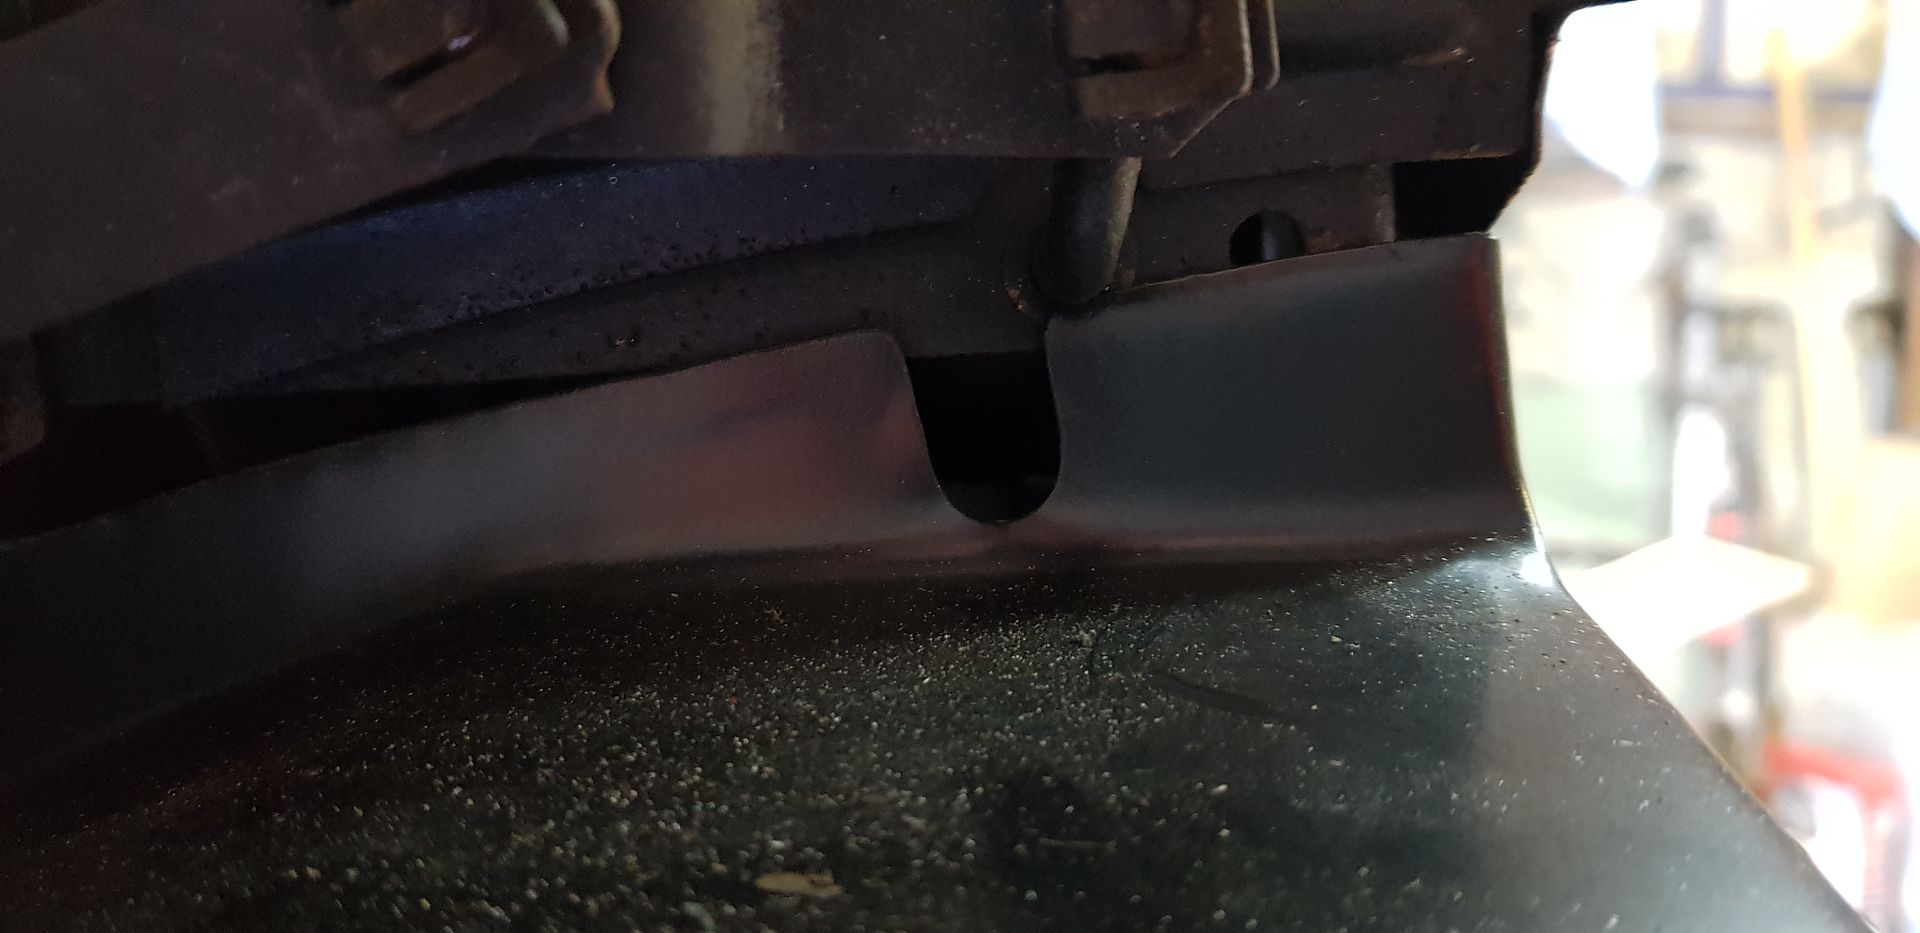
Will gave to attack it with a cutter by the looks of things.
Had a delivery at the weekend so added the fuel pipe and filter to the fuel tank feed.

Started to add the fan shroud but not a good fit so will need to do some fettling:
Not to bad on this side.

But the other side;

Will gave to attack it with a cutter by the looks of things.
Andy, that looks like braided fuel hose. Have you got confidence in this type of hose??
Hi Mikemike202 said:Andy, that looks like braided fuel hose. Have you got confidence in this type of hose??
It's rated for the new fuel so should be good (only bought last year).
21.04.2019
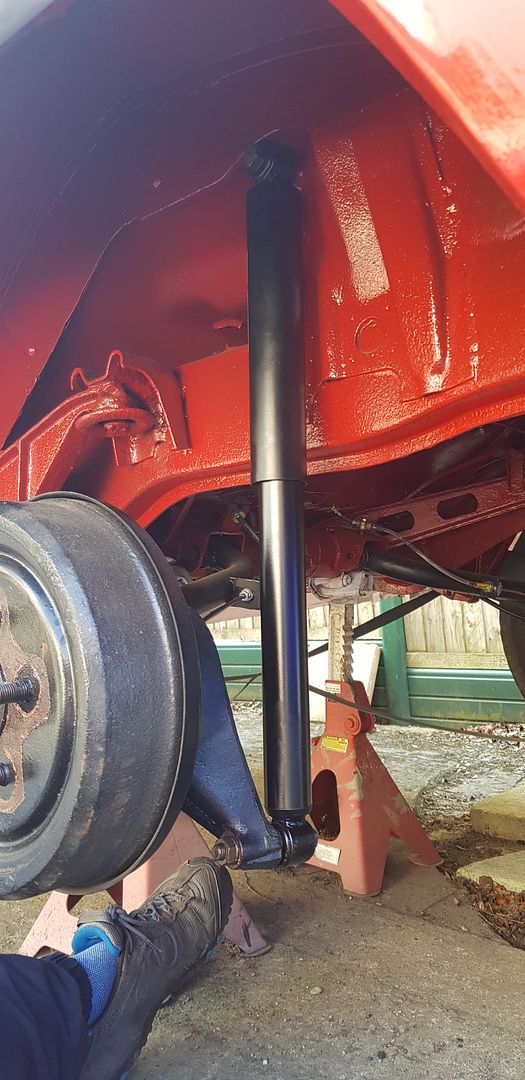
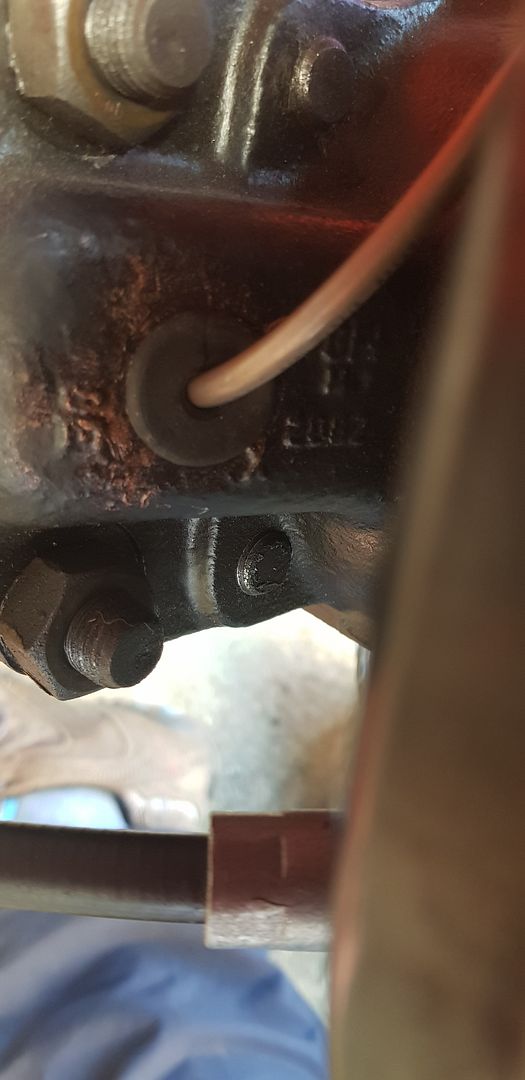
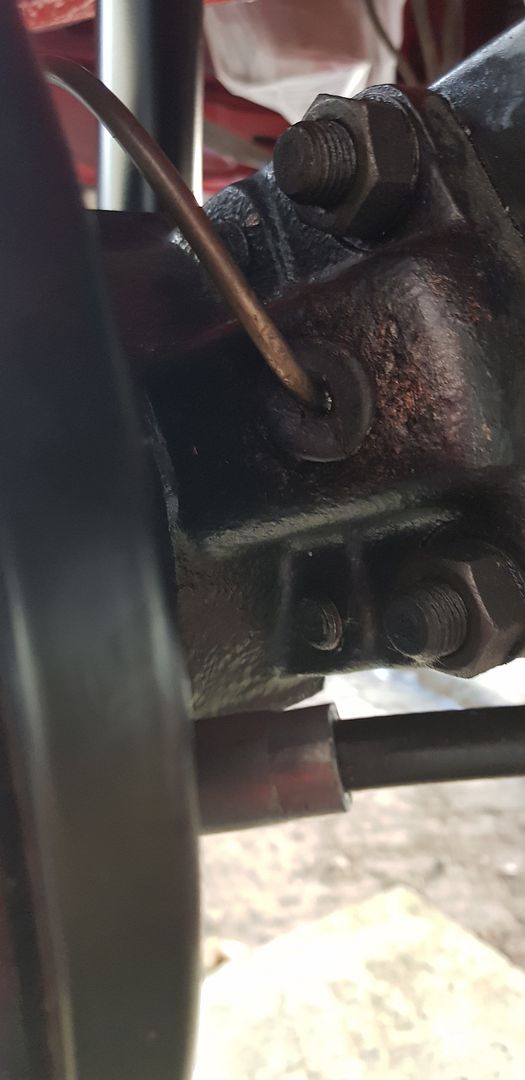
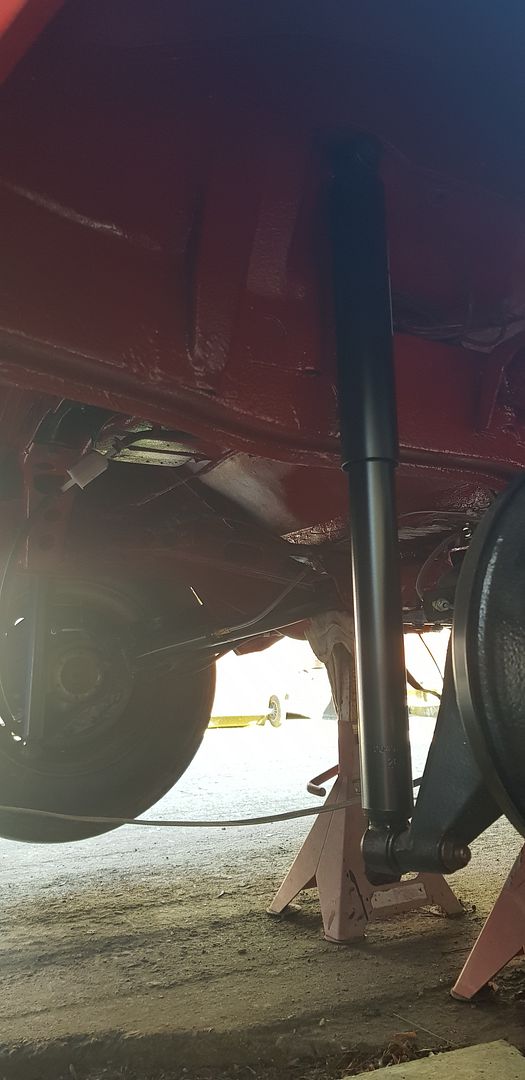
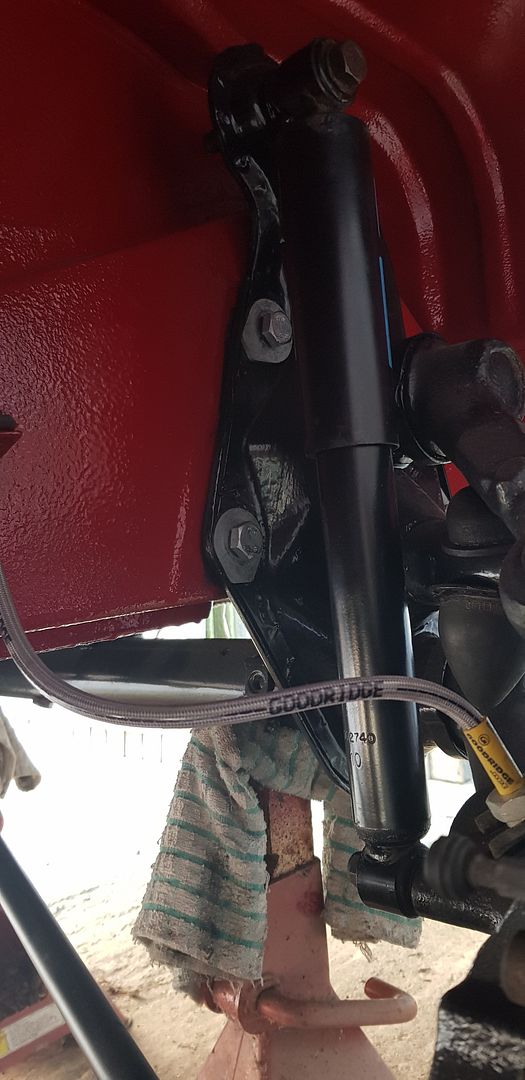
Fitted the rear and front shocks and also sorted out the rear grommets that the brake pipe goes through at the same time (easier with it being warm).
Nearside rear shock and grommet:
Used copper grease to help get the grommet in (also put it in hot water to soften it):
Used a piece of fuel pipe as a grommet for the pipe as can be seen in the picture:
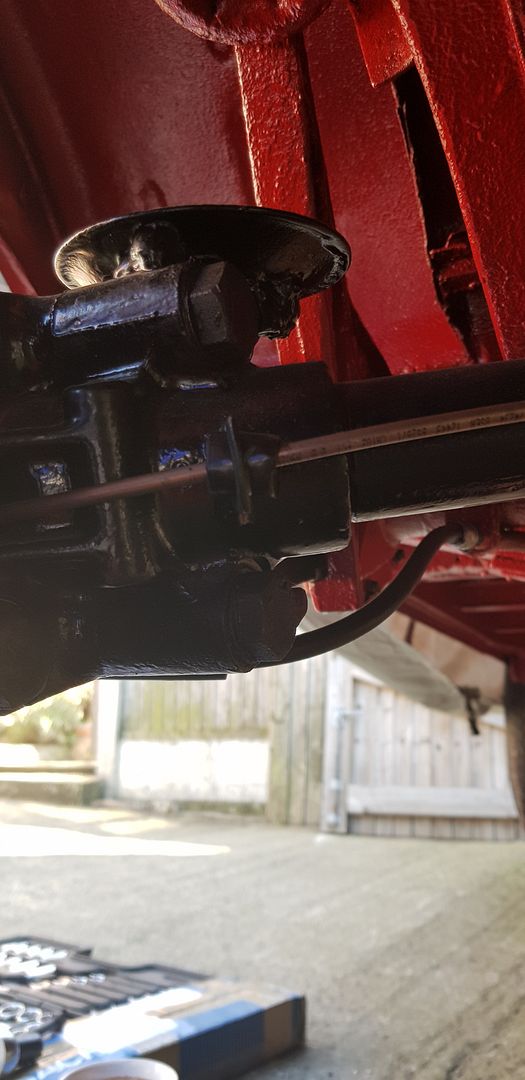
Grommet on the offside in properly now:
Rear shock now installed on the offside:
Front nearside shock:
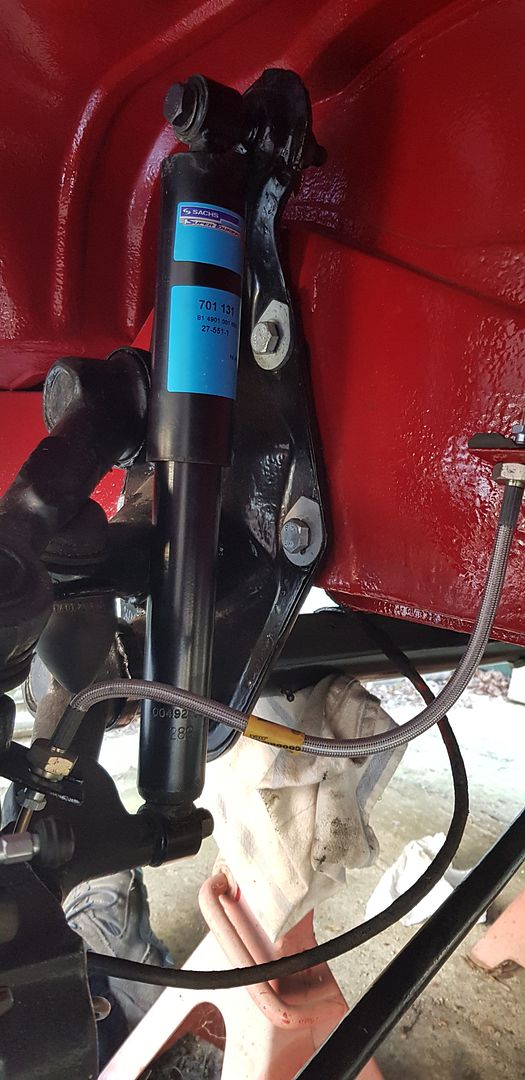
Front offside shock:
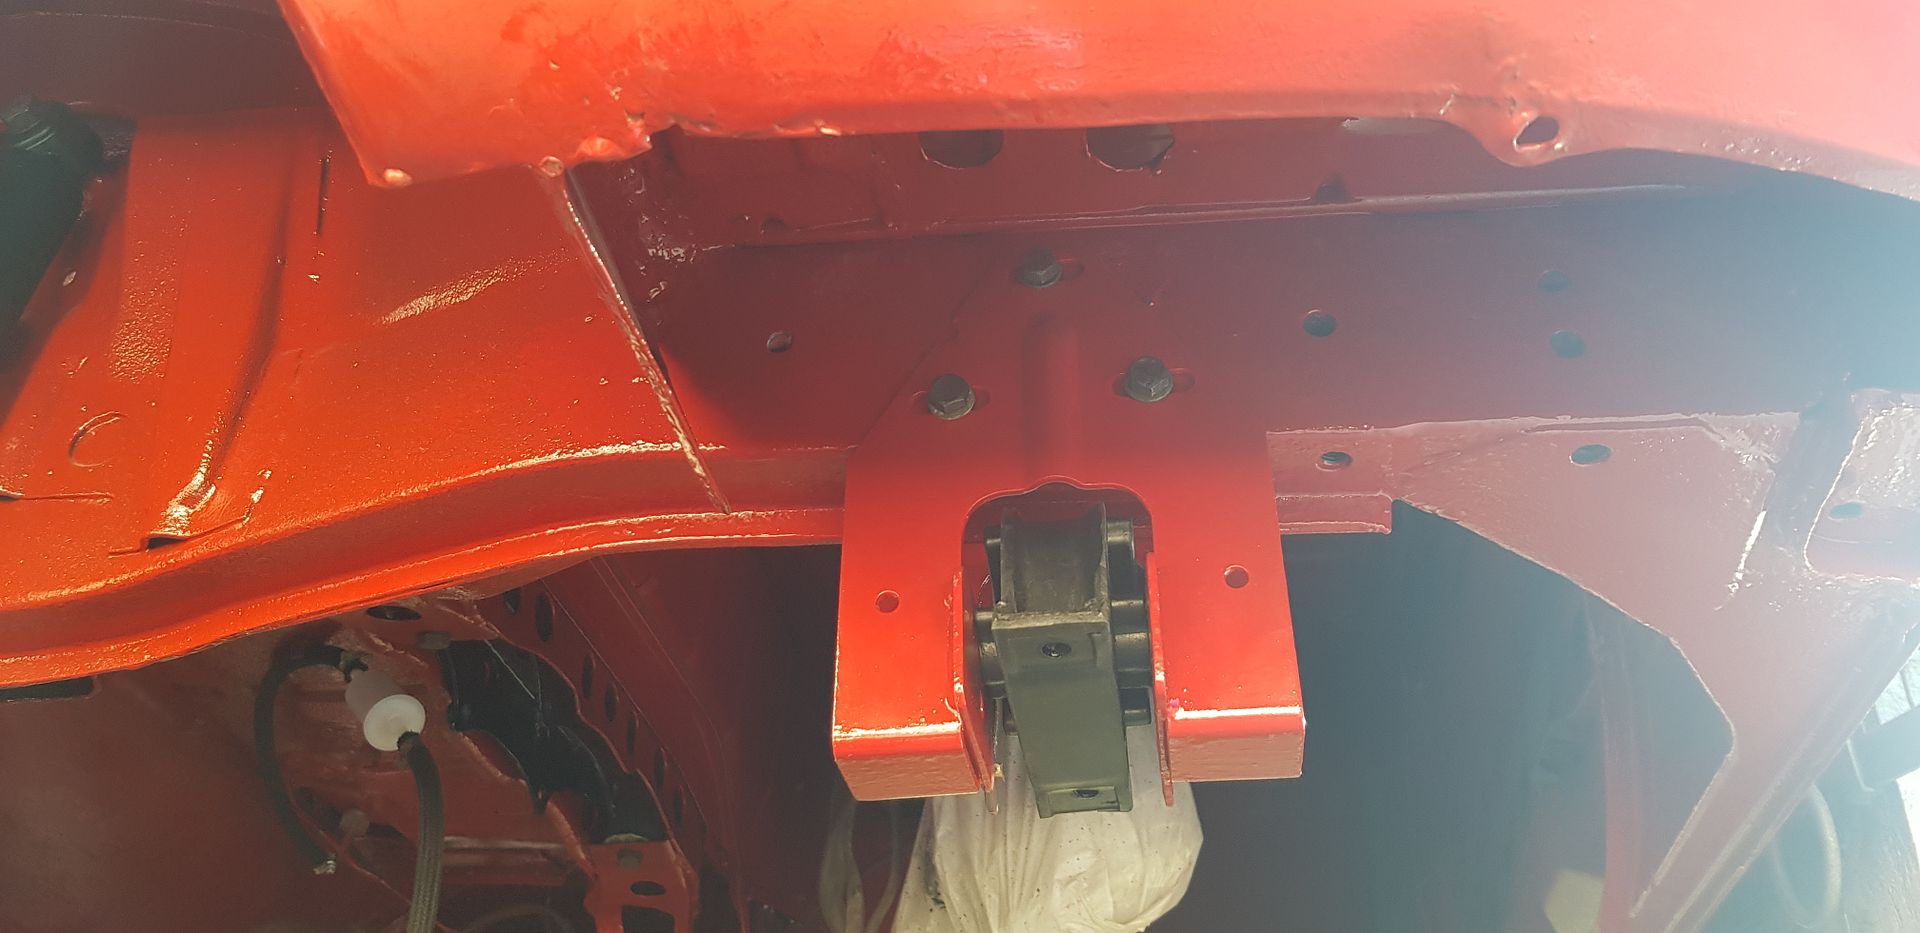
Also mounted one of the engine support bar thingies - need to do the other but need some more bolts:
Fitted the rear and front shocks and also sorted out the rear grommets that the brake pipe goes through at the same time (easier with it being warm).
Nearside rear shock and grommet:

Used copper grease to help get the grommet in (also put it in hot water to soften it):

Used a piece of fuel pipe as a grommet for the pipe as can be seen in the picture:

Grommet on the offside in properly now:

Rear shock now installed on the offside:

Front nearside shock:

Front offside shock:

Also mounted one of the engine support bar thingies - need to do the other but need some more bolts:

graysummers
Well-known member
- Joined
- Jun 16, 2009
- Messages
- 470
- Reaction score
- 15
- Year of Your Van(s)
- 1972
- Van Type
- Crossover
Really looking good and solid. Those little grommets extras are obviously essential. So nice all round photo protection evidence you’ve been fitting them. Shock absorbers? Read a few years back about comfortable modern choices as opposed to stock. Mine are from stock choice and float about quite nicely. And Welsh roads are unforgiving. But I wonder at the new Koni type choice. Extra spring surrounding. Would they give that extra ‘aaahhhh! That’s better’. You heard anything about them? Back to ‘progress pics and Andy application’. This weather must rock your boat.
22-04-2019
With the weather staying good decided to tackle a few jobs underneath.
First up add the steering damper - fairly straight forward.
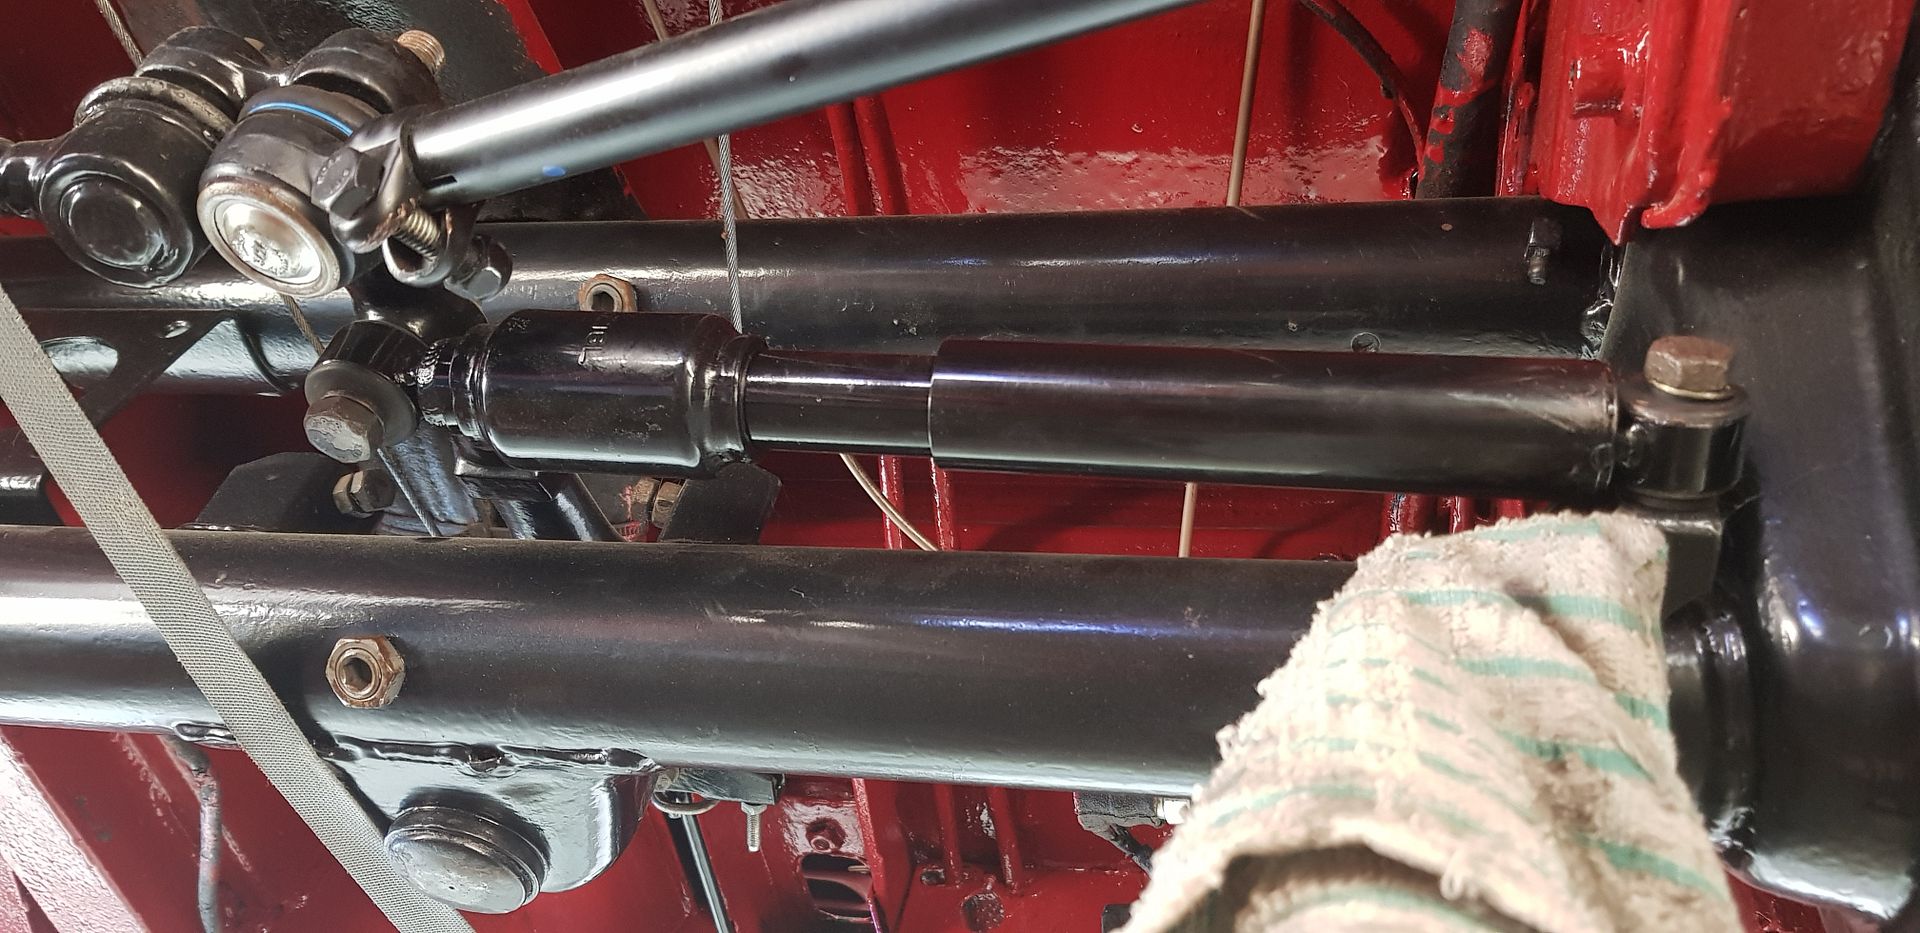
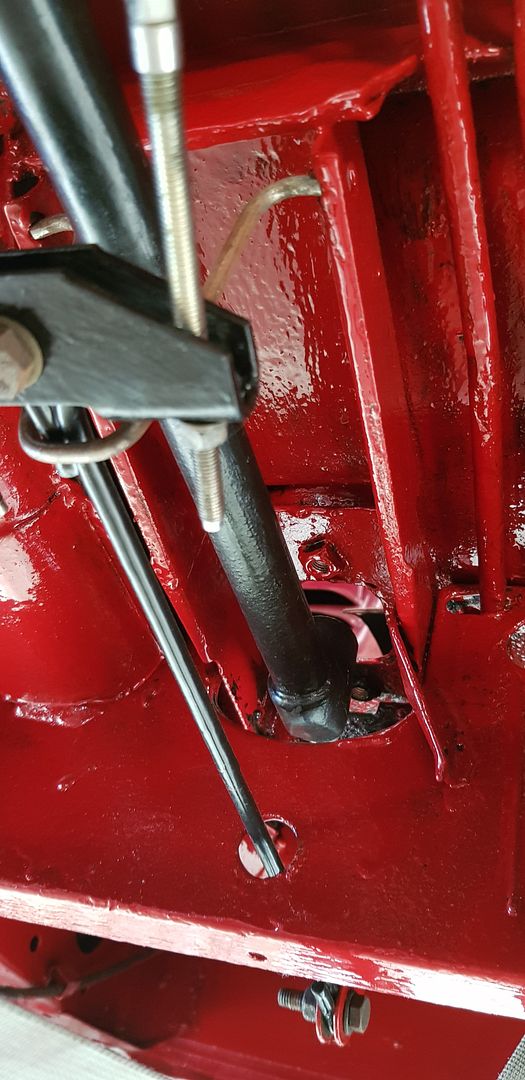
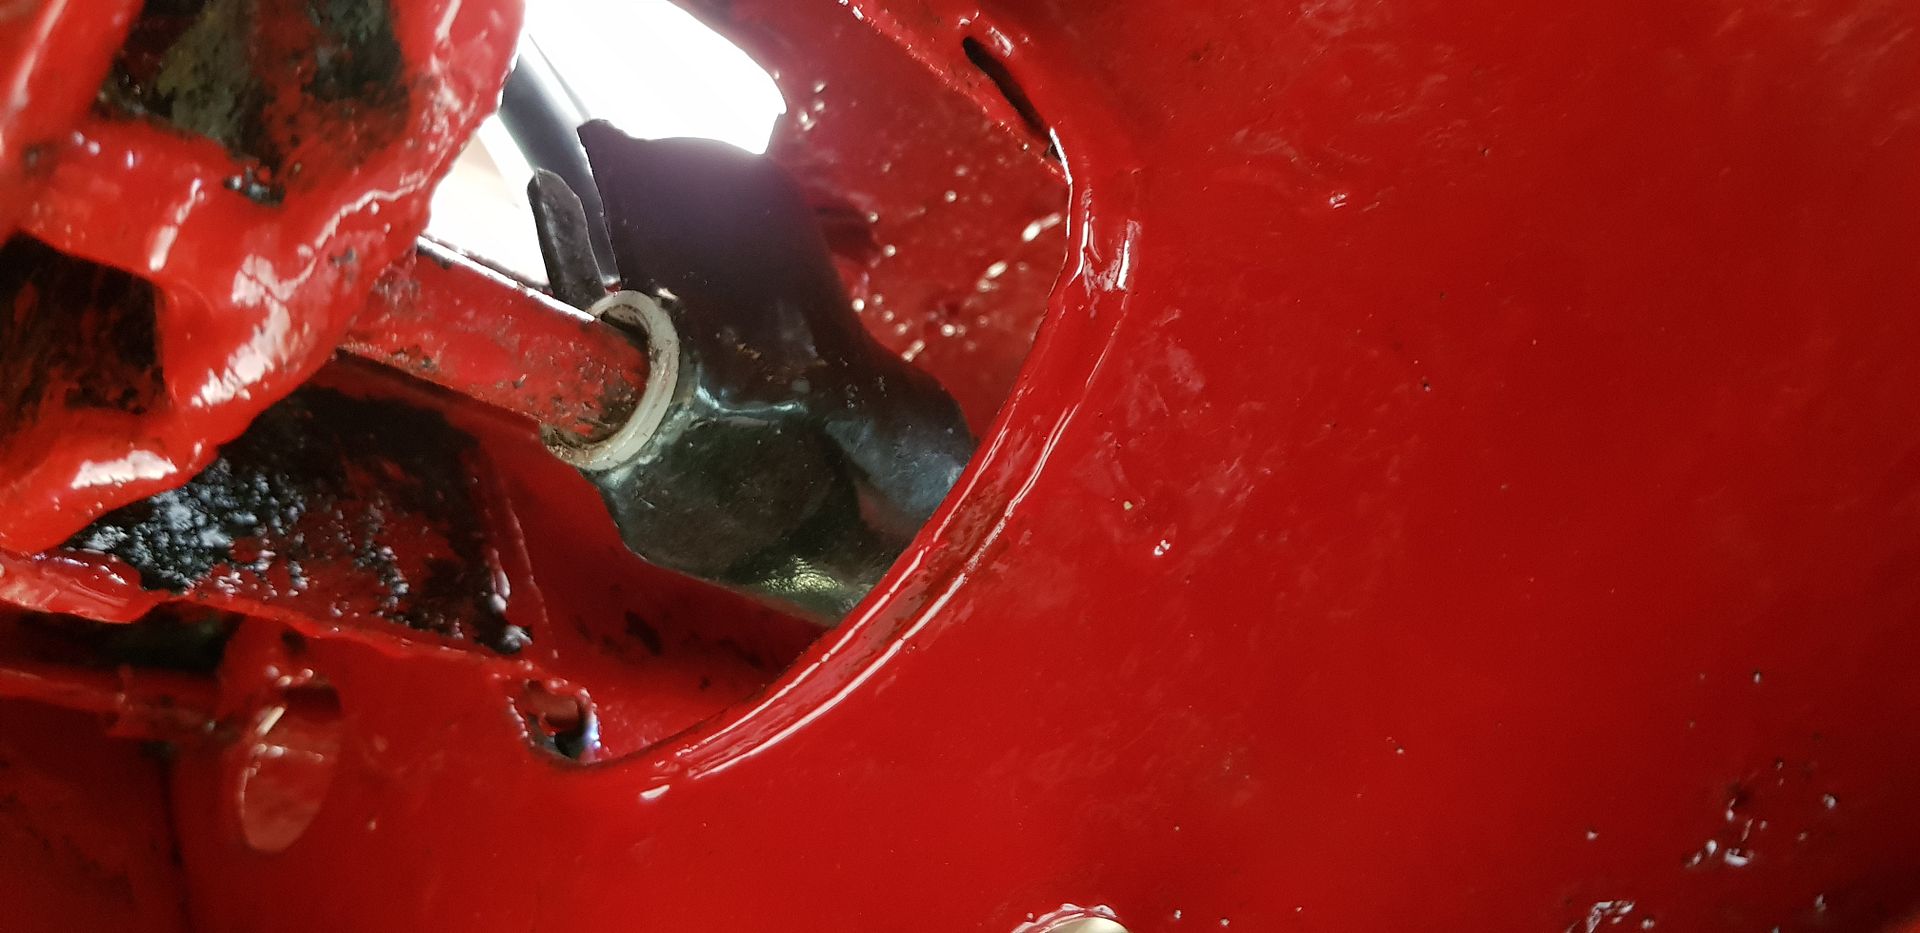
Next up was the front gear shift rod - add the front bush, greased up then pushed in. Connected to the rear shaft, tightened up then some wire added.
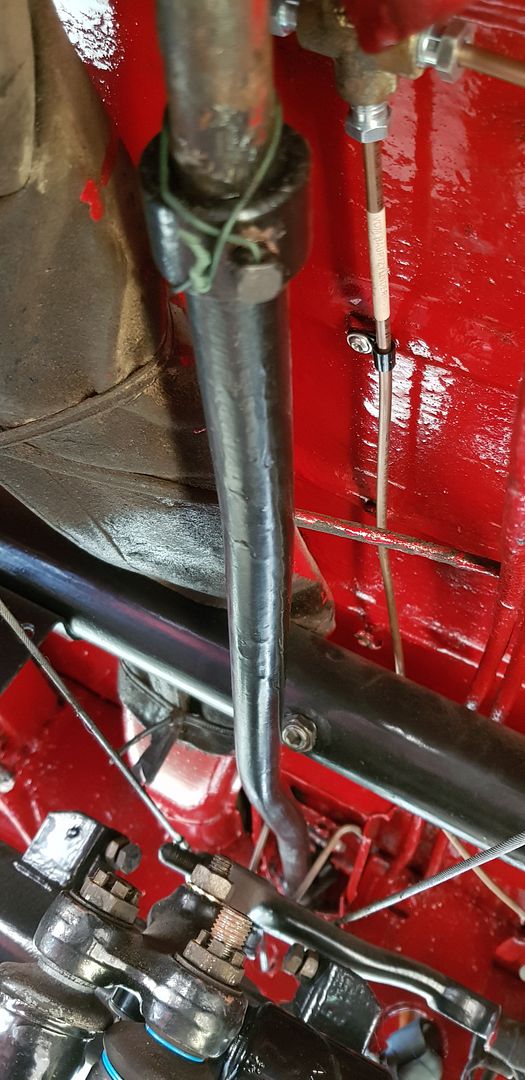
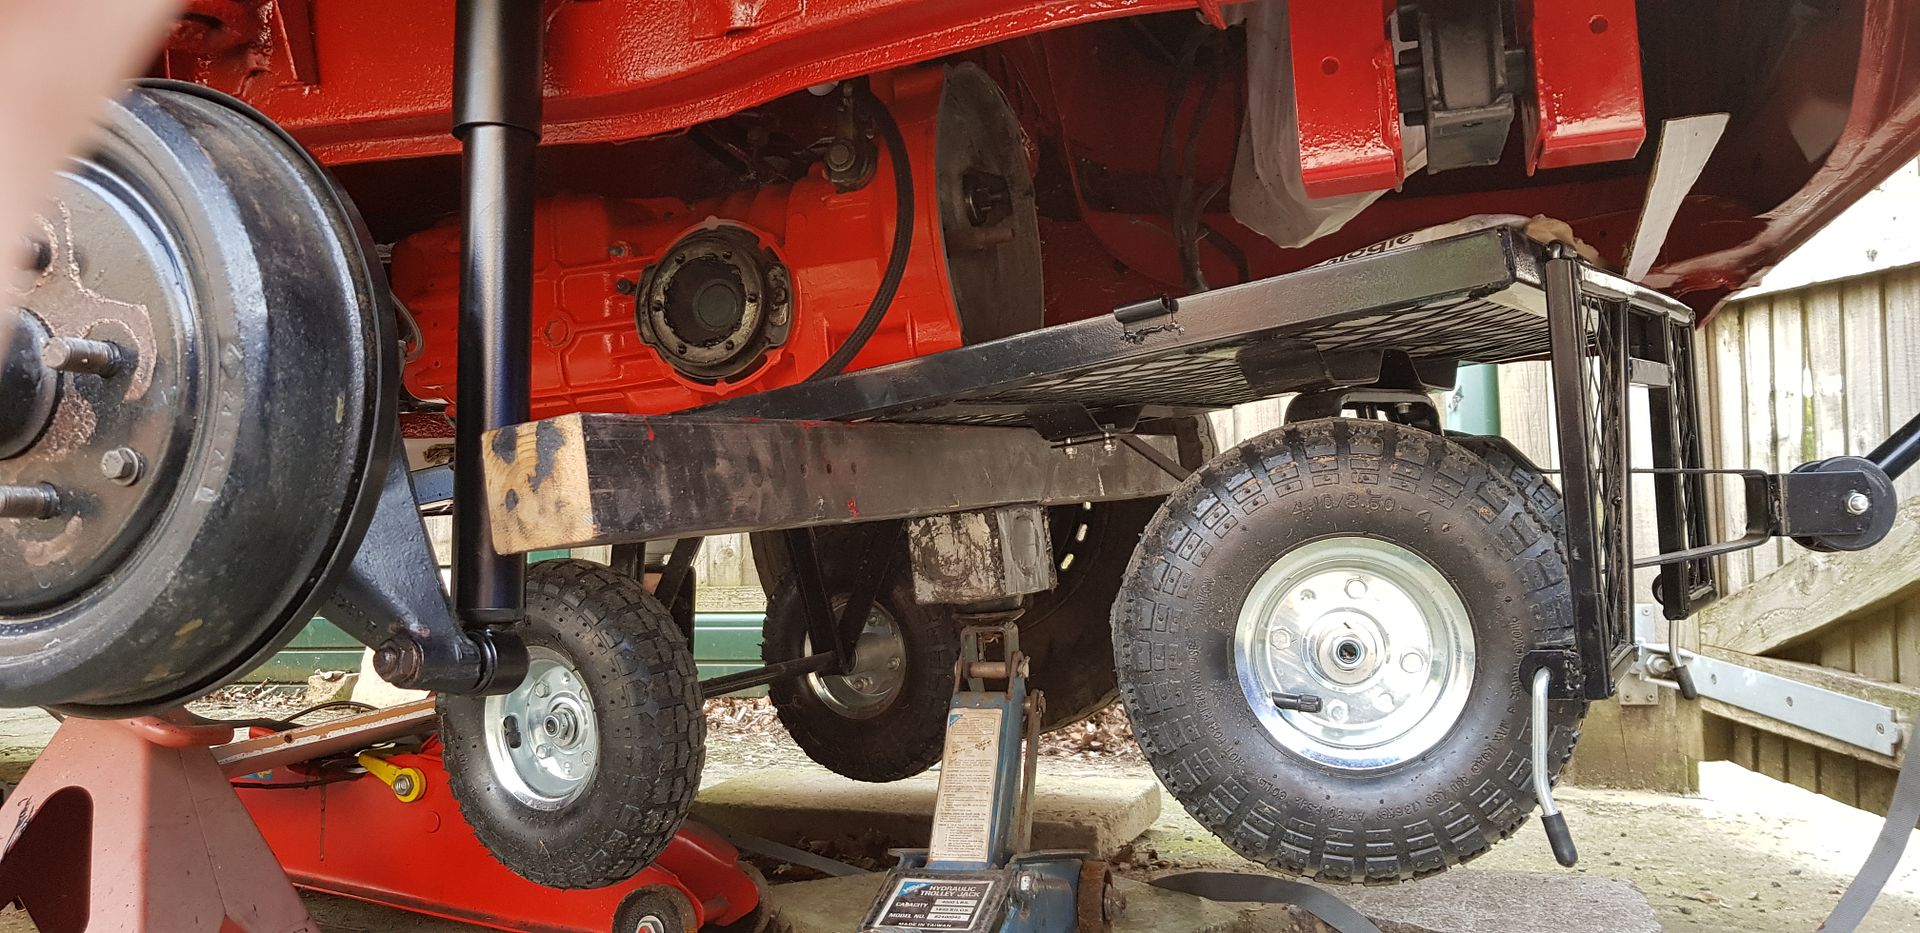
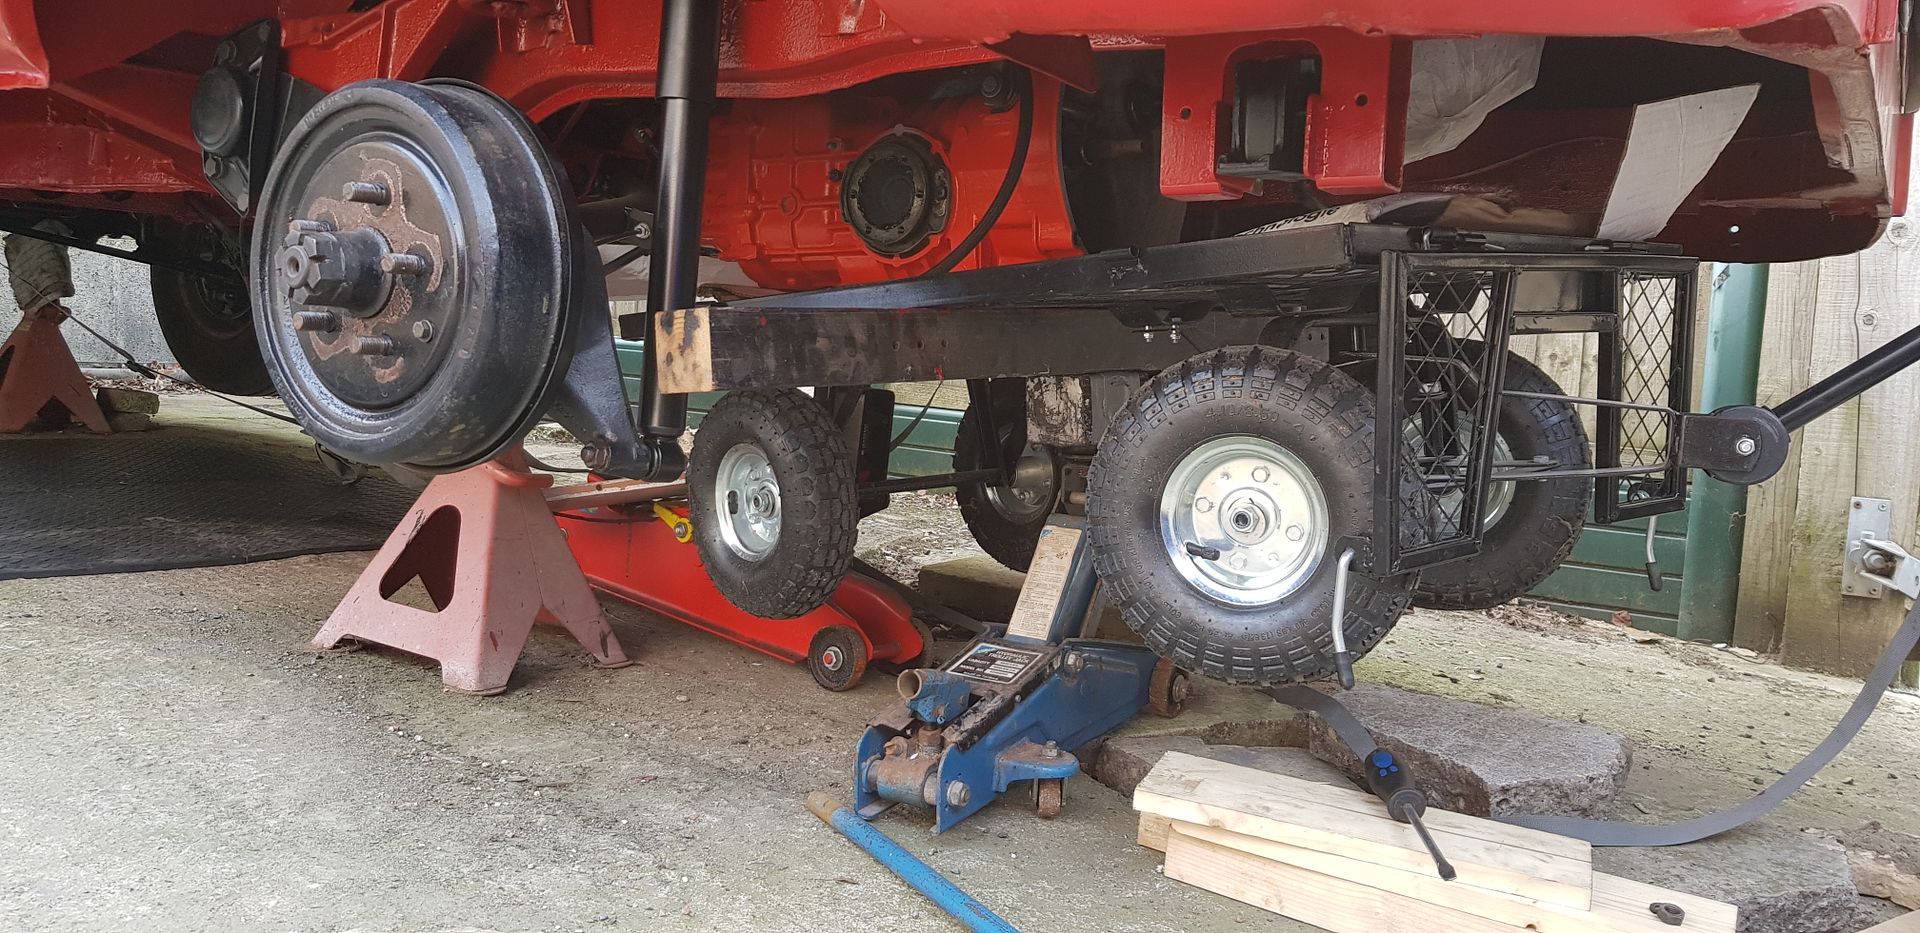
Then the fun part - putting the gearbox in - used my trolly cart and a couple of jacks to get it into position and all good.
Took about an hour and a half to get it bolted up. Just need to connect the main rod to the gearbox and good to go.
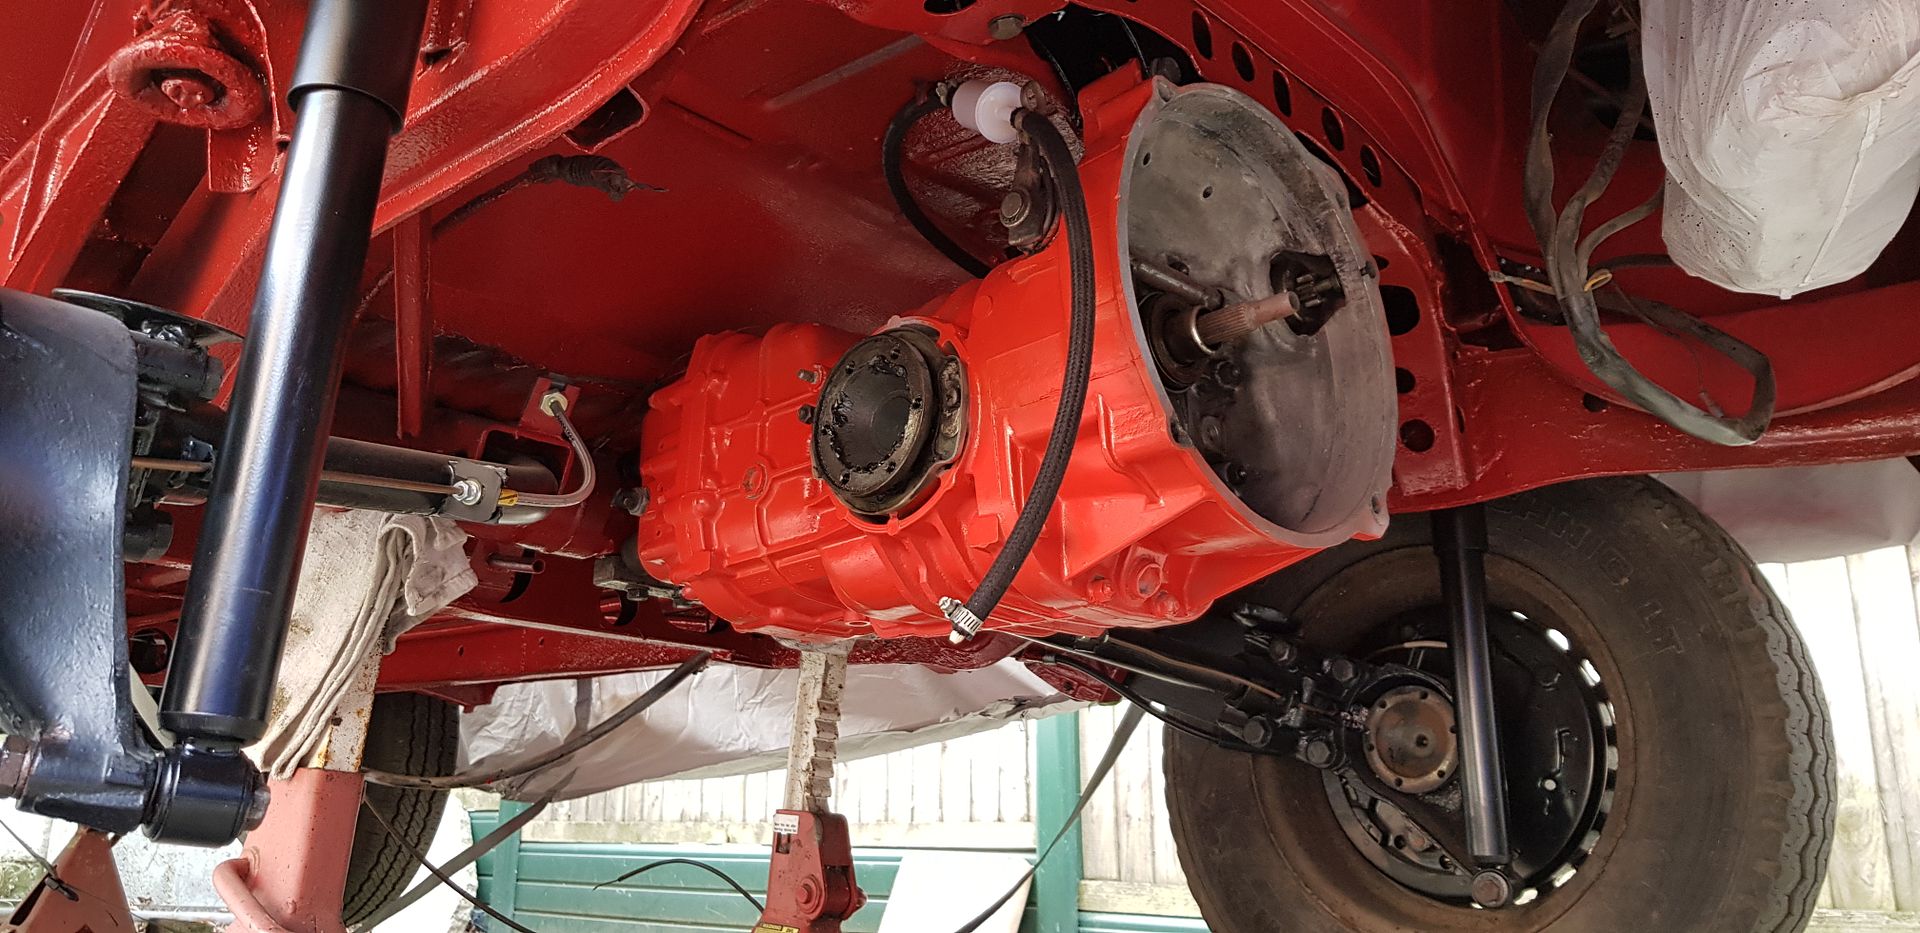
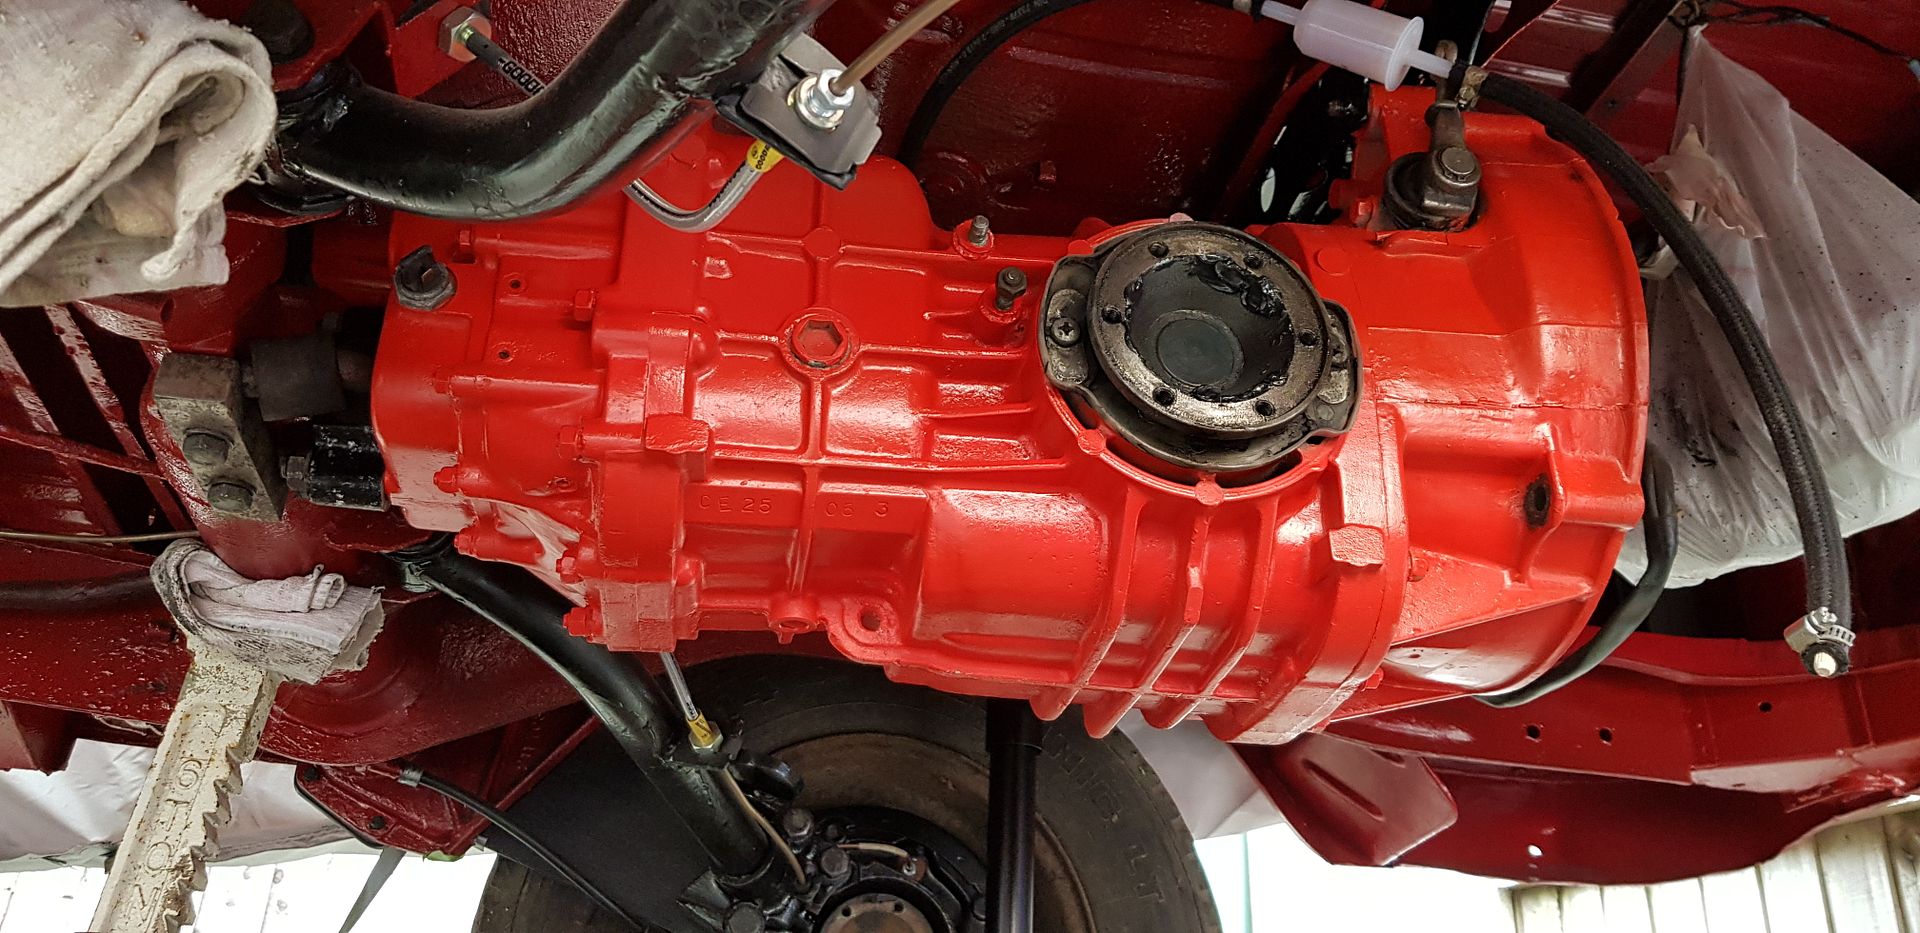
Need the gearbox earth strap then all good.
Will continue on the engine assembly next
With the weather staying good decided to tackle a few jobs underneath.
First up add the steering damper - fairly straight forward.

Next up was the front gear shift rod - add the front bush, greased up then pushed in. Connected to the rear shaft, tightened up then some wire added.


Then the fun part - putting the gearbox in - used my trolly cart and a couple of jacks to get it into position and all good.
Took about an hour and a half to get it bolted up. Just need to connect the main rod to the gearbox and good to go.


Need the gearbox earth strap then all good.
Will continue on the engine assembly next
Similar threads
Vehicle For Sale
1969 T2 Early Bay RHD Dormobile Camper in Velvet Green
- Replies
- 5
- Views
- 3K
Vehicle For Sale
Very rare Oslo edition SO69-01 1969 Early Baywindow £12K Ono
- Replies
- 0
- Views
- 1K
- Locked
- Replies
- 6
- Views
- 2K


