Progress Pics - Dormobile X-Over

Early Bay Forum

Help Support Early Bay Forum:

This site may earn a commission from merchant affiliate links, including eBay, Amazon, and others.
Bet you’ve stopped cooking and eating spaghetti for supper time. Mind you. May provide the answers. Buy that posh coloured spaghetti to match your wire colours. Close your eyes, whisper a few mantras whilst you drop the spaghetti onto your plate. Like reading tea leaves. Nice doors by the way. Sound base to build on. Look like they came from Europe? Not too good with location of telephone numbers. All the best.
 
Yes the headlamp flash works by earthing so it must either be on wrong terminal or not connected to earth, it goes on to back of instrument board and then that in turn has a separate earth wire
 
Thanks - took it out to check it in isolation (just connect the S and 30 points to the + and - of the battery) and you can hear the relay clicking in and out .
Same test done on the flasher relay and all good.
Couldn't test too much as rain stopped play.
 
01.07.2020

Regarding the test socket in the back of the van, do you leave it or remove it?
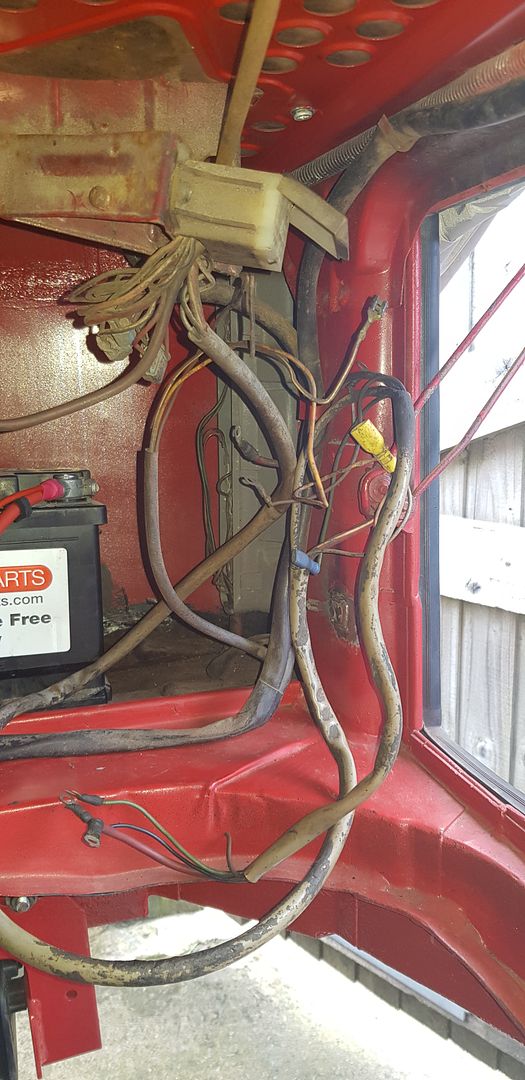
Loads of wires going to and from it and mine looks to have been removed once then scotch locked back in (shudder)??

 
Thanks George - Ithink I will will just need to tuck the bare wires somewhere :)
 
Did the original looms do a generic full on standard? And various wires link up to different needs? Transporter, van, pick up, etc. inherent. I’ve never thought about this before. You know.....the same models with extras that enhanced. Would they need these add on bits feeding electrically? Novice here. Just thinking out loud.
 
The vans were basic and any add-ons from what I know tend to be year specific or decoration.
The US busses do not have side lights in the headlights but extra lights in the sides - so slightly different wiring to the Euro busses.
From what I have seen, the wiring loom for 71/72 busses are the same in Europe no matter what the trim level or type was (unless someone knows different!!)
 
The US buses differ from euro ones due to brake / rear indicator set up , indicator switch different of course but apart from side markers that are tied into side light wiring all the same. If you do take out the diagnostic socket split the loom and take out all the wires rather than cutting and leaving. From memory (have done this) they only go to coil, charging system, battery, starter
 
04.06.2020

Spent a good few hours this afternoon looking at my wiring issue - still no joy.
With a spare battery I directly connected the flasher unit to it and it worked so I know that it is good.

Carried out a resistance test, connected the battery live terminal up but disconnected the earth then connected the earth to my multimeter and touched an earth point with the other probe - no resistance which I believe means no earth leak?

Something I did notice, if I hold the multimeter positive probe on the bottom of the fusebox with negative probe to earth, it shows 12 volts. If I then turn something on (flasher unit, lights etc) the voltage drops to nothing - WTF?
 
Check battery voltage with lights on as it might be duff. Had this with mine, newish battery that had been charged but not used 3 years died .
 
Battery seems good - I used my battery charger and it got to 12.6 volt.
While I have been playing around over the last few weeks, it has got down to 12.3 - so for tests and things it should be good??
 
05.07.2020

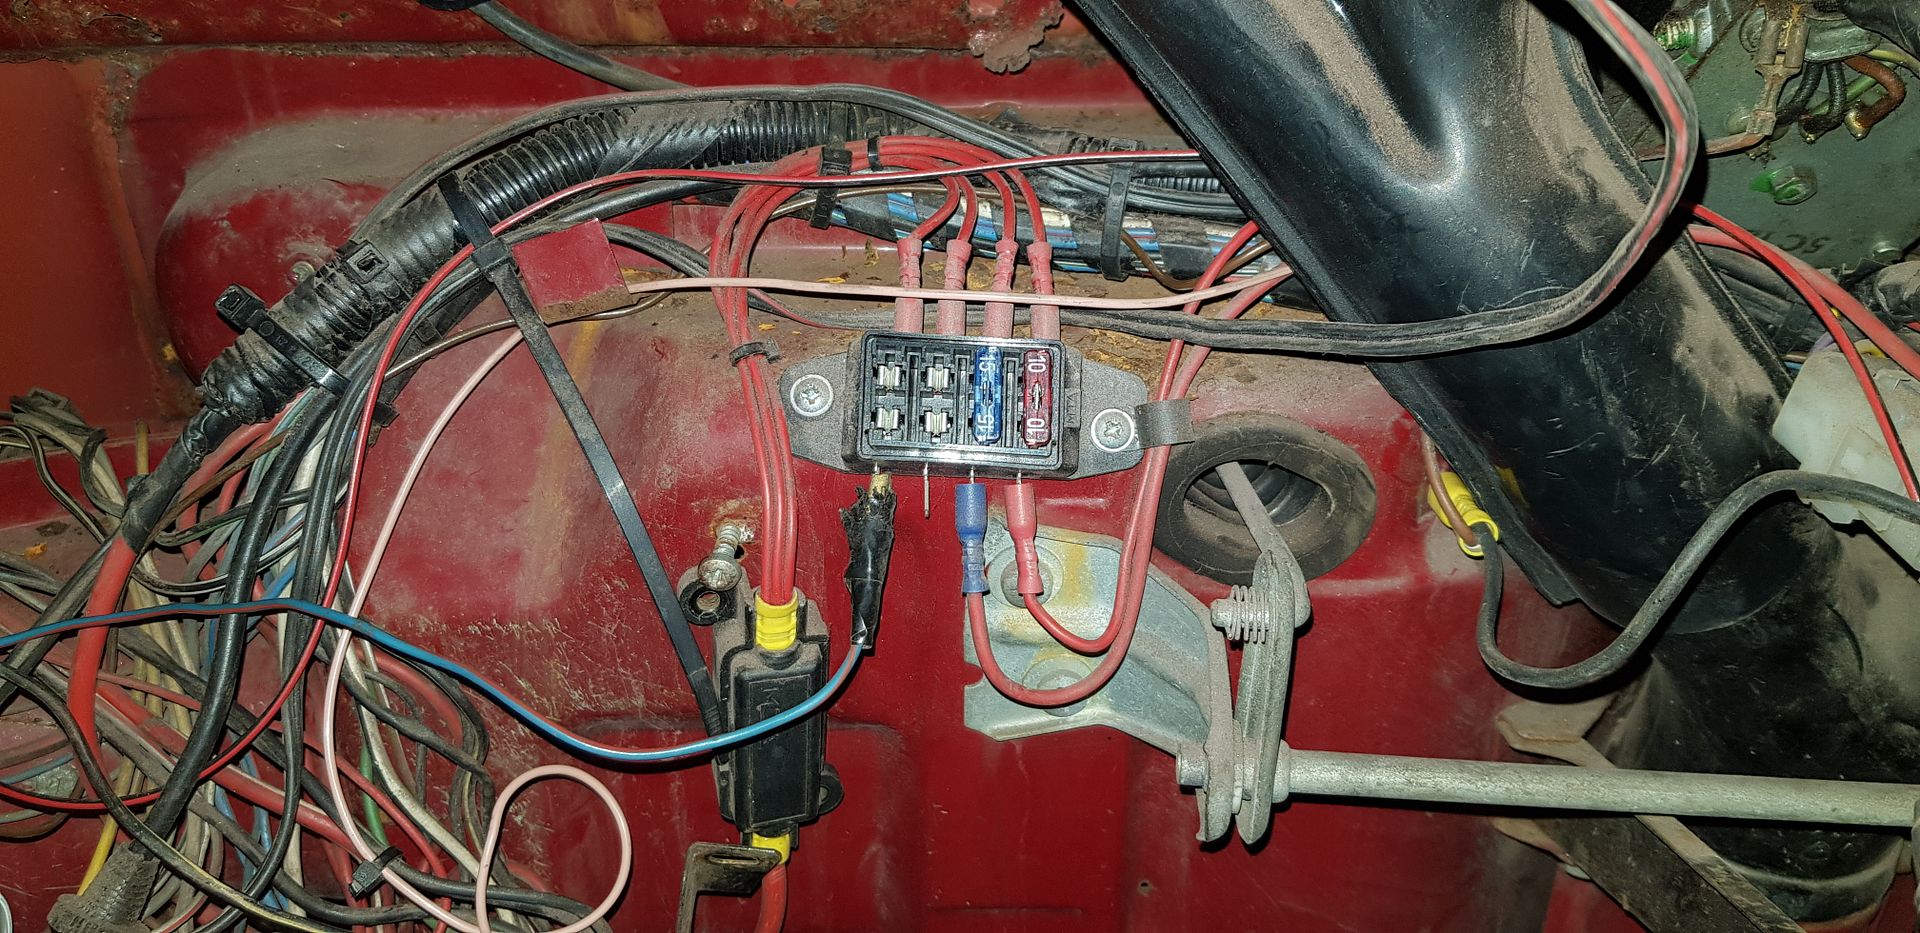
Had an hour to spare and decided to check if what is plugged into the fuse box for the leisure battery (I don’t have one though) works so hooked up the cable to the main battery.

Here is the leisure battery fuse box:


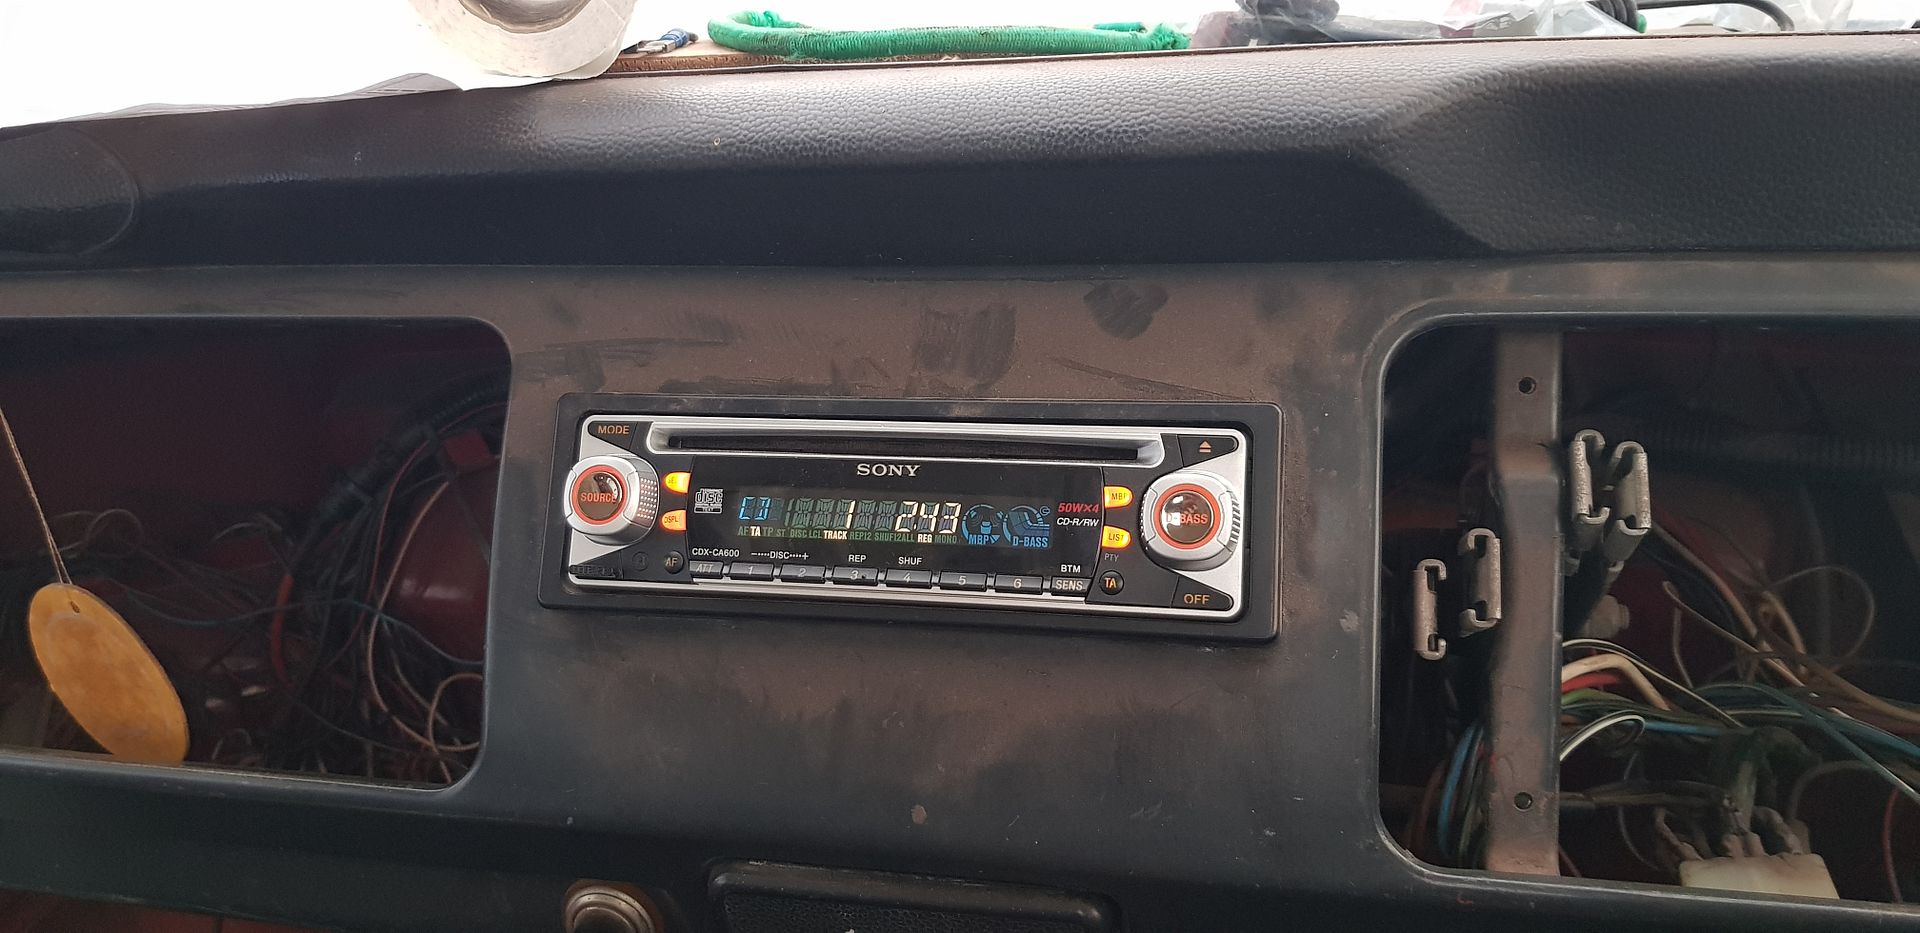
And, the head unit worked and Ihave tunes - the speakers are under the dash and 2 in the back near the rear door:


So - something electrical does work in the van :)
 
06.07.2020

YEAH :) :)

Got the electrics sorted :)

In the end, today I removed every connector from the fuse box that I could and removed all the relays.
Decided to start with the emergency flasher as this is powered even when the ignition is off. Connect the main cable from the battery to the fuse box. Inserted all the relays then disconnected the earth that jumps from the flasher to the other switches (wipers and lights). Connected the cables from the flasher to the fusebox and………….. Same **** - drop in voltage and the relay going bananas.

Checked the fuse box and noticed that connecting to the same connection as the main battery cable was a cable to the lights relay so unplugged the cable……. The flasher worked!
Put the cable back that I had just removed and the flasher still worked….!!!

Slowly started to add each switch in turn and constantly checking until everything was connected.
Only thing that didn’t work but was an easy fix was when the sidelight/headlights were on, the offside rear light wasn’t on - remembered that one of the cables for this had lost its fitting and was loosely connected so went in the engine compartment and touched it properly and the light came on so need to get a connector for it and solder on.

Didn’t test the brake or reverse lights yet. Will need a partner in crime to test the brake lights.

So - all good. Phew.
 
Good news then, that rats nest of wire and crimp connectors does make my wiring OCD kick in though!!!!!!
 
67panel said:
Good news then, that rats nest of wire and crimp connectors does make my wiring OCD kick in though!!!!!!
:lol:
It does me - I will look at trying to tidy up but some of the cables are short so will struggle (what about using bullet connectors to extend cables?)
 
I would solder and shrink wrap joins , thats what I have done on the panel. Bought correct terminals (OG style) as have tool to crimp them. Look at Vehicle Wiring Products web page .
 
OK - was looking at Multi connector blocks but might go the solder and shrink route.
 

Latest posts

Top