Small amount of restoration...

Early Bay Forum

Help Support Early Bay Forum:

This site may earn a commission from merchant affiliate links, including eBay, Amazon, and others.
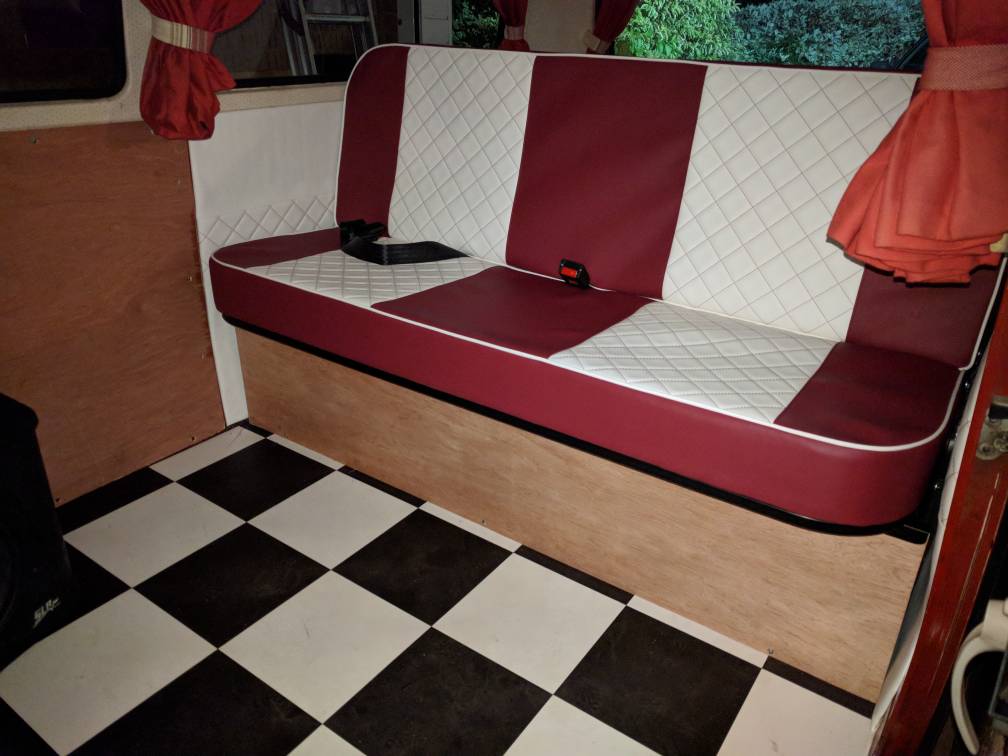
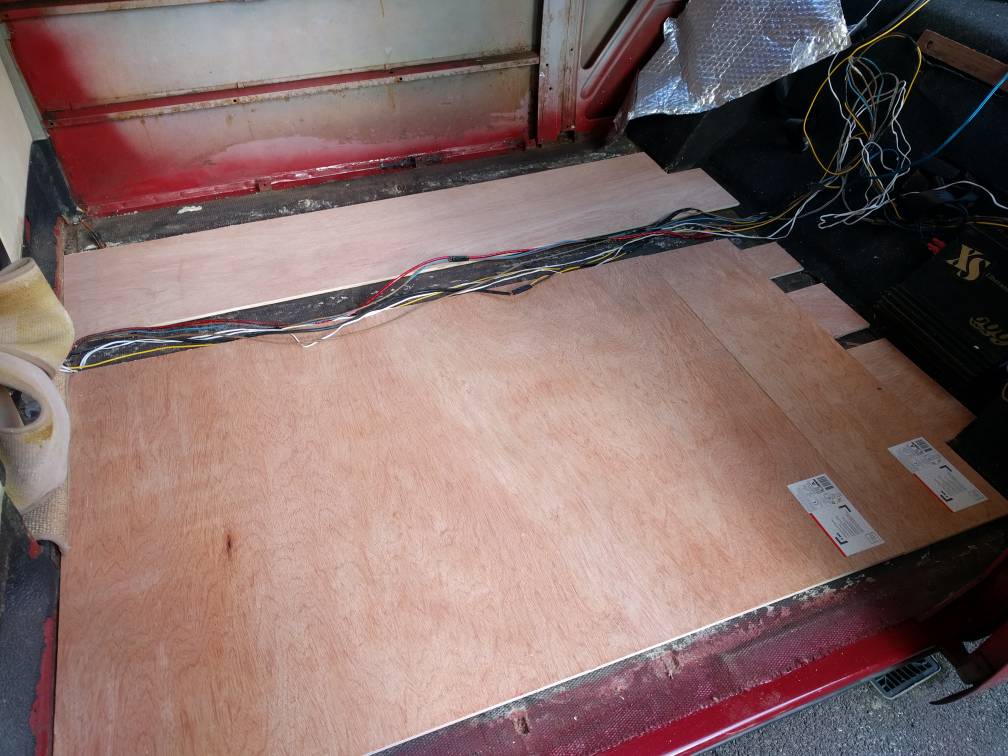
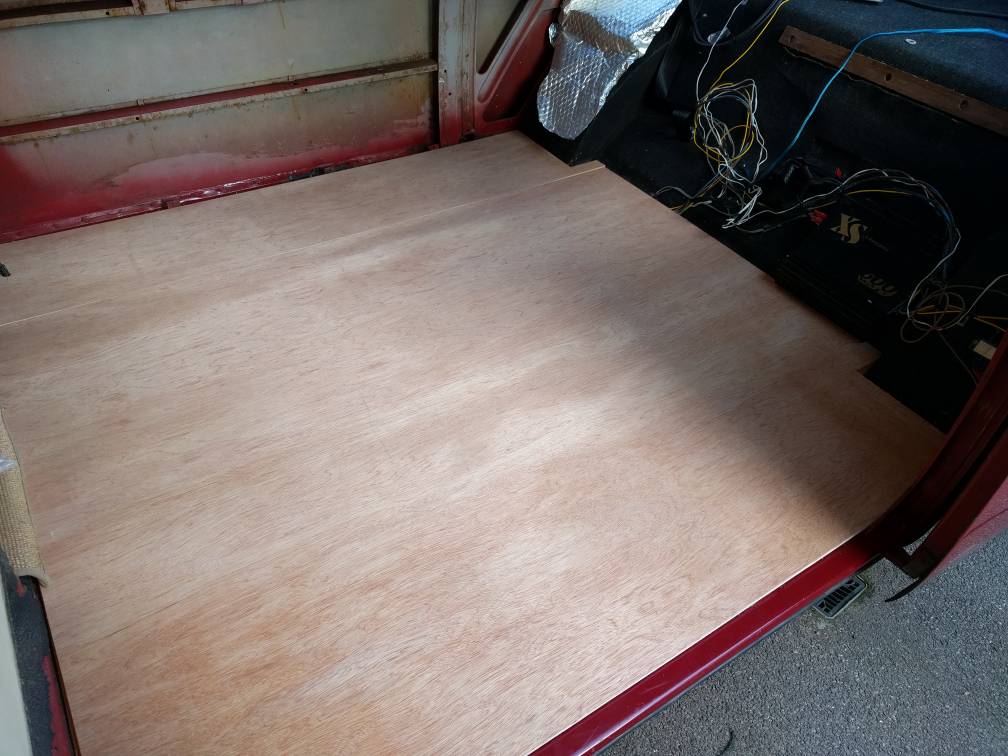
Thanks for the advice, the photo below shows the door side of the floor, the first 4" or so is higher than the rest of the floor, there's a corresponding raised bit on the other side. Should I cut the first layer of ply to butt up to this otherwise I'll end up with a bouncy floor?

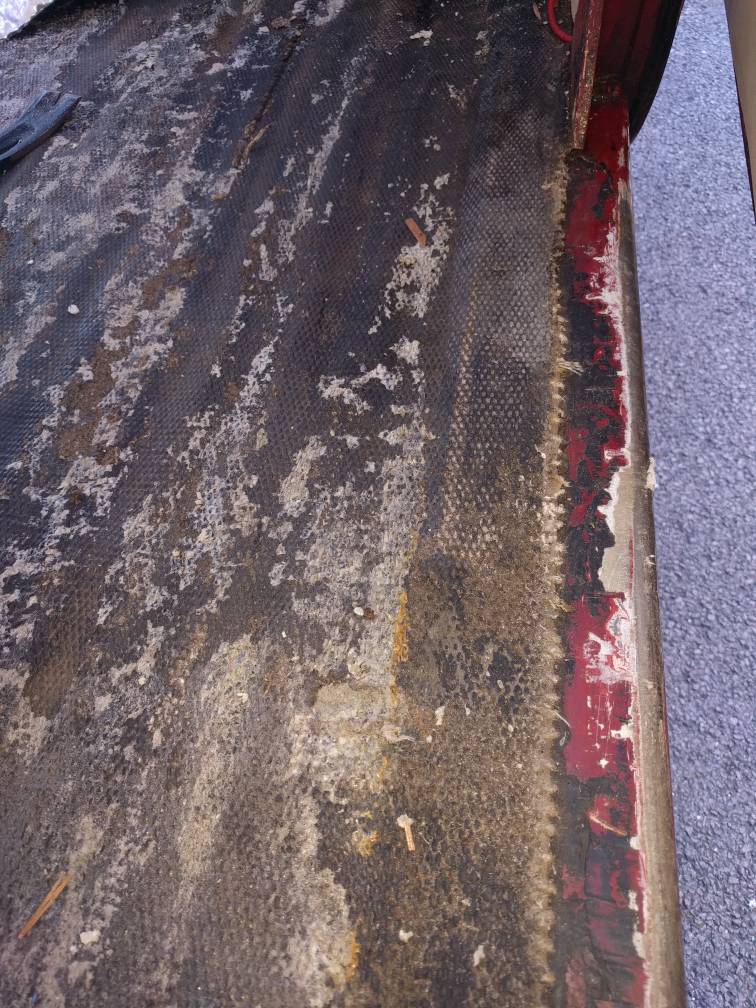
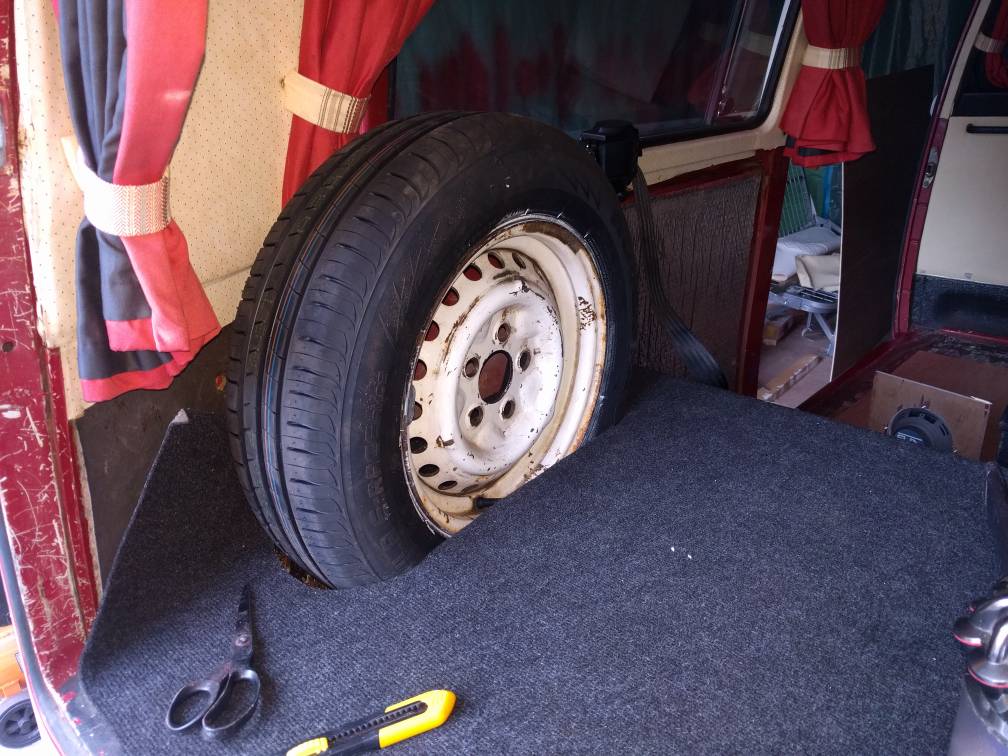
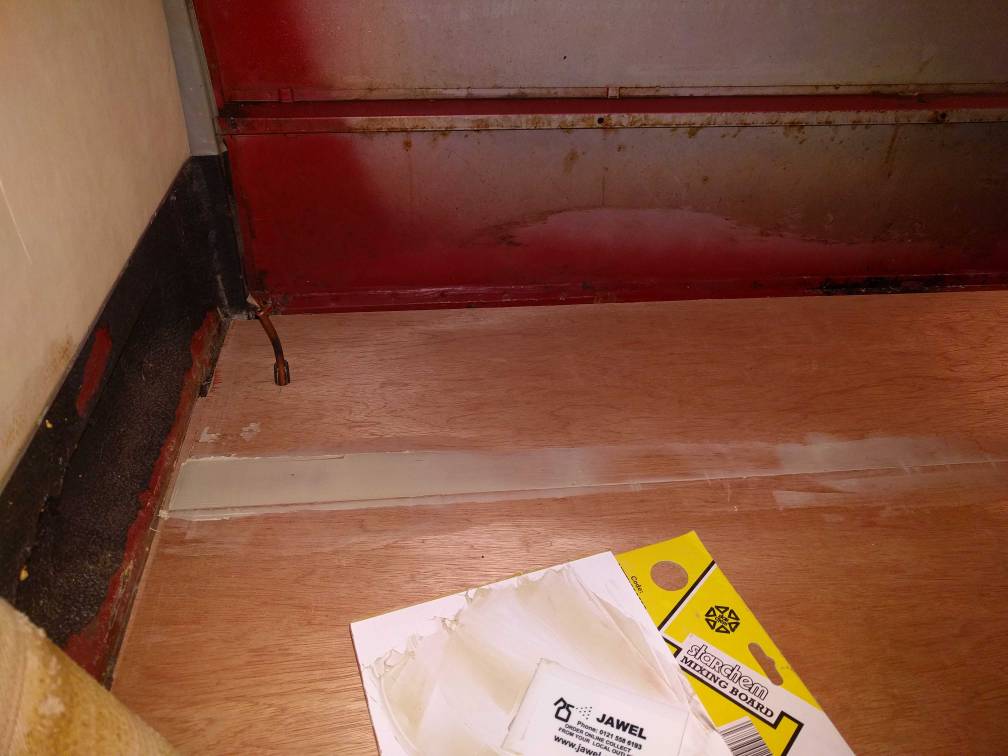
I can see why the previous owner used gap filler to level the floor!
4595b1043b2908e38a63468c06d9ba3d.jpg


Sent from my Nexus 5X using Tapatalk

 
The 9mm bottom layer ply is smaller in size than the top layer. The bottom layer levels out the lower part of the floor with the raised edges you mention. The top ply then covers the whole floor.
It’s difficult to see in your pic how much filler is on there, but you would be best to remove it all back to the metal / painted floor otherwise the ply floor may be too high.
There is quite a bit of info on here if you do a search on the exact sizes for the ply floor sheets.


Sent from my iPhone using Tapatalk Pro
 
Thanks again. Yes you're probably right about going back to metal, problem is that the covering you see there is some sort of matting that is bonded with something that looks like bitumen. It's an absolute bitch to get off. It was all over the step, I've scraped most of it off. Panel wipe liquid gets it off but I'd have to use loads of it. I will probably just leave it as it'll provide some insulation/sound-proofing. The other stuff on the step is the body filler which I've now removed. The light coloured areas of the matting is the remains of the gap-filler that the PO had used to level/stick the ply down.
This floor/panel work is proving to be the most time consuming thing I've ever done!
 
Moving hookup fusebox.....

I hate this type of job, it always involved pain and scraped knuckles trying to do jobs that are meant to be done with 3 hands. Anyway I've moved the box a bit which involved putting some new lengths of wire in and basically doing as little as possible to undo all the cabling done by the PO. TBH it's not a bad job, but PO had a cabinet over on the right of the boot which housed the fusebox and regulator, I've got a full width so need the fusebox out the way.

Does the fusebox really have to be this big? It's got 16A and 6A MSBs in, not sure why I assume this is for the 2 outputs, only one of which is connected to a double plug socket, the other is just taped off. I'll check again tomorrow.
70fec0514eb014866b6ce429749f27bd.jpg
a8bc4ed8d8d23da6c1692961f576946b.jpg


Sent from my Nexus 5X using Tapatalk

 
...and here it is finished. A few observations: the base cushion is lined up exactly with the metal base, but the top is about 3cm offset vertically. This is so the cushions actually fit together when as a seat and a bed. The seatbelts I have are no longer long enough!
c582d9c4504969f241aa1d78105cf116.jpg


Sent from my Nexus 5X using Tapatalk


gninnam said:
Lush :)
Take it you will be getting new seat belts then?
Yes definitely, but which ones, there seems to be 2 problems, the actual seat belt isn't long enough and the thing you plug it in to only just pokes out between the seats and is hardly useable - this is for the 3-point. The socket bit for the lap belt it is adjustable and I've made that long enough to use. So what I'm after is a 3 point with a long socket bit.

Sent from my Nexus 5X using Tapatalk

 
You can buy seatbelt extenders...
I have them on my rear seat so the buckle sits in the seat and not in the join of the seat base and back.
JK and places sell them I believe
Cheers
Al
 
Largest door panels done, lining them up is probably the most difficult/annoying job I've done!

fd6f337336fa183107b5cf8237d76212.jpg


c4ea2f6d619d7259ed79722f26ce36bb.jpg


Also, is it possible to get a full width, foldout table that's made for the van?


Sent from my Nexus 5X using Tapatalk


Latest posts

Top