Small amount of restoration...

Early Bay Forum

Help Support Early Bay Forum:

This site may earn a commission from merchant affiliate links, including eBay, Amazon, and others.
New front kick-plates...


IMG-20190712-202841.jpg


I had to re-route some speaker wires, prev owner had them coming straight down, but needed to get the new plastic in the gutter. I had to make the top a bit lower ~5mm with a pair of scissors and make the heater knob gap a bit bigger, but otherwise a good fit.

IMG-20190712-211342.jpg
 
Repaint rear bumper....

Highly recommend this for quickly flattening filler.... it's got a Velcro attachment for the specially made sanding sheets - I used 120P. It's a Rhynogrip Sanding Board from Frost Restoration - £16.24 (10 bit of paper £7.99).

4pz9j6.jpg


The bumper supports fit almost exactly in these house bricks!

314z336.jpg

29fs47c.jpg


I assume that this sidestep is from a later model as it clearly doesn't fit. I've got the whole newer bumper, I just can't get the bolt out of the other side step to swap it!
21nmsyp.jpg

Only one bolt lines up :(


New kick plates in place, the drivers one required a bit of trimming to get it in properly. Any tips for tidying up the wires?
2z90ev4.jpg
 
Great thread and pics, great seeing bays getting new leases of life [emoji106]

That looks like a replacement fuse box, mine’s on the passenger side. I mounted it lower down for better access but the wires are concealed by the kick panels. I was completely rewiring the van at the time, so that made it easier to do it this way.


Sent from my iPhone using Tapatalk
 
I think my fuse box is just zip-tied on to something. I have a phobia of untidy wiring! I don't fancy the prospect of rewiring - in fact I think the previous owner did this to a certain extent when they added a leisure battery + charger & hook-up and a new stereo, amp and subwoofer. Annoyingly there are also wires under the carpet for the front speakers and power. You can see I have tied these to the sides, I may try and re-route them.
 
1st panel respray finished.....

I've resprayed the panel in a "Chianti Red" from paints4u.com, it is a better match than the same colour from Jawel.

Managed to get it almost swirl free in this bit...

3d102c01ddee8d872bd699b292e367da.jpg


..but you can see some swirls here...

3828becd97b371082c7efeb4e785c875.jpg


The reason for this is that after flatting out the orange peel with P600, I went over with P2000, this removed the P600 swirls and can be polished out with cutting compound. Swirls left by P600 are too deep to be polished out easily - I must have missed these here.
 
Looking good so inspires me to crack on more with mine and funny enough mine is Chianti red as well , was the paint you used for the rear panel from paints4u cellulose ?? Or two pack ? Not that I'm even sure you can get 2K anymore.
I've just looked at there site " Paints4U" looks good . Keep up the good Orkney and keep the posts coming dude .
Cheers Bud
 
Replace broken window lifter...

Leaver old bracket off the glass with a couple of screwdrivers - this was fairly difficult and scary as I didn't want to push too hard...

Try another way....

6e47f1abd5ef985072f3ad21cccffe3e.jpg


Eventually it came off. On with the new one....

63404ea8870d79819530d7f4fabbf9a1.jpg


This was really tight, so I applied a bit of soapy lube, still couldn't get it all the way in though, but it felt good and that's all that mattered.
 
fallingoffalot said:
This was really tight, so I applied a bit of soapy lube, still couldn't get it all the way in though, but it felt good and that's all that mattered.

Best quote on here. :party0006:
 
Spraying some more....

9ba639671d7df9084202f2fb0067ce08.jpg


Primed and ready to paint. Got a mate coming round tomorrow to give some tips with the spraying, he done a fair bit more than me, so hopefully I'll have less flatting/polishing to do.

cda6e7815f65aa3d253c1dcd4fc8c323.jpg
 
Panels finished.....

4da817d2482f213181e6510a35e10fab.jpg


Top Tips:
1) Don't attempt more than one panel at once - I did and this was really hard work and I couldn't do one pass at once which resulted in loads of stop/start and rough/orange peal paint.
2) Put lots of paint on
3) Try and get a smooth finish from the gun - flatting will be easier - this is easier said than done!
4) Finish off the finial colour coat with 2x 60:40 coats then a 70:30 coat (that's thinner:paint ratio)
5) If you get runs (you probably will) then, next day, scrape them flat with a stanley knife blade - this is really easy.
6) Flat with P600 for lots of orange peal then P1000.
7) Flat with P2000 - make sure you've got all the P600/P1000 marks out, I found a good way to do this is to sand left-to-right with the P600 then up and down with the P1000, then L-R with the P2000. Each time make sure that you have completely removed the previous sanding. This takes fookin ages, but give a great result. Wash the wet/dry sand paper often - like every 5-10 seconds - otherwise you'll scratch the paint.
8) Cut with 3M green top cutting compound with a DA machine polisher. Check for remaining sanding marks - if there are any left then go over with P2000 then re-cut with 3M.
9) Using the DA and a soft pad go over the whole panel in small sections at a time with Mcguires Ultimate Compound.
10) Wear a head torch - this highlights the scratches and swirls (and makes you look like a knob)

I'm new to the spraying and I'm just getting used to the settings on the paint guns - I've got 3 now - and the easiest one to use is a small one I got from Screwfix, which is a HVLP and only requires about 20psi, I also got an inline pressure gauge which makes it easy to set and then check pressure during the job.

Also I think I'll get some P3000 paper so that the panel has literally no scratches when 3M'ed then polished - I remember seeing a Ferrari 328GTO at a car show some years ago and was amazed that the paint had literally no swirls what so ever. I've now realised that this is achievable with a LOT of hard work and care. (Mine is not this good as I lost the will to live after spending a week putting on 8 coats of primer/paint then sanding/polishing.... It's good enough!)
 
Fair play to you [emoji106] the van’s coming on nicely.

Great updates too [emoji106]


Sent from my iPhone using Tapatalk
 
Hi bud great work keep it up , good tips as we'll thanks for letting us learn from your work, was the HVLP gun from screw fix the 100ml ? £24.00. Or there slightly larger one that they sell I think 300ml ? , cheers
Happy dubbing
 
Thanks, yes the gun is the 100ml one from SF. It was actually 29.49 (https://www.screwfix.com/p/erbauer-ern644atl-hvlp-gravity-fed-spray-gun/2403h)
It's a really nice light gun although only 100ml. This means refilling more often, you can do a coat on a large panel, which is actually not too bad as by the time you've mixed up another 100ml it's ready for another coat. It comes with 0.8 and 1.2 nozzles, the 0.8 is too small for 50:50 cellulose, and made for a fairly rough finish. I changed it to the 1.2 and it seemed pretty good.
 
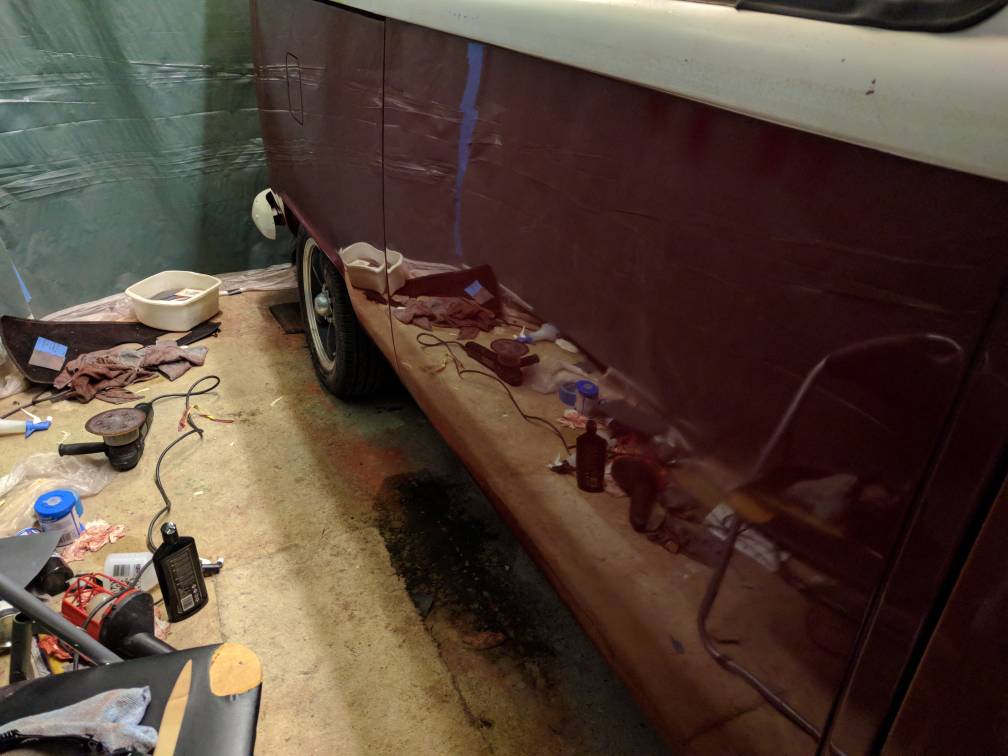
Removal of interior.....

Cupboards mostly remove previously.

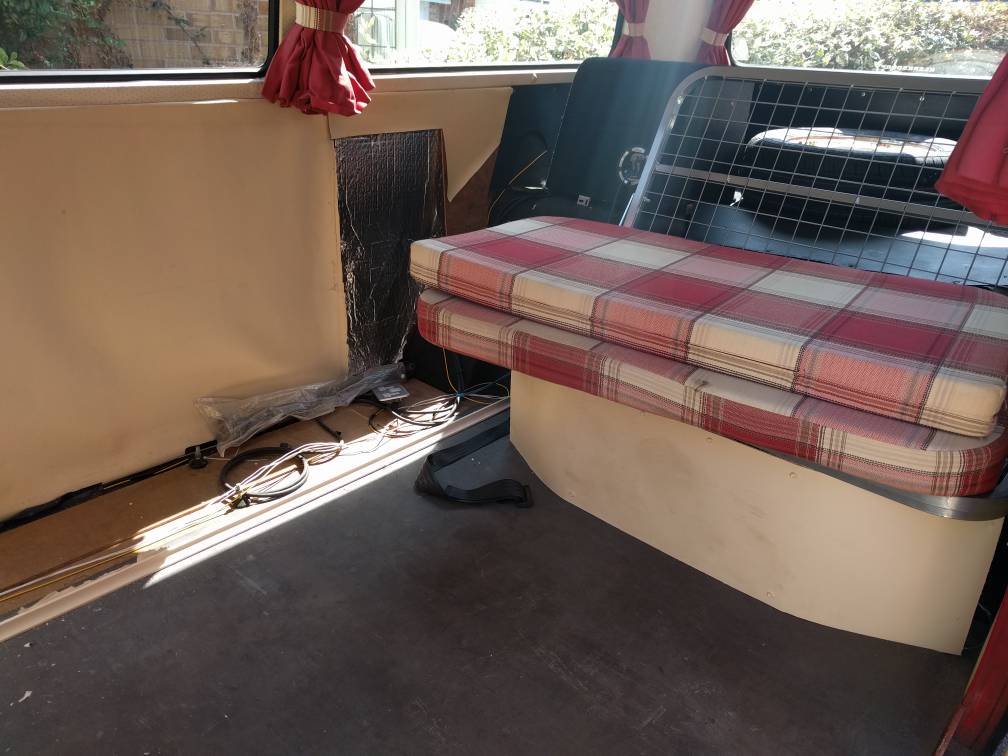
3/4 R&R bed removed - now for sale.

6f3a958834151fcc9ce65c7df744ded0.jpg


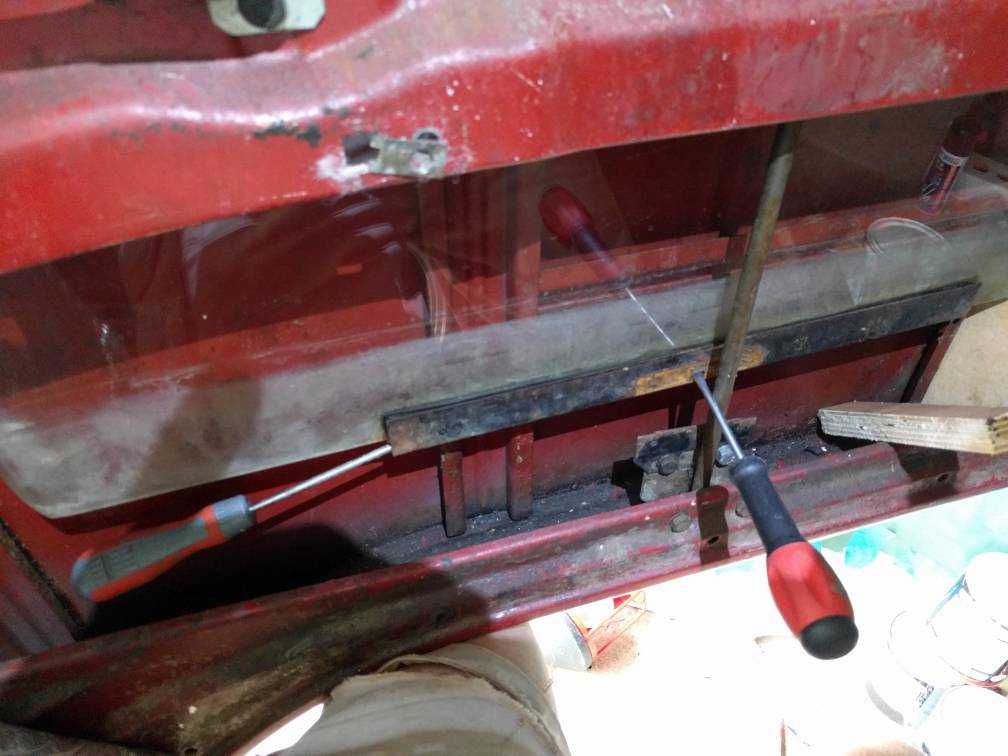
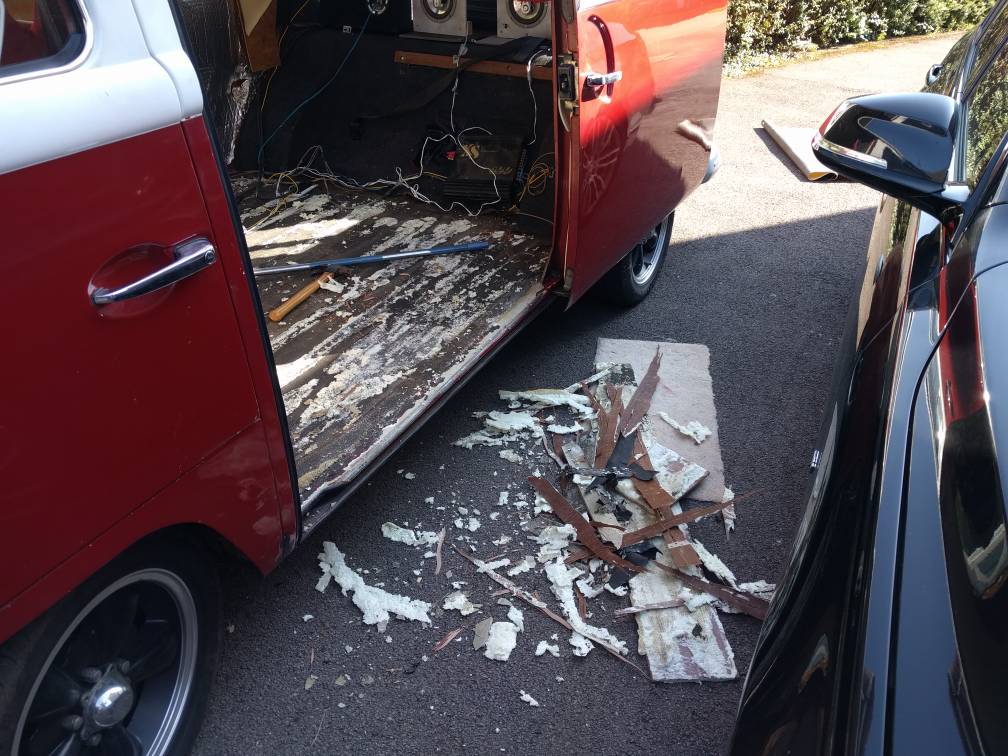
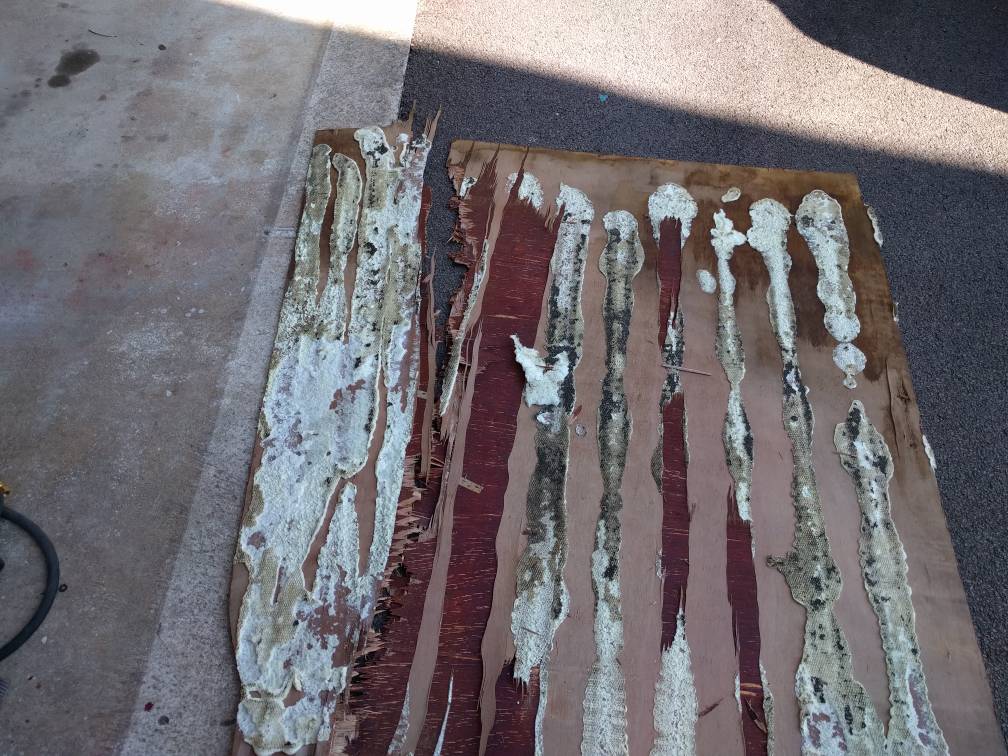
The previous owner seemed very fond of expanding foam, he used it to glue the ply sheeting to the original floor!! What an absolute nightmare getting this up.

d75dab0381be543e225893e4319bf868.jpg


d649996e4c927ced2a22e7a33f3a073b.jpg


He'd also used body filler to slope the ply down to the step which was also a pain to remove.

70da2a57466d7693a0d29da2d843b0ee.jpg


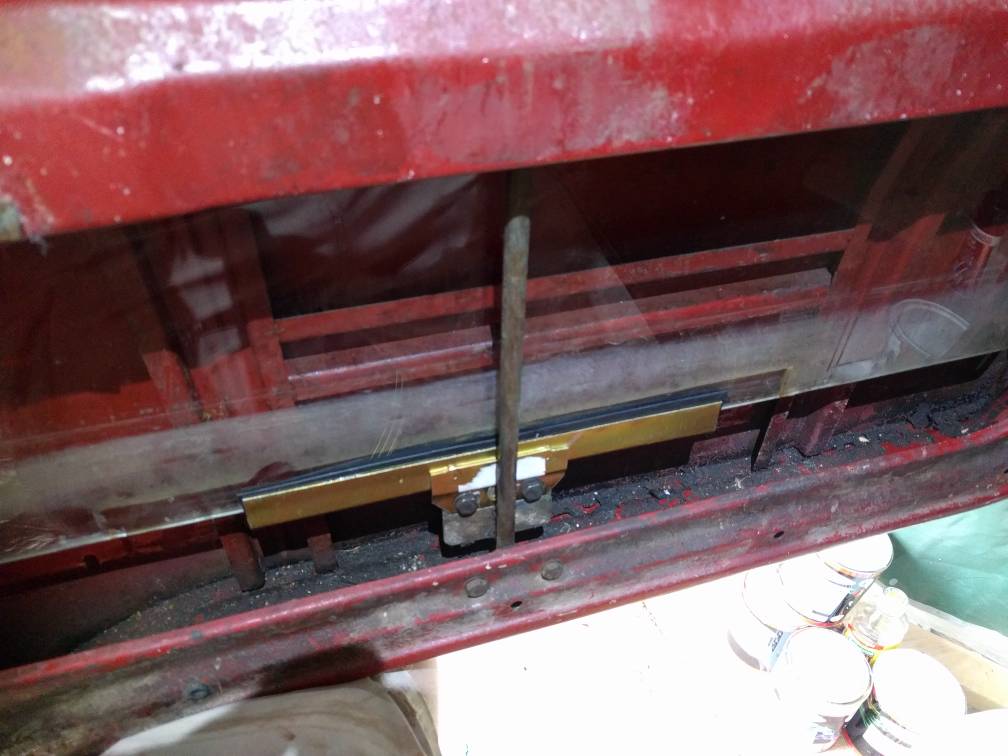
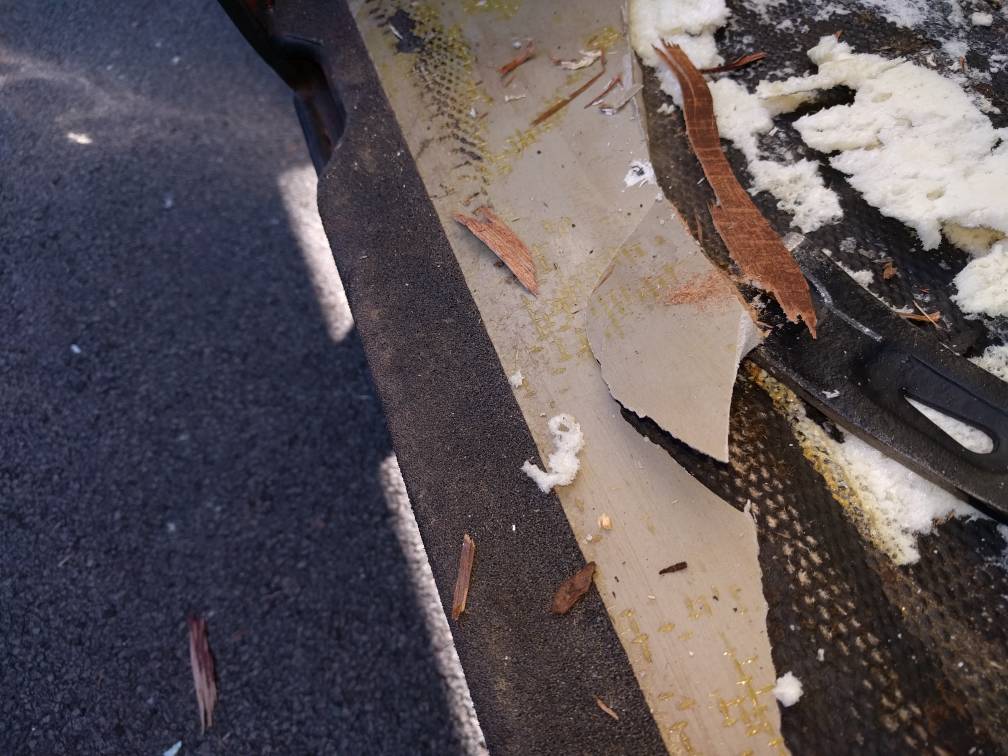
This is the under side of the ply!! The dark bit are where the first layer of the ply is still stuck to the floor!

59d39ec26acb349540a48315c0cab6cb.jpg


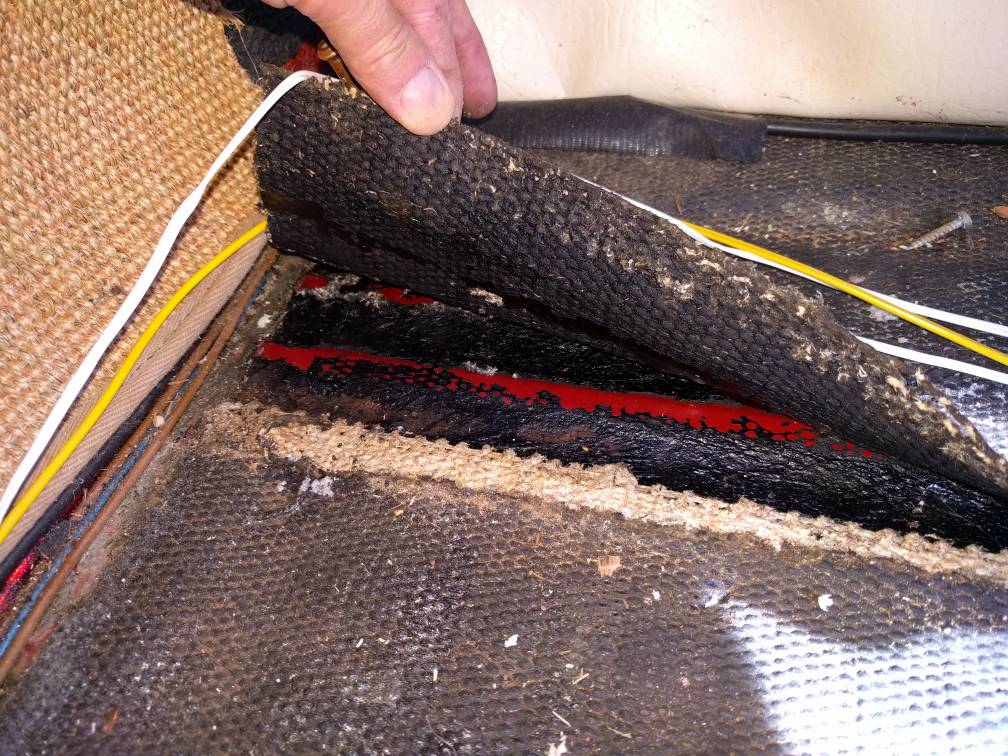
On the plus side the original flooring is like a tar/rubberised matting that seems to be stuck to the metal with tar, as you can see from this bit that lifts up the metal is in excellent condition. I think I'll just leave it once I've got rid of most of the foam.

55055df539ac9e11204f792ab5f73670.jpg


I do have a few questions that I hope some of you more experienced restorers can help me with.....

What is the best ply to use on the floor and what should I stick it down with, if anything?

Is it best to do the floor in one bit of ply or split it into 2 or more?

Should I recover the side panels before I do the floor, i.e. do the side panels go on top of the floor or down the side or does it not matter?

What's the best way to hide cables?

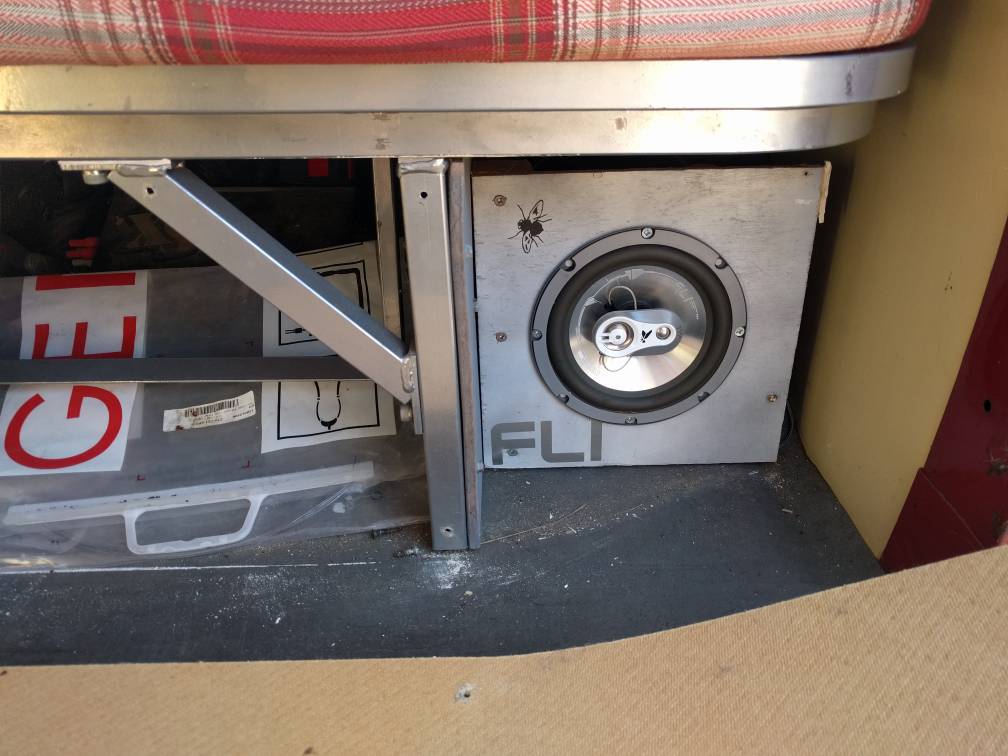
Getting there, got all the floor vinyl, cushions and panel covers, should get the Rusty Lee full width R&R this week.


Oh yeah, nearly forgot found these awesome speaker under the R&R!!

933257e8051e6fecb268ed2217d39784.jpg


Sent from my Nexus 5X using Tapatalk
 
9mm ply for the lower sub floor then a slightly larger 6mm piece of ply on top of that. Better with one piece or the join may cause the Lino to wear early.


Sent from my iPhone using Tapatalk Pro
 

Latest posts

Top