


creationblue
Well-known member
easy said:creationblue said:easy said:Sorry to hear about your mum Just. Hope everything else is well and good for you. 8)
Thanks EZ, we are getting there mate.
Just
8)
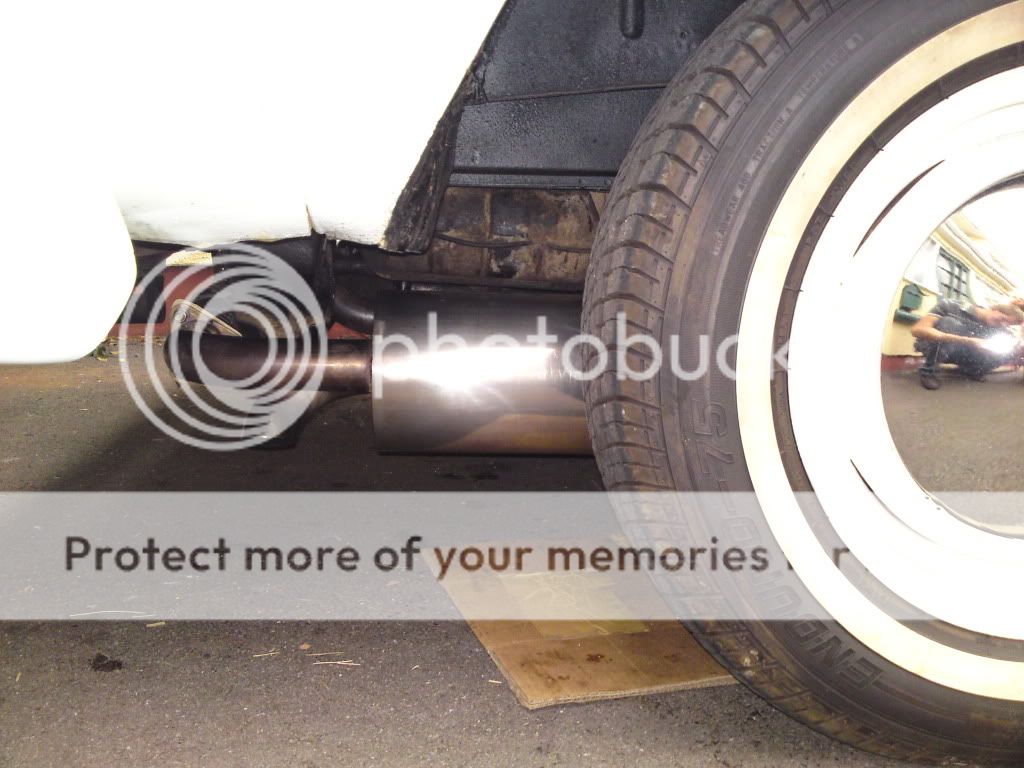
How is the Notch coming along?
easy said:creationblue said:easy said:Sorry to hear about your mum Just. Hope everything else is well and good for you. 8)
Thanks EZ, we are getting there mate.
Just
8)
") ) :mrgreen:
) :mrgreen:leon said:Hey justin, just put the awning up for the first time today for a trial. Man that was easy.
Thanks for the sale, and your time the other day!
Leon.
leon said:Big thumbs up! except i've got to paint the van blue now to match. Women :roll: :lol:


easy said:Nice work Just 8)


AxlFoley said:Nice work, Its a good feeling when you get loads of stofe done isn't it

Enter your email address to join:


