Stu & Clare Present Murphy - Aircooled Campout 2020 Pics

Early Bay Forum

Help Support Early Bay Forum:

This site may earn a commission from merchant affiliate links, including eBay, Amazon, and others.
Brilliant weekend faith restored in the british weather ( for now)Great meeting some new faces and buses

I'm going to nick that pic of my bus if you dont mind..
 
Loxy said:
Me too :lol:
Nice to meet you and the Mrs.


Was a good laugh and it was great to put some faces with the usernames - how's the head after your monster bacardi session? You were still looking a little "jaded" when we left around 2. :lol: :lol: :lol:
 
StuF said:
Loxy said:
Me too :lol:
Nice to meet you and the Mrs.


Was a good laugh and it was great to put some faces with the usernames - how's the head after your monster bacardi session? You were still looking a little "jaded" when we left around 2. :lol: :lol: :lol:

Still a bit jaded now! :lol:
 
Hi Stu & Clare.

Nice to meet you both, Hope you like your BuddyBox?
Couple of pics for you. 8)


Paul & family. :D


20120909_130053.jpg


20120907_184448-1.jpg
 
It was great to meet you and the family mate - had a wicked time.

The buddy box was awesome on the way home, bottles of water galore so up could attempt to rehydrate - will post some pics of it fitted soon.

Cheers for the pics of Murphy - looking sweet! 8)
 
Been a while since my last post and Murphy has been languishing in the nice dry garage whilst I earn a crust!

Well I havent been resting on my laurels - and have finally been able to source a rear set of OG Deluxe bumper trims to match the fronts.
I refused to pay the prices for the "repro" sets so just waited out.

These have been treated to a light clean up and polish along with some fresh rubber inserts - will be installing them this weekend.

I have also managed to secure a nice new shiny Gene Berg LOCKING Shifter direct from the latest production run at the factory in the states and will be planning on fitting that when it arrives hopefully next week - excited? You bet.

Added to that I have a VDO Voltmeter to mount and wire up, flyscreen to install in the rear and front curtain poppers to fit I have a busy couple of weekends ahead!

Here are some pics of the before, during and after shots of the deluxe trims being cleaned up!

As they came from eBay - Fronts were delivered to Myvanway (Paul) today!

ksYfK.jpg


Then today in work I was able to clean some of the filth off and tidy the runners up a bit

DC1m2.jpg


GAnb0.jpg


YGy4N.jpg


L5iuK.jpg


JGtAi.jpg


lpLo2.jpg


AnCVR.jpg


PAx2J.jpg


There is still some pitting present and the odd scuff and bump but that was exactly what I wanted! Will take pics this weekend when they get fitted to the bus.
 
Stewg76 said:
You have done a great job of the westy!! Looks sweet!!

Cheers for the compliment - will look better with the rear trims finally fitted!
Its taken several months to source a set!
 
Well after getting done early today at work I decided to have a go at fitting the rear deluxe bumper trims - went pretty well if I do say so myself!

They look awesome in my opinion! Here are some pics as I know you guys like them.

I taped them on first to make sure they wernt too bent out of shape!
CIMG3574_zps1e7f45ab.jpg


CIMG3575_zps3ff5f26b.jpg


Then with a cheeky 6mm drill bit and some anodised bolts and shake proof washers I cracked on

CIMG3589_zps81889939.jpg


Lined up nicely and the splashpans didnt get in the way (TOO) much :lol:

CIMG3590_zps5ea4bc4a.jpg


In true haynes fashion I repeated for the other side

CIMG3593_zps393e54c4.jpg


Once they were on and I was happy the rubber inserts were soaked in v hot soapy water so they would be easier to fit! (Yes it is my dogs bowl!)

CIMG3595_zpsd629d18e.jpg


Voila!!

CIMG3594_zps011b5f9e.jpg


CIMG3600_zpsf16fc267.jpg


Will get some more arty shots when the weather is less inclement!!

Now need to have a go at fitting my voltmeter!

CIMG3596_zps0ddf78e8.jpg


Should fit in nicely with the other "brace" of gauges!

CIMG3580_zps556c5a67.jpg


Thought I should also add one of our "BuddyBox" - excellent handy bit of kit for anyone thinking about purchasing one!

CIMG3587_zpsd0a72632.jpg


CIMG3578_zps70d0dcc9.jpg


Cheers Paul its fantastic 8)
 
Got home from work today to find this

8) 8) 8) 8)

CIMG3601_zpsd74de913.jpg


CIMG3602_zpsb3ed8dcd.jpg


Xmas has come a little early!

CIMG3608_zpsac59a7fb.jpg


CIMG3610_zpsa464ede0.jpg


CIMG3604_zps030dc573.jpg


CIMG3606_zps0f0c5186.jpg


Hope its easy to fit!!
 
Evening all - well with Dubfreeze approaching Sunday and with Clare and I having every intention of going camping beforehand I wanted to get my nice shiny new shifter installed before the 2 or so hour journey.

The job from start to finish, test drive included took all of 2 hours 15 mins and I have never ever changed one of these before - it wasnt difficult at all or tricky.

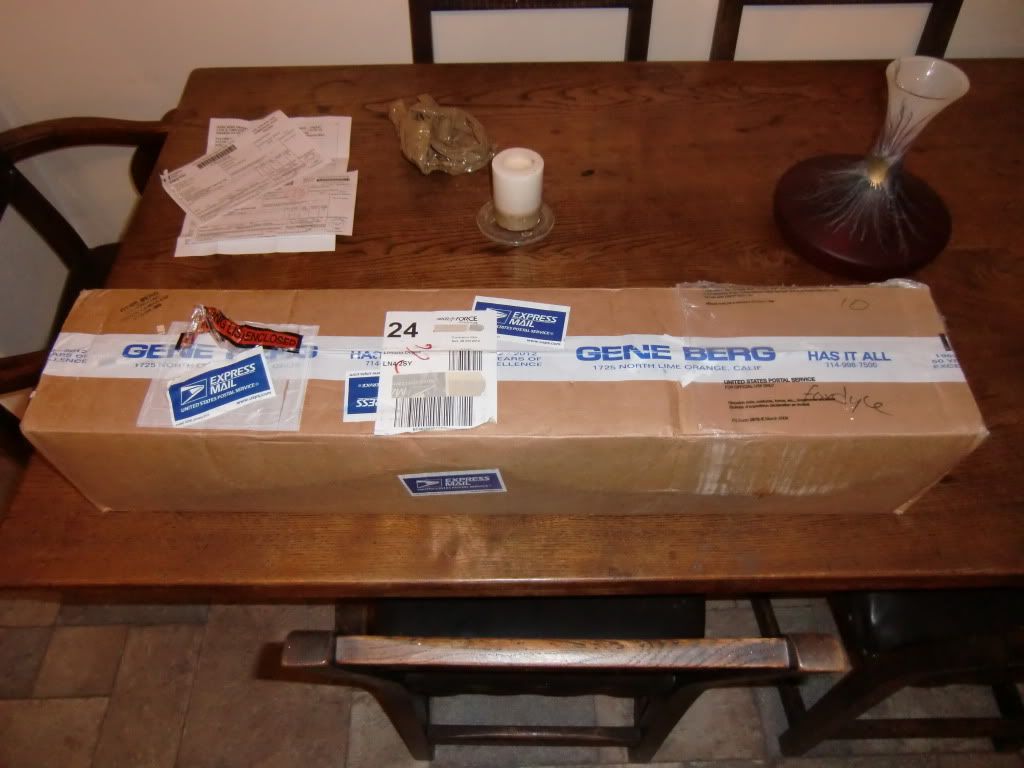
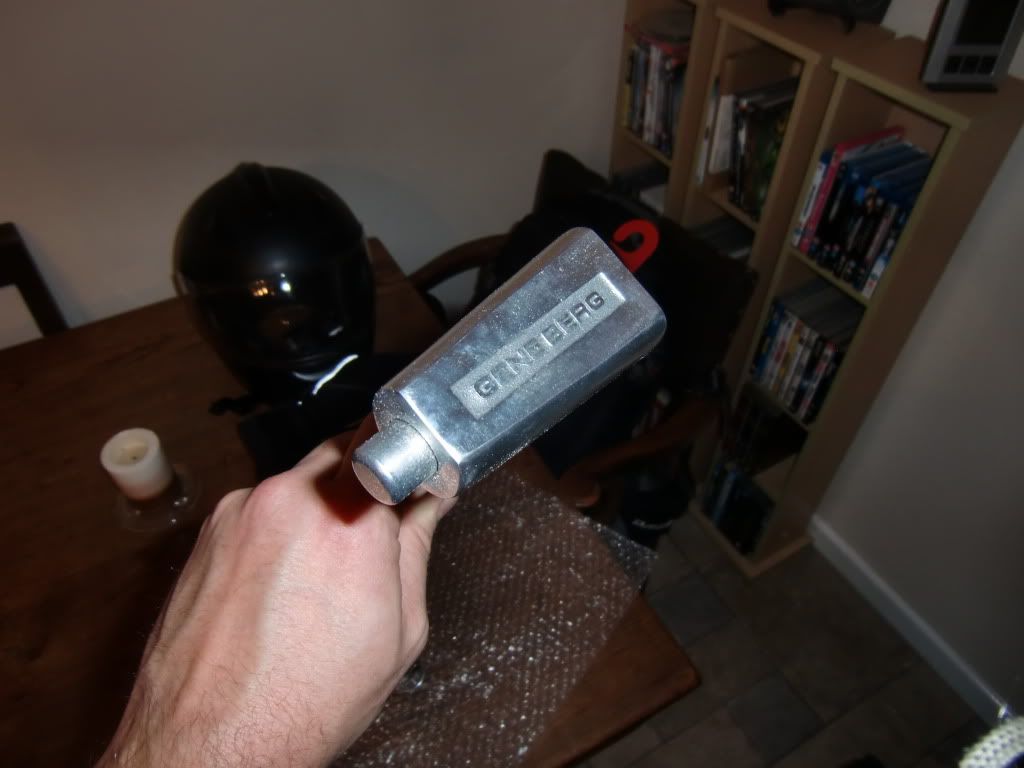
So here goes - pics and all!

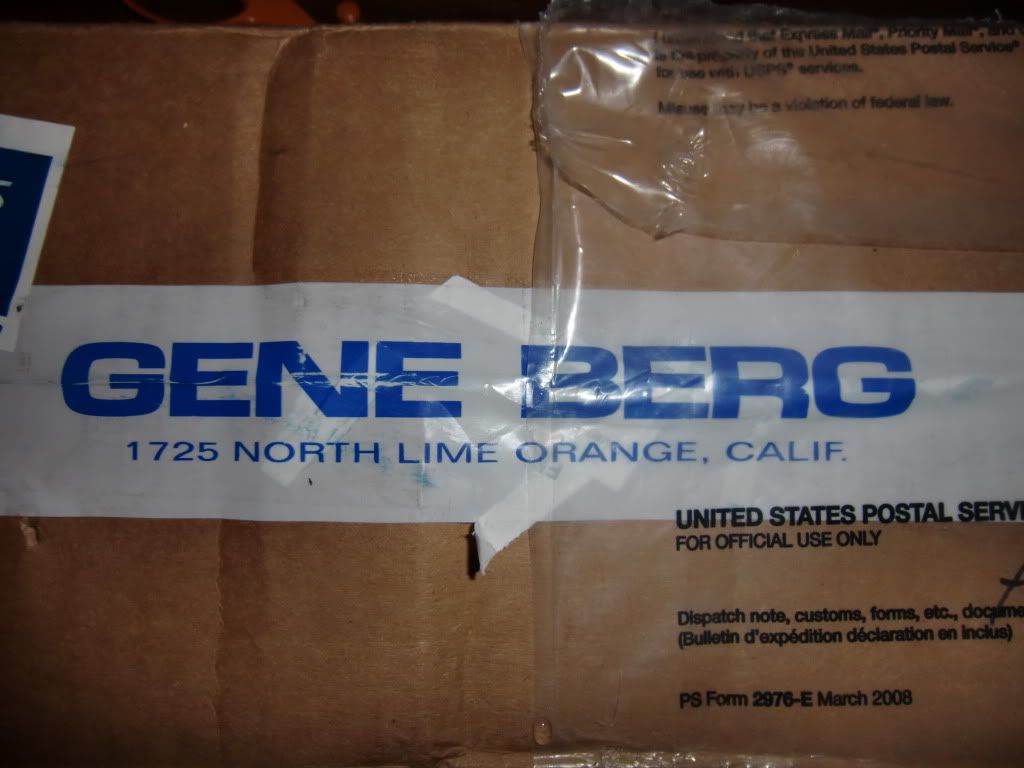
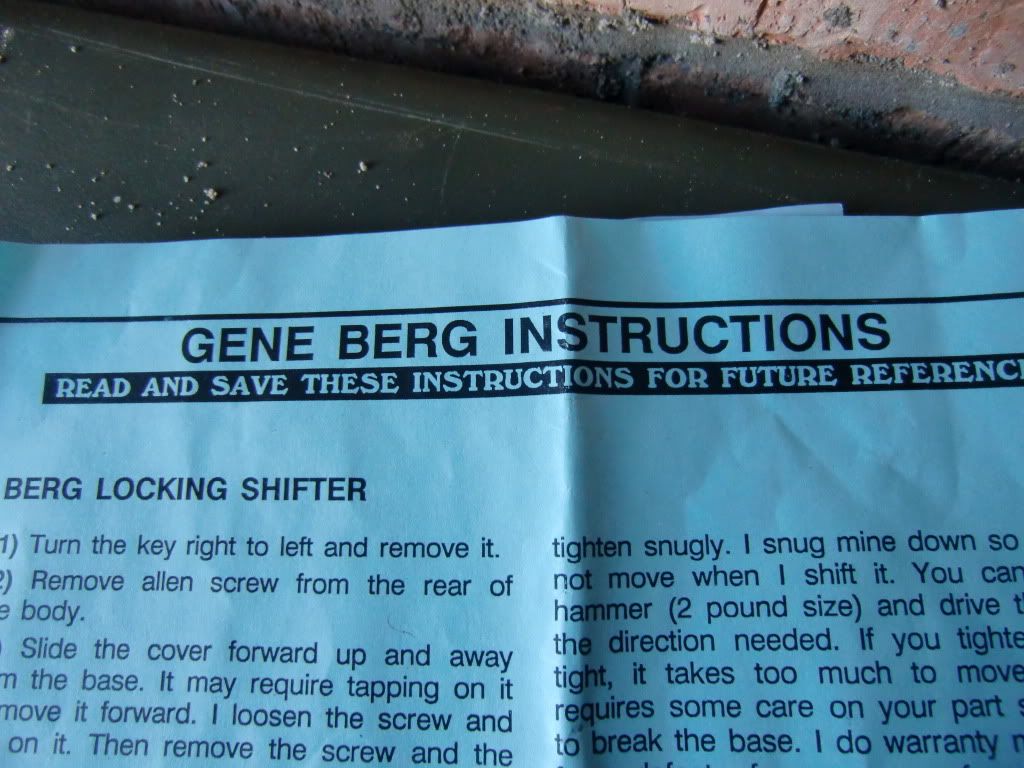
The comprehensive instructions from Gene Berg helpfully suggest removing the old shifter before attempting to fit the new one so thats what I did.
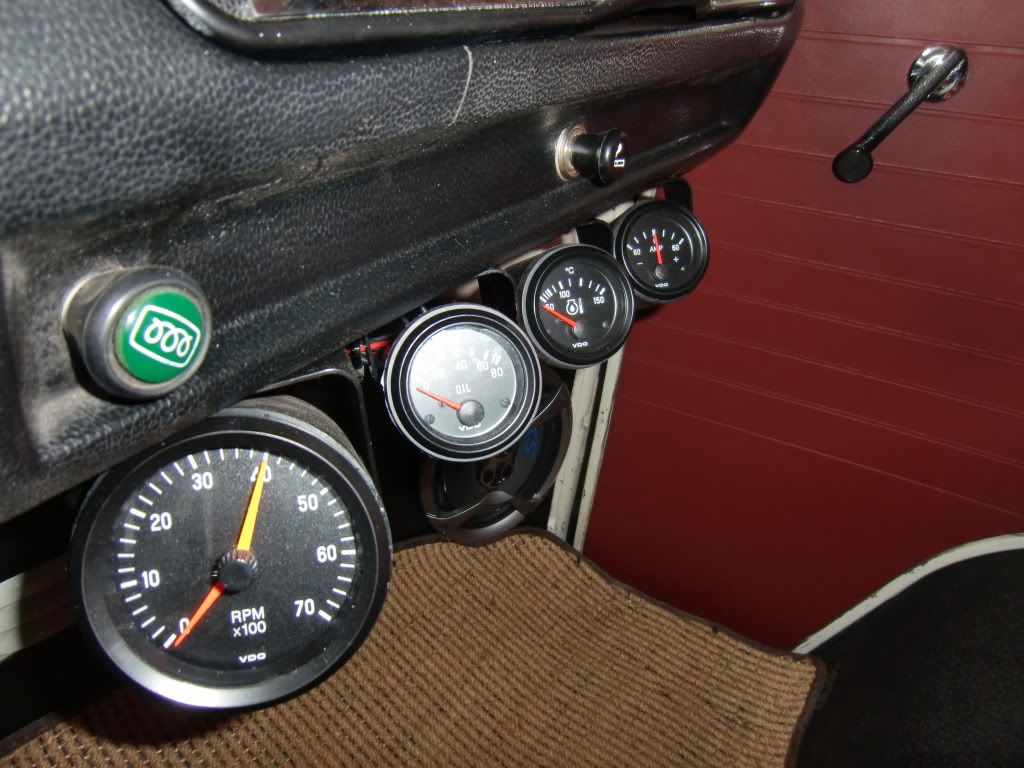
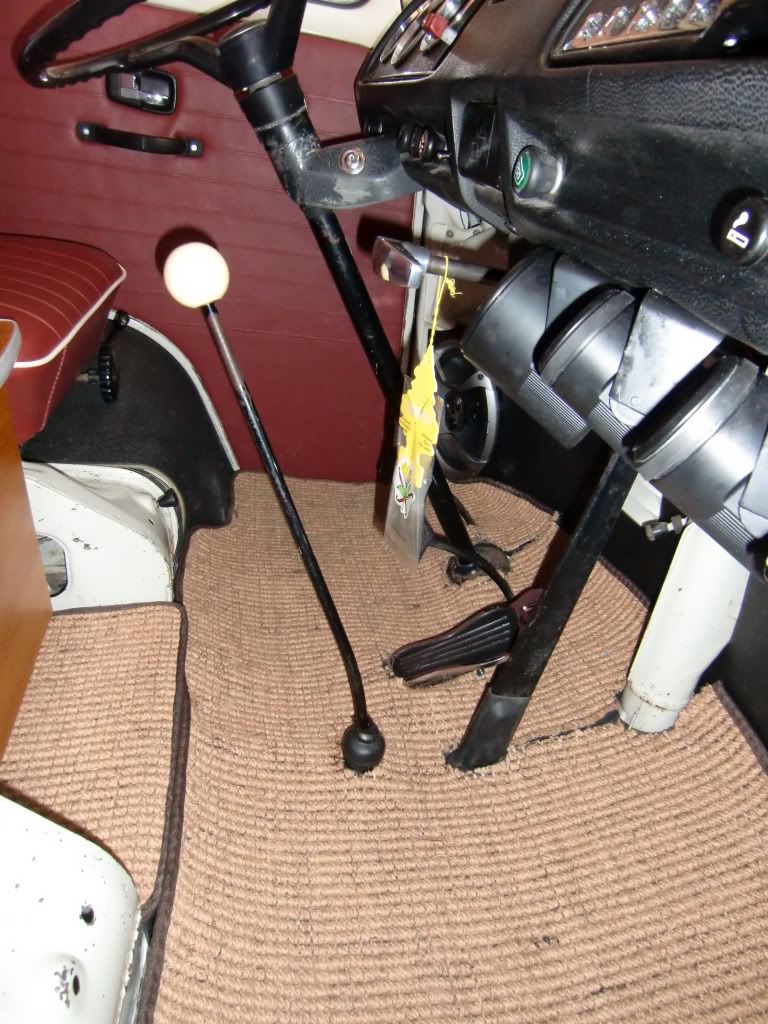
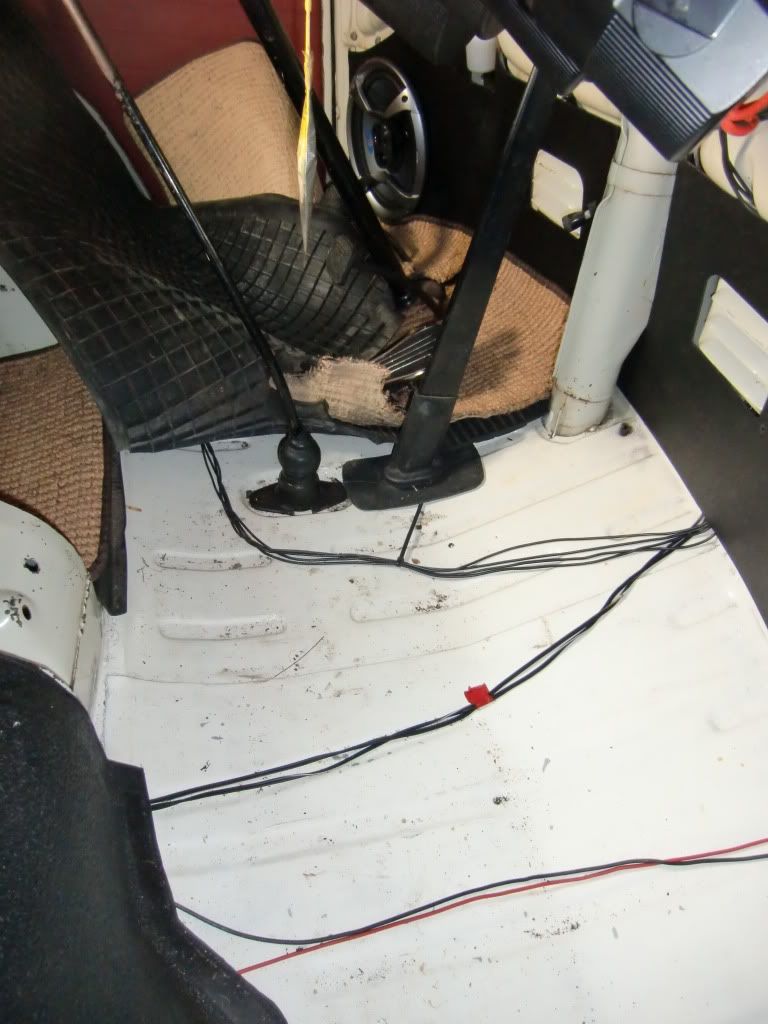
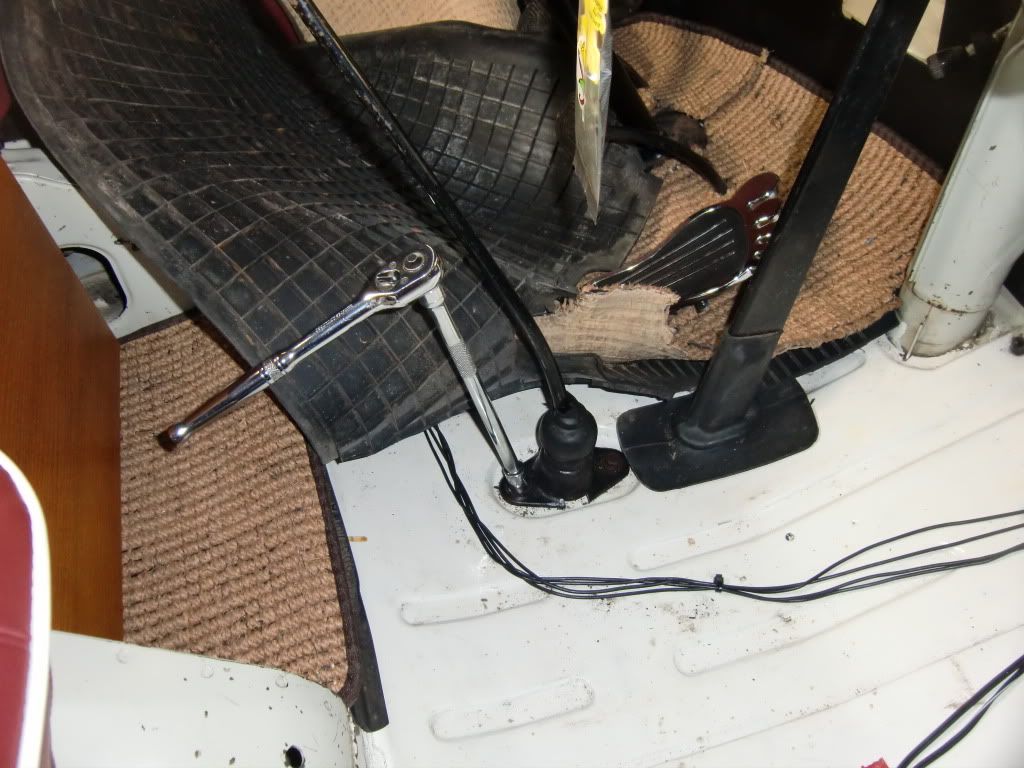
CIMG3624_zps8c57b8df.jpg


Standard setup

CIMG3611_zps5d4e2184.jpg


CIMG3612_zpsb2bdaee4.jpg


I had the roll back the madmatz to get to the og rubber one

CIMG3614_zps3d11b827.jpg


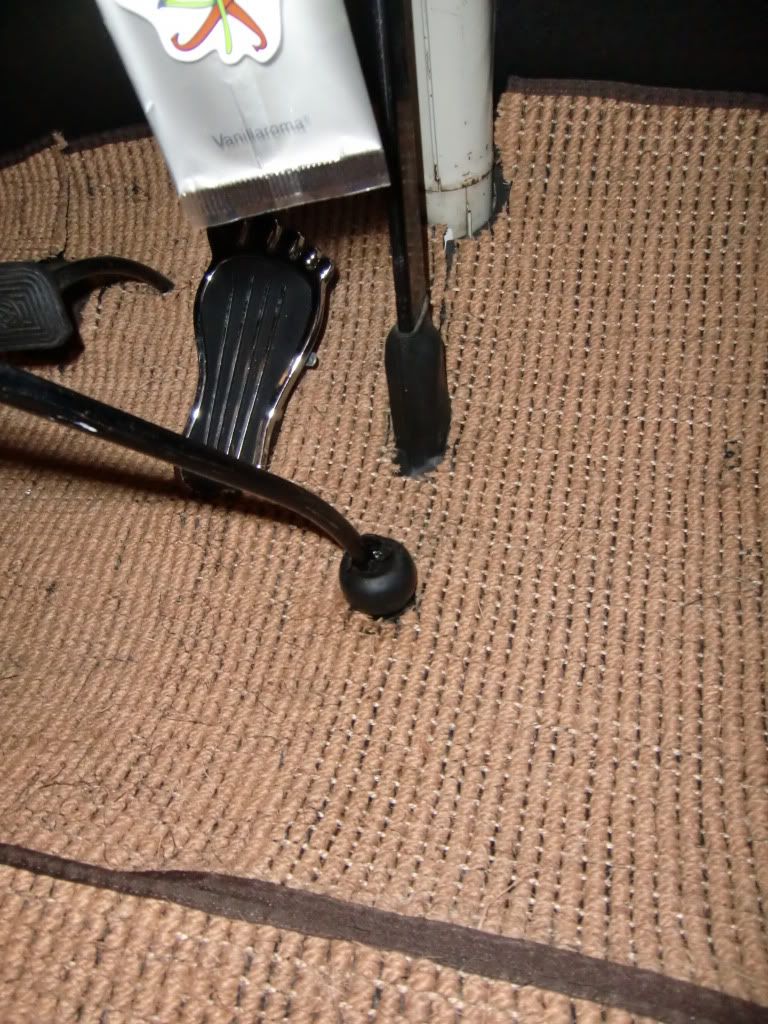
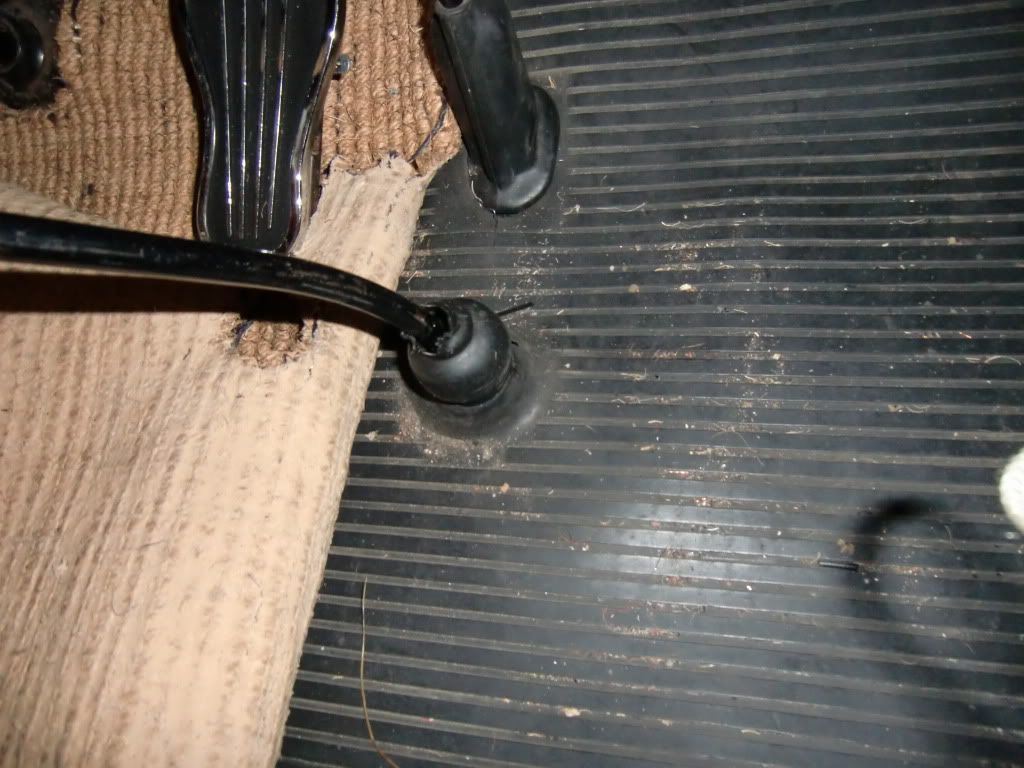
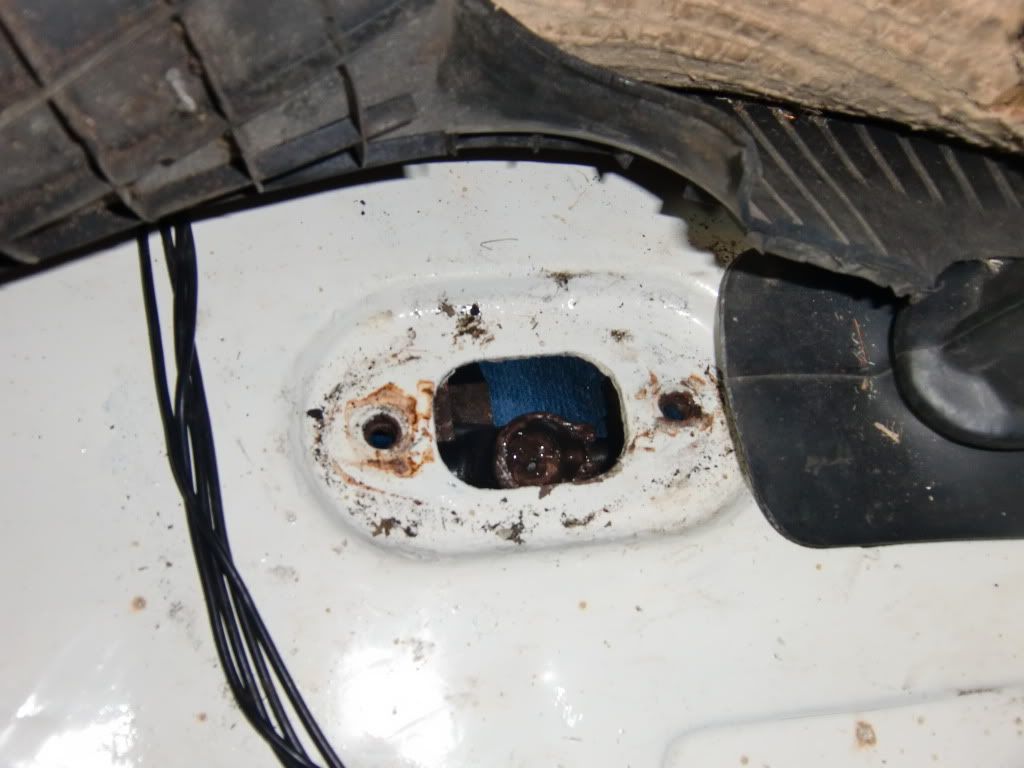
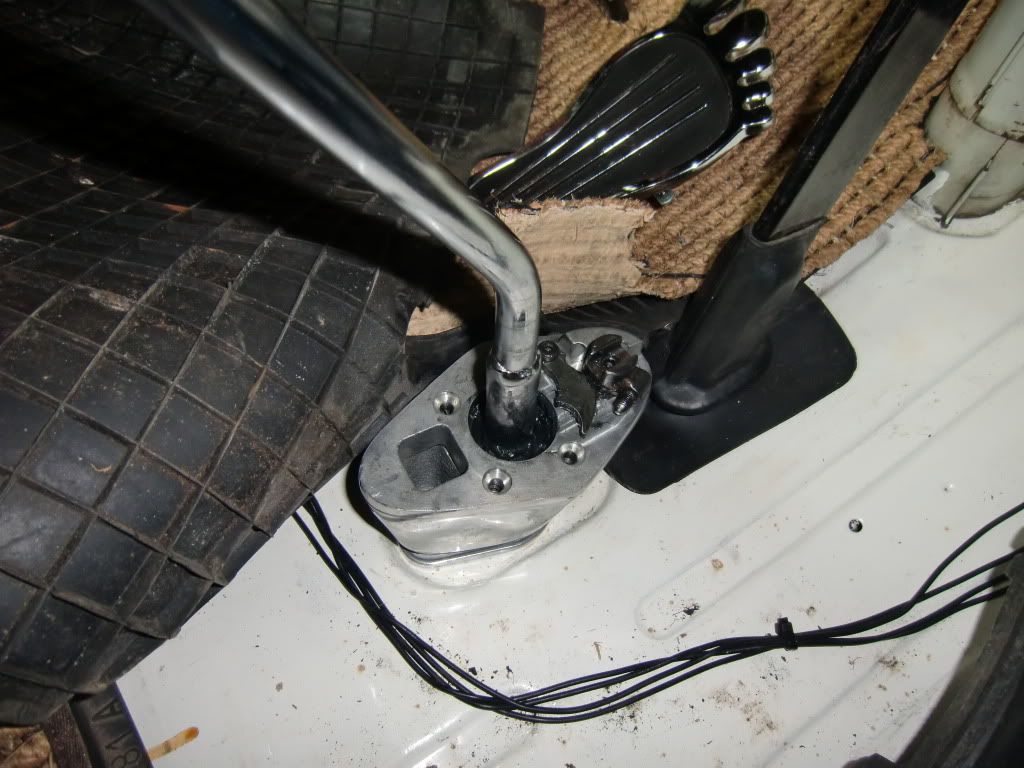
Then to the bare floor

CIMG3616_zps6ad63985.jpg


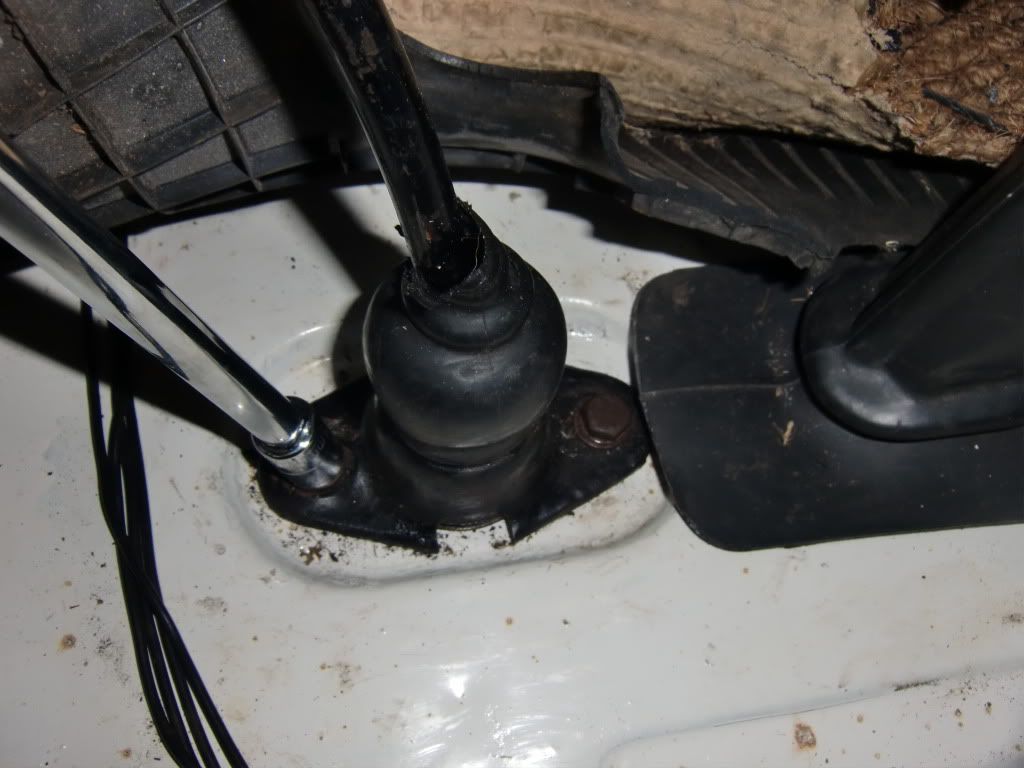
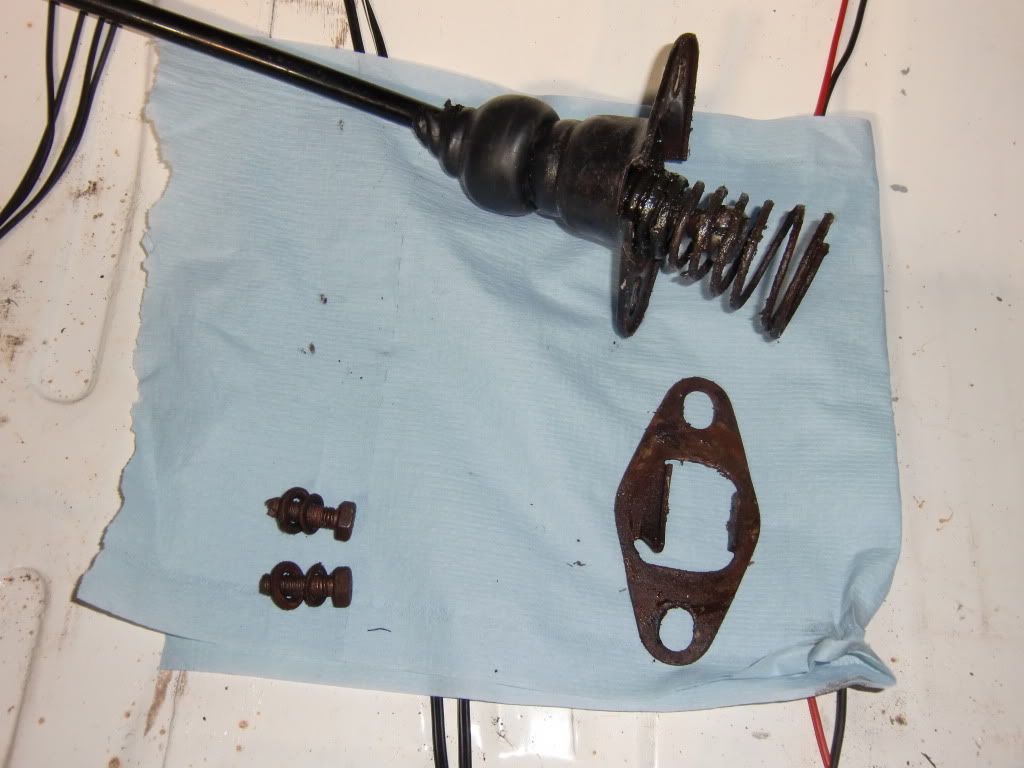
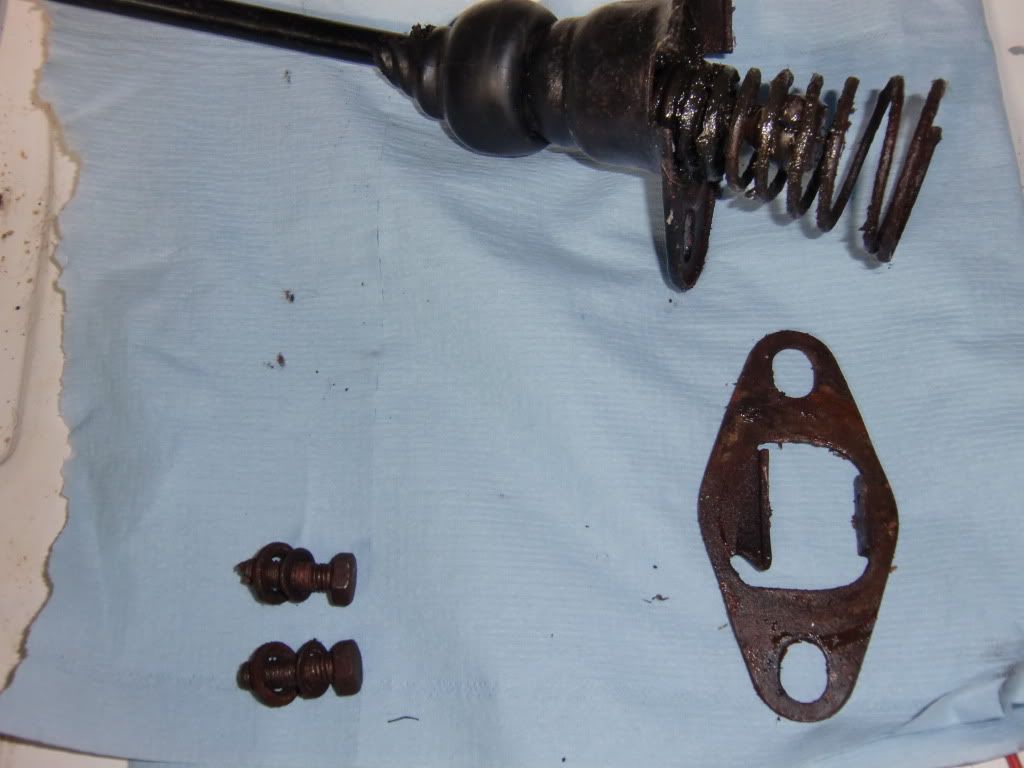
The shifter is only held in with 2 bolts!

CIMG3617_zpsae7acd04.jpg


CIMG3618_zpsb318a33e.jpg


Out they came along with this

CIMG3619_zps5d68c926.jpg


CIMG3620_zpsf274e433.jpg


I gave the aperture a quick clean and ensured there was ample grease in the linkage
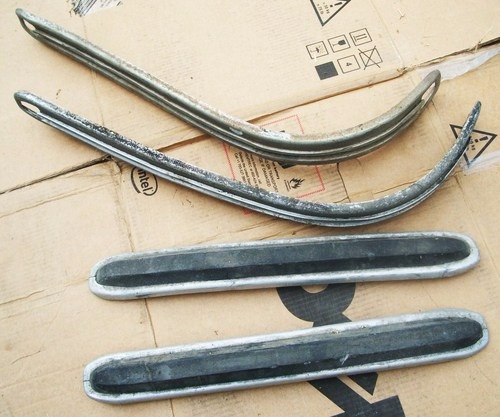
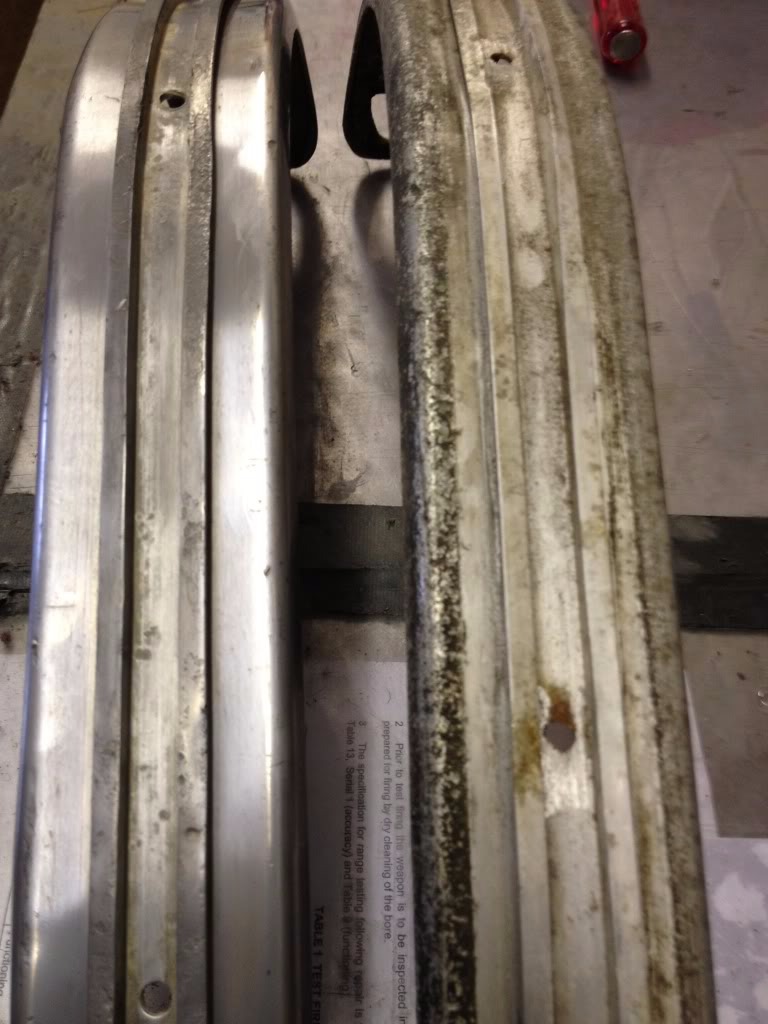
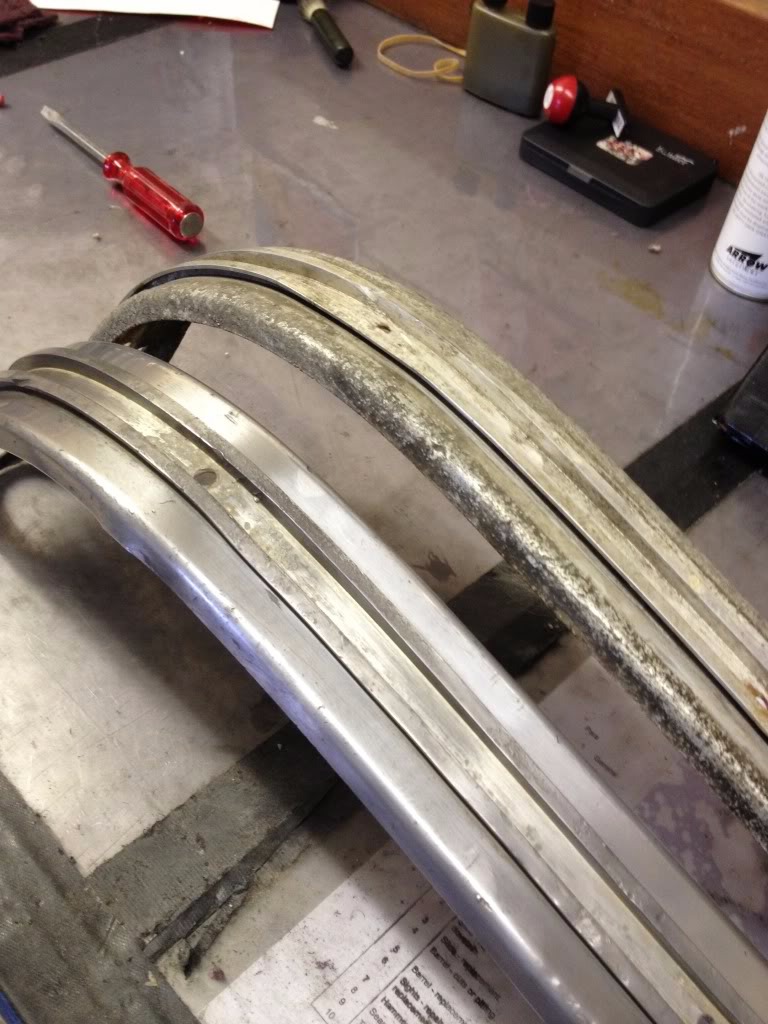
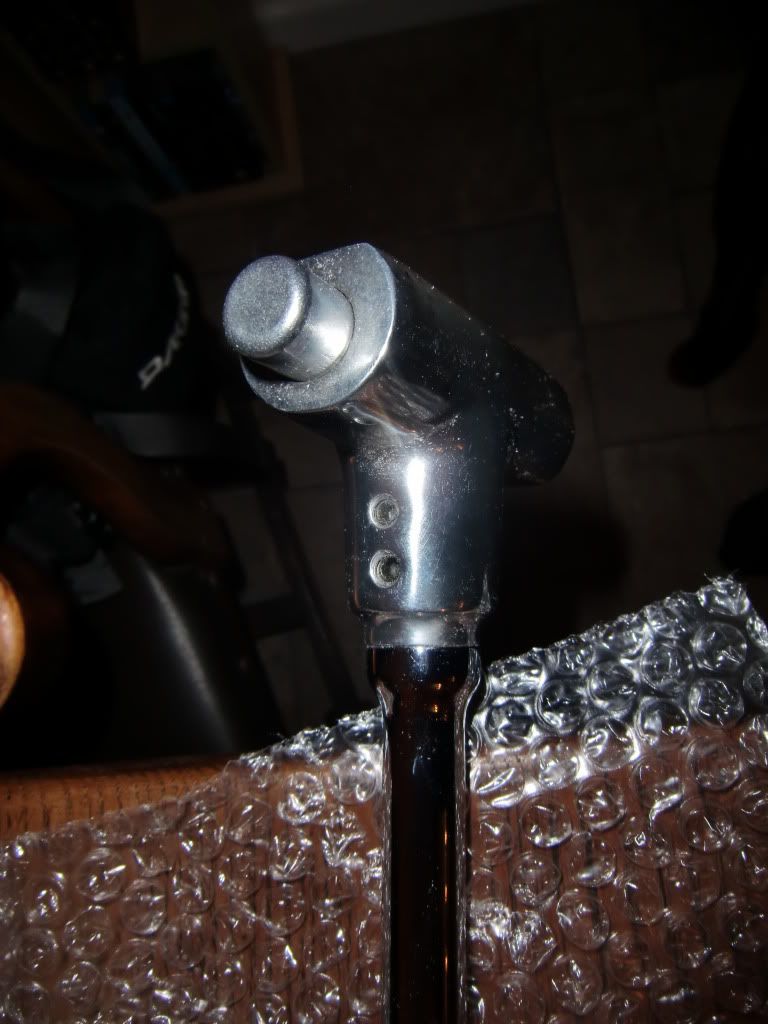
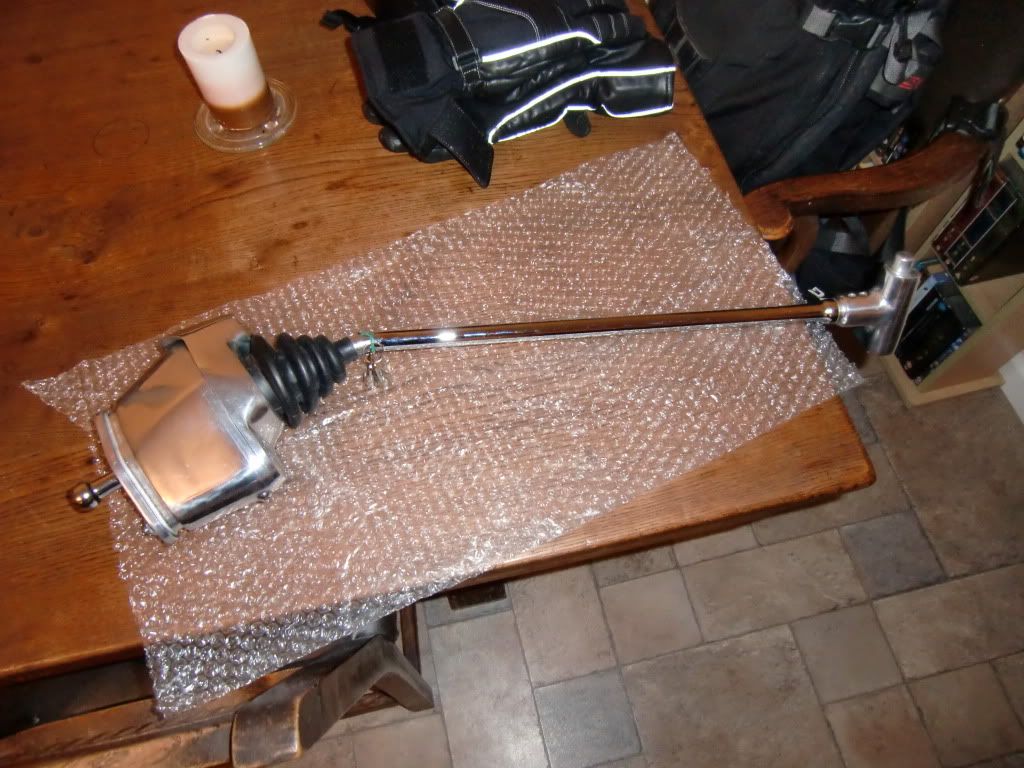
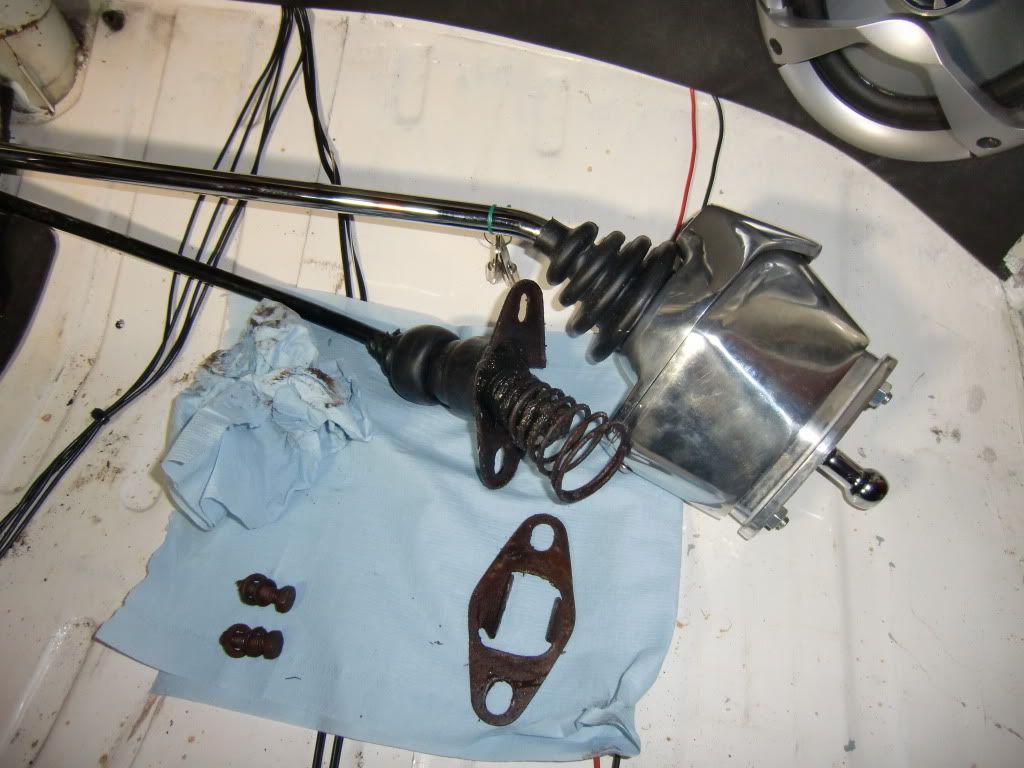
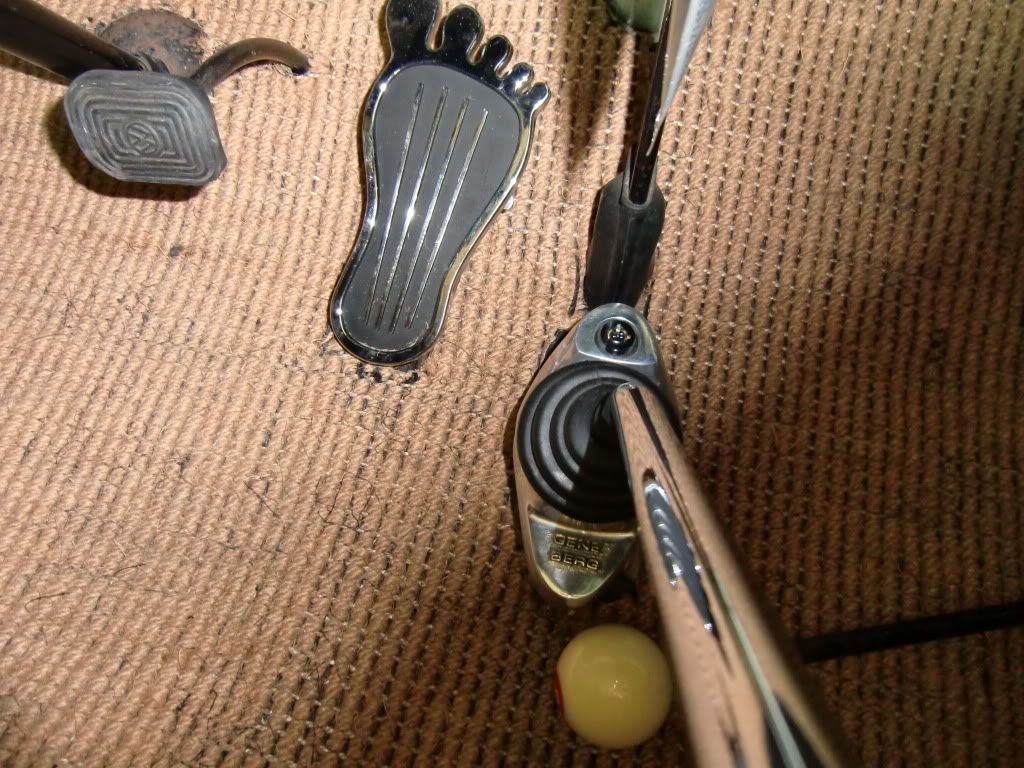
CIMG3621_zpsba9e56e5.jpg


Old vs New

CIMG3622_zps8bd33341.jpg


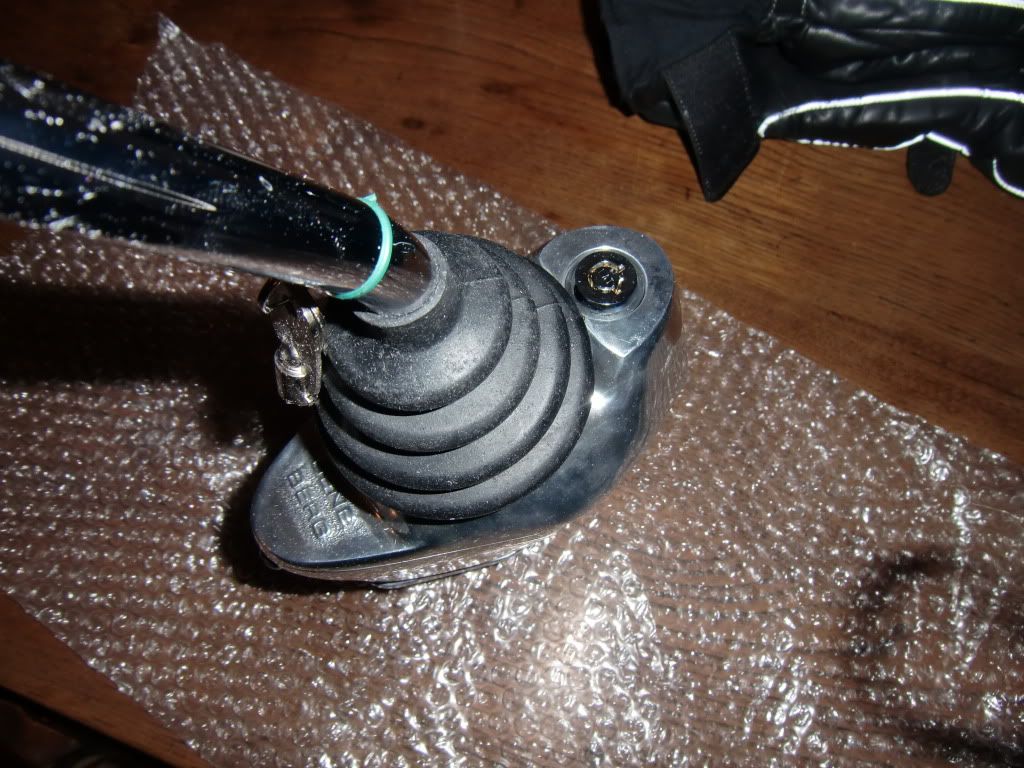
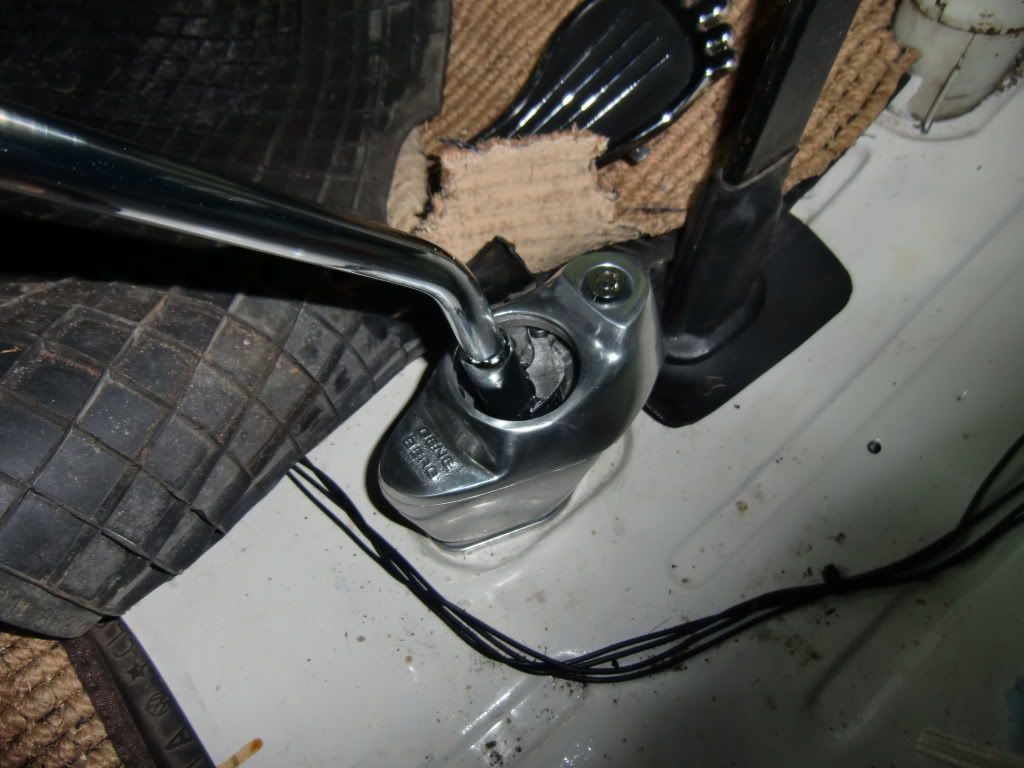
Then to install the locking base you basically have to disassemble the unit until you are left with the base plate alone

CIMG3623_zps44ab90c3.jpg


Two bolts in and a slight tweak up before fitting the intermediate section

CIMG3625_zps8a493d64.jpg


With that held in with 2 of the supplied hex head bolts I had to make sure I had all gears and reverse was only selectable with the button depressed, after a few adjustments all was feeling nice and selectable.

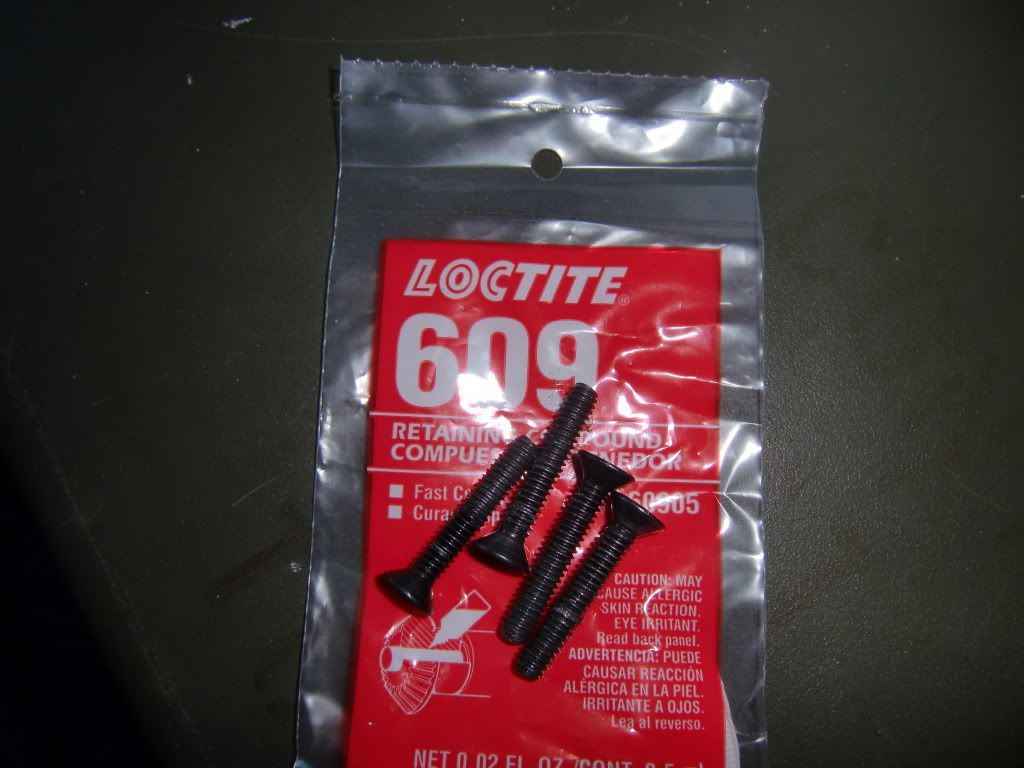
With the gears all available the four hex bolts have a little locktite applied and tighten them badboys up

CIMG3628_zps26c92d4e.jpg


Then it is a simple case of adjusting and locktighting the actual locking mech so it only engages when in reverse and all done.

CIMG3629_zps50a16041.jpg


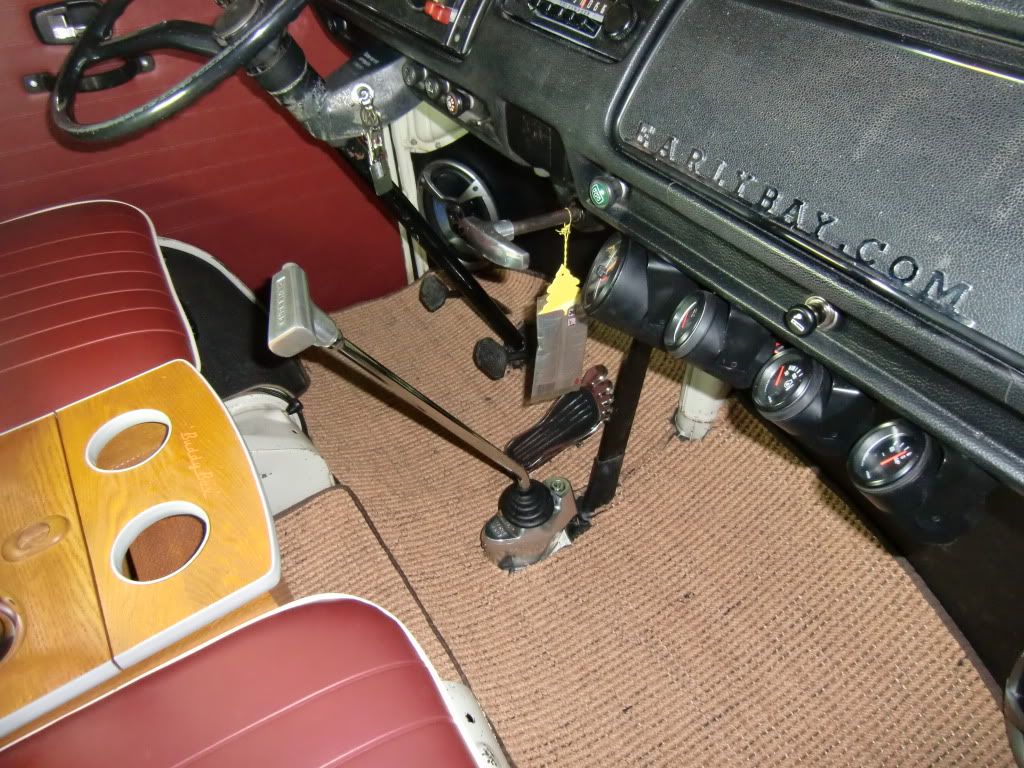
Bit of og and matmatz mat trimming to ensure the carpets now fit around the larger base.

CIMG3631_zps8d7df63b.jpg


CIMG3633_zps04d1f7de.jpg


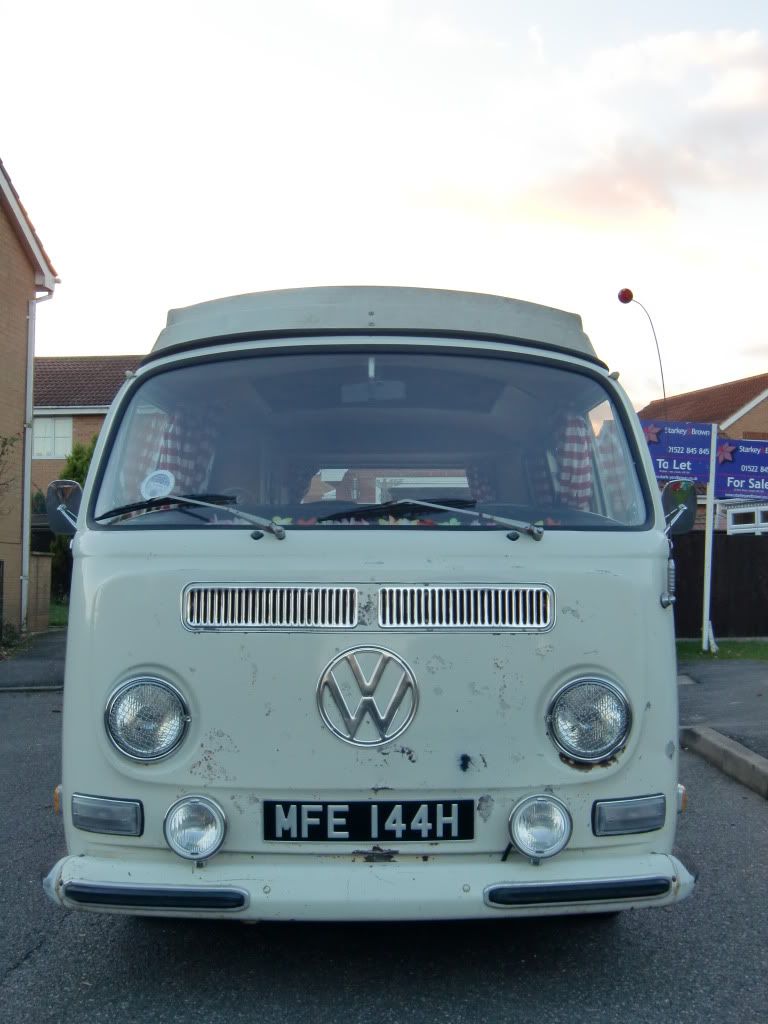
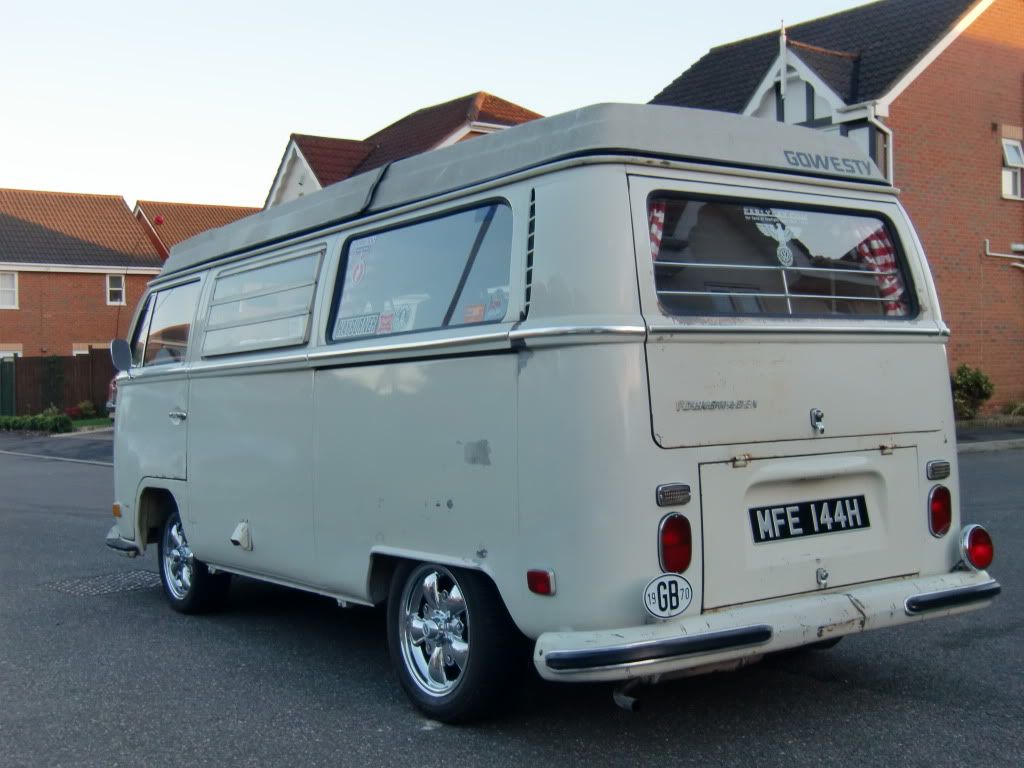
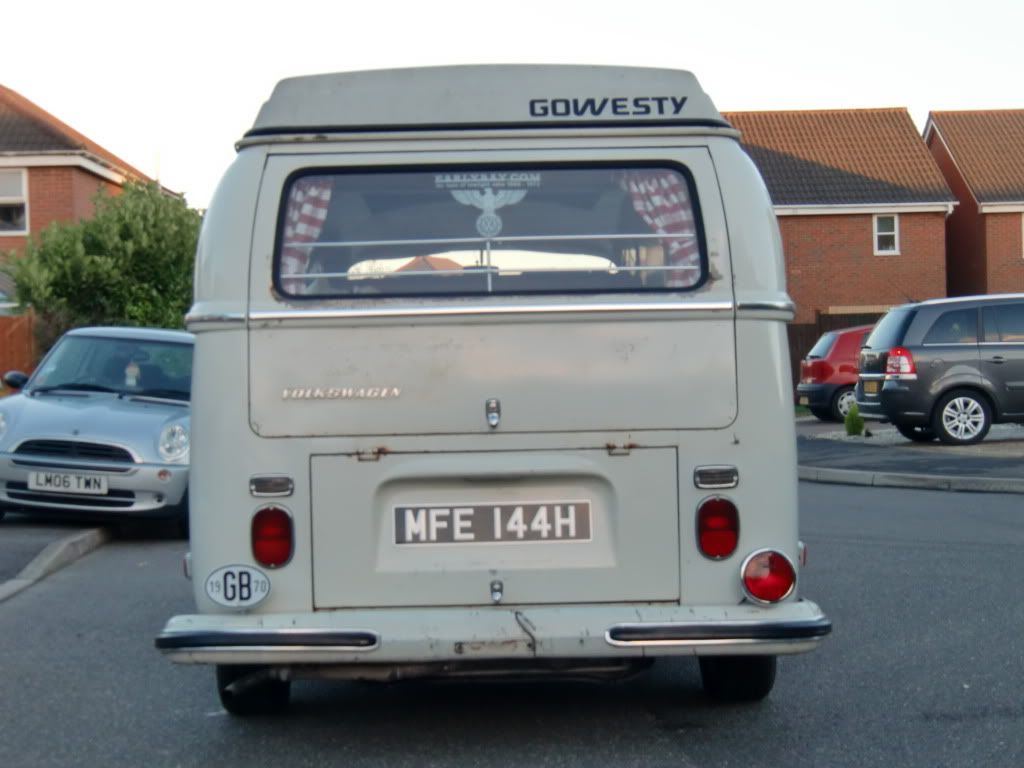
Then took Murphy out for a test drive to see how the new shifter faired on the road.

Here are some of those shots.

CIMG3636_zps7f0cb41b.jpg


CIMG3635_zps0f8fb961.jpg


CIMG3634_zps99e16fef.jpg


CIMG3637_zps32490bd4.jpg


CIMG3638_zps8089ebfd.jpg


My first impressions of the shifter are positive - actually (apologies for the language) to be totally honest its a fucking revelation. It has absolutely changed the way I can drive the bus, short accurate shifting without the risk of going into reverse or trying to pull away in 3rd.

I am gobsmacked by the improvement and cannot reccommend fitting one of these enough. I never thought the shifting would be so much like a modern vehicle but it is - I can now compare it to my old MK5 GTI!

To sum up - I am fucking thrilled.

Looking forward to the journey to BusFreeze even more tomorrow now.
 

Latest posts

Top