

surf
Well-known member
Nice Bus you got there 


gninnam said:How'd I missed this one :?:
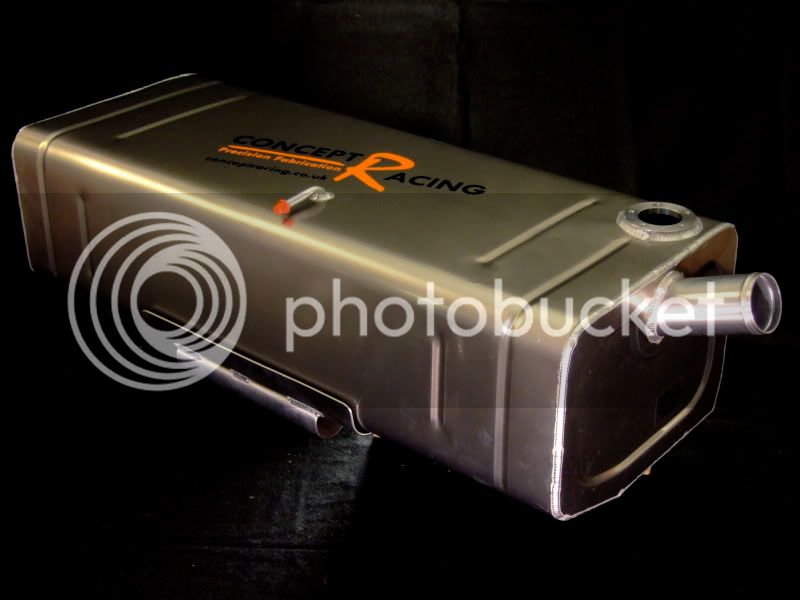
Great looking van and the work on the fuel tank looks amazing 8)
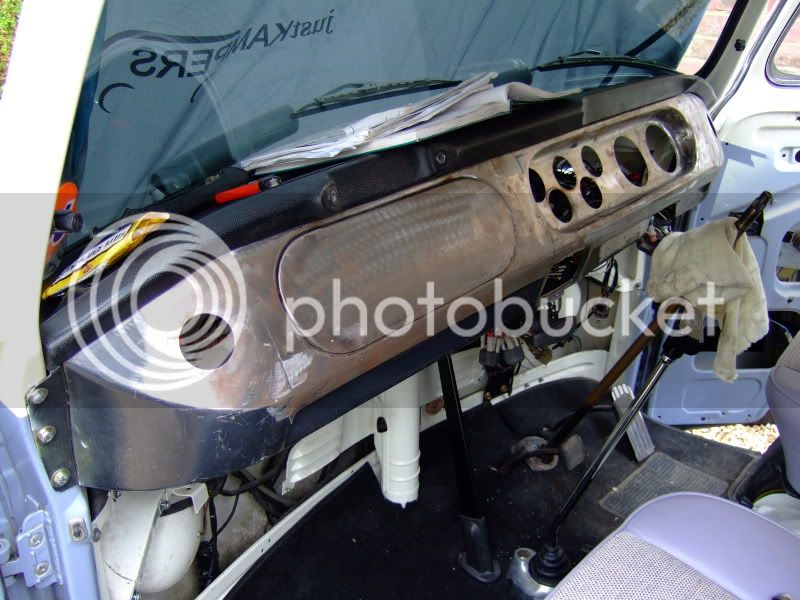
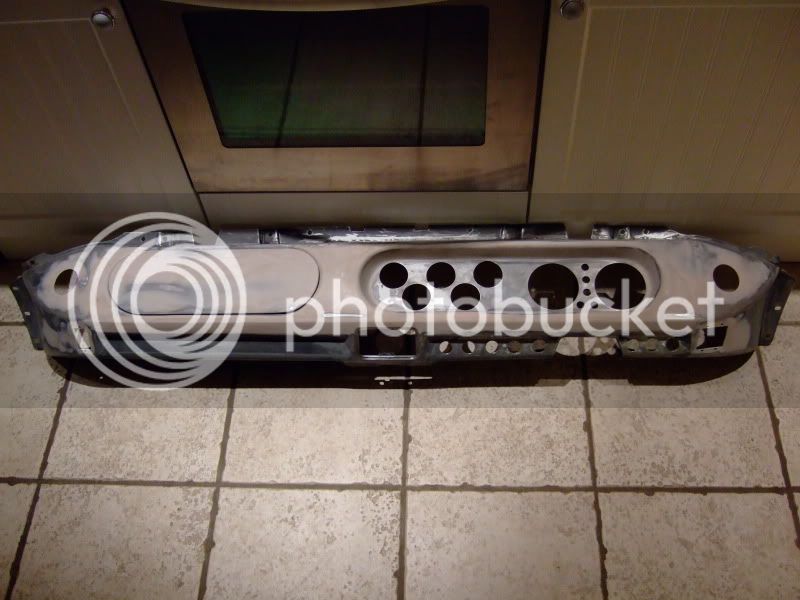
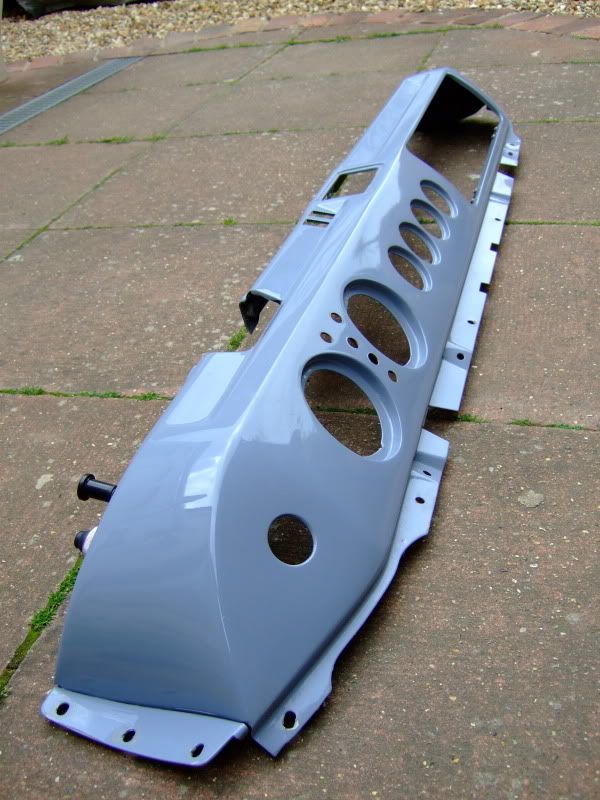
Working on another dash - very inventive


andewilson said:looking forward to seeing your dash go back in. its making me want to do something a little different to mine.
Trikky2 said:Very nice bus you have there. The dash looks like it will be extra special.
Interesting you say the seats are BMW. Not seen that before. Looks like they may use the original seat frame. Any idea which BMW model they came from?
Looking forward to your update.

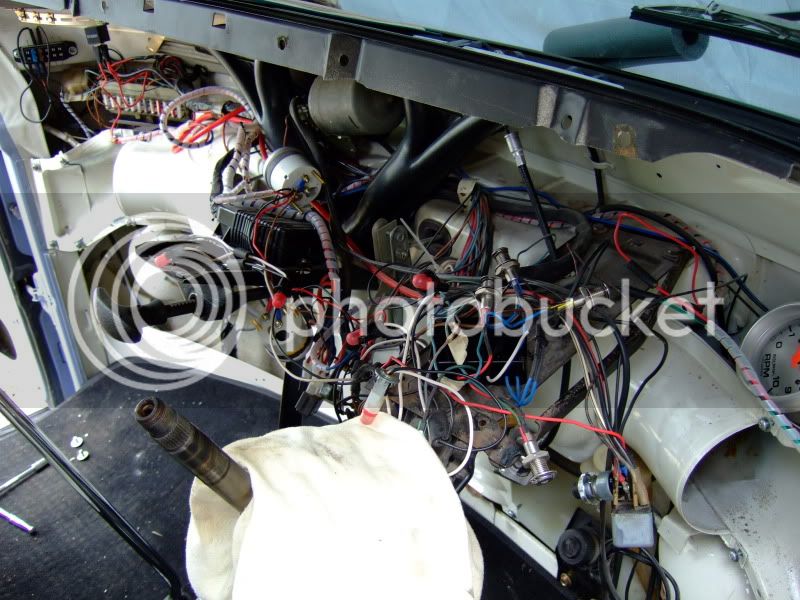
gninnam said:Looking and sounding good
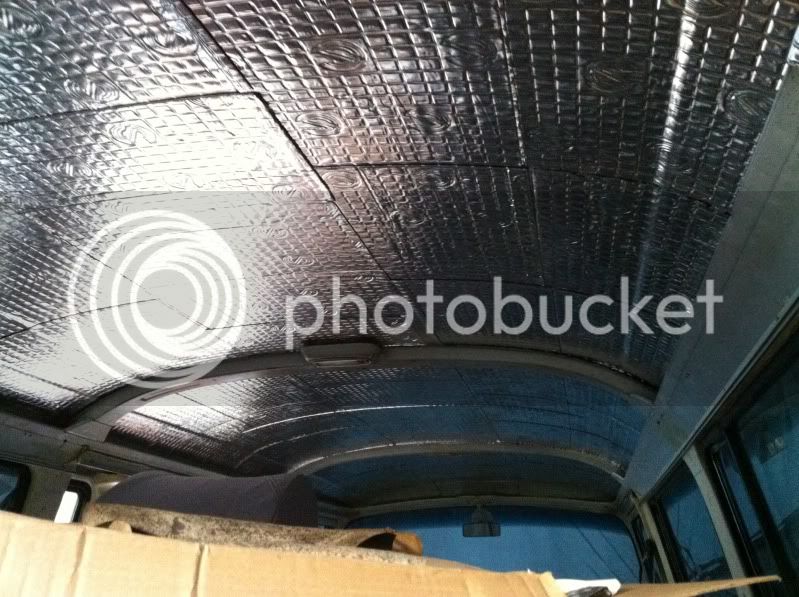
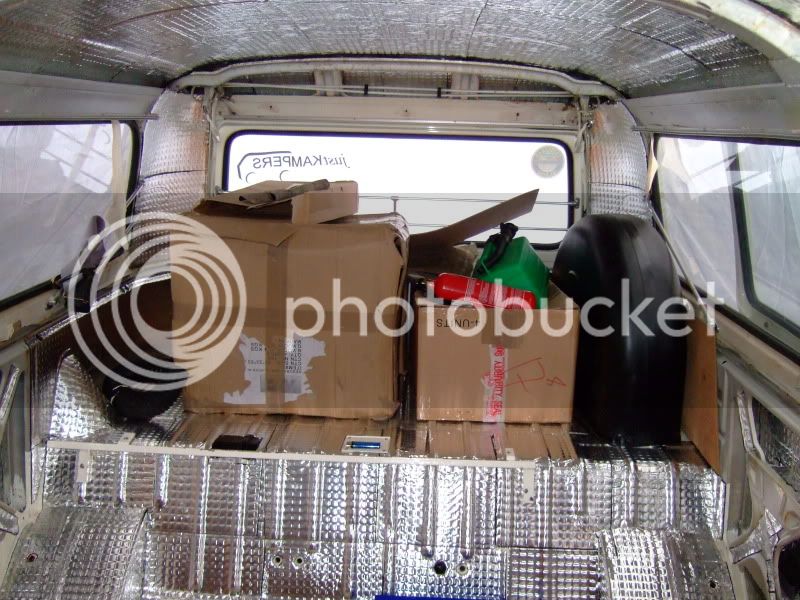
Think you went overboard with the sounds deadening panels myself :shock:
Usually only have to occupy a percentage of the total surface area to work.
But if this is also for heat retention as well, then it should cover all surfaces
Looking forward to seeing the work over the coming week :mrgreen:
Considering the roof is a very large panel with no direct structural reinforcement it's now dead as hell so I'm well chuffed. I've still got an extra 2 layers of sound proofing to do over the engine and gearbox and a single layer for the roof and rest of the panels to get the result I want.Buss69 said:Then I can work on the sound system.
Barkafer said:Sweet lookin Bus and very cool. 8) Just got some 5 spokes meself and can't wait to get them fitted.
Geeze said:Buss69 said:Then I can work on the sound system.
It's going to need to be quite a system to justify that much dead sheeting! :lol:
Top work, and amazed it can be that tidy and still have that much of a jobs list!


