the life and times of Doris the Dormobile!

Early Bay Forum

Help Support Early Bay Forum:

This site may earn a commission from merchant affiliate links, including eBay, Amazon, and others.
Thanks chaps! OK so managed to wire up the fuel cut off solenoid today,which allowed me to get the engine started up.I know everyone likes pics, well here's a video of her 1st start up once the fuel system was primed....I turned her over without the lead to coil attached to prime the fuel filter & carb,then re attached the lead & videoed the start up.there's no exhaust so she's a bit noisy.........


I want to do the firetec install like yours , mounted on the metal strut, above the engine LHS. Problem is how do you get inside it to fix the two mounting bolts?! I thought of using a different bolt like a self-tapping one but the head rubs against the side of the extinguisher. How did how did you manage to do it? If you can my pic you can see the fuel cut-off solenoid as well. Great thread btw
5c171671-d867-ab72.jpg
 
mike202 said:
how do you get inside it to fix the two mounting bolts?! I thought of using a different bolt like a self-tapping one but the head rubs against the side of the extinguisher. How did how did you manage to do it? Great thread btw

Thanks mate,I used the bolts supplied with the firetec.they were just sheet metal bolts.drilled a hole and in they went.you cant get to the other side without cutting the boot floor so some form of self tapper is the way forward.If the head of the bolt is just touching,as long as its not rubbing against you'll be ok. make sure the extinguisher is secured with decent cable ties like the instructions say.
hth
 
looking good fella ;) ..............i did them bellows for a mate bitch of a job :evil:

chris
 
Its looking amazing rob cant wait to see it on the road. Just bought a house in crewe so there maybe a chance we'l pass.
 
your welcome to pop by Alex when she's back & have a look ;)

So... today,Doris was loaded onto a trailer and taken to rustmaster in Knutsford,Cheshire for wax cavity injection and underside treatment...

V8 petrol Land Rover - powerful......but thirsty!
88cc1e33.jpg

8ae67dd7.jpg


First job was to get the bus up in the air and steam clean the underside to remove any road grime so the wax doesn't trap any crud against the body.these guys are used to blowing off years of mud & under seal from green lane Land Rovers, so a fresh from resto VW was just a quick blow over....
2fcfd0ce.jpg

8bf55c91.jpg

17190f0f.jpg


even though the product they use is 'water chasing' the vehicle is then taken inside and blown off.it will dry over night and be treated tomorrow morning.......
6ad5b59f.jpg


I will post up pictures of the finished product.really stoked now....got an old school auto electrician coming round this week to go over everything and put a few things right.and its got to be flatted & polished.Also in case you're wondering why Doris keeps flashing her bum,I'm waiting for Kraftwerk to finish the rear valance,been promised I'd have it Thursday......we'll see.

Thanks for viewing :mrgreen:
 
And the finished result.....
404b72a6.jpg

5284f9da-79e4-ae33.jpg
5284f9d9-79ff-5789.jpg


Very happy with service I received from these guys at rustmaster. Explained the process, let me watch & give me a 5 year written guarantee & free yearly check ups/ touch ups as required!
 
Doris said:
Dad & I got the roof bellows fitted on Saturday.... never done it before,don't want to do it again!

roofbellowsfitted2.jpg

roofbellowsfitted1.jpg

Dont suppose you took more photos while doing your bellows did you mate?

I hear its a right bitch and i have to do it soon !!!
 
Rexer said:
Dont suppose you took more photos while doing your bellows did you mate?

I hear its a right bitch and i have to do it soon !!!

Hi Mate,
Oh yeah, not a job I want to do in a hurry. Sorry bud,didn't take mid way photos, too engrossed !
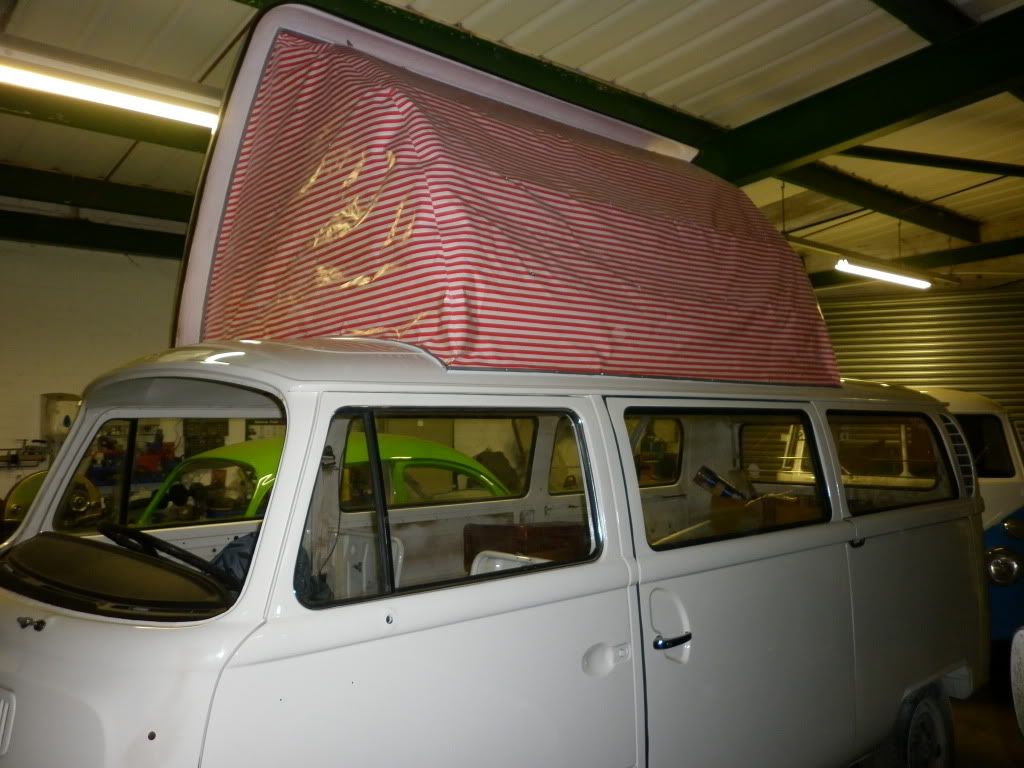
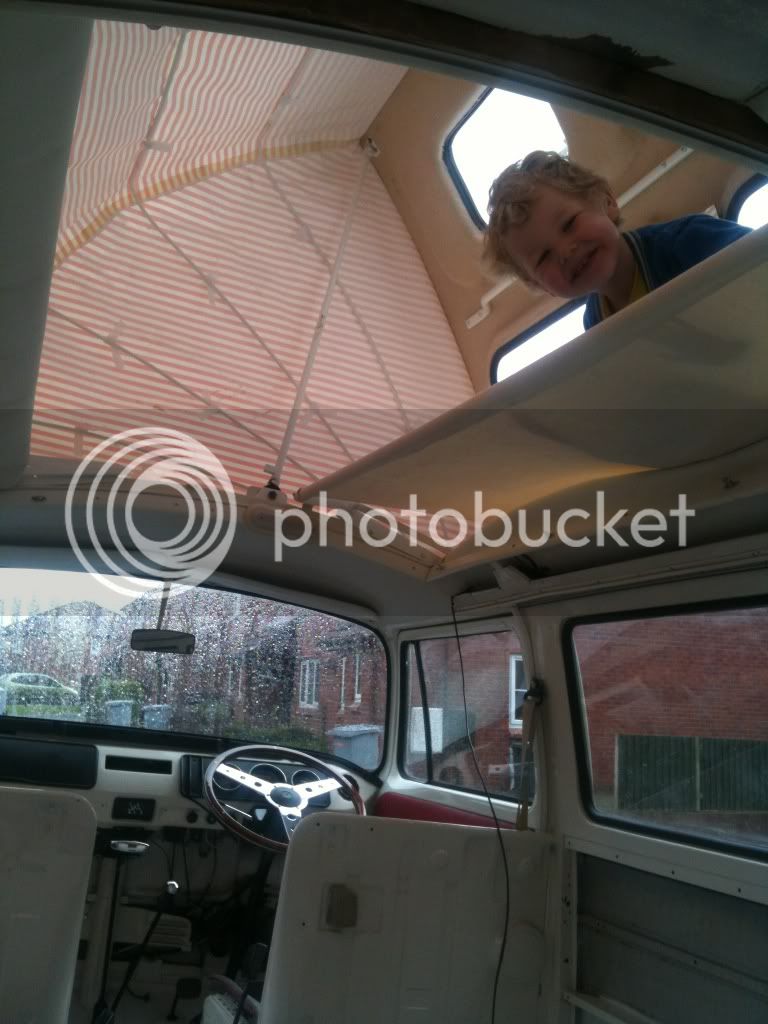
Tips?...get the roof off & on its top, much easier to work on.fix the bellows to the roof first right the way round.if you're having candy stripe,have the minimal possible waste at the top with the stripe lining up with the straight edge of the aluminium securing strip ( you can trim the access later,with most of it at the bottom). With as many hands as possible,offer the pop top to the roof & secure hinges & struts.

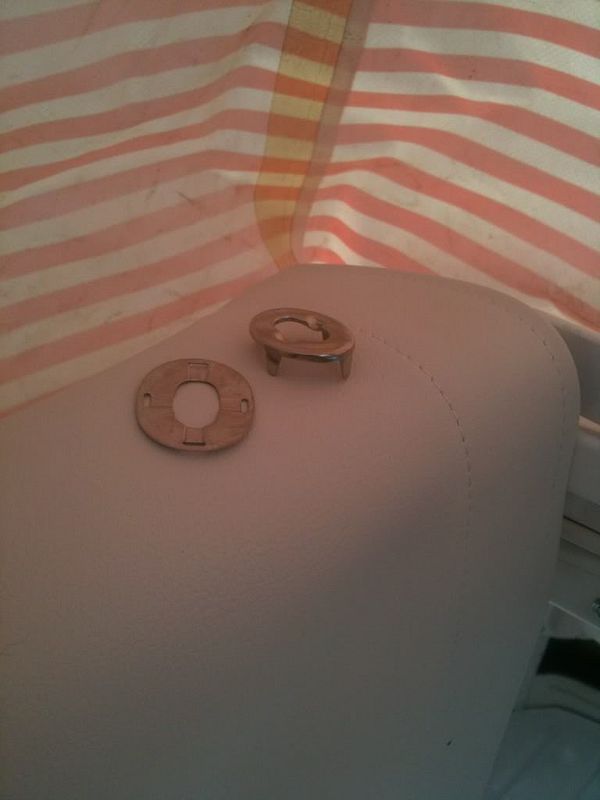
Now the fun starts! Straighten it all out as best you can.Start by securing the highest hoop so the bellows are fairly flat & straight between the pop top and top hoop. Obviously it's wrinkly & stiff so it's not going to be tight & flat like a board,same again with next lowest hoop until they are all attached to the bellows & it looks like it should. the Original Dormobile replacement bellows have markings where to rivet the Velcro hoops straps to - check you have the strap the right orientation to go around the hoops as once they are riveted you cannot twist them round (ask me how I know! :()

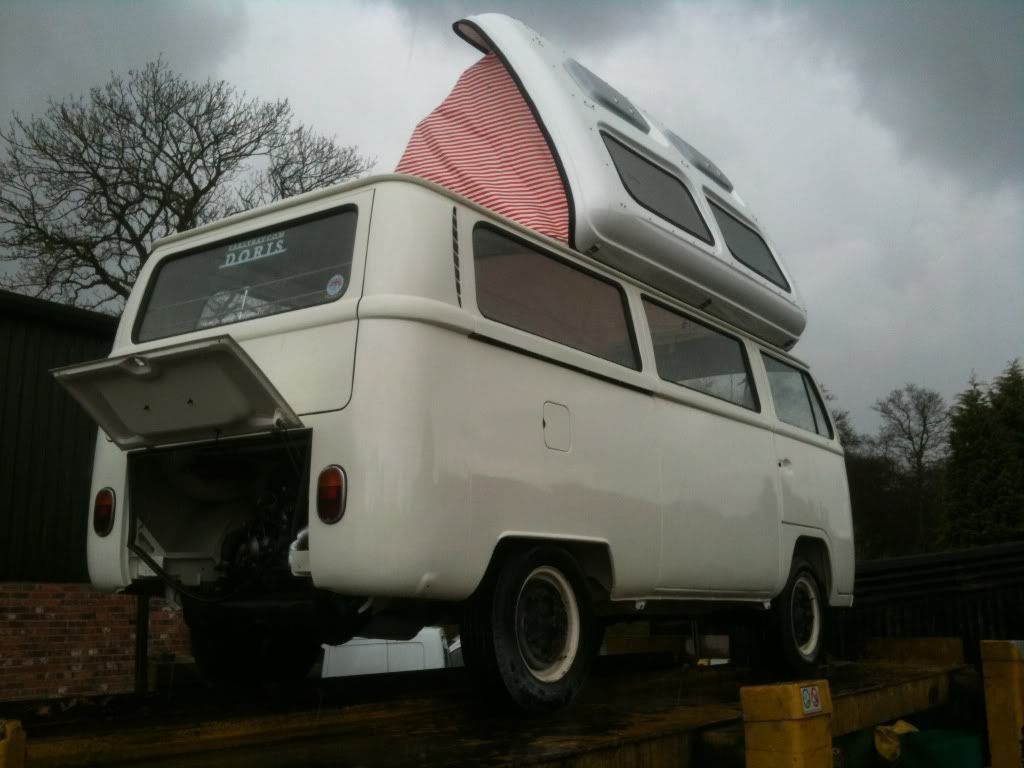
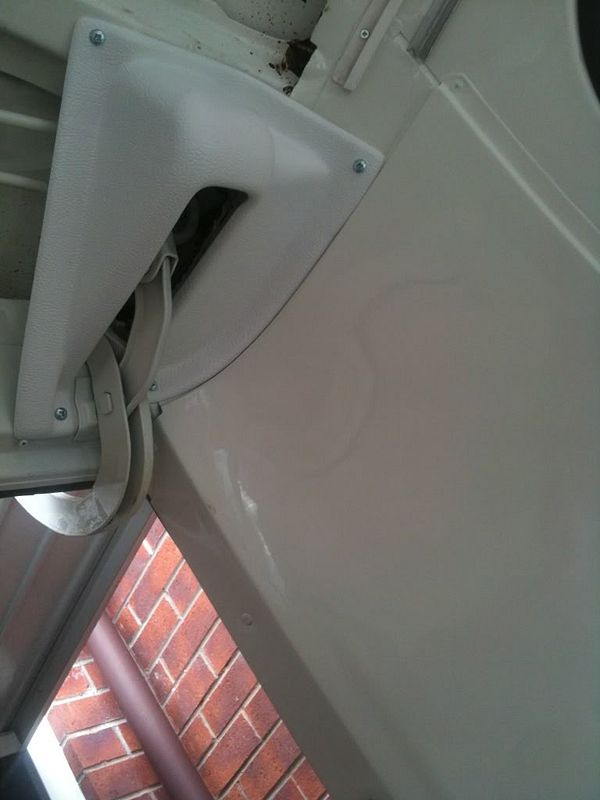
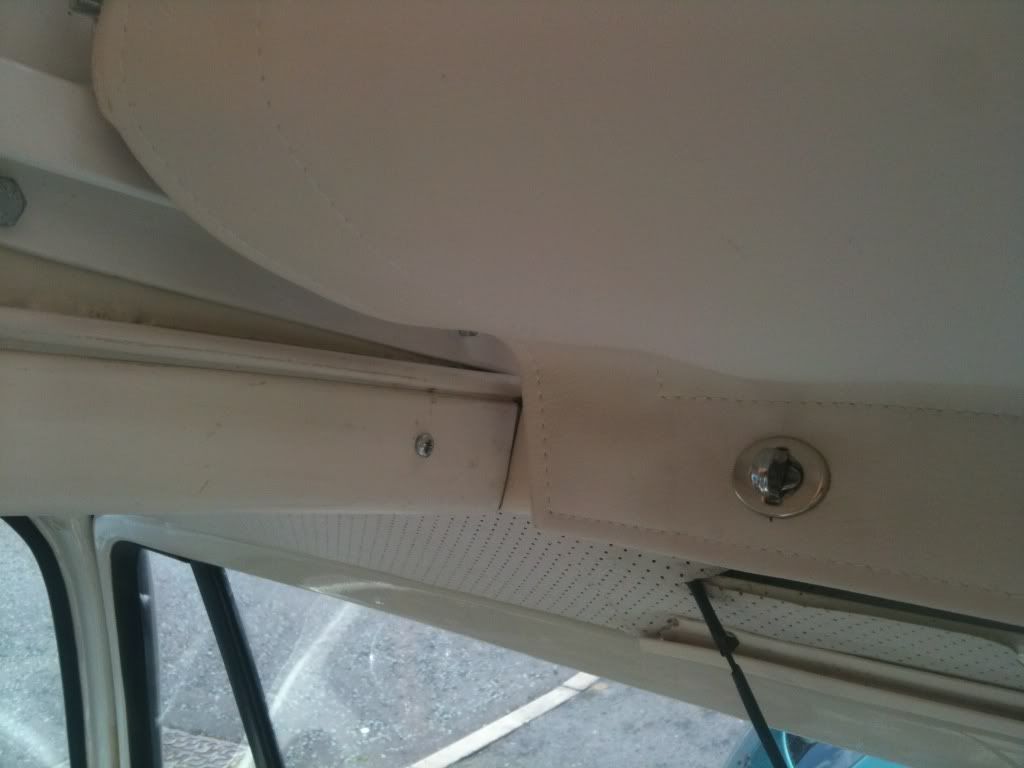
Now hopefully, the stripes should line up with the body & the bellows to body securing strip evenly.stick with the long side above the slider for now, get that right as the curve is more forgiving fir a mistake.use the old self tapper holes and loosely pin the bellows in place, letting the excess hang free.this is the stage where you go steady, pull a bit here & there until you're happy that the bellows are fairly tort and the stripe runs parallel with the Ali strip on the body,when happy,it's the point of no return....screw the Ali strip & bellows down.do the same on the curves,but you'll have to put cuts into the material to allow it to go over the curvature of the roof,don't go too far into the material as you don't want you're cut to go beyond where the curved Ali strip will sit.once again,a little pull here,cut there until the bellows are where you want them.the curves probably took the longest,just go steady.

Once it's done,cut off the acess,watch your paintwork! PU sealant around e Ali strip & let it go off. I suggest leaving he roof up over night to let the sealant cure.by the way, once that stuff dries - its there for good so water gloves and have some panel wipe to hand. (thinners will take the pattern off the bellows!!)

Hope that's helped?! Any Q's, pm me! :D

Cheers - Rob
 
Rob,
Well done for posting this up - I now know where to take my bus when the time comes! 8)

This is one of my favourite threads, I have learned lots! :msn4:

LV
 
time for a back dated, up date! OK so ...on 24th April Doris came home!

now my plan was for me to build her back up at my leisure,but my plan was to have her back a couple of years ago,but hay ho.

About 2 years ago, I promised a mate he could use her for his wedding on the May 12th...so that meant I had 21 days to build up,refit & MOT her ! So the race was on.I had managed to do the running gear earlier on so she could drive off the trailer herself.

on to the drive & my assistant was ready.....

a7f7b0b3.jpg
 
How much did the rust proofing cost??
Fancy getting mine done as I saw my mate after he'd done his disco and he looked like he'd been down the mines all his life :shock: so don't fancy it myself.
 
Hi marco, cost £400 including pick up & delivery.that was lower body cavity injection,such as sills,doglegs,front valance,chassis rails,belly pan plus all underside areas & wheel arches.with before & after photos & 5 year guarantee & yearly check ups/touch ups.

I didn't take as many pictures of the build as, to be honest it was all go,every day!

first job was to get the bodywork flatted & polished,this is where Jay comes in. Now Jay is my neighbour & an all round top guy! He's an ex bodyshop lad,so knows his way round a polishing mop & a spray gun.A few months ago, Jay said "I'll give you a hand putting it back together" great I thought! what I didn't know, is Jay's 'giving me a hand' is at least a weeks solid graft on the bus! what a gent,I can't thank him enough for the hard work & help he's put in to get her ready for the wedding! His missus makes a decent brew as well ;)

he's Jay on the first sweep of the mop with G3.....
b82d1d4f.jpg


Anyone has done a build up will know,In your head, you think "I'll fit that, then put that on etc etc" but this stuff is 40 odd years old, stuff doesn't always fit straight away. some stuff needs, ahem, adjusting....like the tow bar. 6 bolts underneath & 4 bolts on the valance to line up - it took some persuading!....

before you ask, the plate on the tow bar is the towing hitch for the single wheel trailer...
0801acd9.jpg
 
Sorry but a bit of a jump now to near completion......

MOT day on Wed.............

198428f8.jpg

8ce469d5.jpg


MOTblurred.jpg


:mrgreen: :mrgreen: :mrgreen: :mrgreen: :mrgreen: :mrgreen: :mrgreen: :mrgreen: :mrgreen: :mrgreen: :mrgreen: :mrgreen: :mrgreen: :mrgreen: :mrgreen: :mrgreen: :mrgreen:

what a feeling! all that hard work, finally paid off! straight through, no advisories,so after 3 years - she's legal again!!
 
So, we made it "to the church on time!" here's Doris on the morning of the wedding.....

e91d554b.jpg

5eb1c3ac.jpg

33952f26.jpg


c38abb4b.jpg


At the church.Doris was the youngest bus there!!!...

644b6262.jpg


nothing cooler than a VW wedding convoy 8) ......

9a10d168.jpg


c94b8dad.jpg
 

Latest posts

Top