the life and times of Doris the Dormobile!

Early Bay Forum

Help Support Early Bay Forum:

This site may earn a commission from merchant affiliate links, including eBay, Amazon, and others.
a bit of progress to report.managed to pinch an hour or so here and there in between work & home.Although top coated,Lee & I felt all the doors were not up to standard so they have been flatted back,are now more level and have been re painted.....

Leesandingdoor.jpg


I couldn't resist a trial fit of the chrome 'DORMOBILE' script on the cab door before it gets colour sanded and polished.......

DORMOBILEscript.jpg


We managed to get the slider fitted, fitted the door handles on the Drivers door + slider,however the slider needs lots more adjusting.Its really difficult to get it right with new seals fitted but its exciting to see some bling going on :D ........

sliderdoorhandle.jpg

sliderUbolt.jpg

RHScabdoorhandle.jpg


and by the way, the pop top is on - what a bitch of a job!! still not 100% happy with how it sits,it seems to sit just fine in the 3 corners but the one corner seems to sit high.Anyway started fitting bellows but just ran out of time so that will have to wait for another time......
poptopfitting.jpg


Thanks for the encouragement everyone,the build up can't happen fast enough!! :mrgreen:
 
Superb work guys, a proper throrough overhall. Great attention to detail. It will look mouth watering when all complete - fantastic.

LV
 
bit more done today,after a lot more flatting work on the tailgate and passenger door, they were painted again.they will look lovely once they are polished though....

cabdoortopcoat1.jpg

cabdoortopcoat.jpg

hatchtopcoat.jpg
 
just a little up date as to what I did on friday. I wax injected the tail gate and engine lid....Man those things will out last me now! :D

dynaxtailgateandenginelid2.jpg

dynaxtailgateandenginelid1.jpg


I also built up the rear hatch,seal,glass,lock & jail bars - (well,why not!! ;) ) and hung it.....

tailgatefitted.jpg


Thanks for viewing,roll on summer!!!! 8)
 
Bus is looking sweet mate

Can i just ask, how did you fit the canvas to the roof?

Did you use bolts or rivets like the instructions suggest?
 
Hi Rexer,
The canvas isn't fixed yet mate,we ran out of time and I can't finish it as the roof won't raise inside the workshop.it is currently pinned up with nuts and bolts.when I fix it in for good, I'll use stainless nuts and bolts along with the white PU sealant.the hinges are riveted to body,then bolted to the pop top.hope that helps pal.anything else I can help with,just ask!
Cheers -Rob
 
Looking amazing mate! Wish I was at the same point now, Im still cutting and welding at the mo and doesnt seam to be getting anywhere. I bet all the time and money has been worth it now, its a credit to you. Btw where did you get that rust preserver from I have heard good things about it
 
Hi Alex,Thanks for your kind comments,taken 2 1/2 years so far so yeah - can't wait!
The dynax s50 is from these guys.....
http://www.carnaubawaxshop.co.uk/detailing/92/bilthamber-dynax-s50-750ml" onclick="window.open(this.href);return false;

I found them to be cheapest and free delivery.

These guys are doing the underside........
http://www.rustmaster.co.uk/index_51625.htm" onclick="window.open(this.href);return false;

Keep chipping away at it mate,before you know it you'll be cruisin to
A show with your arm out of the window :)
 
Thanks doris im plodding way still do a few hours the majority of nights. Keep finding more work faster than I can weld her up. You goin to be on the road for bugfreeze? Thats my goal
 
won't make the freeze mate,still a few bodywork issues to be sorted out.

this week I've managed to finish off the hard brake lines on Doris and fitted the Master cylinder,just sourcing the elusive top reservoir to lower reservoir/master cylinder feed pipe then I can fit the pedal and top her up!

I also made a little work for myself ! :roll: whilst fitting the wiper mechanism,I pushed the spindles through the rubber grommets in the front panel. The spindles were slightly out of line and the LH spindle pushed the grommet out and the thread caught the edge of the spindle hole as it pushed through, taking a bit of the new soft paint off.I've since found out that you need someone on the outside guiding the spindles through the grommets and in this case squeezing the spindles together slightly as they are fed through - hope that helps someone in future :? ......
wiperholedamage.jpg


Anyway,got straight on it,filled and finished it with stopper filler.When we were at the paint stage,we had some rattle cans made up of the paint in case of chips/scratches etc.in future.So instead on cranking up the compressor and spay equipment,the old rattle can came in handy - a perfect colour match! Once the repair is cut back and polished,it will great and nobody will know - ssssh!....
wiperholemasked.jpg

wiperholerepaired.jpg
 
USwesty said:
Hows the build up going fella?

Hi Al, Thanks for asking.been a bit hit and miss lately, not been very well. had a blood clot in my leg and lungs - bit scary!! Anyway,on the mend now :D .

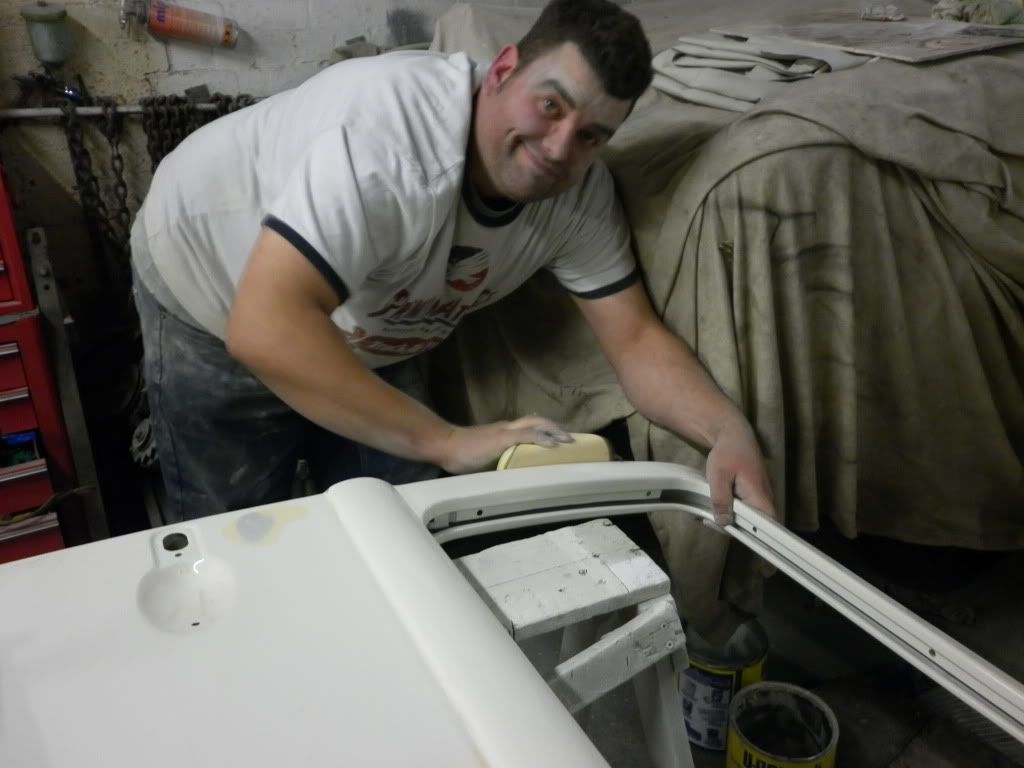
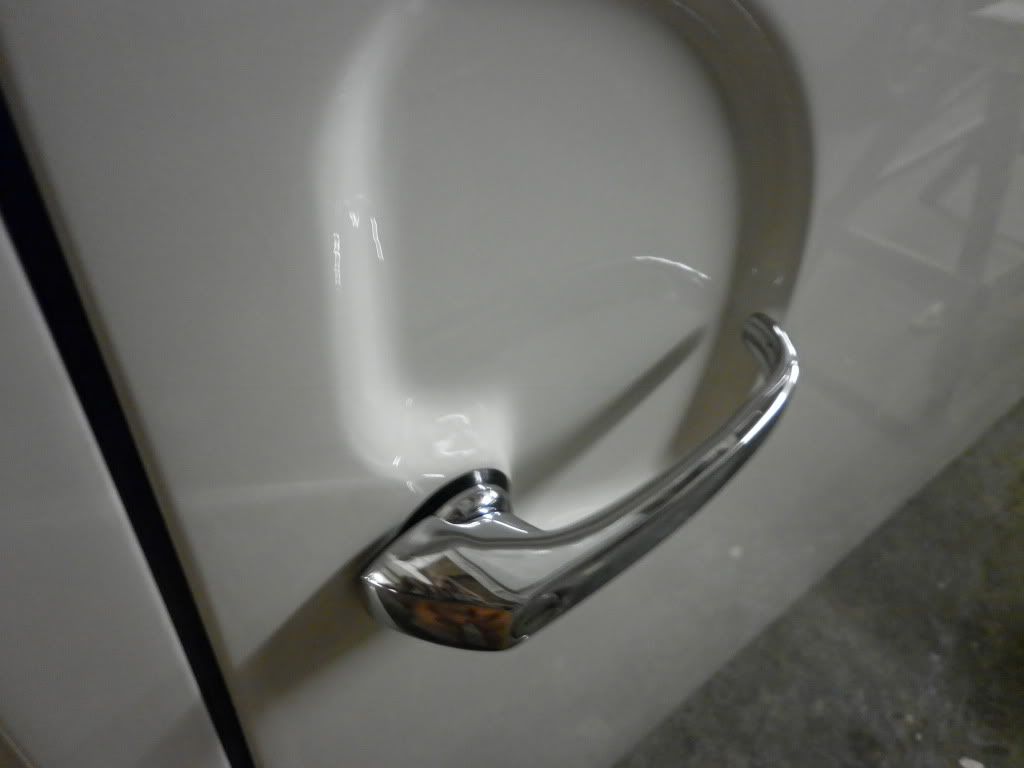
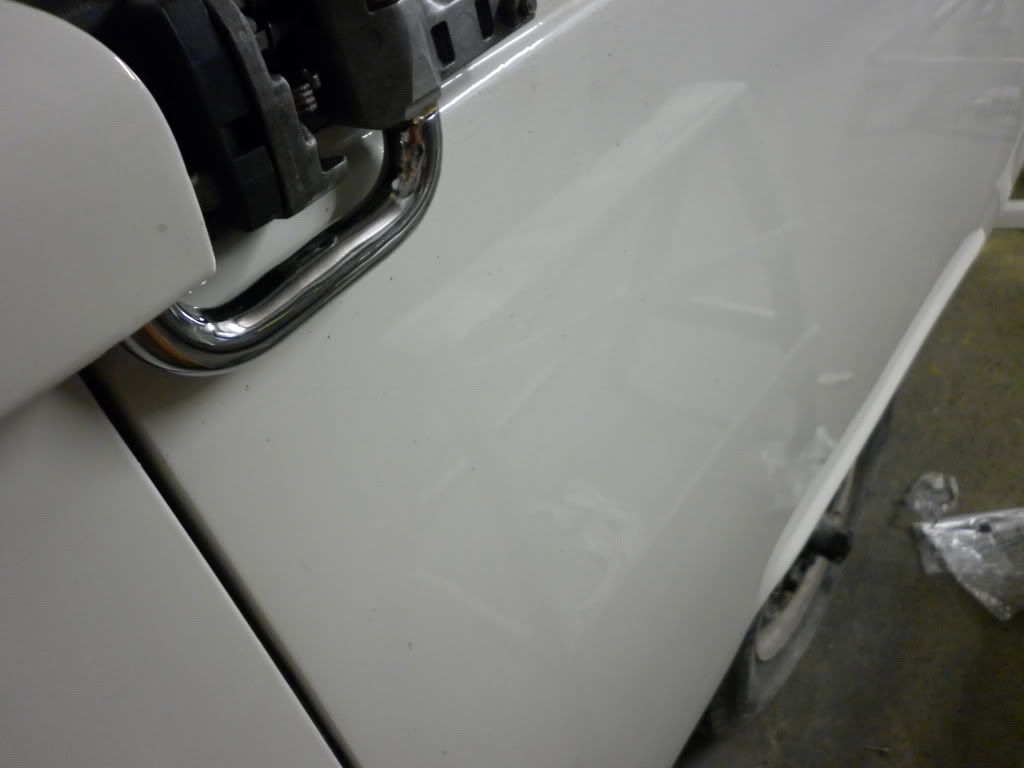
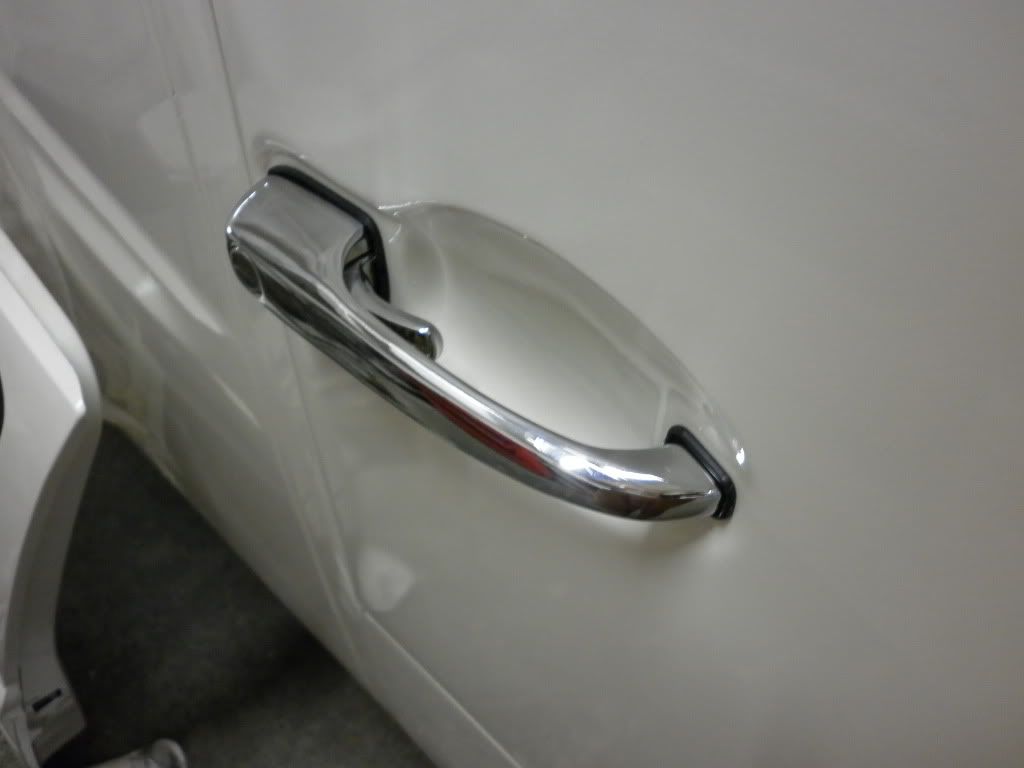
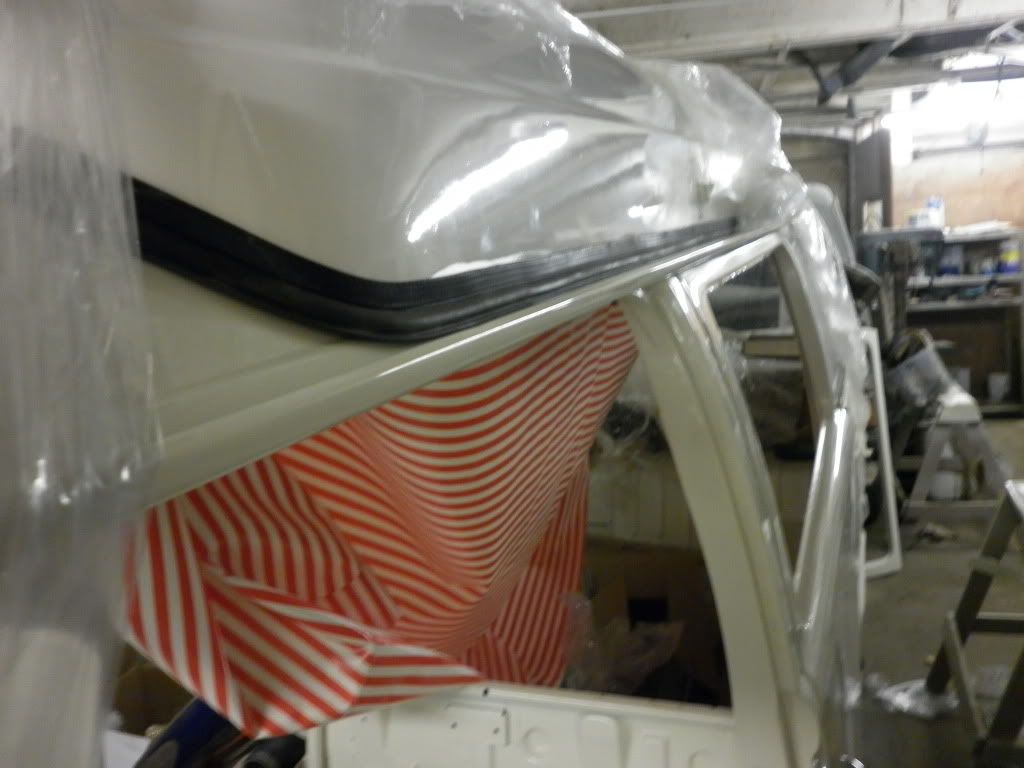
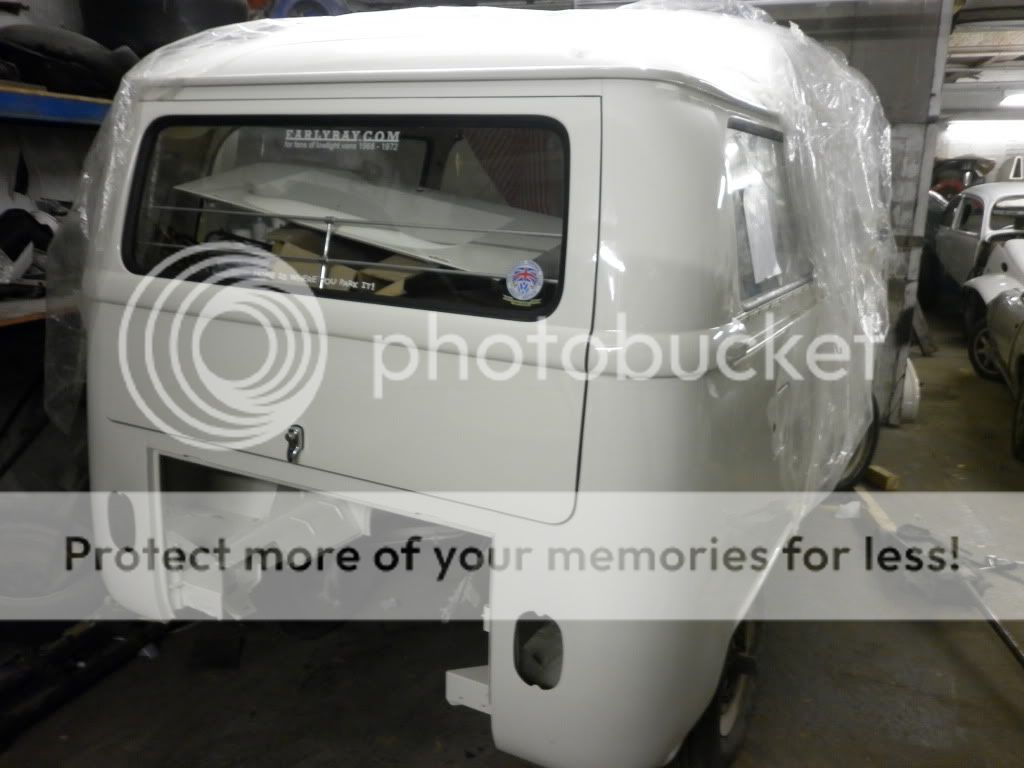
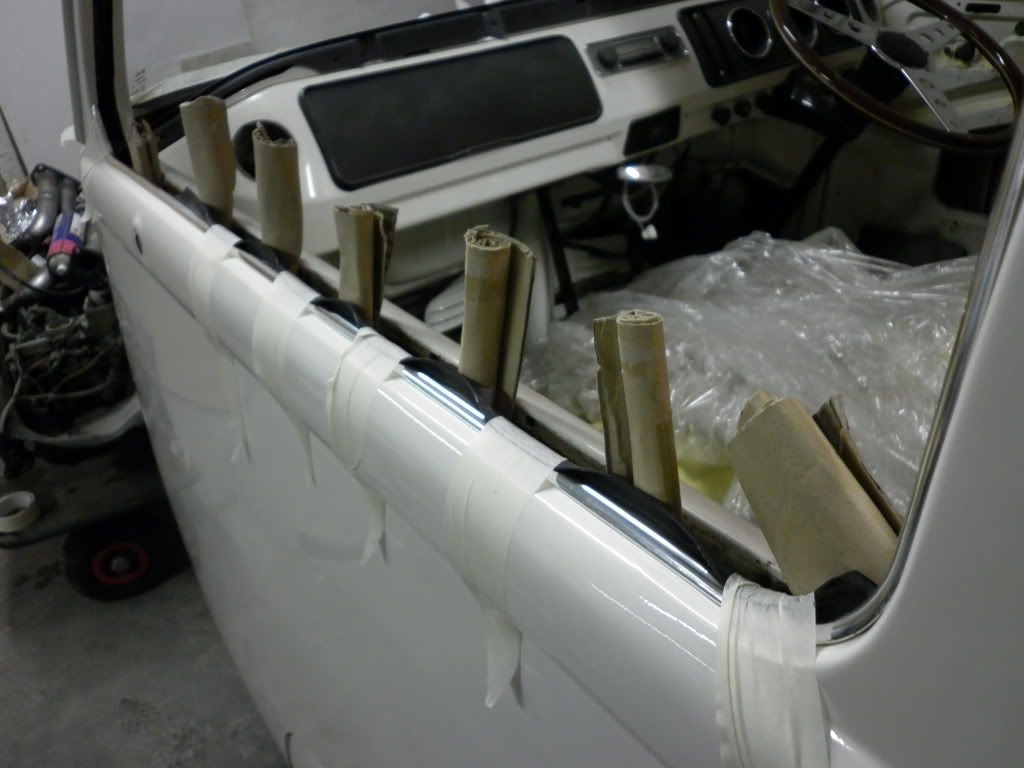
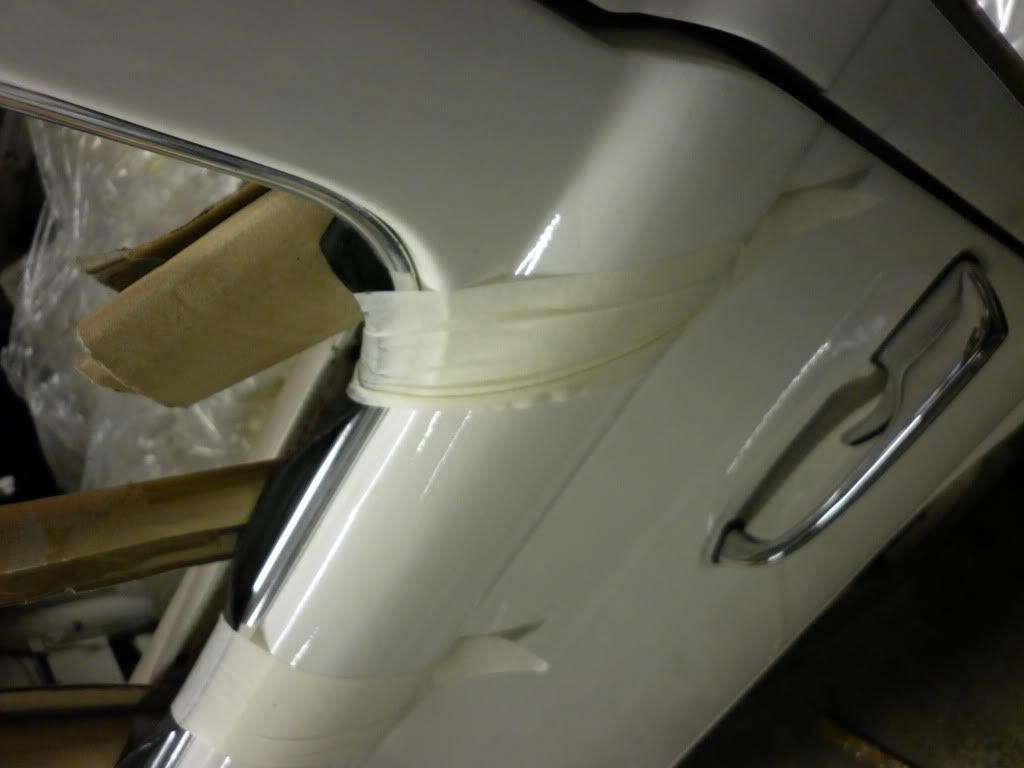
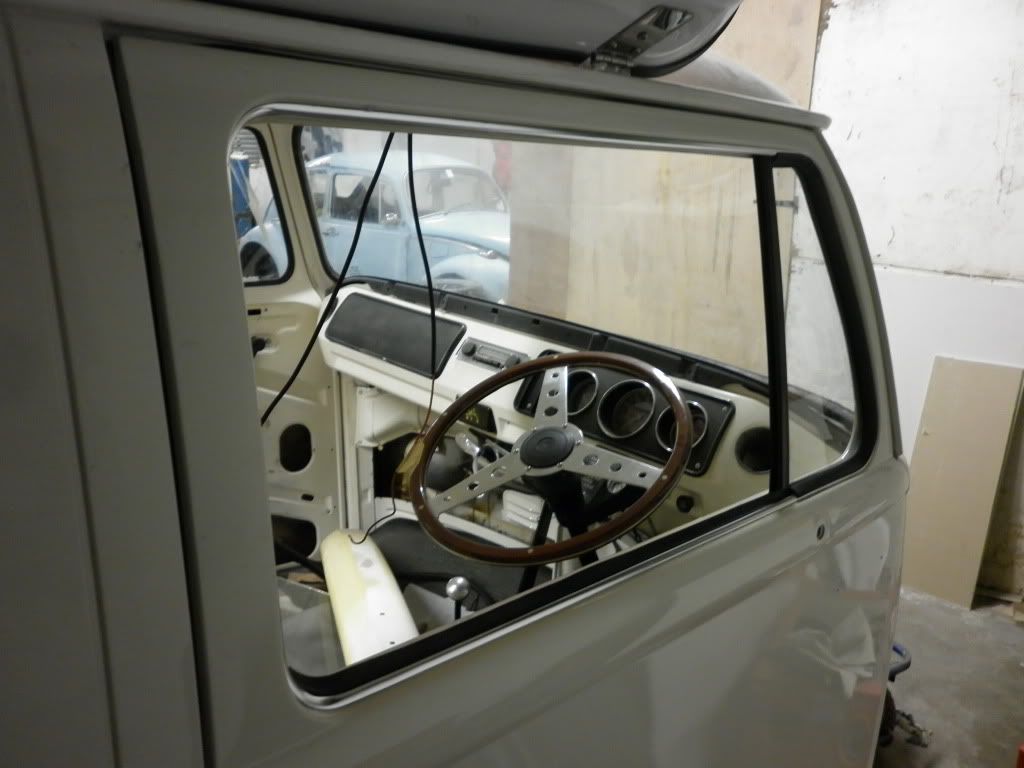
Today I've fitted the trim/scraper around the cab windows.Normally,I'd go for original, if not the best possible quality parts and after a bit of research,it seems even the original VW Brazil cab door trims are poor.What I really wanted was the shiny chrome effect trims.(I never understood why things like door handles and on deluxes,window trim,badge etc was shiney chrome, yet the cab door trim is dull aluminium) So I thought, If they are all crap,might as well have the ones I want.

I've had dealings with these trims before and they are a bitch of a job.They are liable to bend like tin foil :evil: so I decided to do away with the clips and bond them in place,that way I could ensure the trims are equally fixed in place right around the door. What I was aiming for is for the trim to be nice and straight and snug around the door aperture,which I managed to do,so I'm quite pleased with the result...

dry fitted the trim to get the shape right.Applied the tiger seal then held the trim in place with tightly pulled masking tape.....
cabdoorchrometrimscraper2.jpg

cabdoorchrometrimscraper.jpg

cabdoorchrometrimscraper4.jpg


I let it go off all day, then took the masking tape off and hey presto! I know its not the orthodox method of securing them but I couldn't live with loose or floppy or twisted trim due to man handling those little clips in! and I don't plan on taking them in and out all the time.

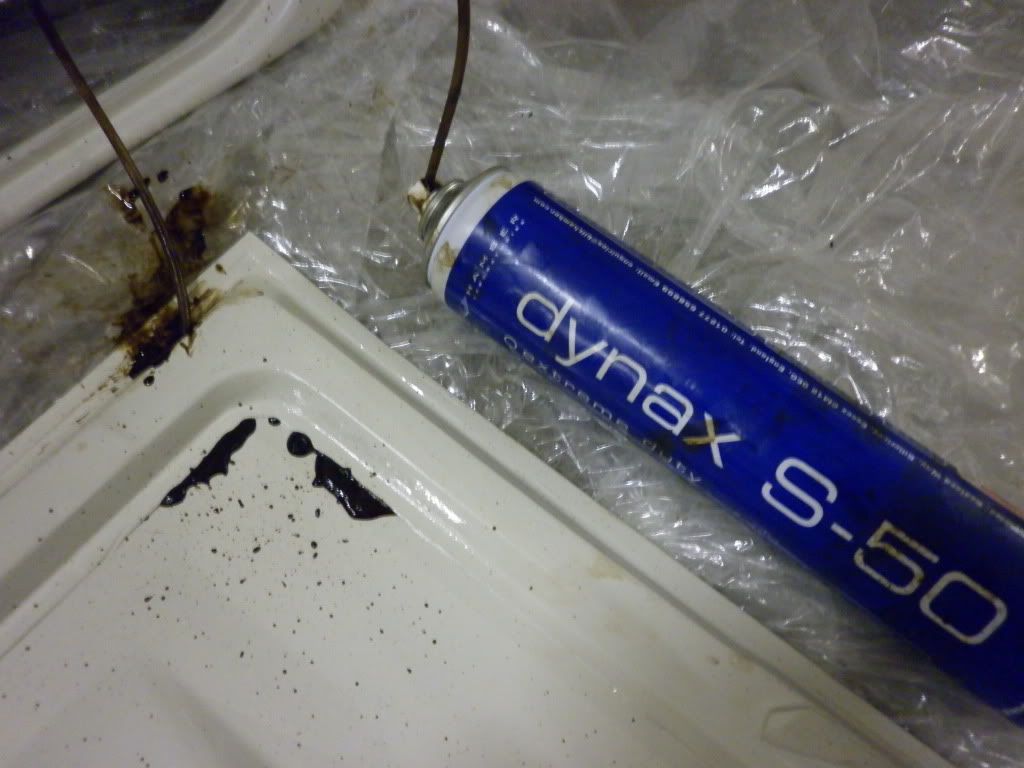
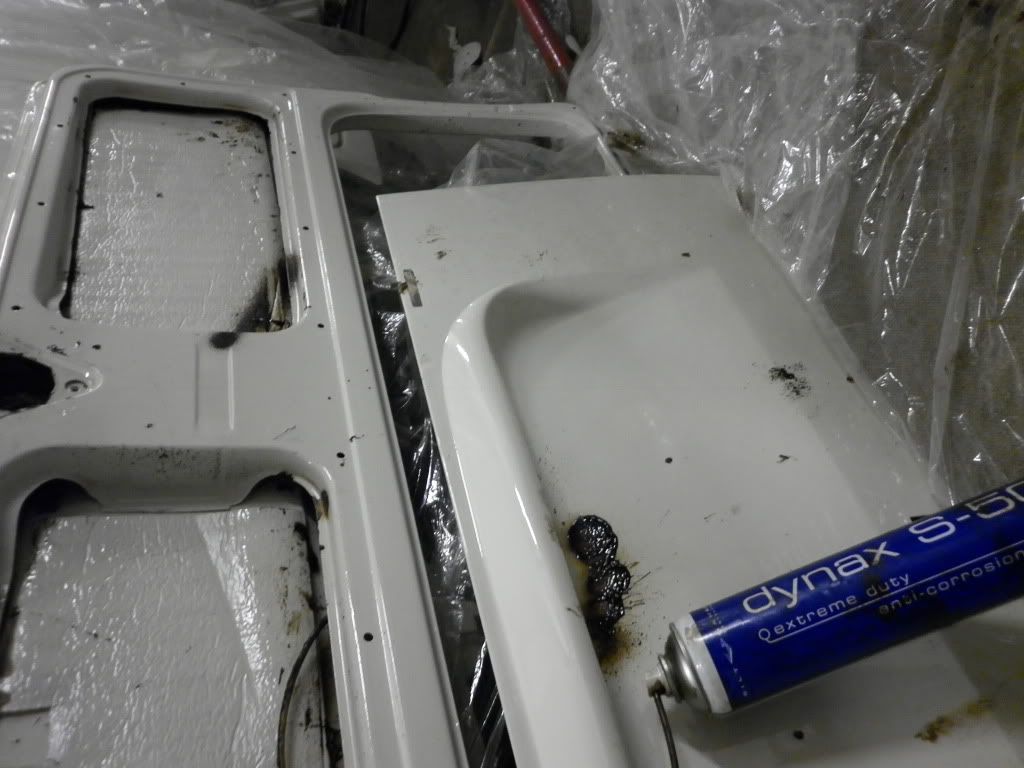
Another advantage of using the tiger seal is rust prevention.I've seen loads with the rust coming from under the trim.If I'd have used the supplied metal clips,they push into pre made holes in the door.But....as they snap in place,they take paint off,so you have a situation where you have bare metal around the clip hole, hidden under a trim which due to its close position to the door body,is acting with capillary action to hold water under the trim which runs down to.......yes......the bare metal around the clip = rust.hopefully the tiger seal, (just out of site under the trim) will stop any water creeping under the trim,also no need to chip the paint off around the clip holes as I havn't used them! time will tell if it has worked :|
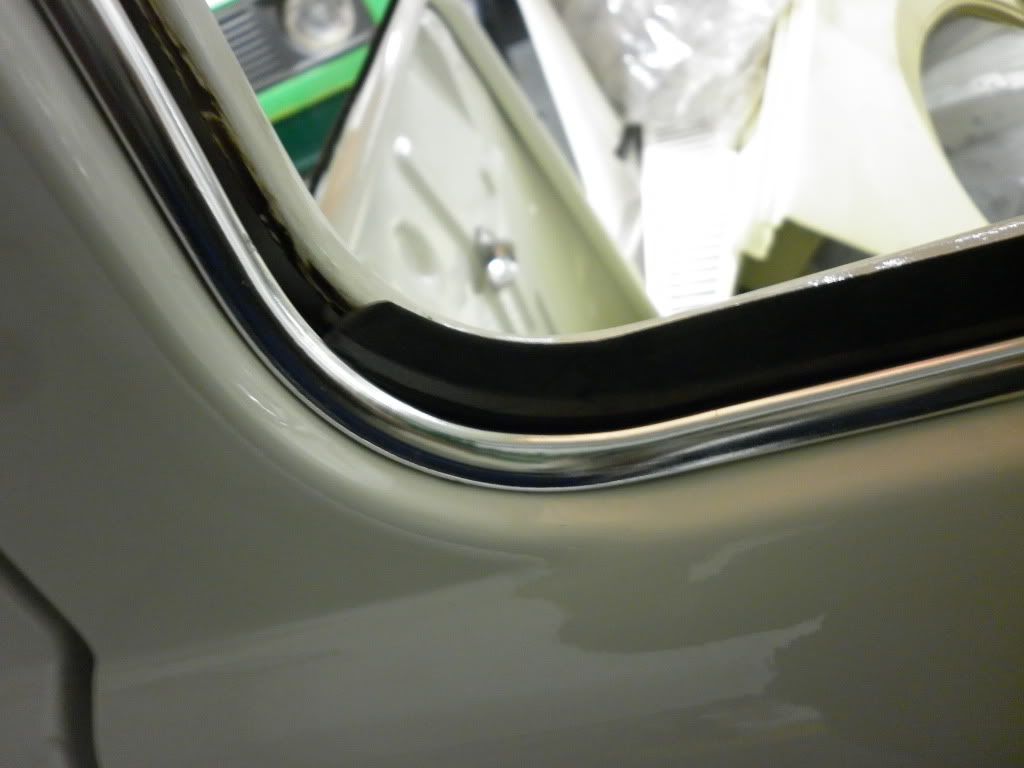
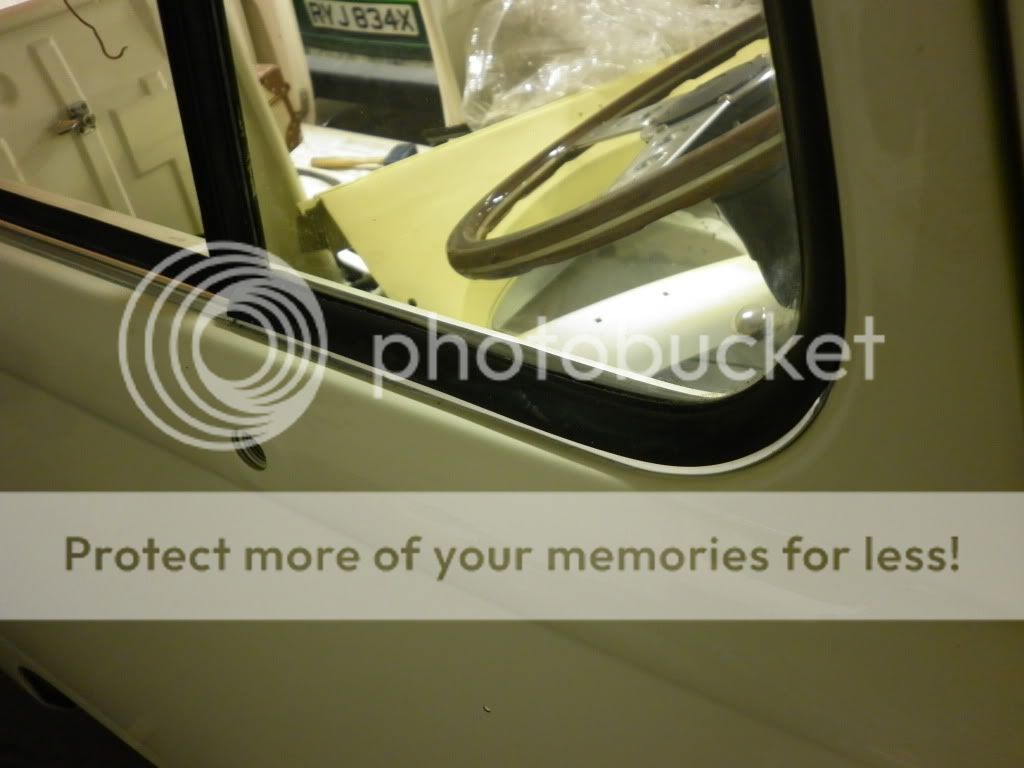
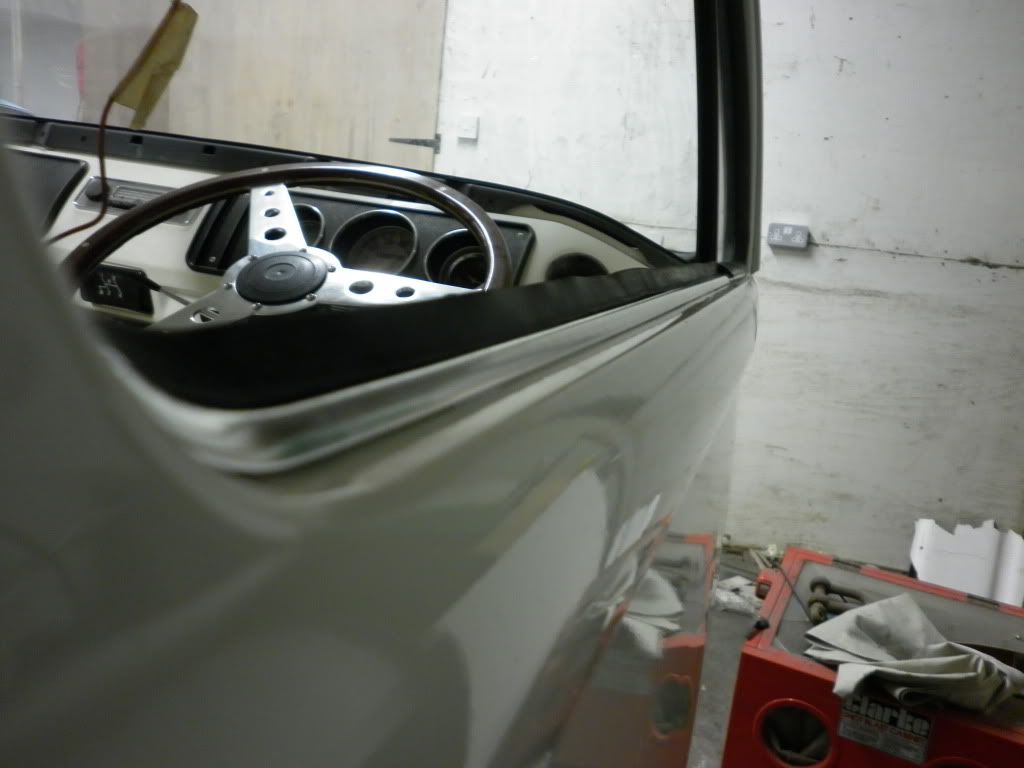
Results........

cabdoorchrometrimscraper8.jpg

cabdoorchrometrimscraper9.jpg

cabdoorchrometrimscraper6.jpg

cabdoorchrometrimscraper10.jpg

cabdoorchrometrimscraper7.jpg


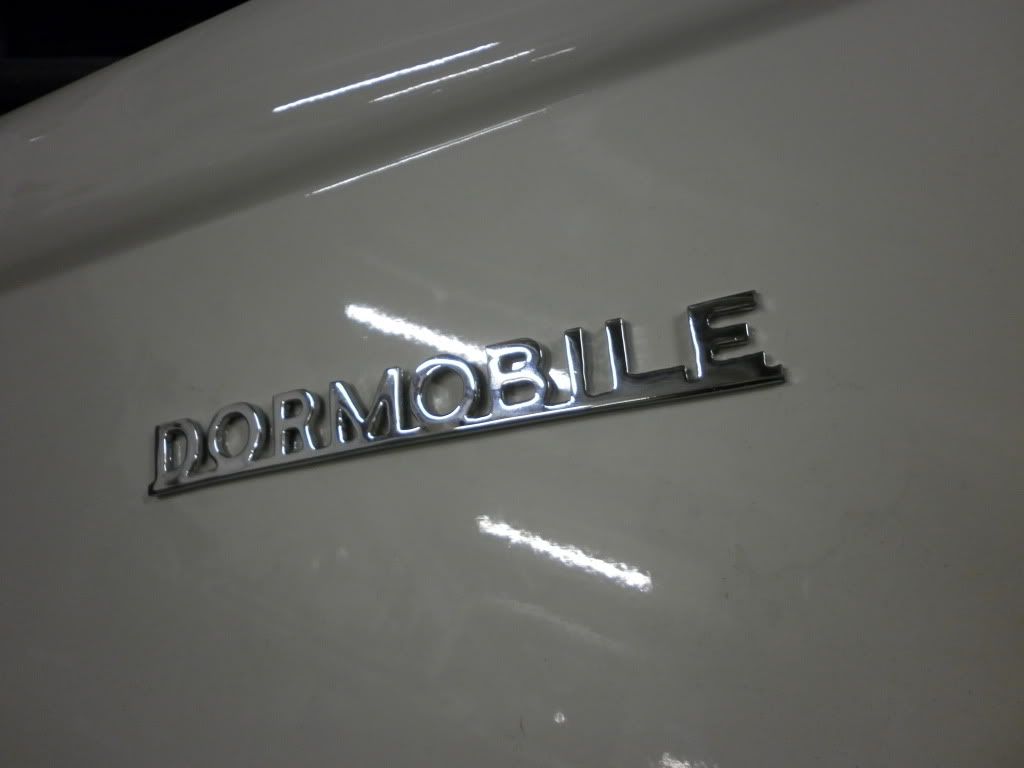
For those who are interested, the trims are 'vewib' brand from C&C

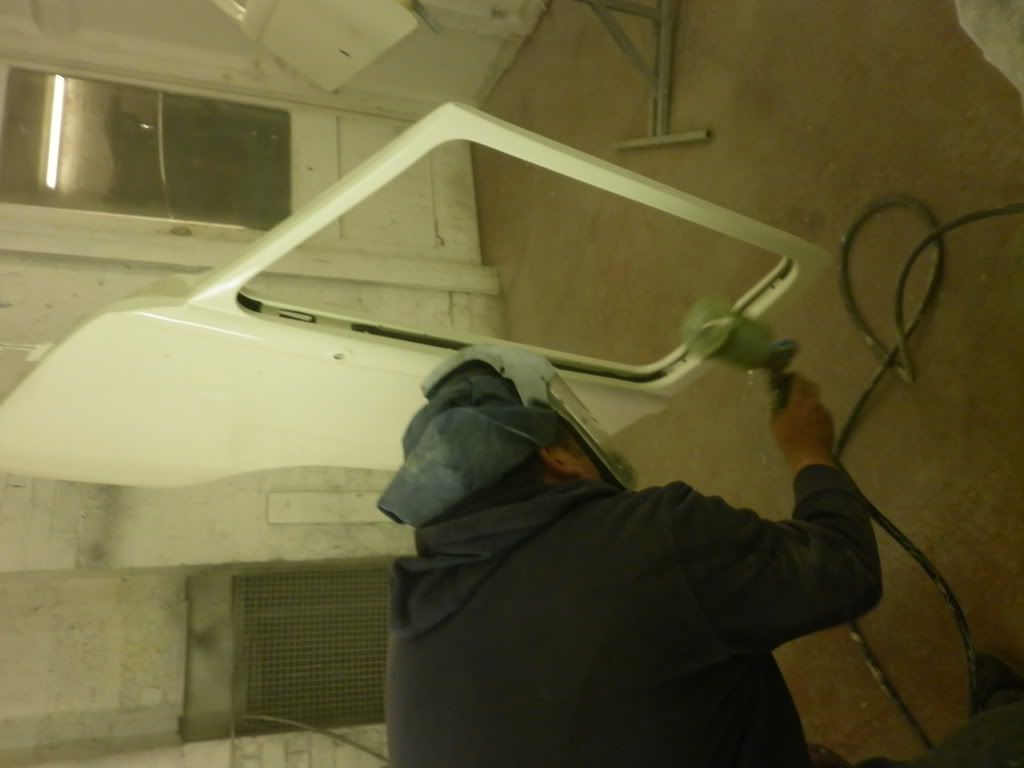
The next job is to fit the drop light window. Thanks for looking ;)
 
great thread, really impressed and inspired by the work you've taken on here. I hopefully will end up with a bus as good as this one day. I have a question about the sand blasting. I've got my bus on it's side just now and am scraping the under seal off and finding a lot of shiny paint and only minor rust but it is a cali import. I was/am going to sandblast it but wondered what grit was used and what products you used for the build up.

Blast, seam seal, zinc primer, stone chip then top coat. is this right?

thanks and good luck with the rest of the build.
 
Top tip on the scrapers. I will be doing mine soon and also want the shiny ones 8) think I'll give your method a go. Good luck with the refit.

Just
 
Thanks for the positive comments chaps! I'm glad it will help,anything to combat the tinworm has got to be worth a go :D

Coup,
Sandblasting was the right thing for my bus as I needed to know what was there and it is a UK bus. It revealed EVERYTHING! Down side is that the sand got EVERYWHERE!! Which could be a rust trap if you miss it. So I would recommend localised minimum sand blasting IF you decide to go for it.
As for the stuff used,I had a company do it,and they used some sort of beads,sorry can't give any more detail than that.

The build up, yeah you pretty much got it, except I etch primed,then seam sealed,stone chip,primer,top coats & once shes finished will be going to a cavity wax injection place to have the underside coated with that black under body protection.
Plan the blasting stage well though mate, as, soon as the metal is bare, the tin worm clock is ticking.I was told by a pro to get it painted within 4 hours. That wasn't possible by the time it was loaded onto a trailer, taken to the body shop, cleaned,put on the rotisserie etc. but you get the point, don't hang about once it's blasted!

Hth's - Rob


Sent from my iPhone using Tapatalk
 
coupcoup said:
great thread, really impressed and inspired by the work you've taken on here. I hopefully will end up with a bus as good as this one day. I have a question about the sand blasting. I've got my bus on it's side just now and am scraping the under seal off and finding a lot of shiny paint and only minor rust but it is a cali import. I was/am going to sandblast it but wondered what grit was used and what products you used for the build up.

Blast, seam seal, zinc primer, stone chip then top coat. is this right?

thanks and good luck with the rest of the build.
Prime before you seam seal. :)
 

Latest posts

Top