Hi All,
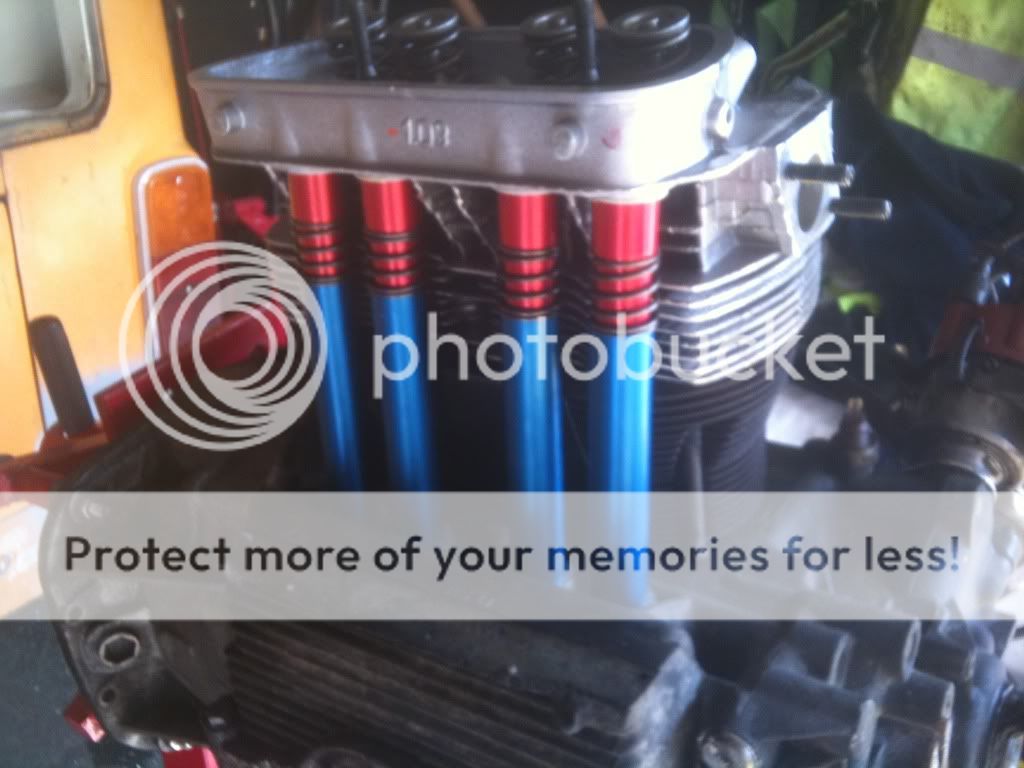
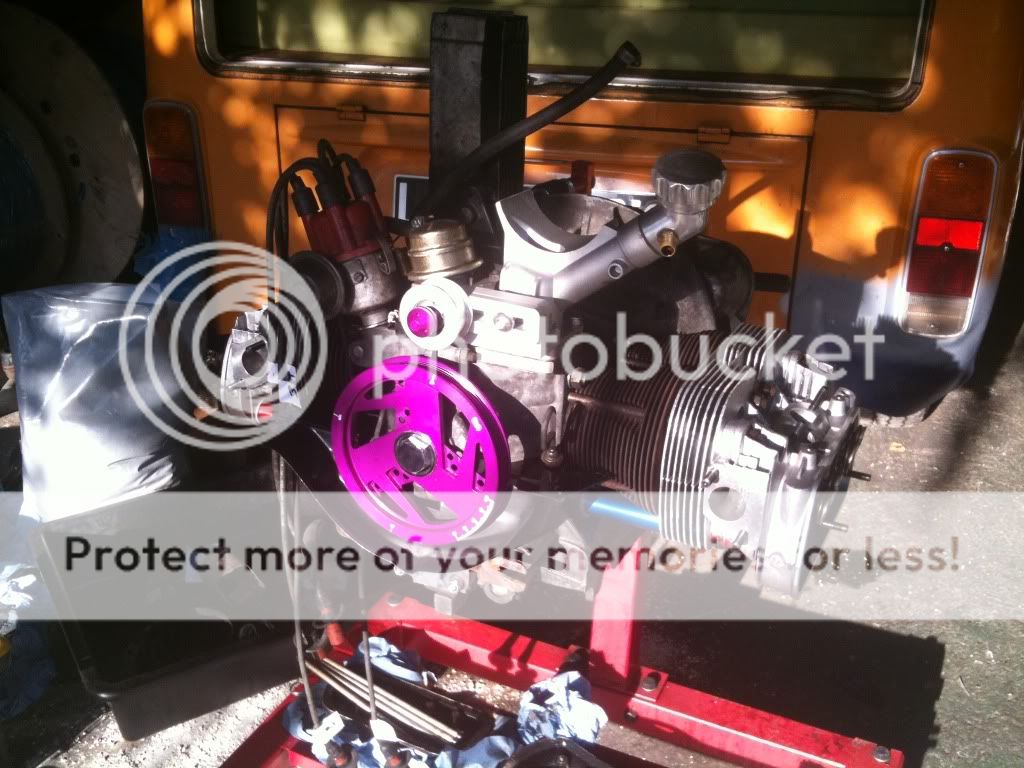
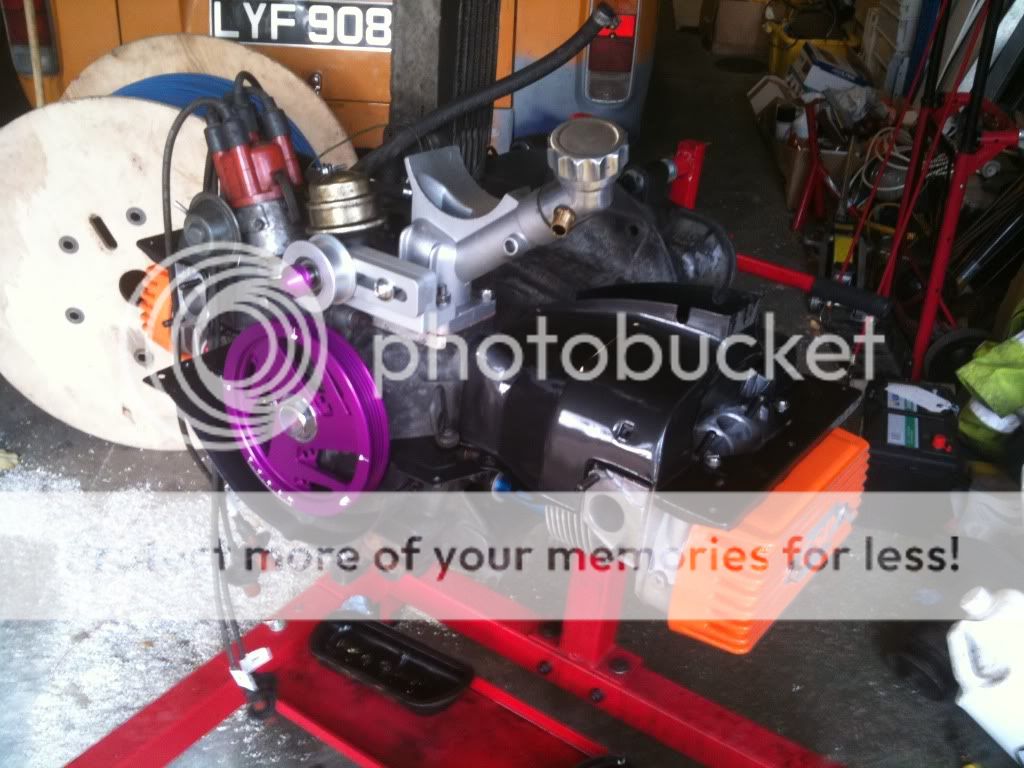
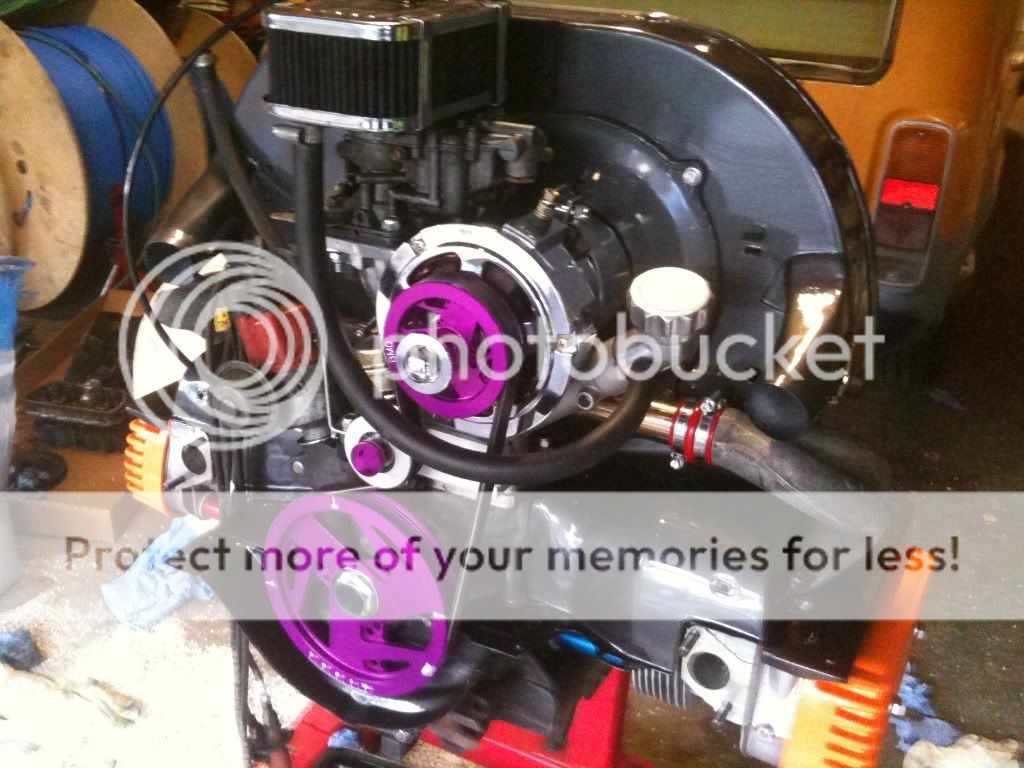
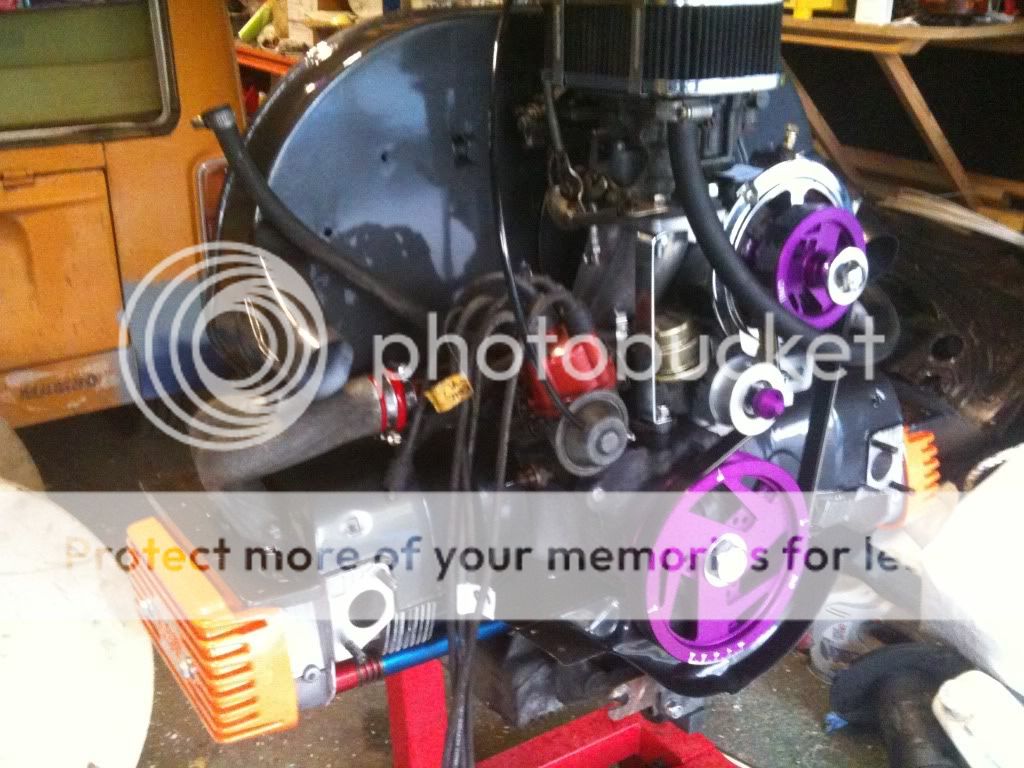
Thought I'd share with you some photos of my engine rebuild. I did a compression test last week, and no 1 and no 4 were seriously down on compression, on stripping the engine, I found cracks (in the usual place) between the spark plug and the inlet valve on both these pots. I have also been collecting goodies over the last few months for this rebuild, so as a starter for this week, this is what the engine looks like at the moment. I have already degreased the case and got the worst off, but I am going to have another go before I start the rebuild
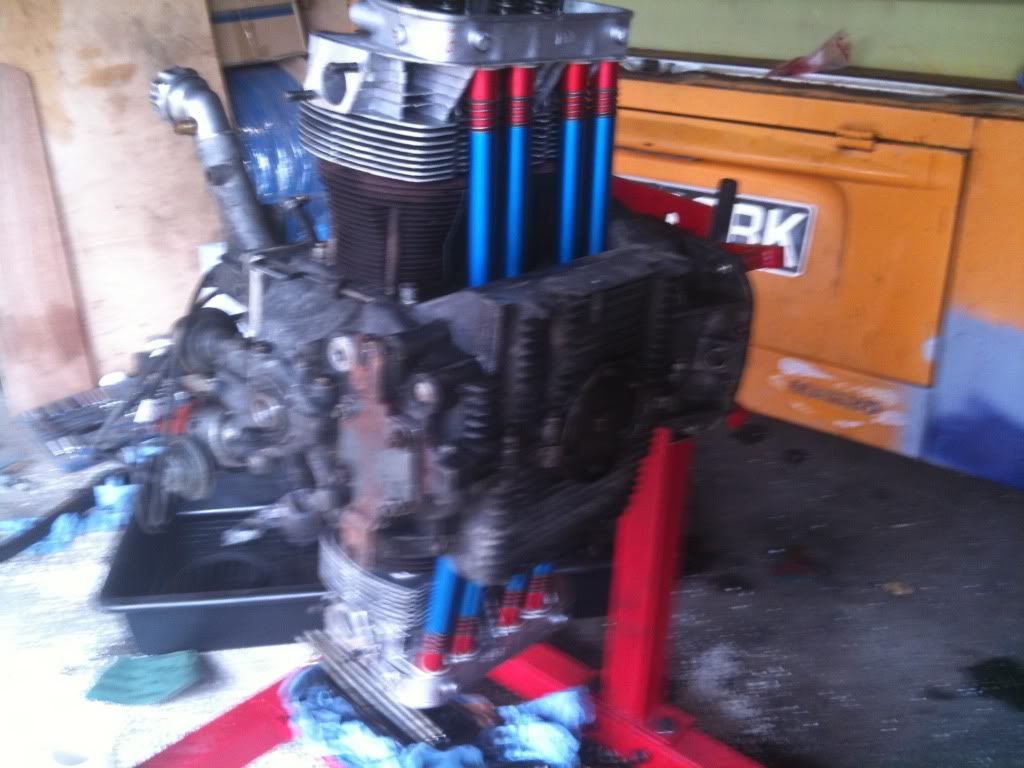
On its stand
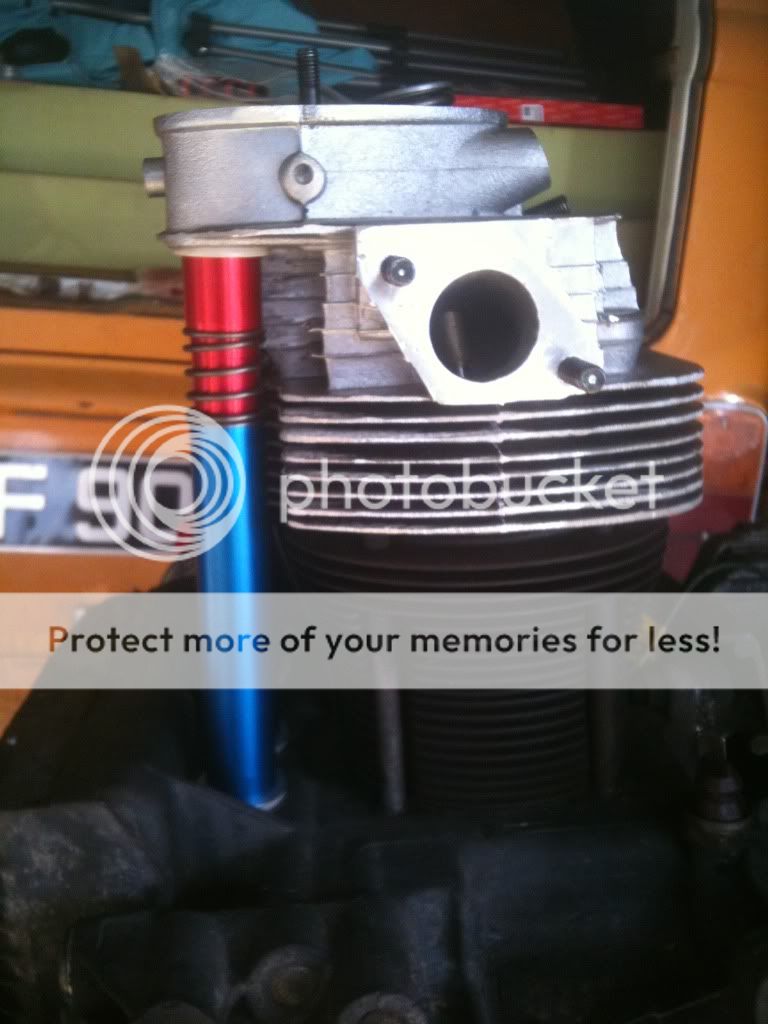
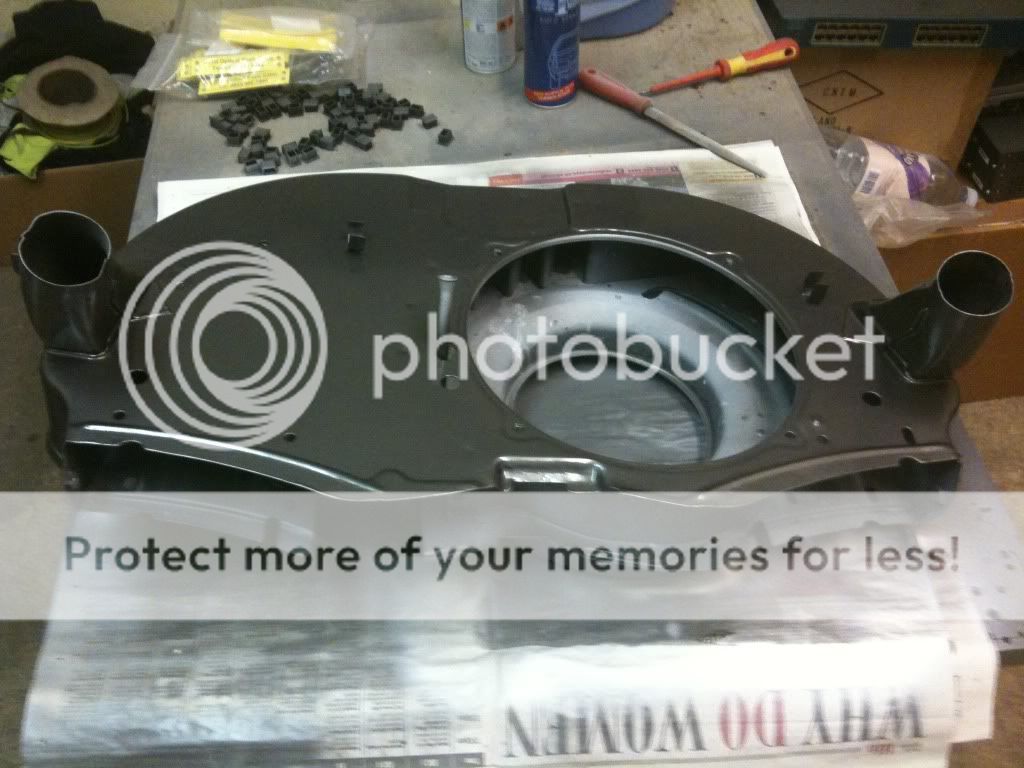
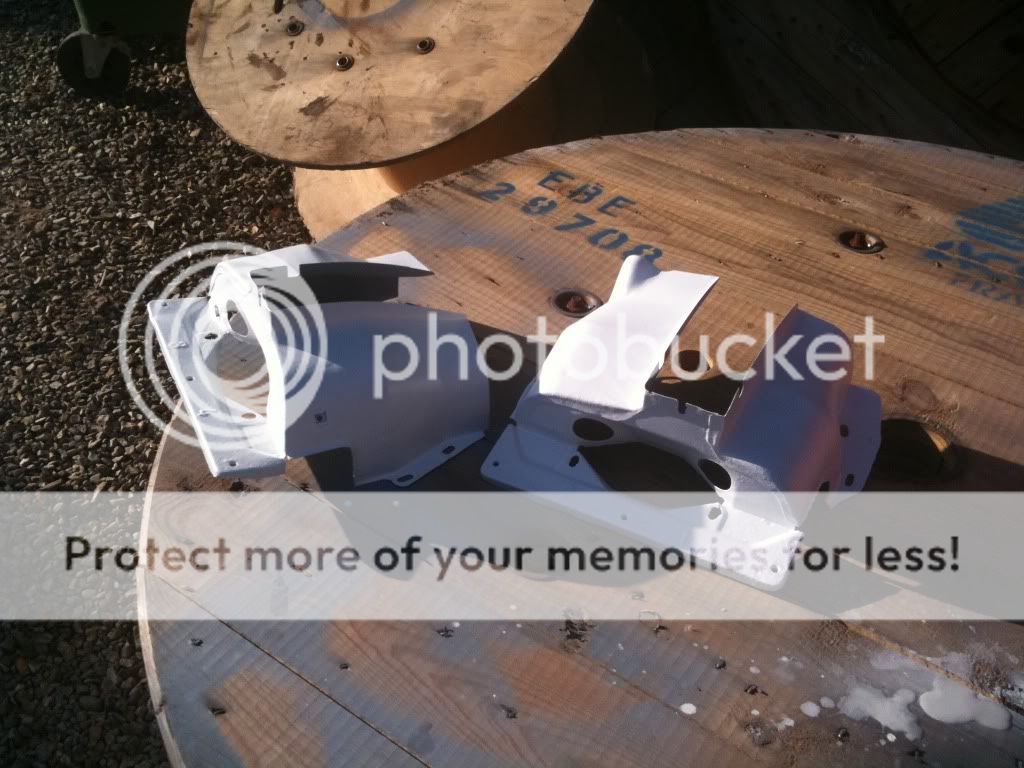
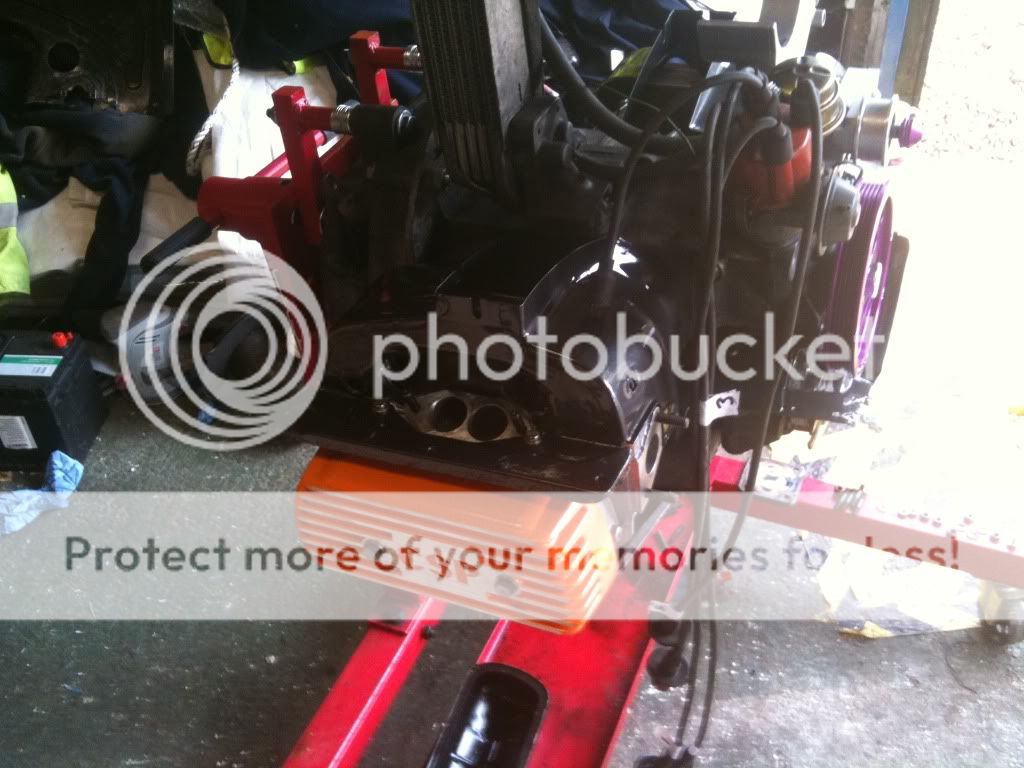
Stripped down
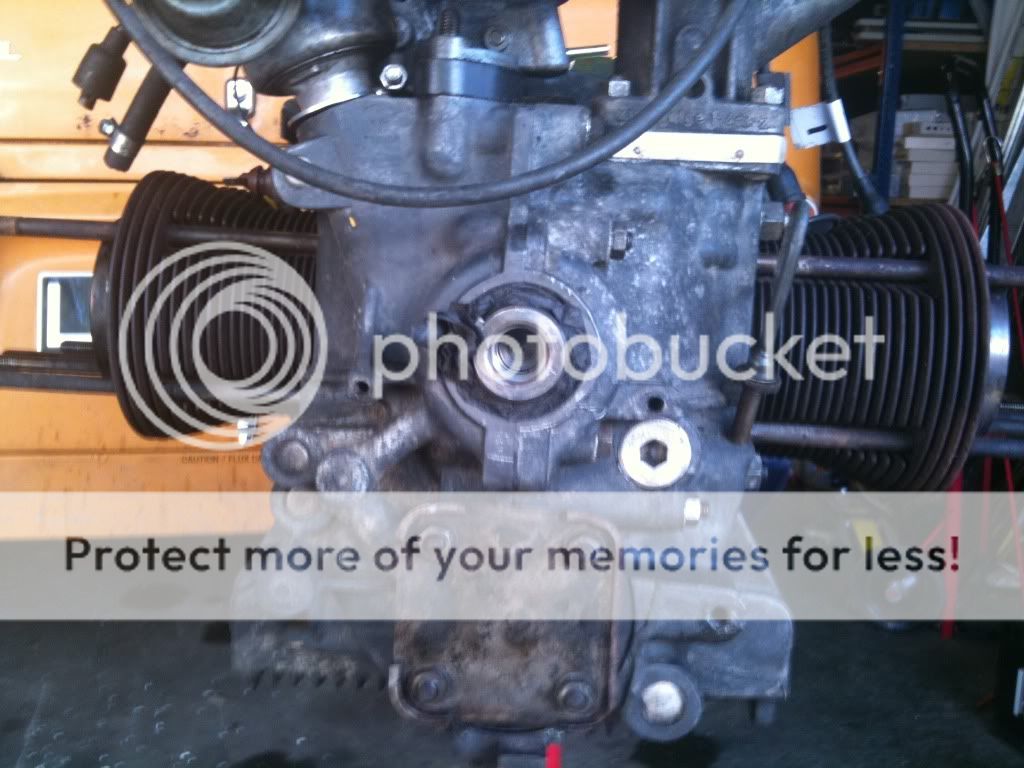
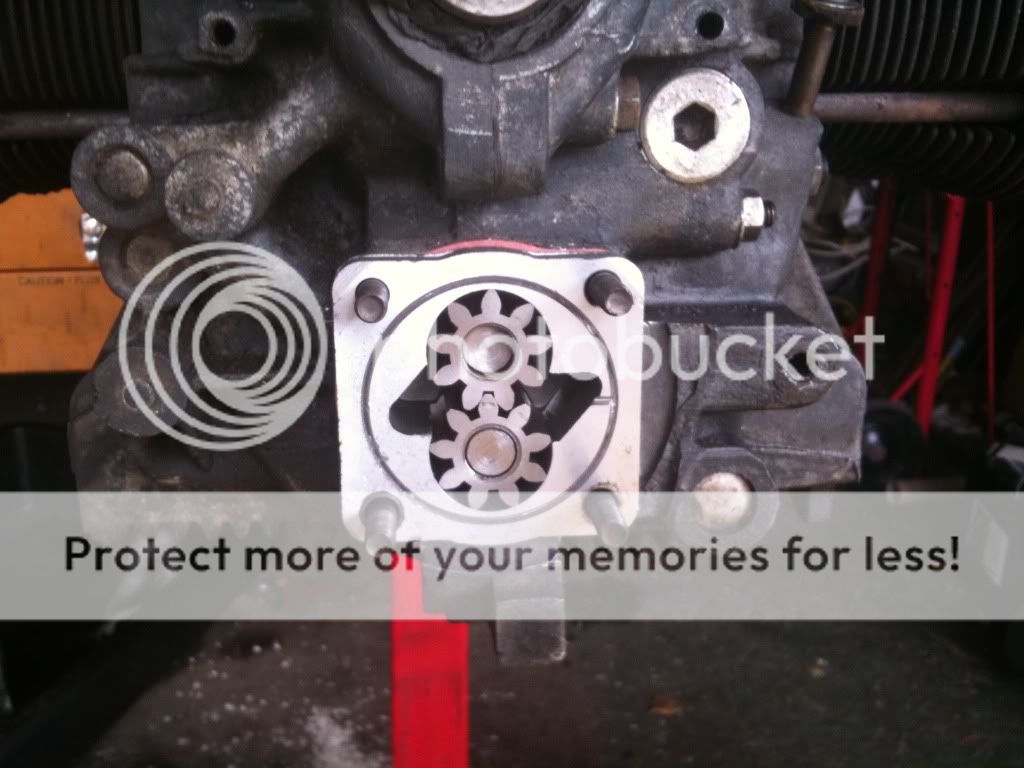
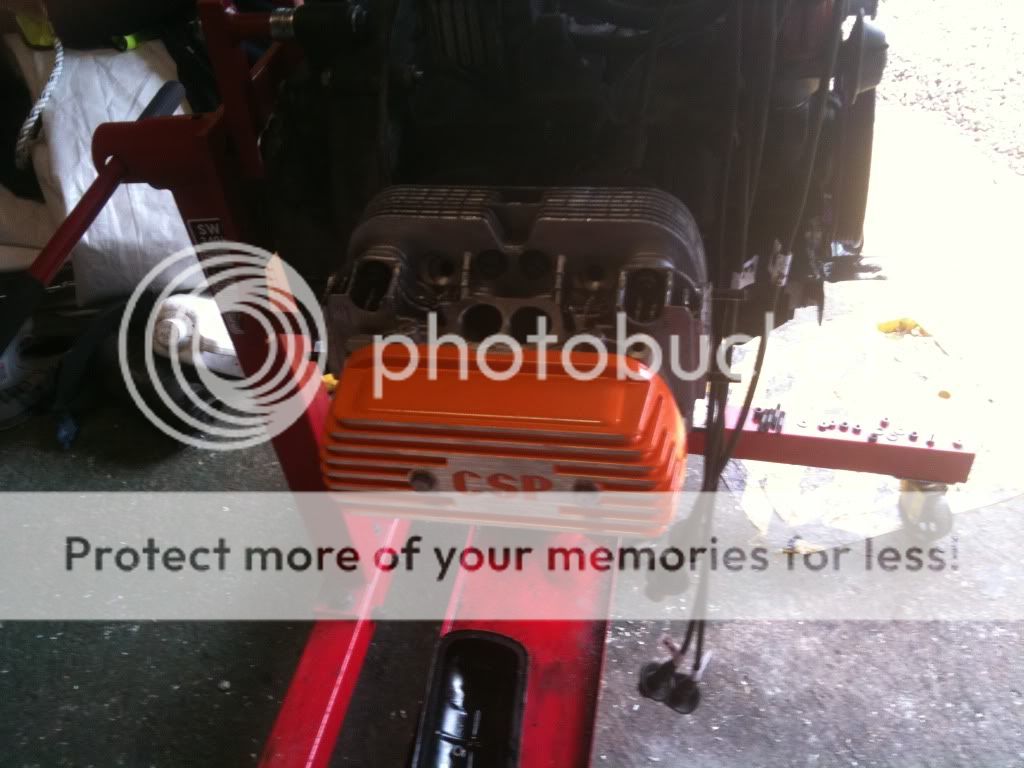
I took the oil pump out yesterday, what a pain that was - even with the correct tool, it did not want to budge, I ended up welding another piece onto the back of the tool to stop the bar bending, it was that tight.
I will post more pics as it comes together, on a tight schedule, as we are on holiday in 3 weeks, going to Croyde surfing!!
Cheers
Mark
Thought I'd share with you some photos of my engine rebuild. I did a compression test last week, and no 1 and no 4 were seriously down on compression, on stripping the engine, I found cracks (in the usual place) between the spark plug and the inlet valve on both these pots. I have also been collecting goodies over the last few months for this rebuild, so as a starter for this week, this is what the engine looks like at the moment. I have already degreased the case and got the worst off, but I am going to have another go before I start the rebuild
On its stand
Stripped down
I took the oil pump out yesterday, what a pain that was - even with the correct tool, it did not want to budge, I ended up welding another piece onto the back of the tool to stop the bar bending, it was that tight.
I will post more pics as it comes together, on a tight schedule, as we are on holiday in 3 weeks, going to Croyde surfing!!
Cheers
Mark
") nice work :mrgreen:
nice work :mrgreen: