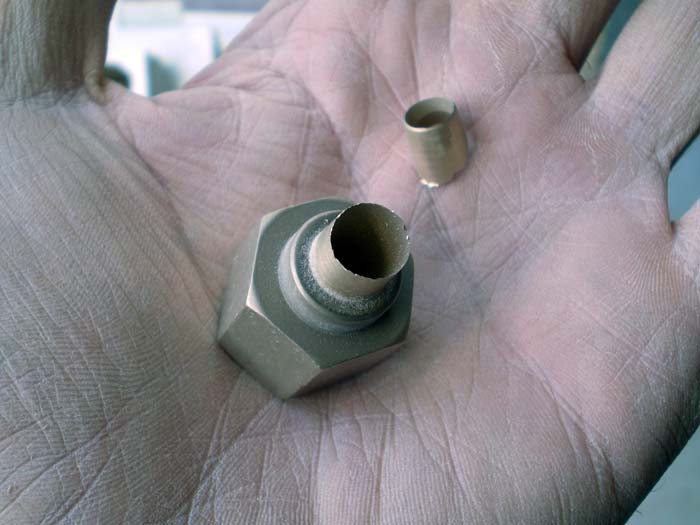
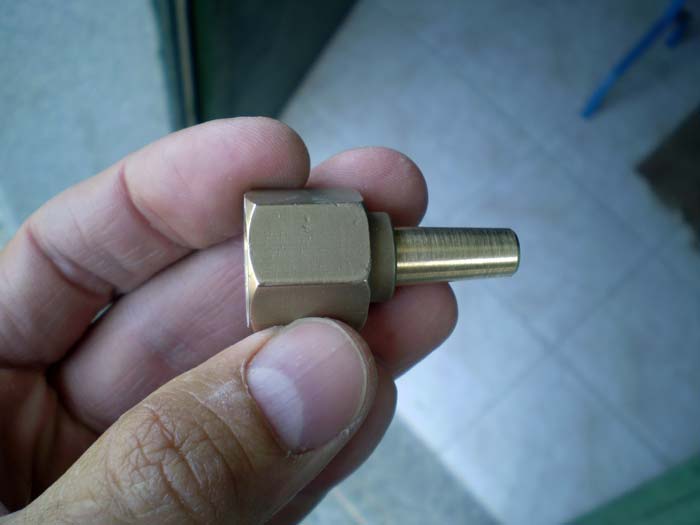
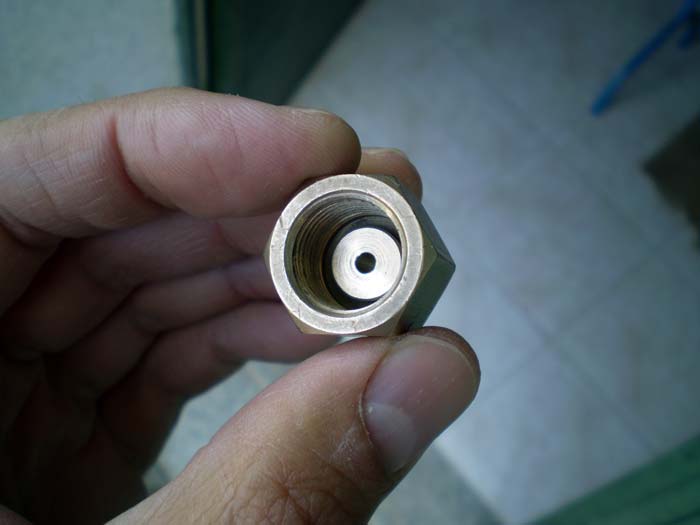
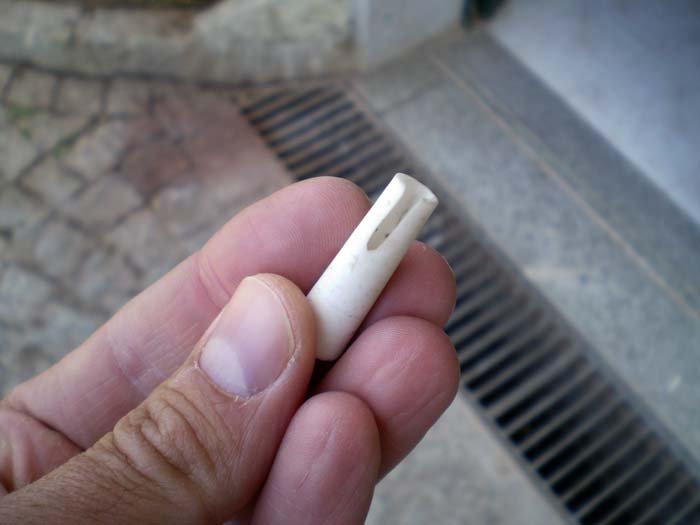
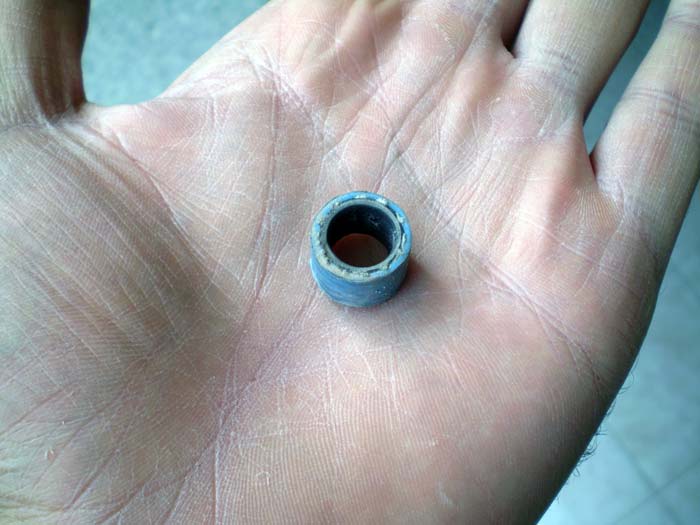
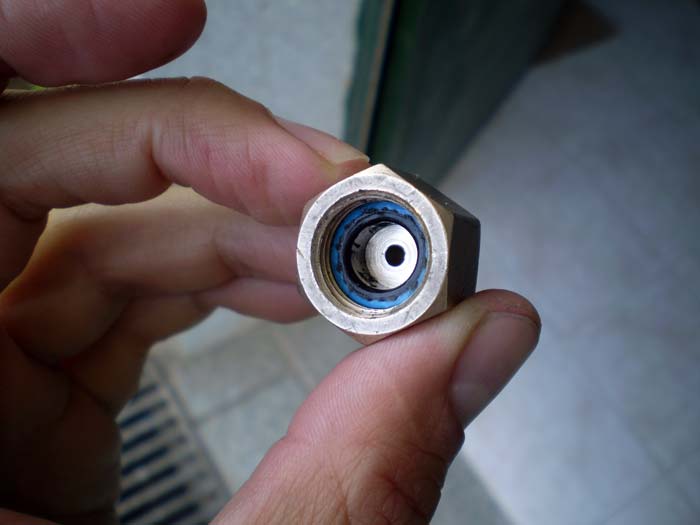
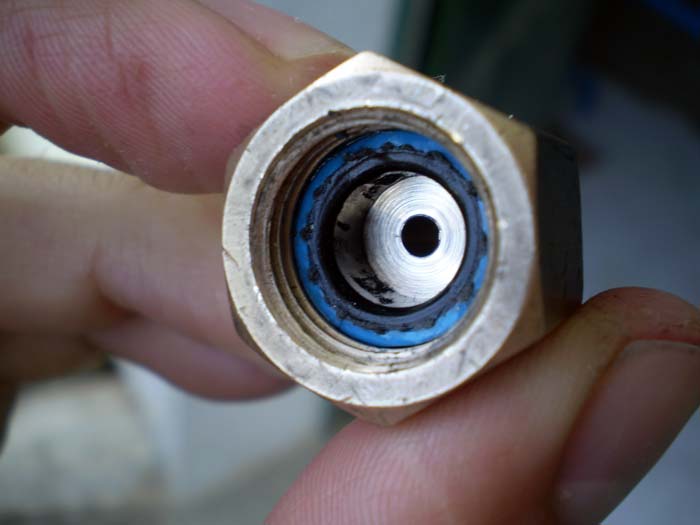
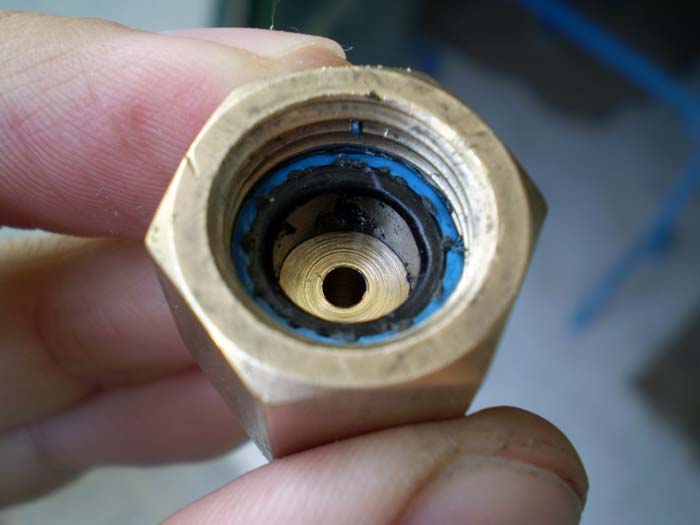
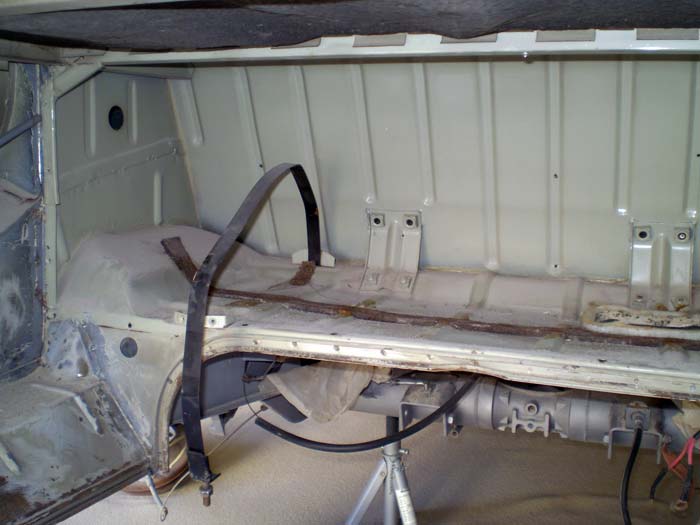
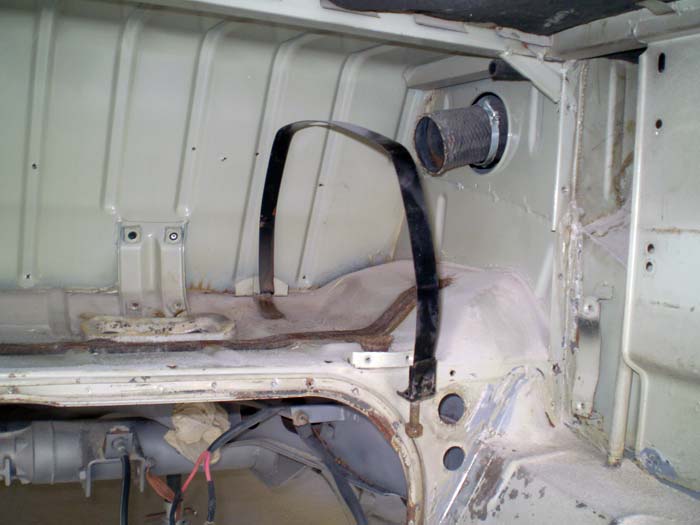
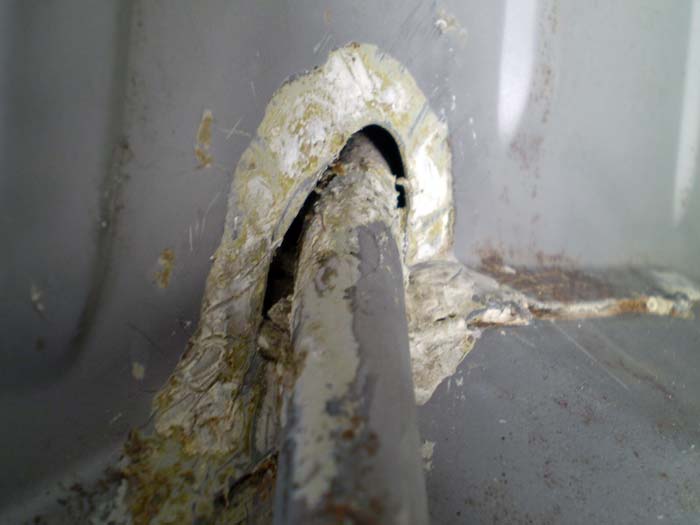
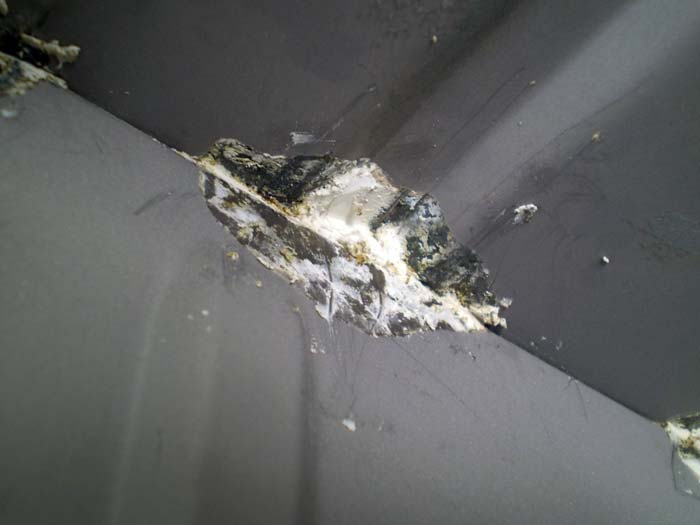
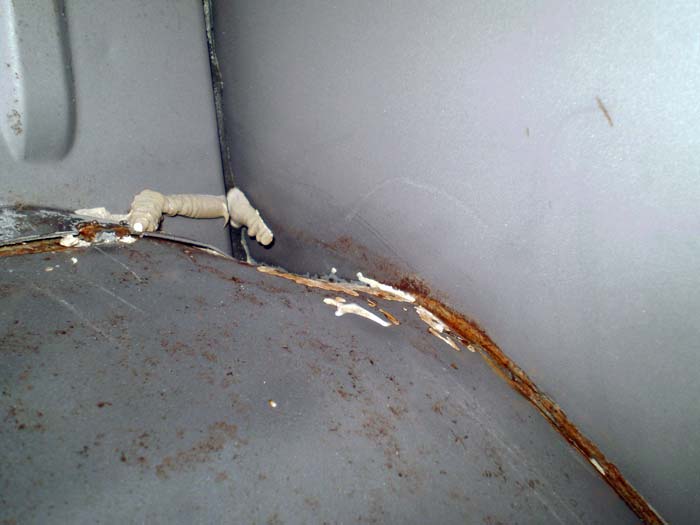
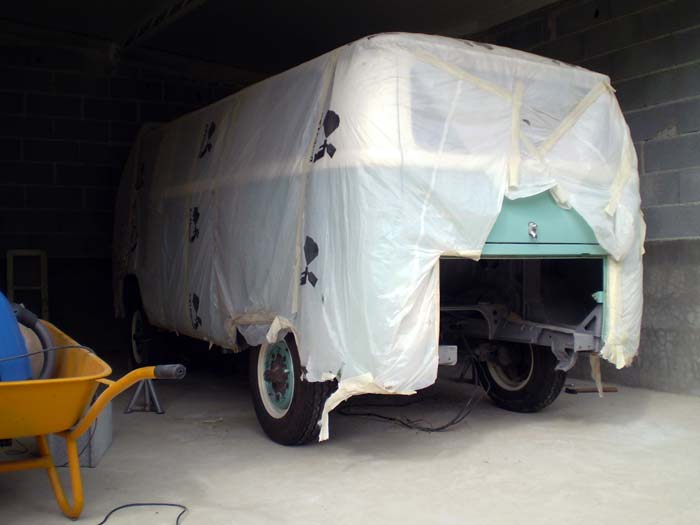
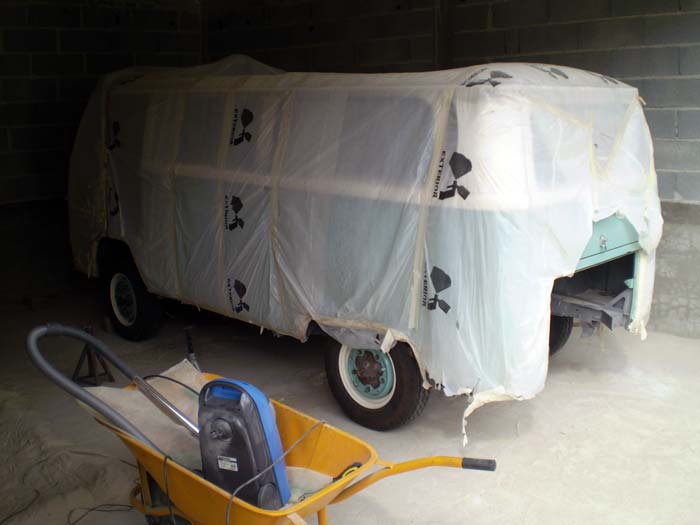
so... here're some more pictures :mrgreen:
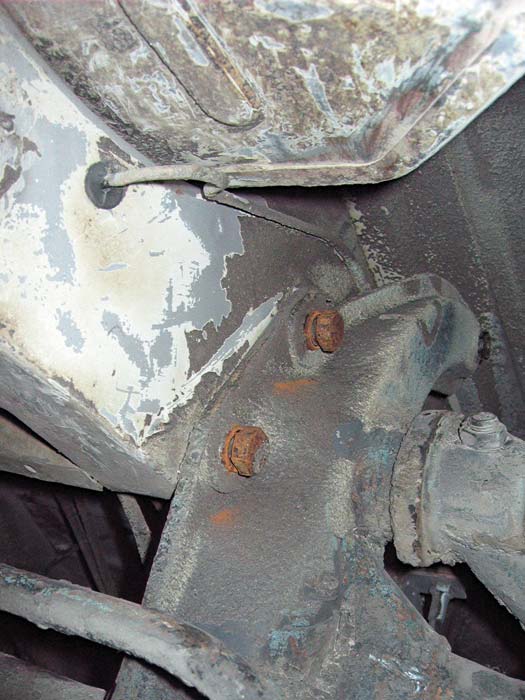
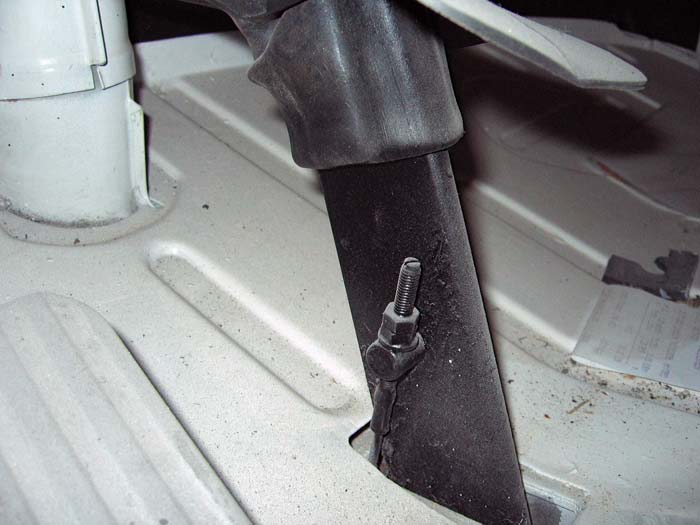
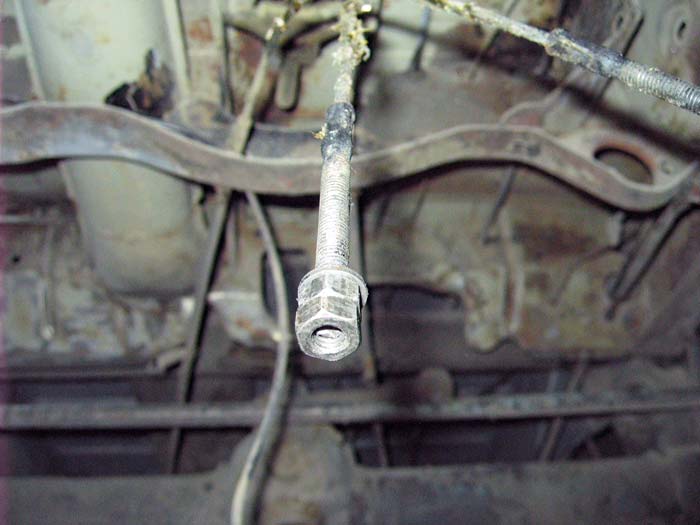
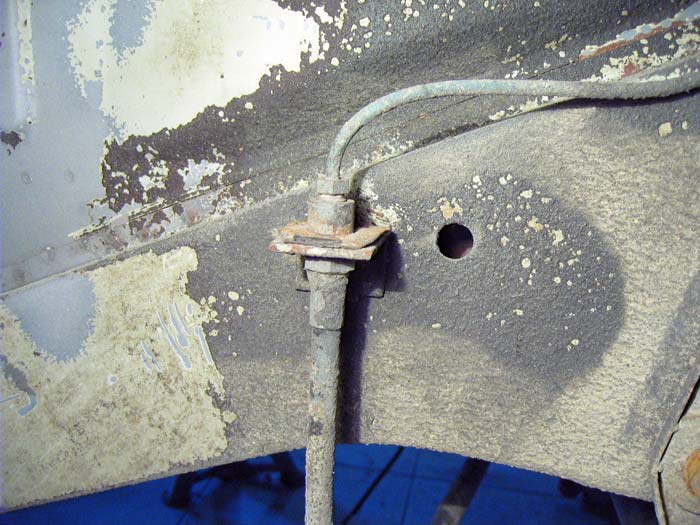
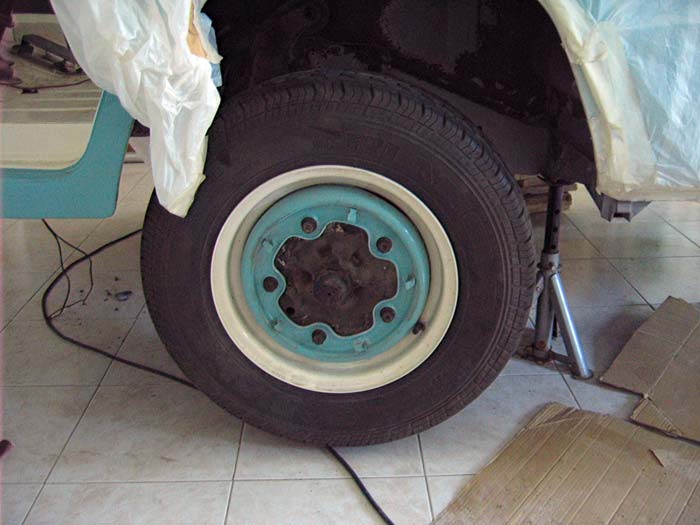
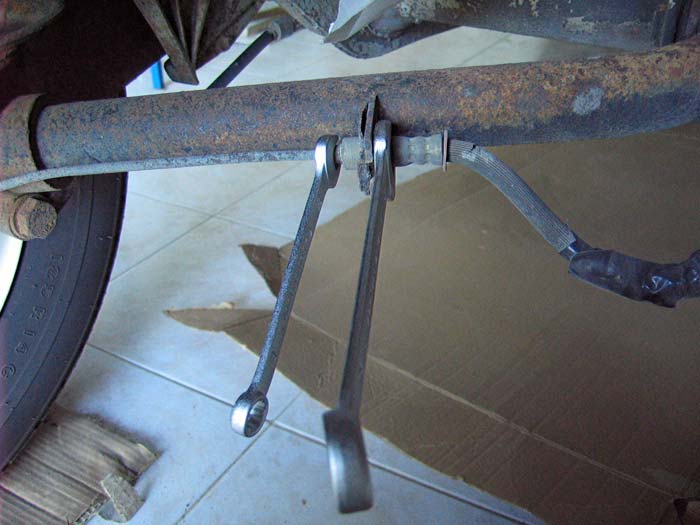
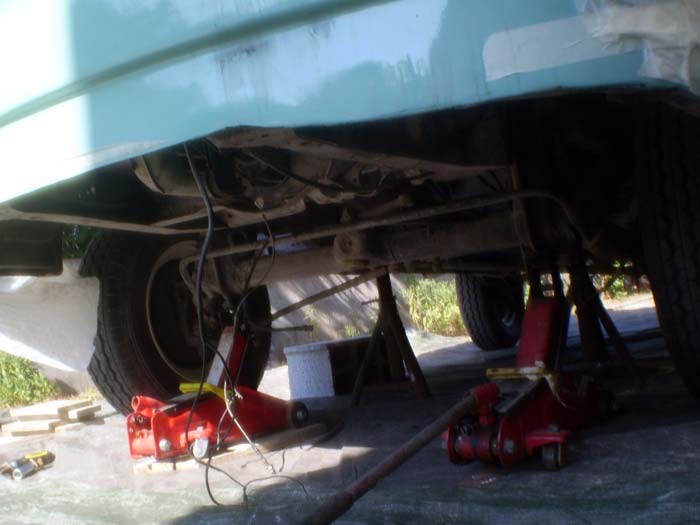
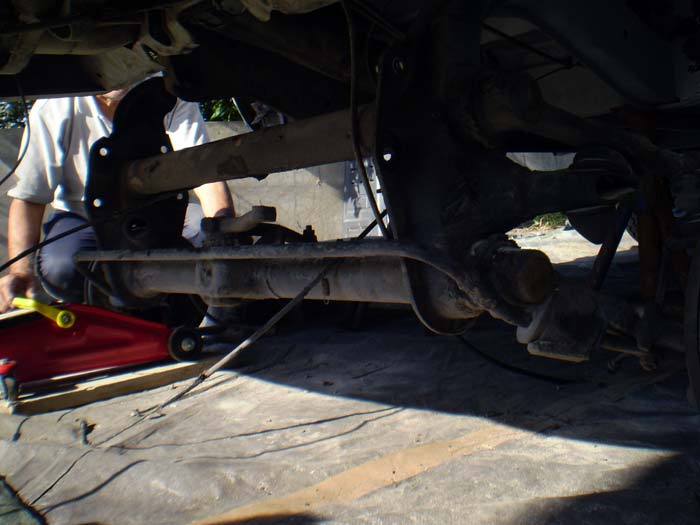
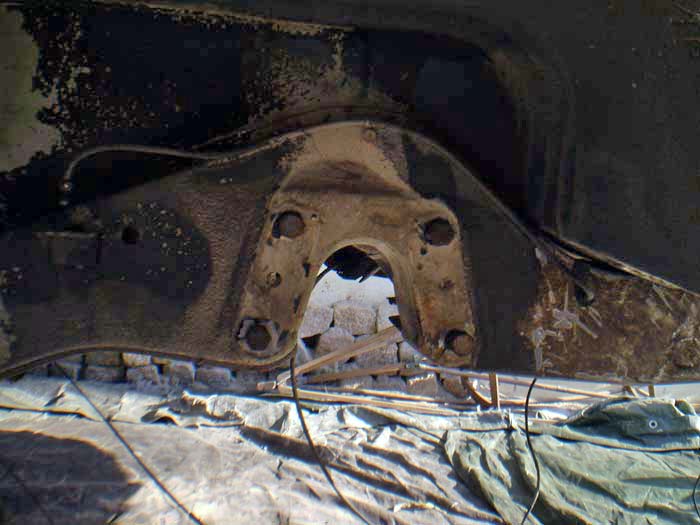
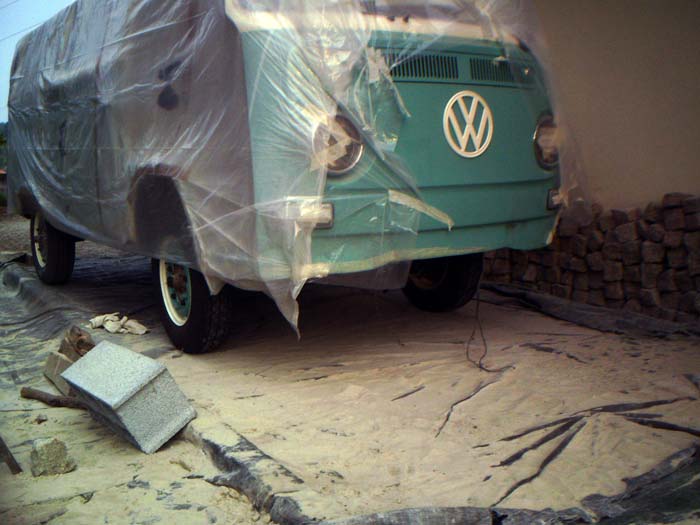
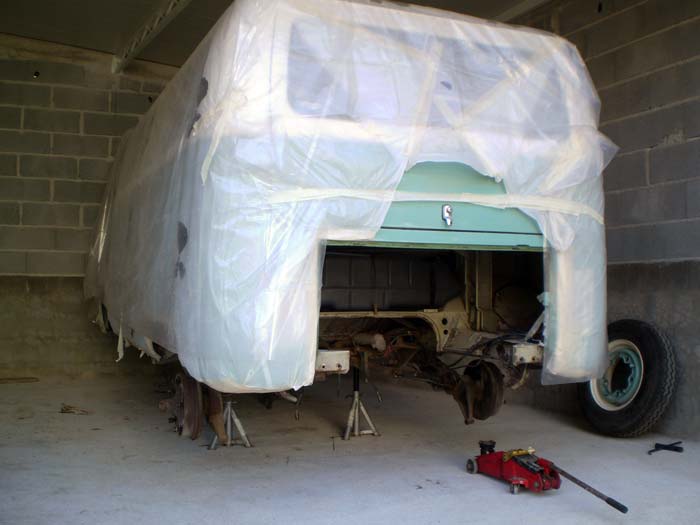
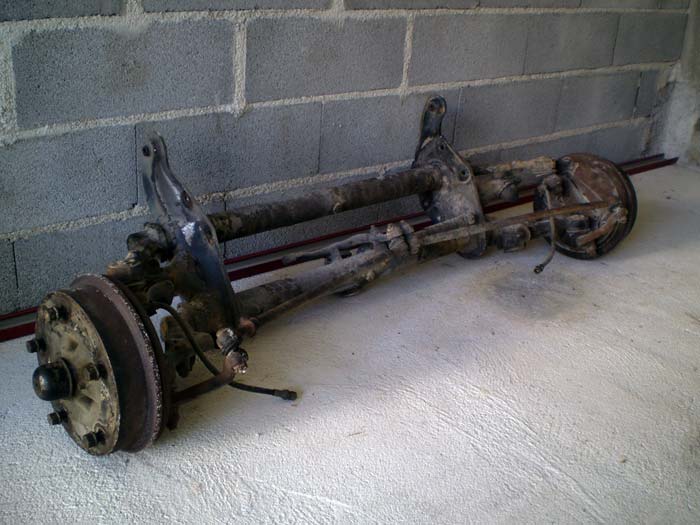
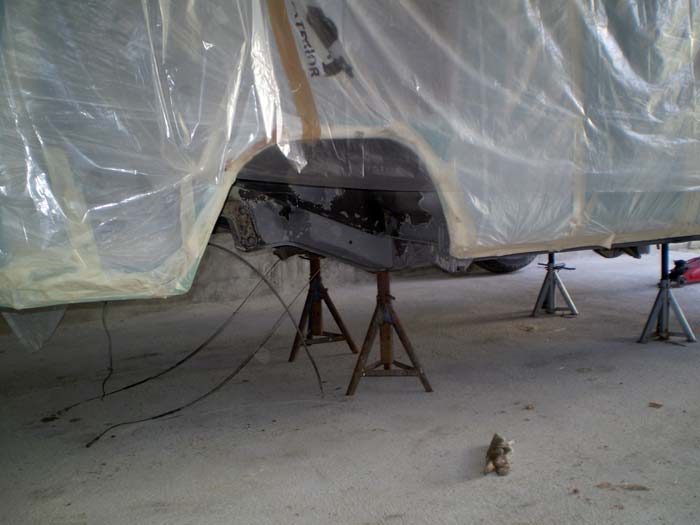
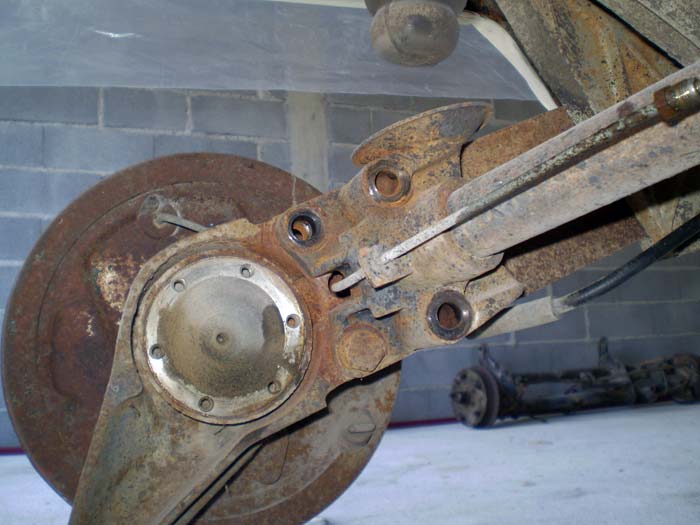
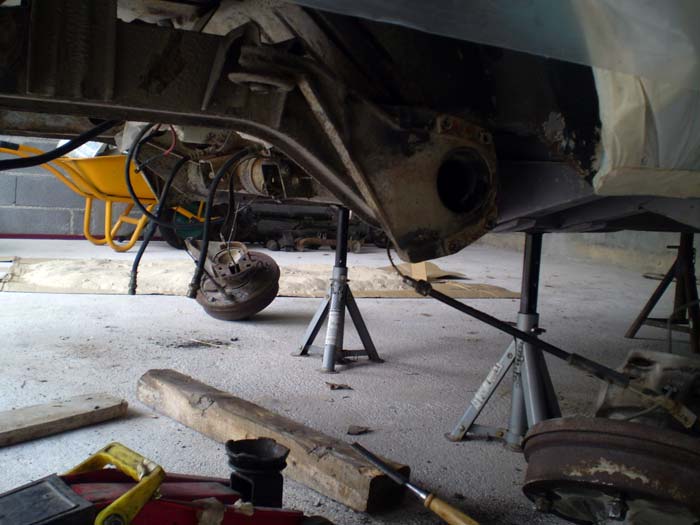
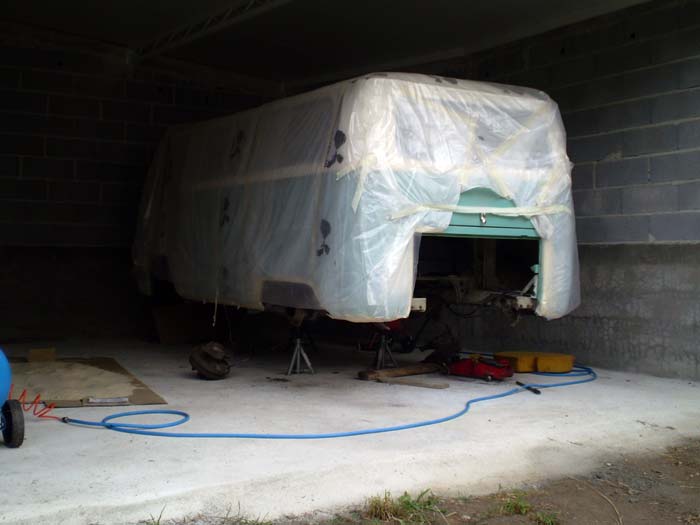
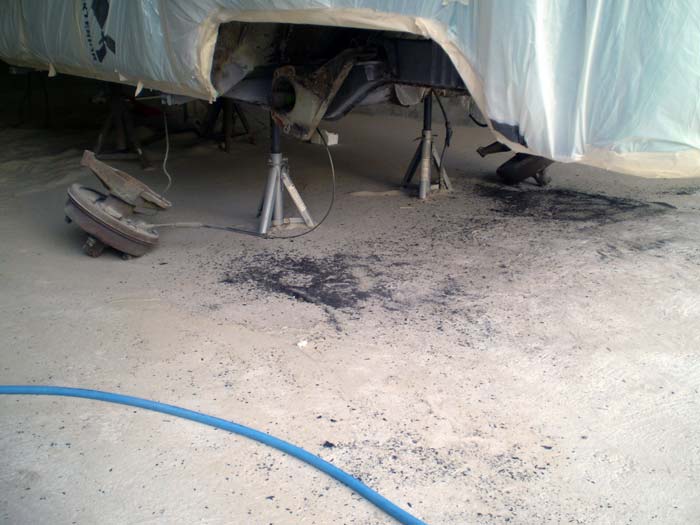
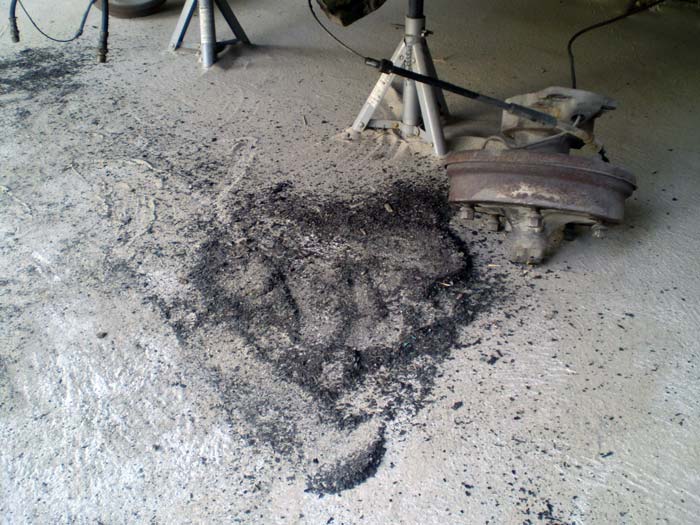
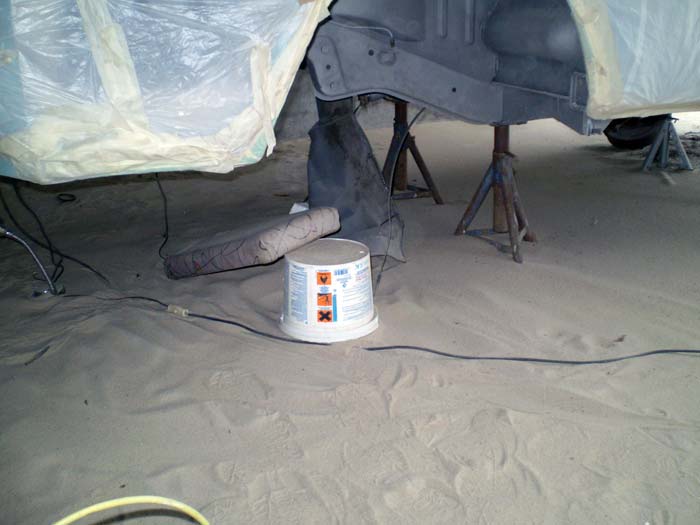
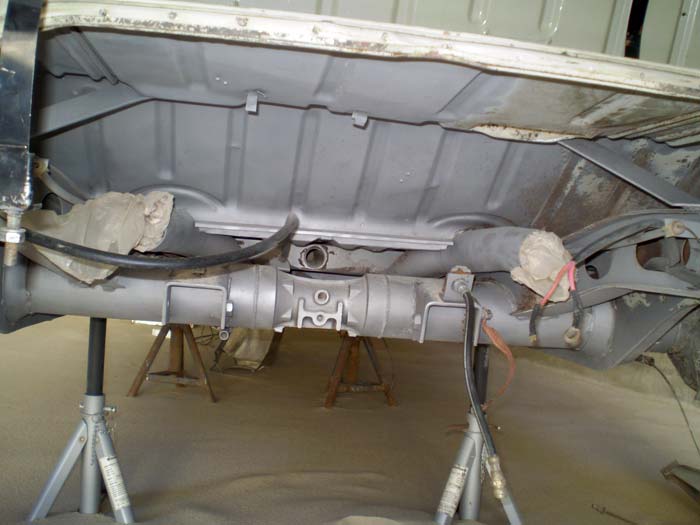
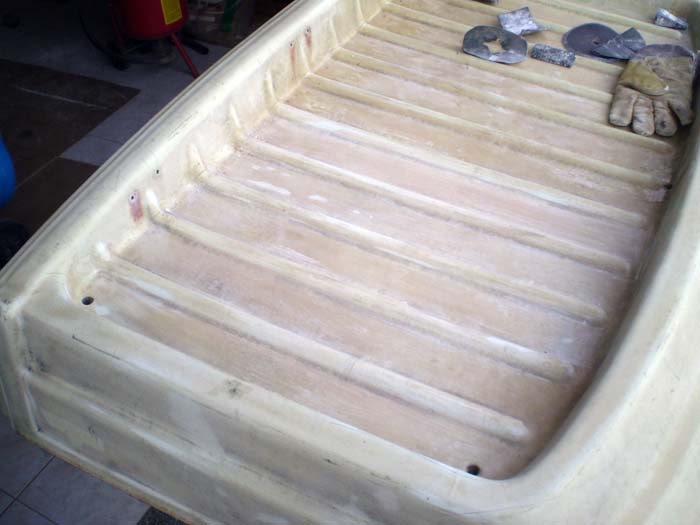
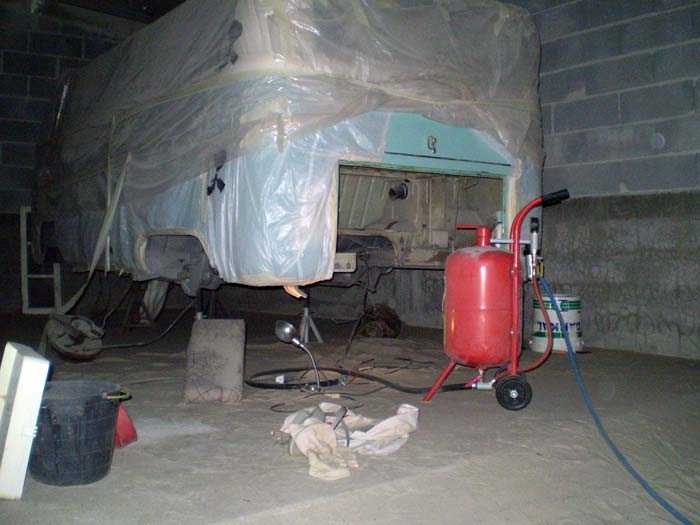
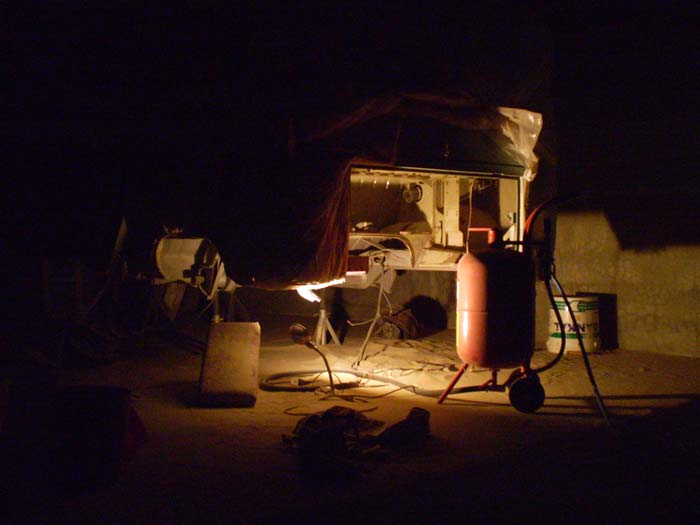
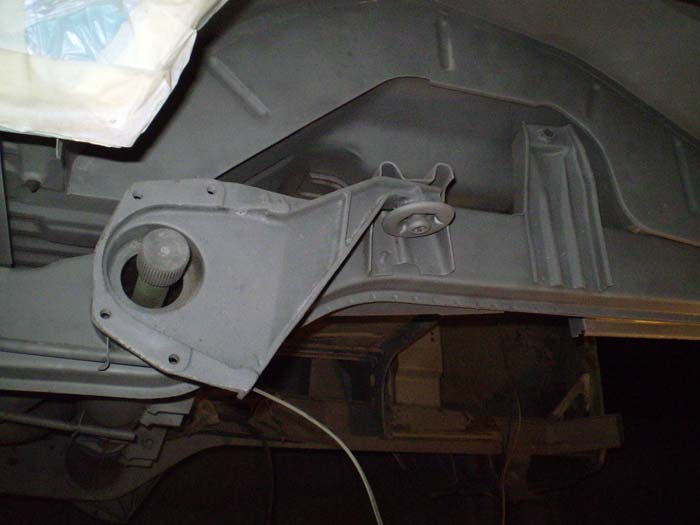
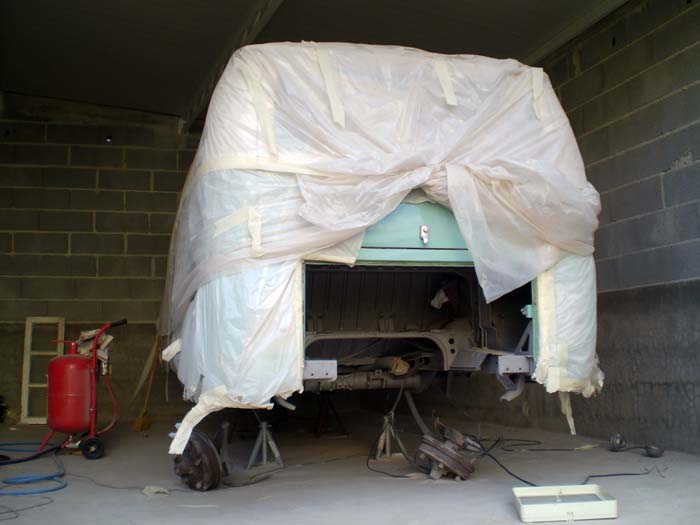
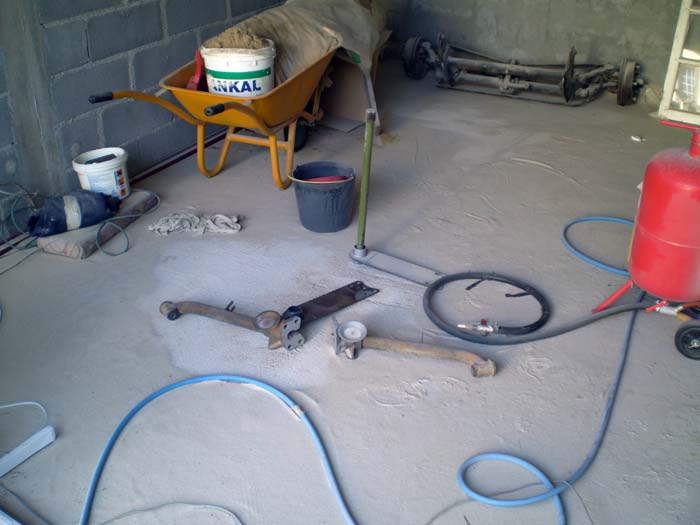
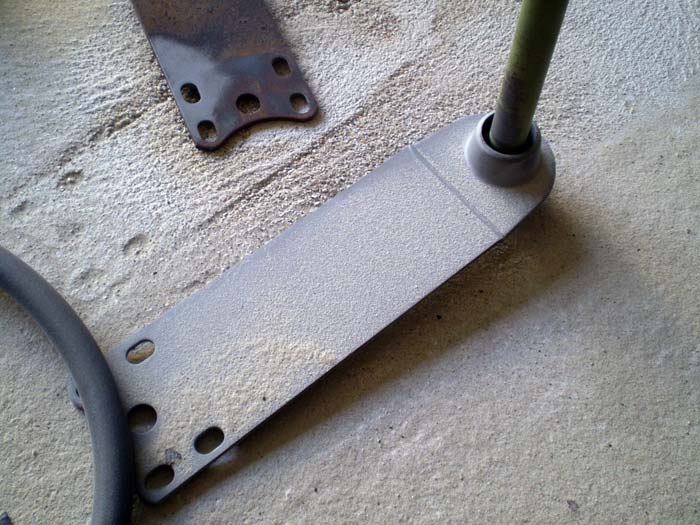
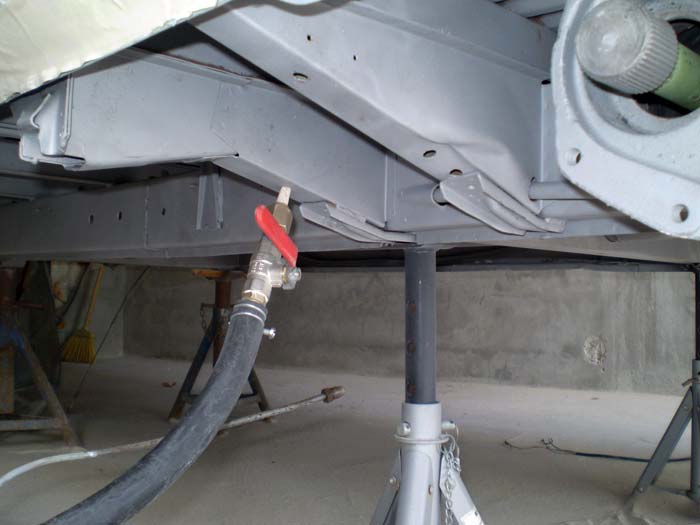
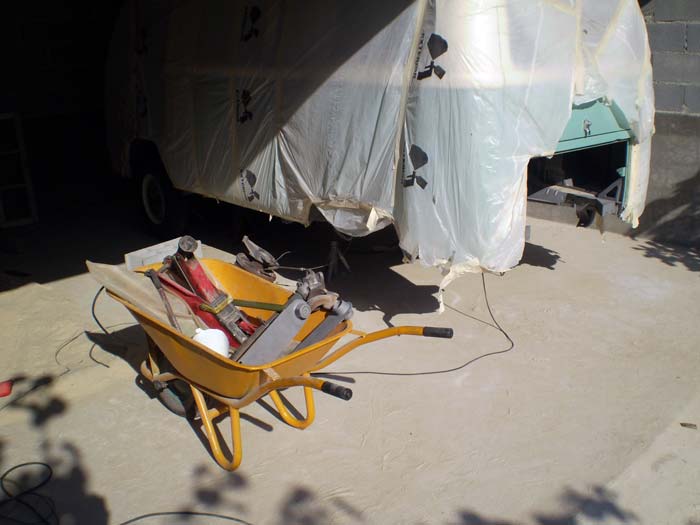
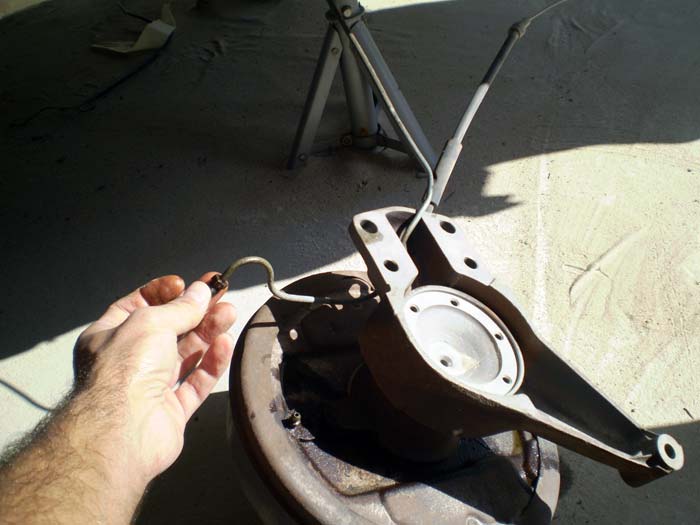
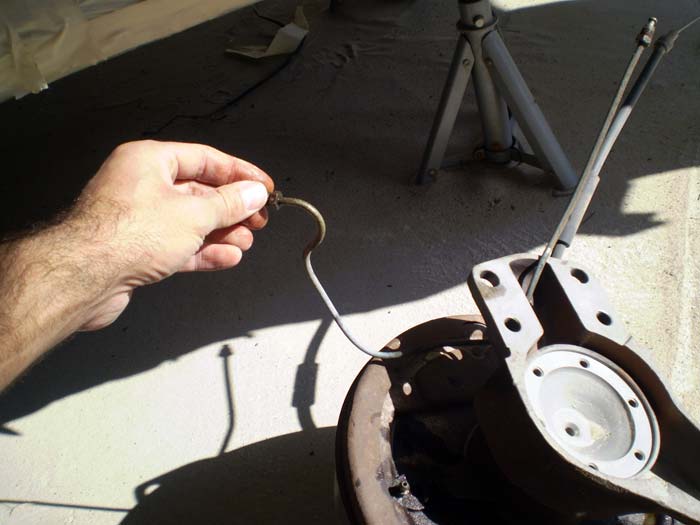
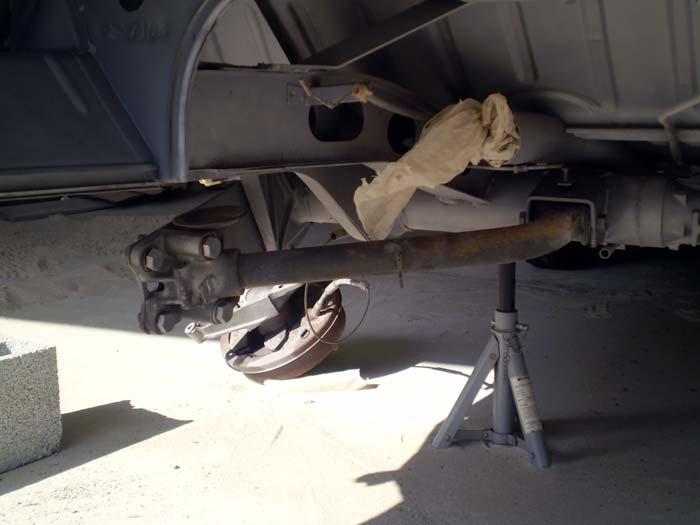
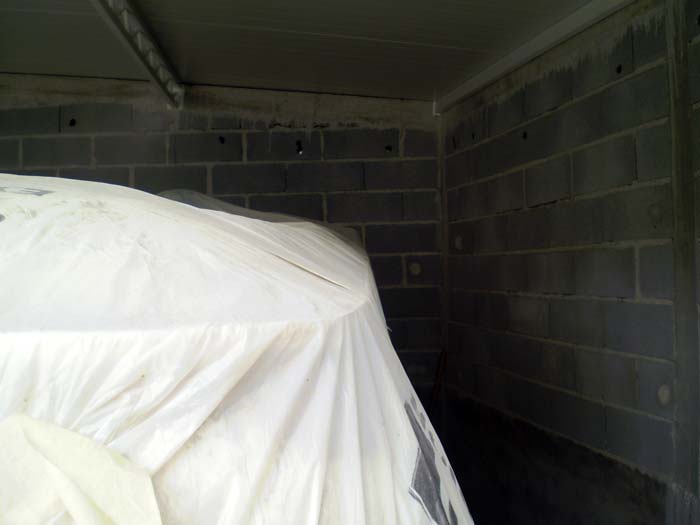
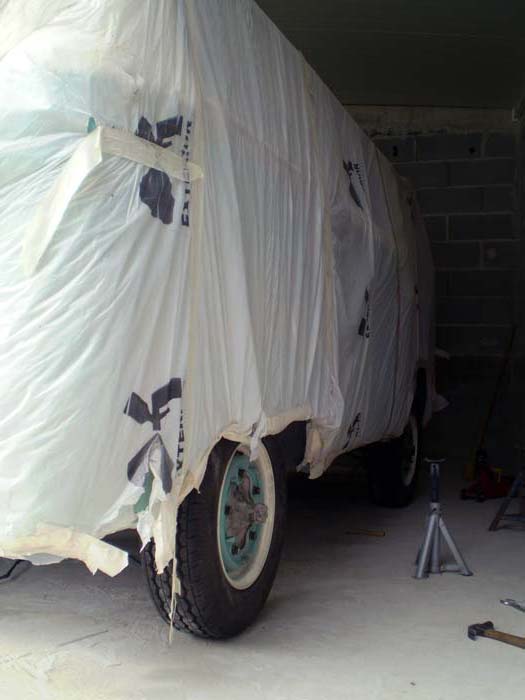
After cleaning almost everything underneath the bus, I decided it was time to remove both suspensions... so, I pushed the bus to the garage and started removing them:
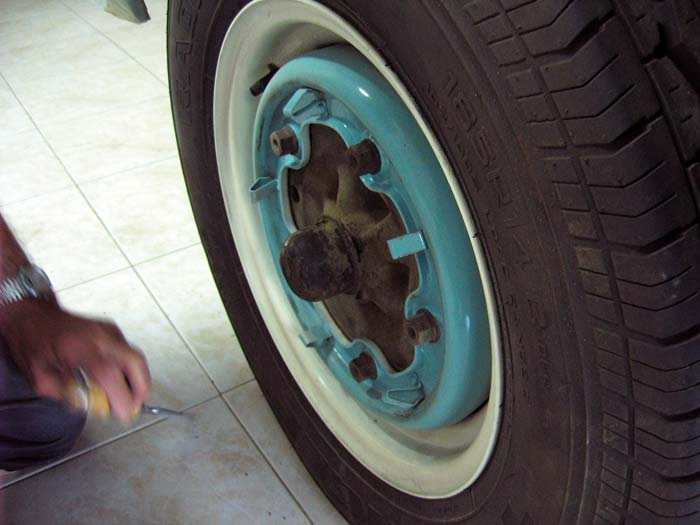
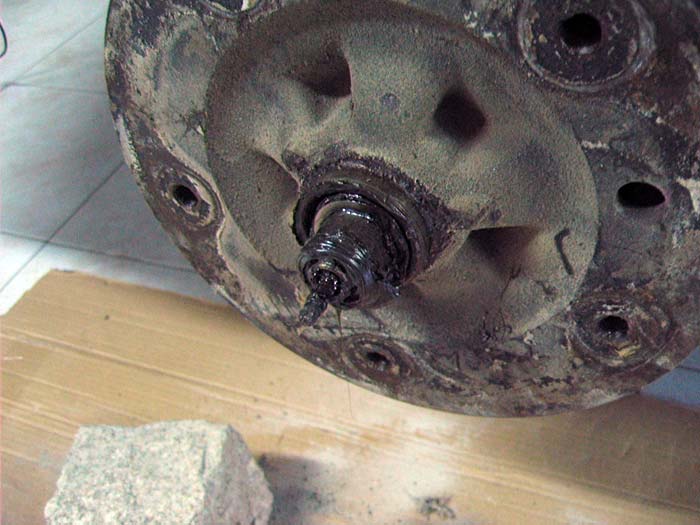
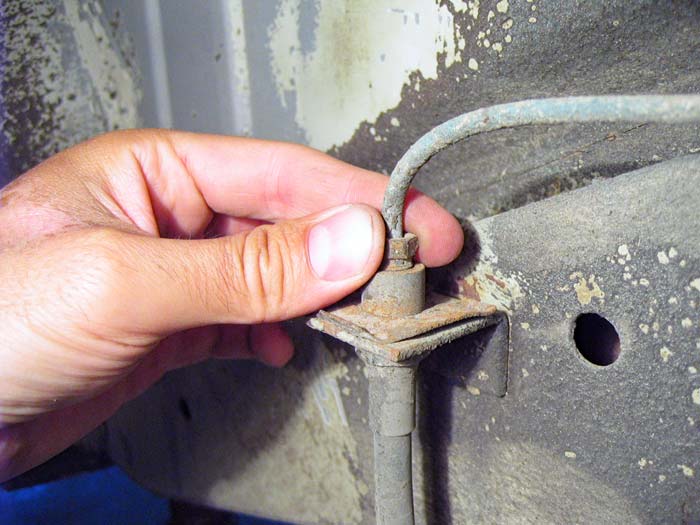
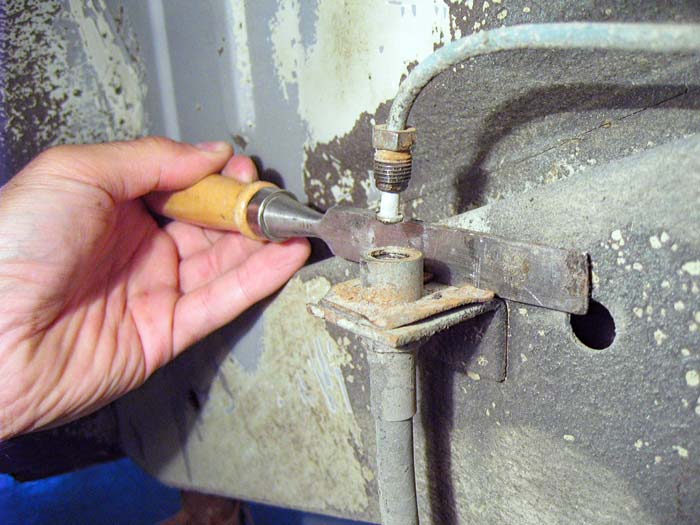
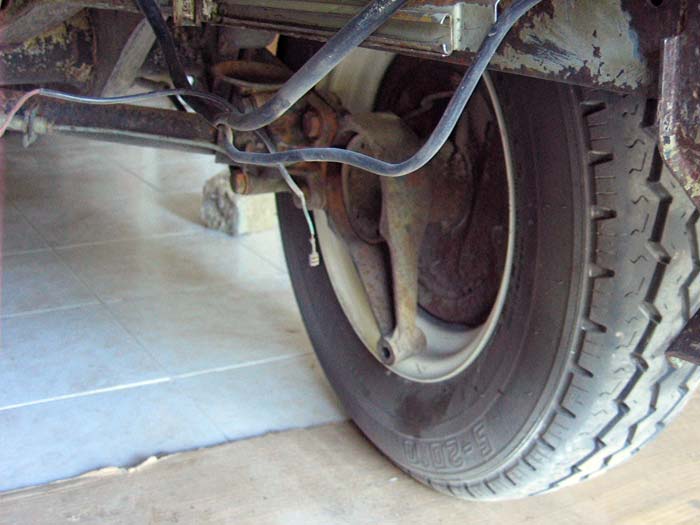
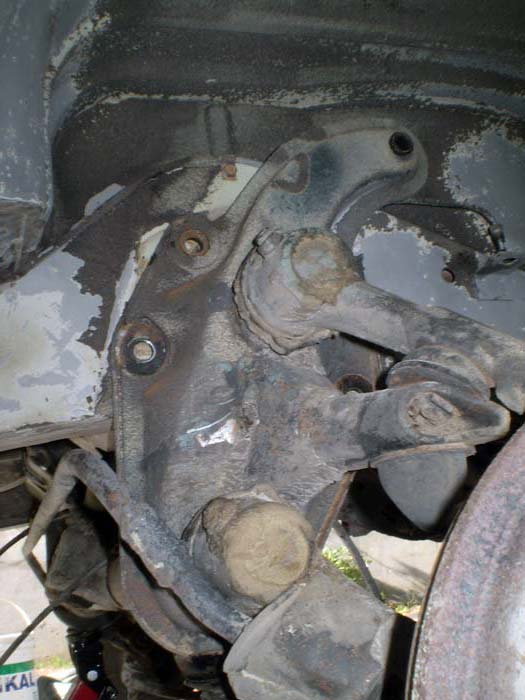
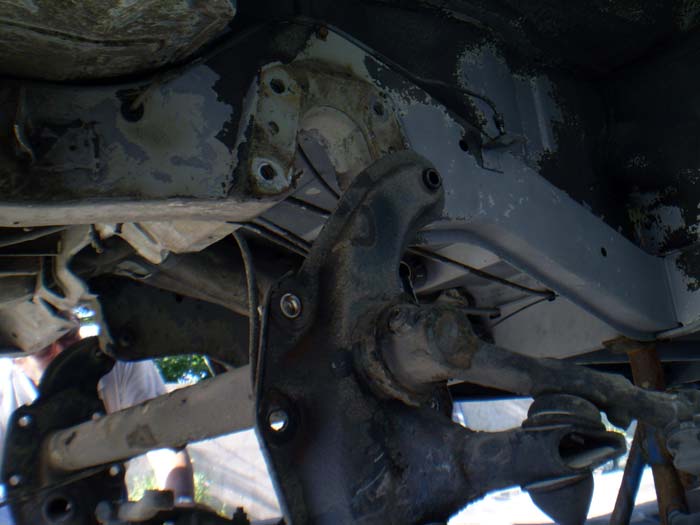
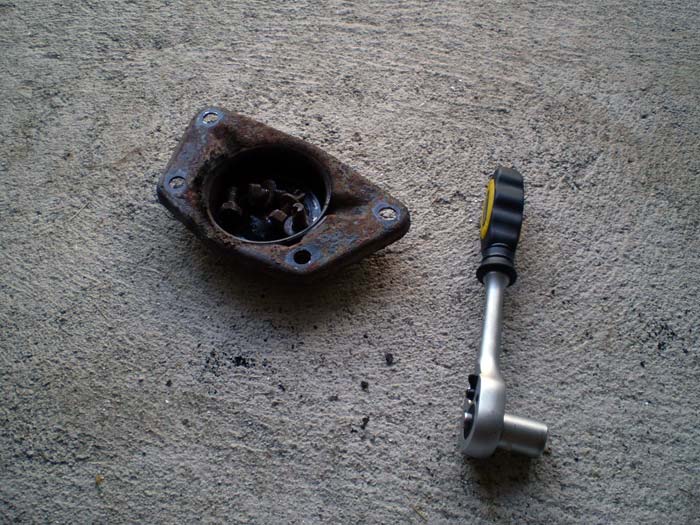
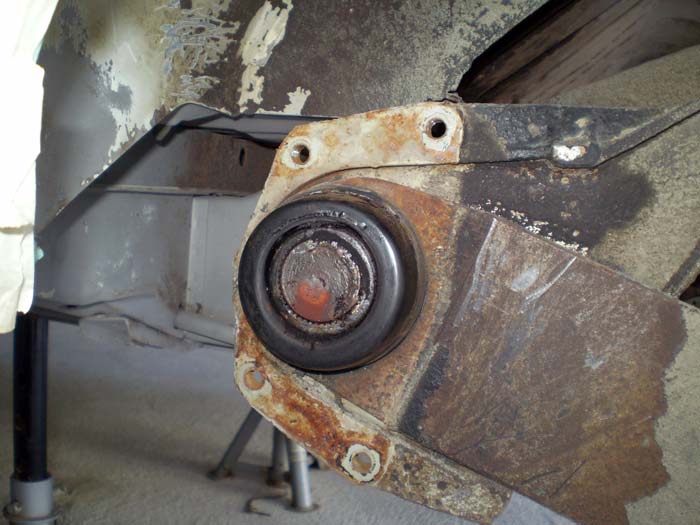
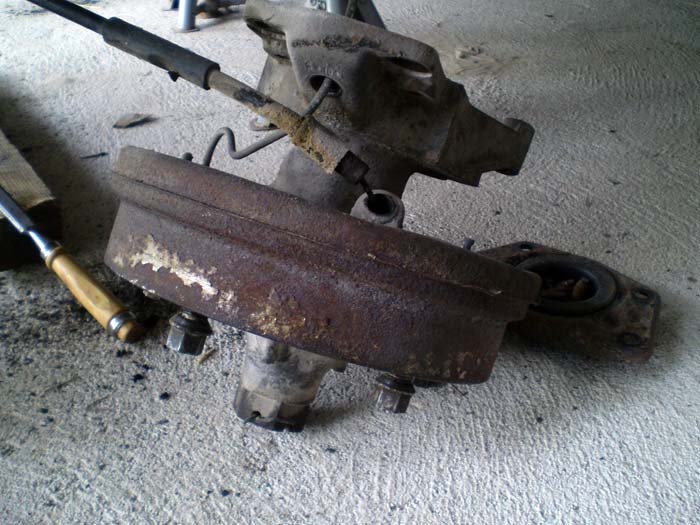
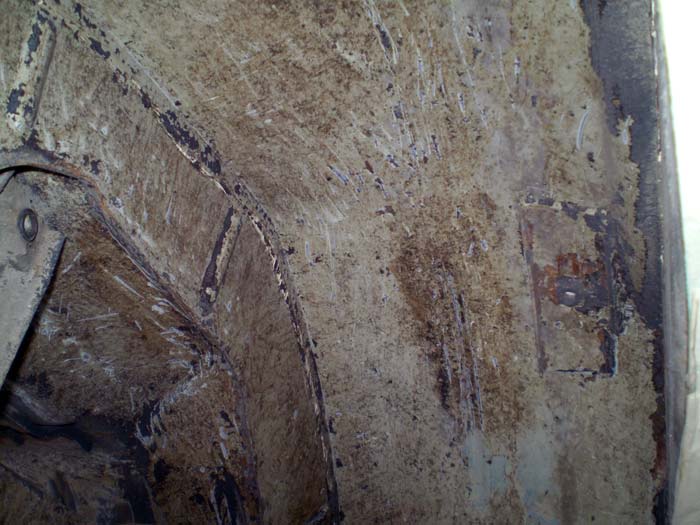
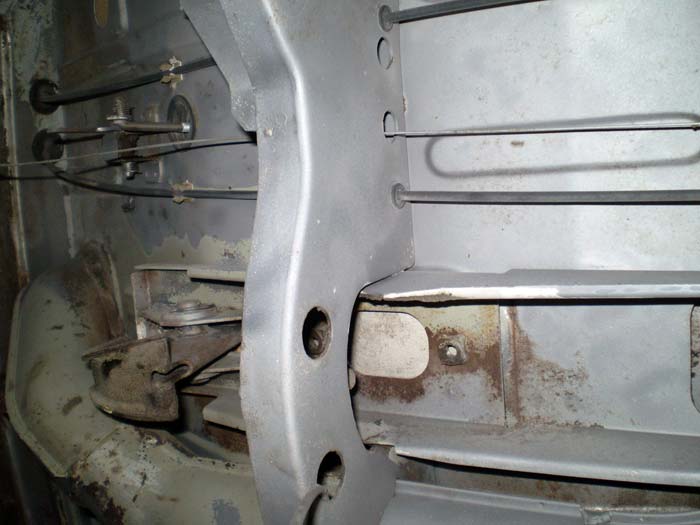
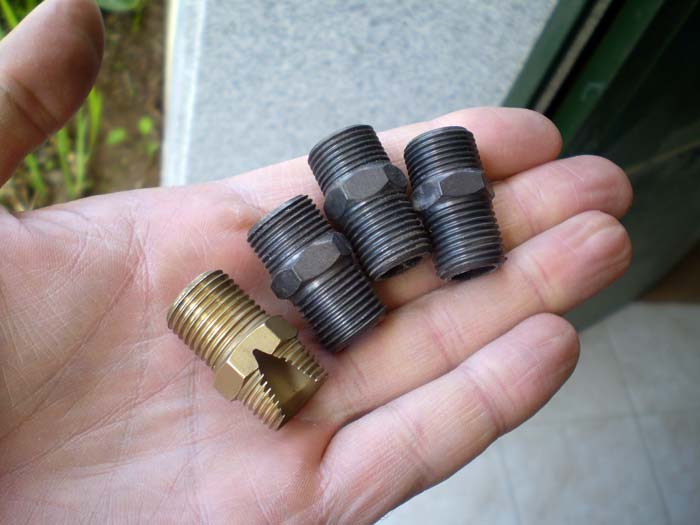
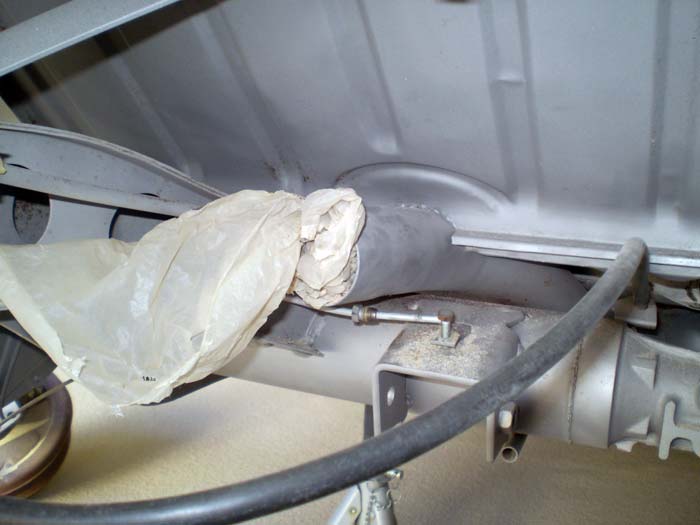
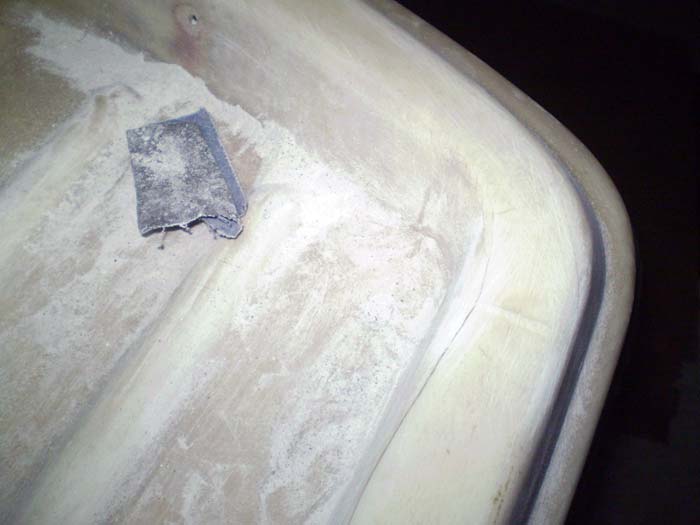
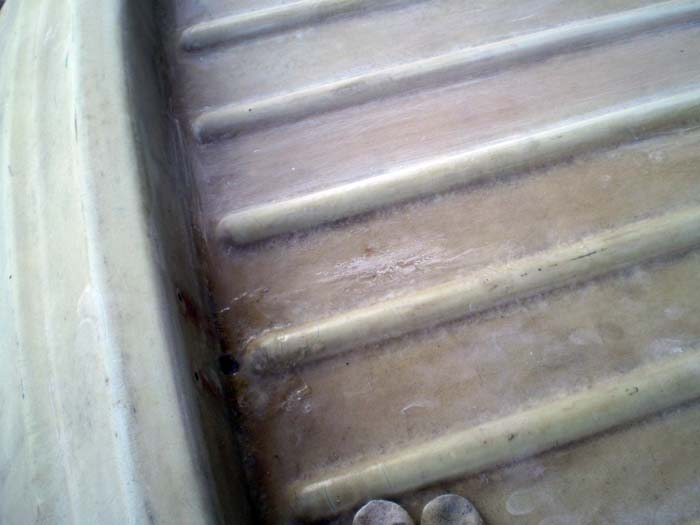
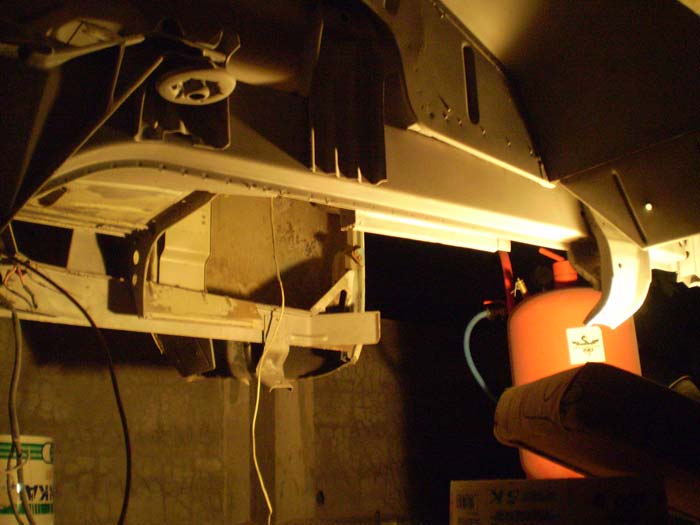
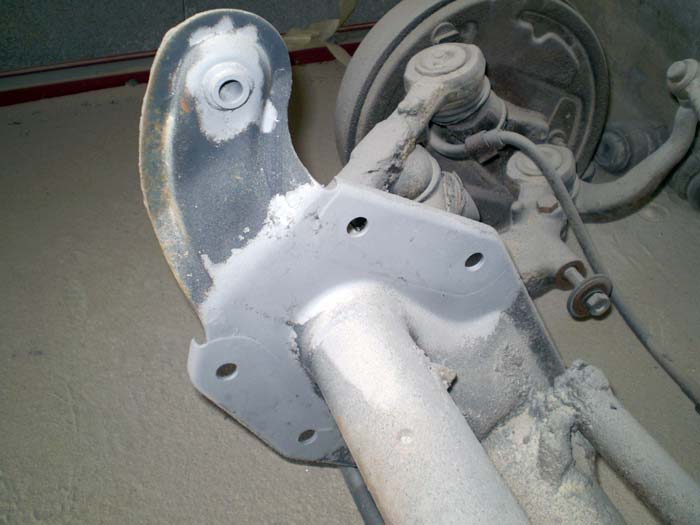
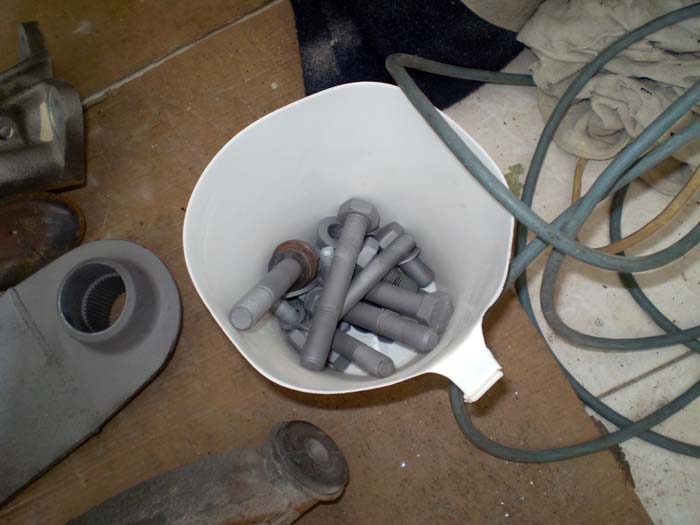
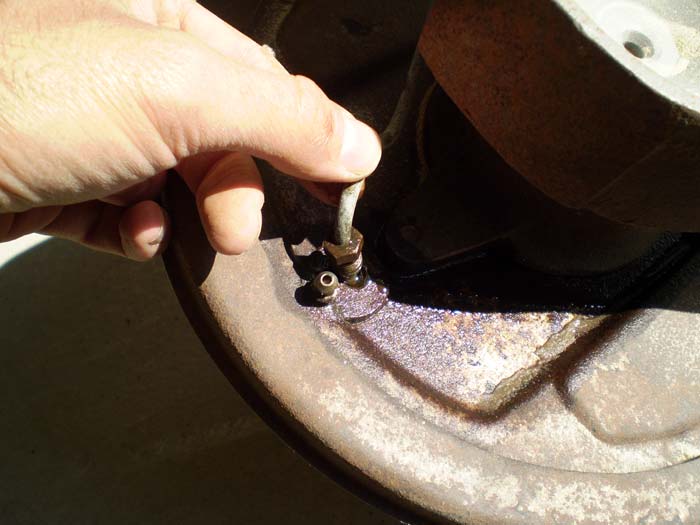
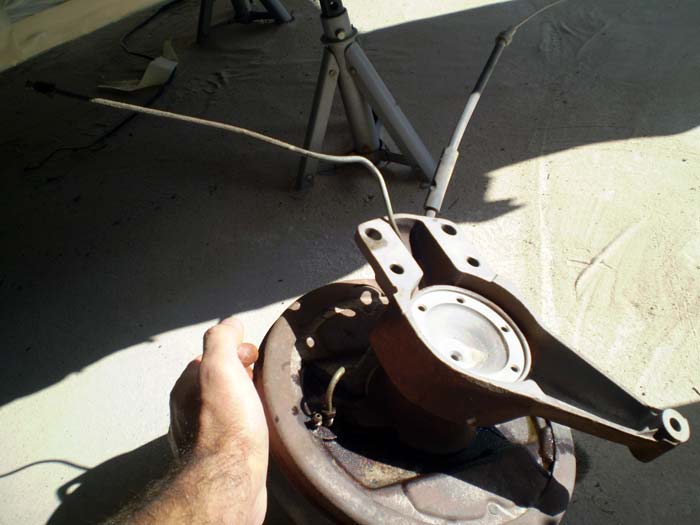
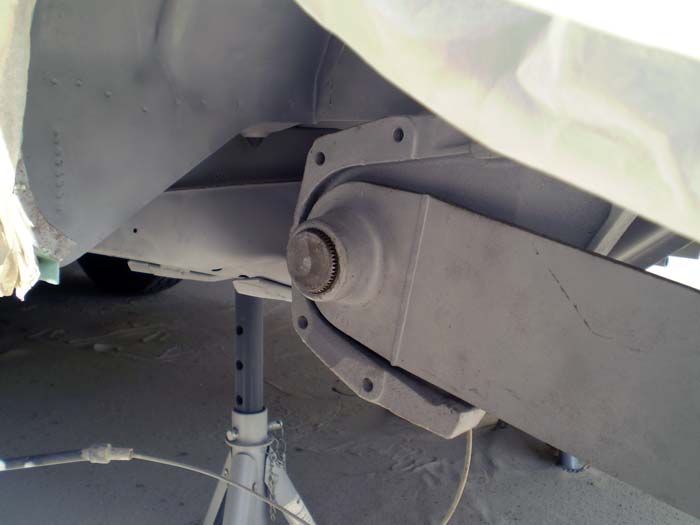
the plan was to remove all these screws....
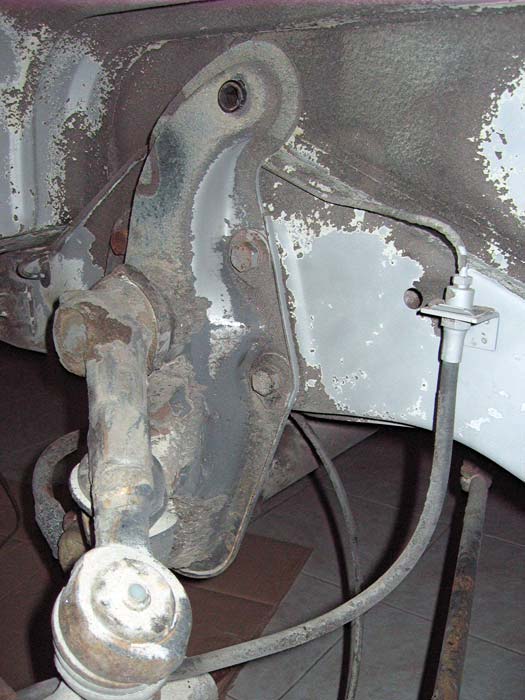
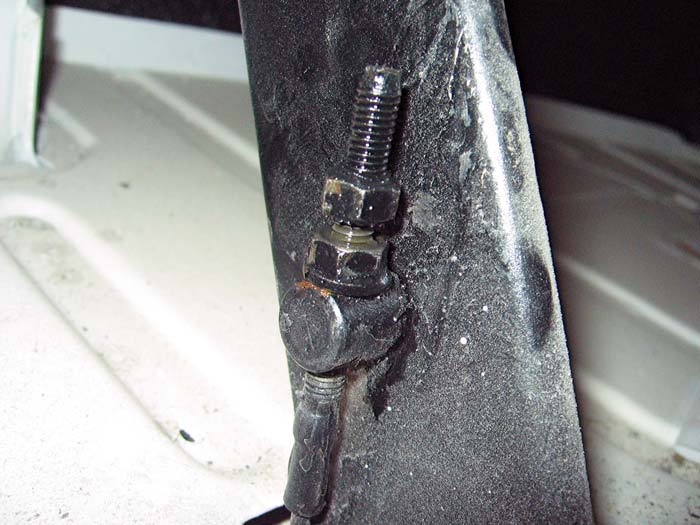
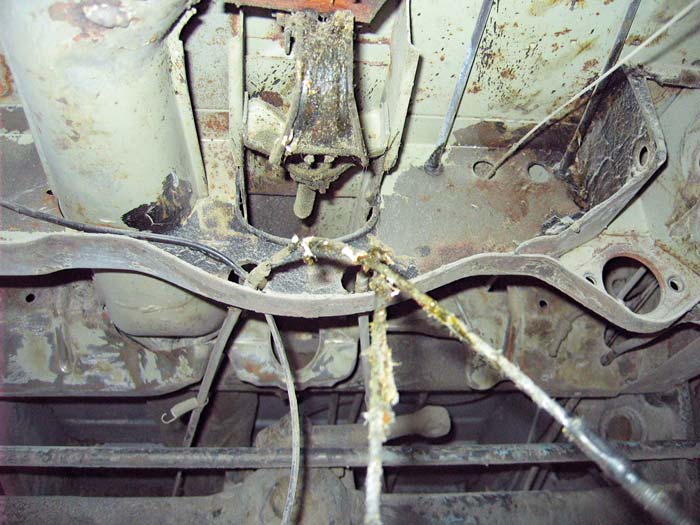
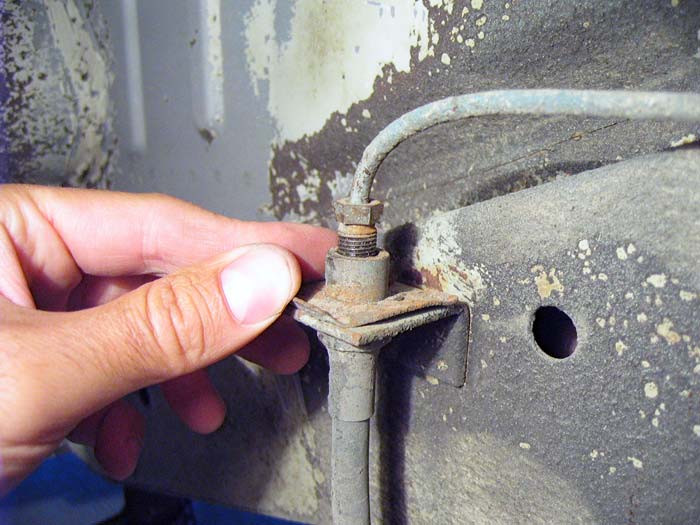
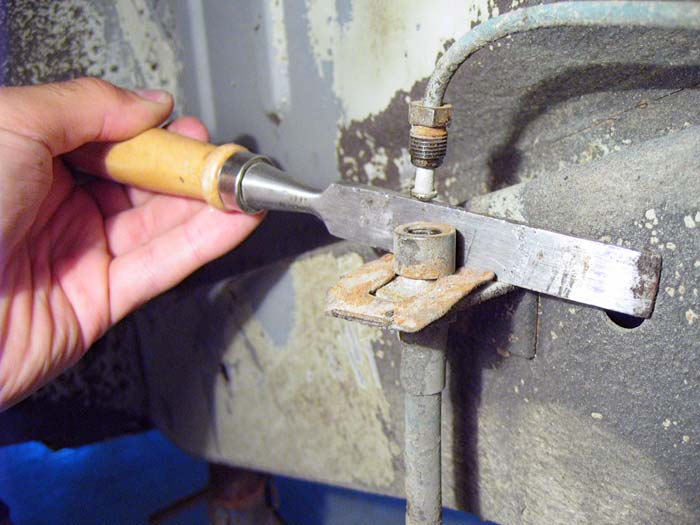
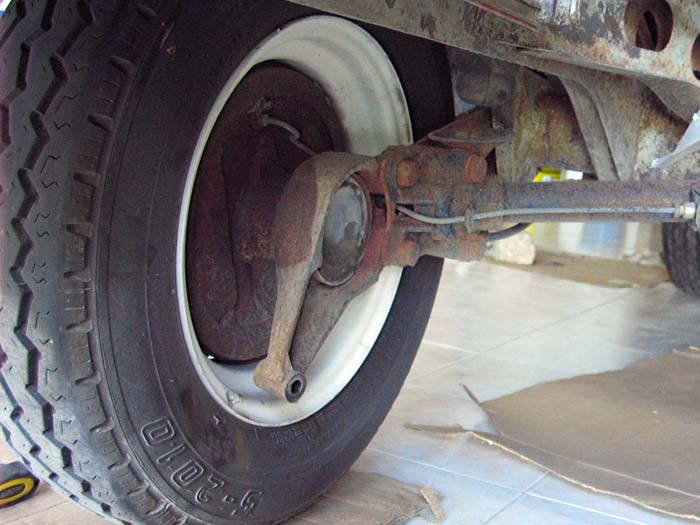
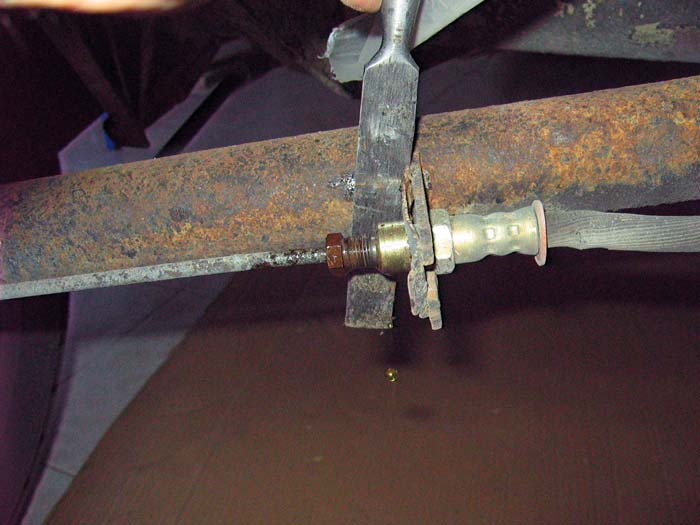
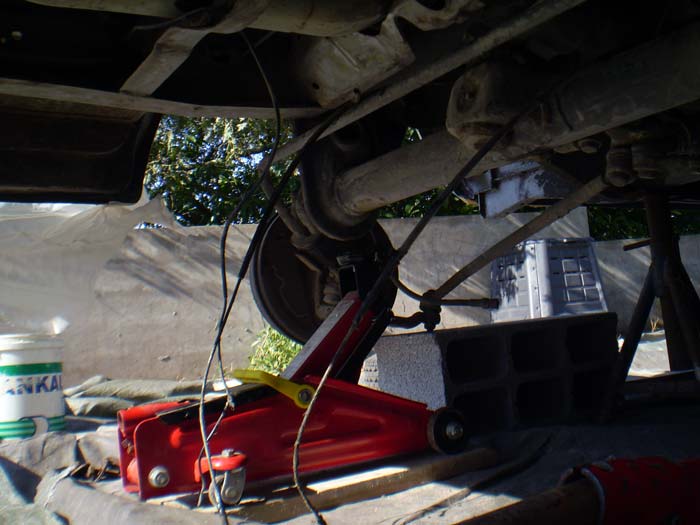
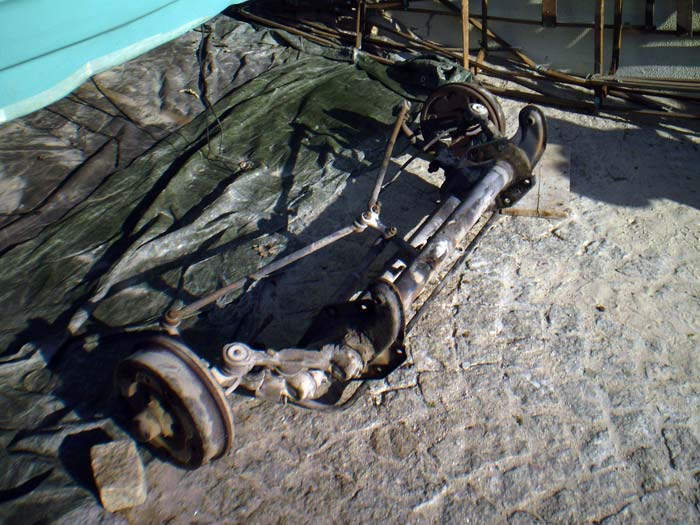
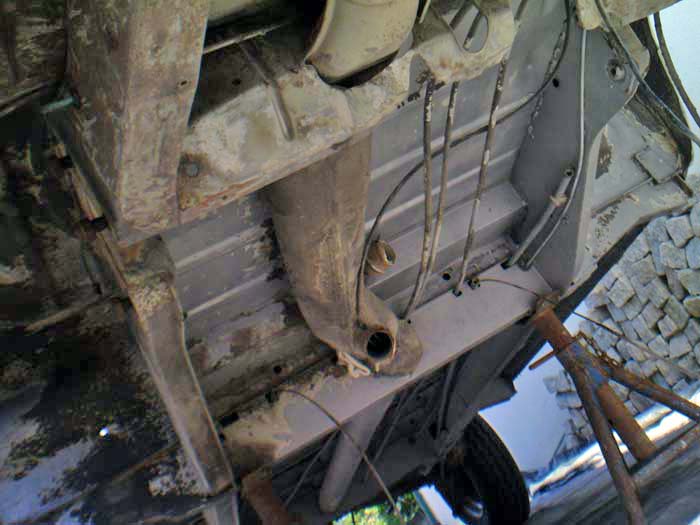
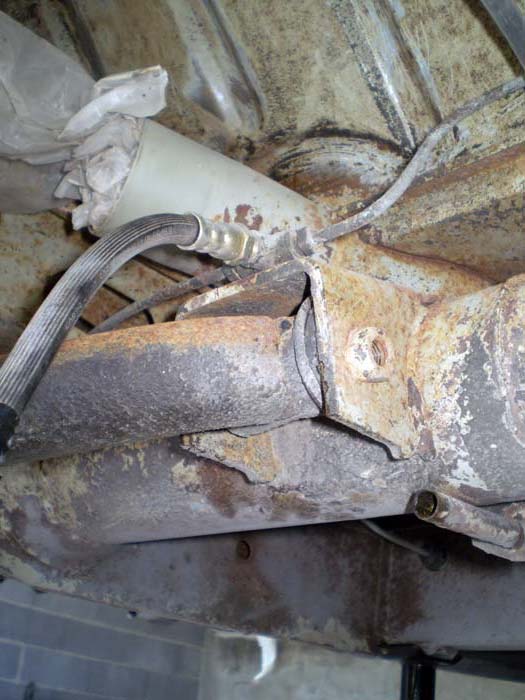
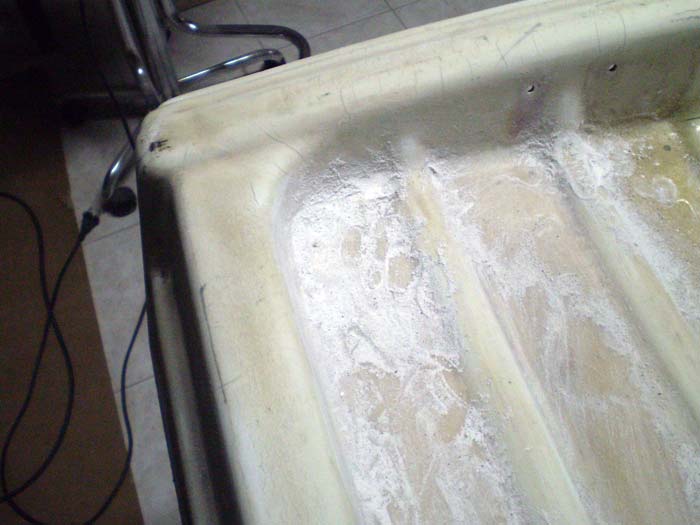
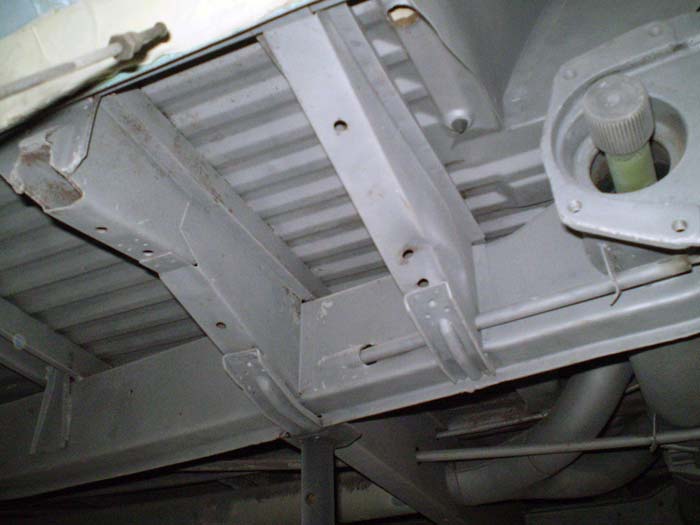
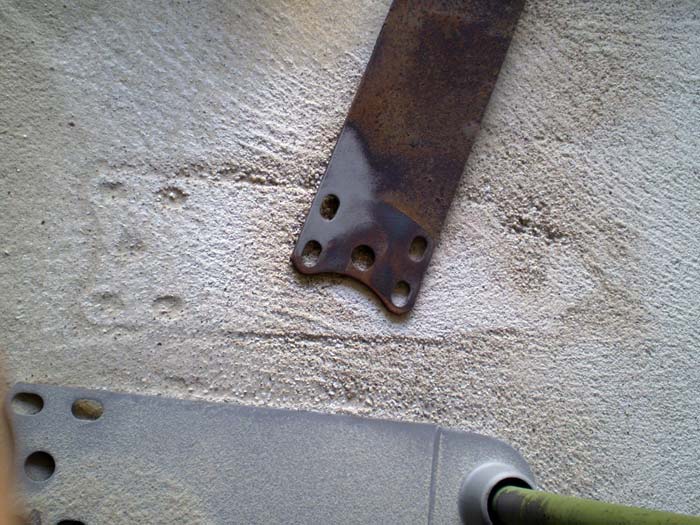
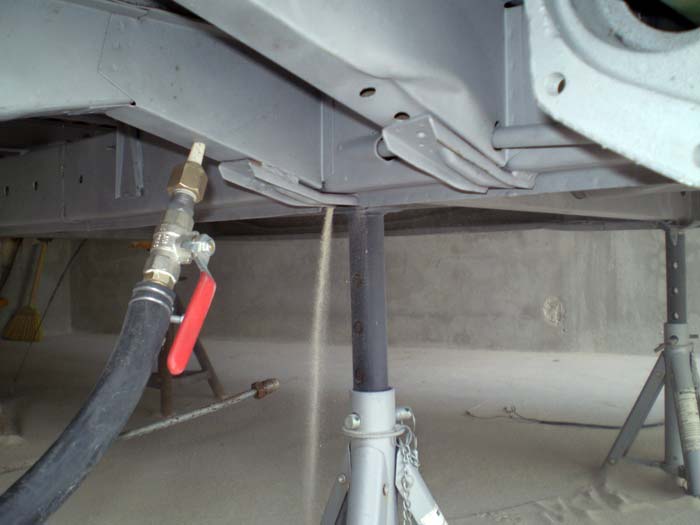
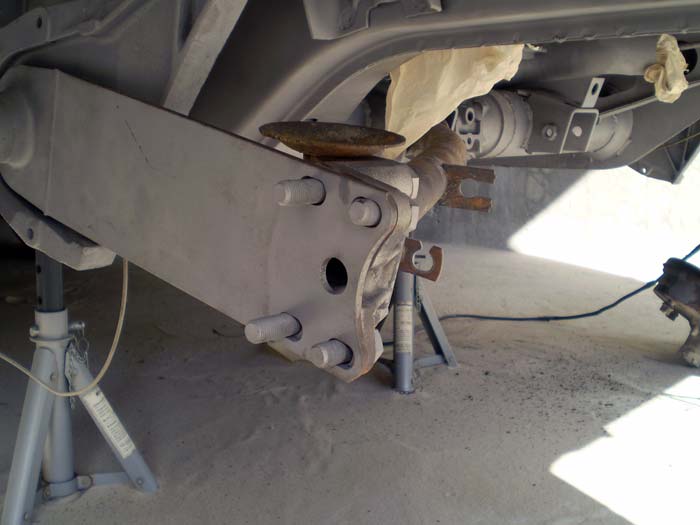
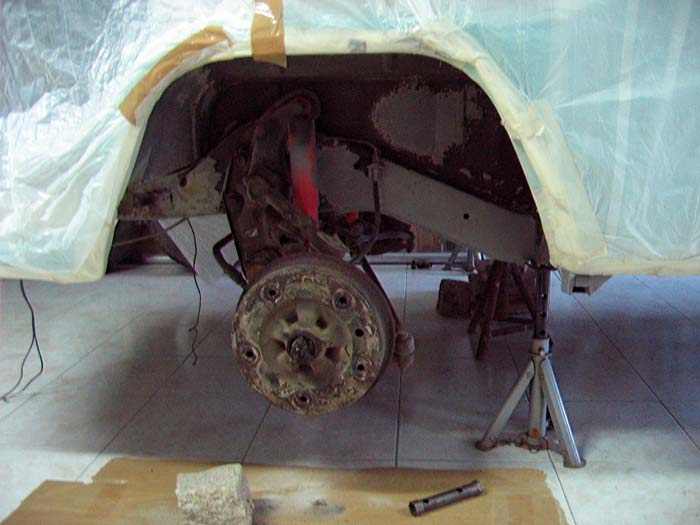
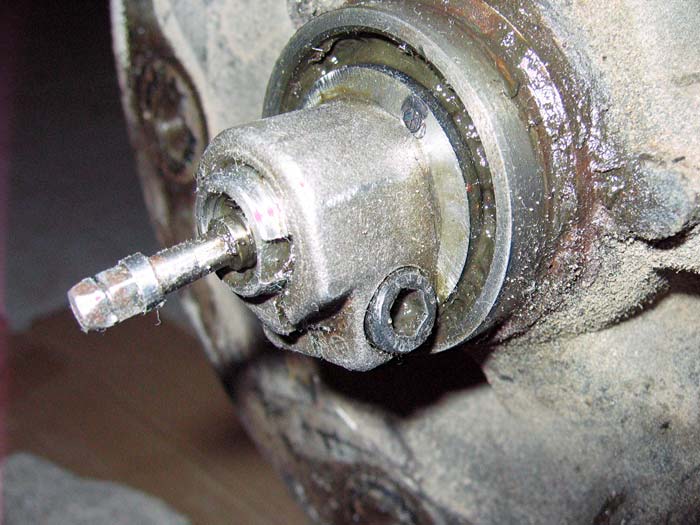
loosen a few more screws...
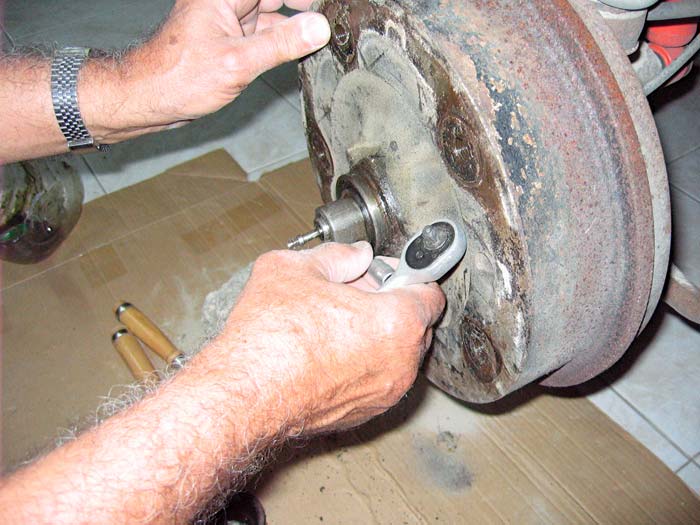

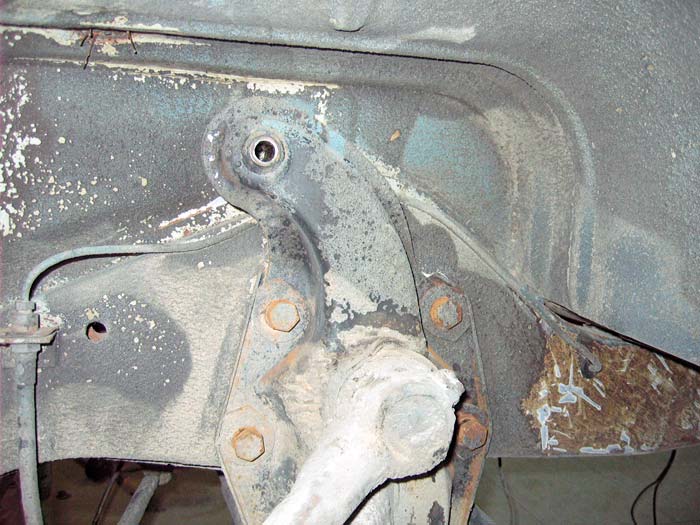
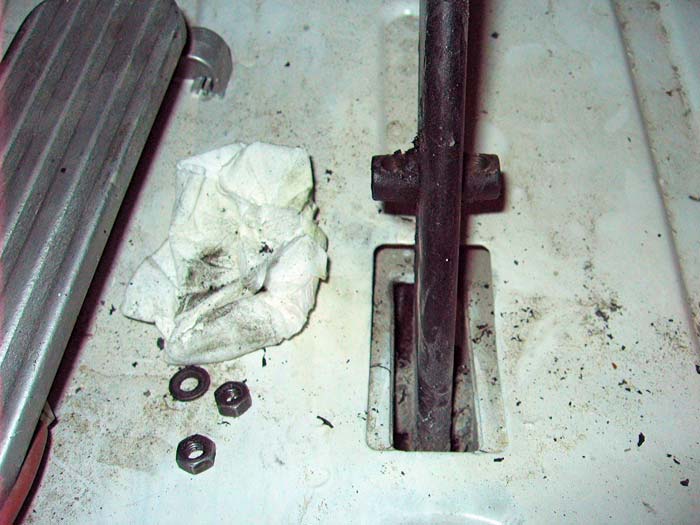
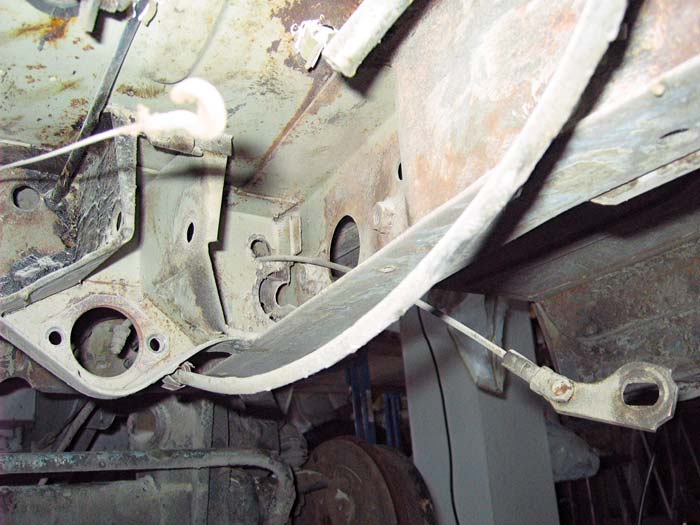
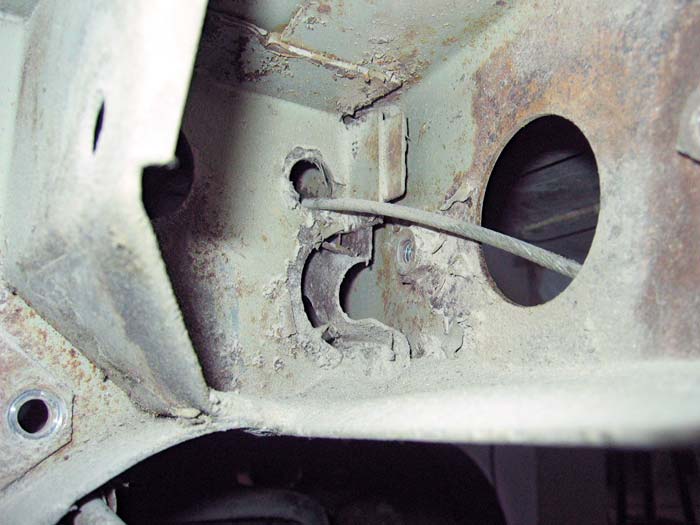
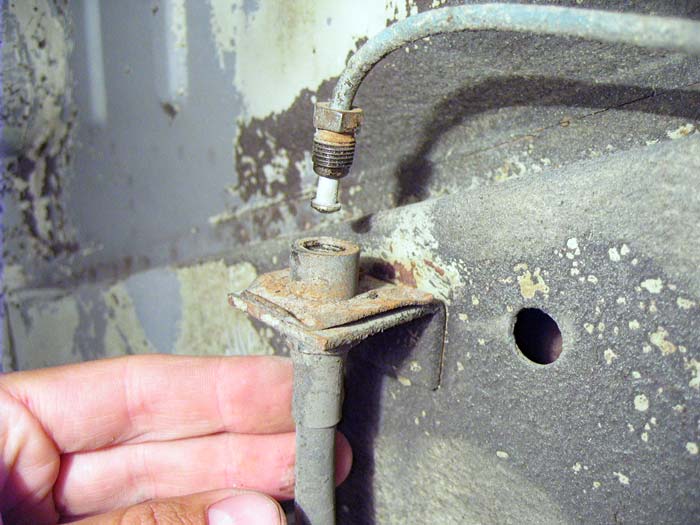
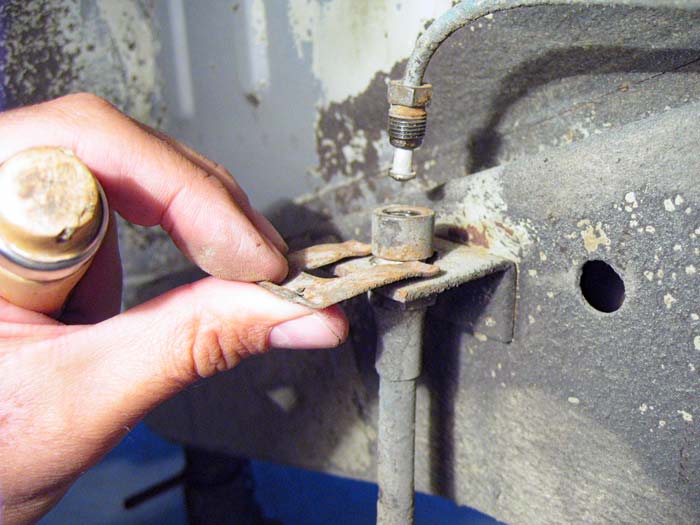
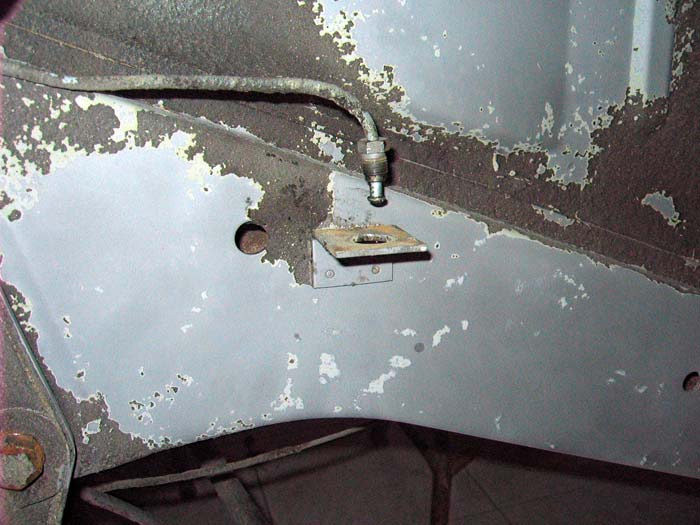
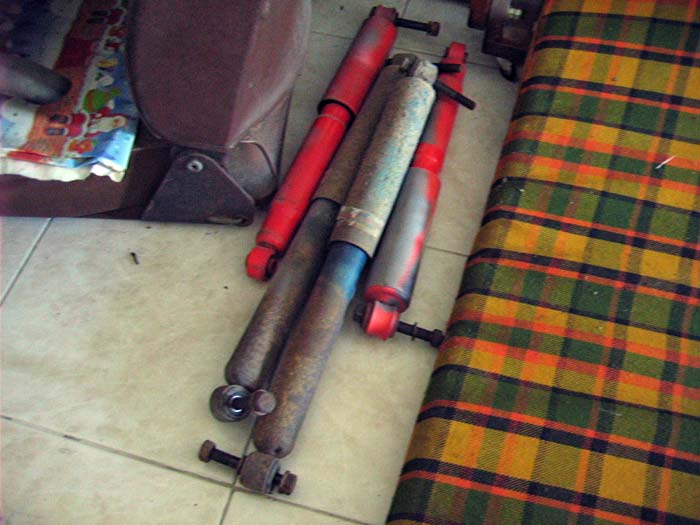
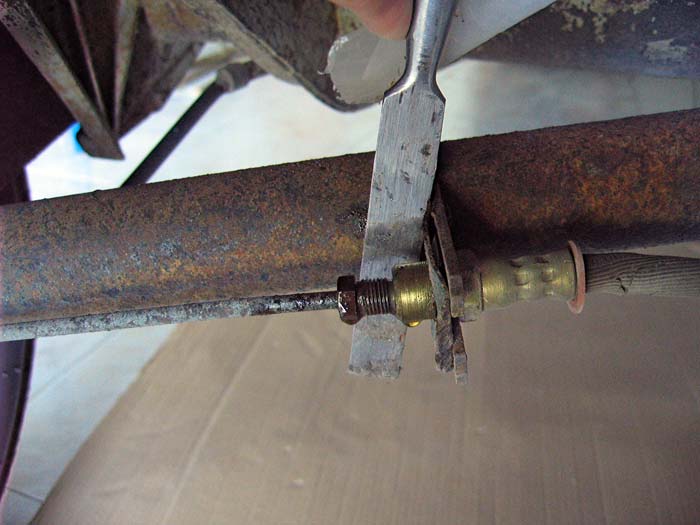
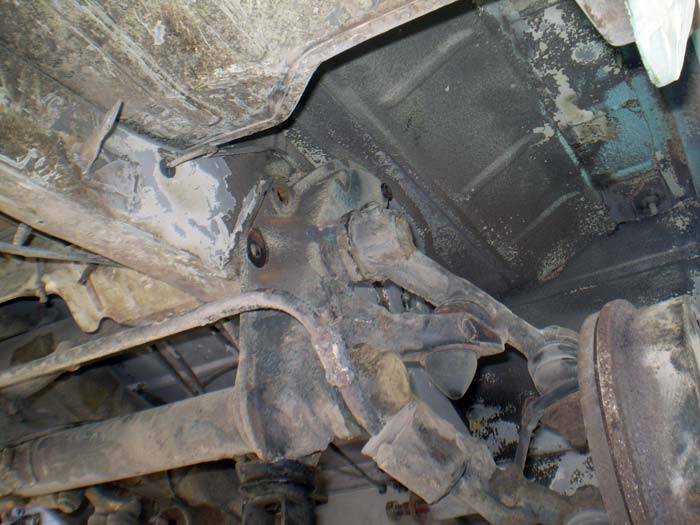
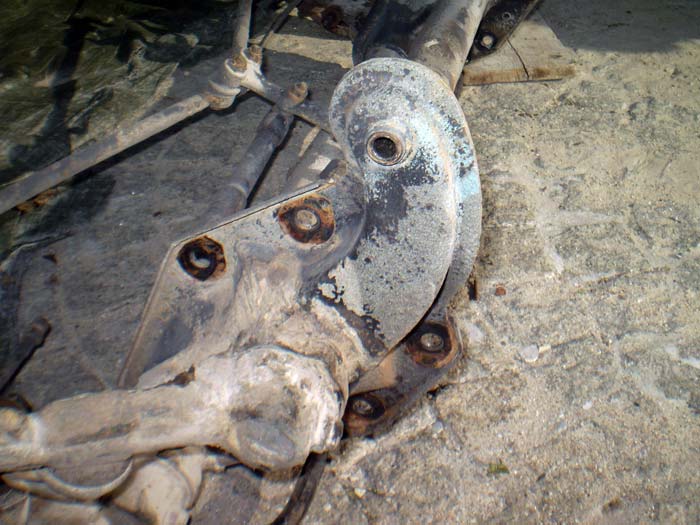
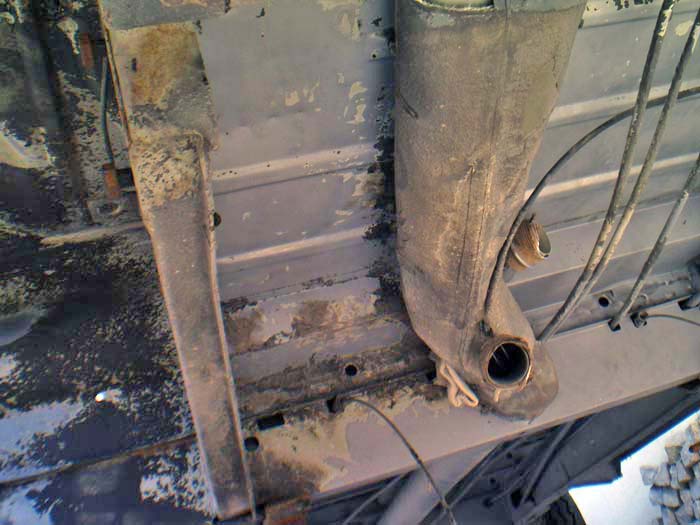
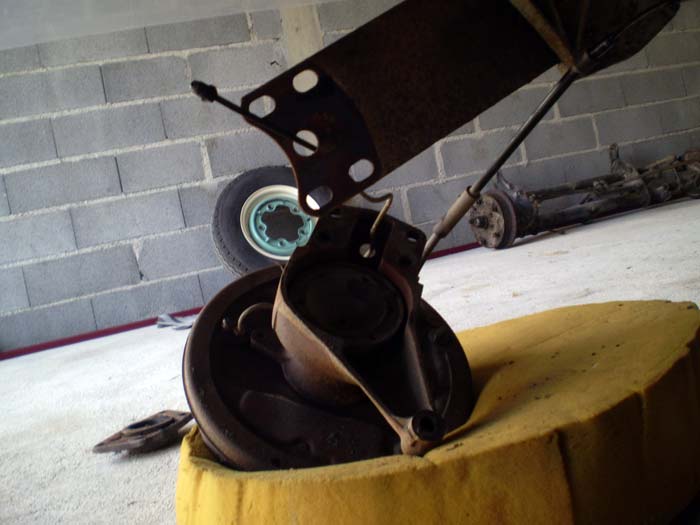
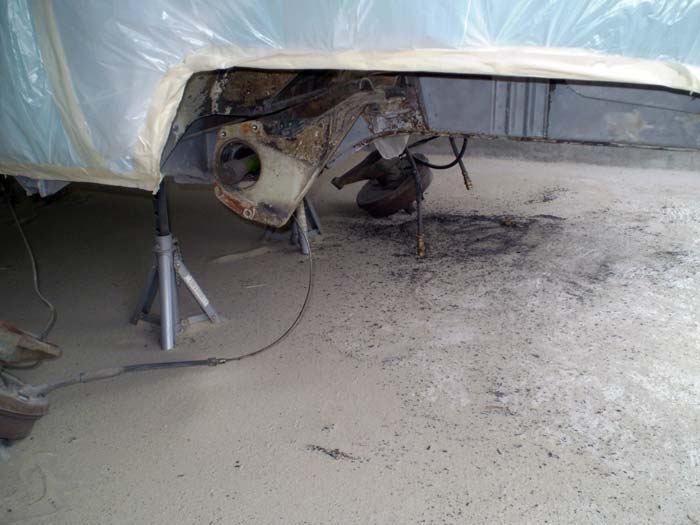
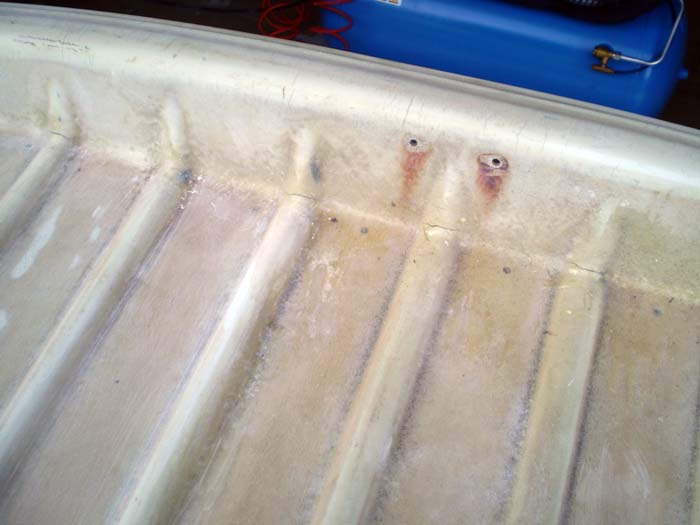
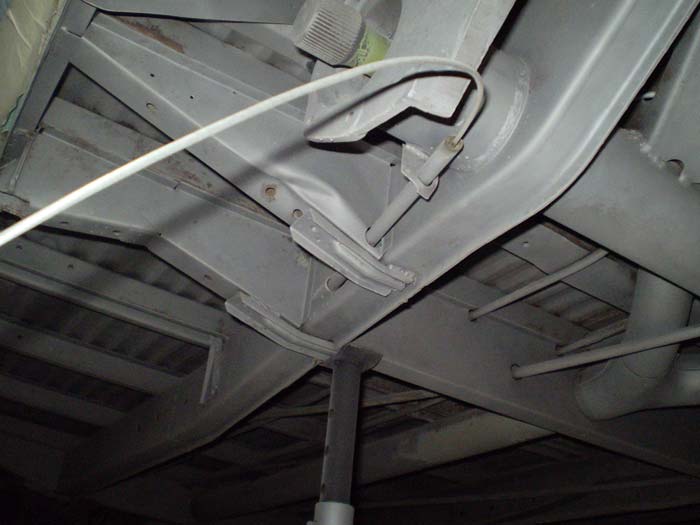
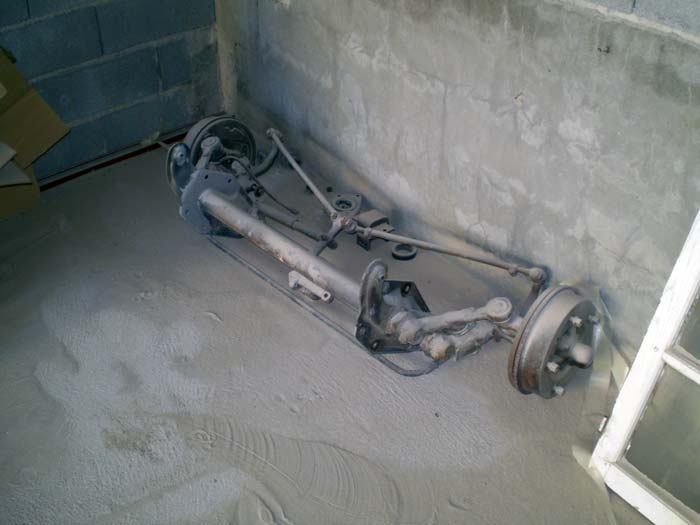
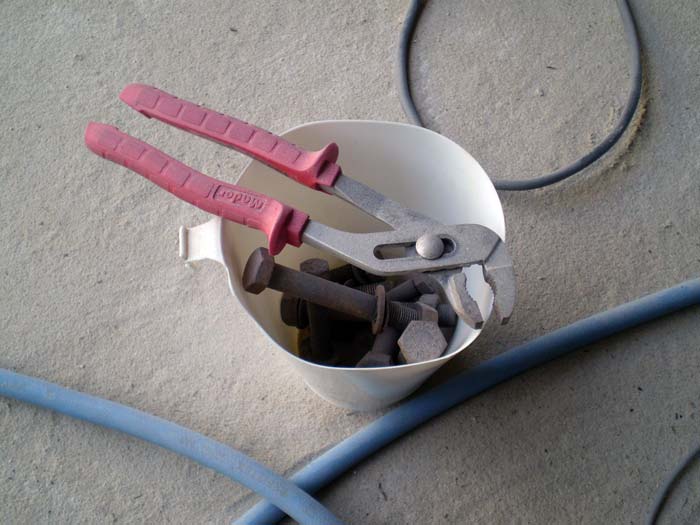
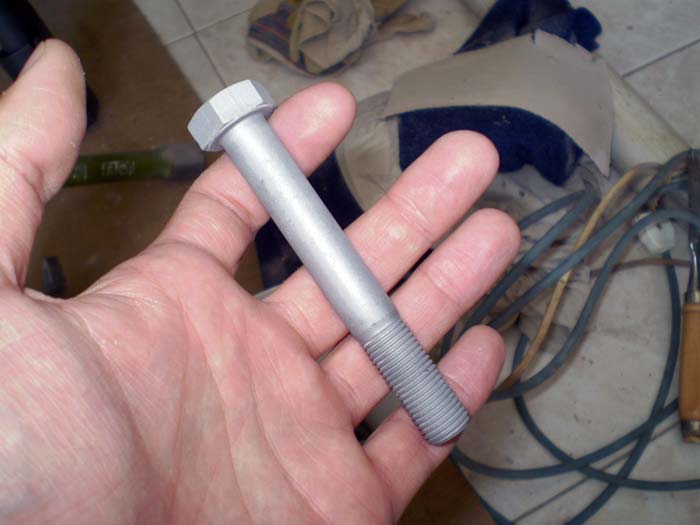
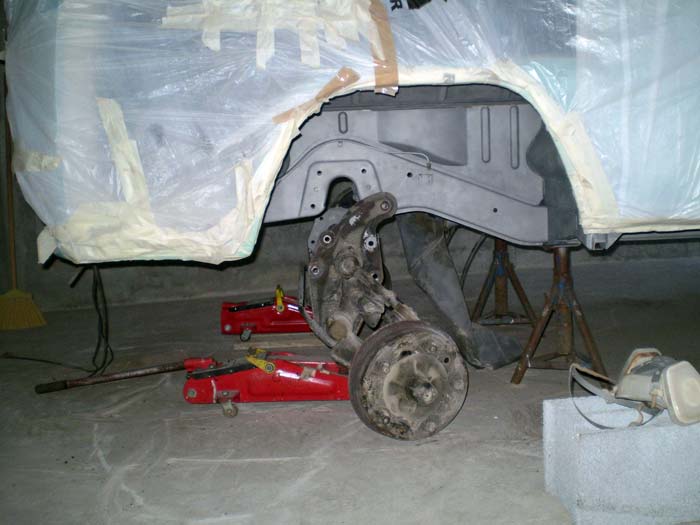
fortunately all the screws came out easily ....
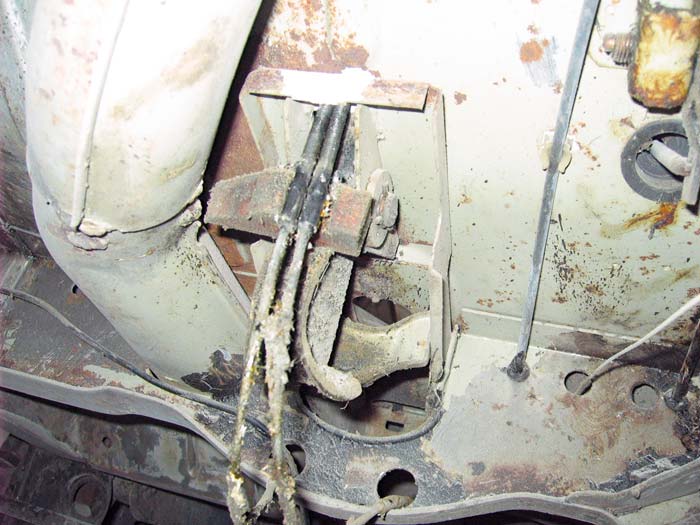
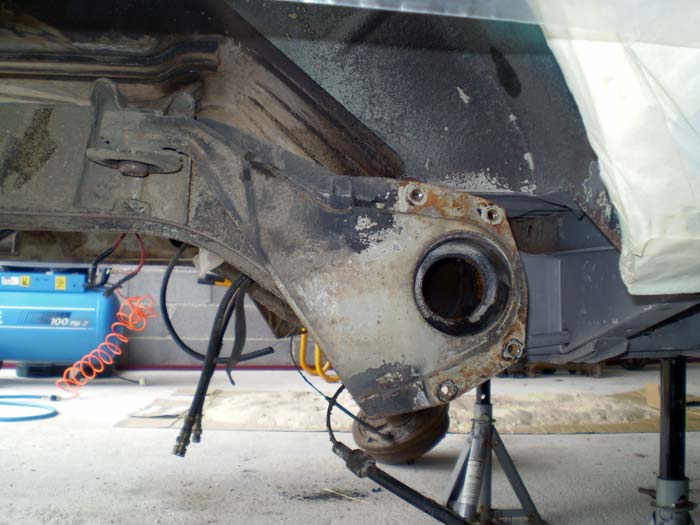
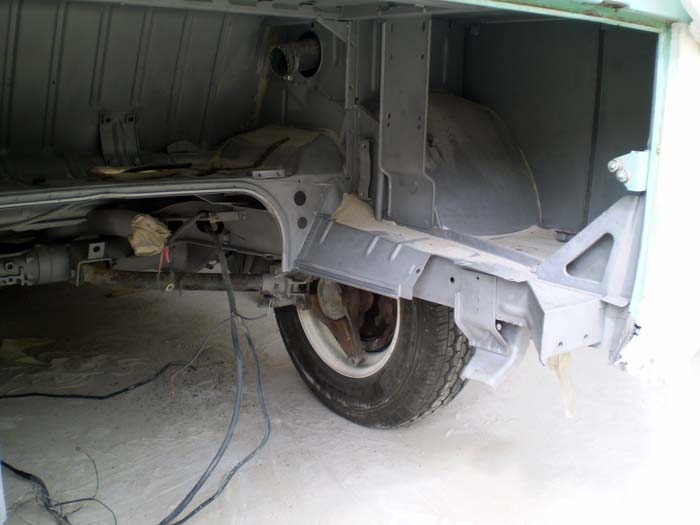
After cleaning almost everything underneath the bus, I decided it was time to remove both suspensions... so, I pushed the bus to the garage and started removing them:
the plan was to remove all these screws....
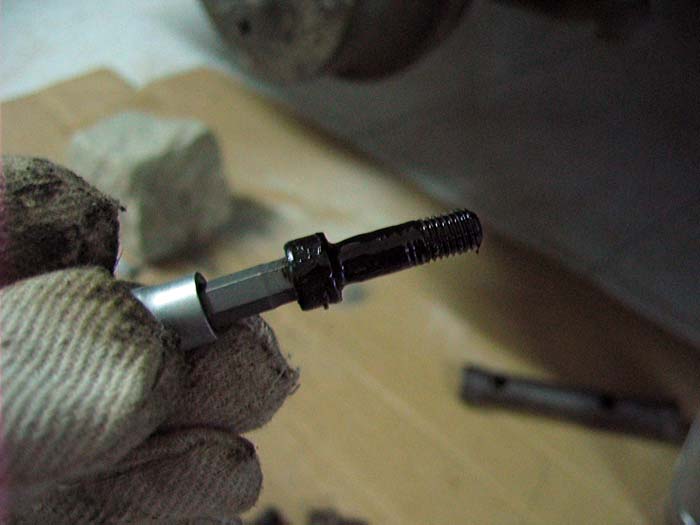
loosen a few more screws...
fortunately all the screws came out easily ....