You are using an out of date browser. It may not display this or other websites correctly.
You should upgrade or use an alternative browser.
You should upgrade or use an alternative browser.
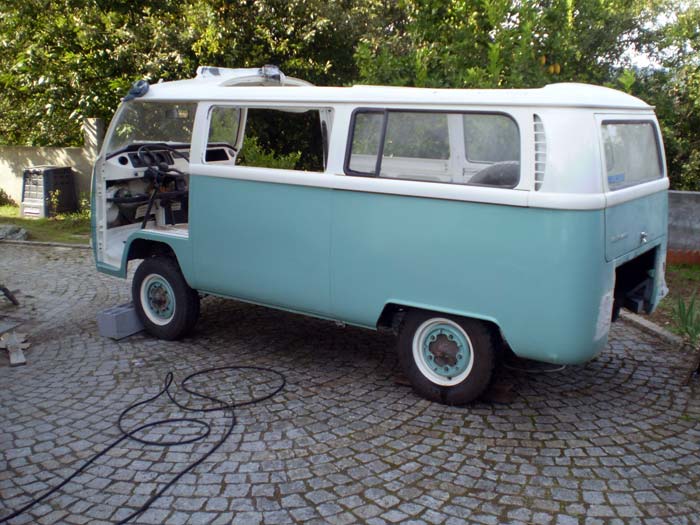
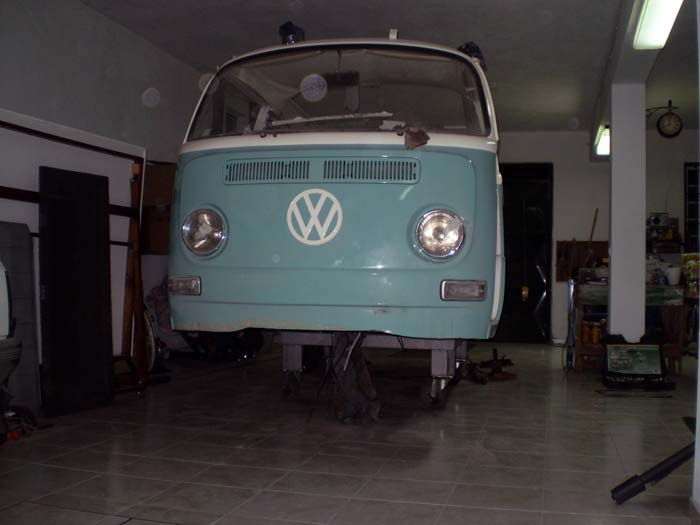
1968 Campervan conversion
- Thread starter joaonar
- Start date


Help Support Early Bay Forum:
This site may earn a commission from merchant affiliate
links, including eBay, Amazon, and others.
thanks Johnny.... 8)
gninnam, so here're some more :mrgreen:
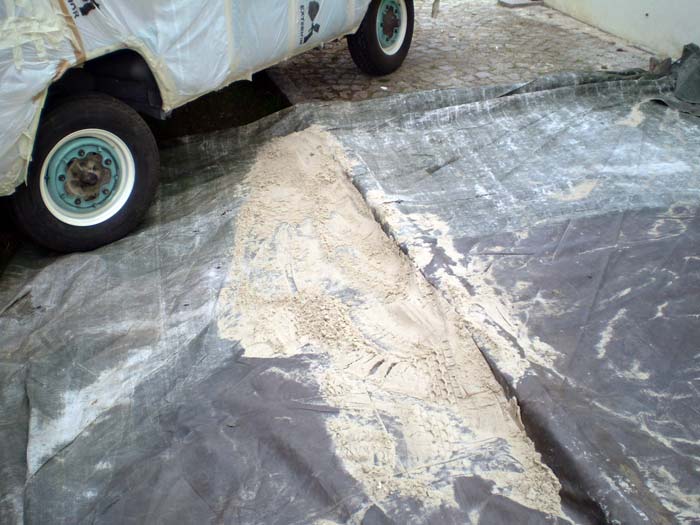
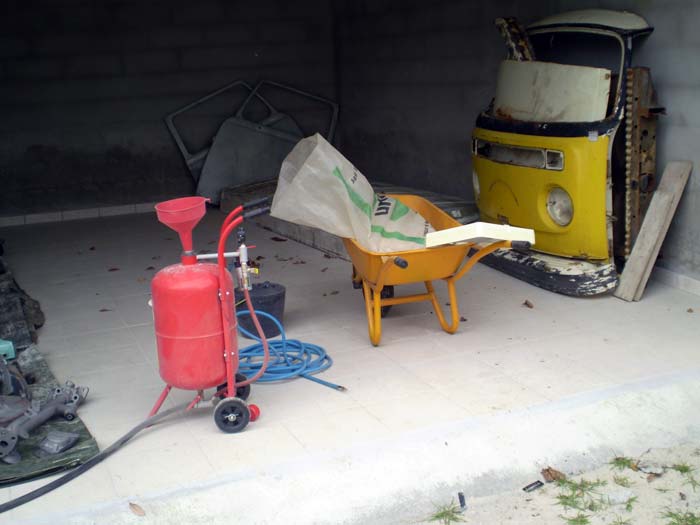
but first let me say that I did in fact use that vacuum cleaner I showed in some previous pictures... but that was not the best choice because the sand was sucked so hard it cuted up the bag and some got inside the engine ...
The best is to use a vacuum cleaner with water as a filter...
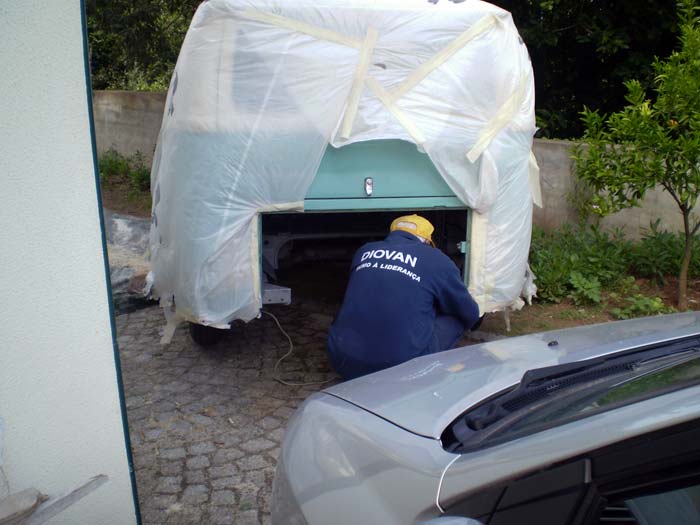
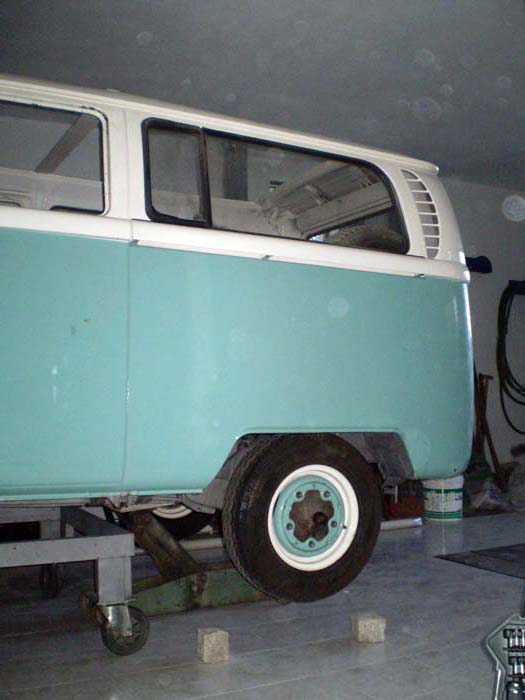
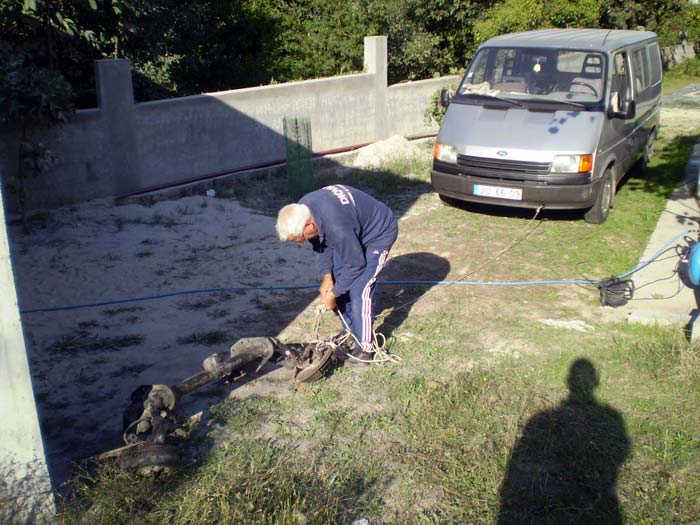
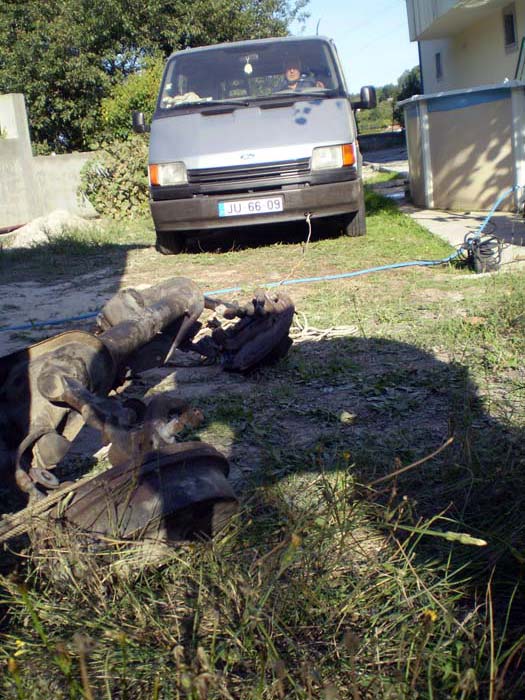
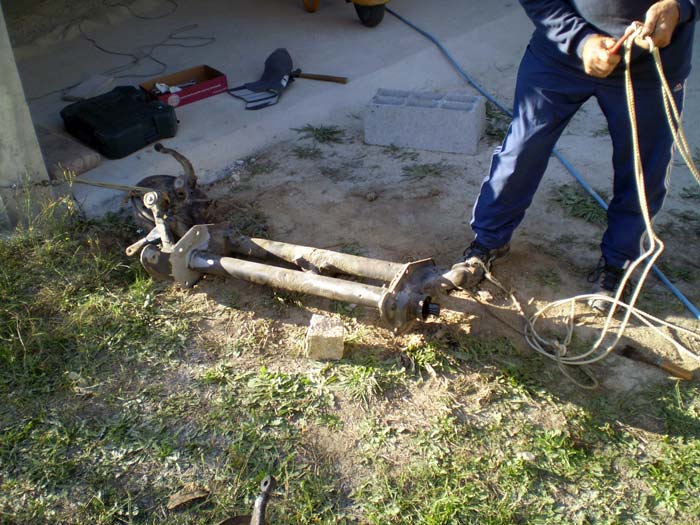
after assembling both suspensions I went back to the first garage, where my father was to ask for his help to remove the bus from the "bunker" :mrgreen:
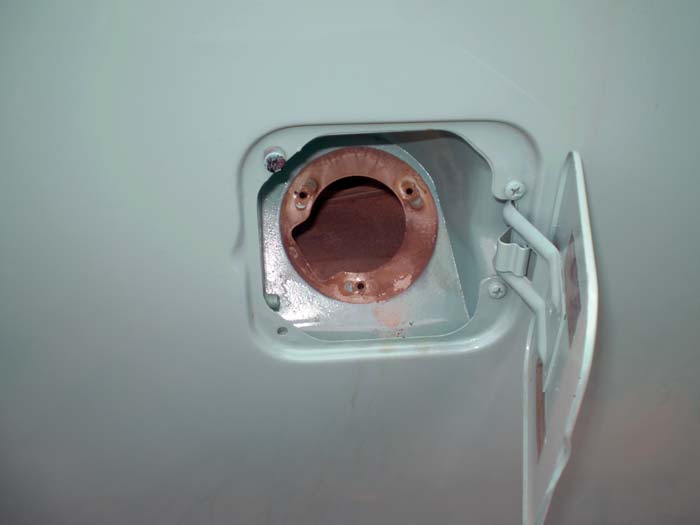
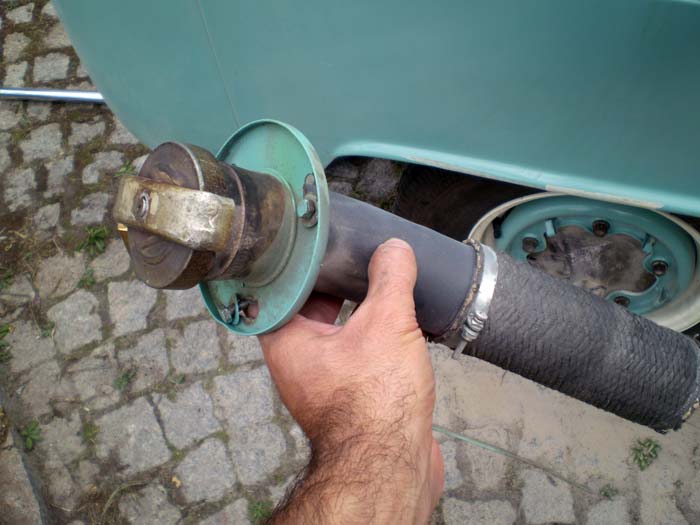
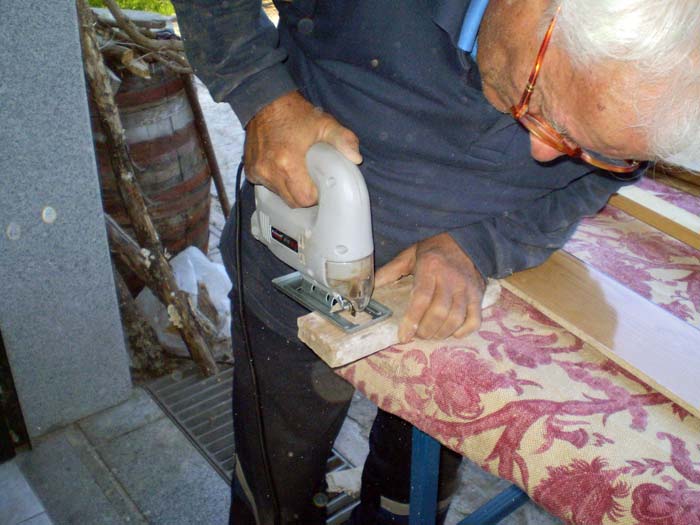
When I got there I realized he was making the second cast for the other water tank:
... and with his help I managed to take the bus out....
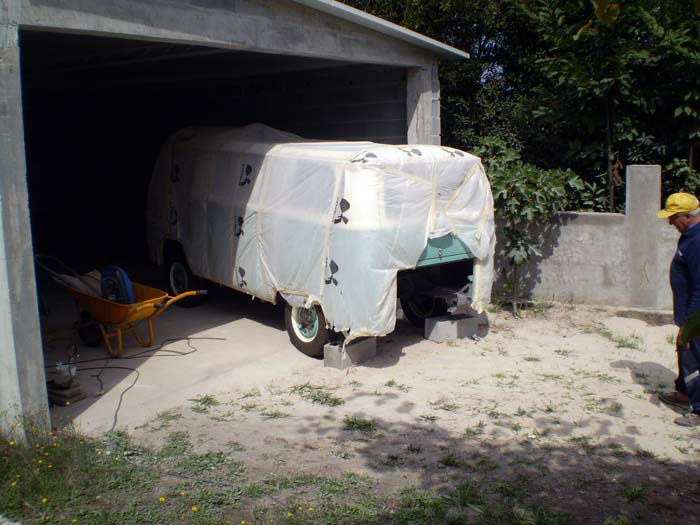
... but it was not easy to get over this rebound...
... not even with a ramp made of sand....
... so, some more help...
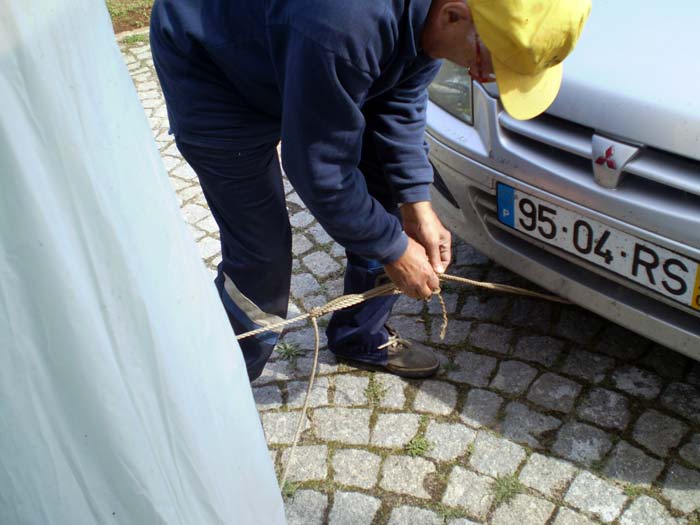
... until finally....
gninnam, so here're some more :mrgreen:
but first let me say that I did in fact use that vacuum cleaner I showed in some previous pictures... but that was not the best choice because the sand was sucked so hard it cuted up the bag and some got inside the engine ...
The best is to use a vacuum cleaner with water as a filter...
after assembling both suspensions I went back to the first garage, where my father was to ask for his help to remove the bus from the "bunker" :mrgreen:
When I got there I realized he was making the second cast for the other water tank:
... and with his help I managed to take the bus out....
... but it was not easy to get over this rebound...
... not even with a ramp made of sand....
... so, some more help...
... until finally....
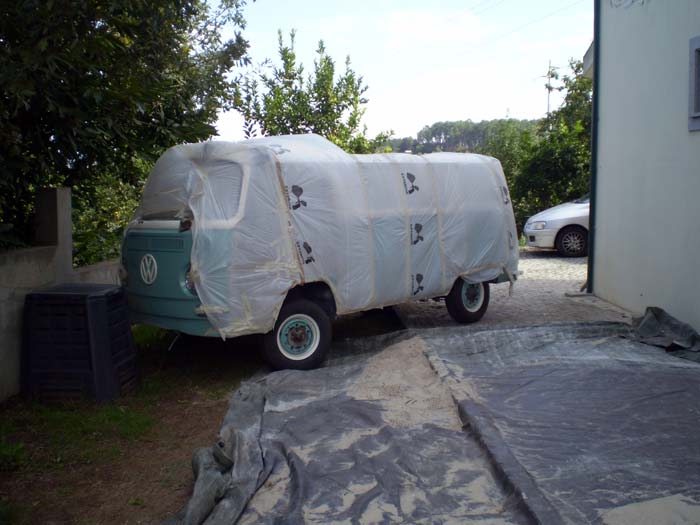
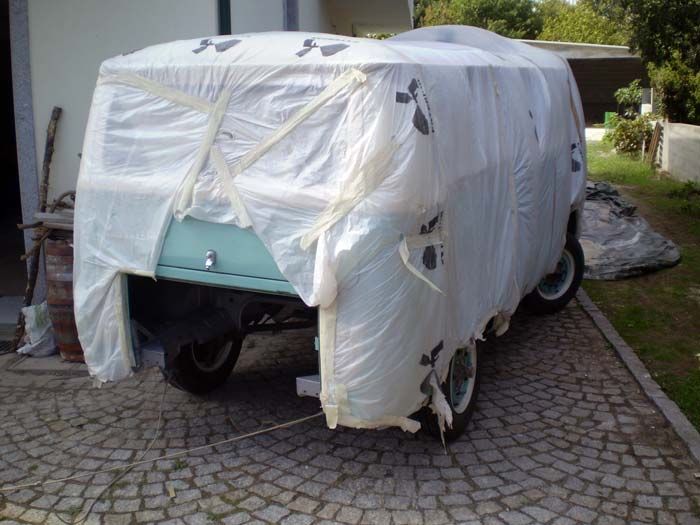
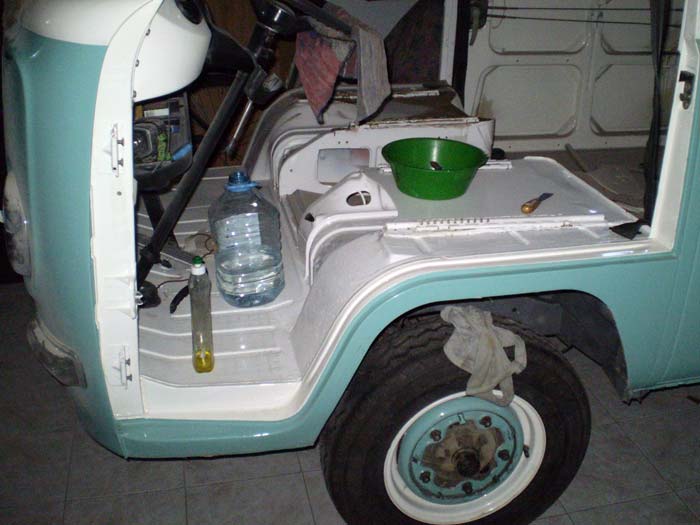
the plastics I used to cover the bus were full of dust and sand....
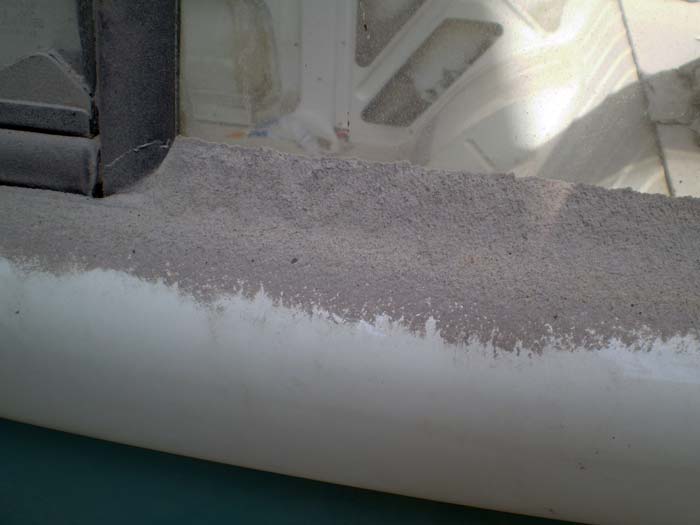
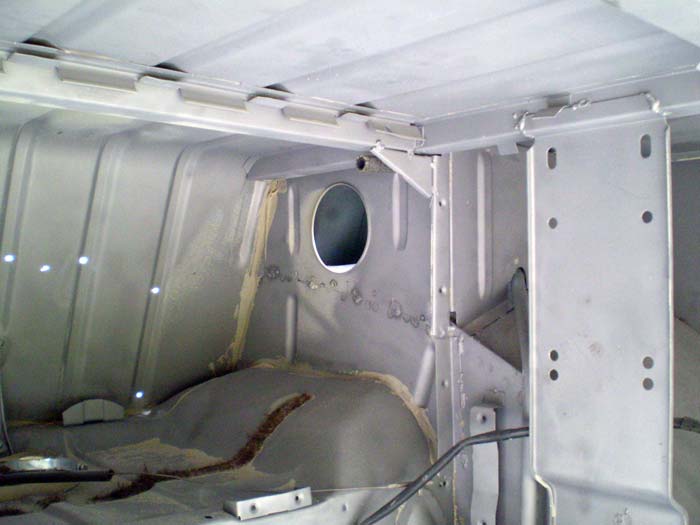
... and inside, a lot more everywhere...
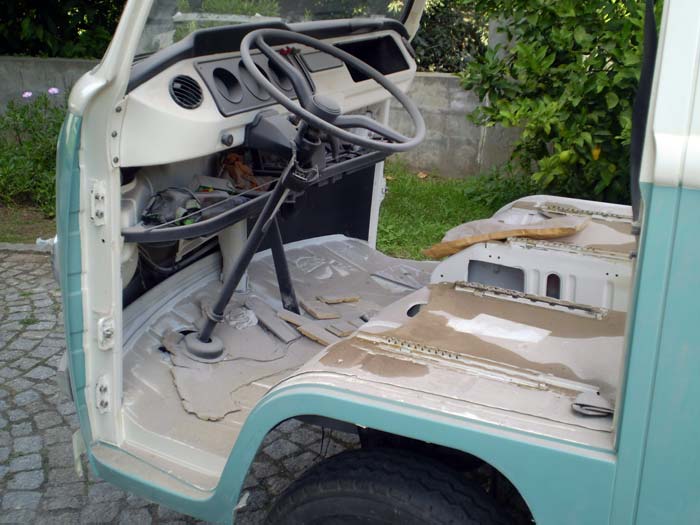
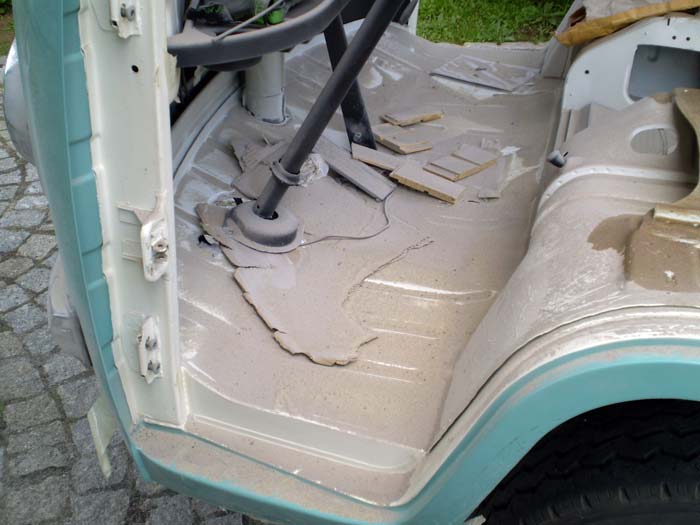
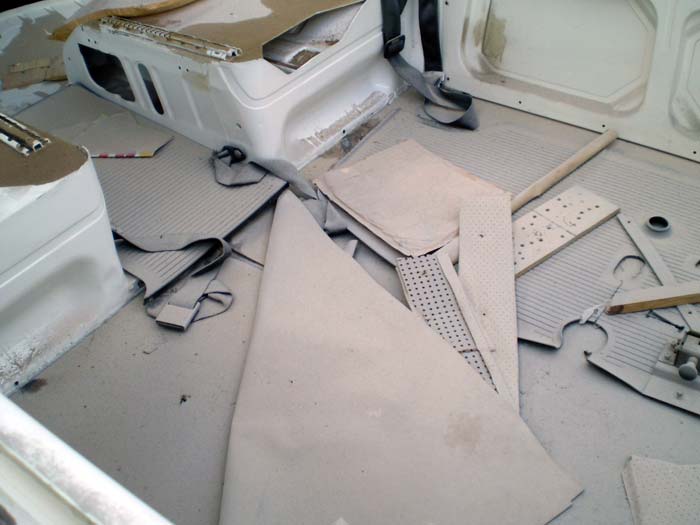
... so I spent some more hours cleaning it. I also had to remove some more parts, so I could clean it better...
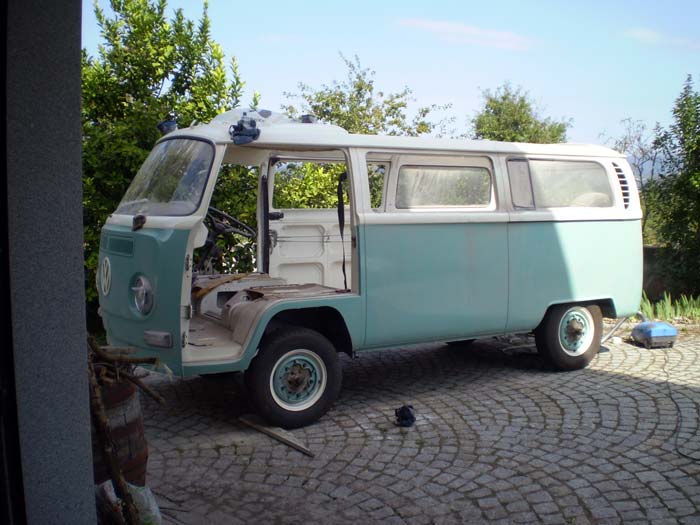
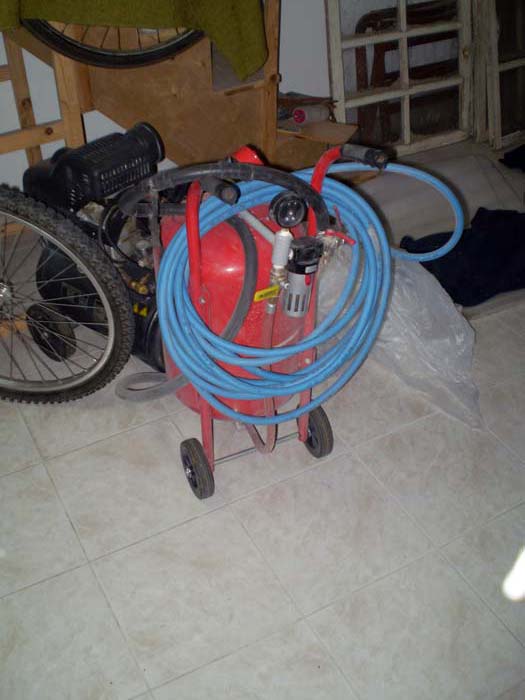
... and finally I used the water pressure machine...
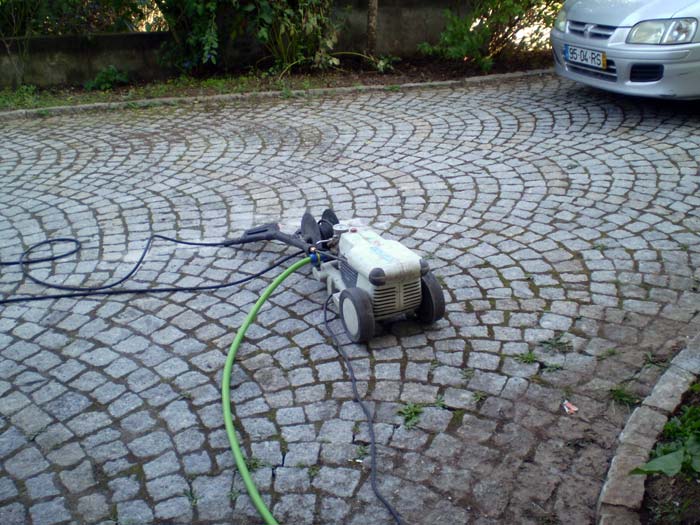
... and already washed and drying in the sun....
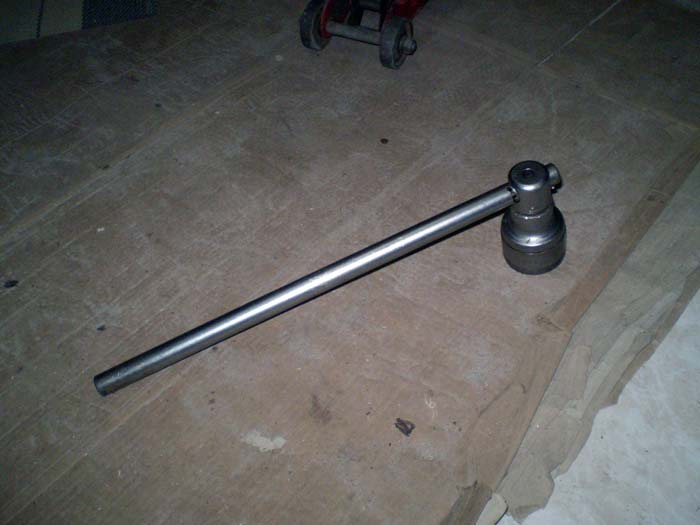
... in the meantime we went to borrow a tool I needed....
... and inside, a lot more everywhere...
... so I spent some more hours cleaning it. I also had to remove some more parts, so I could clean it better...
... and finally I used the water pressure machine...
... and already washed and drying in the sun....
... in the meantime we went to borrow a tool I needed....
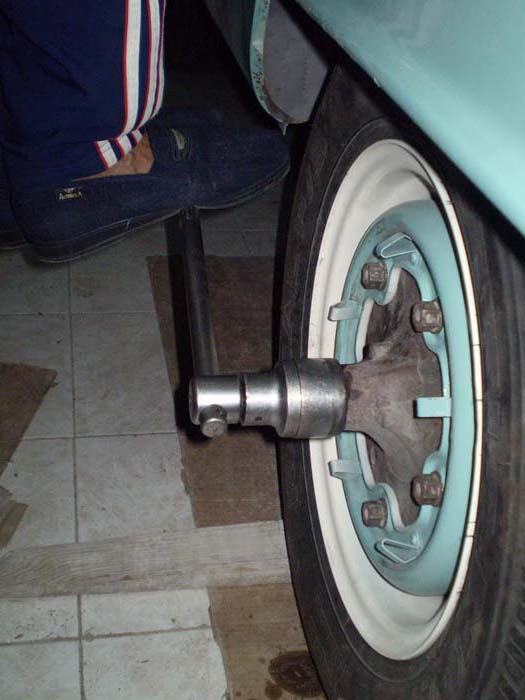
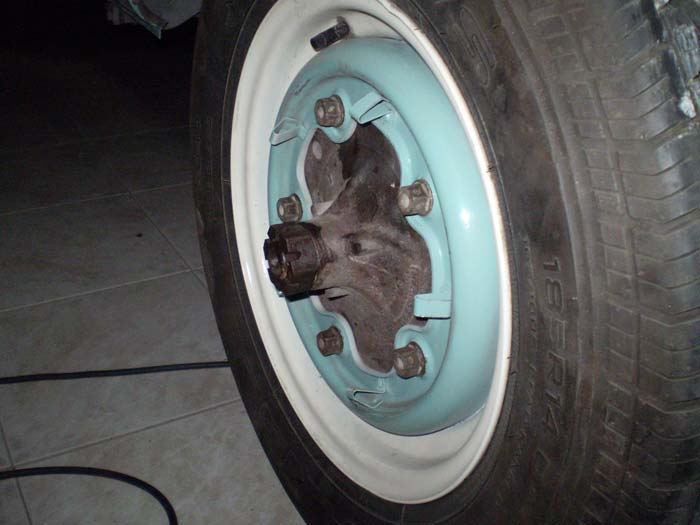
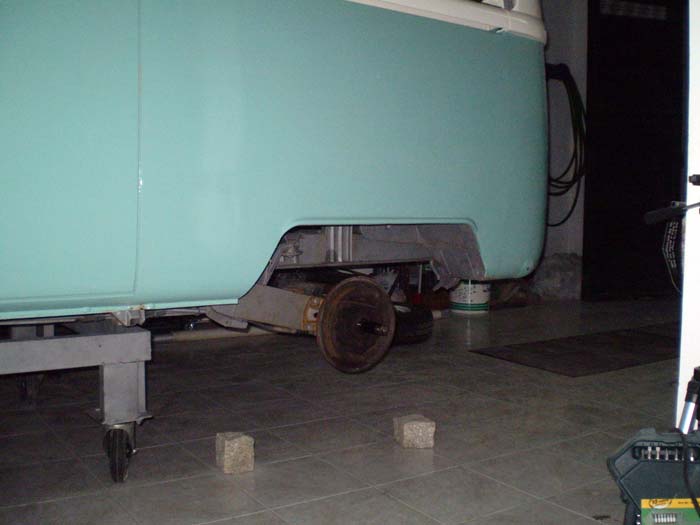
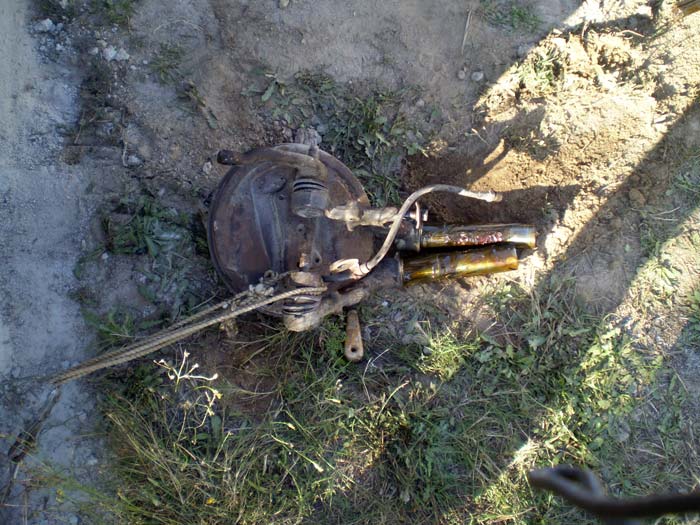
so, with the tool I needed, we managed to remove the large nut from the rear brake drums....
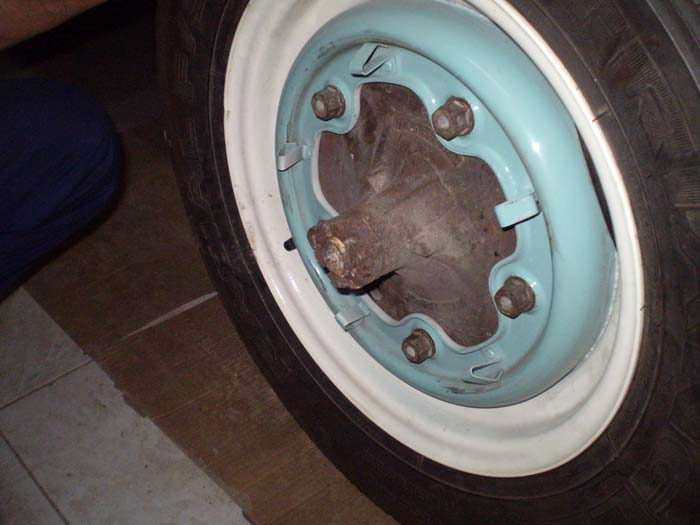
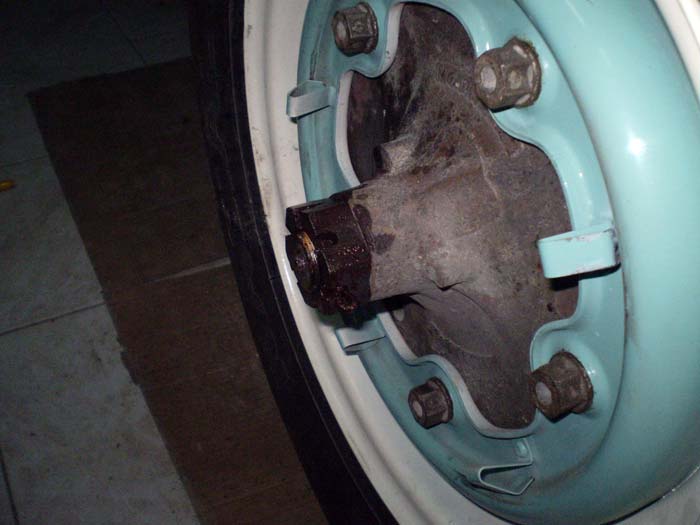
... really big :mrgreen: ...
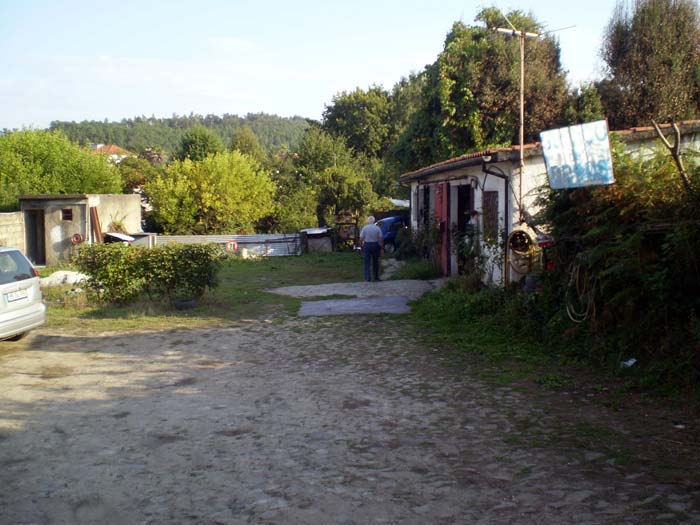
Next day morning we went back to the return the tool....
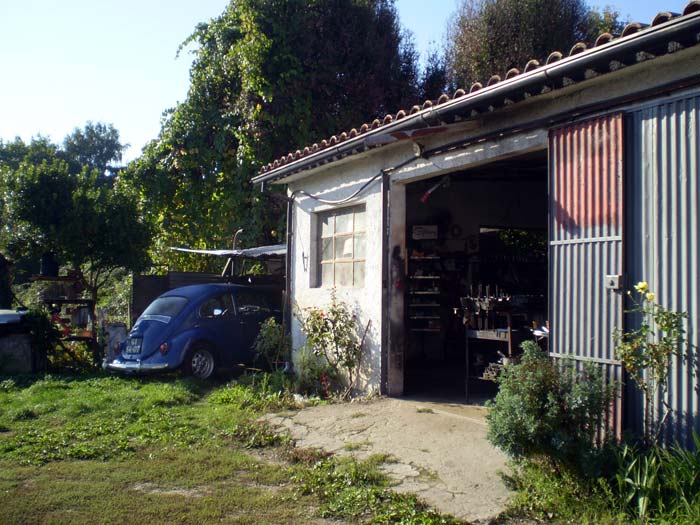
In here, you've everything you need for your VW :mrgreen: ...
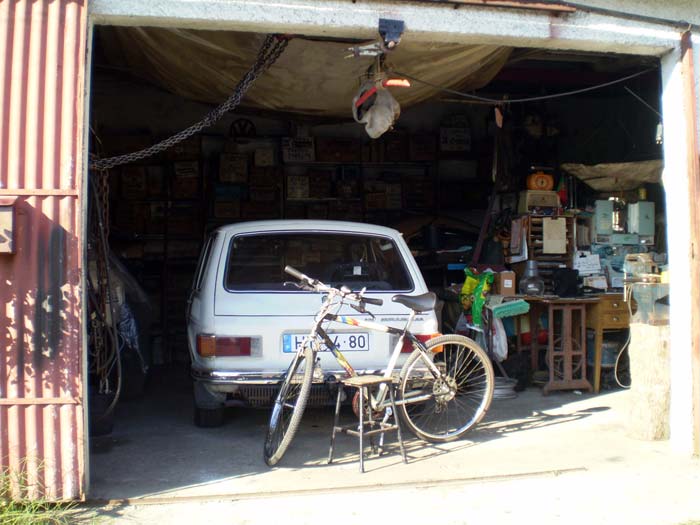
If anyone visiting this region of Portugal brakes down, this is the man to call for help :mrgreen: .
... really big :mrgreen: ...
Next day morning we went back to the return the tool....
In here, you've everything you need for your VW :mrgreen: ...
If anyone visiting this region of Portugal brakes down, this is the man to call for help :mrgreen: .
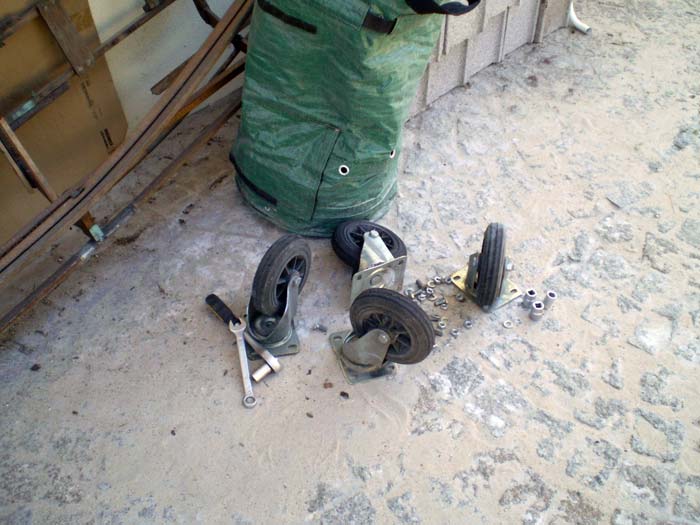
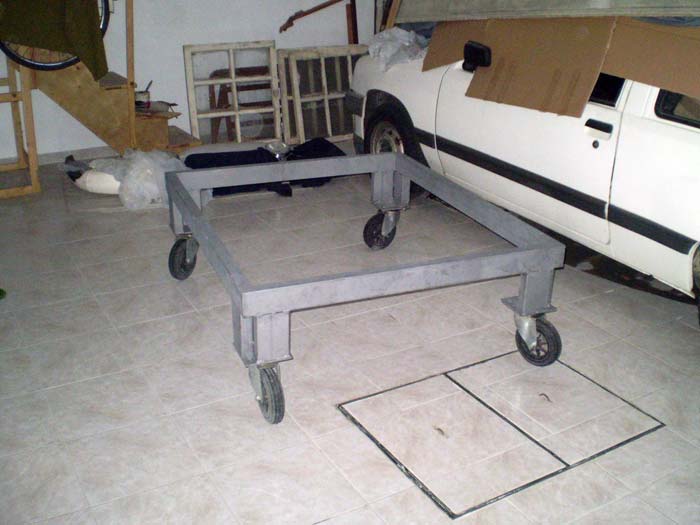
Next day morning, the bus was a litle more cleaned....
and next, I went to clean my new dolly...
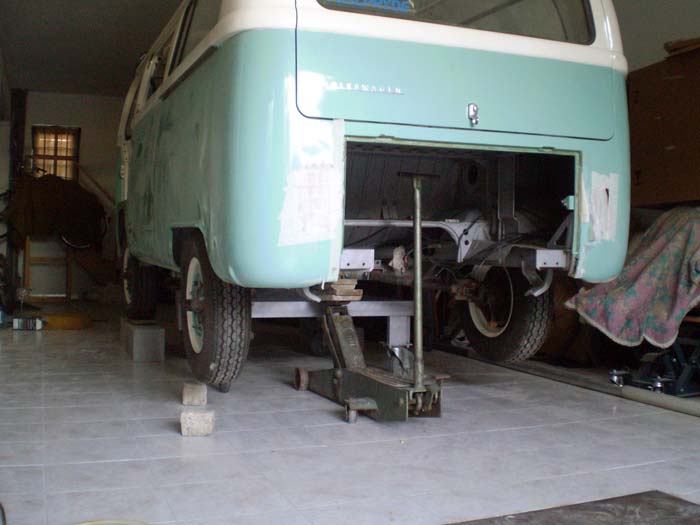
... once more I needed to borrow another tool :mrgreen: . This time a really big hydraulic jack...
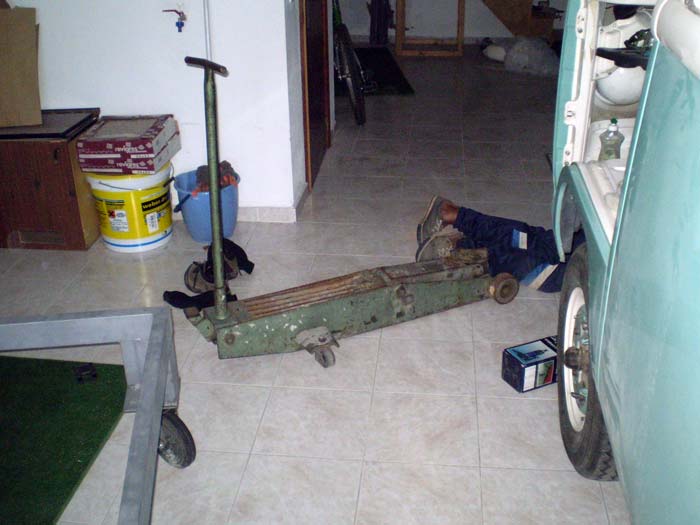
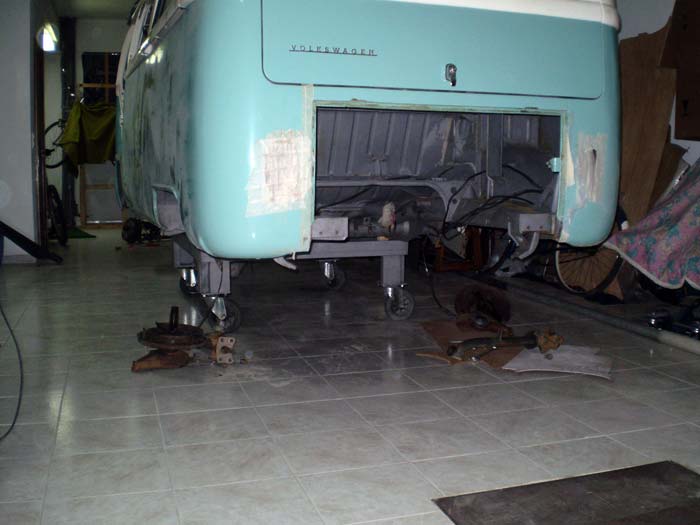
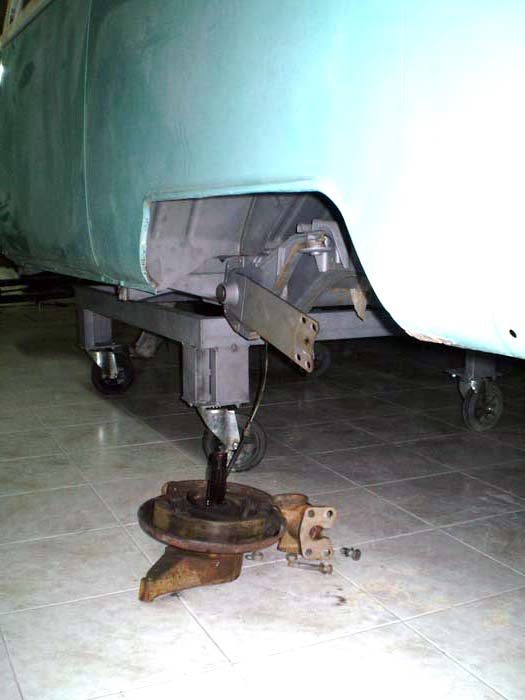
...and with it, I lifted the bus ....
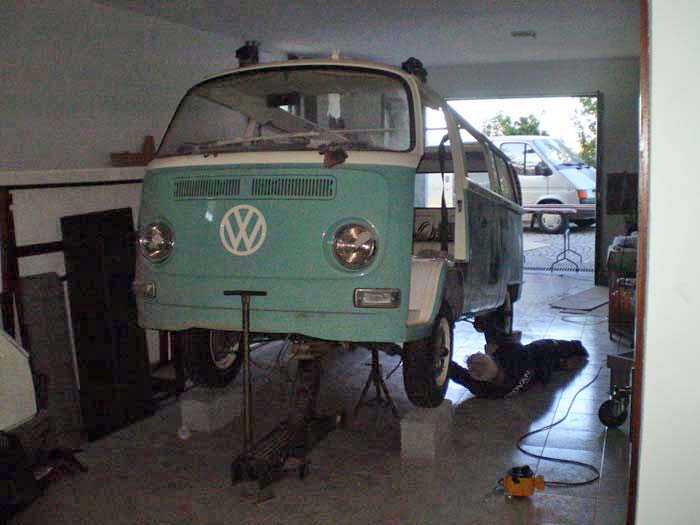
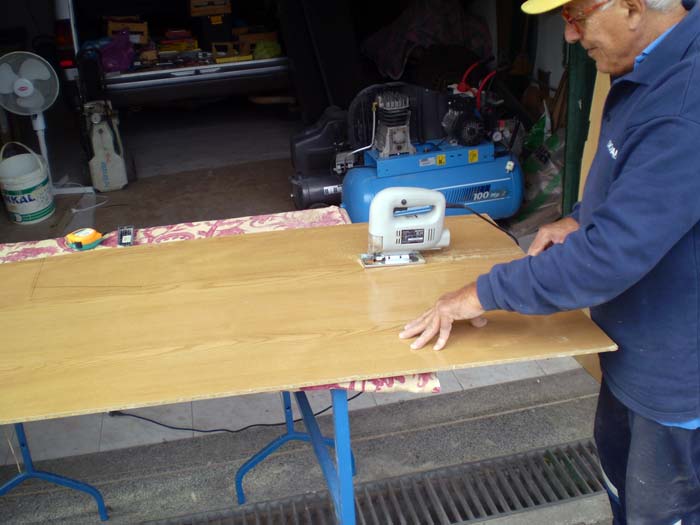
In the meantime it was necessary to cut some pieces of wood....
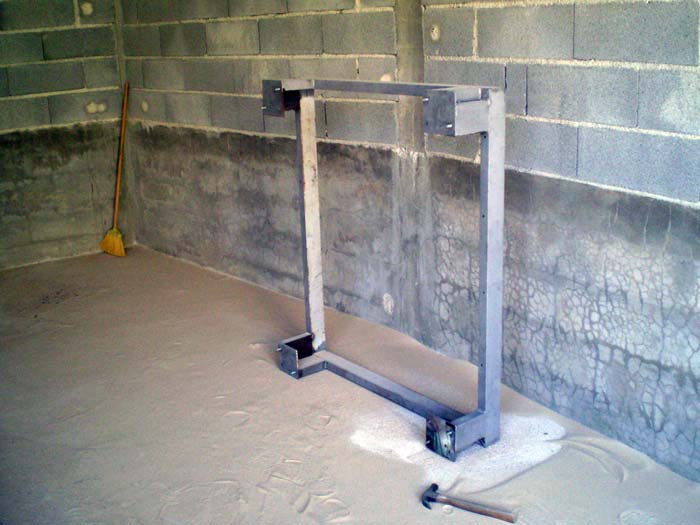
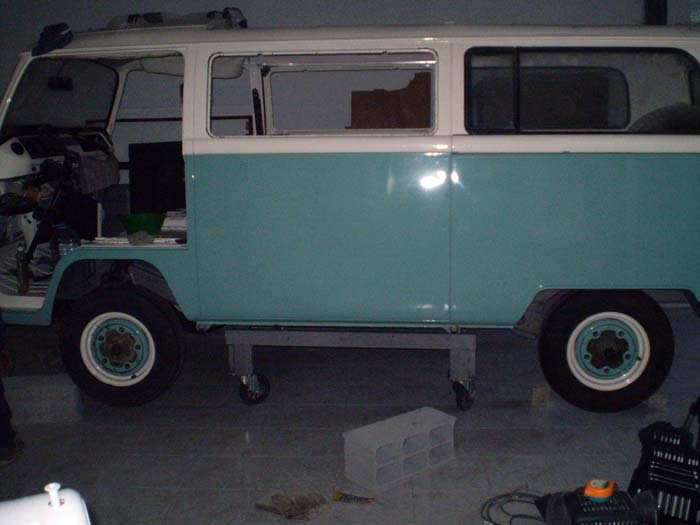
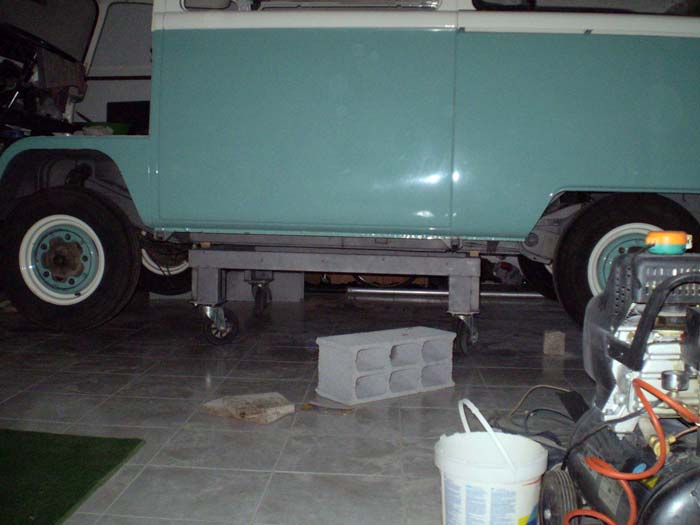
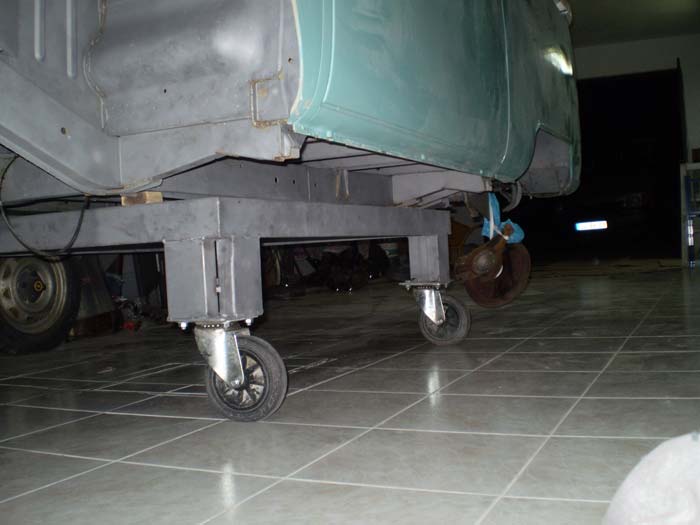
... and with the dolly in place....
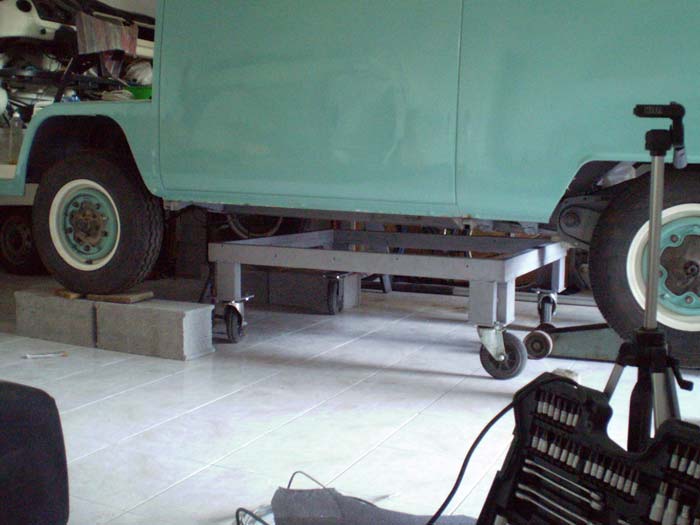
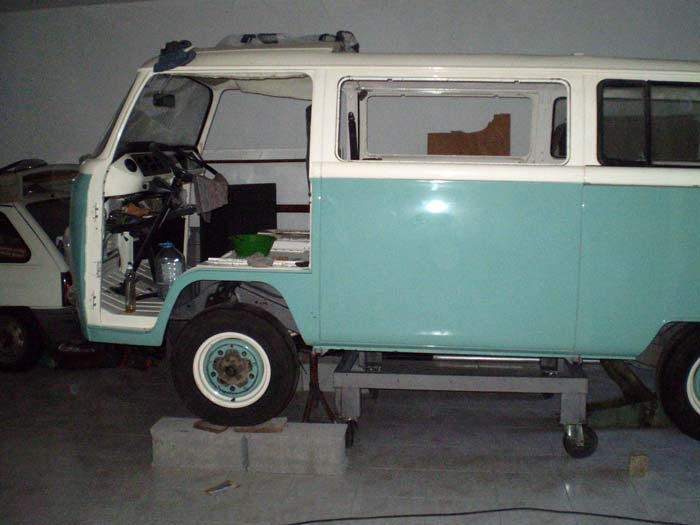
(last minute modifications :mrgreen: )

and already siting on it....
and next, I went to clean my new dolly...
... once more I needed to borrow another tool :mrgreen: . This time a really big hydraulic jack...
...and with it, I lifted the bus ....
In the meantime it was necessary to cut some pieces of wood....
... and with the dolly in place....
(last minute modifications :mrgreen: )
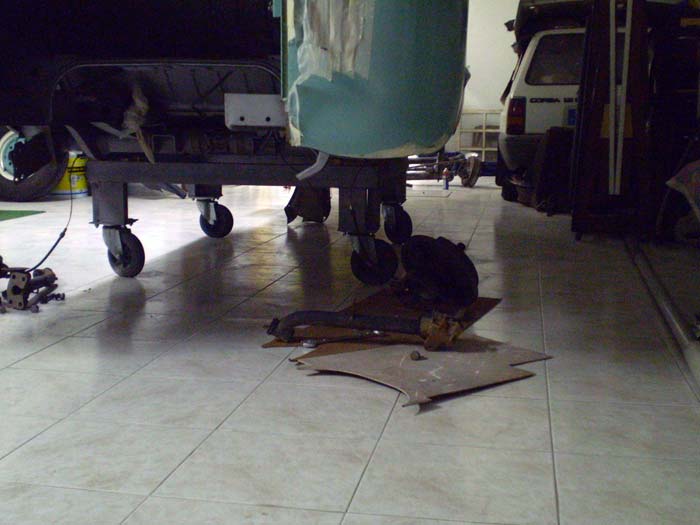
and already siting on it....
and once more :mrgreen:
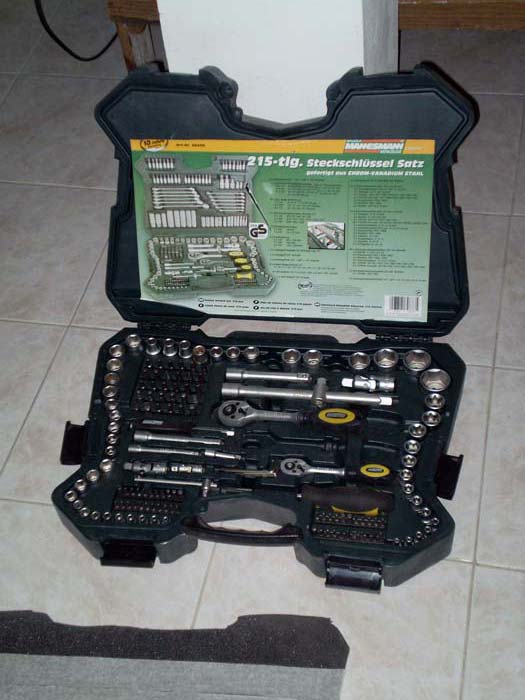
and with the help of a good tools box (this time not borrowed :mrgreen: ) ....
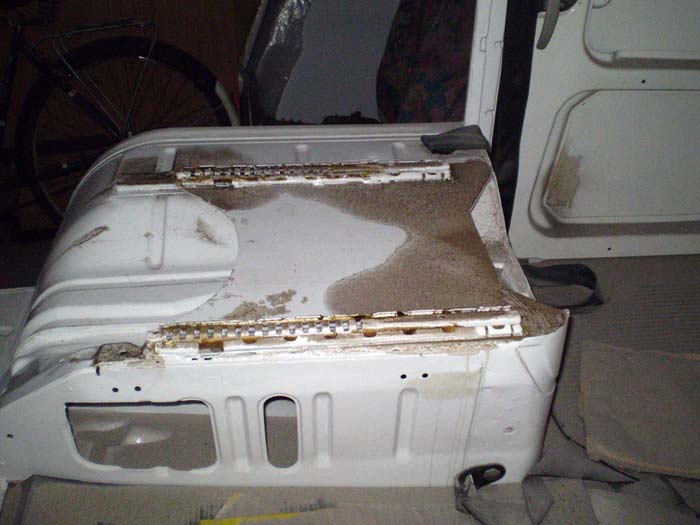
... the bus became lighter...
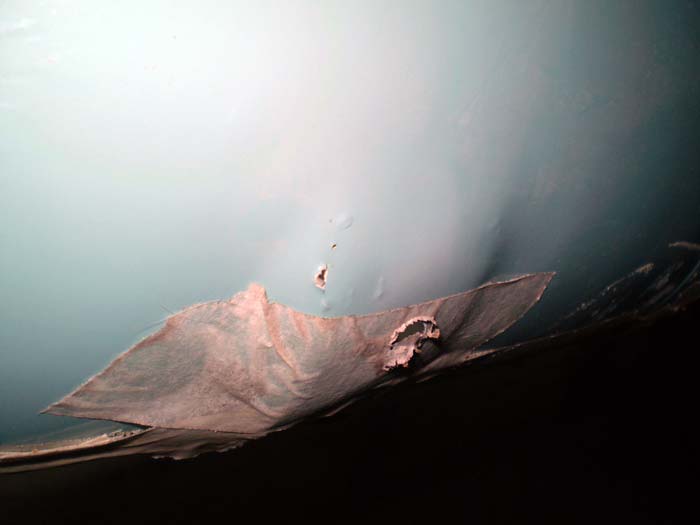
... and some more rust problems that appeared while I was sandblasting underneath it :| ...
and with the help of a good tools box (this time not borrowed :mrgreen: ) ....
... the bus became lighter...
... and some more rust problems that appeared while I was sandblasting underneath it :| ...


$10.00
Volkswagen Genuine VW Driver Gear VW Logo Specifications T-Shirt Tee - X-Large - Black
wolframitersqga


$9.37
Empi 4429 Ivory Sun Visor Clips for Vw Bug 1965-1967/ Vw Bus 1968-1979, Pair
MOORE PARTS SOURCE

$7.94
$15.05
Door Panel Clips, for VW Aircooled Door Panels, 50 Pieces, Compatible with Dune Buggy
Appletree Automotive


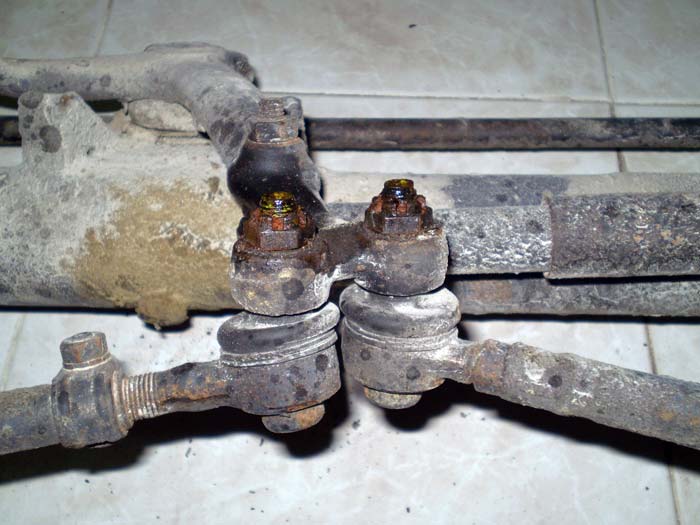
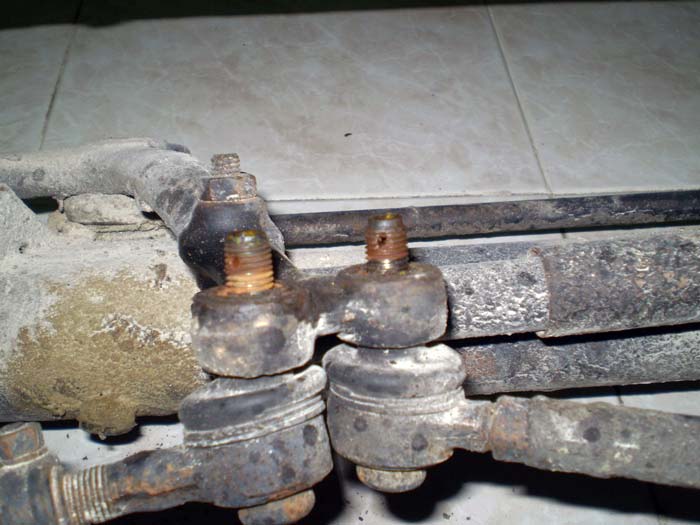
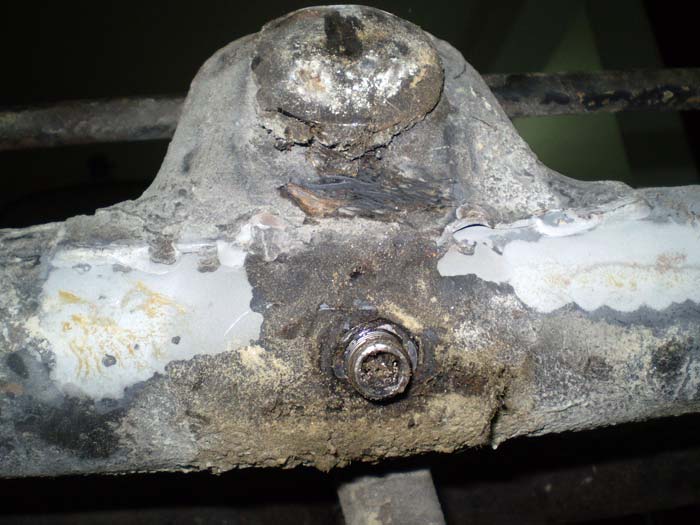

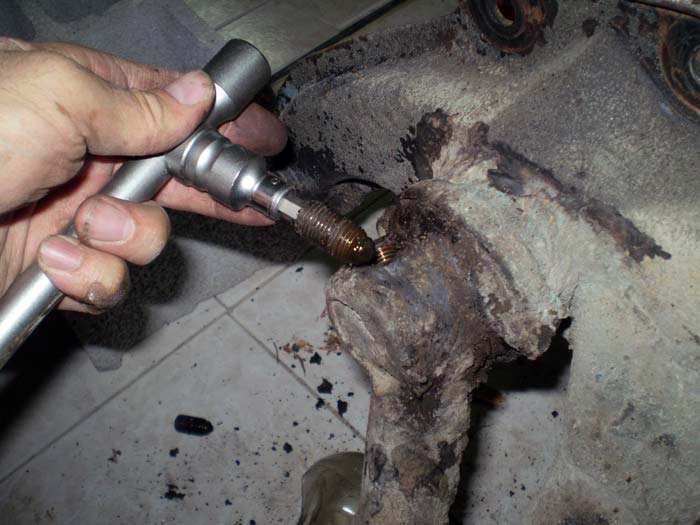
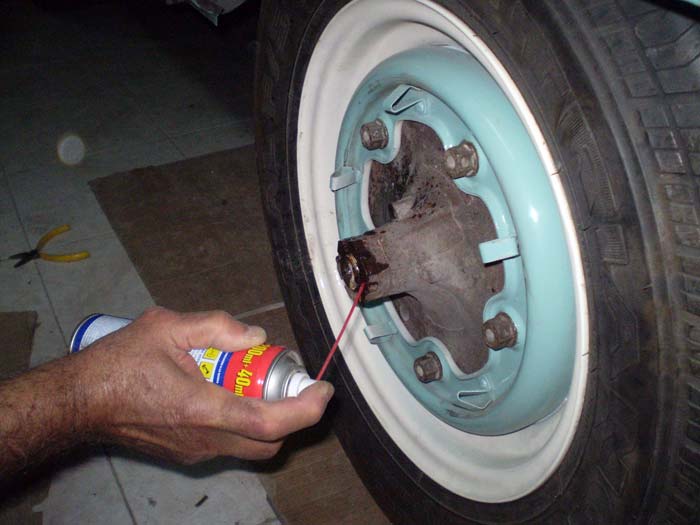
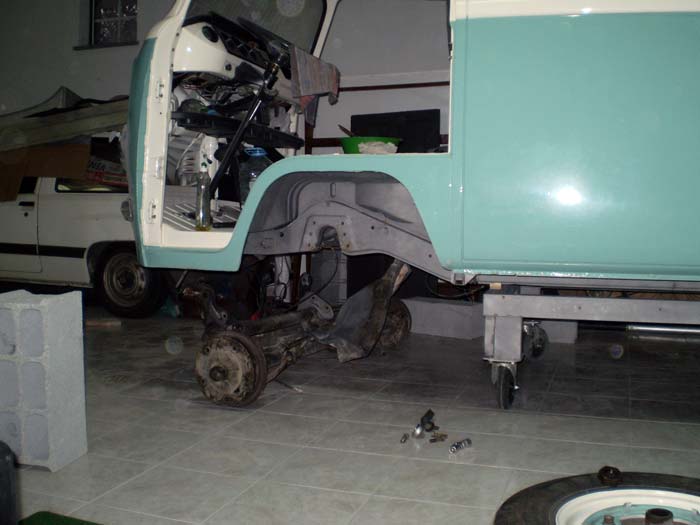
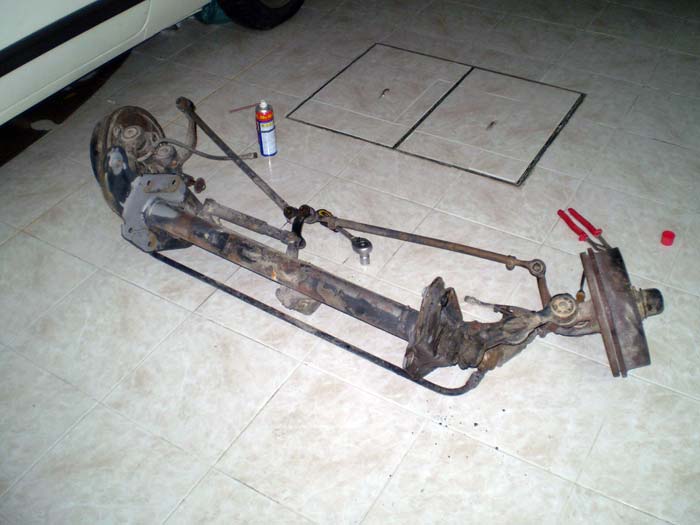
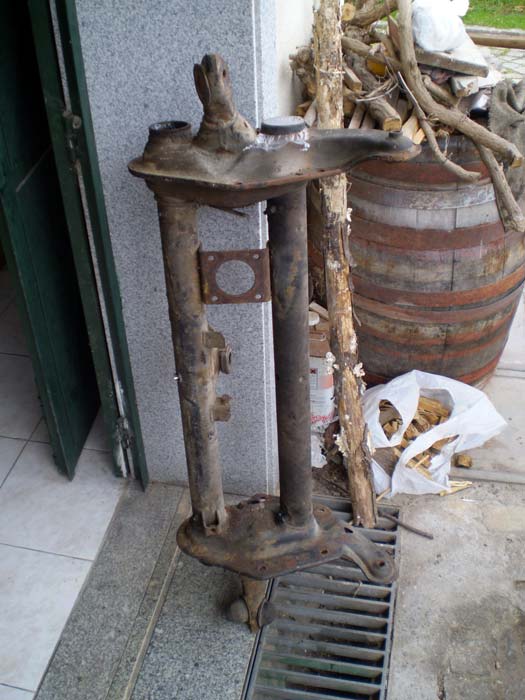
next day morning... some more parts to remove from the front suspension:
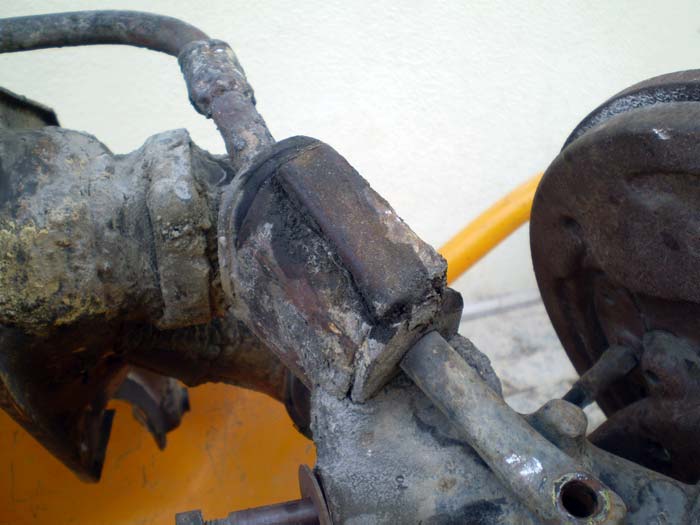
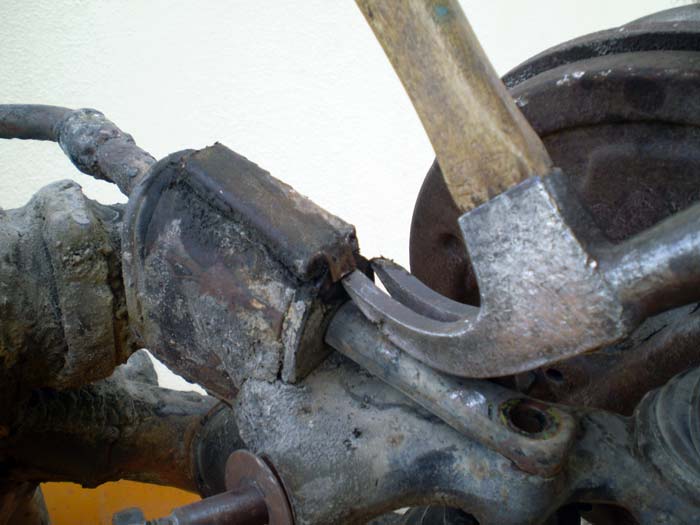
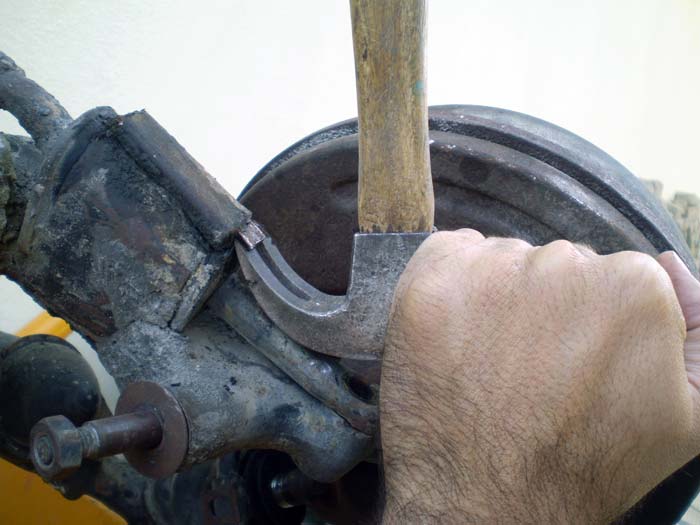
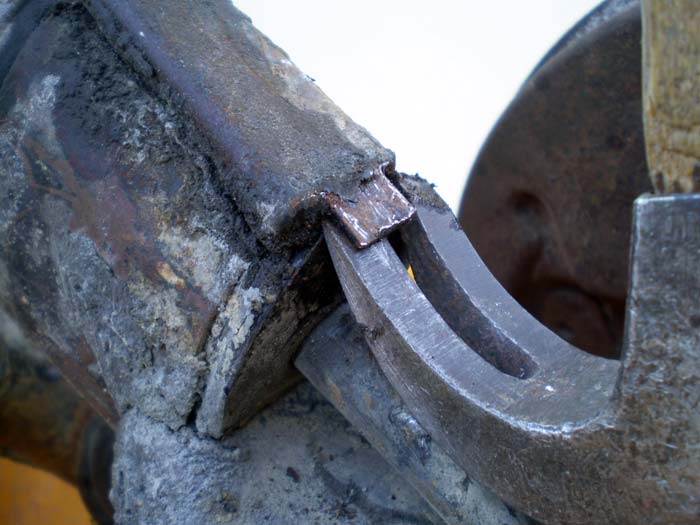
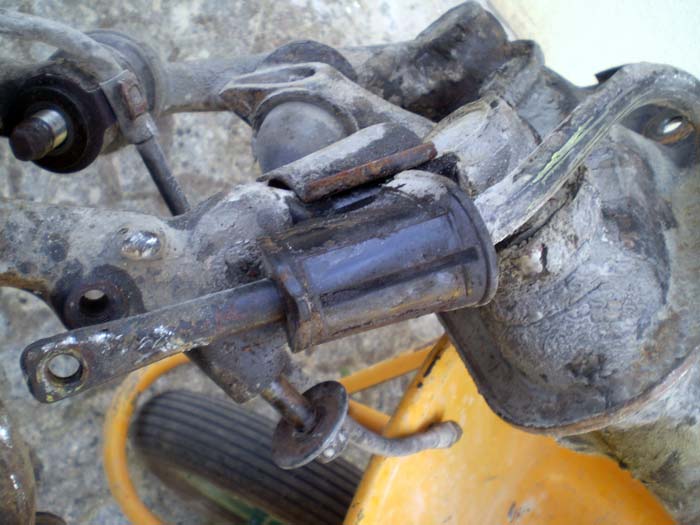
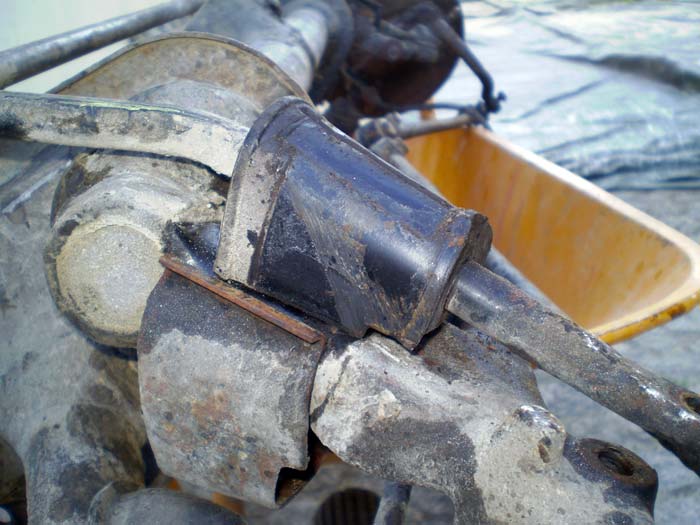
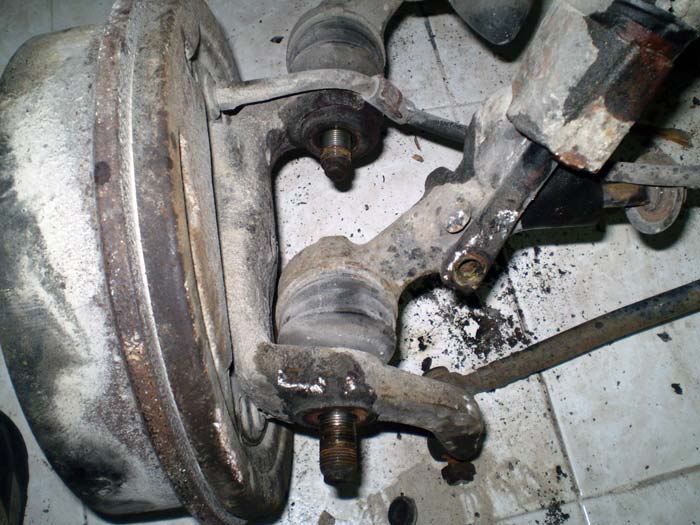
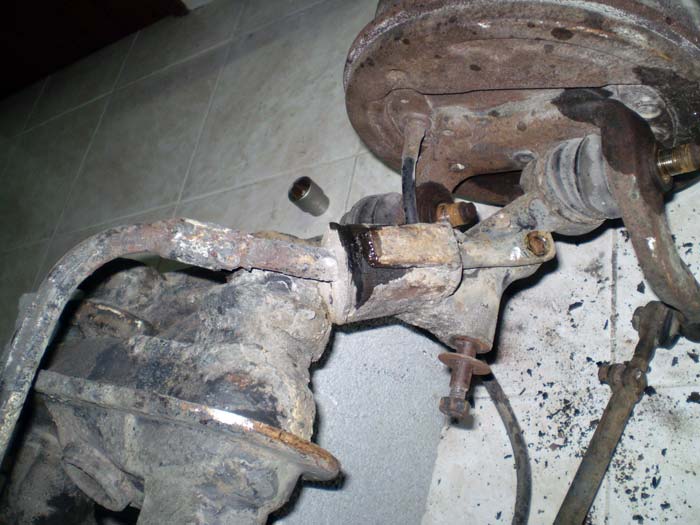
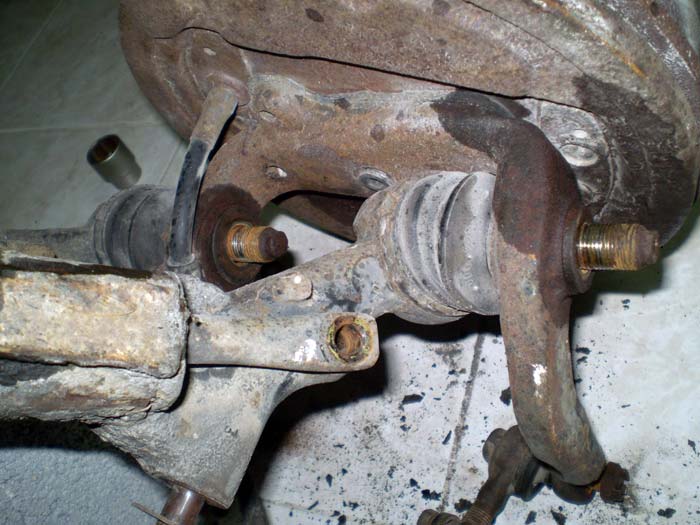
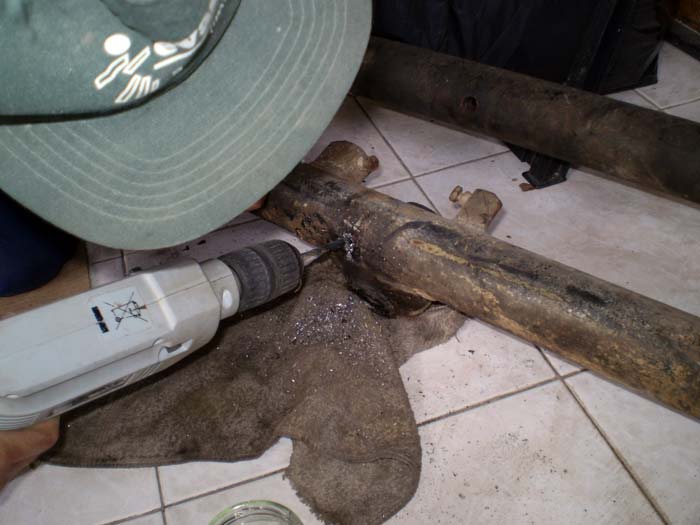
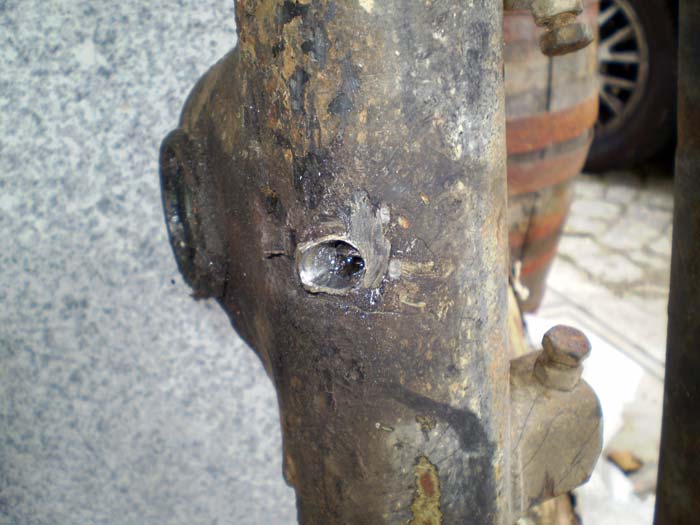
... and it was time to remove the spindles...
... but I had to return to Lisbon that same day, so I choosed a faster method for removing them:
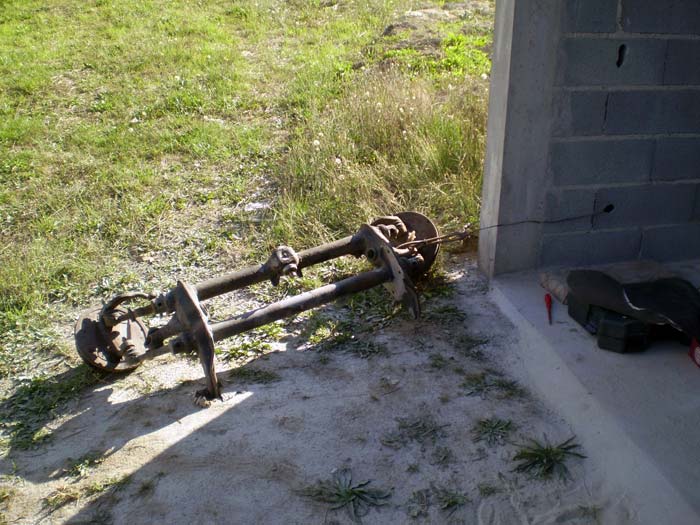
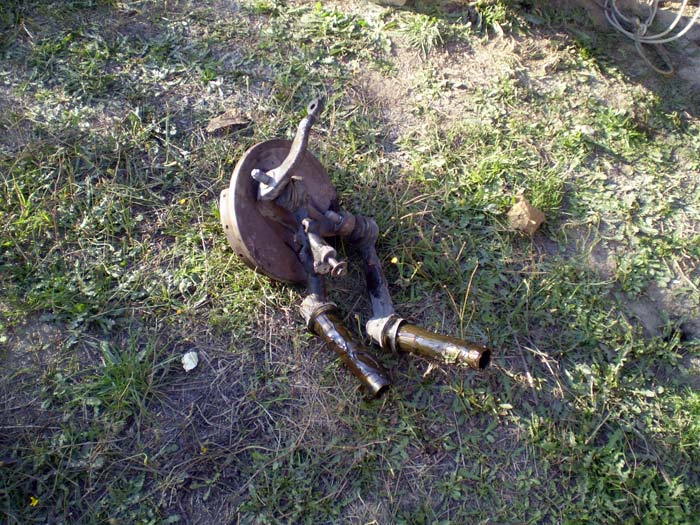
... not the best, I know....
:mrgreen:
... and it was time to remove the spindles...
... but I had to return to Lisbon that same day, so I choosed a faster method for removing them:
... not the best, I know....
:mrgreen:
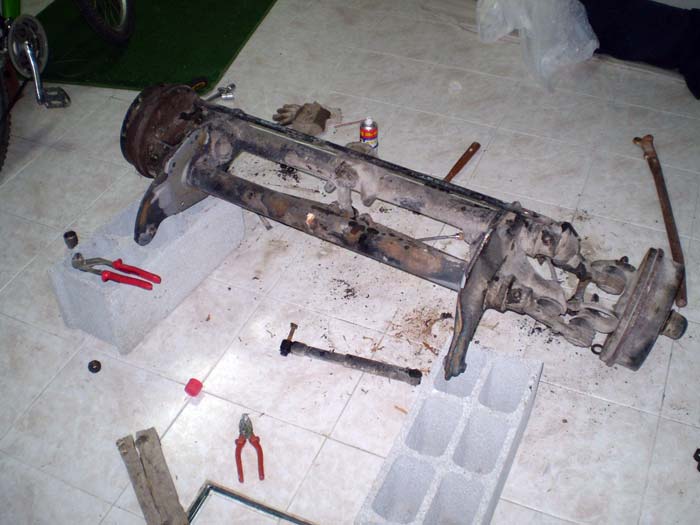
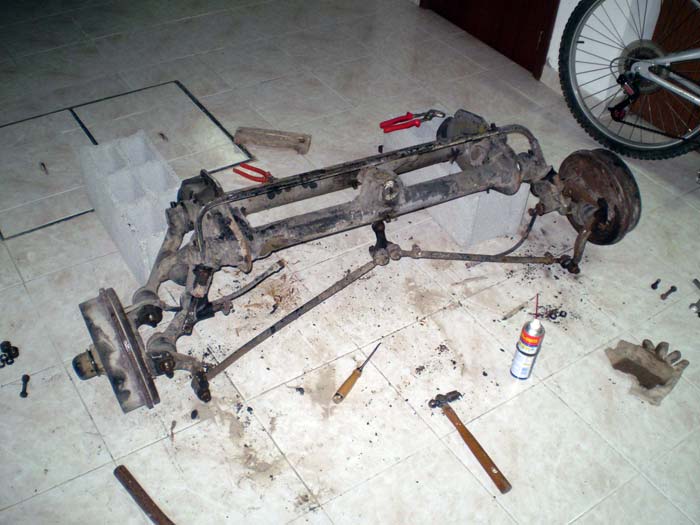
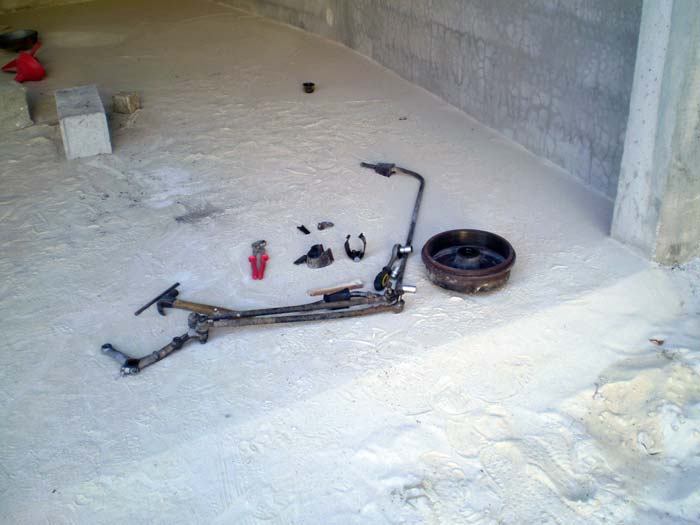
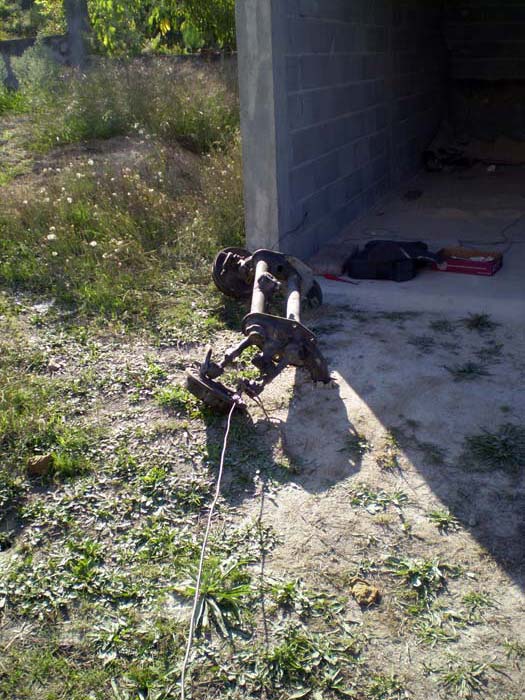
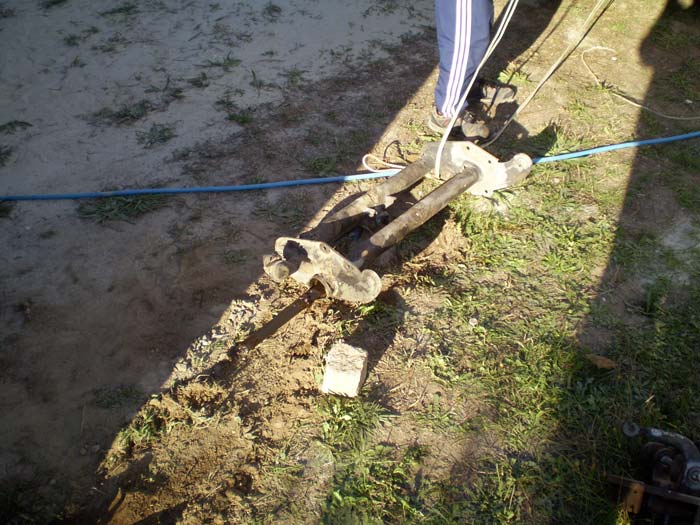
It was time to return to Lisbon so I left the front axle under my parts warehouse....

... and left the sandblaster rest for a couple of weeks....
... and the bus on top of the new dolly ....
gninnam... a lot more still to come :mrgreen:
... and left the sandblaster rest for a couple of weeks....
... and the bus on top of the new dolly ....
gninnam... a lot more still to come :mrgreen:
joaonar said:gninnam... a lot more still to come :mrgreen:
You are spoiling me

Like the dolly you made 8)
G
Guest
Guest
still lovin it.
mychatype3
Well-known member
I'm loving this.
Keep up the good work and the nice photo's.
Kind regards from the netherlands.
Mycha
Keep up the good work and the nice photo's.
Kind regards from the netherlands.
Mycha
dubscum
Well-known member
very detailed thread, i am enjoying it a lot
:mrgreen: ....gninnam said:You are spoiling me
Like the dolly you made 8)
thanks....
Johnny: thanks... but the funniest part is still to come :mrgreen:
mychatype3: thanks... I just hope to feel the same you do when you look to the underside of your bus
dubscum: Thanks a lot... I really love your bus... There're so many wonderful threads in here. I will need a couple of months just to read them all :mrgreen:
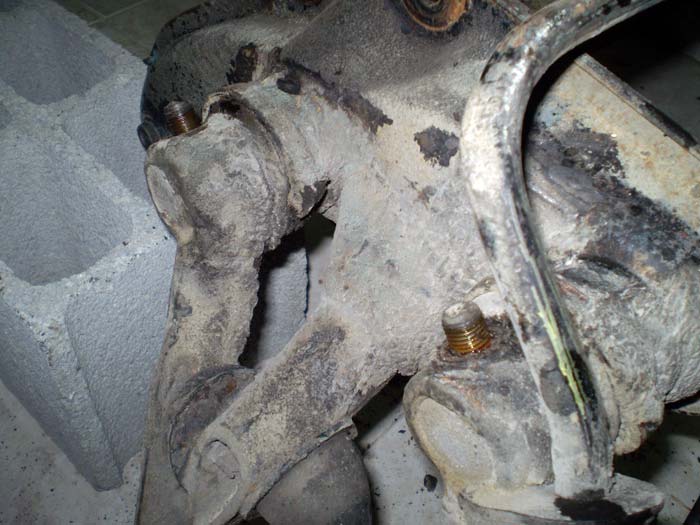
a few weeks later I got back to the city of Viseu. There was still a lot more to do....
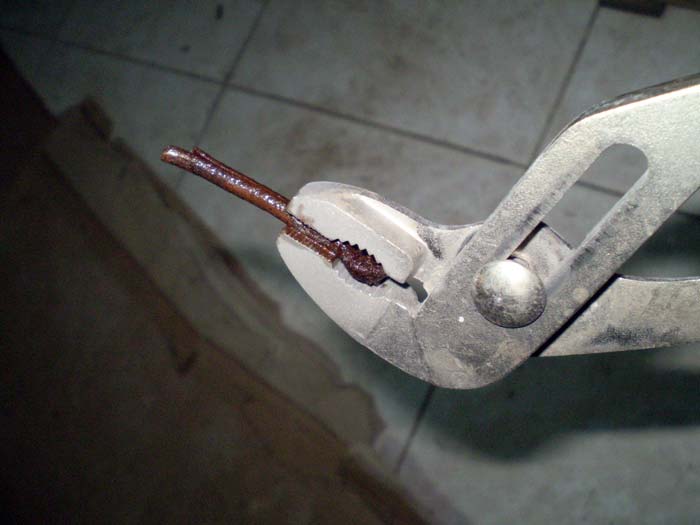
First we tried to remove the only screw left on the westy's front axle...
... but we didn't manage to remove. I will try to remove it later....
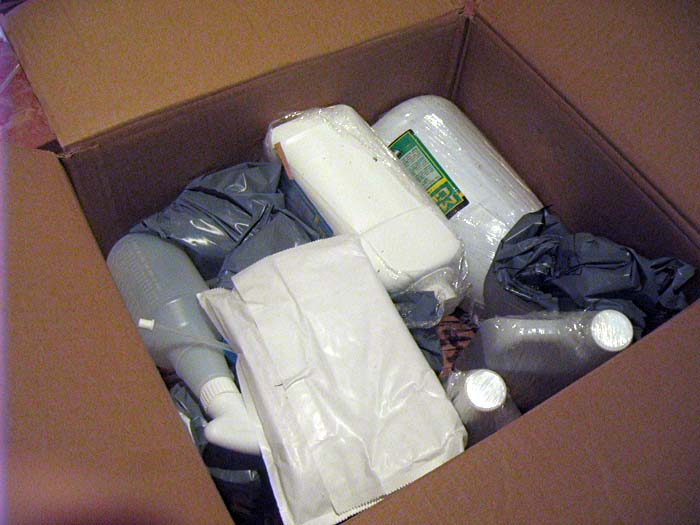
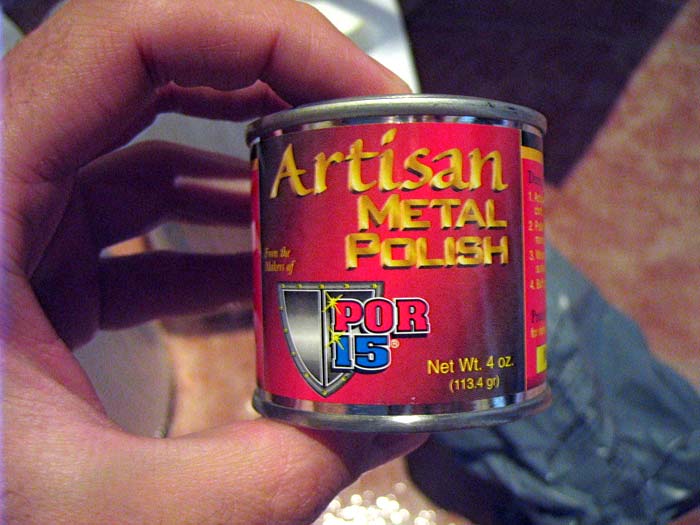
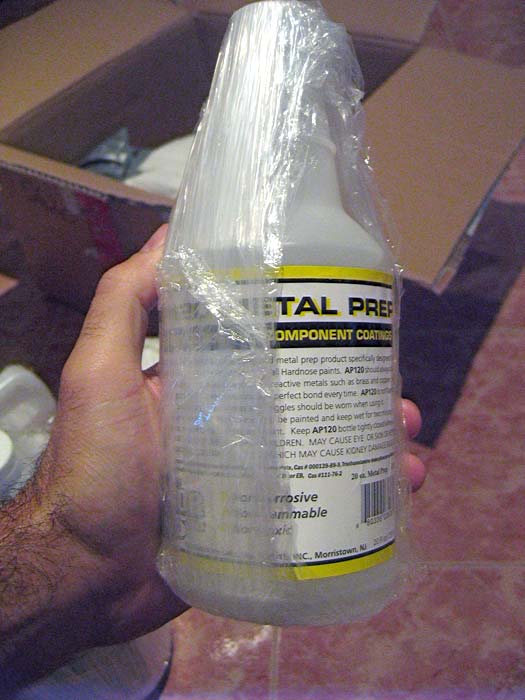
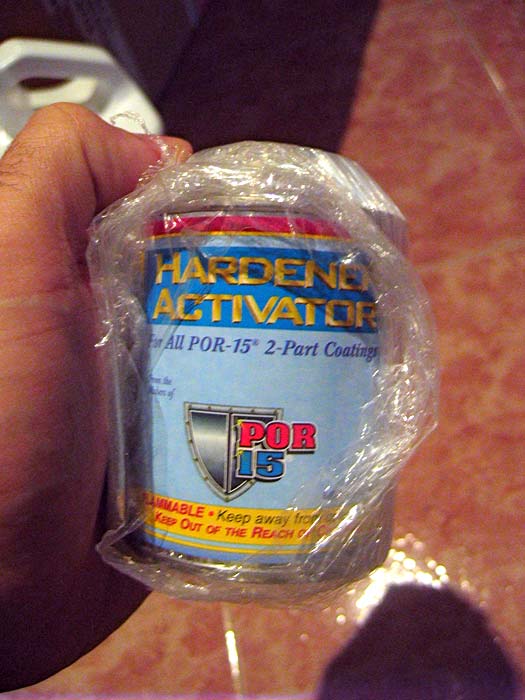
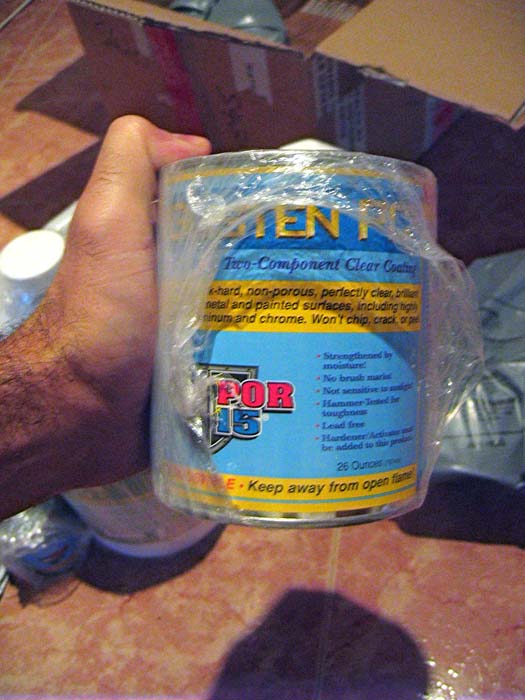
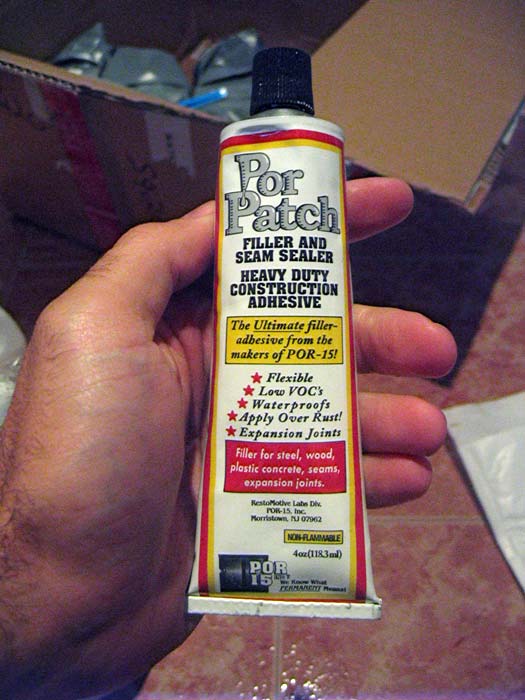
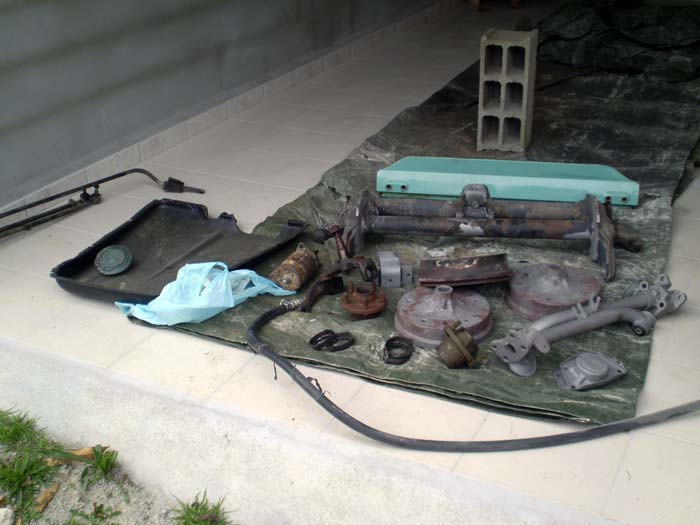
So, I prepared myself to start sandblasting these parts:
First we tried to remove the only screw left on the westy's front axle...
... but we didn't manage to remove. I will try to remove it later....
So, I prepared myself to start sandblasting these parts:
T2-Nate
Well-known member
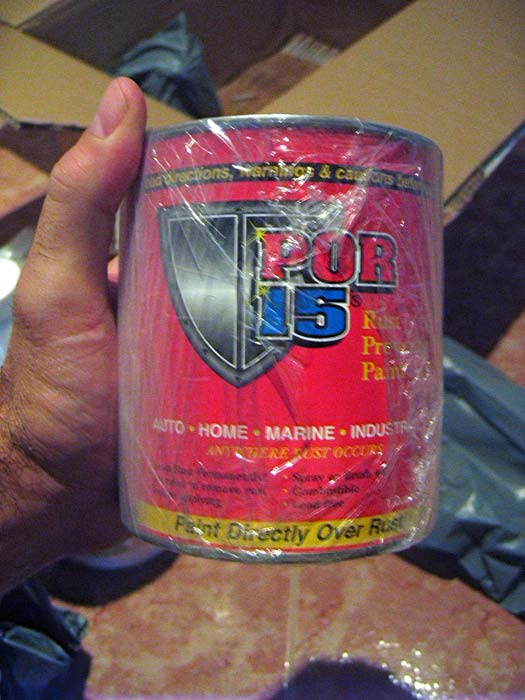
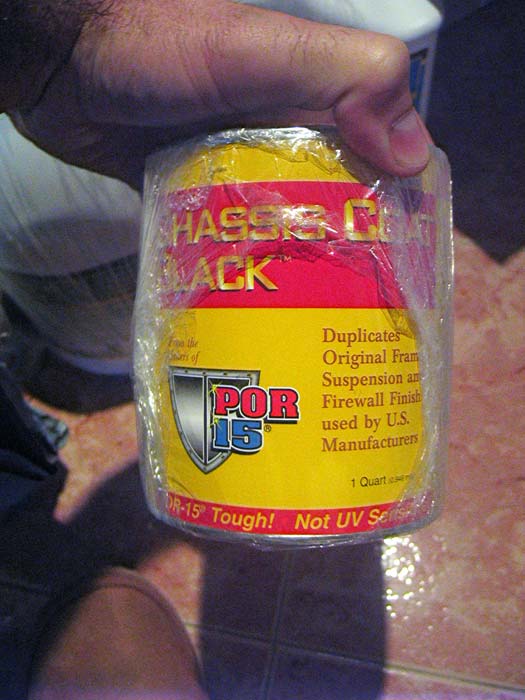
Well, I guess the guys from POR-15 should be paying you for this free advertising they're getting here :mrgreen:
Did you buy the sandblaster from Holland/Belgium, the writing on the nozzles bag is in dutch?
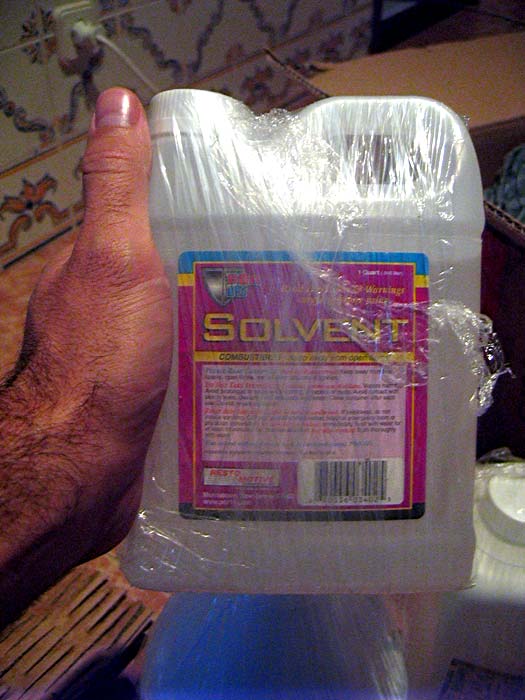
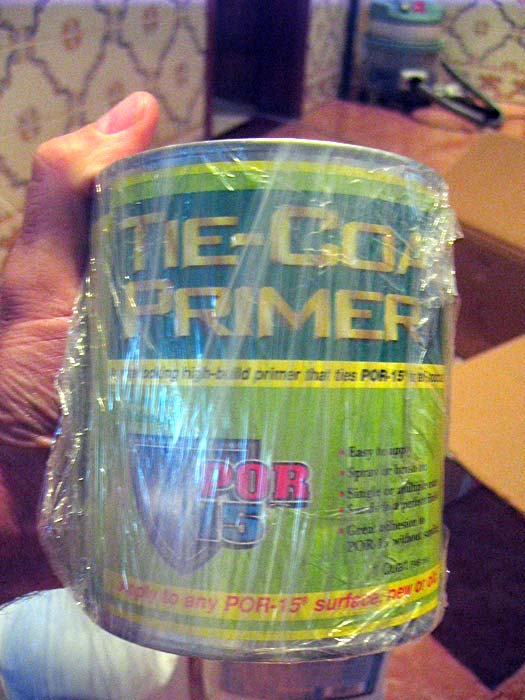
Very anxious to see all those POR-products in action, curious about some of the products as I've only used POR-15 and the Tie-Coat primer before.
Obrigado para os etratos!
Did you buy the sandblaster from Holland/Belgium, the writing on the nozzles bag is in dutch?
Very anxious to see all those POR-products in action, curious about some of the products as I've only used POR-15 and the Tie-Coat primer before.
Obrigado para os etratos!
T2-Nate said:Well, I guess the guys from POR-15 should be paying you for this free advertising they're getting here :mrgreen:
I wish :mrgreen: ....Thet were really expensive :| .
I just hope they work as well as I'm thinking they will :roll:
I've been copying this thread from a portuguese forum.... and in that forum there's no one that has already tried these products. I guess I'll be the first one.... a guinea pig for the rest :mrgreen:
The sandblaster was bought in Portugal :mrgreen: ....
T2-Nate said:Very anxious to see all those POR-products in action, curious about some of the products as I've only used POR-15 and the Tie-Coat primer before.
Do you have a good feedback from them?
.... I've got a lot, lot more (so I guess I'll be bothering you for a while) :mrgreen:T2-Nate said:Obrigado para os retratos!
T2-Nate
Well-known member
I've found the POR-15 -when applied strictly by the book- to be very good and solid paint.
I especially like the tip they gave me to lightly dust the still tacky POR-15 coat with spraycan-primer, this way it really adheres well together and you won't have to sand into the POR-15 itself. Just don't fully coat the POR-15 as you will get cracks in the primer!
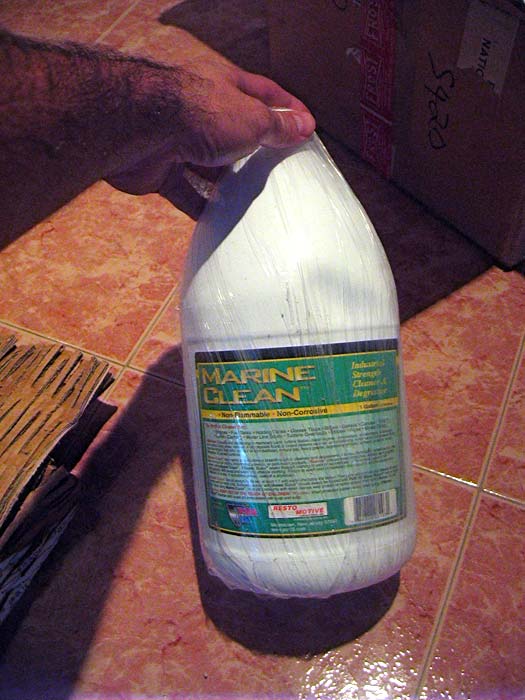
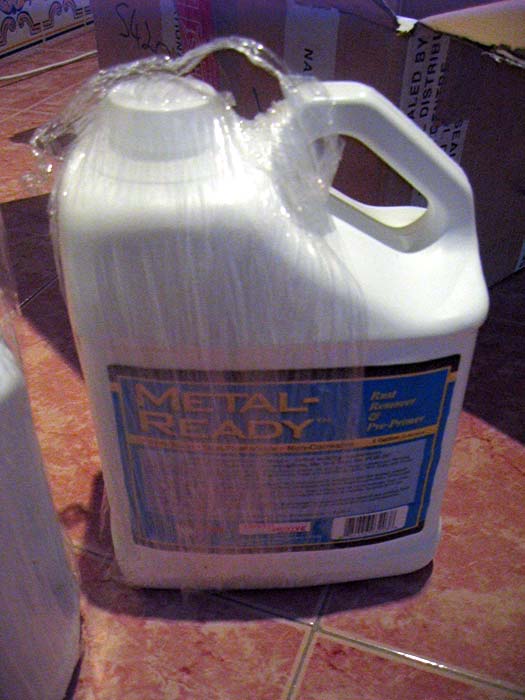
I use it whenever I don't see the need to replace structural or body panels just because they've corroded a bit, just thoroughly clean them from paint and other foreign materials and use the Marine clean liberally (preferably mixed 1:2 with hot water), apply with a scotchbrite or something, use the high pressure cleaner to rinse well, then spray on the metal ready and use a brush to make it really penetrate all cavities as it leaves a zinc-phospate residue that the paint really likes to adhere to.
Make sure you get small bubbles when brushing. Without proper metal ready prep the paint won't last. Been there done that!
Just be sure to rinse again after the metal ready but leave it for a while (30 min) and make sure to spray some water mist on the metal ready'd panels to amplify the effect.
Don't paint unless you're sure the surface is bone-dry! Will be pretty fast in your climate but compressed air (moisture trap!) will speed things up.
It dries in about 2 hours so spray the dust coat of primer on fast if you want to topcoat.
Have faith in the paint, it works pretty good.
The Tie-coat primer goes on without abrading the POR-surface because of its' special compound however but I feel it's best sprayed on as it doesn't cover very well.
Best of luck to you!
I especially like the tip they gave me to lightly dust the still tacky POR-15 coat with spraycan-primer, this way it really adheres well together and you won't have to sand into the POR-15 itself. Just don't fully coat the POR-15 as you will get cracks in the primer!
I use it whenever I don't see the need to replace structural or body panels just because they've corroded a bit, just thoroughly clean them from paint and other foreign materials and use the Marine clean liberally (preferably mixed 1:2 with hot water), apply with a scotchbrite or something, use the high pressure cleaner to rinse well, then spray on the metal ready and use a brush to make it really penetrate all cavities as it leaves a zinc-phospate residue that the paint really likes to adhere to.
Make sure you get small bubbles when brushing. Without proper metal ready prep the paint won't last. Been there done that!
Just be sure to rinse again after the metal ready but leave it for a while (30 min) and make sure to spray some water mist on the metal ready'd panels to amplify the effect.
Don't paint unless you're sure the surface is bone-dry! Will be pretty fast in your climate but compressed air (moisture trap!) will speed things up.
It dries in about 2 hours so spray the dust coat of primer on fast if you want to topcoat.
Have faith in the paint, it works pretty good.
The Tie-coat primer goes on without abrading the POR-surface because of its' special compound however but I feel it's best sprayed on as it doesn't cover very well.
Best of luck to you!
Similar threads
- Replies
- 10
- Views
- 733
- Locked
Parts For Sale
now sold: 1600 engine for sale (august 2023)
- Replies
- 8
- Views
- 1K
- Replies
- 29
- Views
- 2K
Vehicle For Sale
1971 T2a Double Cab Pick Up
- Replies
- 0
- Views
- 1K