You are using an out of date browser. It may not display this or other websites correctly.
You should upgrade or use an alternative browser.
You should upgrade or use an alternative browser.
1968 Campervan conversion
- Thread starter joaonar
- Start date

Help Support Early Bay Forum:
This site may earn a commission from merchant affiliate
links, including eBay, Amazon, and others.
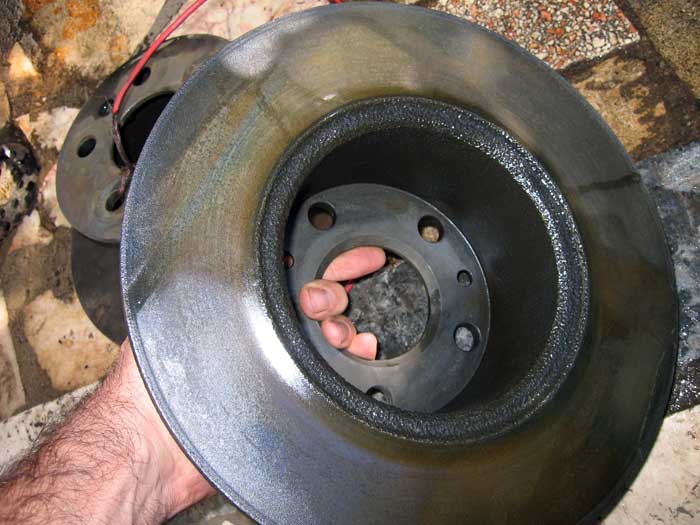
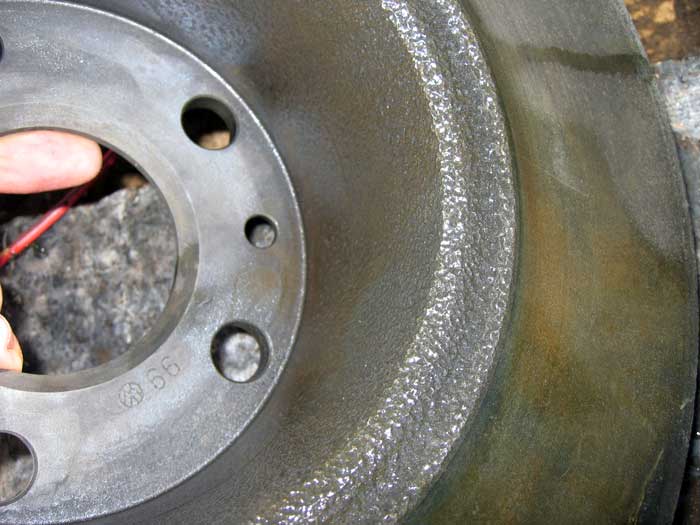
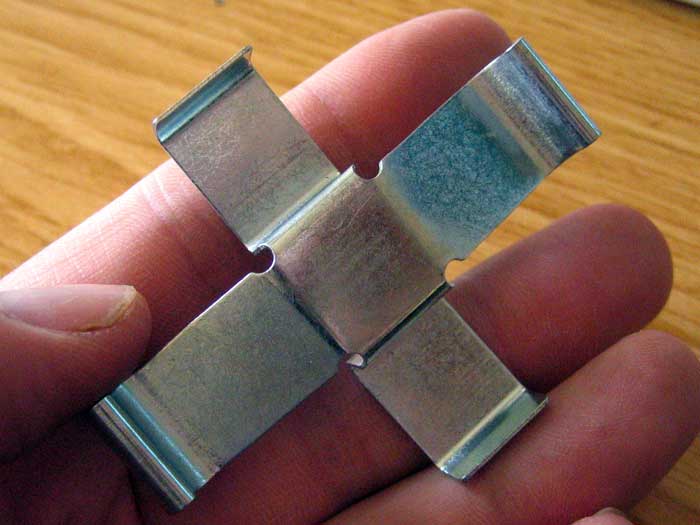
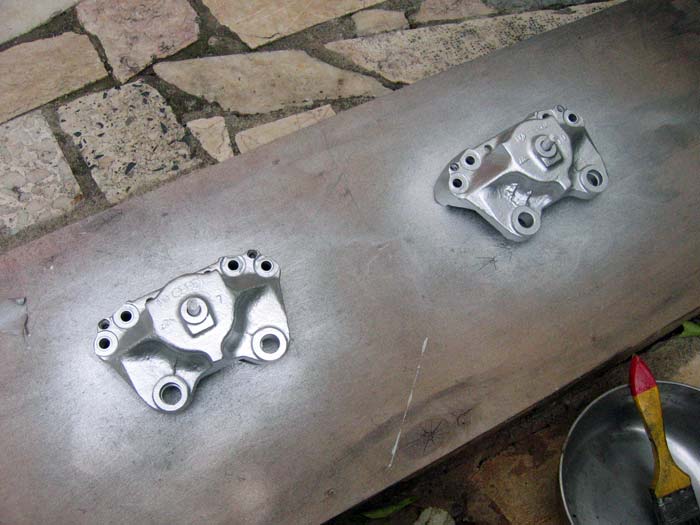
thanks gninnam....
it's not finished but I think it will work as planned and it will look okay at the end....
a few more:
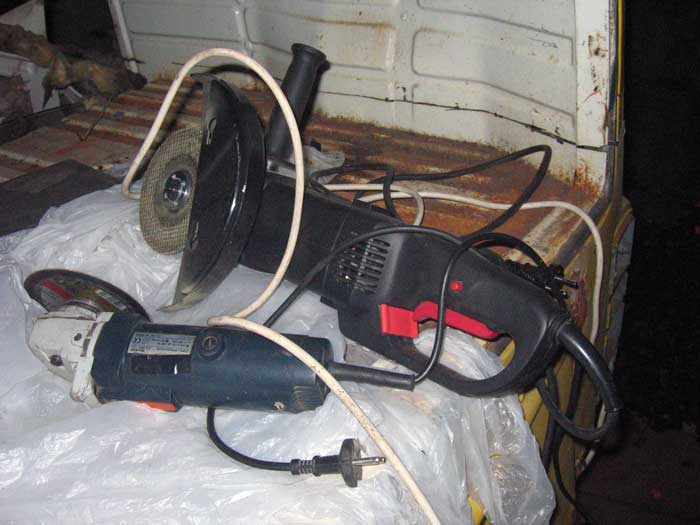
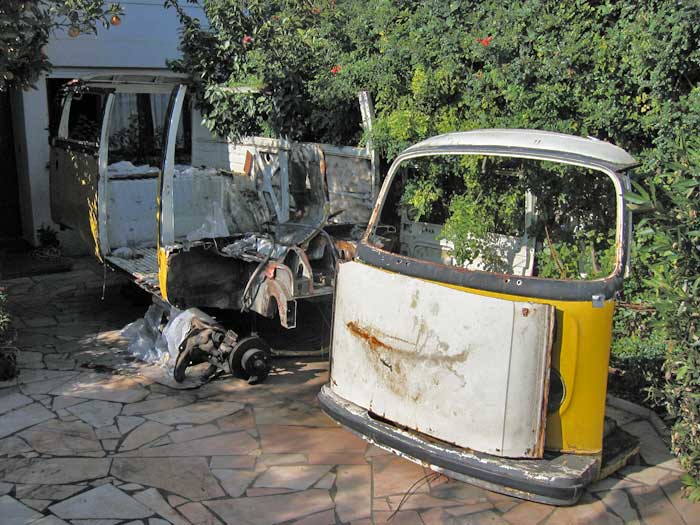
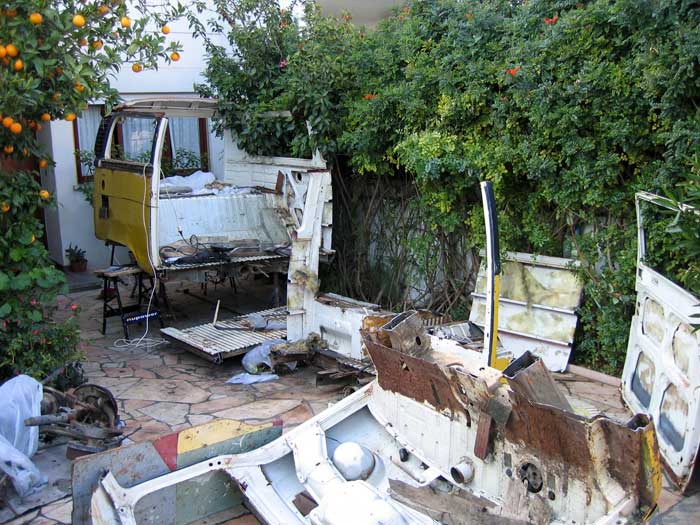
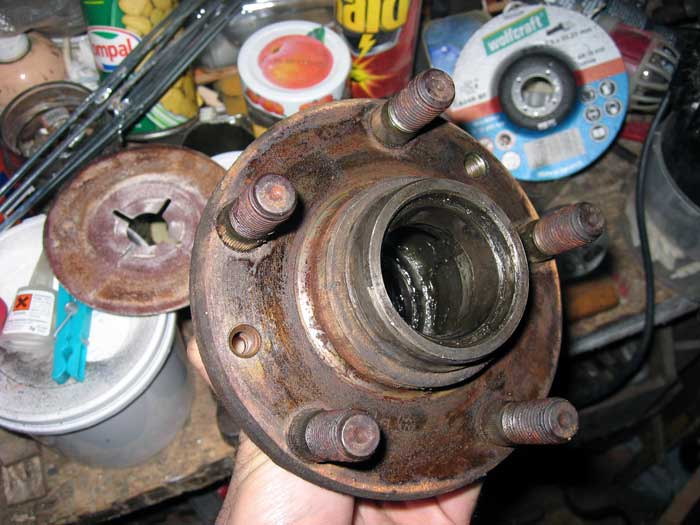
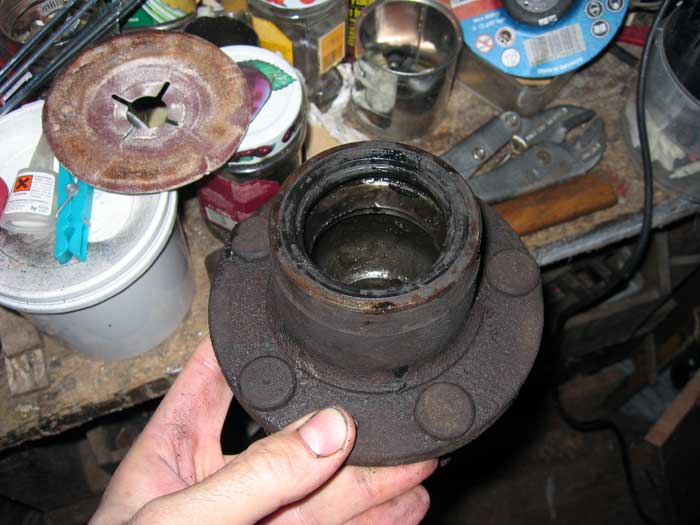
after taking what I needed from the westy, I cuted it with a grinder :roll: ....
a couple of pictures:
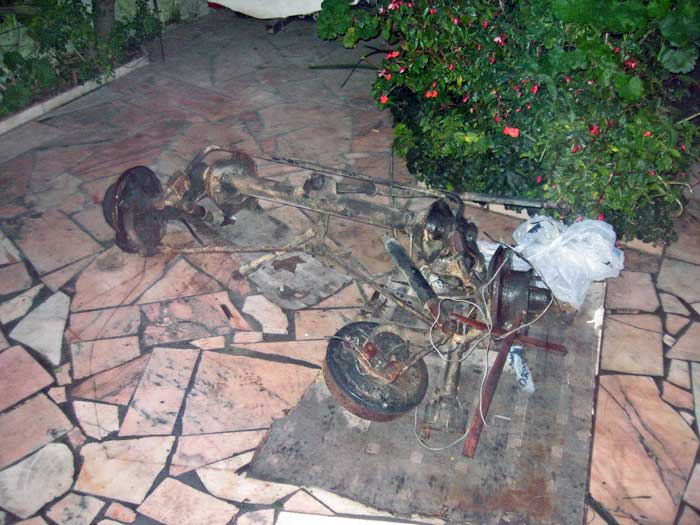
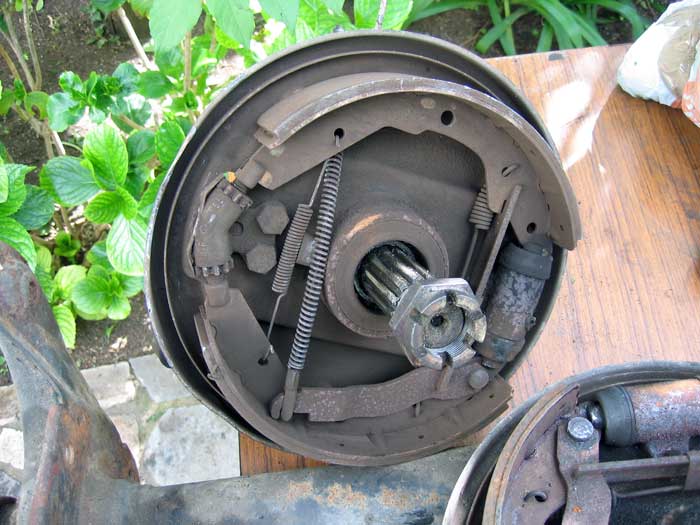
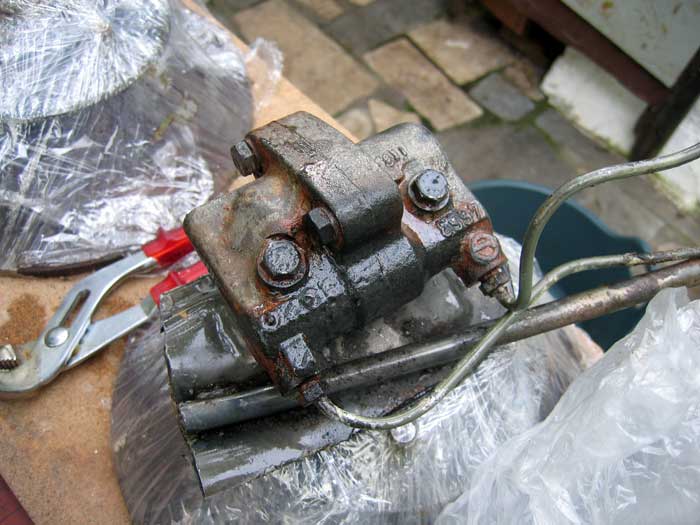
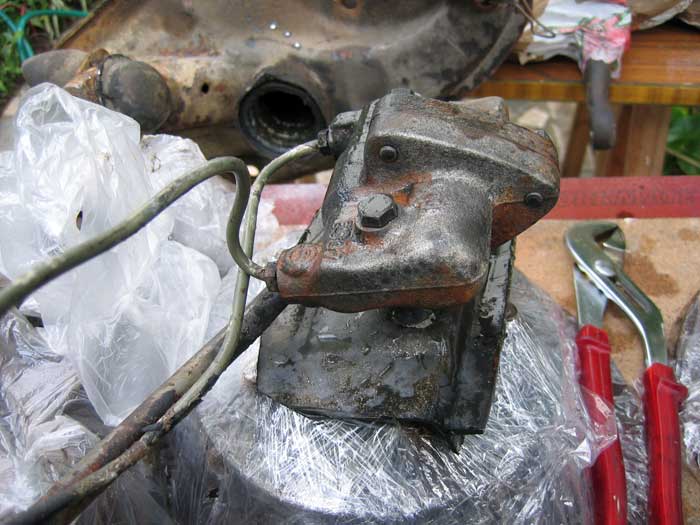
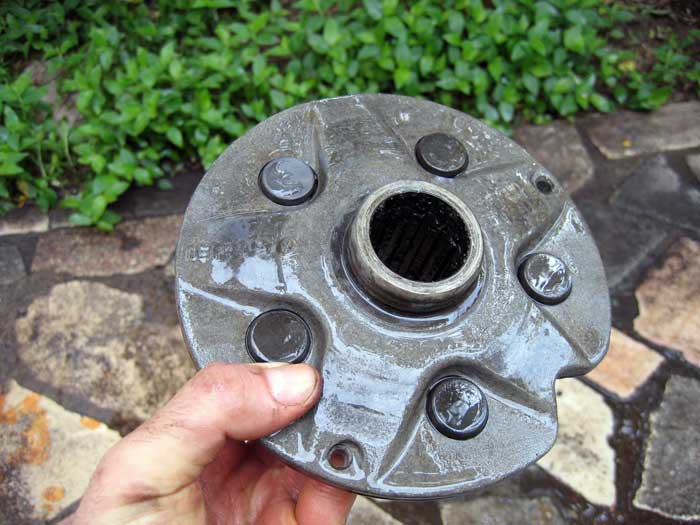
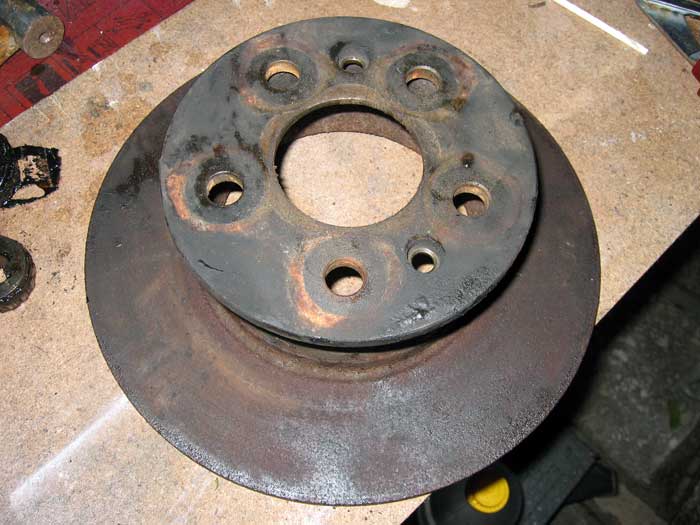
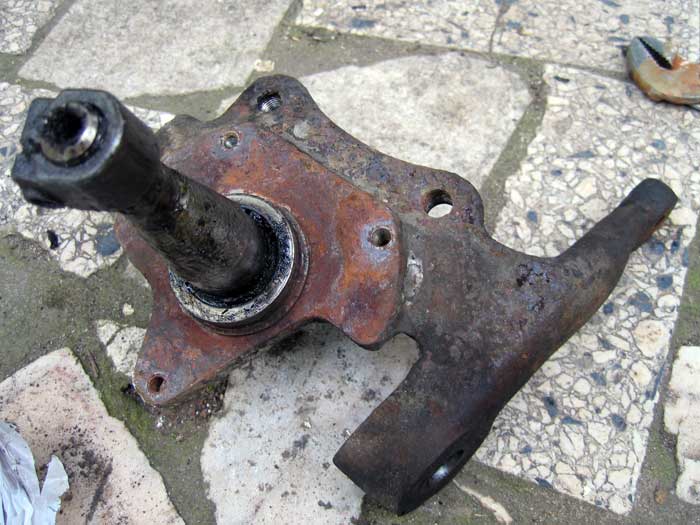
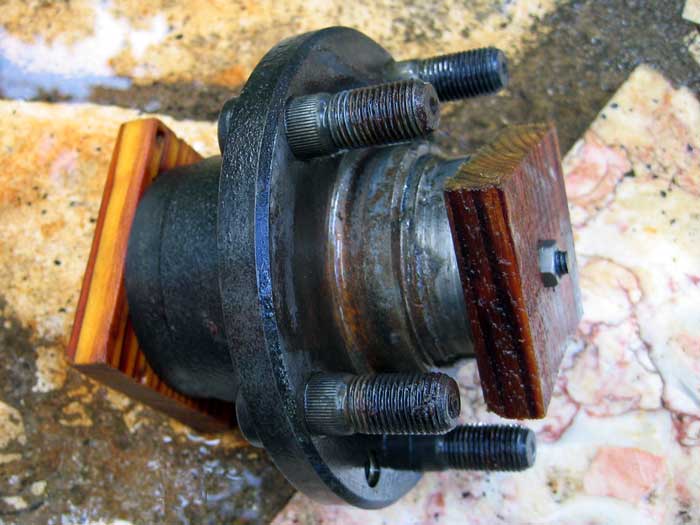
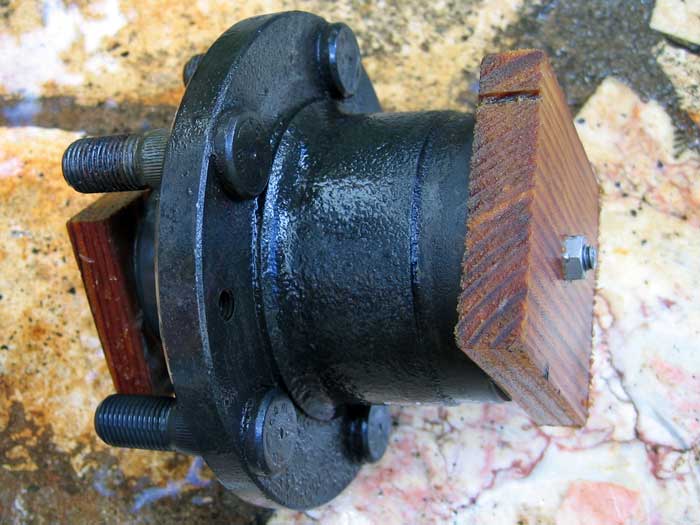
I took all the mechanical parts from this very rusty bus. The front suspension was one of them. My idea is to use it to upgrade my 68 bus... kind of a second life in another bus.
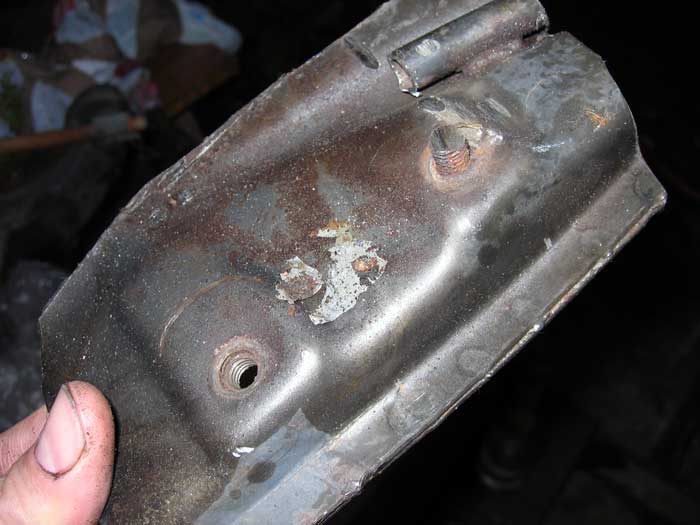
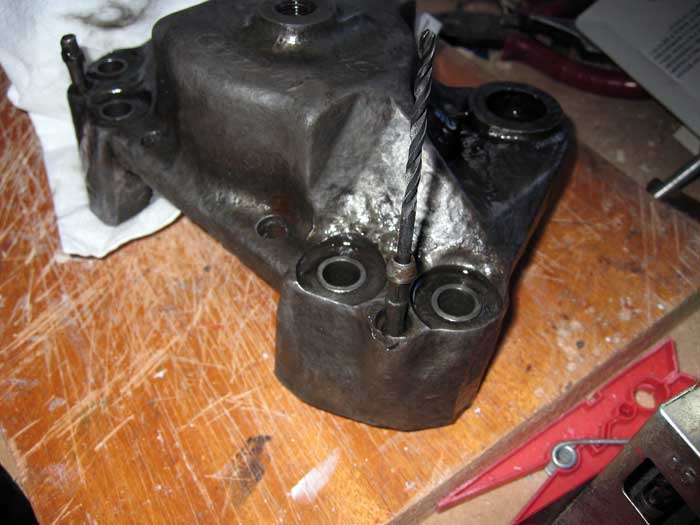
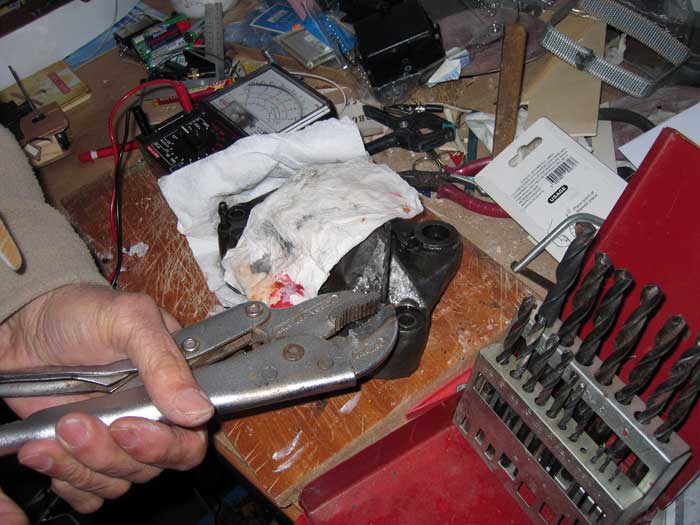
bus there was a lot of very rusty screws and parts and therefore needed help to dismantle them completely:
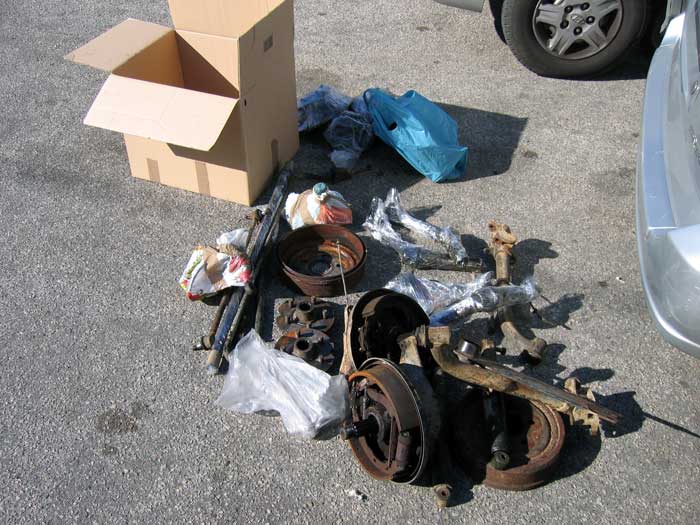
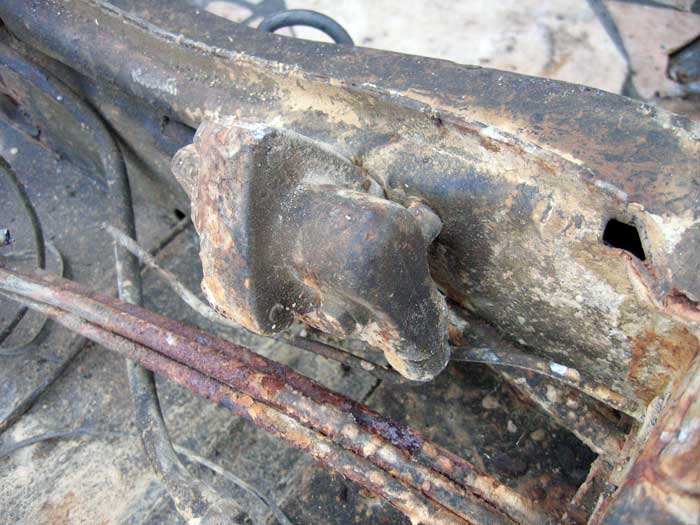
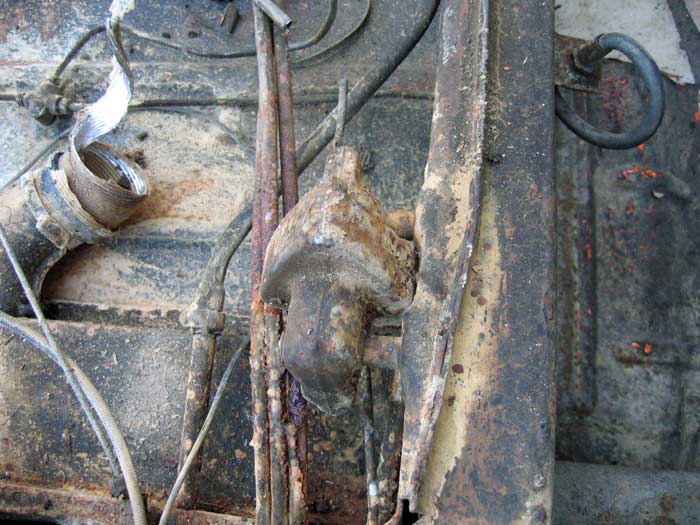
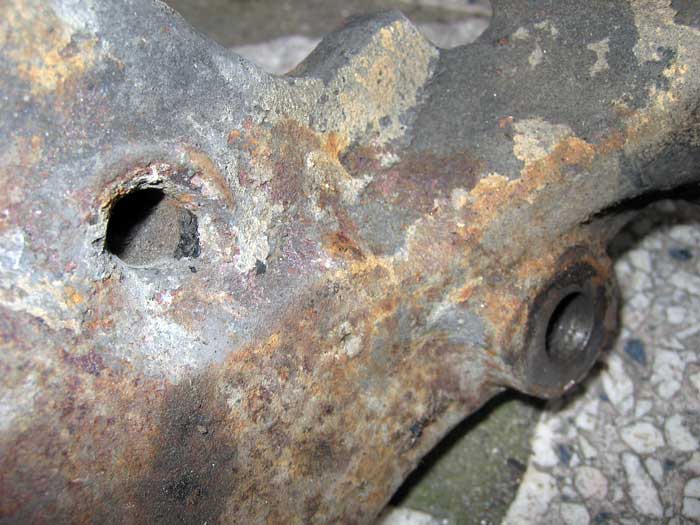
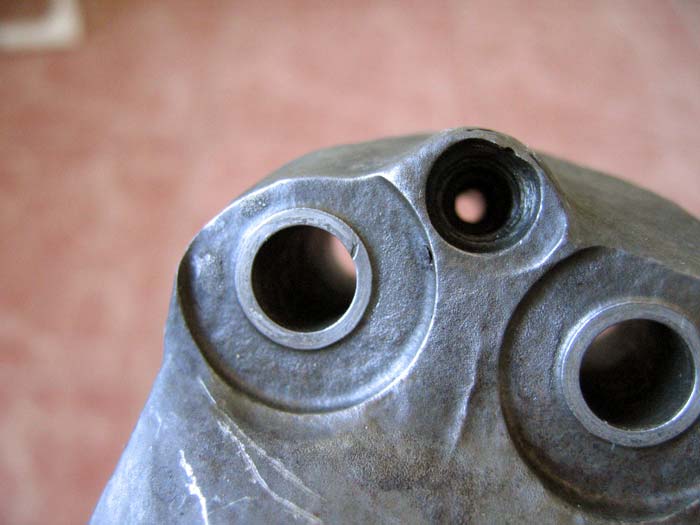
a lot of rusty holes
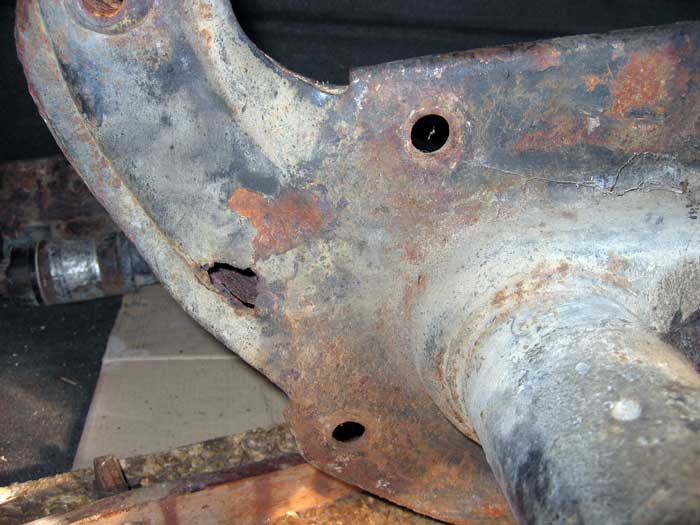
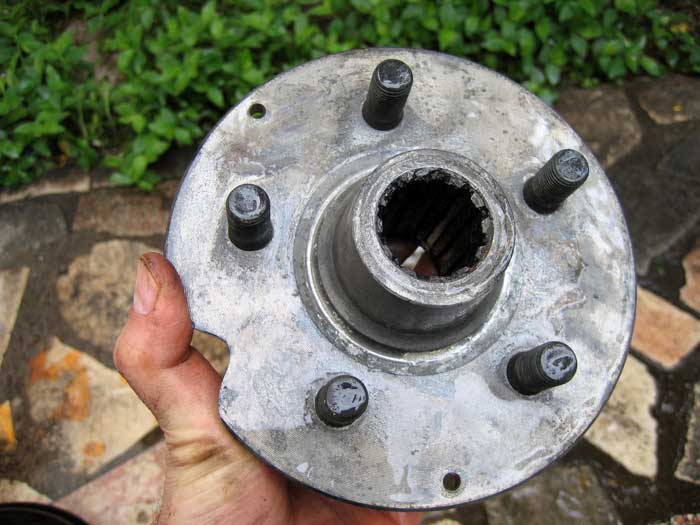
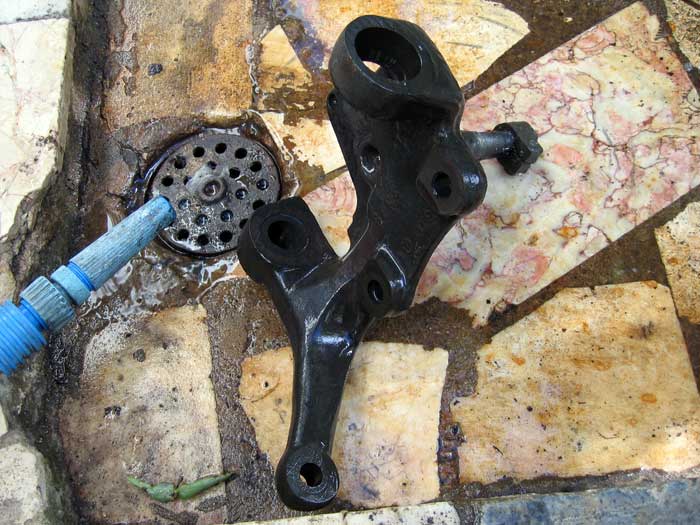
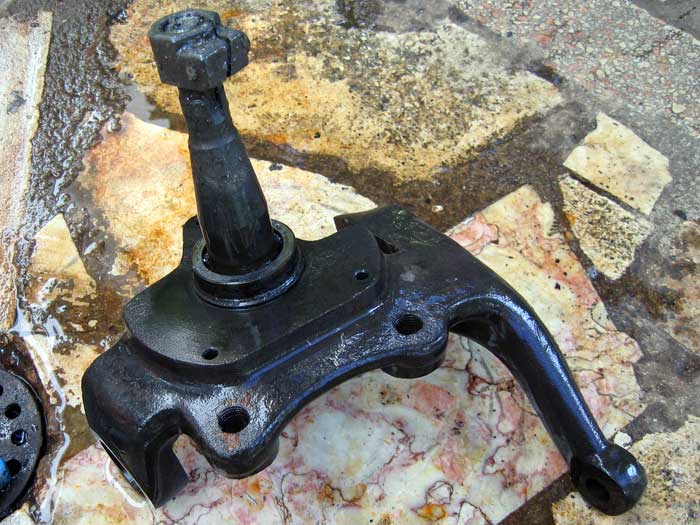
... and as they had a lot of rust, I decided to try an electrolysis :mrgreen:

.... and it worked!
it's not finished but I think it will work as planned and it will look okay at the end....
a few more:
after taking what I needed from the westy, I cuted it with a grinder :roll: ....
a couple of pictures:
I took all the mechanical parts from this very rusty bus. The front suspension was one of them. My idea is to use it to upgrade my 68 bus... kind of a second life in another bus.
bus there was a lot of very rusty screws and parts and therefore needed help to dismantle them completely:
a lot of rusty holes
... and as they had a lot of rust, I decided to try an electrolysis :mrgreen:
.... and it worked!
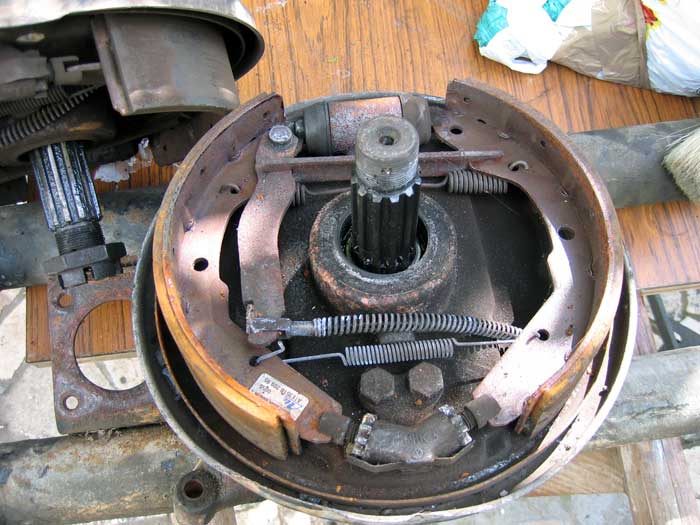
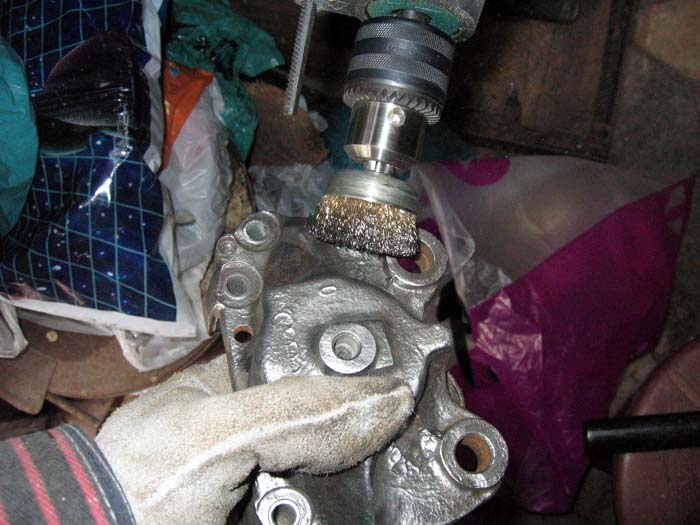
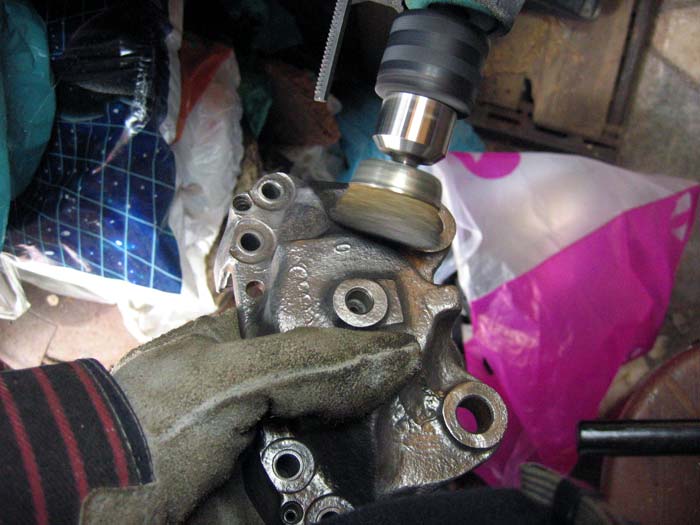
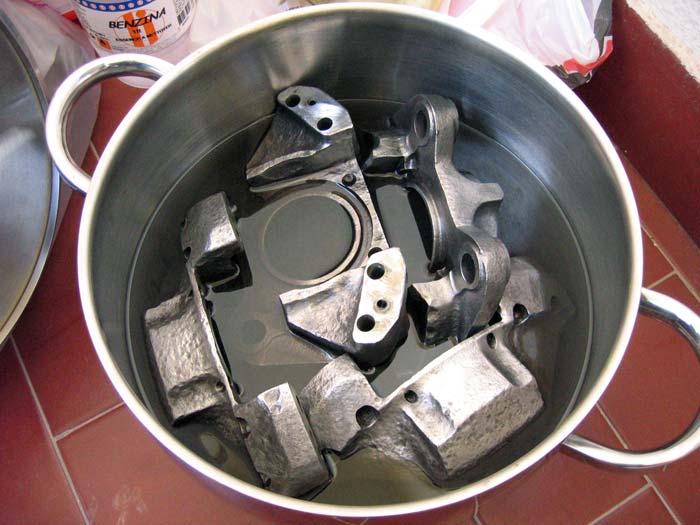
some parts I had to disassemble and clean...
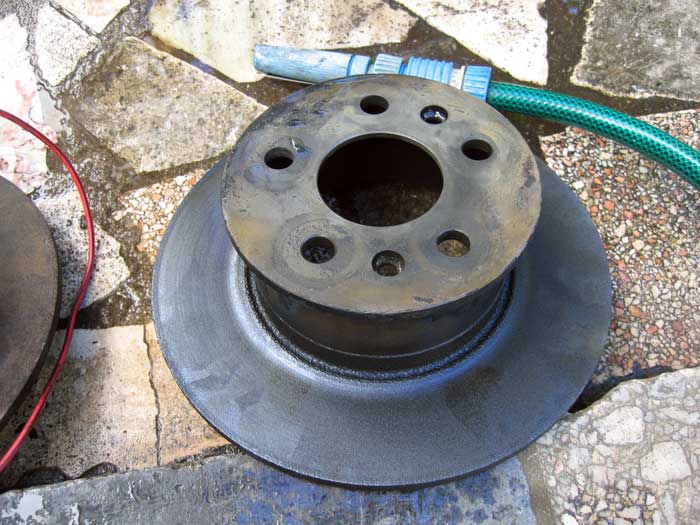
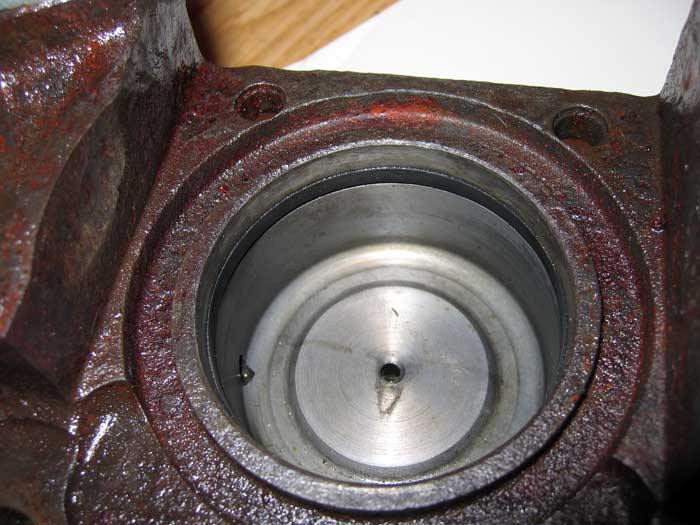
and this one, before taking it out from the westy and before being cleaned through electrolysis...
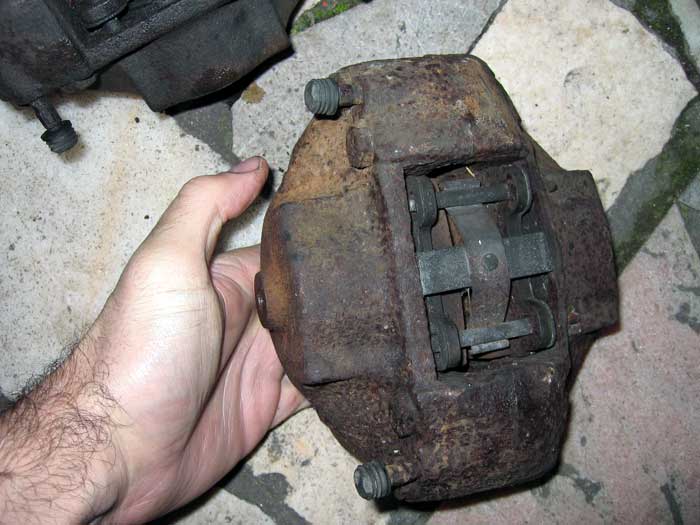
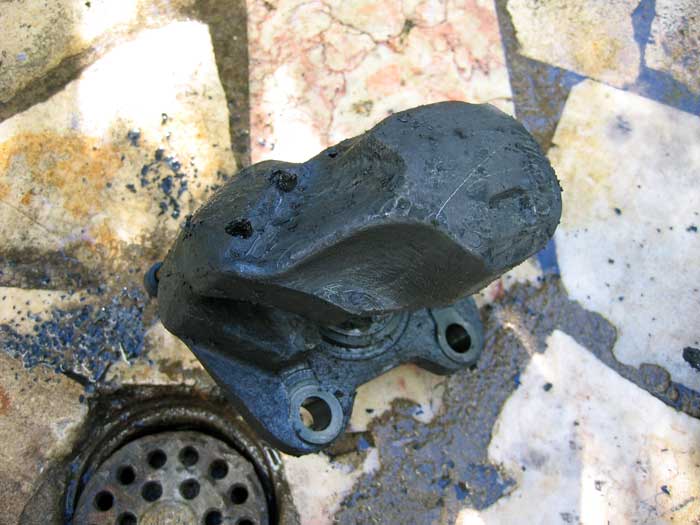
and after....
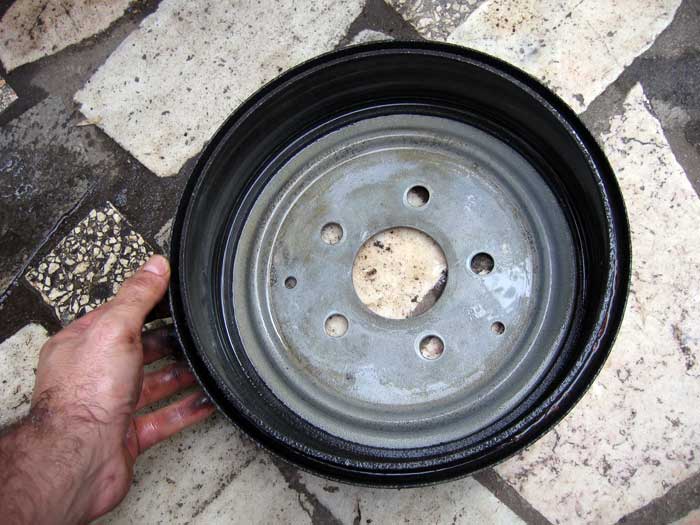
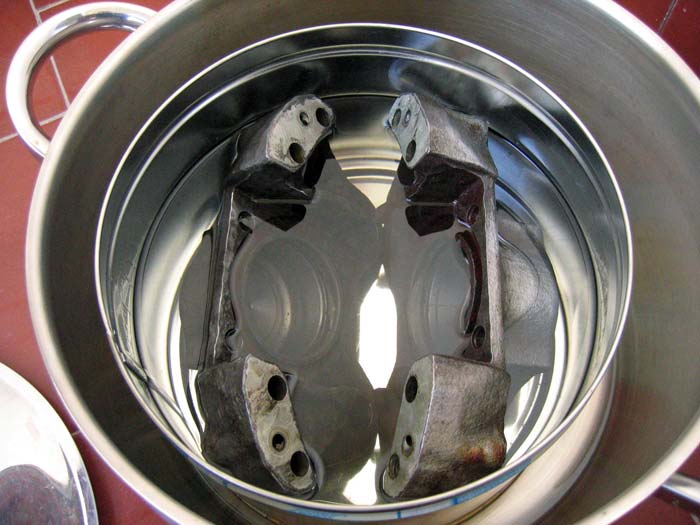
and these ones, after taking a bath in my electrolysis and muriatic acid:
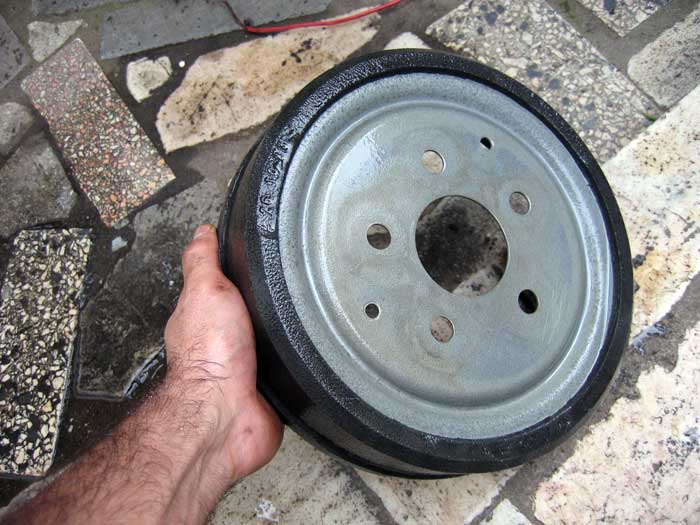
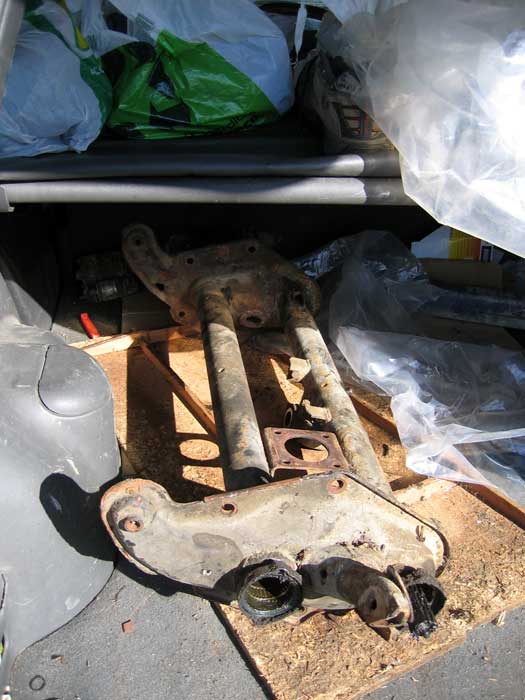
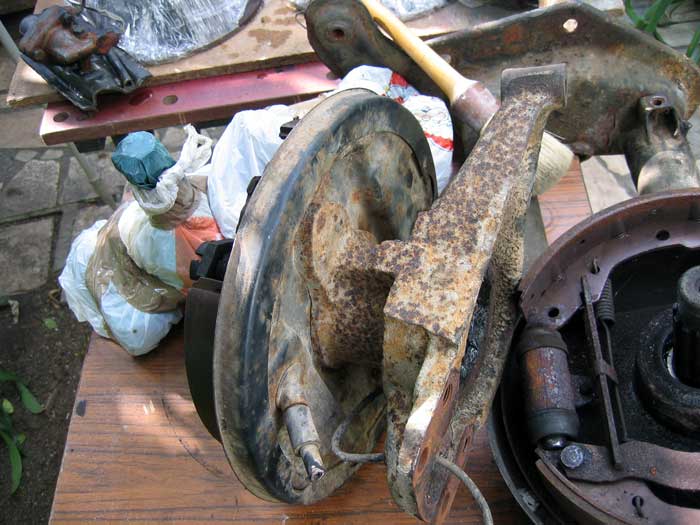
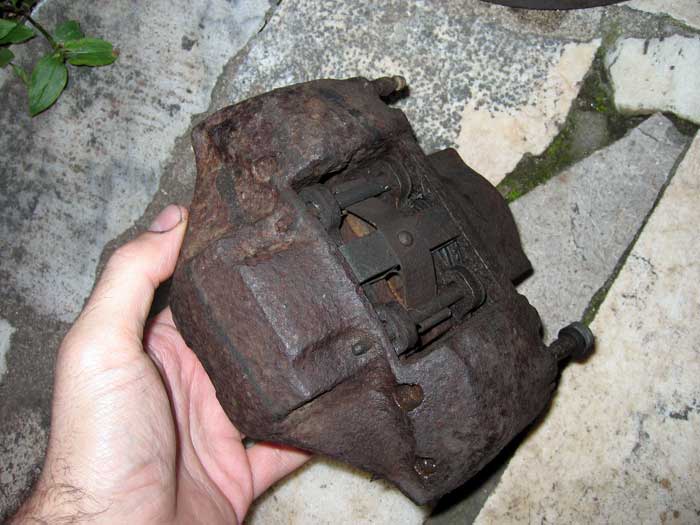
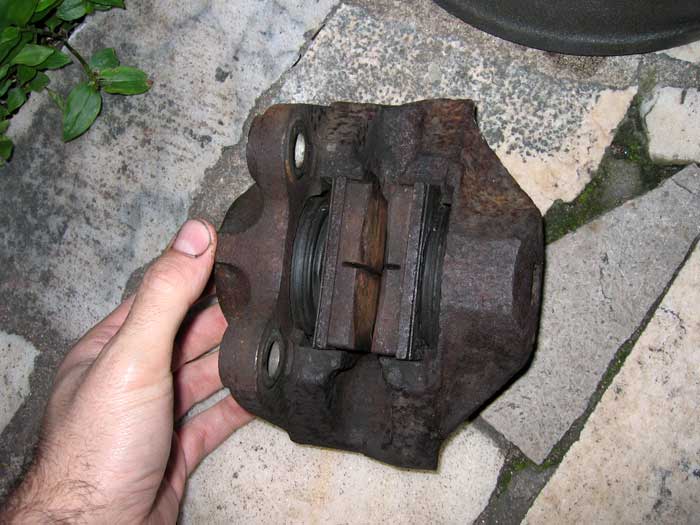
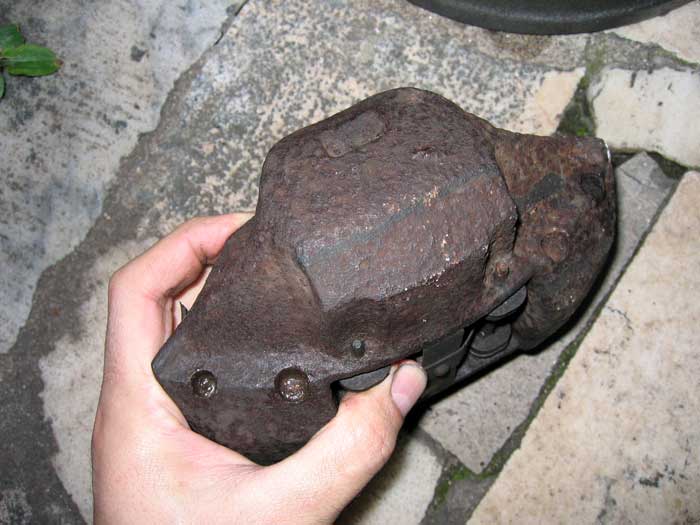
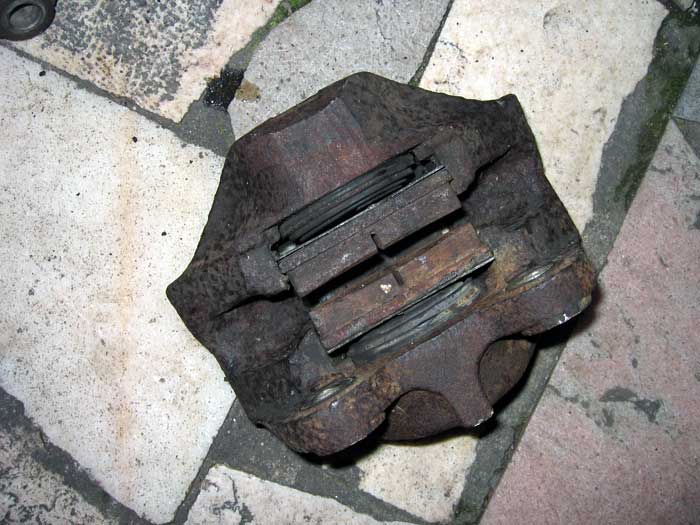
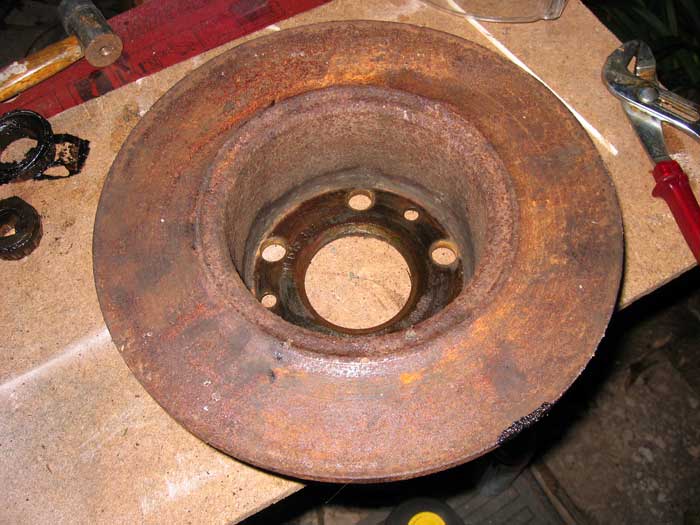
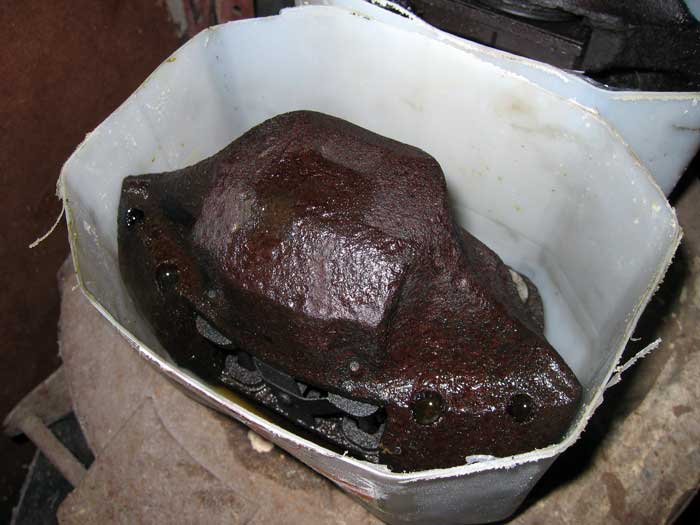
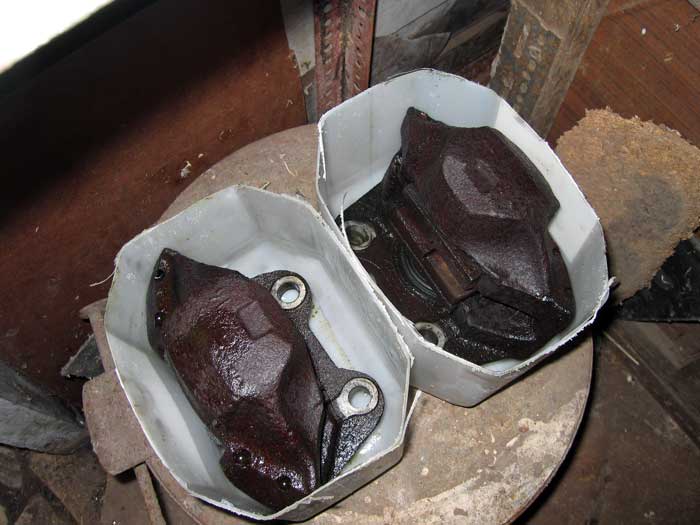
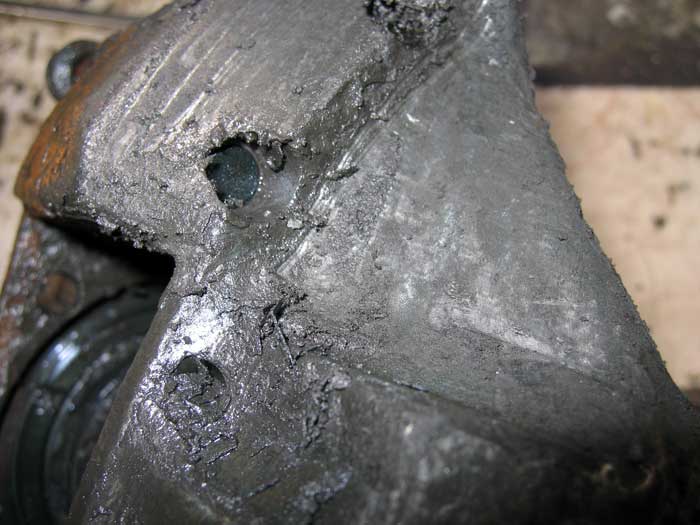
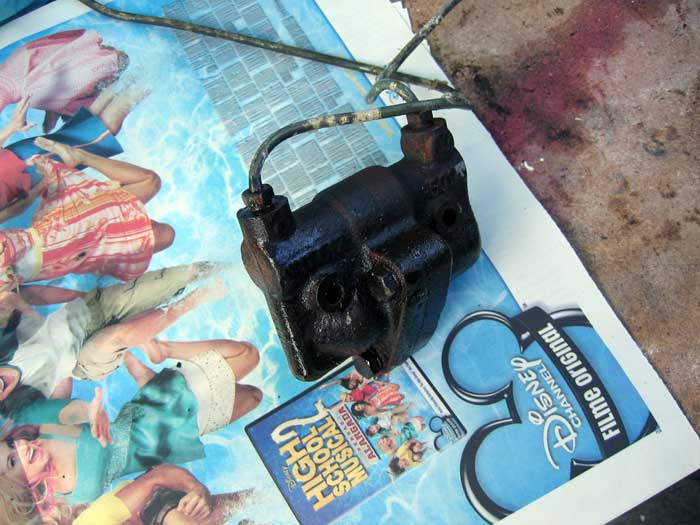
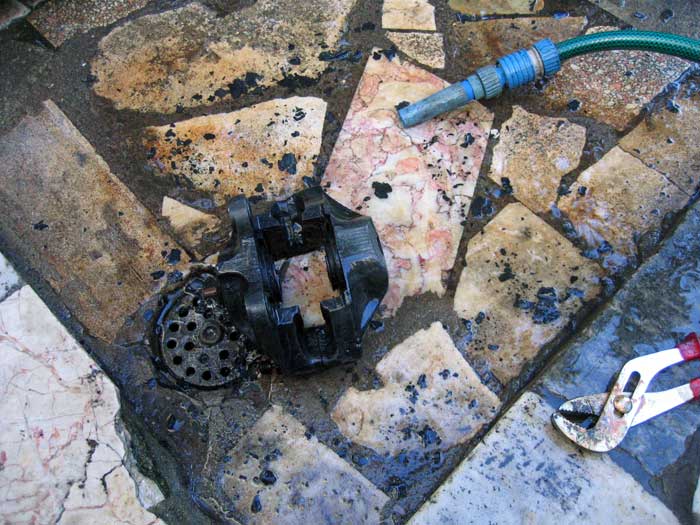
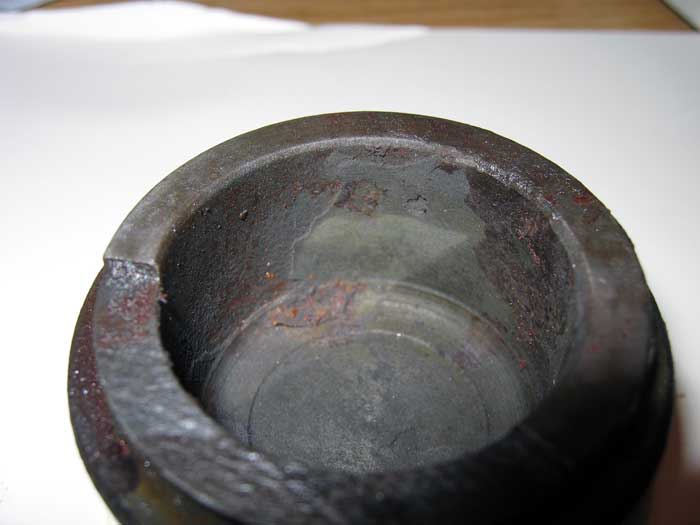
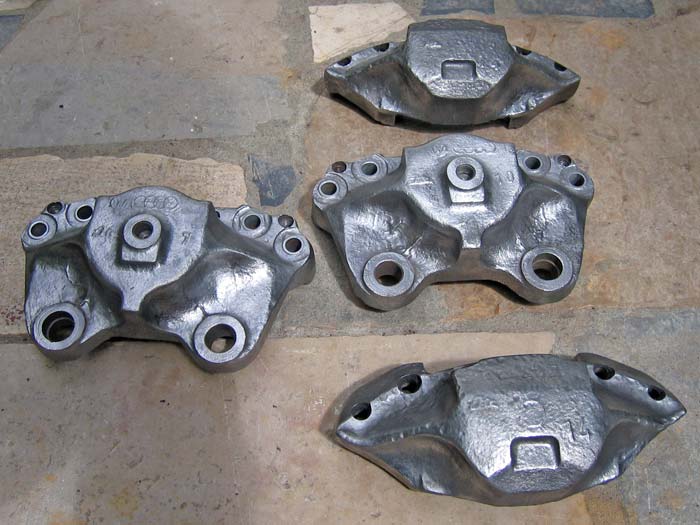
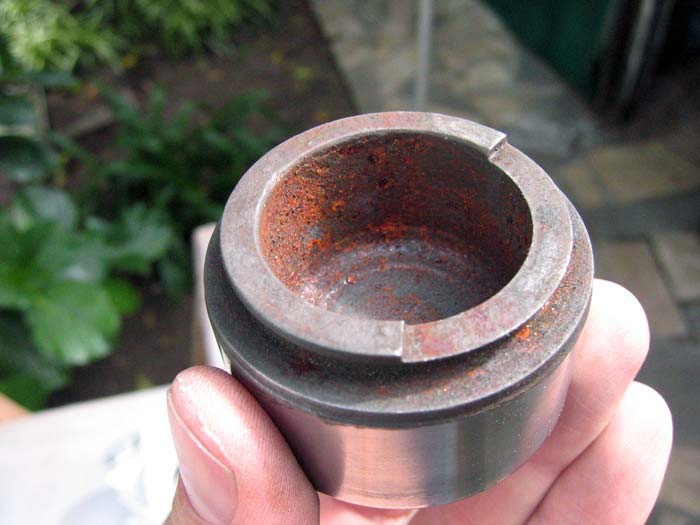
... but the ones I really wanted to use were completely rusty:
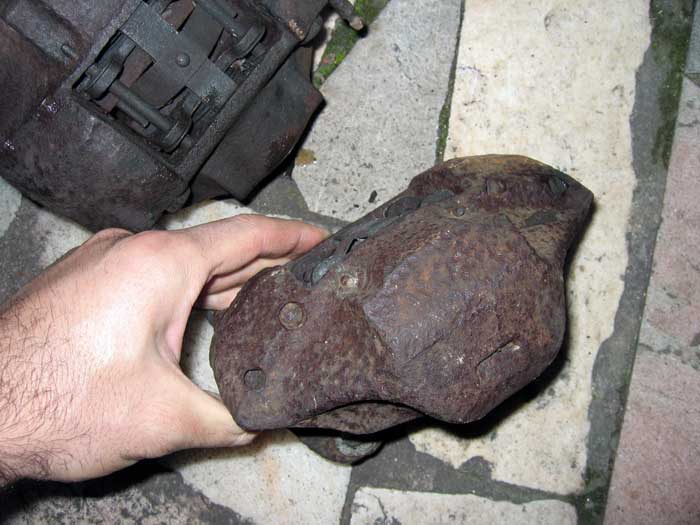
and this one, before taking it out from the westy and before being cleaned through electrolysis...
and after....
and these ones, after taking a bath in my electrolysis and muriatic acid:
... but the ones I really wanted to use were completely rusty:

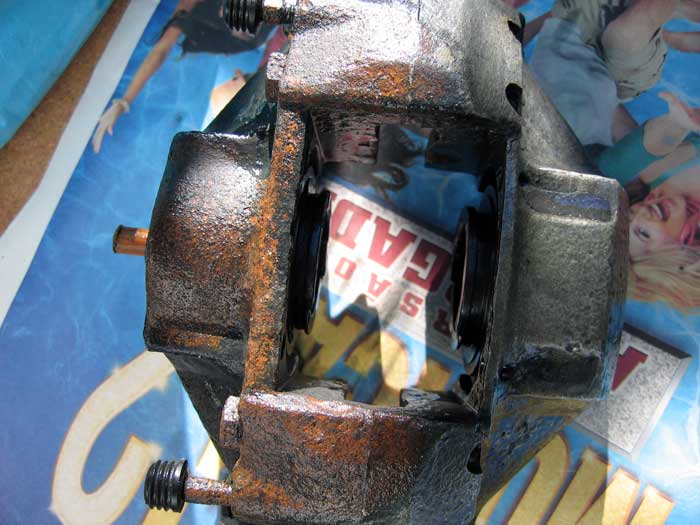
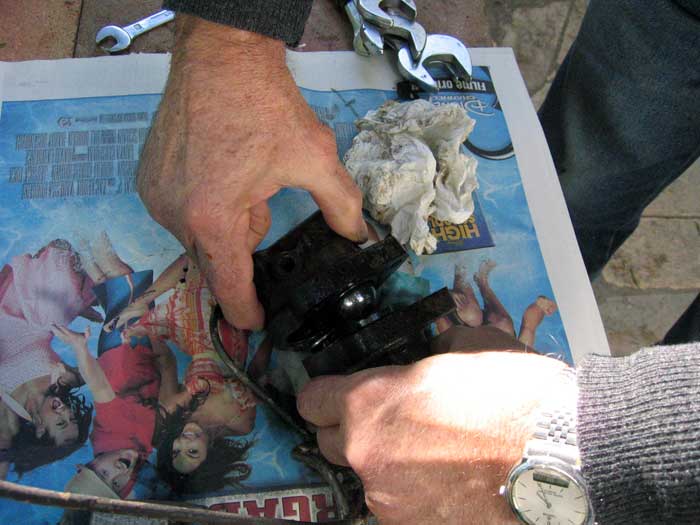
I then put the late callipers inside some plastic botles cuted in half with a lot of WD-40. I wanted to take them apart without braking the screws:
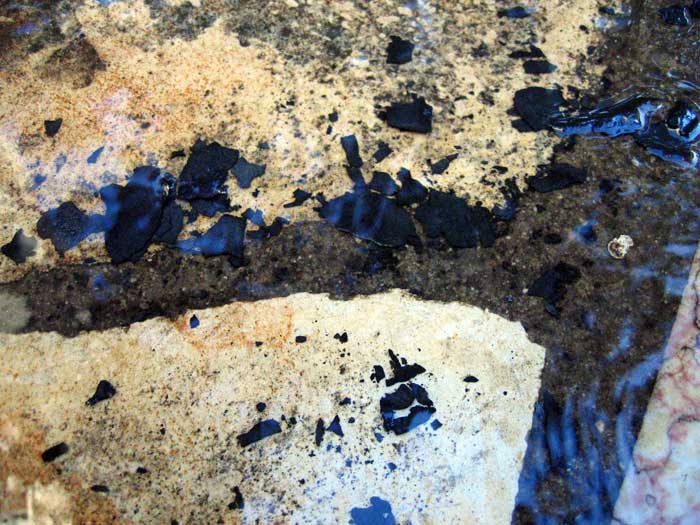
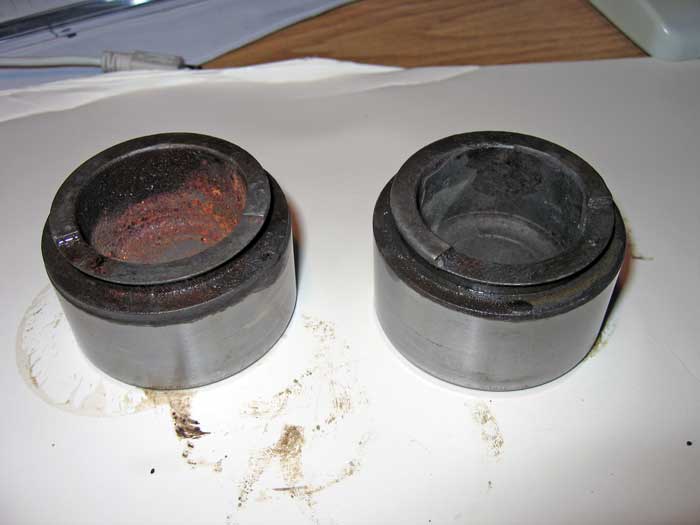
and after a few days I left them for some time inside my electrolysis bath. All the rust and dirt, started to peel from the surface:
you can see the difference between sides:
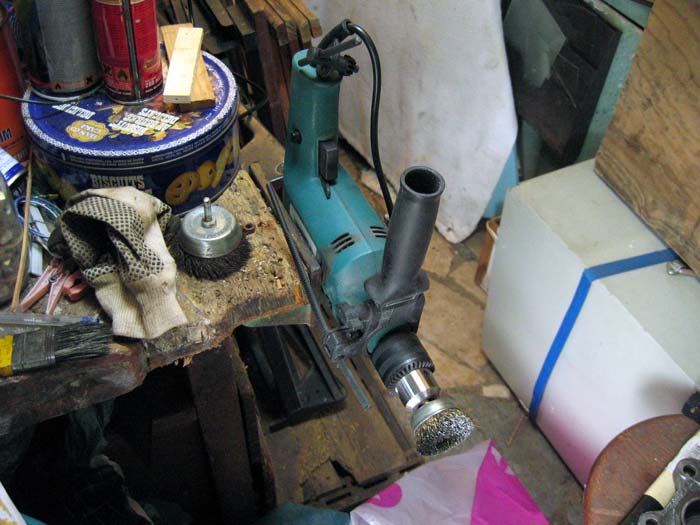
and after some cleaning they were still needing some more treatment :mrgreen:
and after a few days I left them for some time inside my electrolysis bath. All the rust and dirt, started to peel from the surface:
you can see the difference between sides:
and after some cleaning they were still needing some more treatment :mrgreen:


$9.93
$10.95
Empi 00-4428-B VW Bug, Beetle, Sun Visor Clips, Type 1, 68-79, Black, Pair
MOORE PARTS SOURCE


$9.37
Empi 4429 Ivory Sun Visor Clips for Vw Bug 1965-1967/ Vw Bus 1968-1979, Pair
MOORE PARTS SOURCE


$7.94
$15.05
Door Panel Clips, for VW Aircooled Door Panels, 50 Pieces, Compatible with Dune Buggy
Appletree Automotive


$10.00
Volkswagen Genuine VW Driver Gear VW Logo Specifications T-Shirt Tee - X-Large - Black
wolframitersqga


mychatype3
Well-known member
Here's some hard work going on.
Looking good .
.
Kind regards from the Netherlands
Mycha
Looking good
.Kind regards from the Netherlands
Mycha
Thanks Mycha.. but hard and excellent work is what you're doing in your Bus.
:mrgreen:
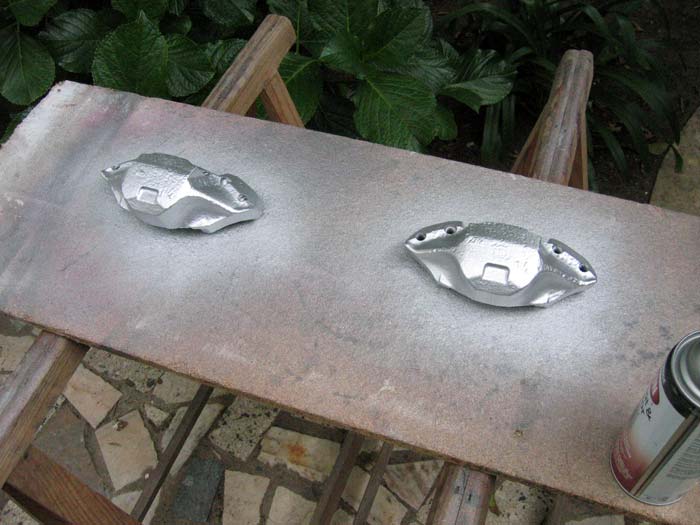
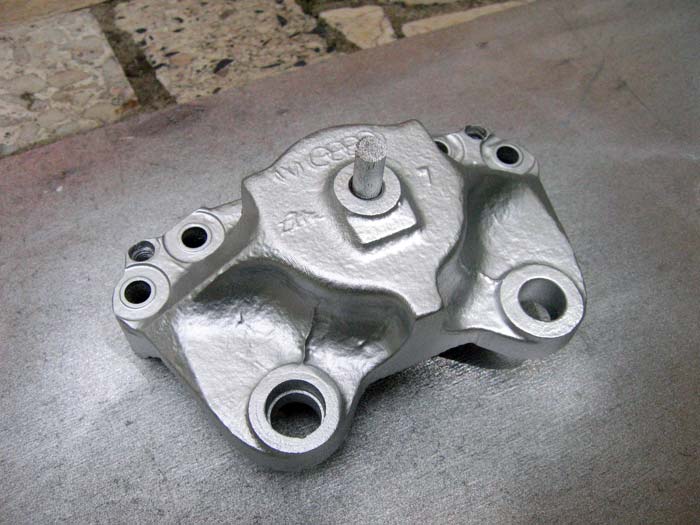
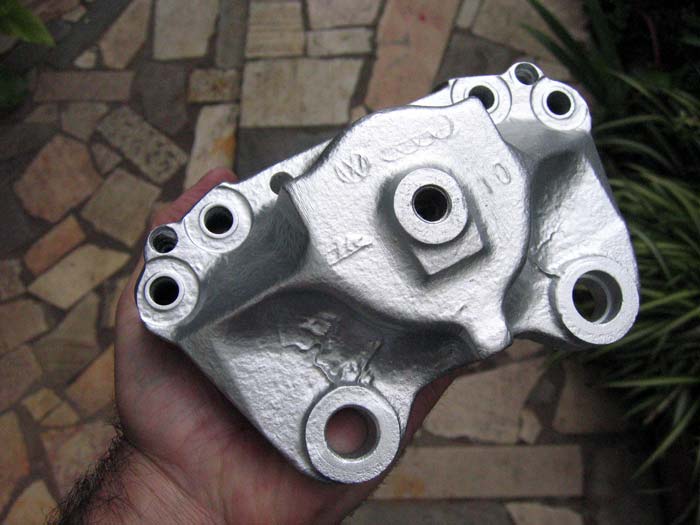
more pictures of what I've done a couple years ago:
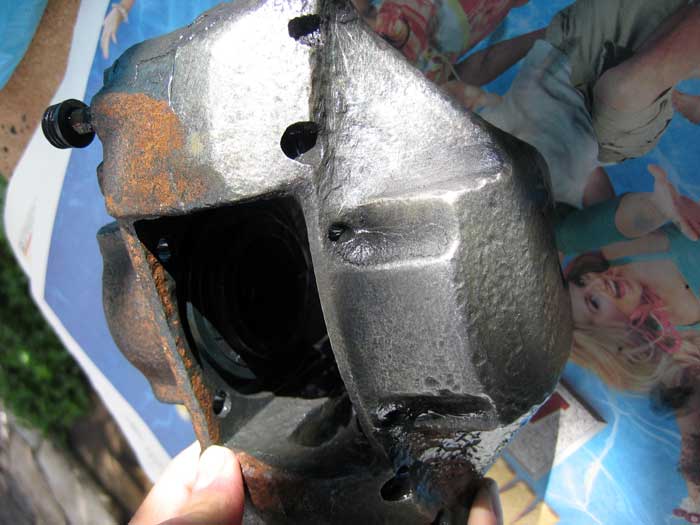
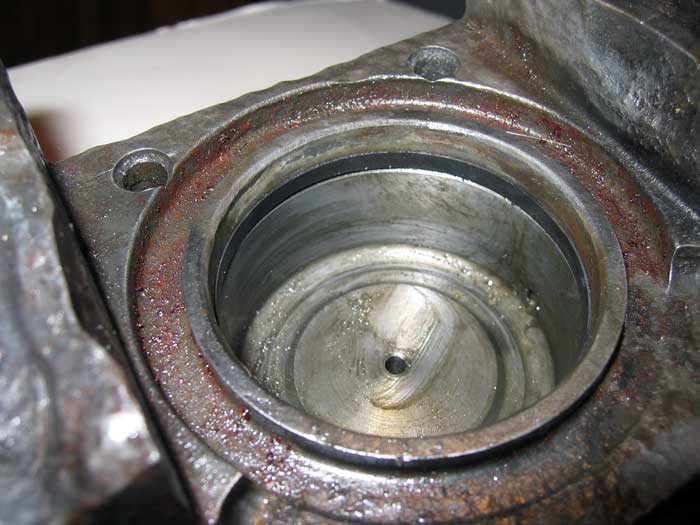
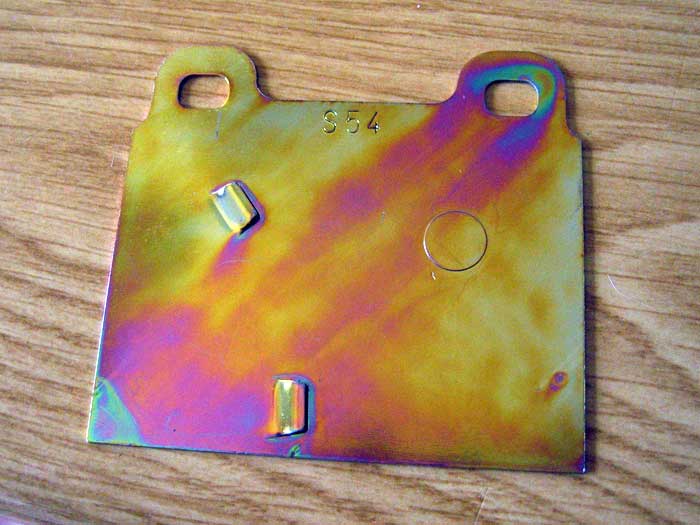
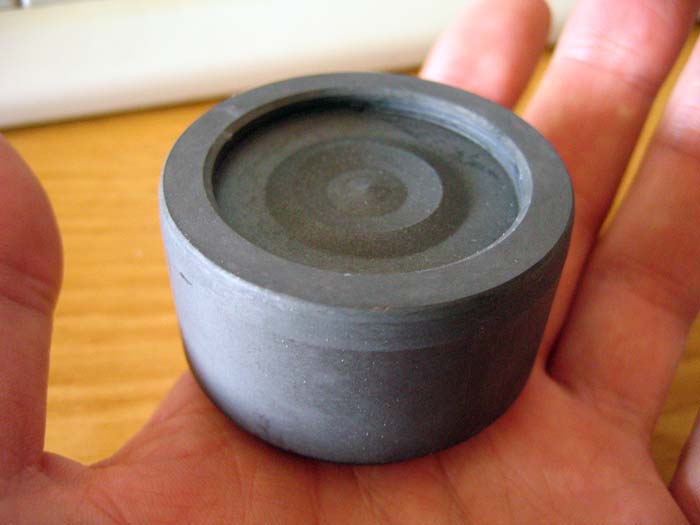
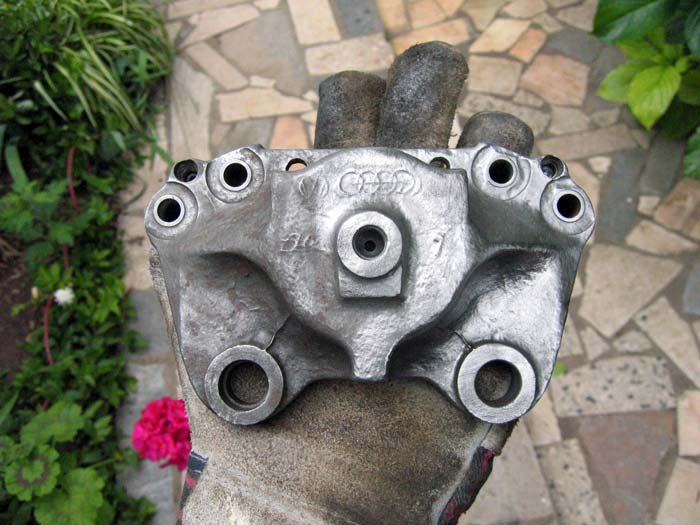
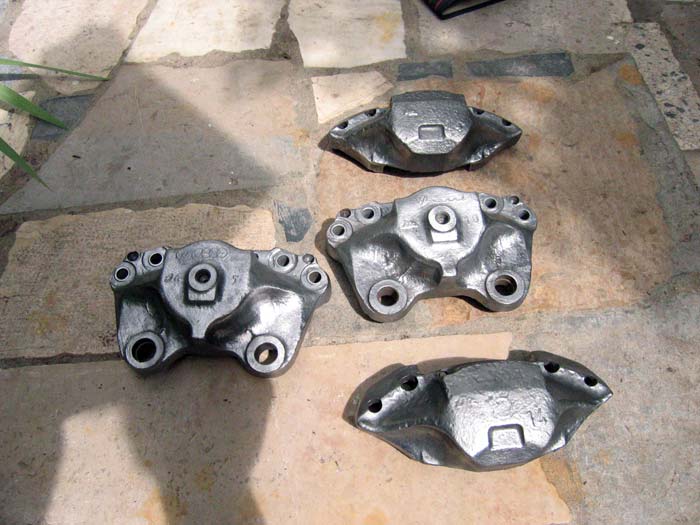
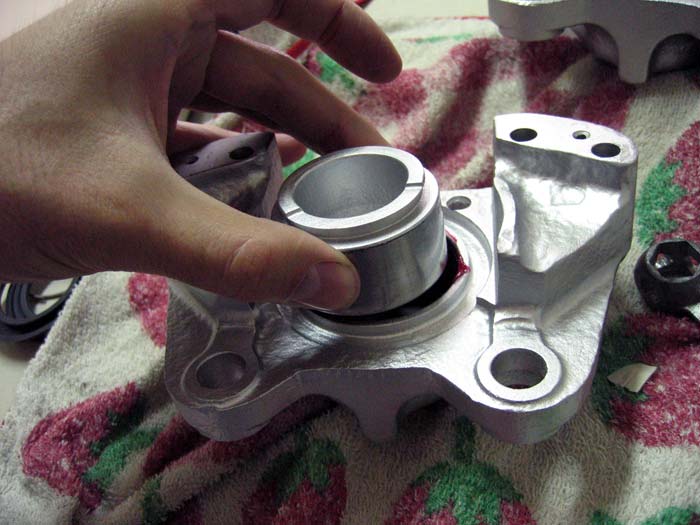
This part was also looking good:
I then closed it again and went back to my calipers.
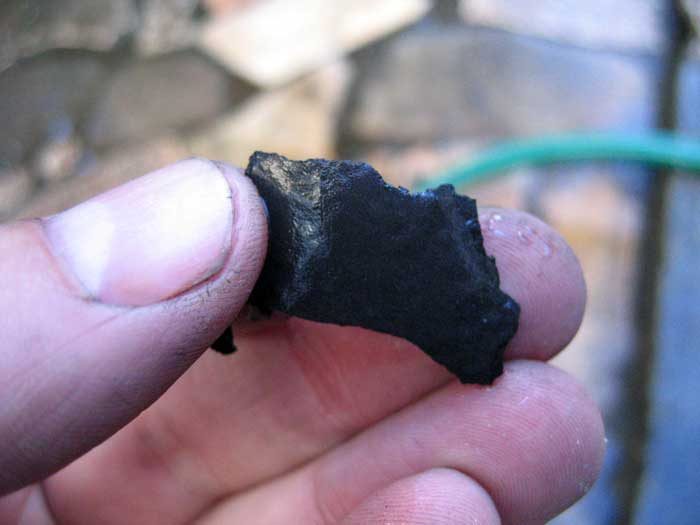
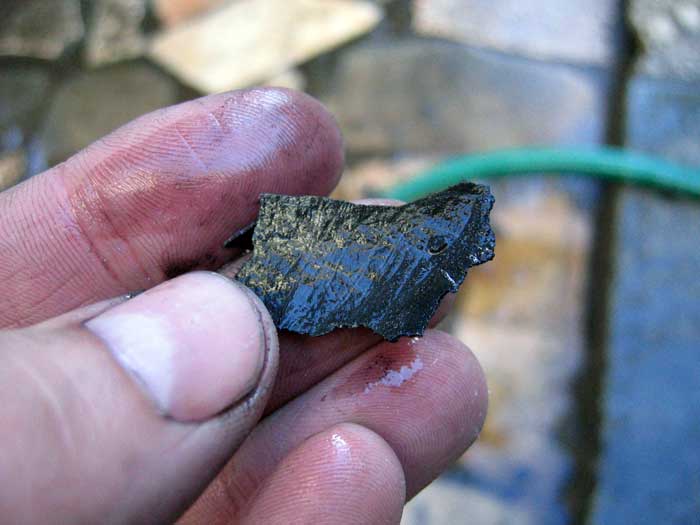
I took them from the electrolysis and realized the "mud" that was falling from the calipers was peeling like old paint.
:mrgreen:
more pictures of what I've done a couple years ago:
This part was also looking good:
I then closed it again and went back to my calipers.
I took them from the electrolysis and realized the "mud" that was falling from the calipers was peeling like old paint.

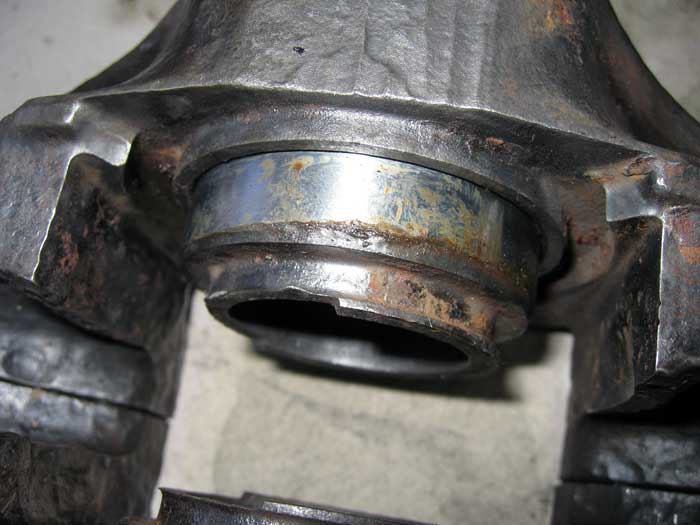
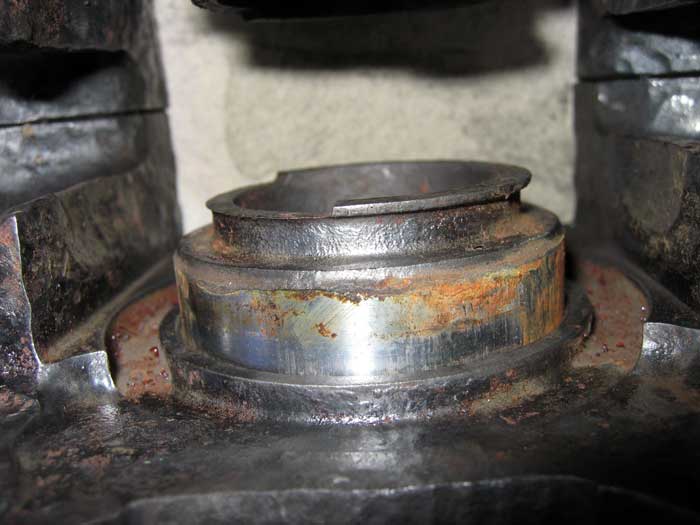
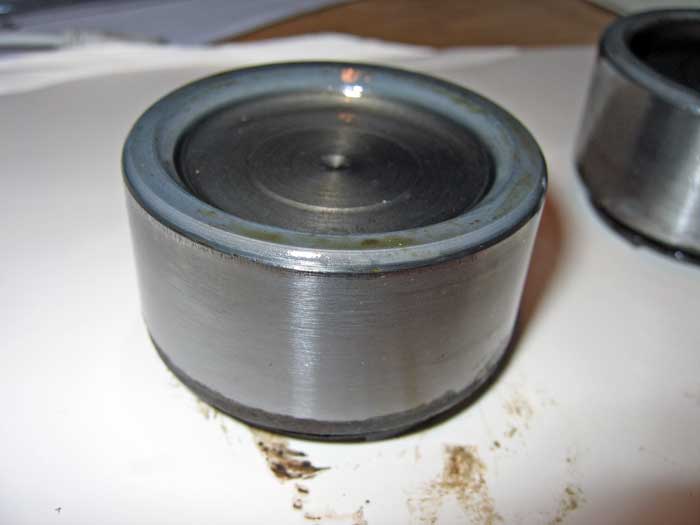
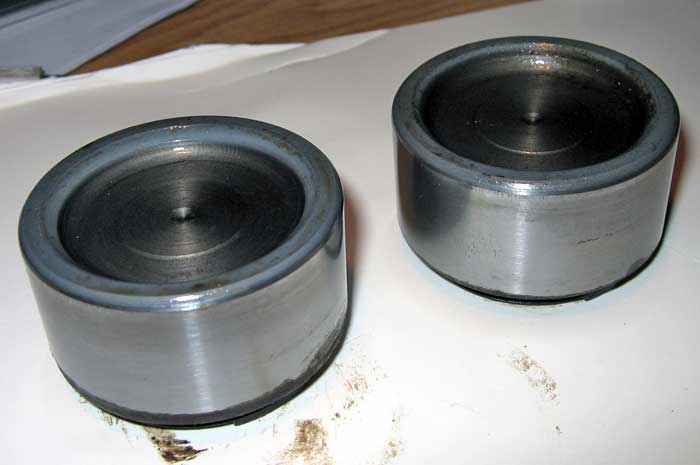
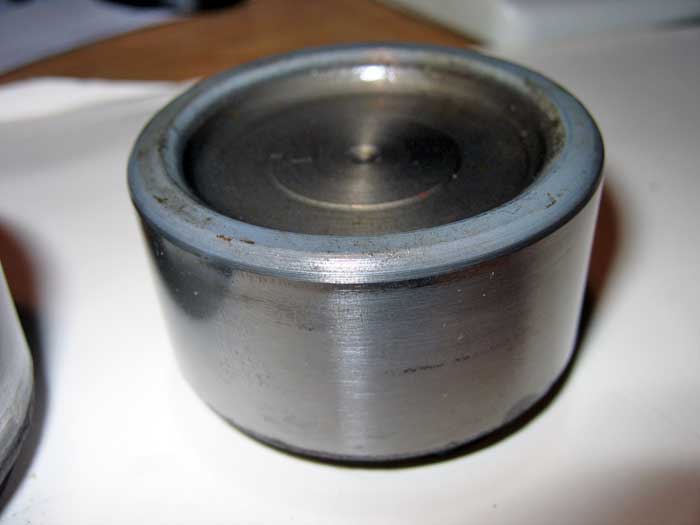
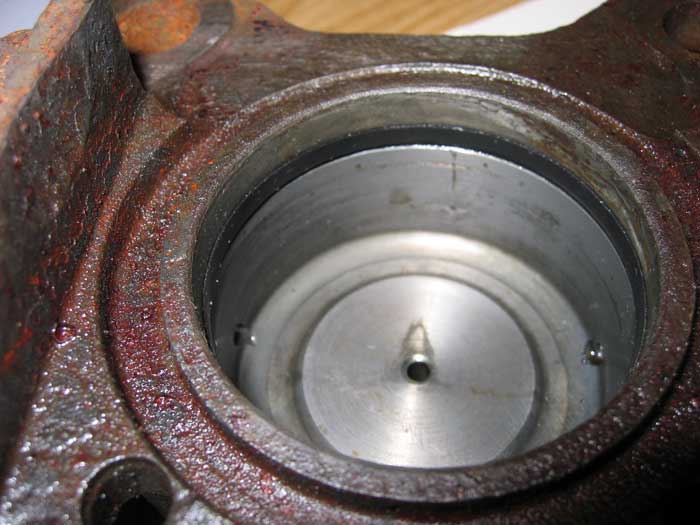
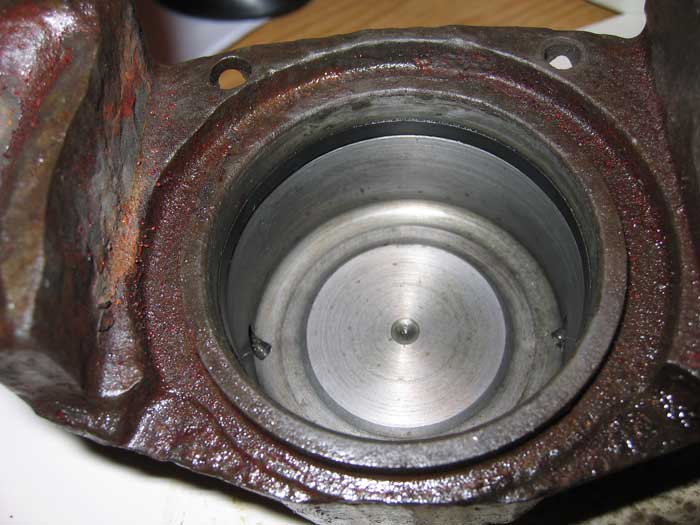
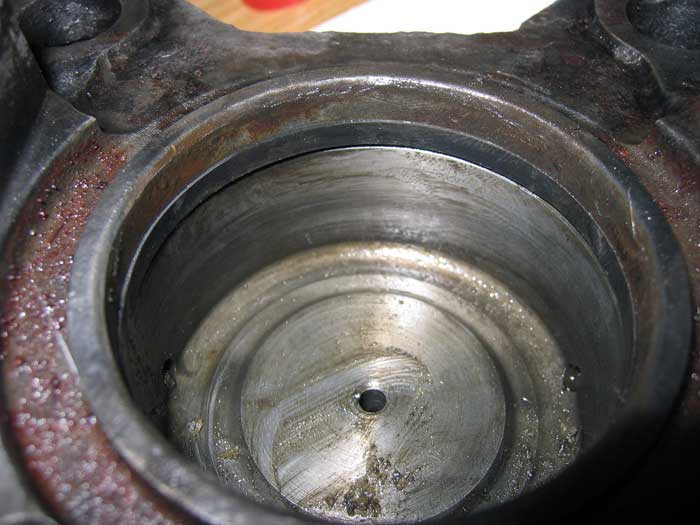
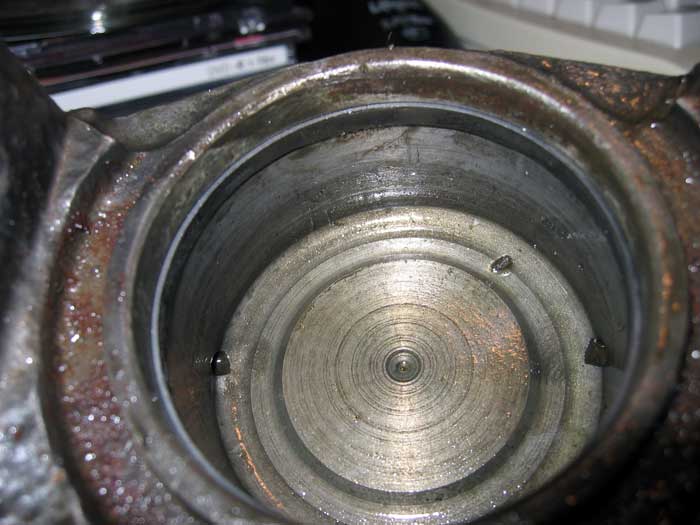
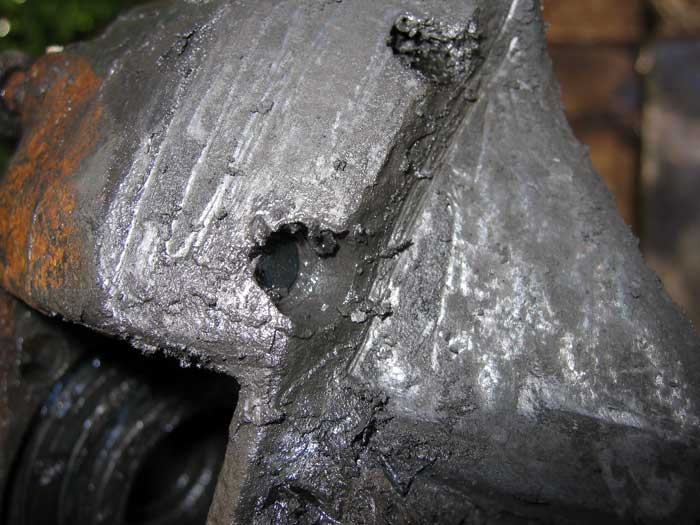
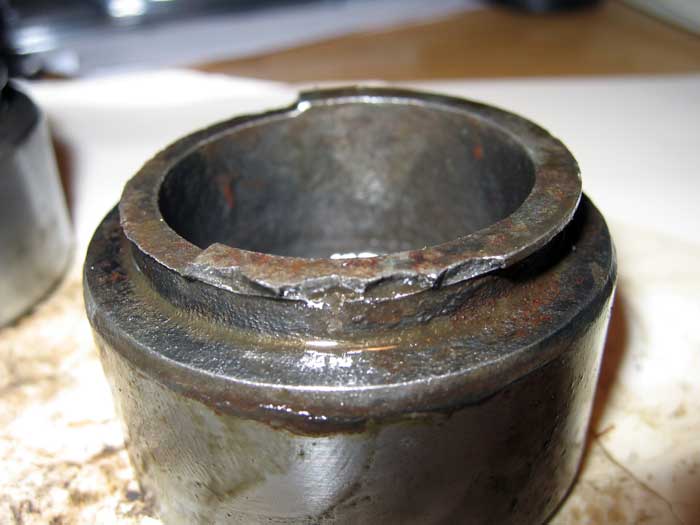
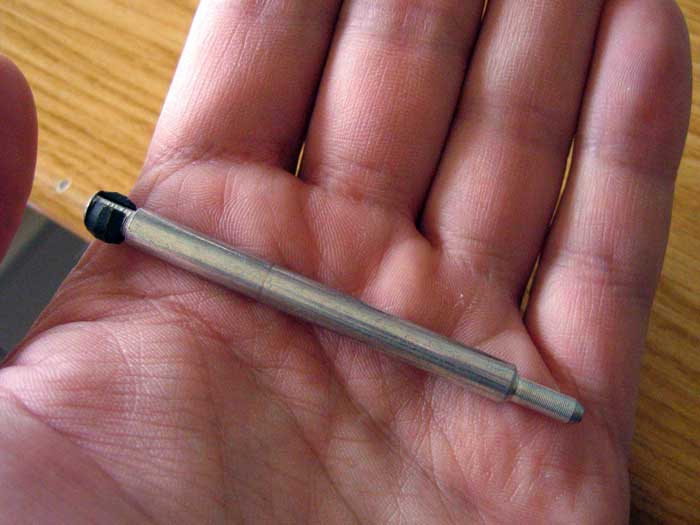
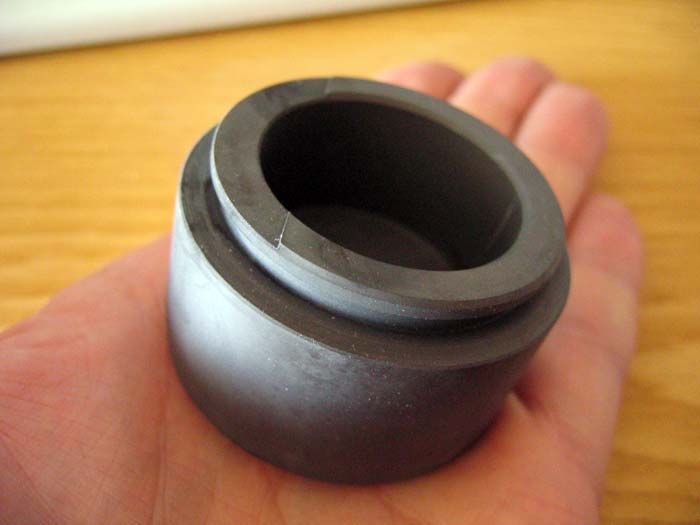
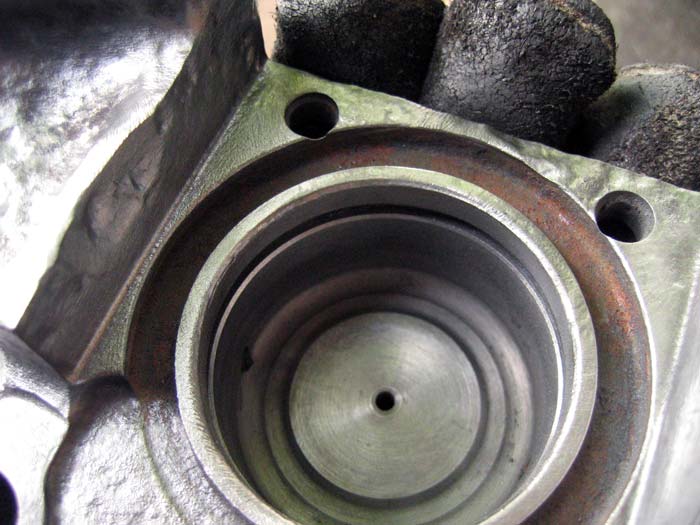
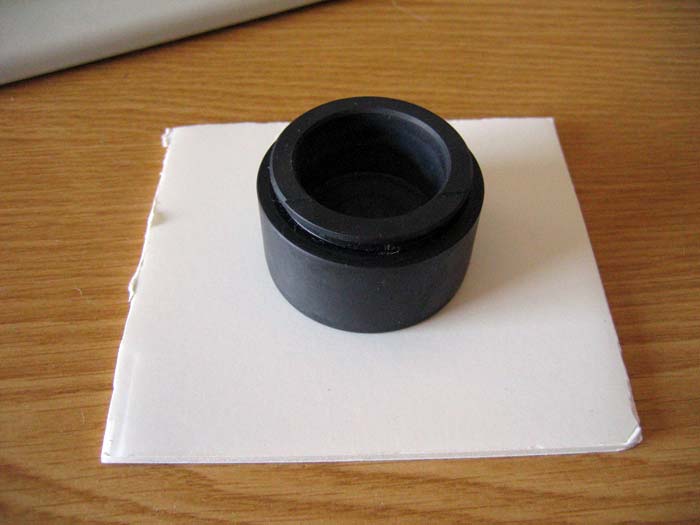
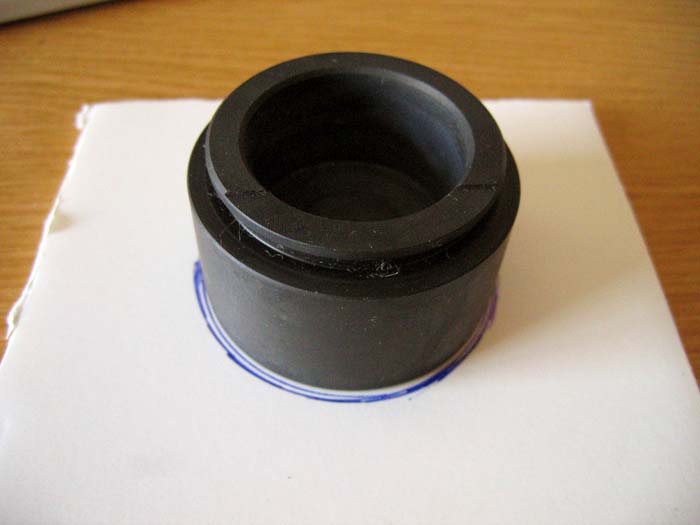
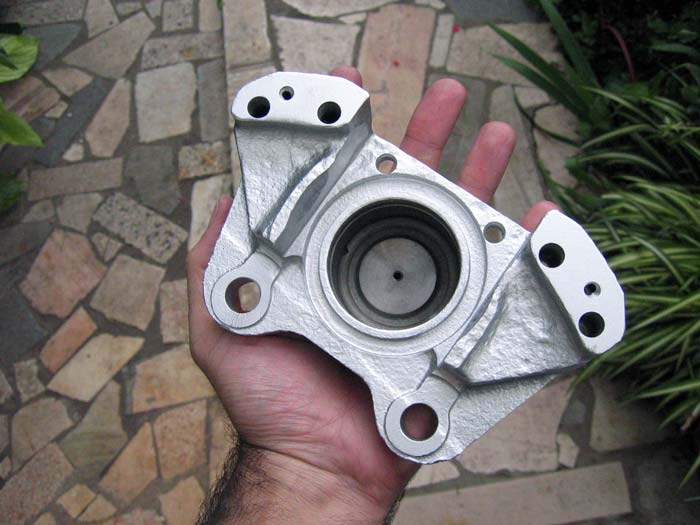
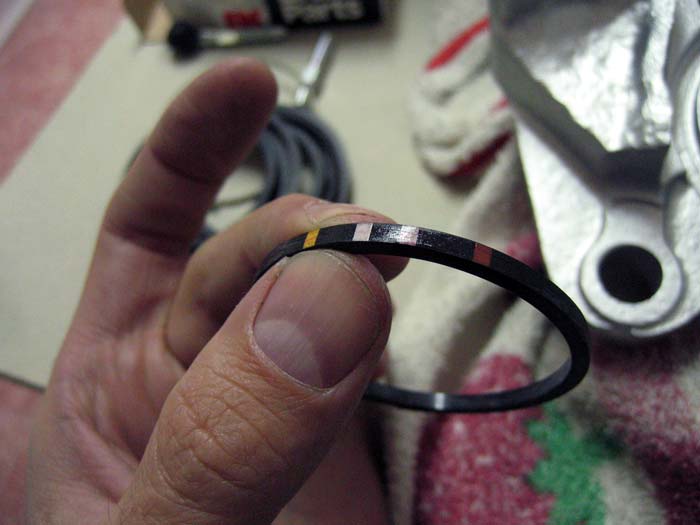
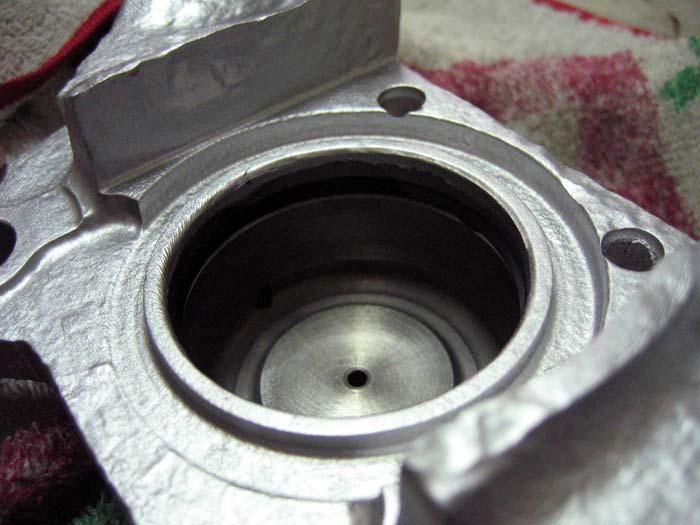
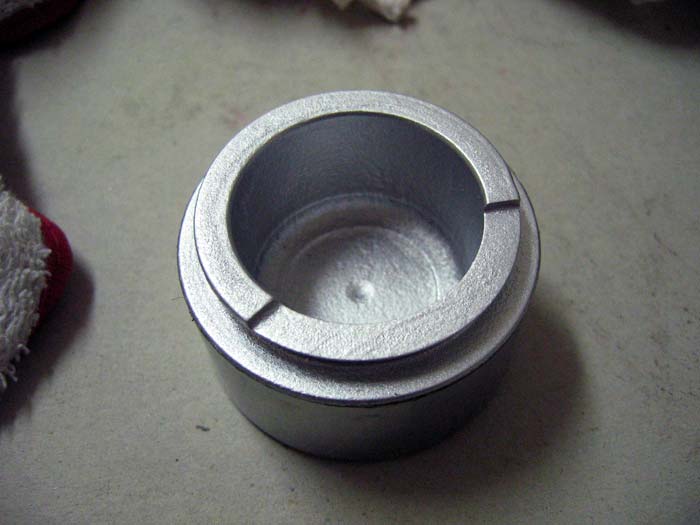
the pistons from the second one were also looking good....
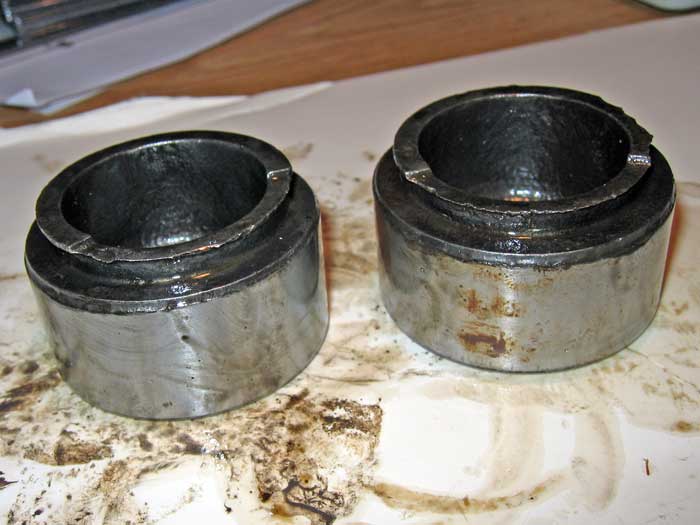
.... despite this small detail:
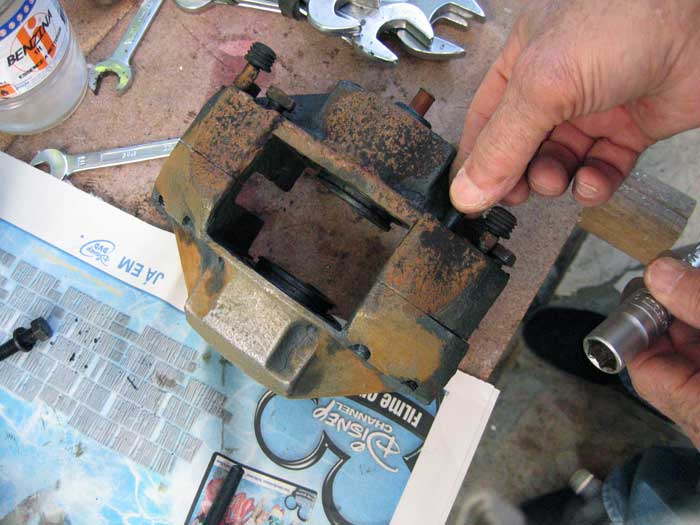
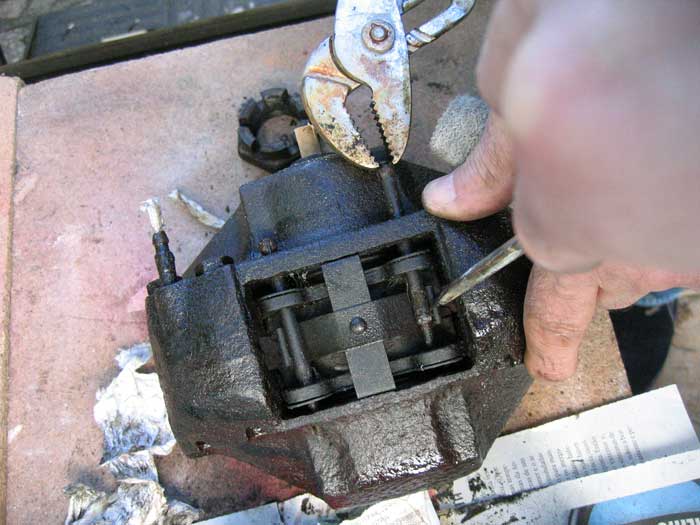
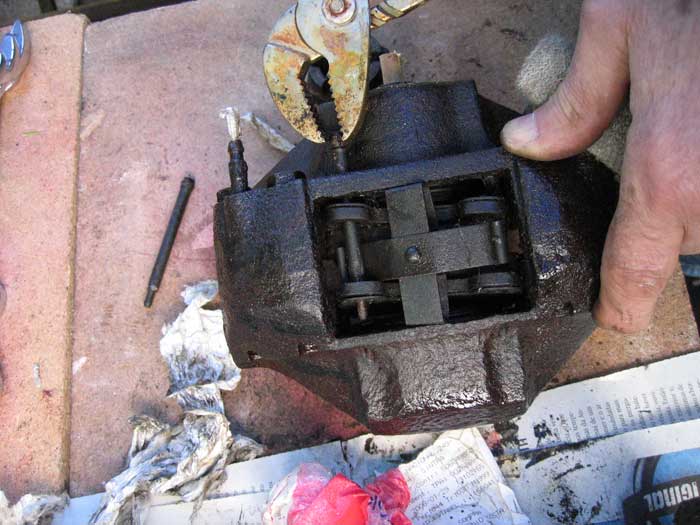
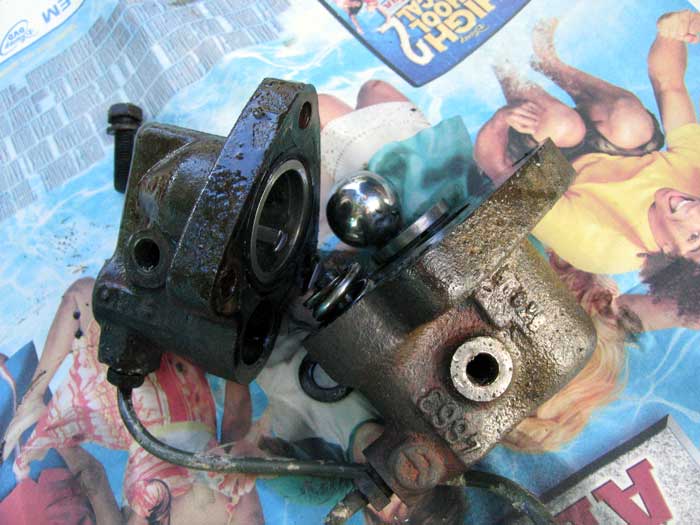
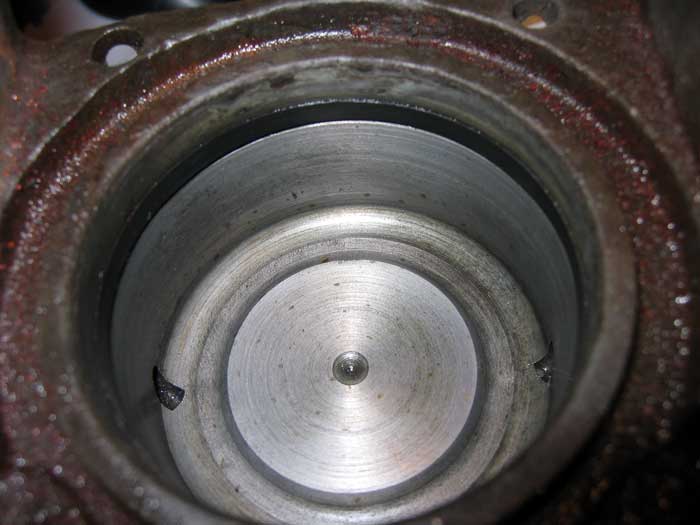
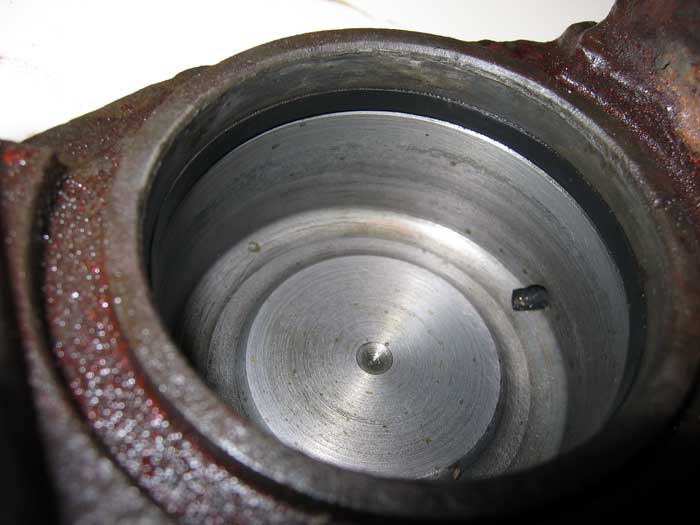
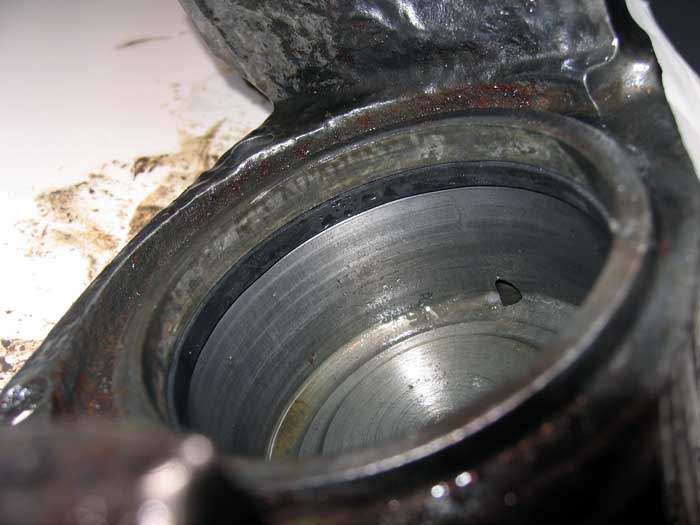
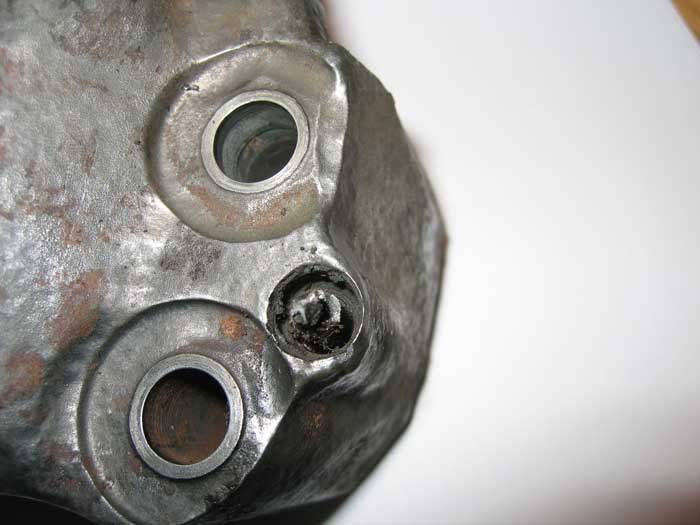
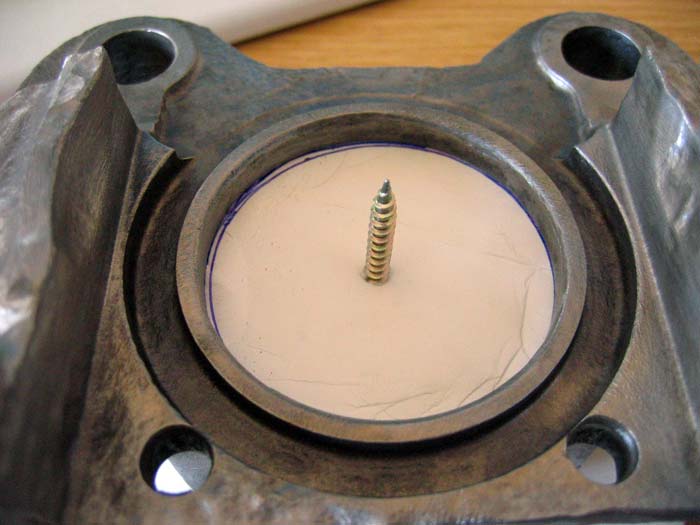
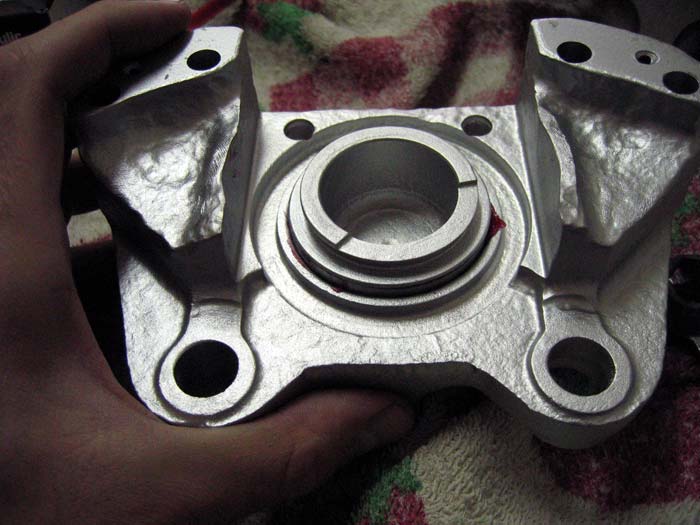
and other parts to remove from the calipers. But they were so rusty and disformed... not an easy task to be done:
.... despite this small detail:
and other parts to remove from the calipers. But they were so rusty and disformed... not an easy task to be done:

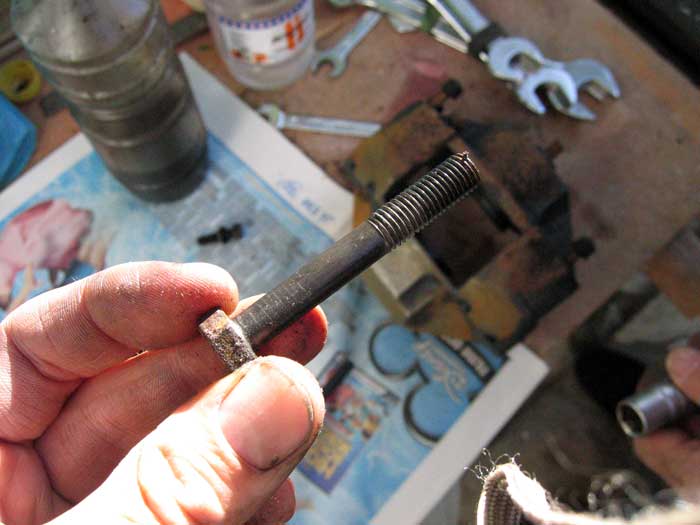
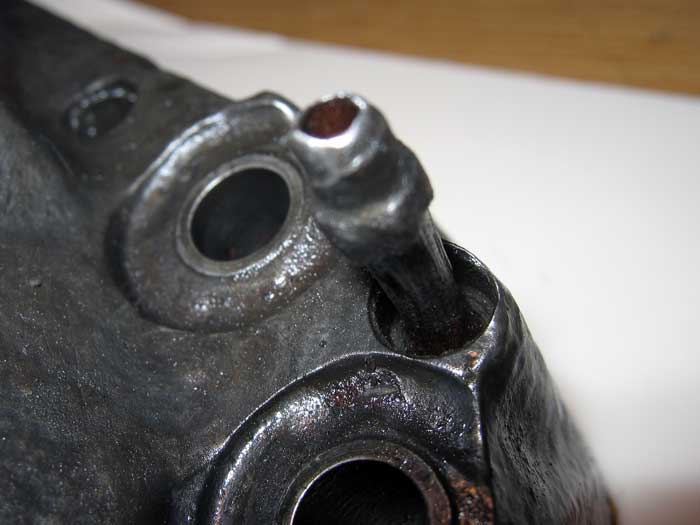
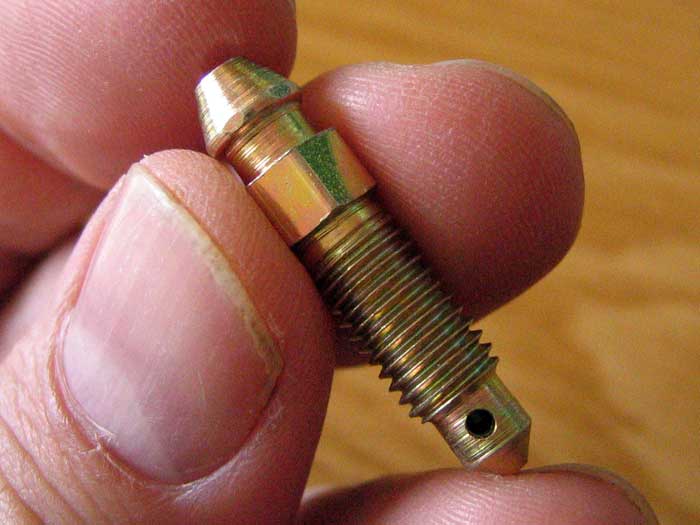
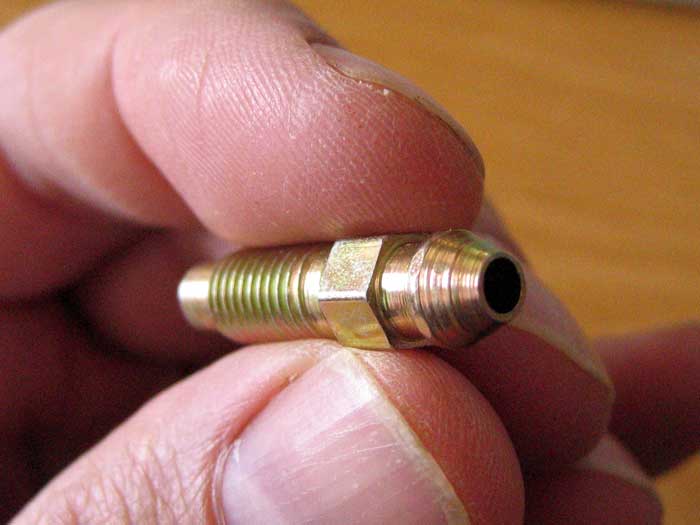
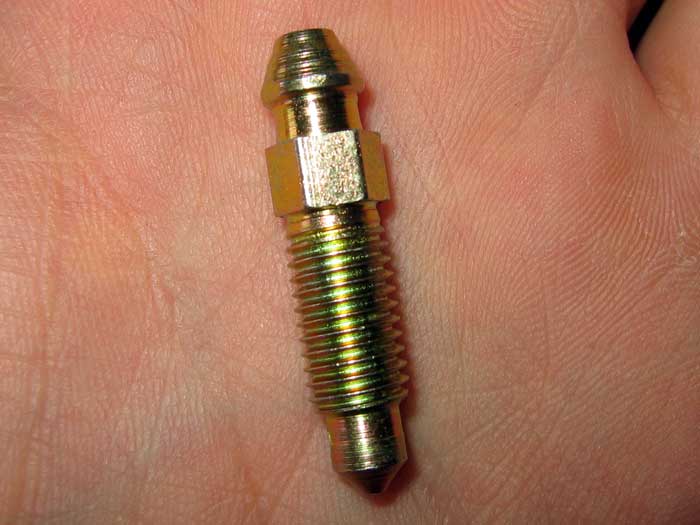
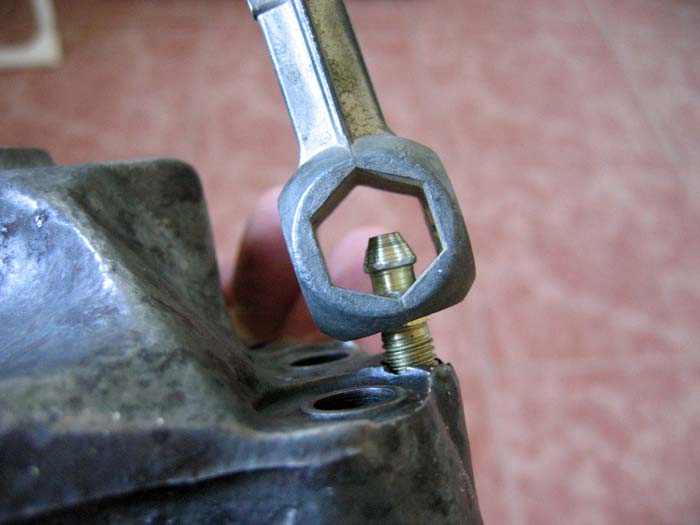
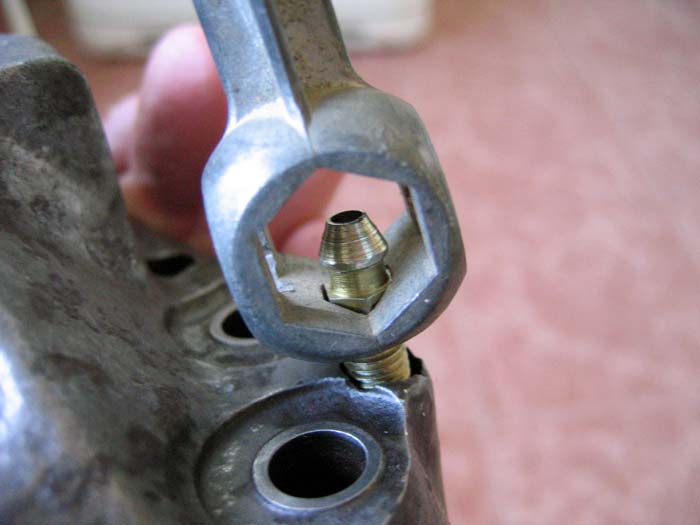
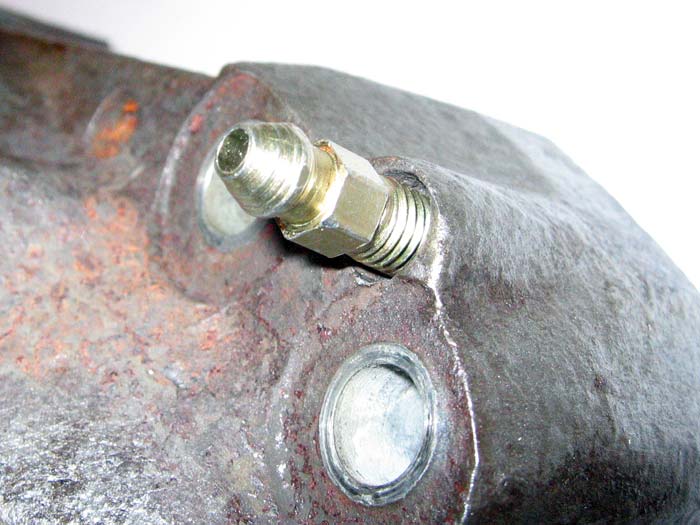
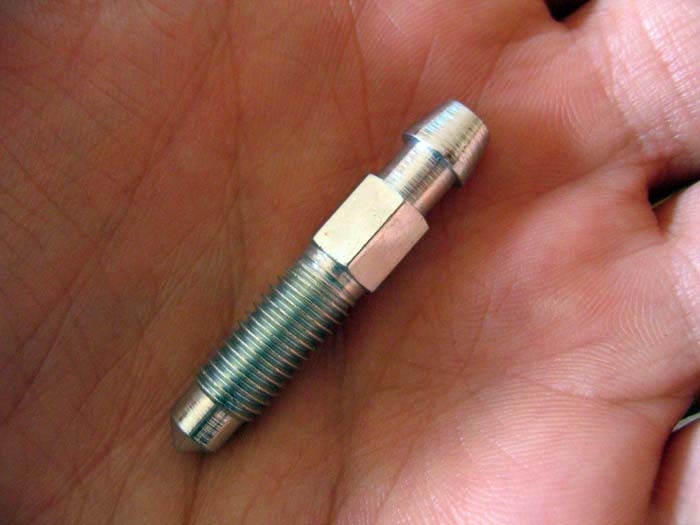
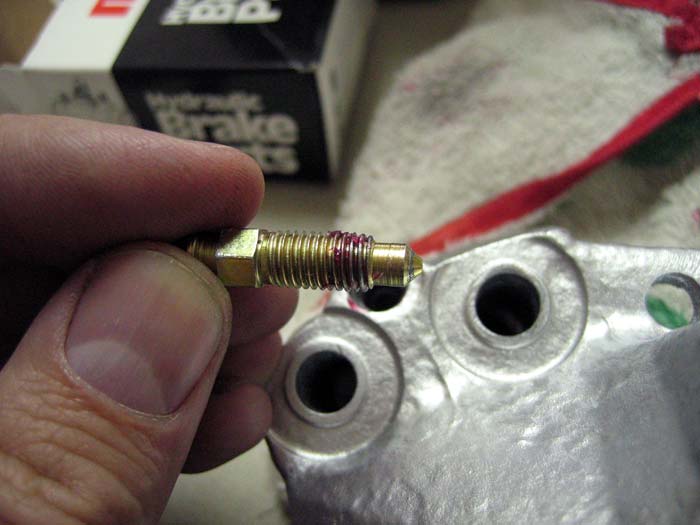
I've tried to remove the bleeders from my calipers very softly... and with a lot of WD-40 for several days.
I tried....really :mrgreen:
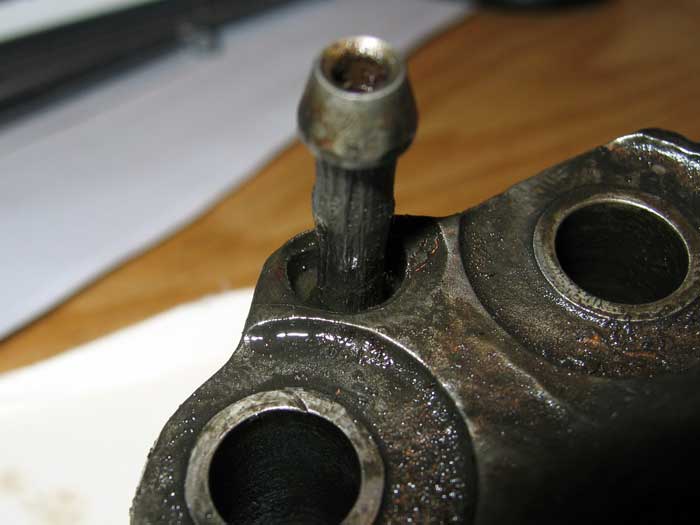
... but it didn't work. So I broke them
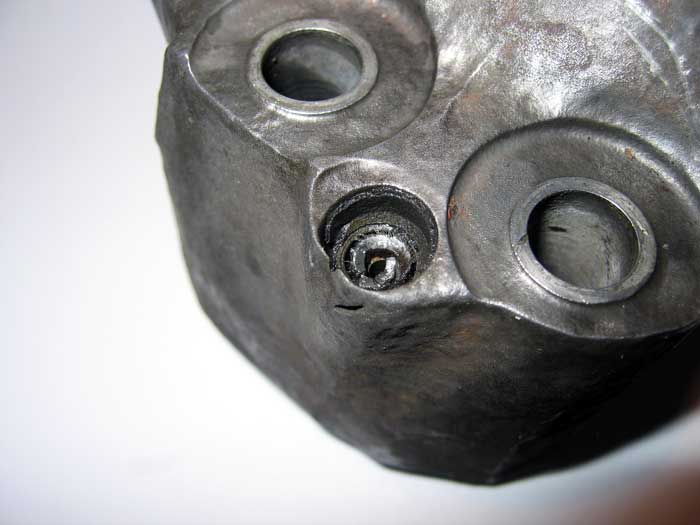
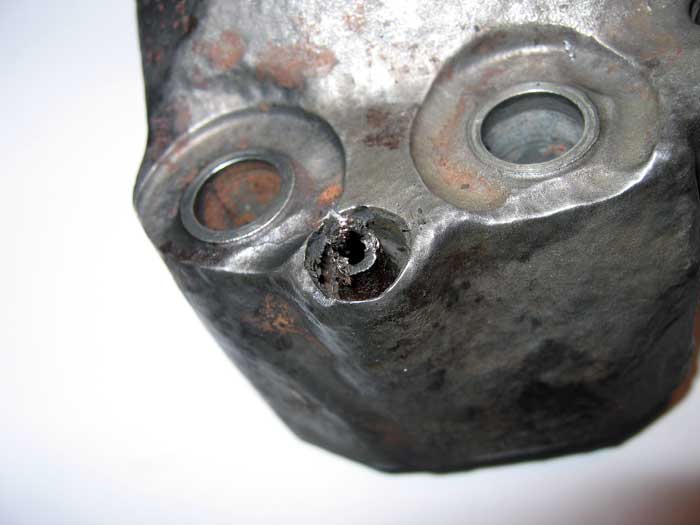
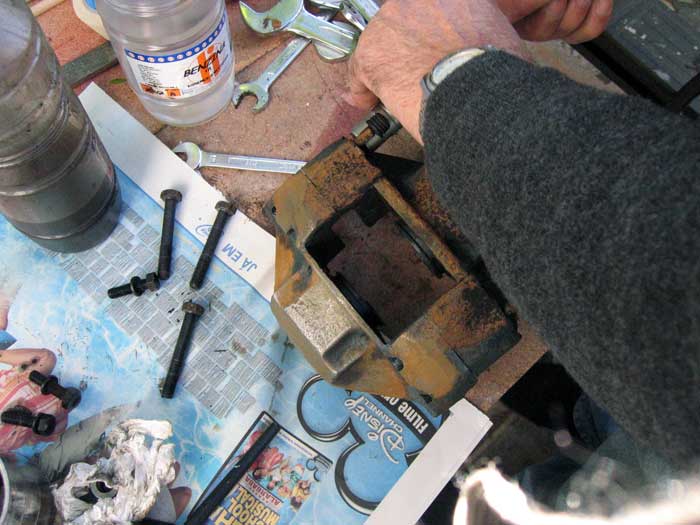
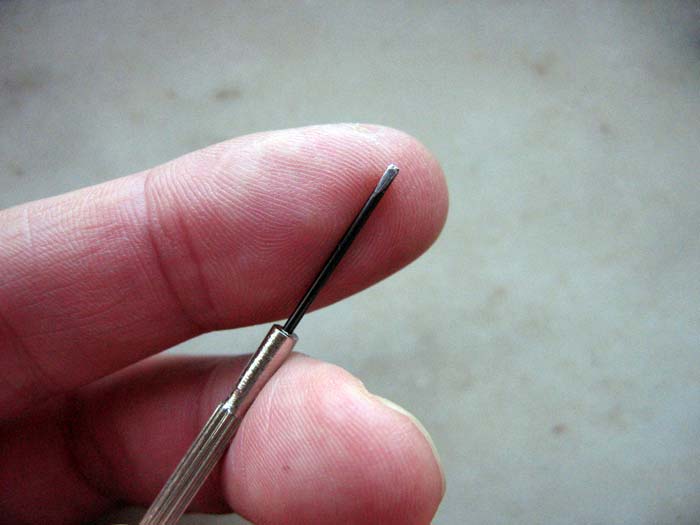
and after this, I had to remove the rest that was left inside the calipers
I tried....really :mrgreen:
... but it didn't work. So I broke them
and after this, I had to remove the rest that was left inside the calipers


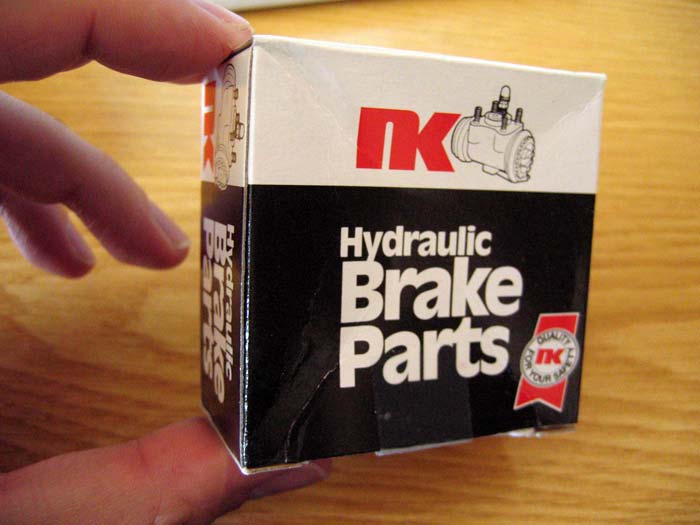
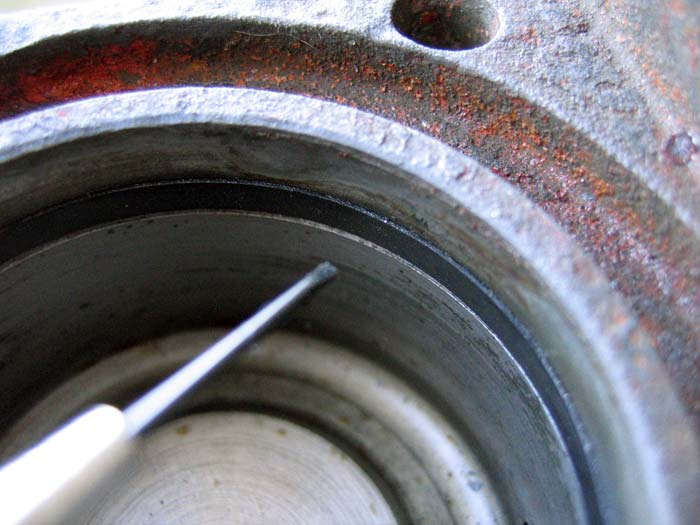
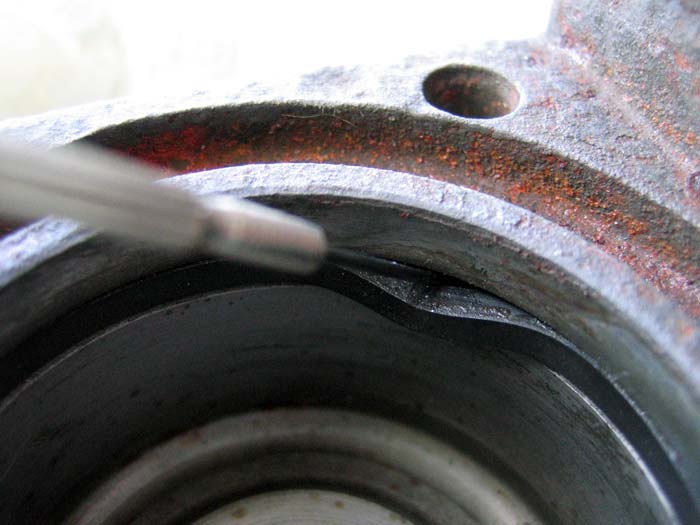
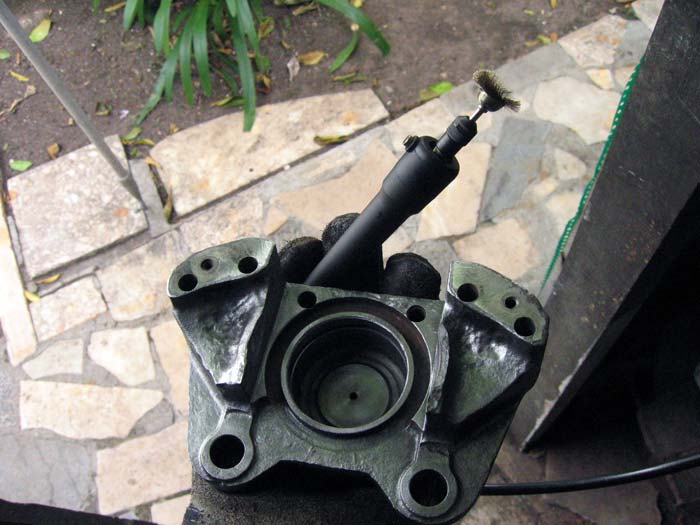


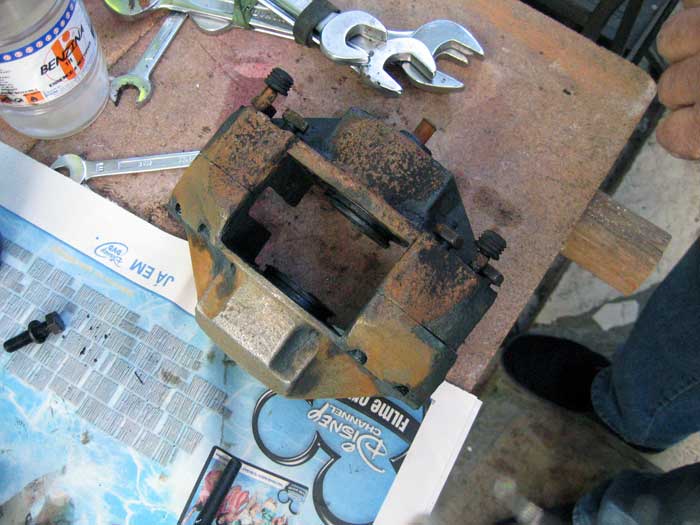
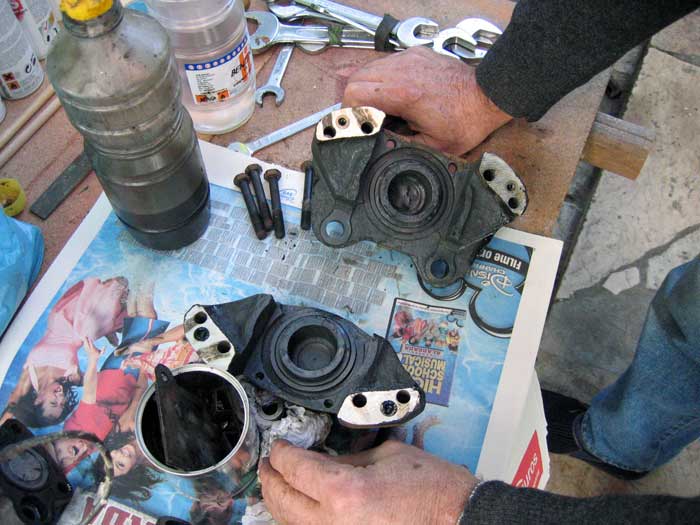
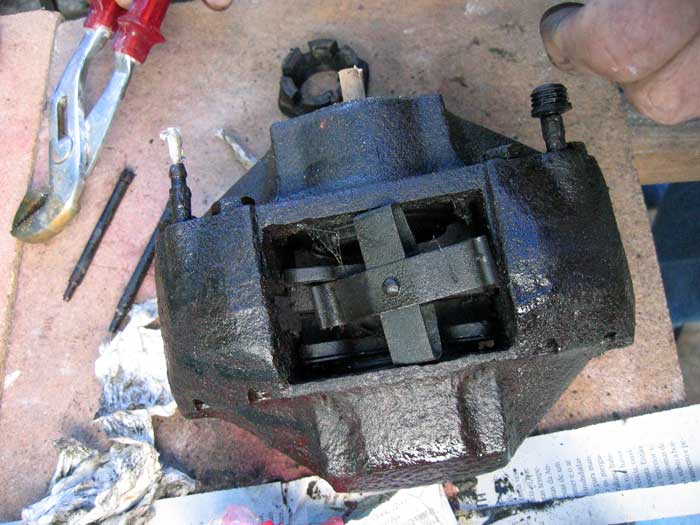
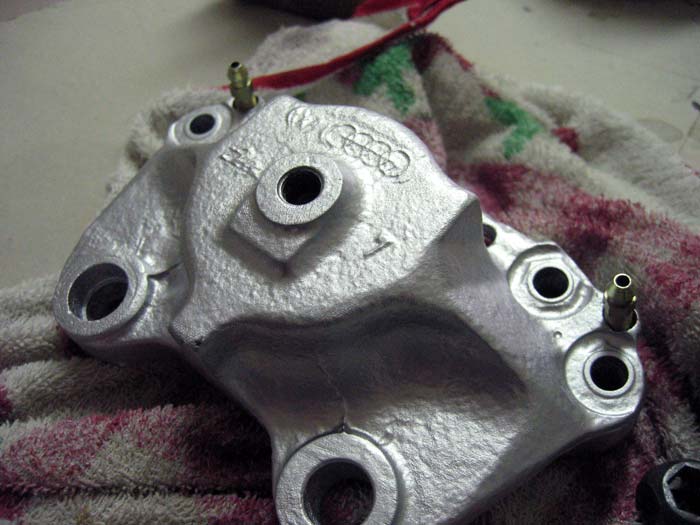
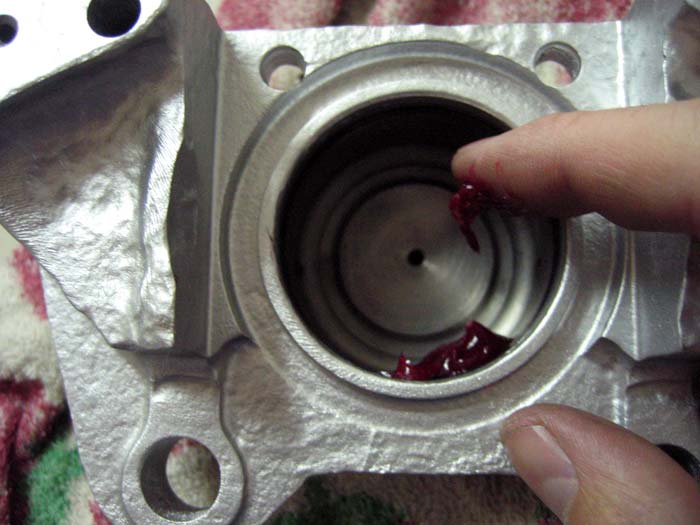
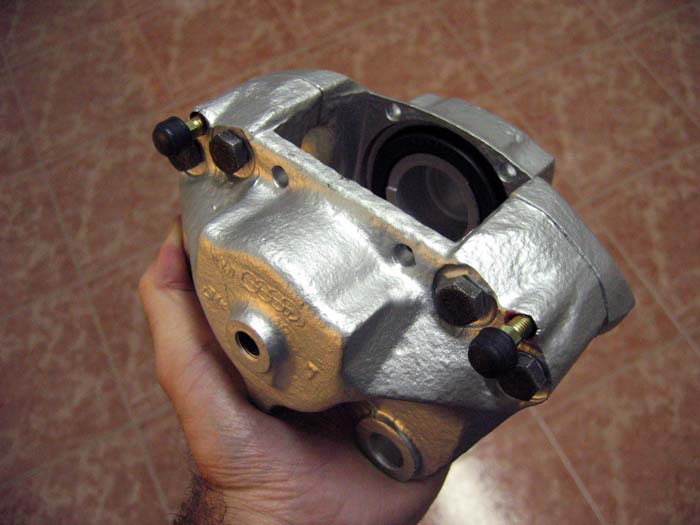
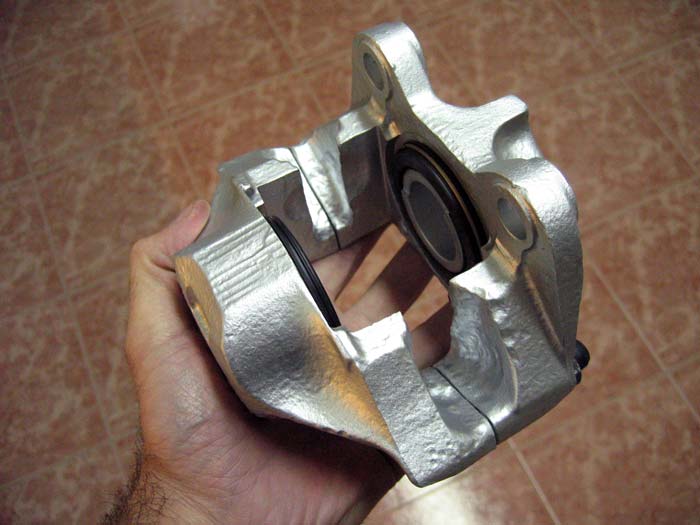
I cleaned the calipers with high pressure air:

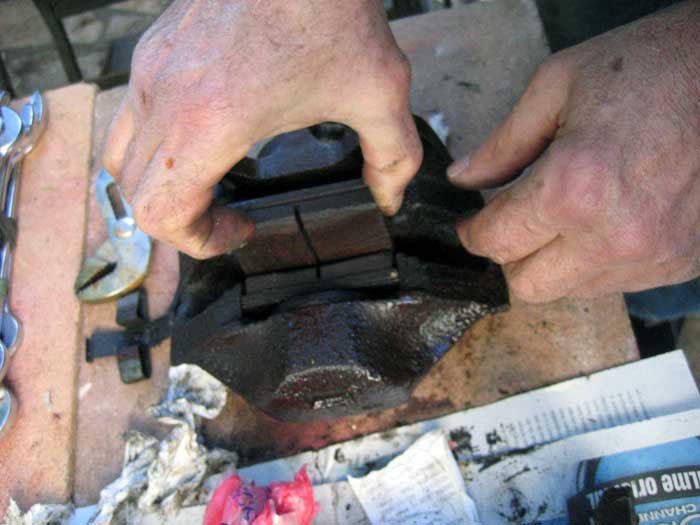
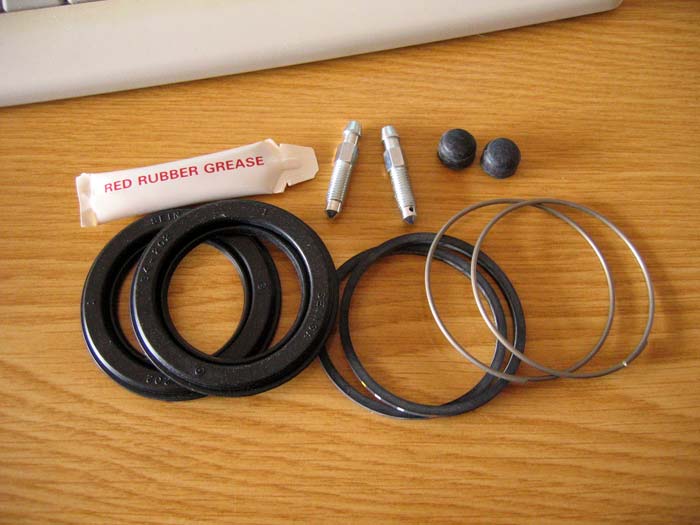
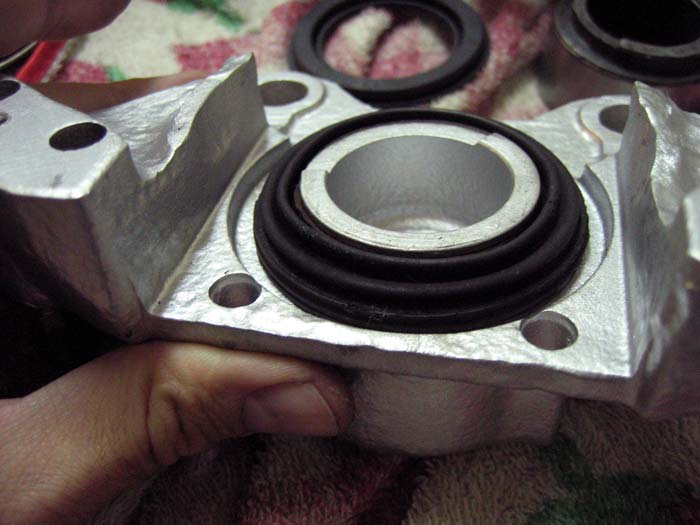
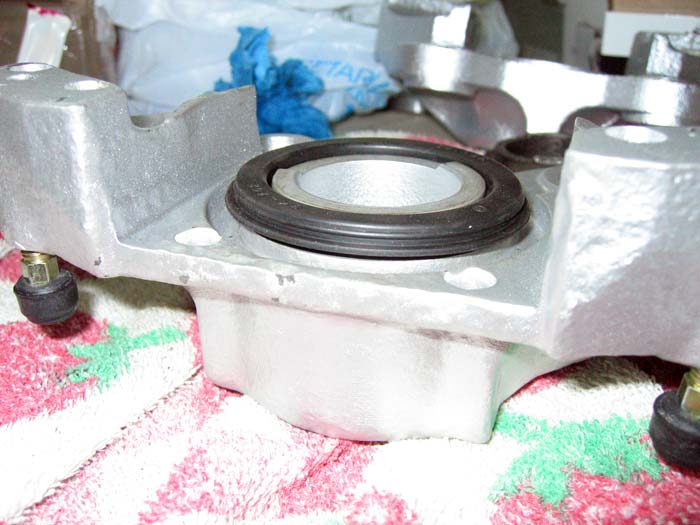
and after I began assembling them:
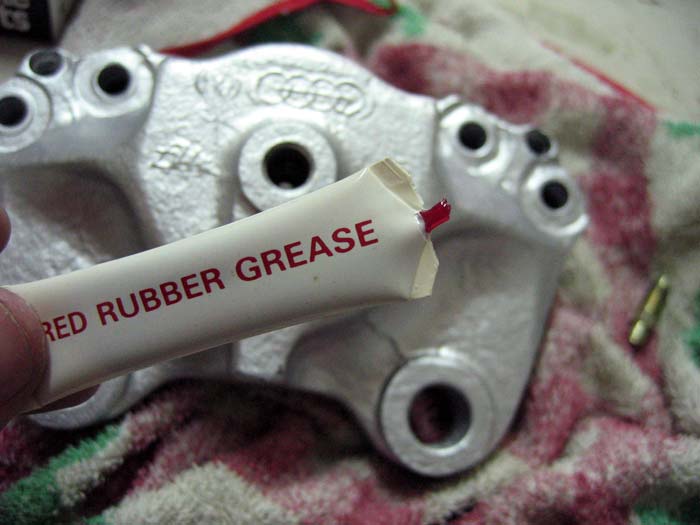
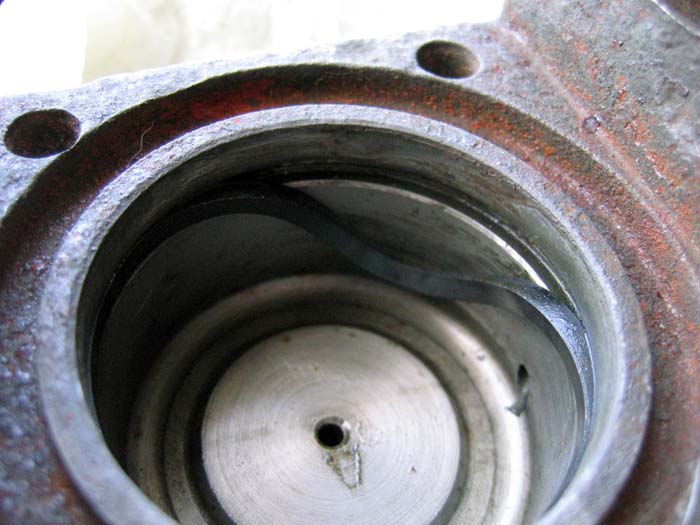
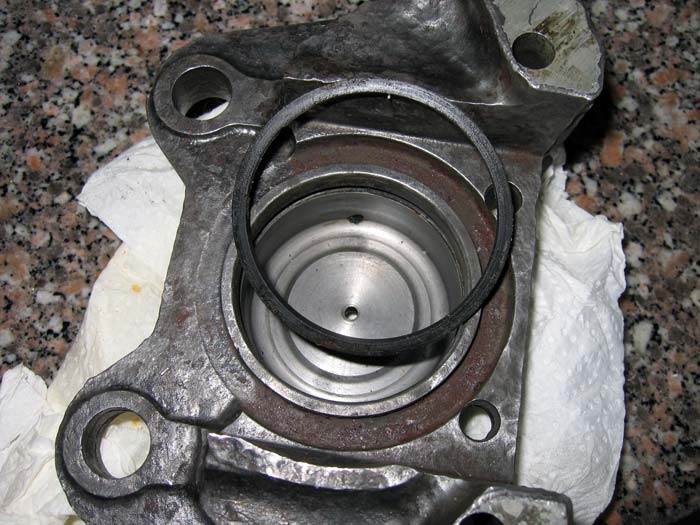
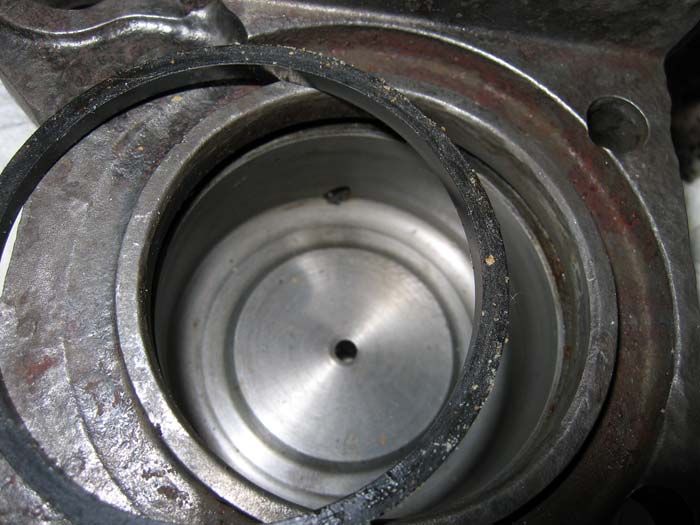
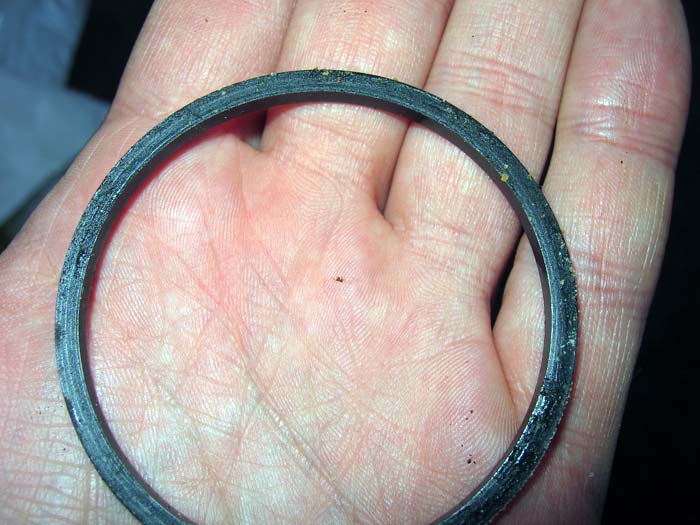
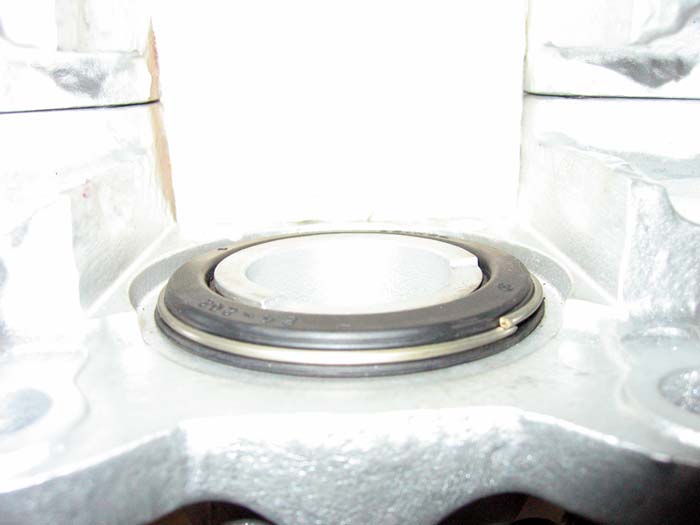
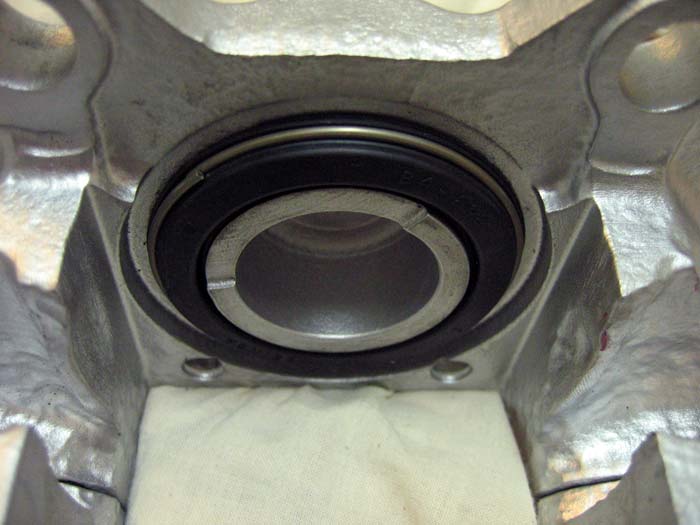
... new inner seal....
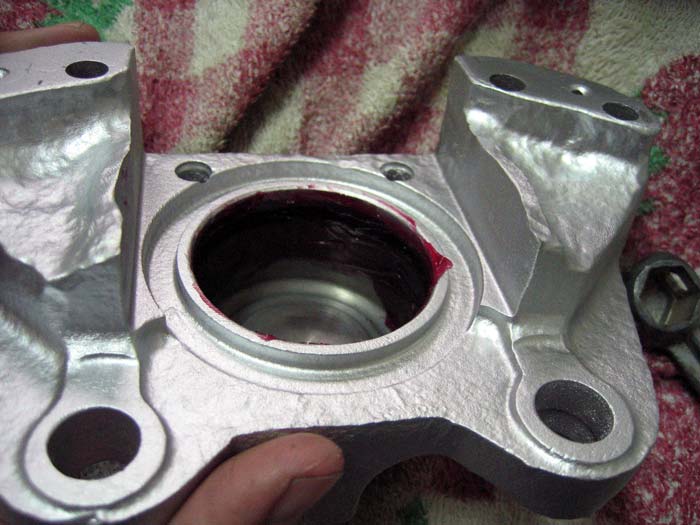
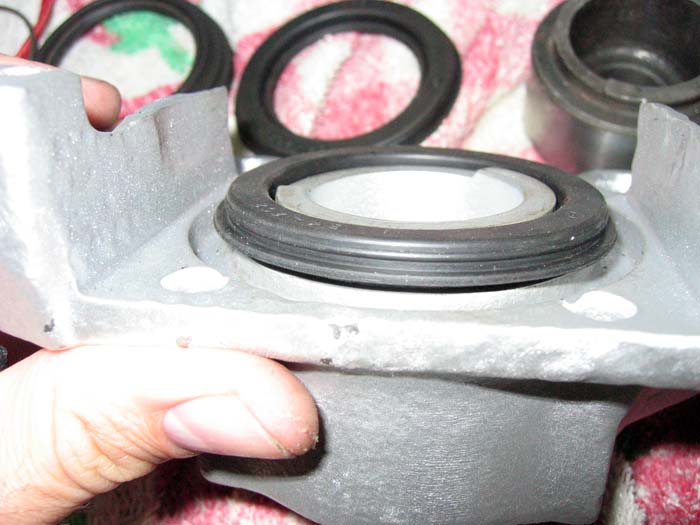
... and then I stucked in the piston ....
(fist time in the wrong position: my first mistake 8) )
and because I didn't stuck them to the end, I thought the new seals weren't good to use....
(my second mistake :mrgreen: )
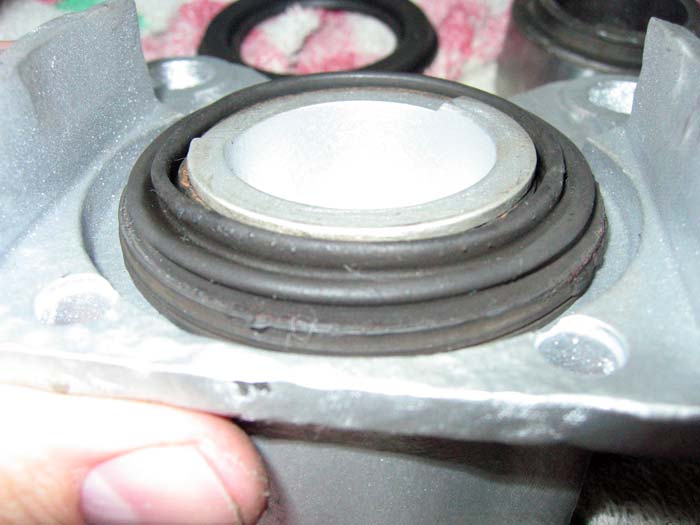
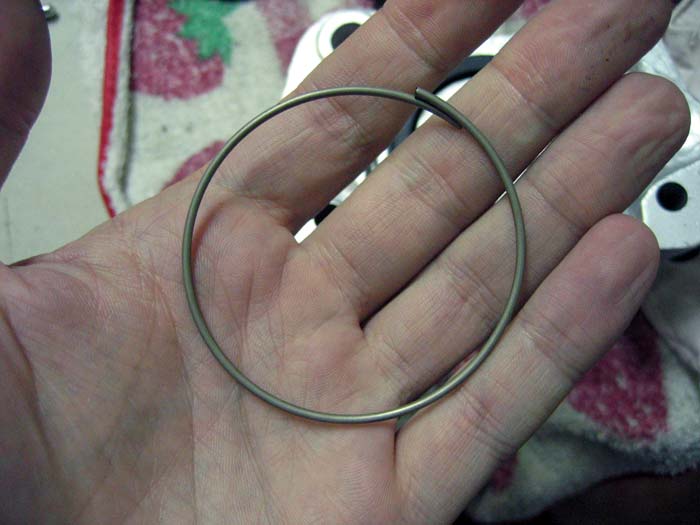
... and so at first, I didn't understand why there was this spring in the new reapir kit:
and after I began assembling them:
... new inner seal....
... and then I stucked in the piston ....
(fist time in the wrong position: my first mistake 8) )
and because I didn't stuck them to the end, I thought the new seals weren't good to use....
(my second mistake :mrgreen: )
... and so at first, I didn't understand why there was this spring in the new reapir kit:
Similar threads
- Replies
- 10
- Views
- 734
- Locked
Parts For Sale
now sold: 1600 engine for sale (august 2023)
- Replies
- 8
- Views
- 1K
- Replies
- 29
- Views
- 2K
Vehicle For Sale
1971 T2a Double Cab Pick Up
- Replies
- 0
- Views
- 1K