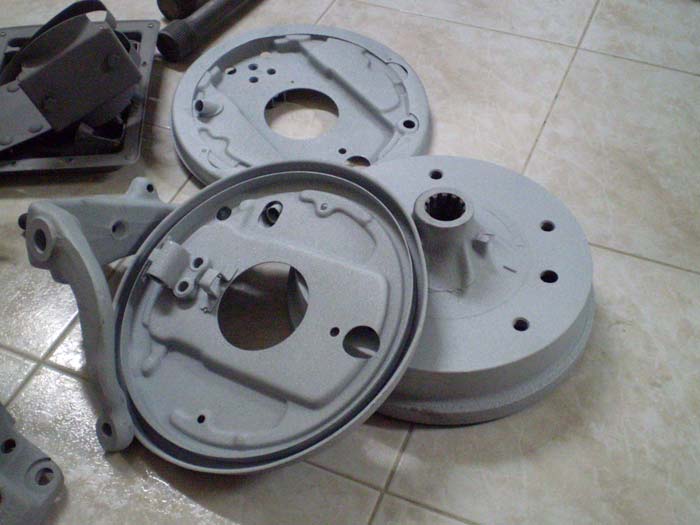
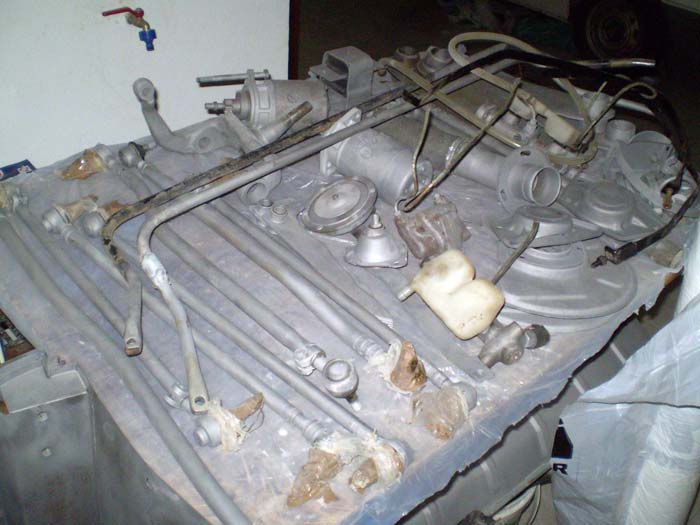
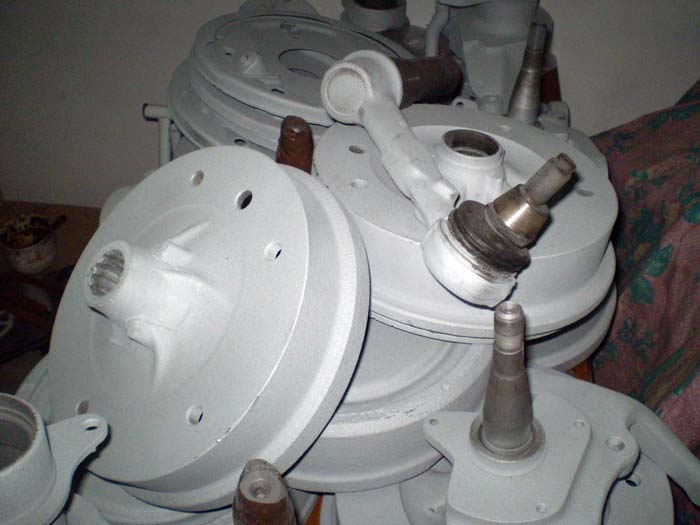
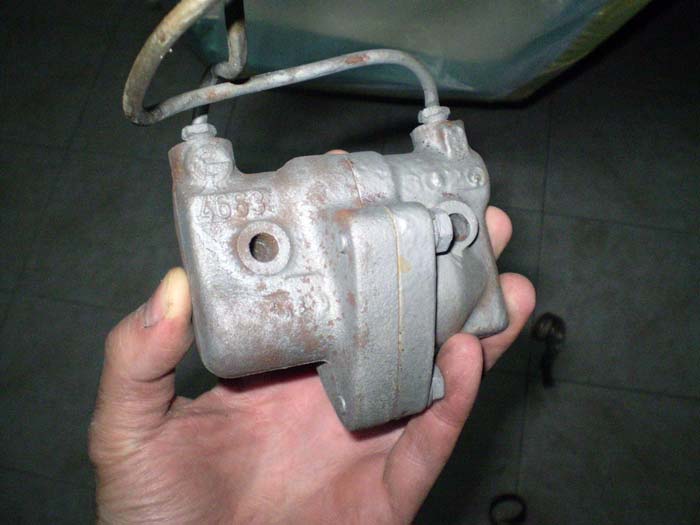
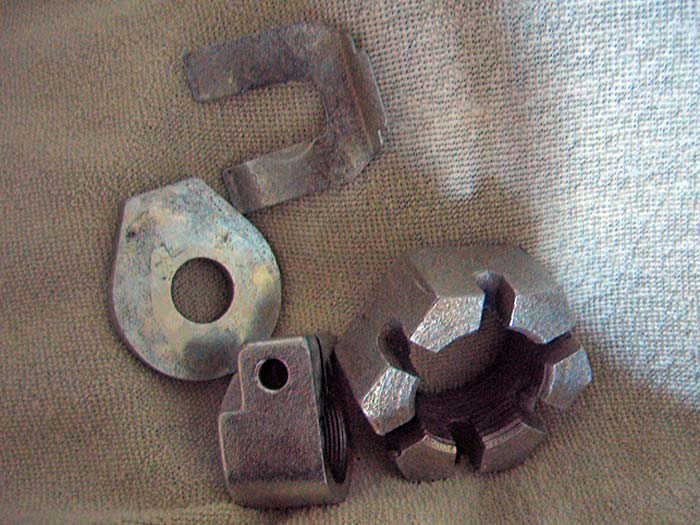
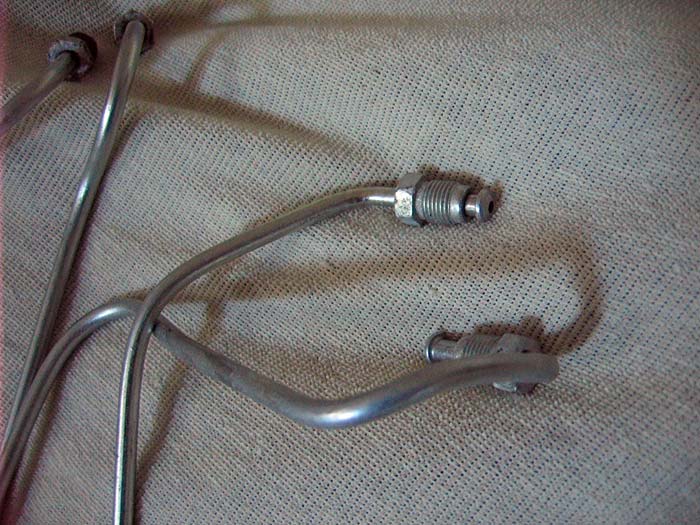
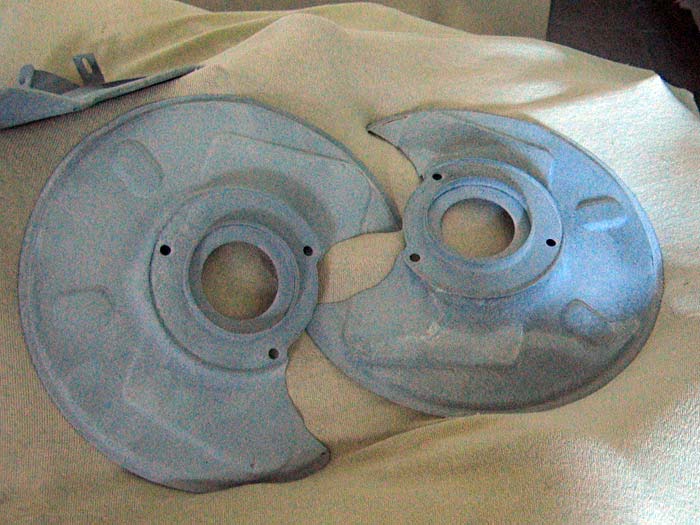
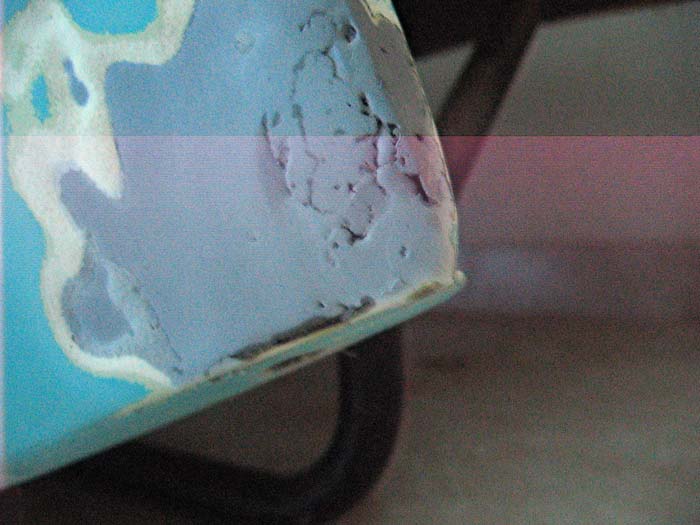
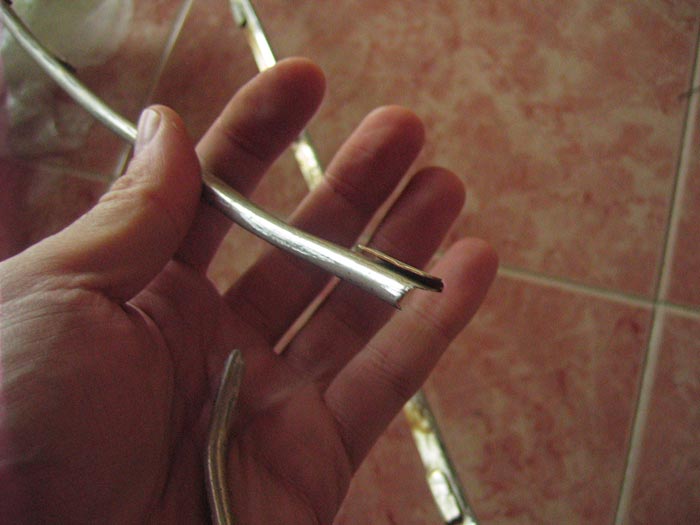
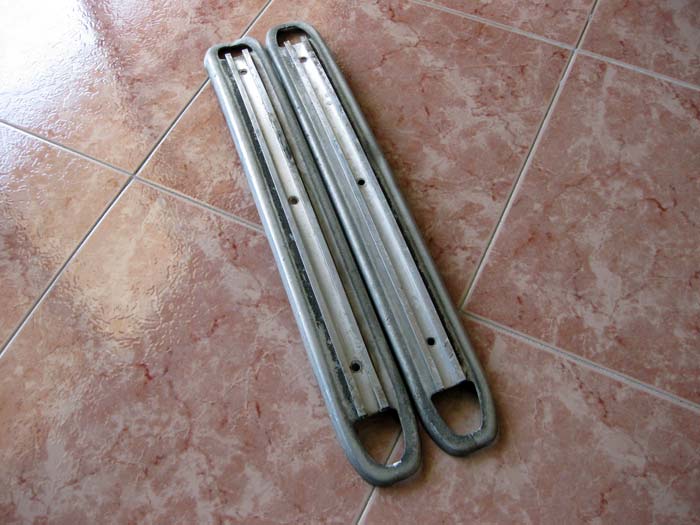
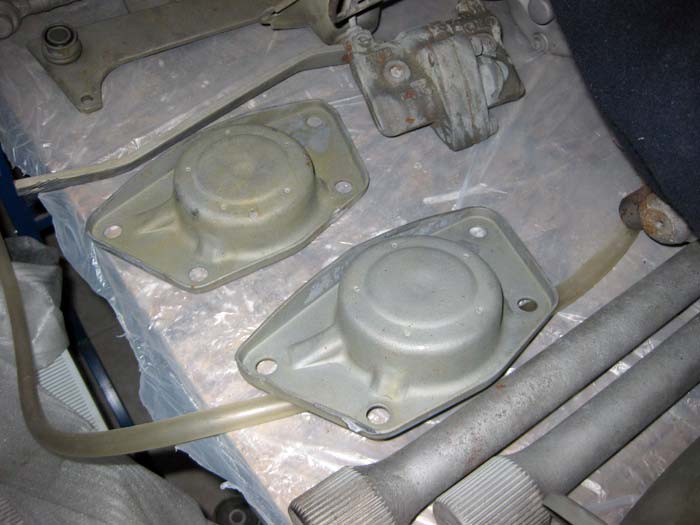
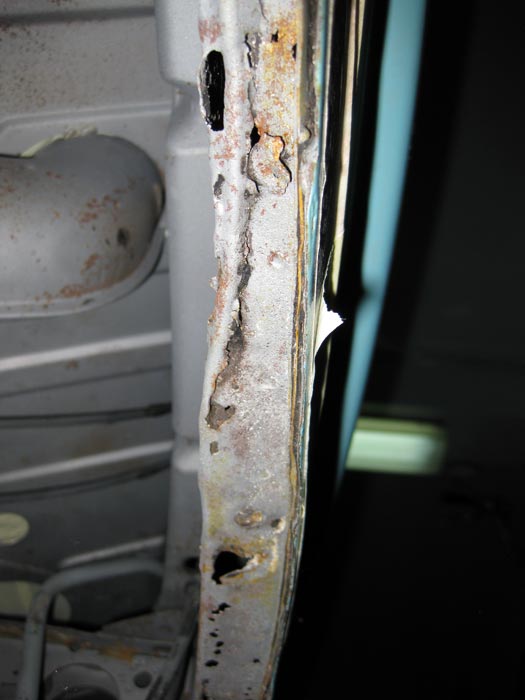
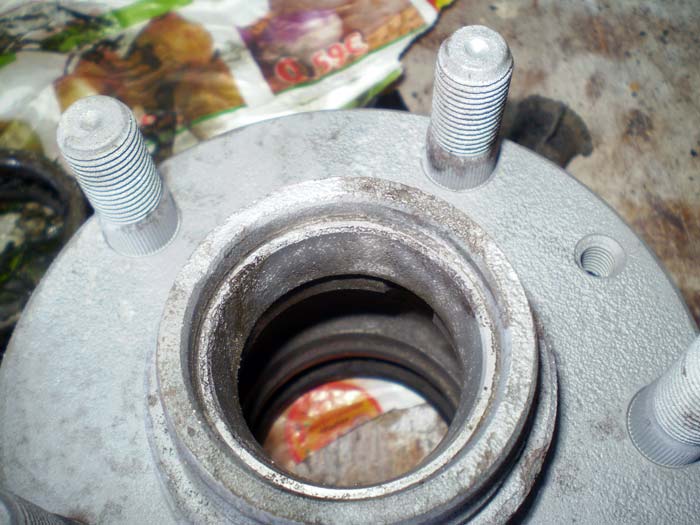
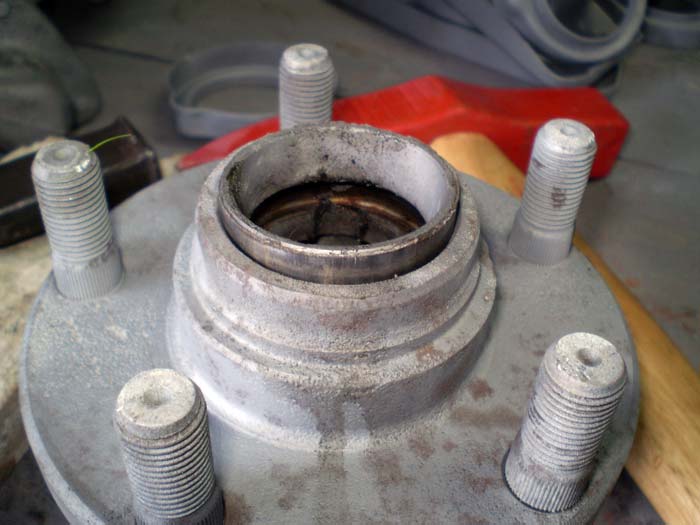
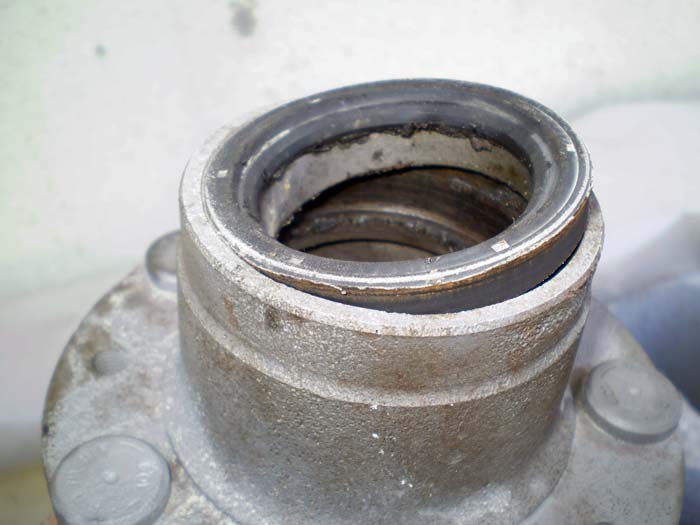
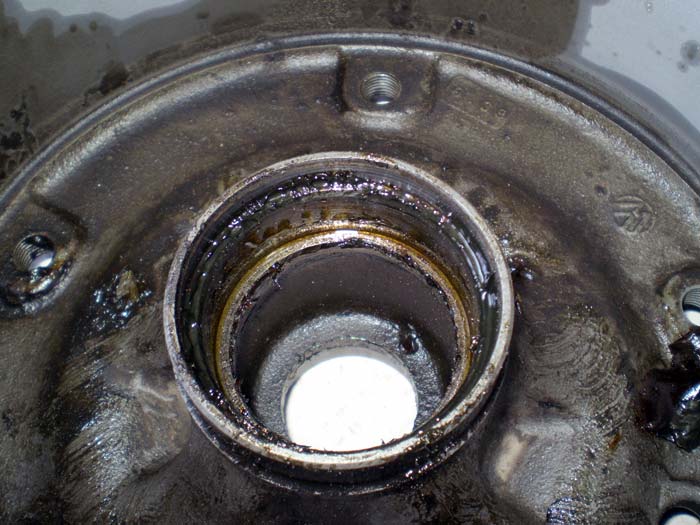
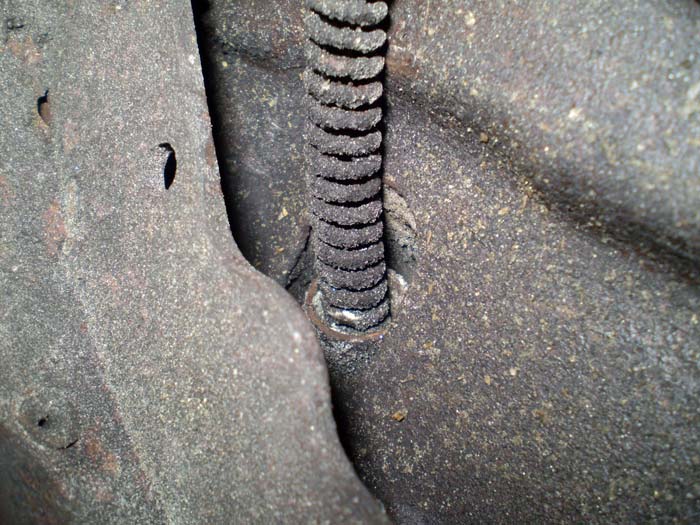
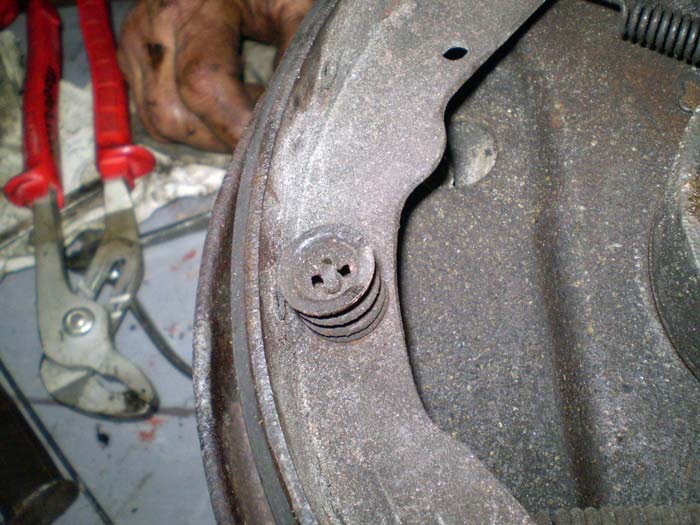
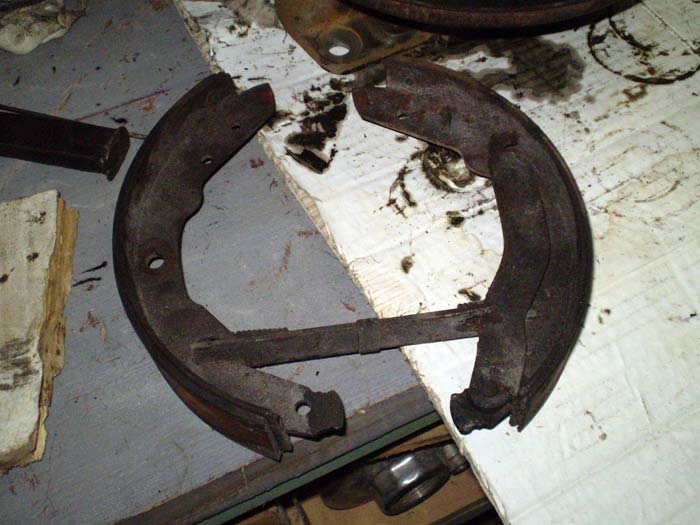
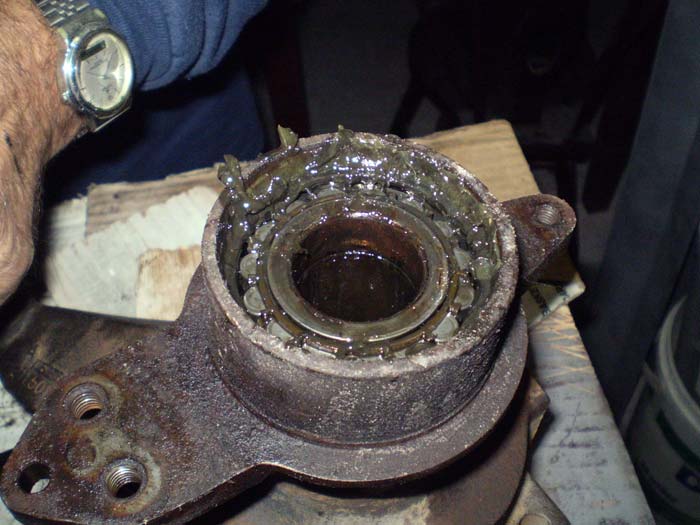
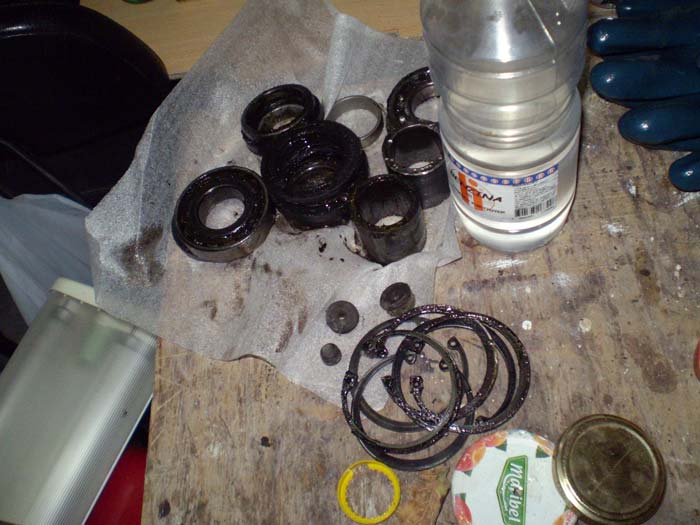
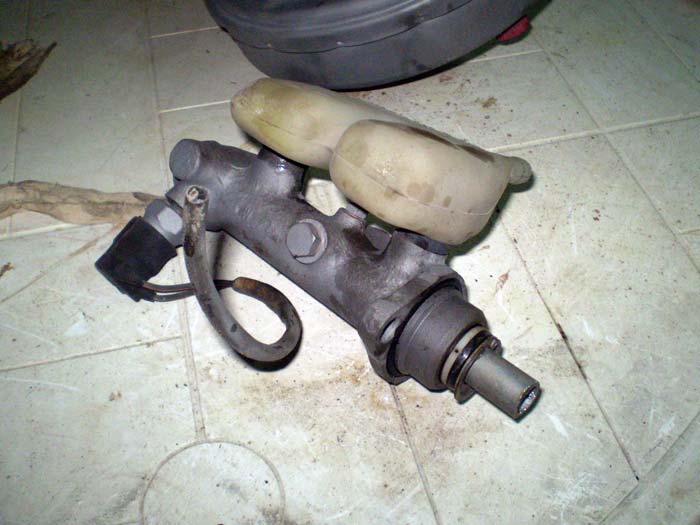
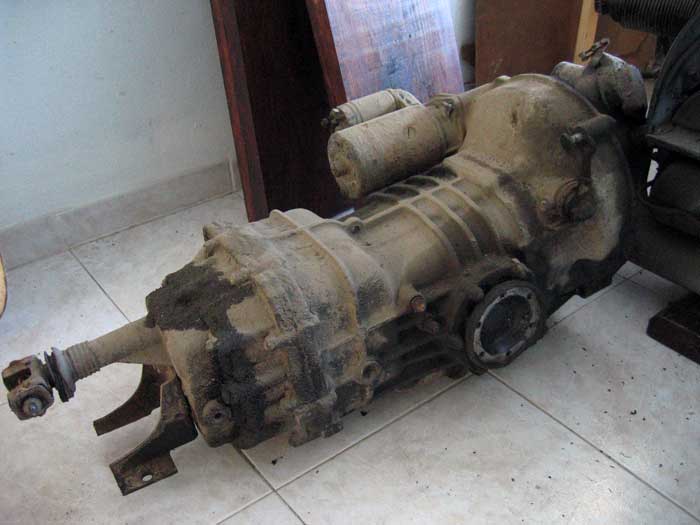
there were a lot more small parts to remove: wheel bearings, seals, etc....
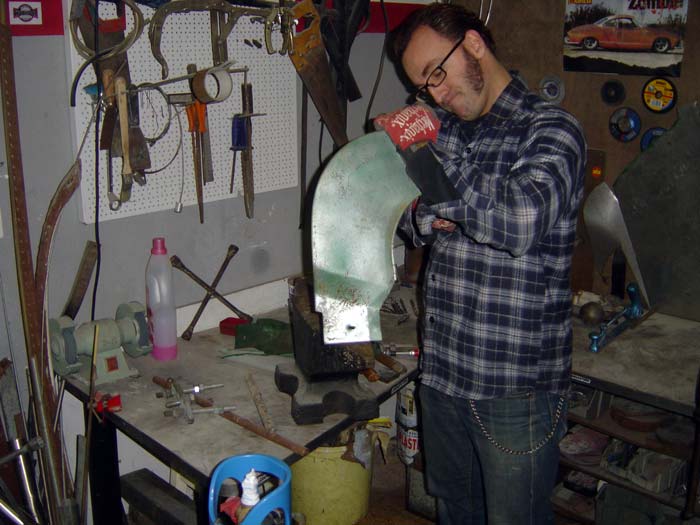
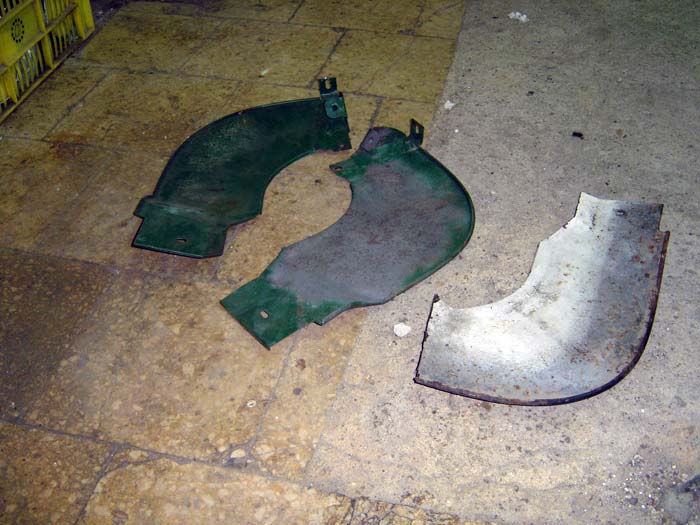
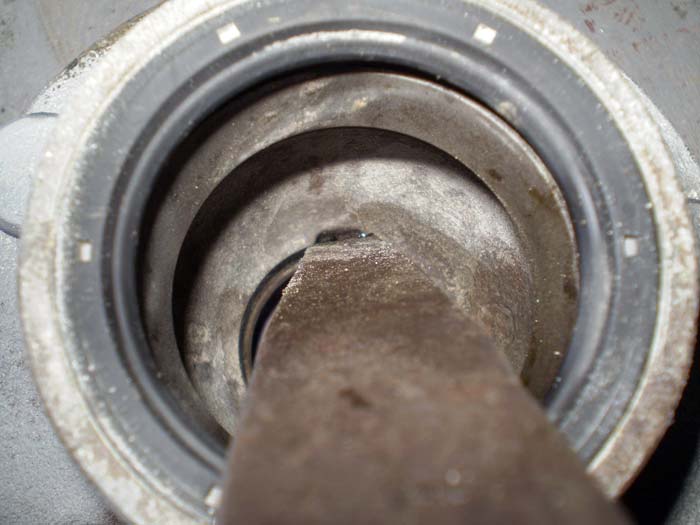
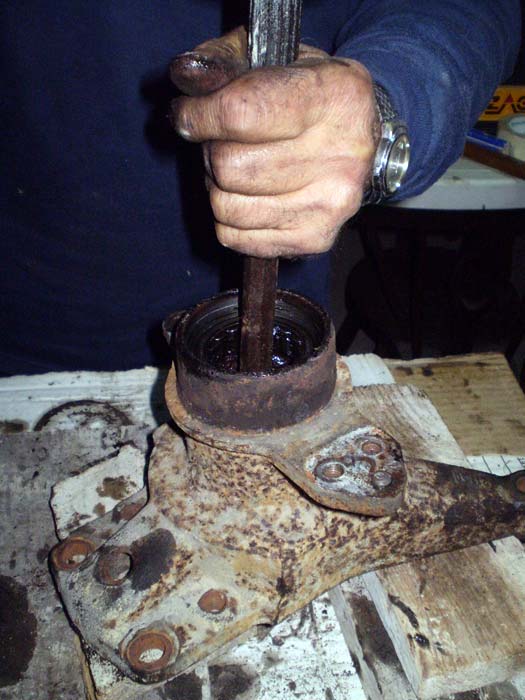
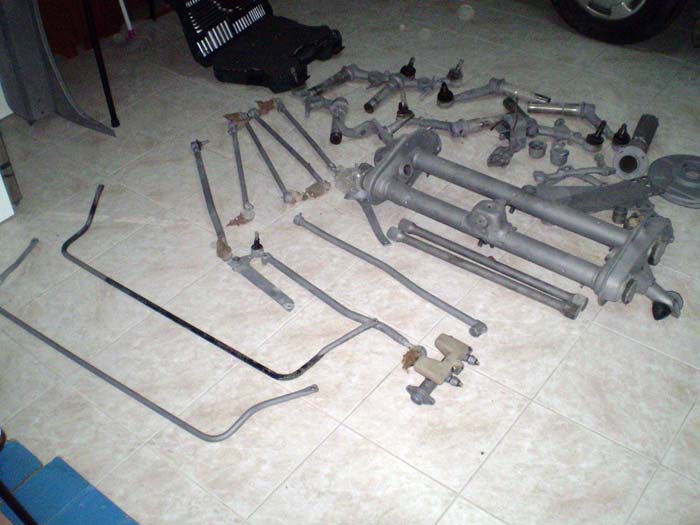
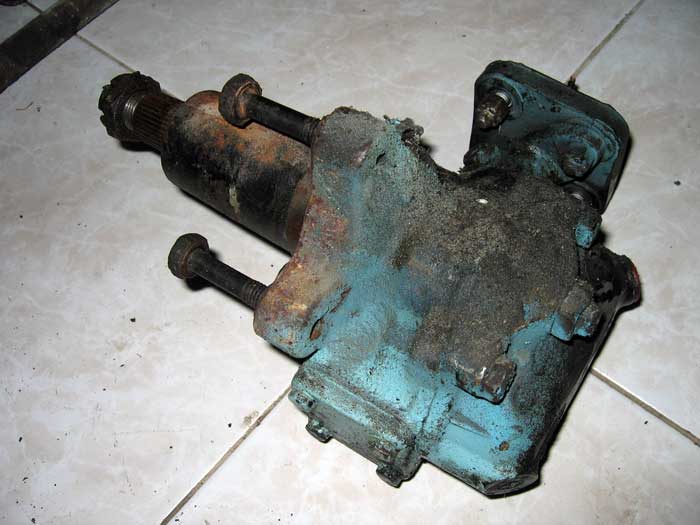
... from here, for instance:
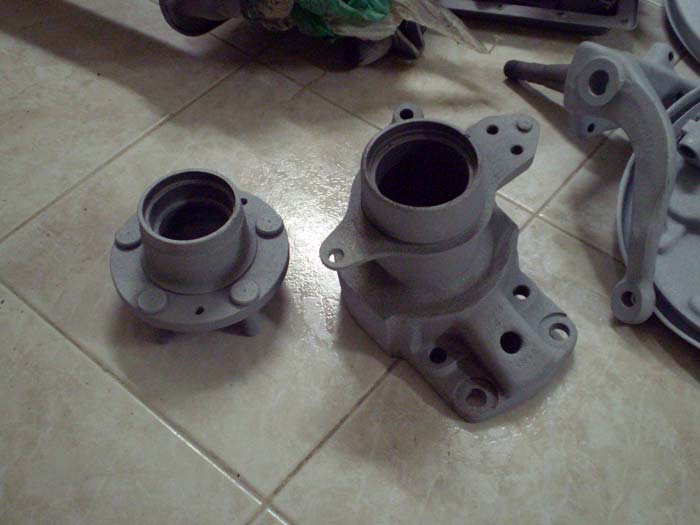
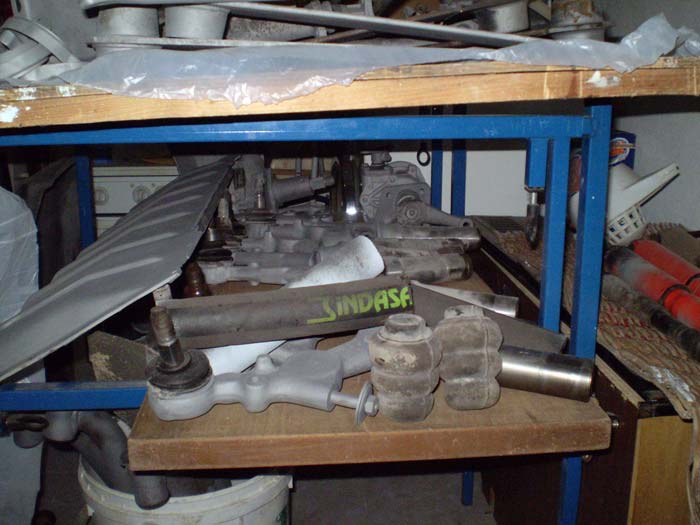
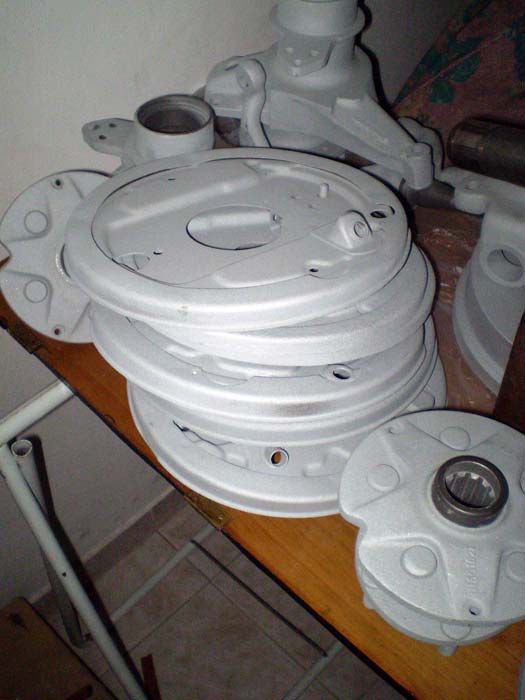
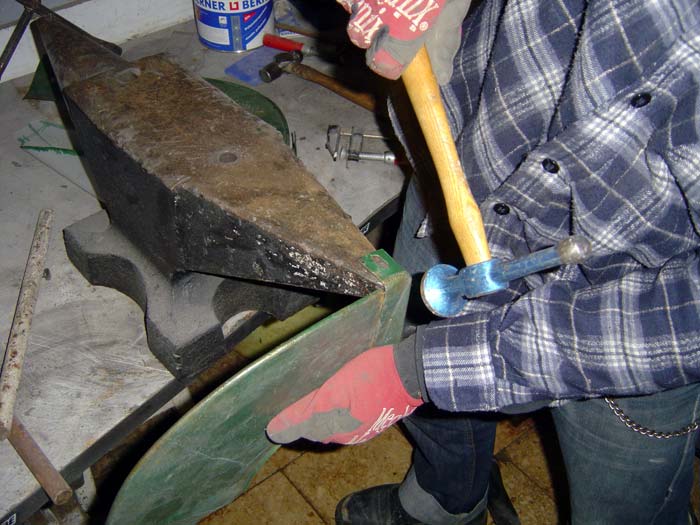
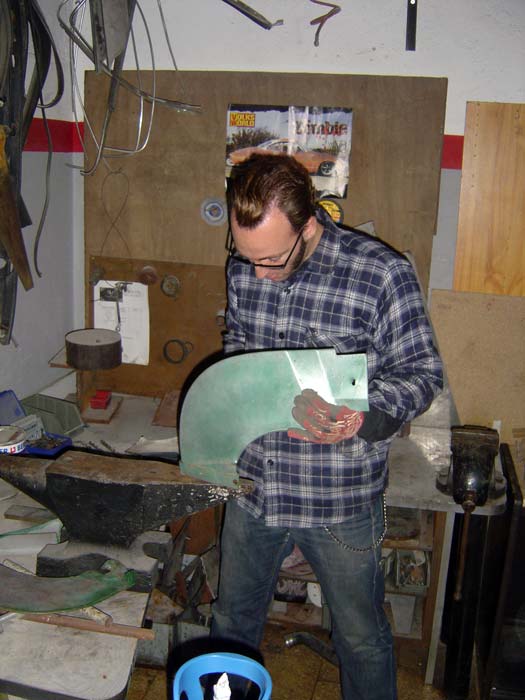
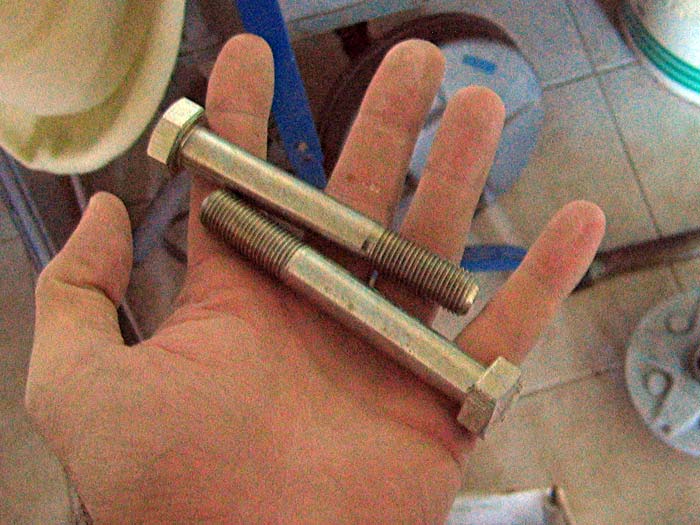
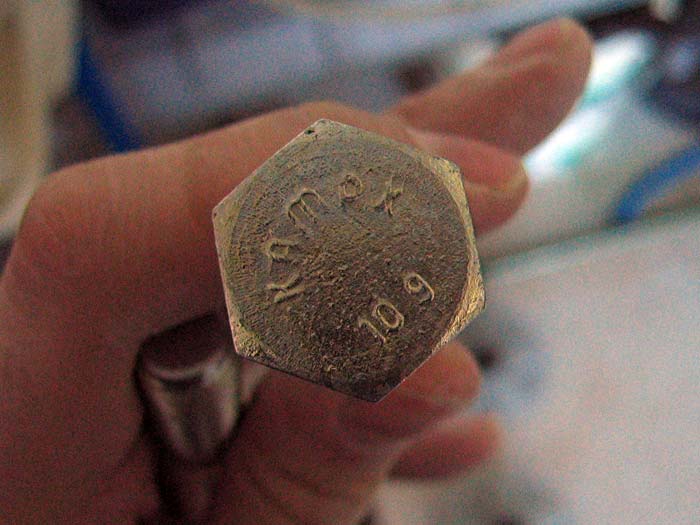
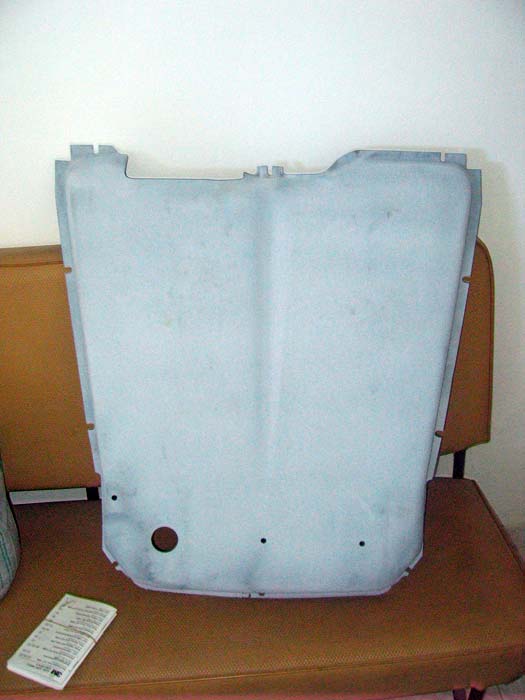
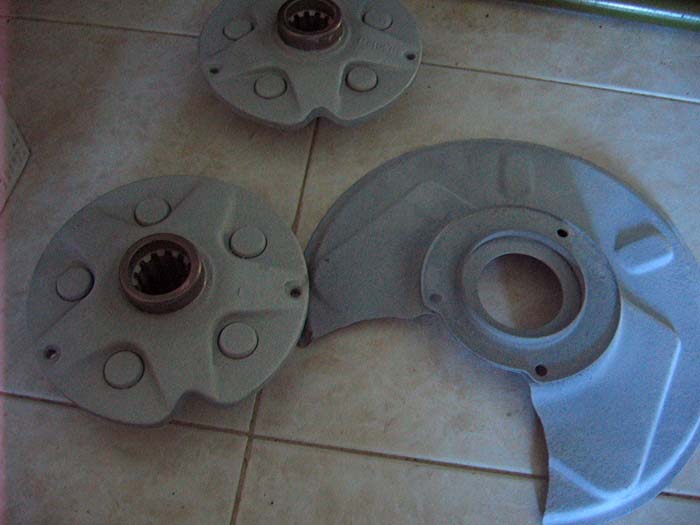
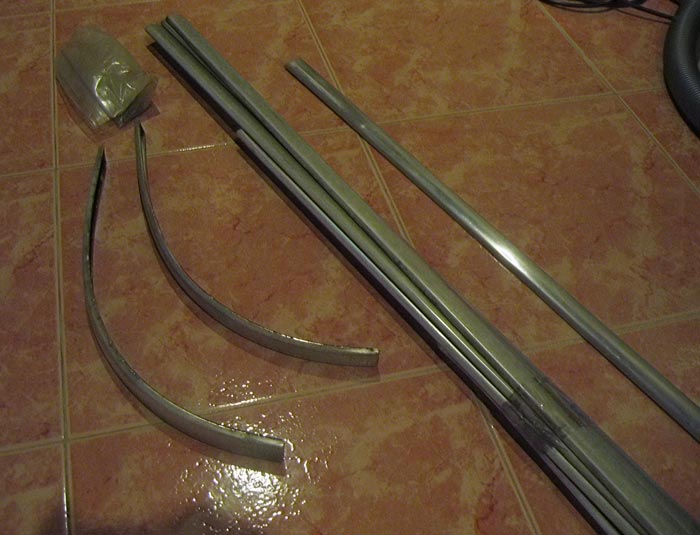
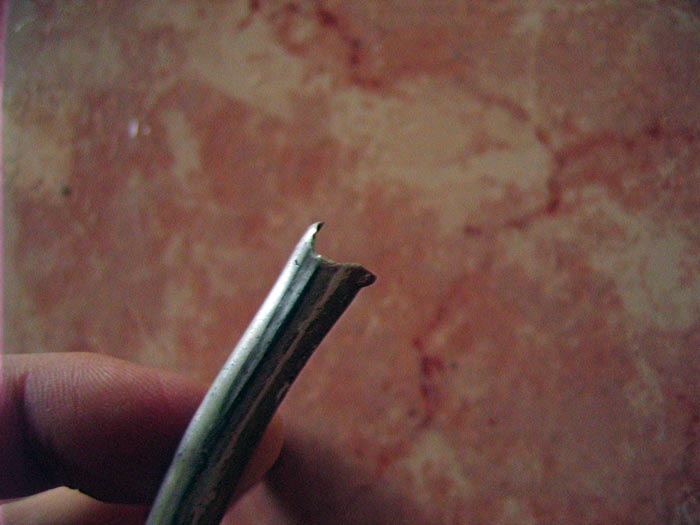
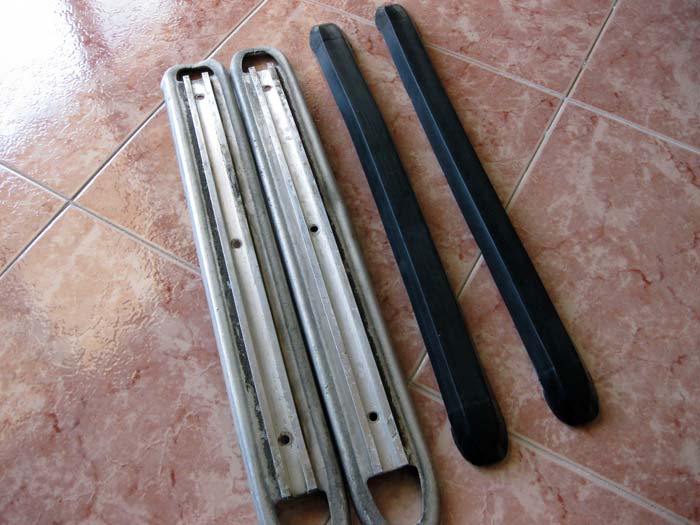
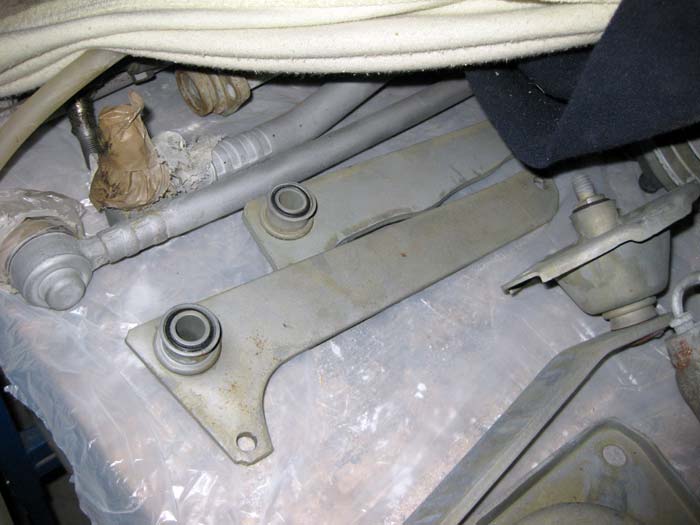
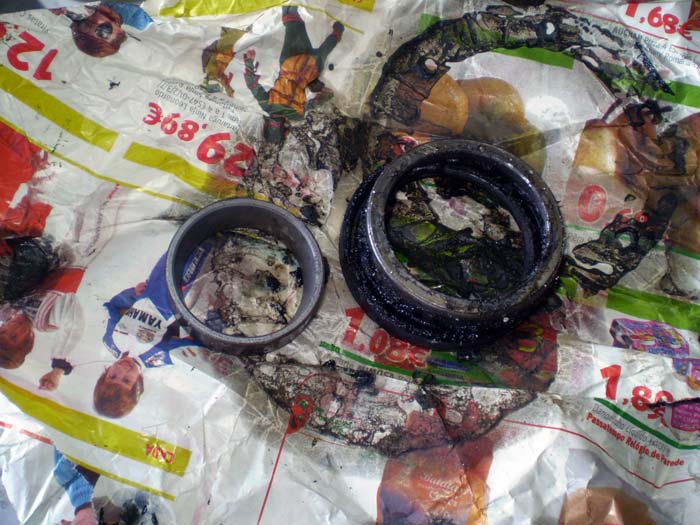
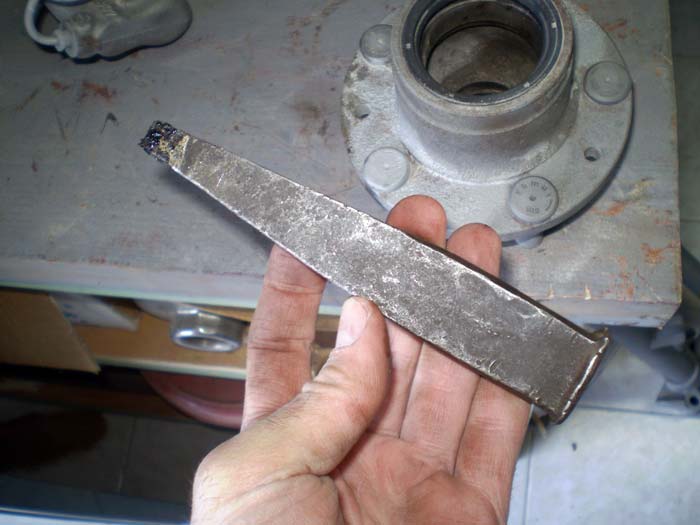
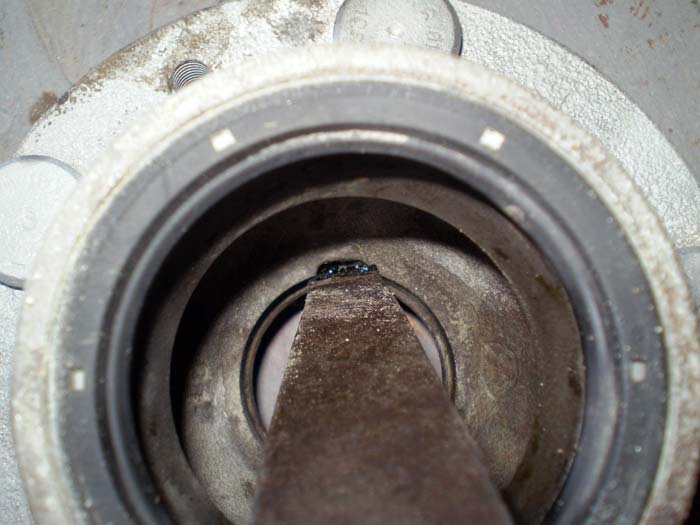
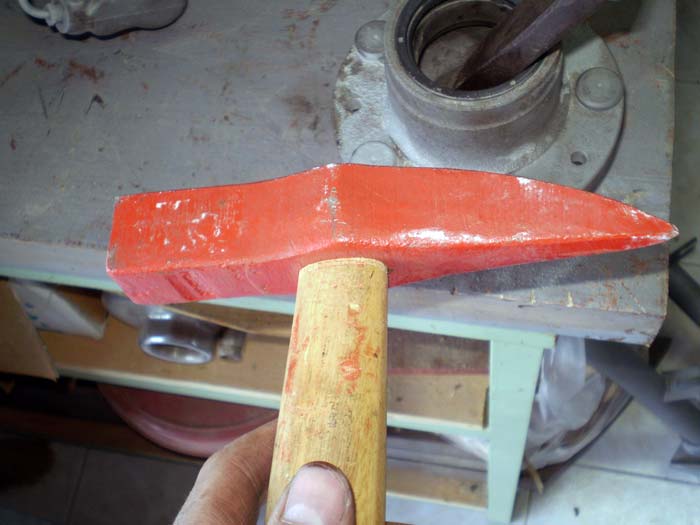
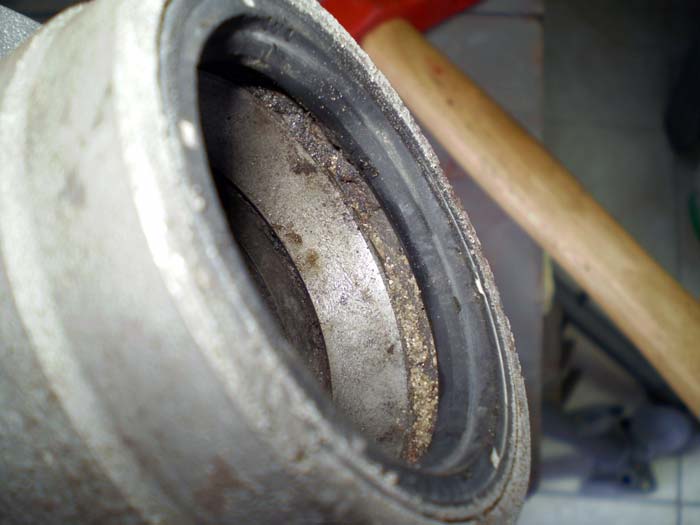
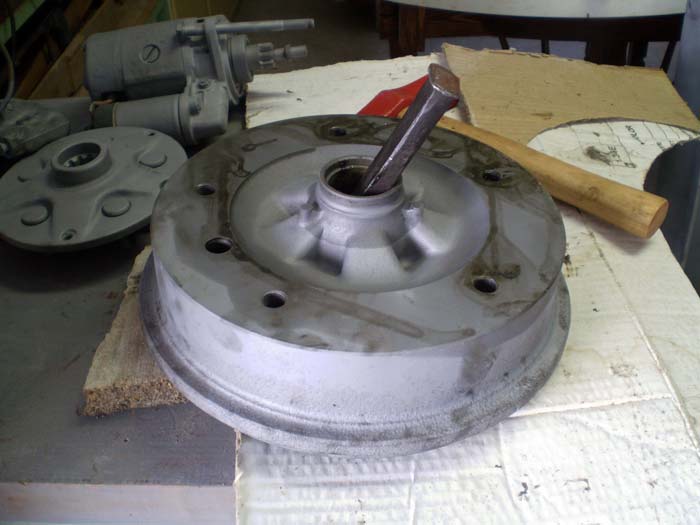
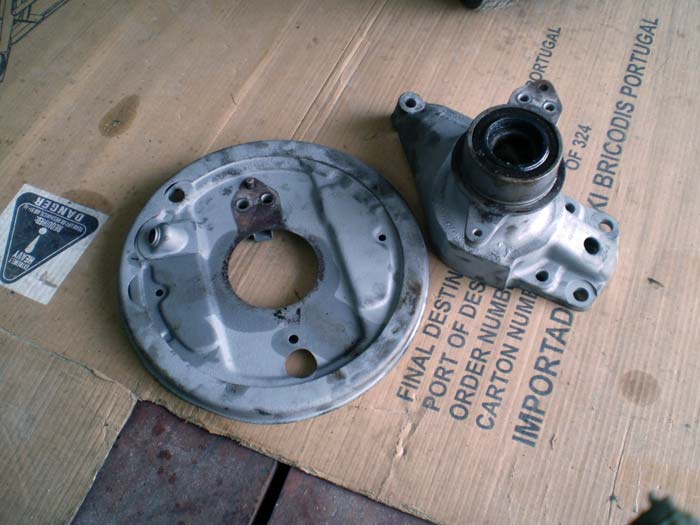
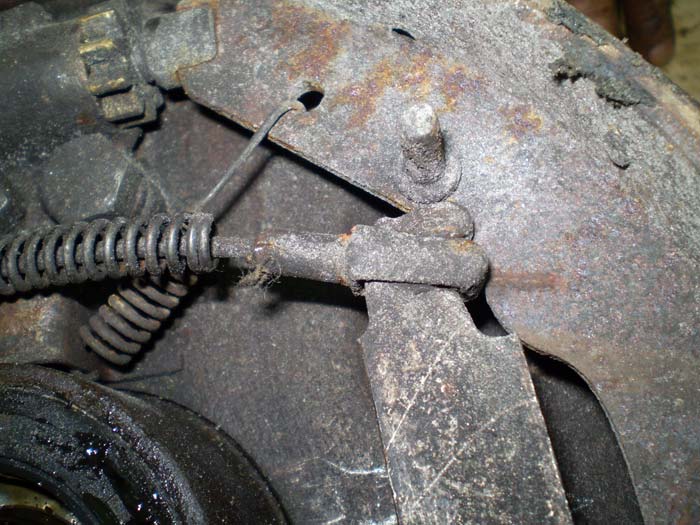
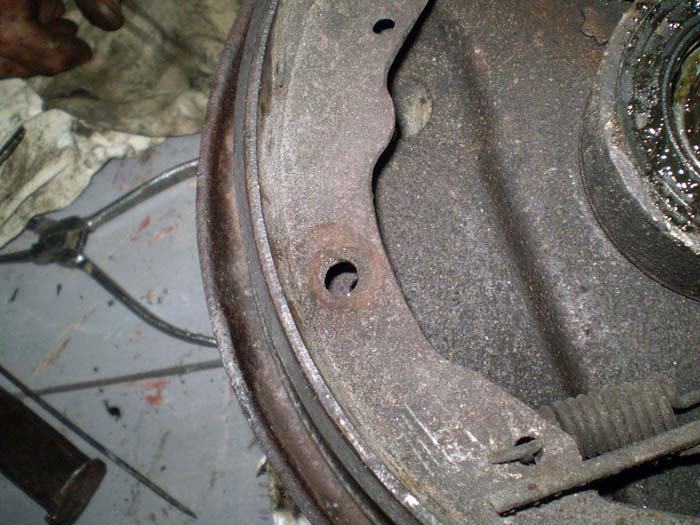
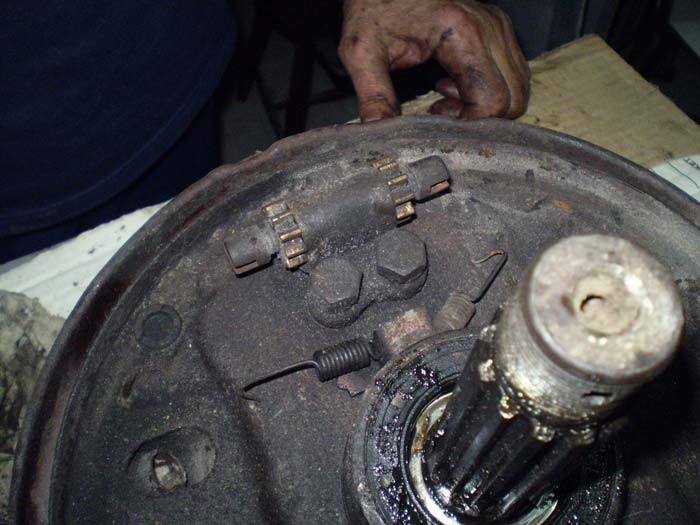
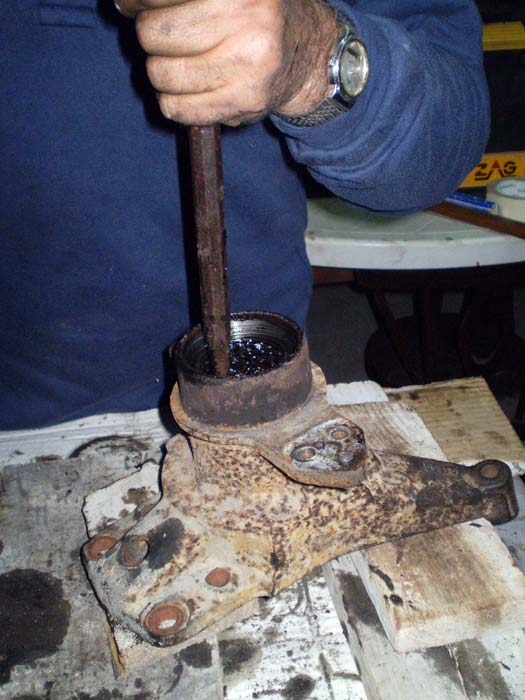
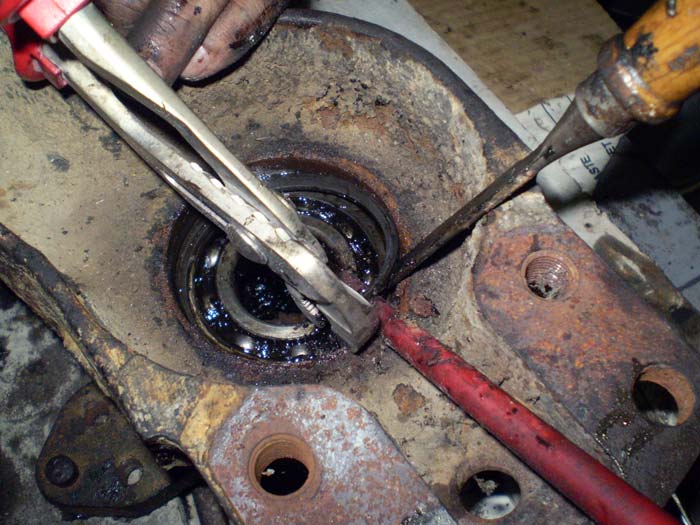
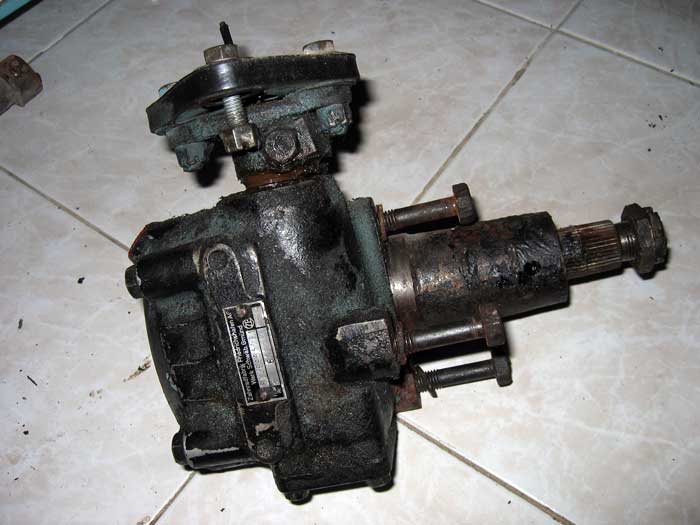
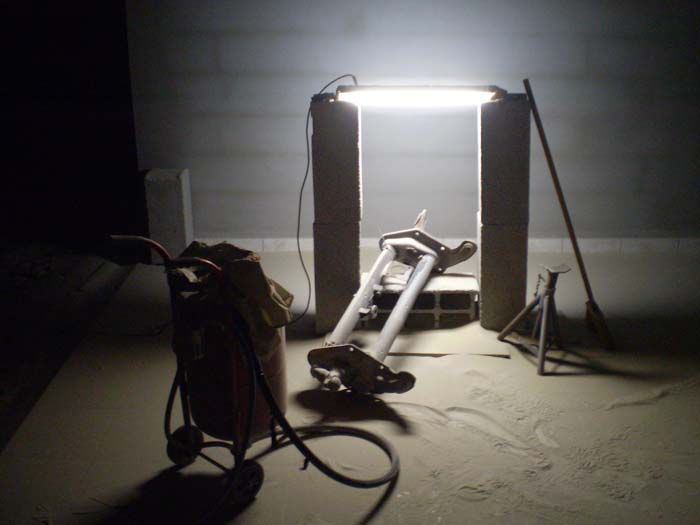
and with the help of some tools....
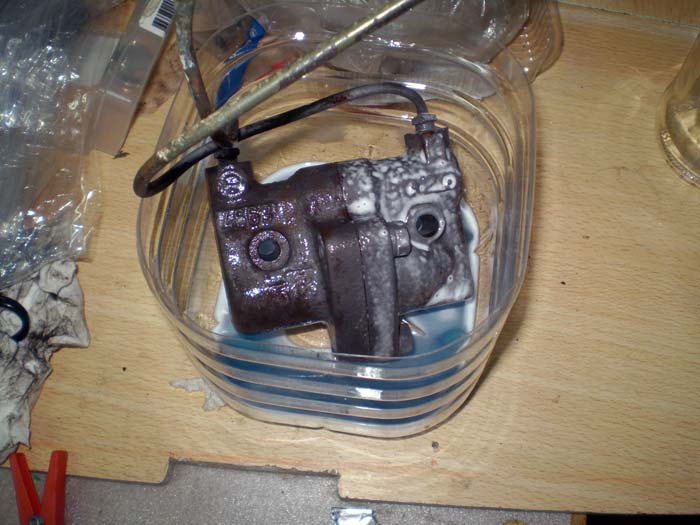
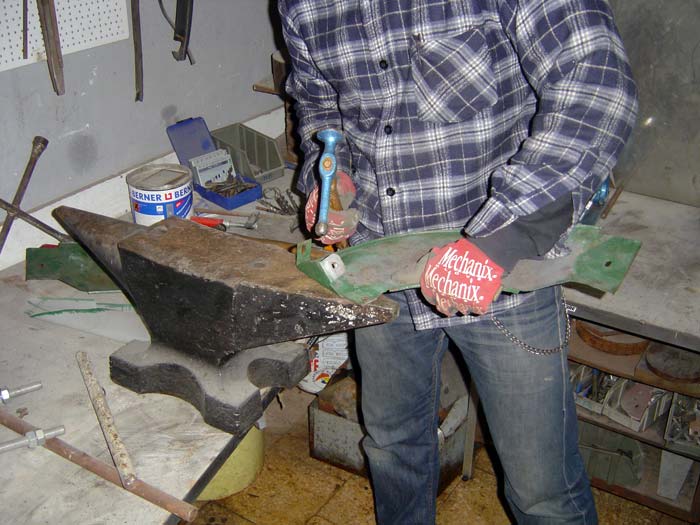
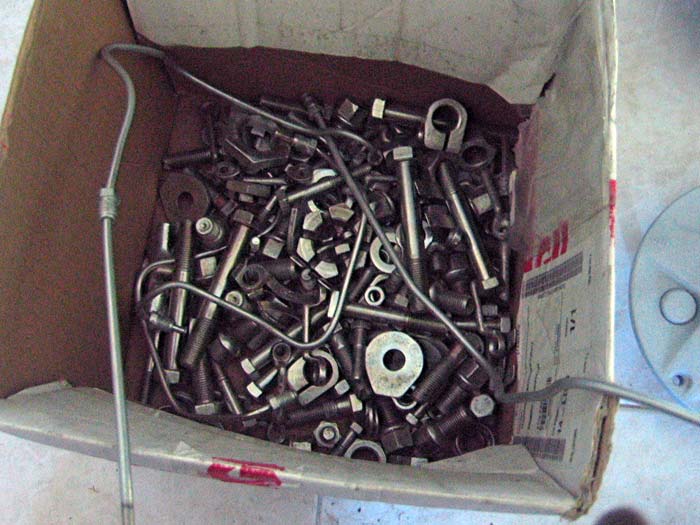
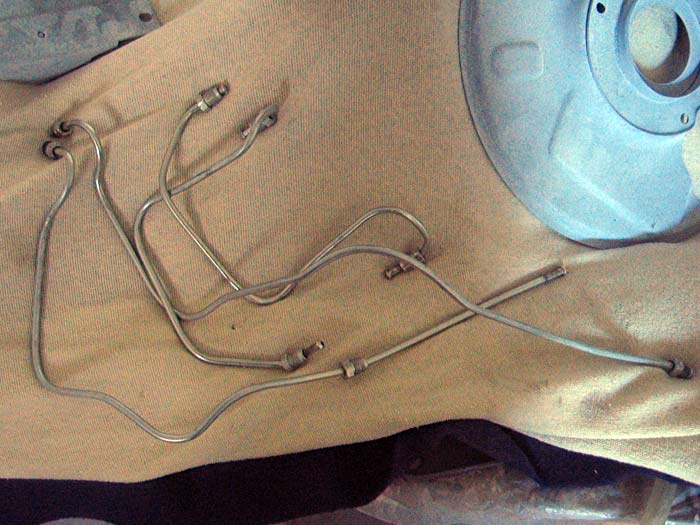
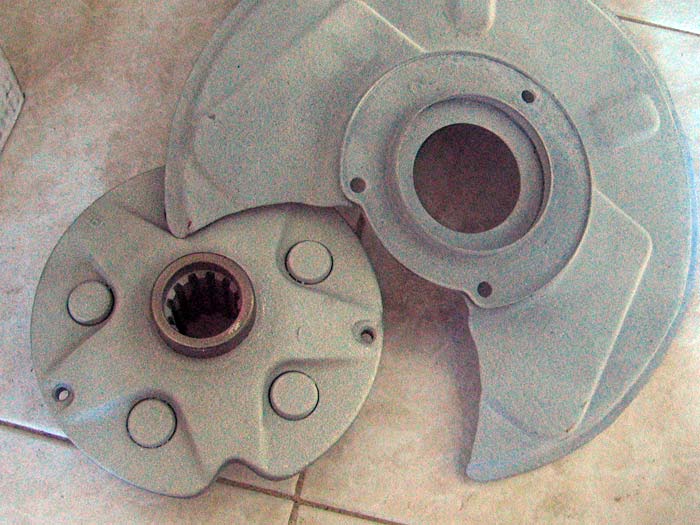
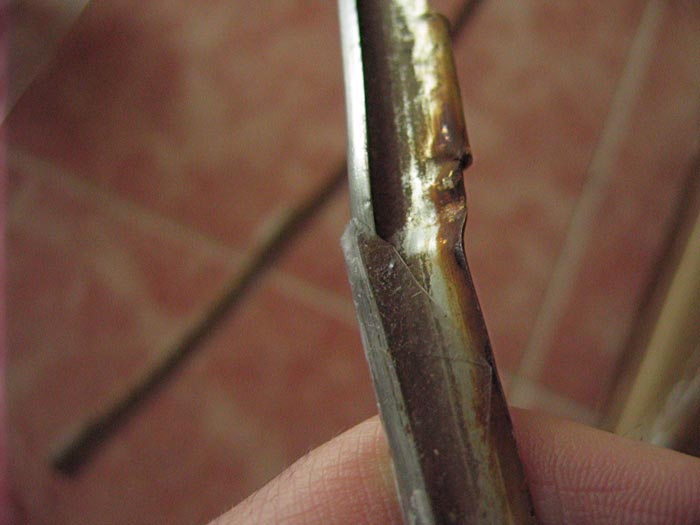
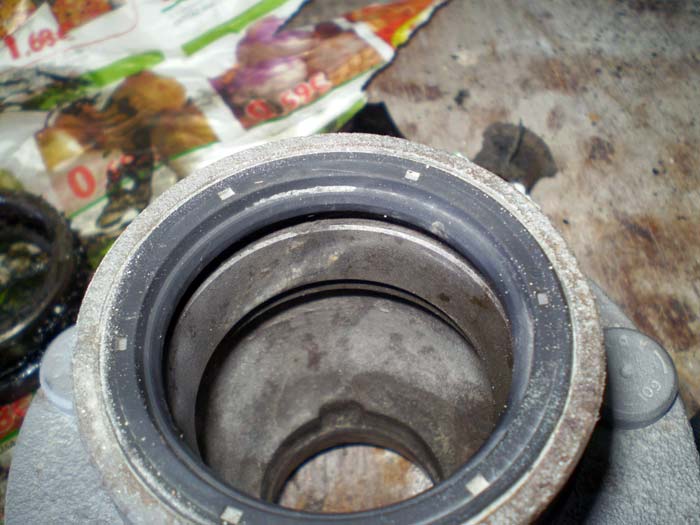
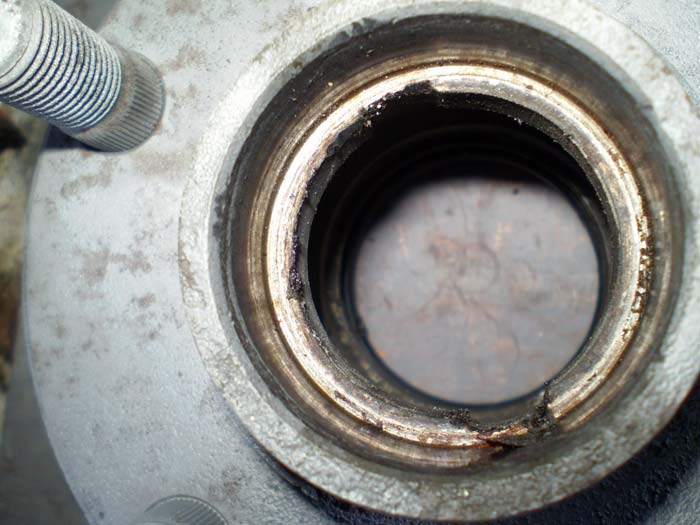
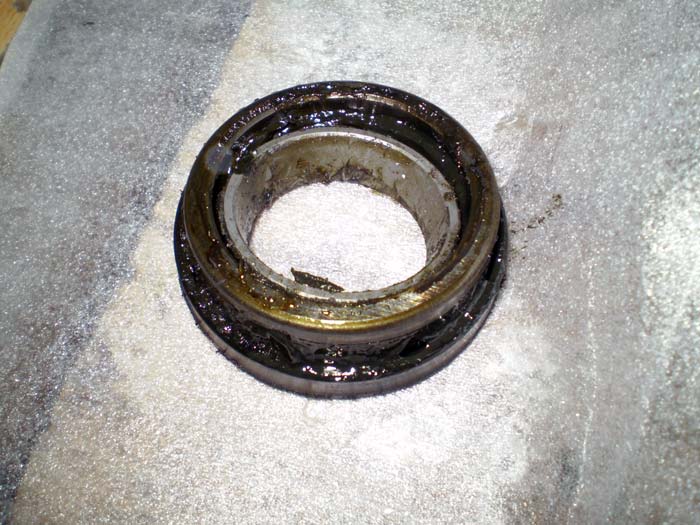
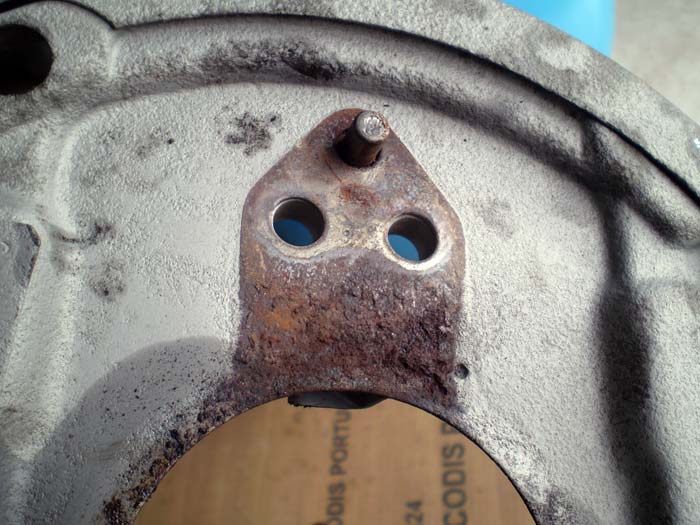
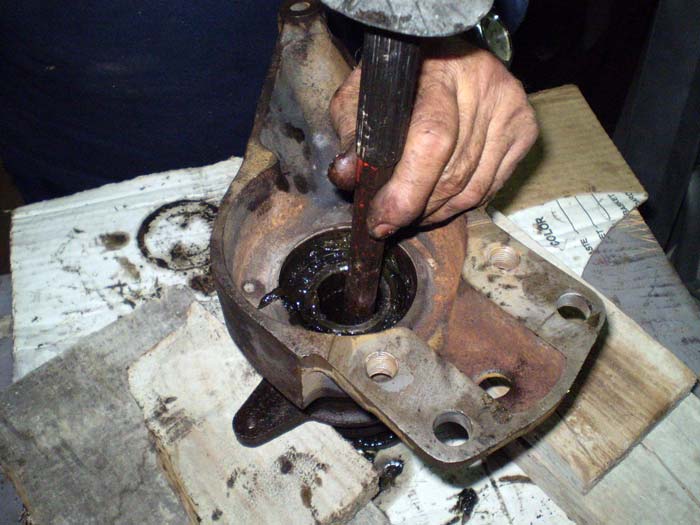
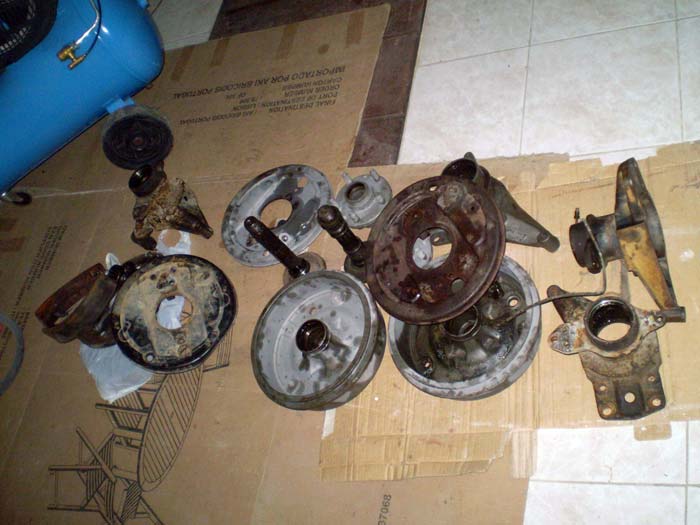
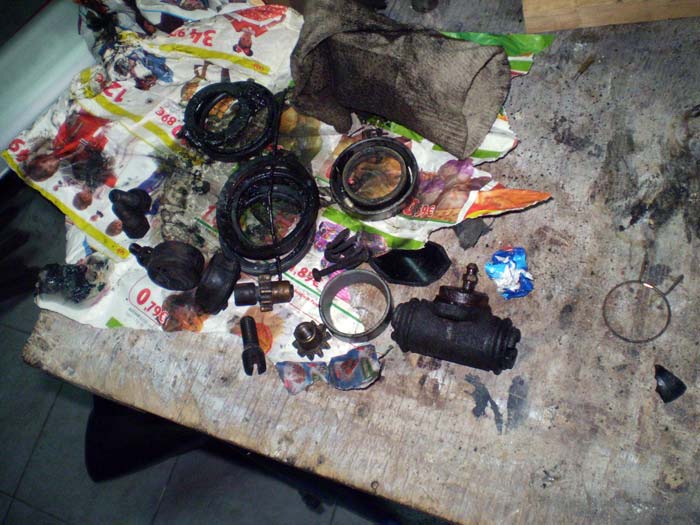
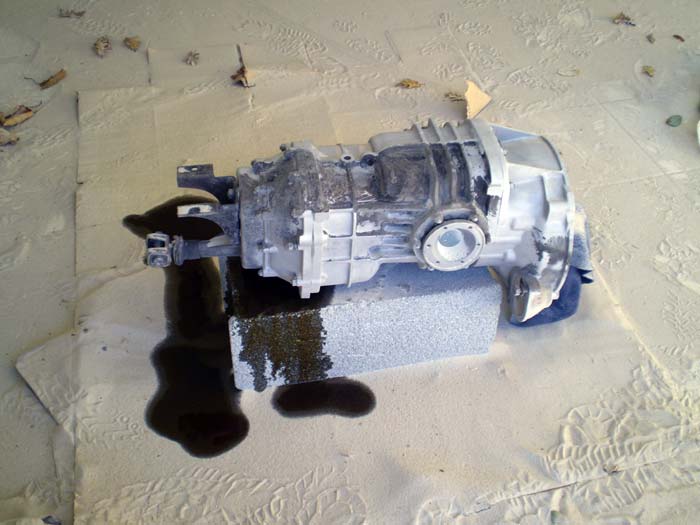
Although I tried to protect the interior from these parts while I was sandblasting, some sand got inside them... So, I had to clean them....
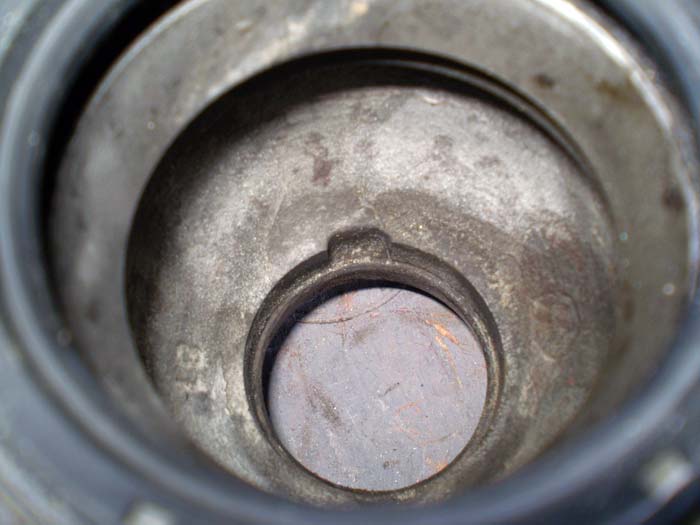
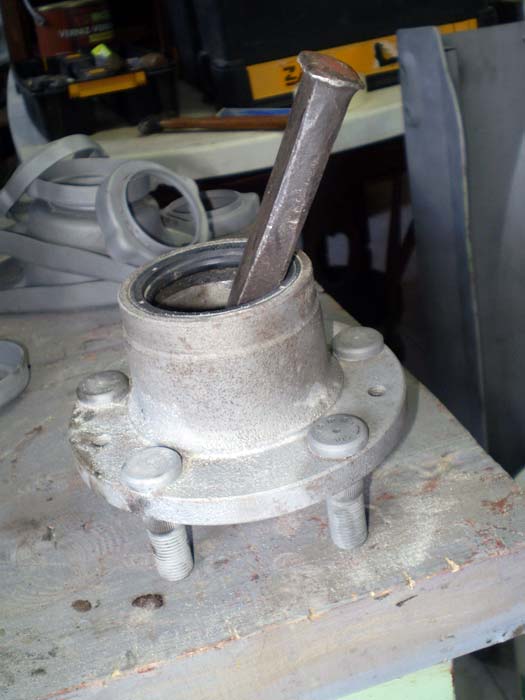
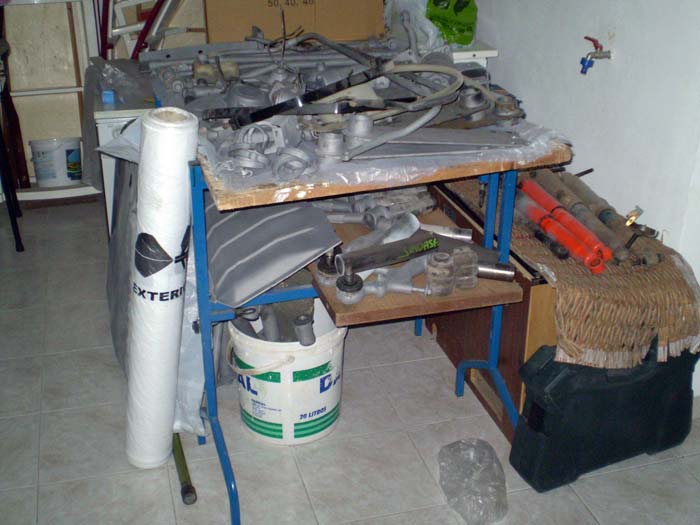
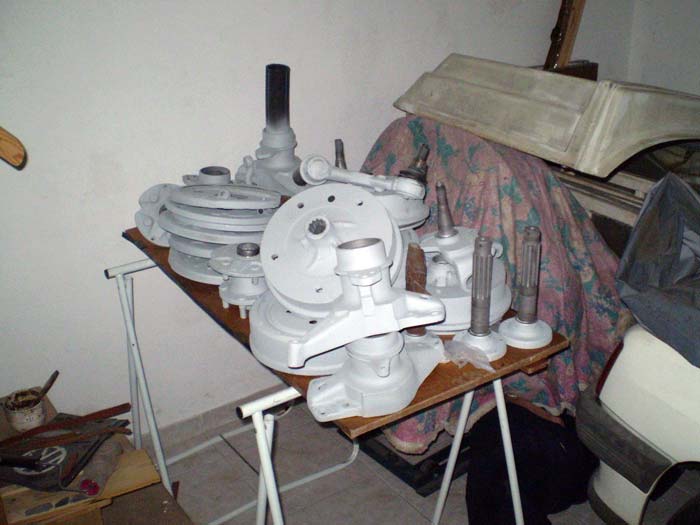
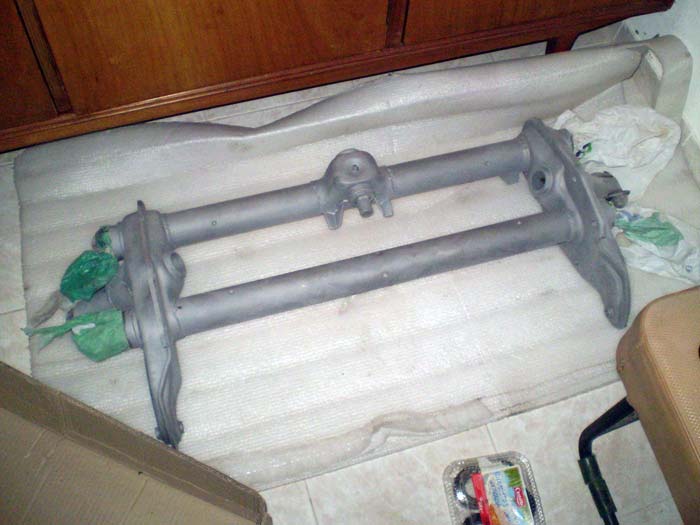
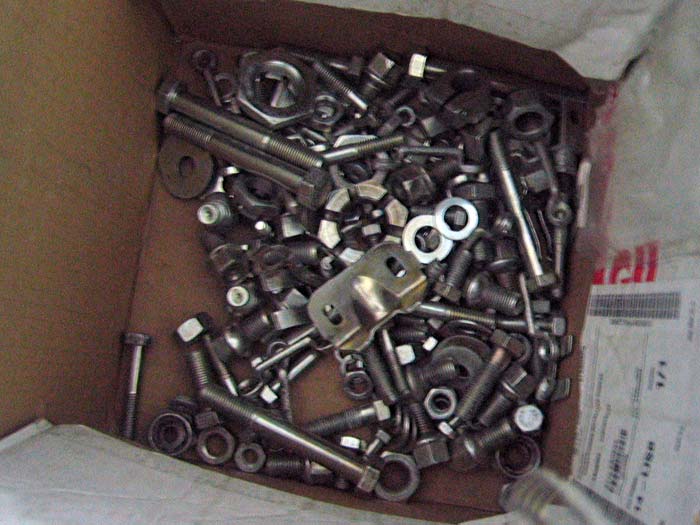
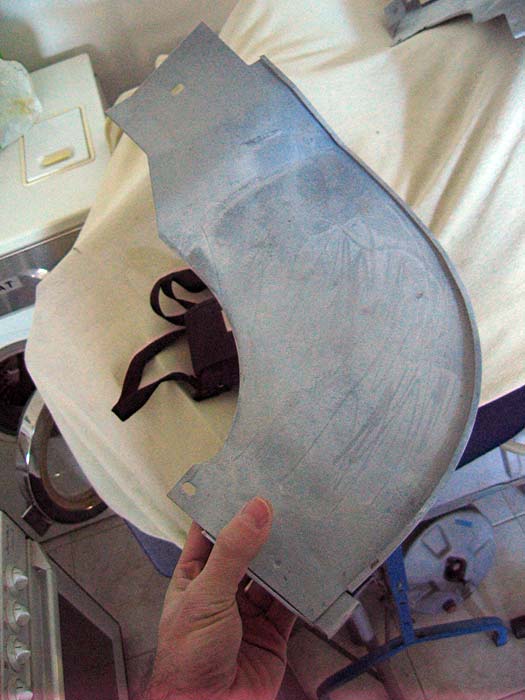
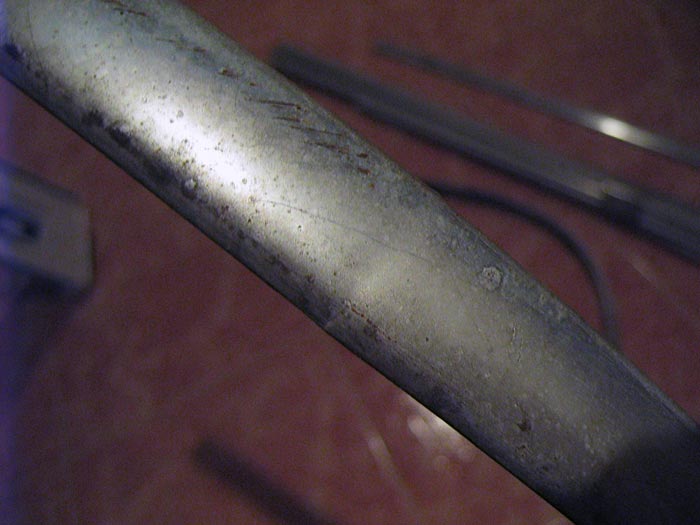
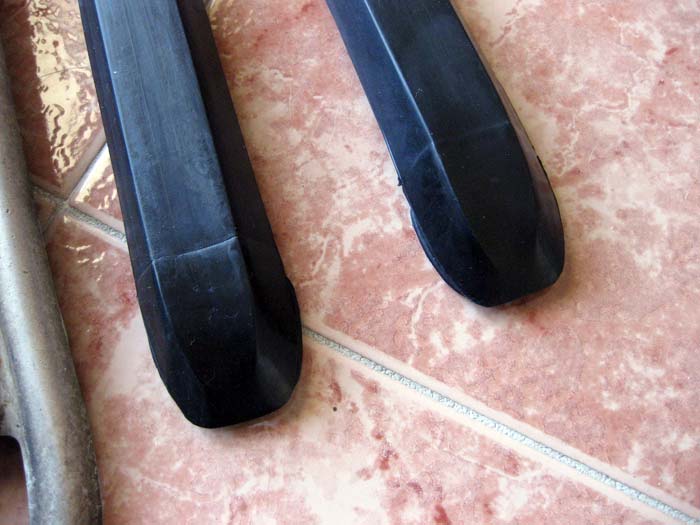
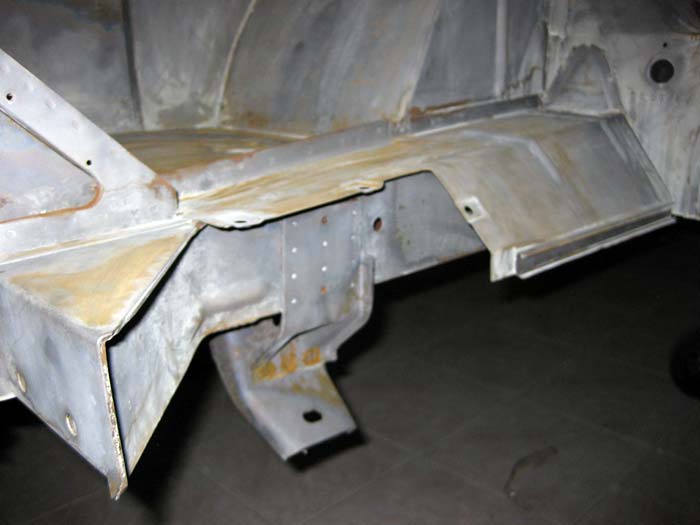
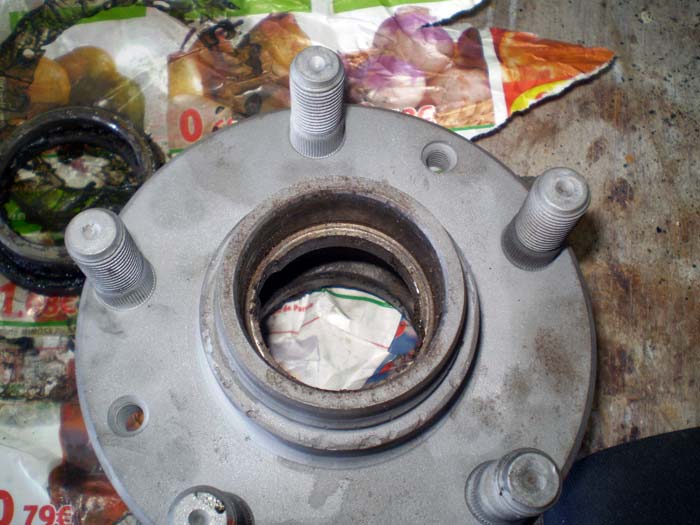
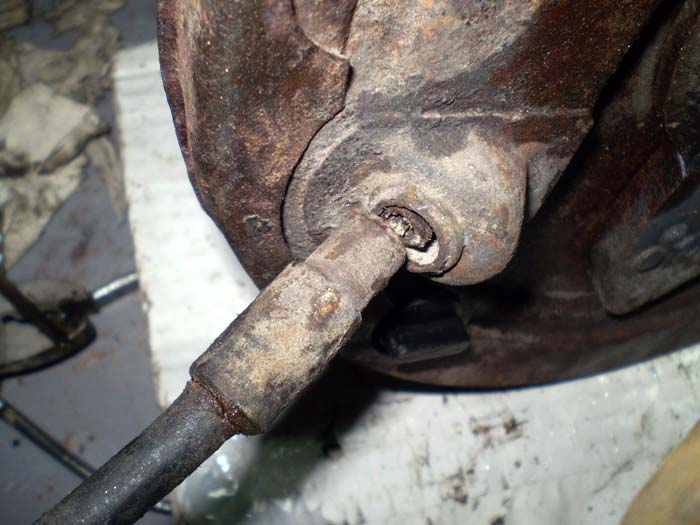
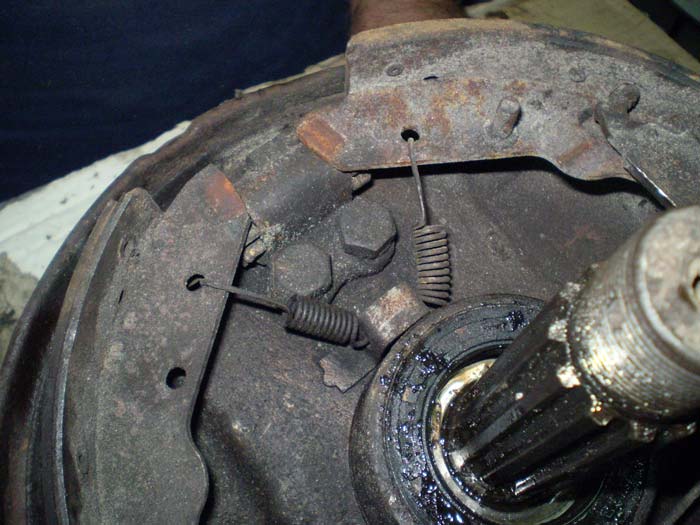
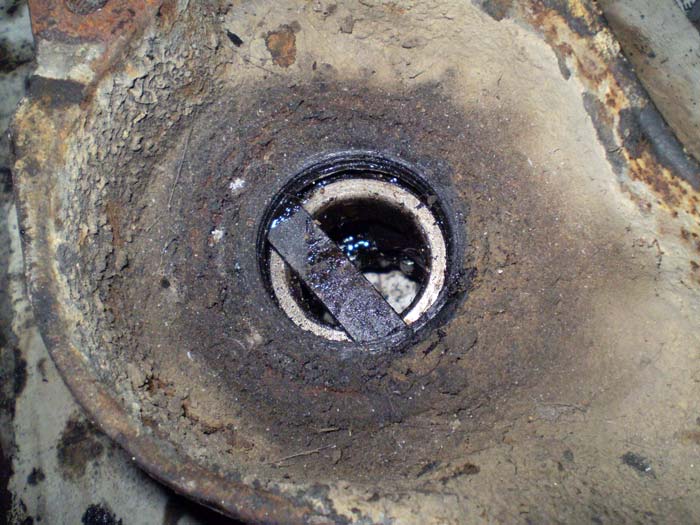
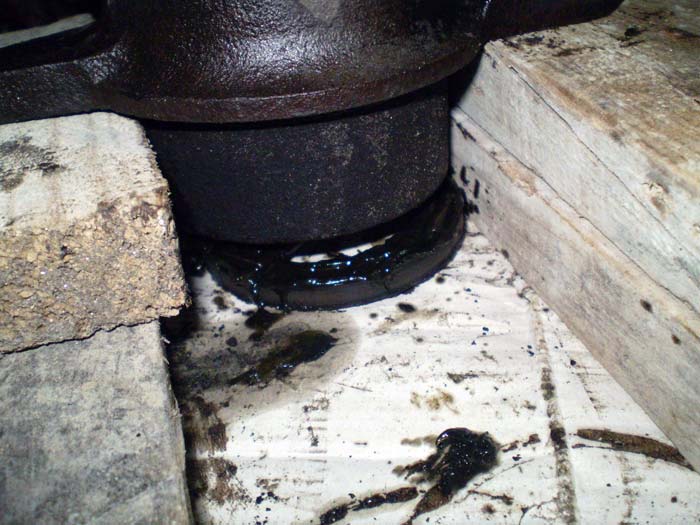
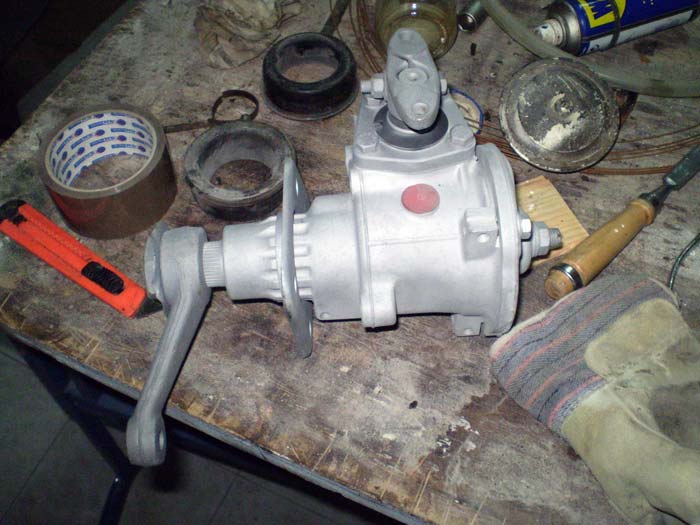
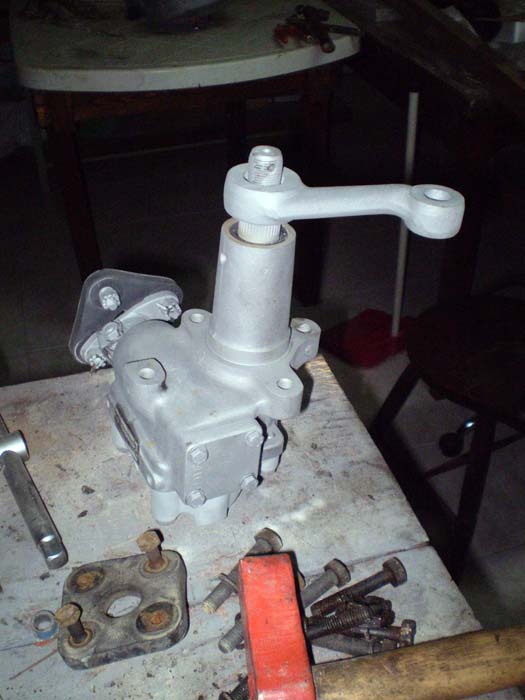
until....
... from here, for instance:
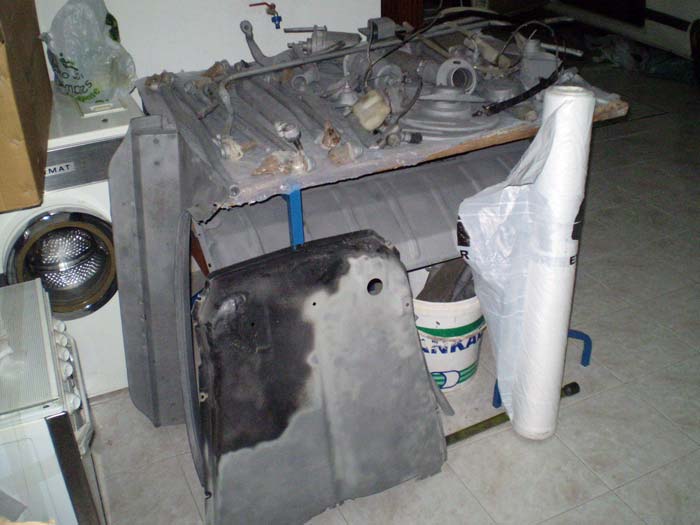
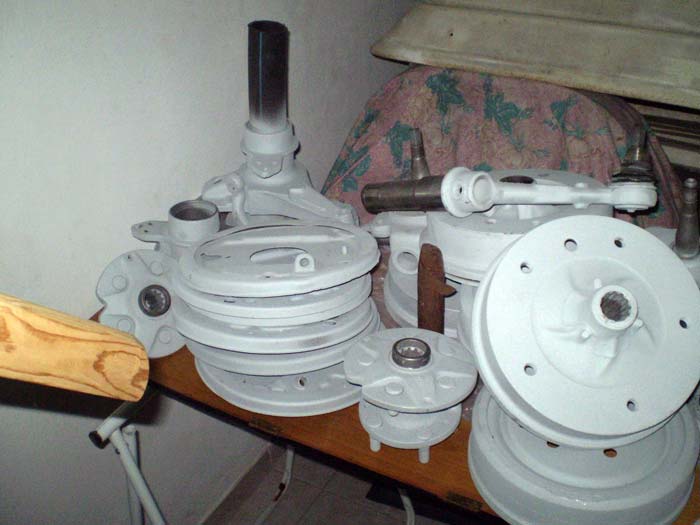
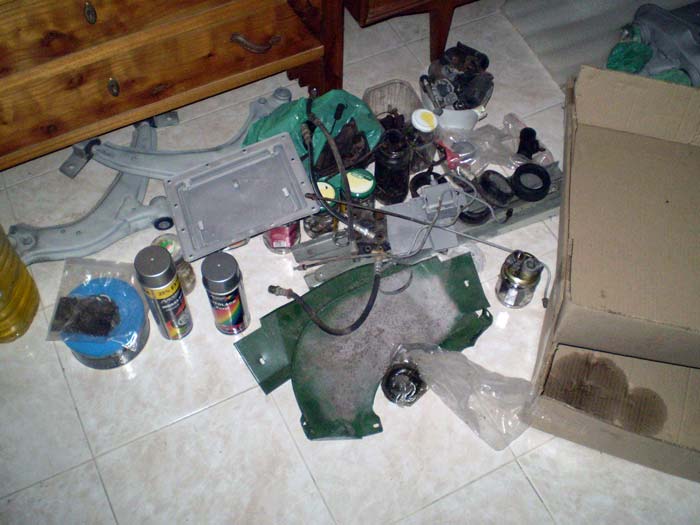
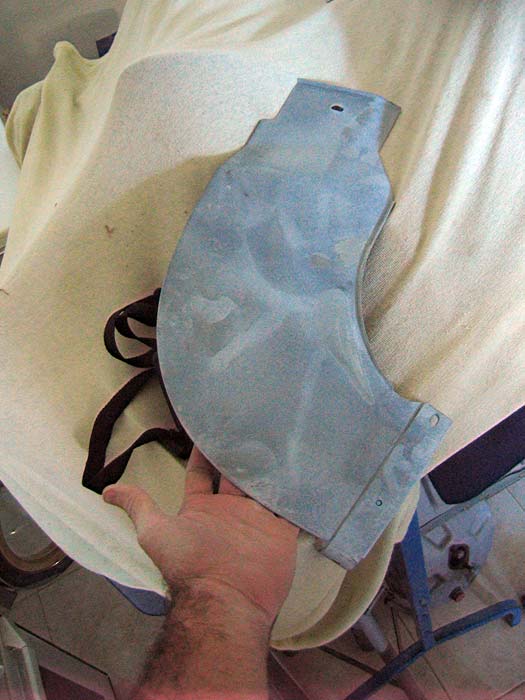
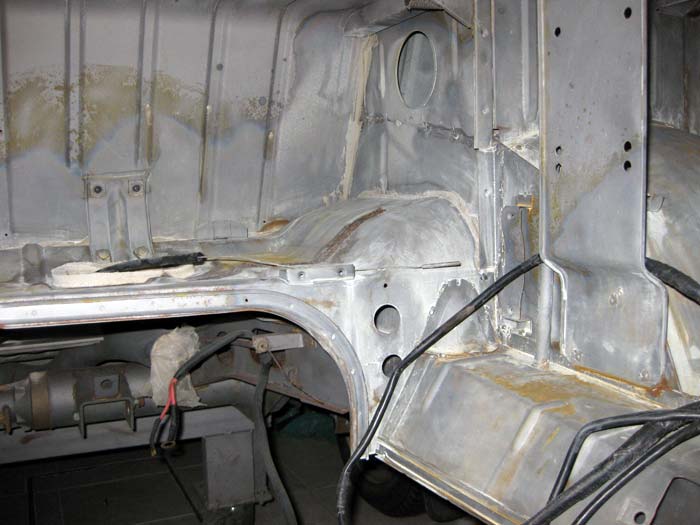
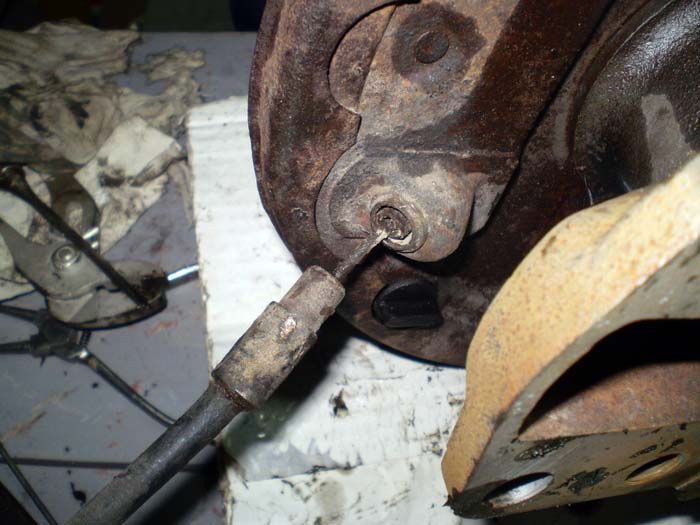
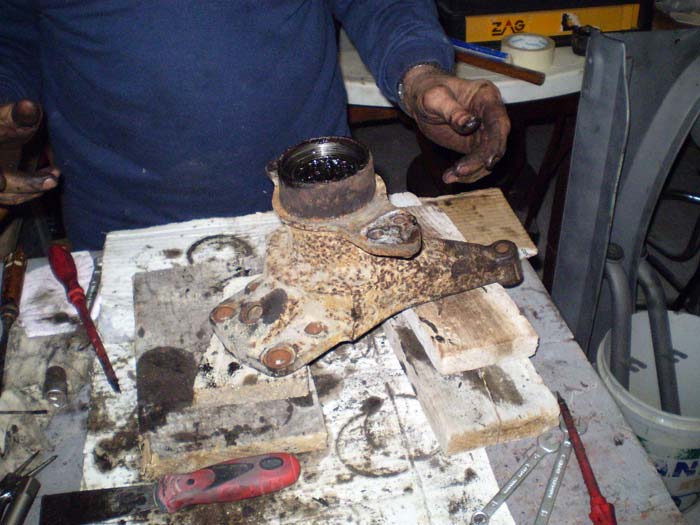
and with the help of some tools....
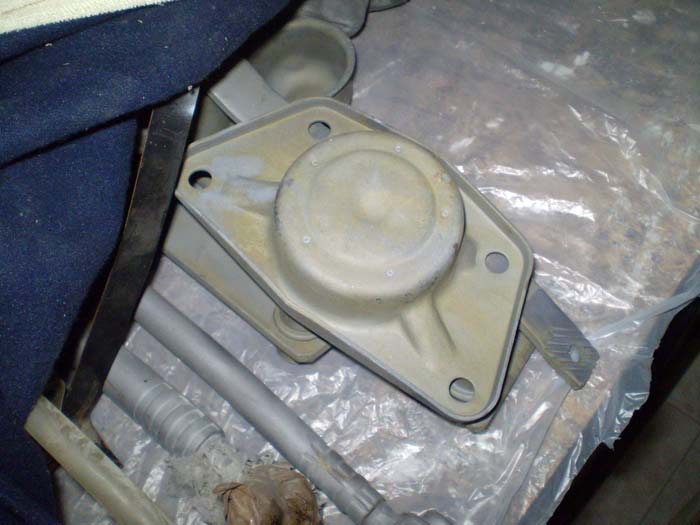
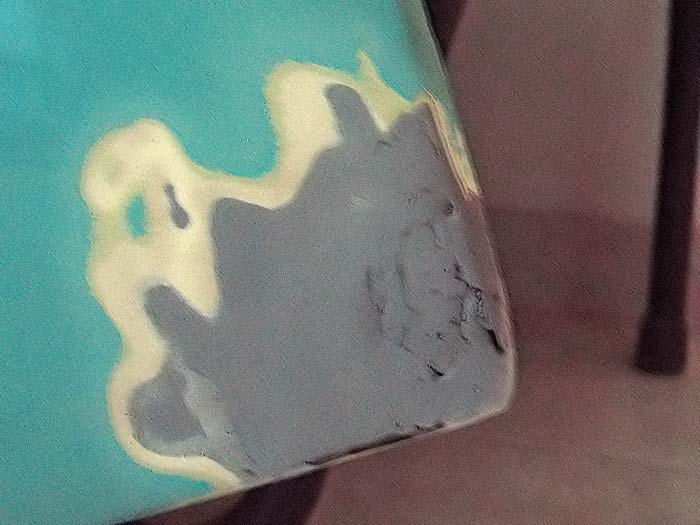
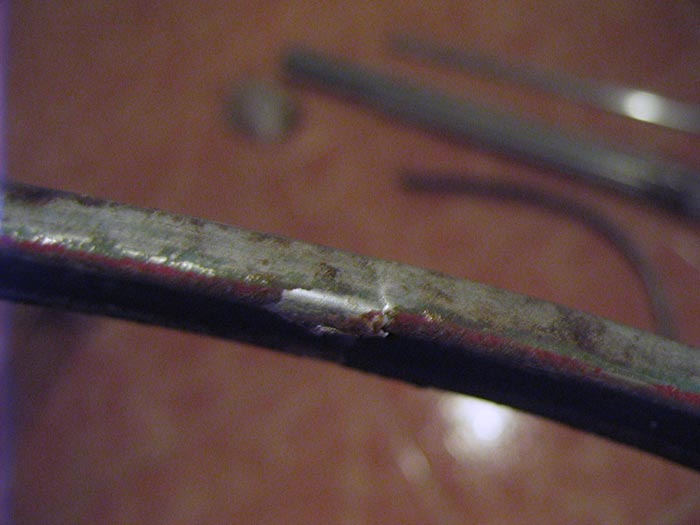
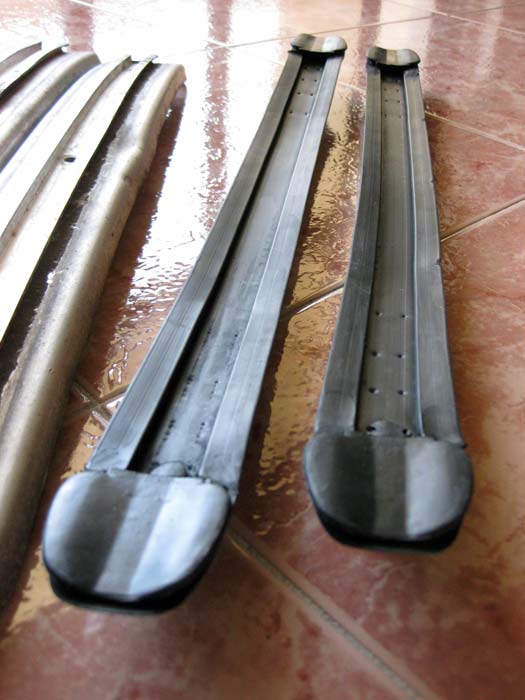
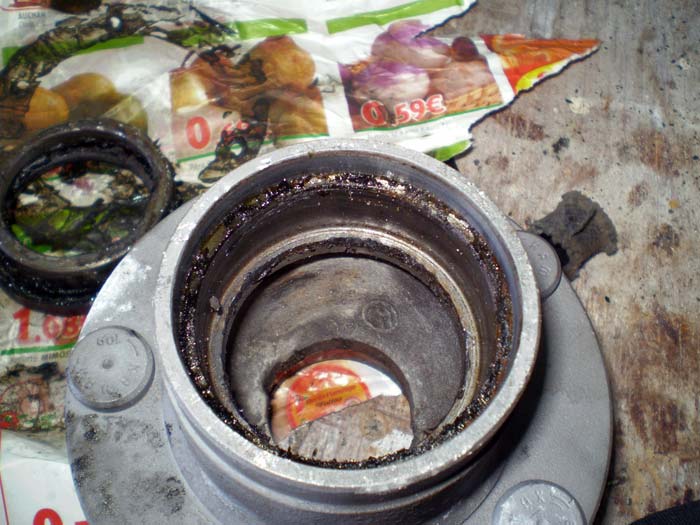
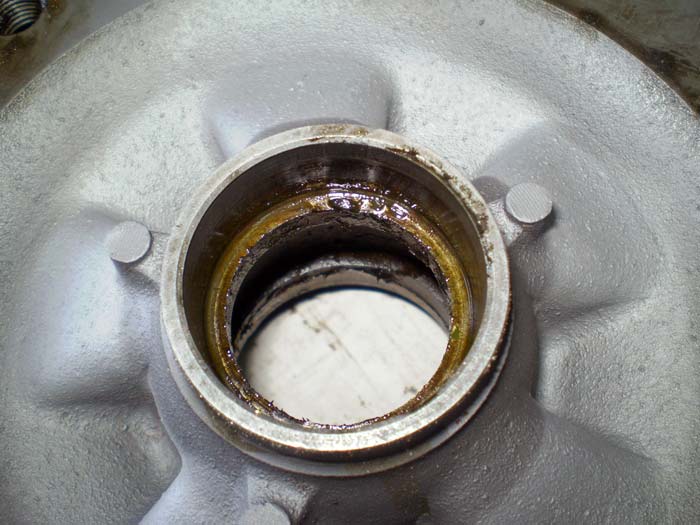
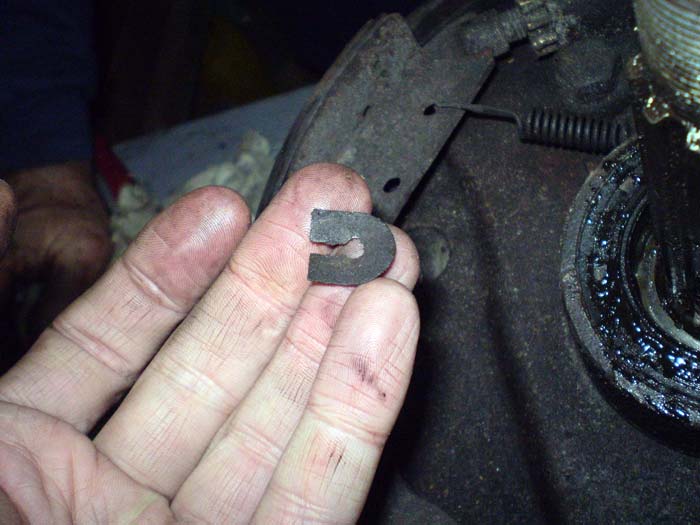
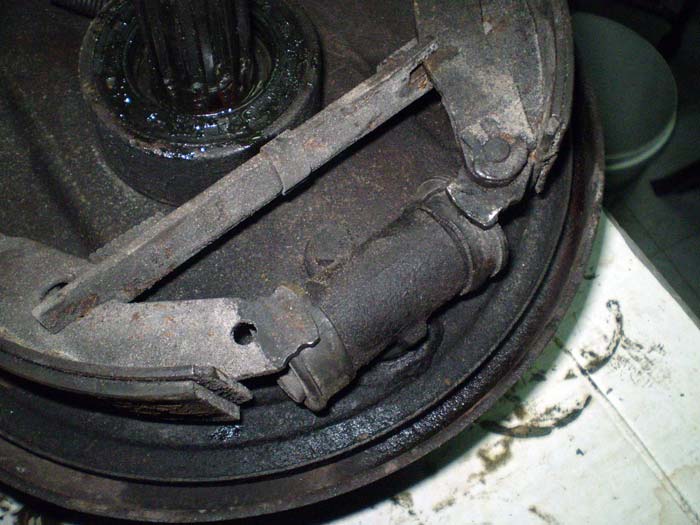
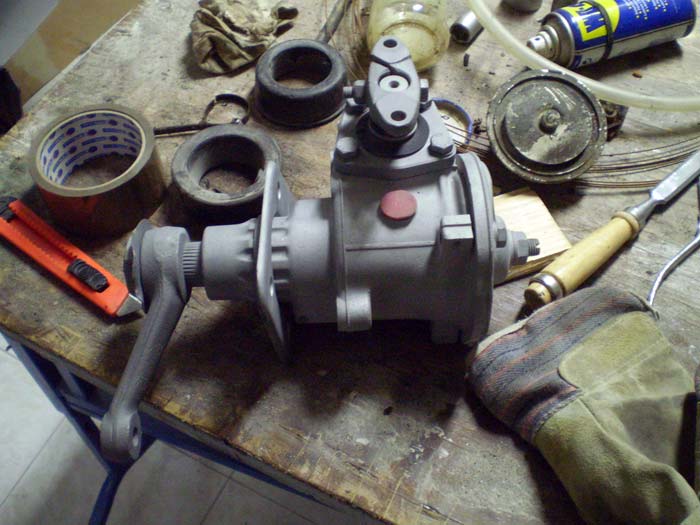
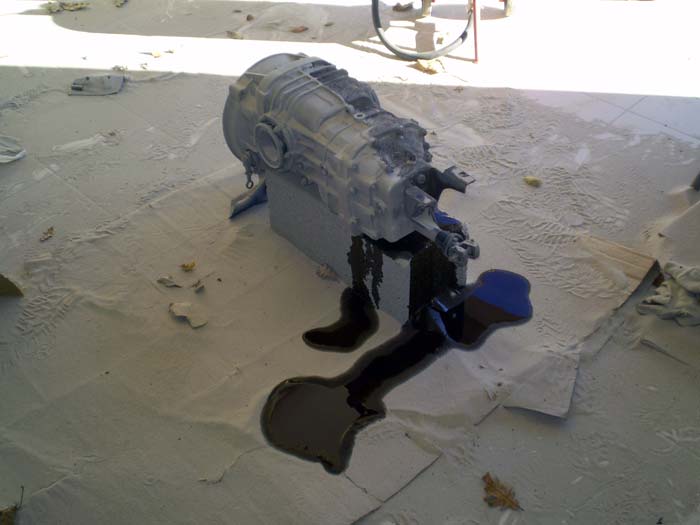
Although I tried to protect the interior from these parts while I was sandblasting, some sand got inside them... So, I had to clean them....
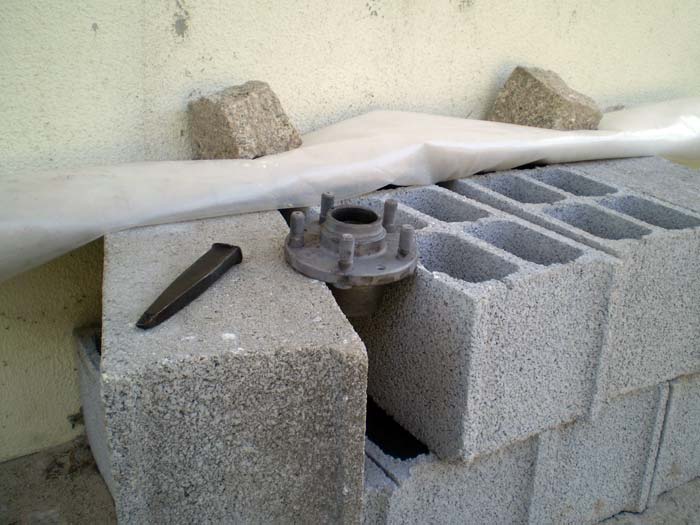
until....


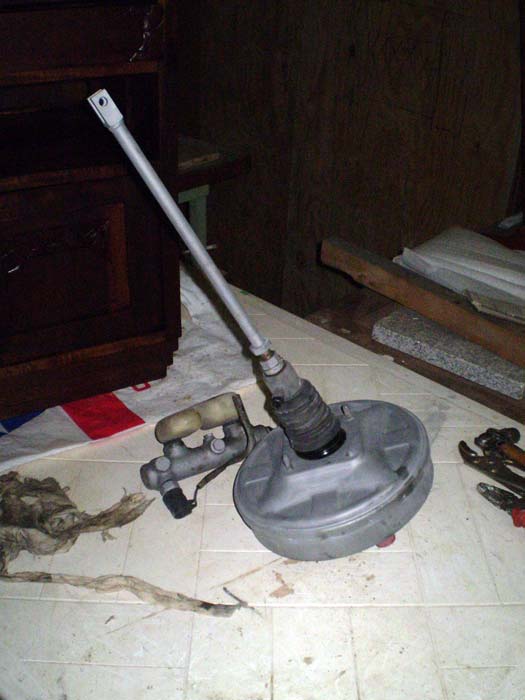

")