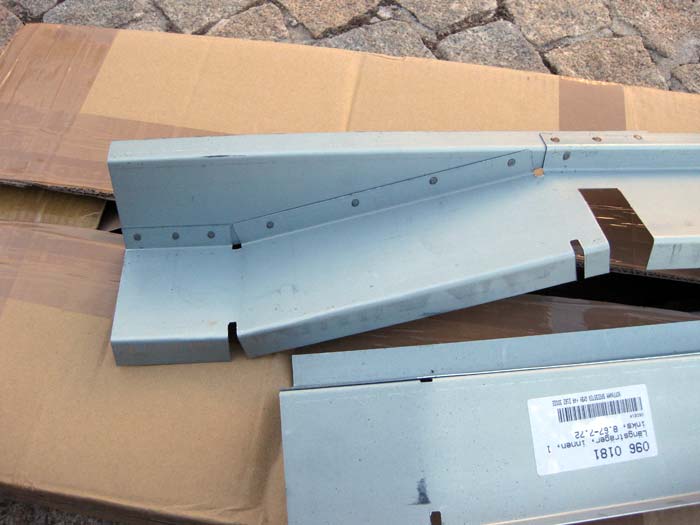
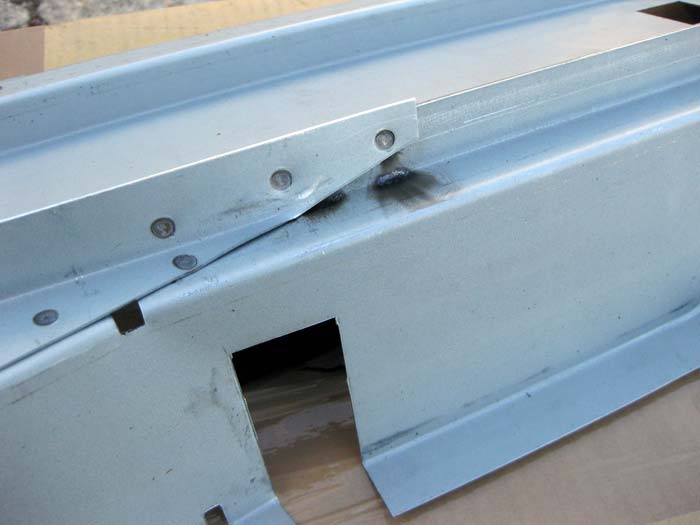
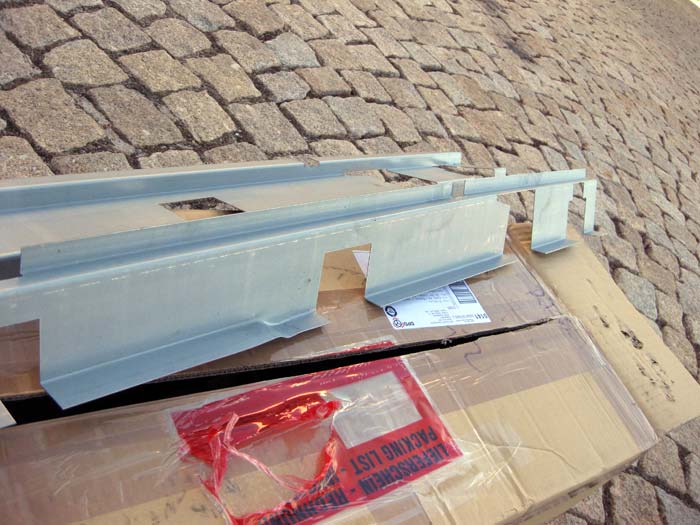
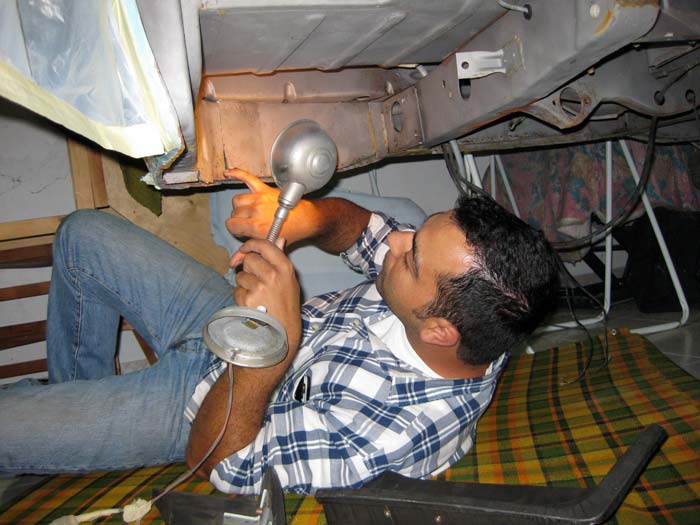
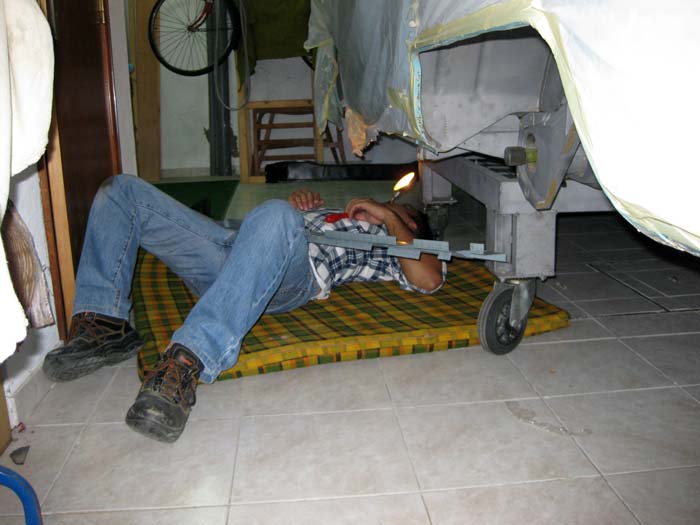
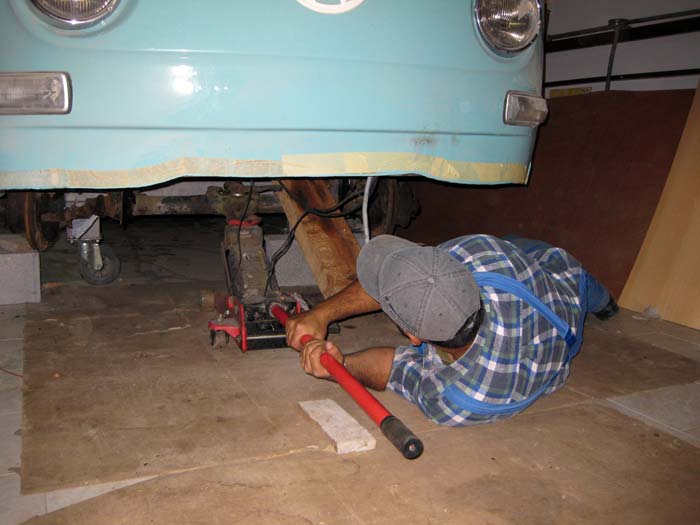
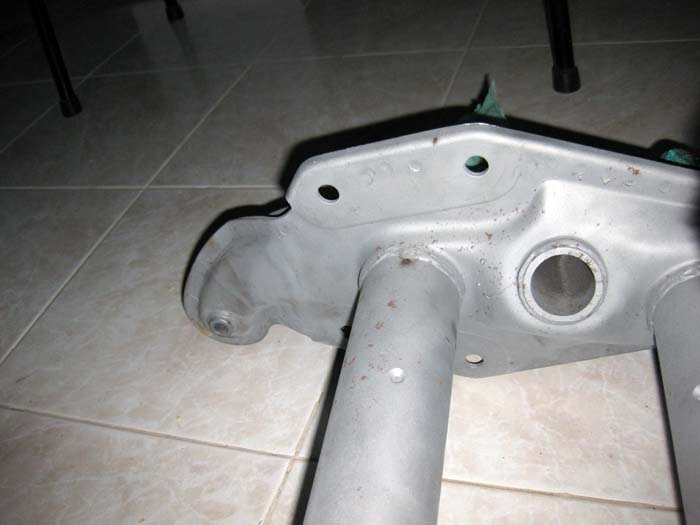
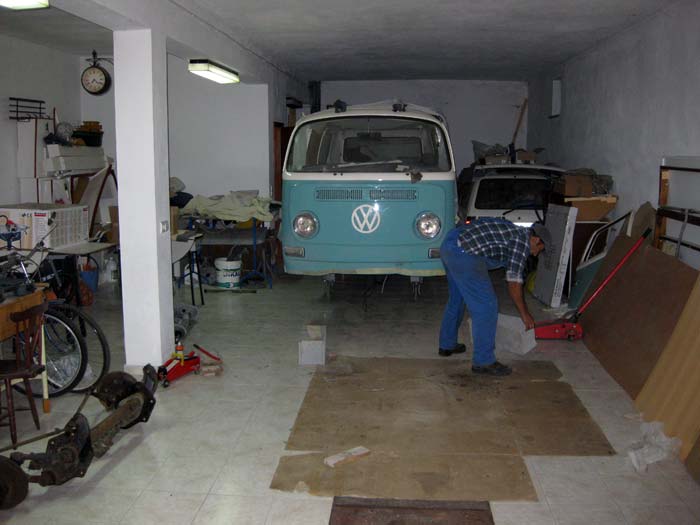
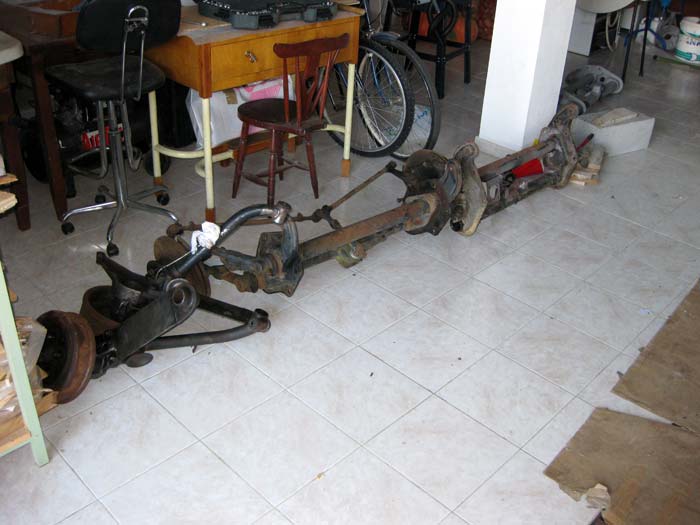
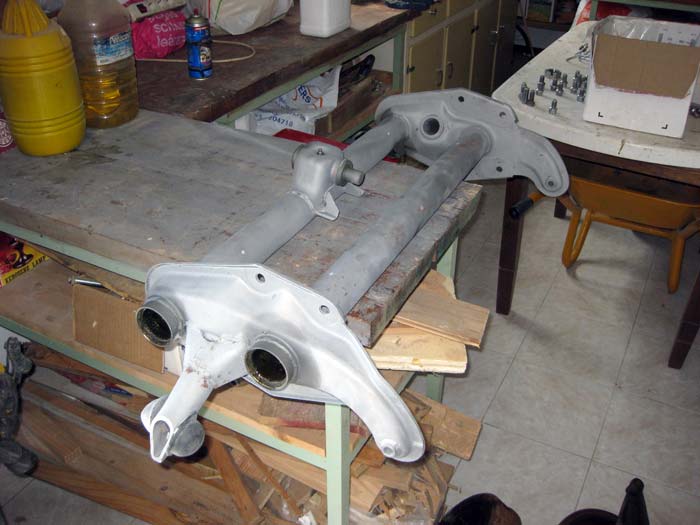
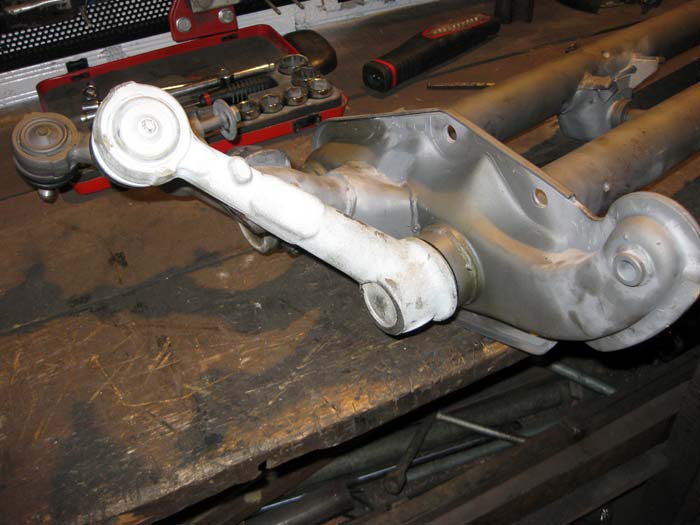
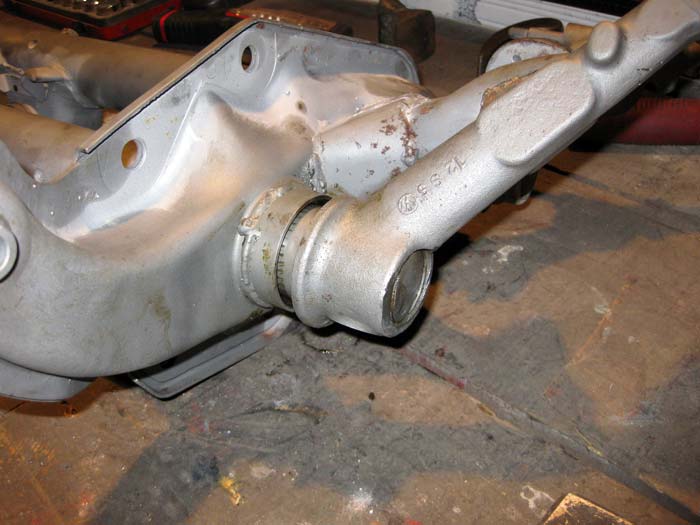
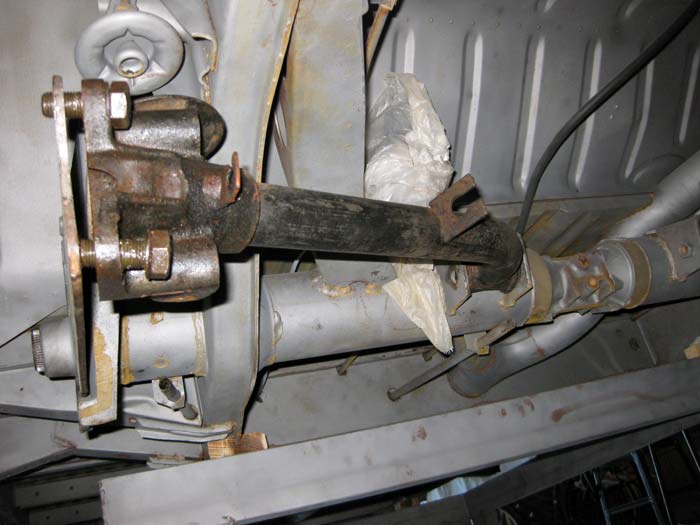
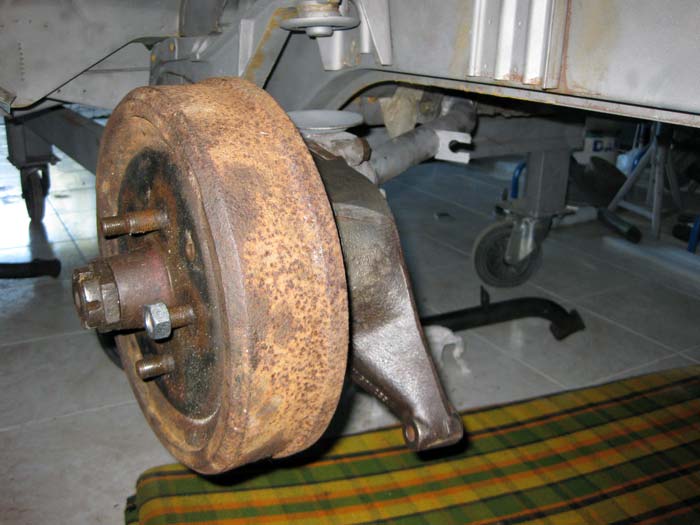
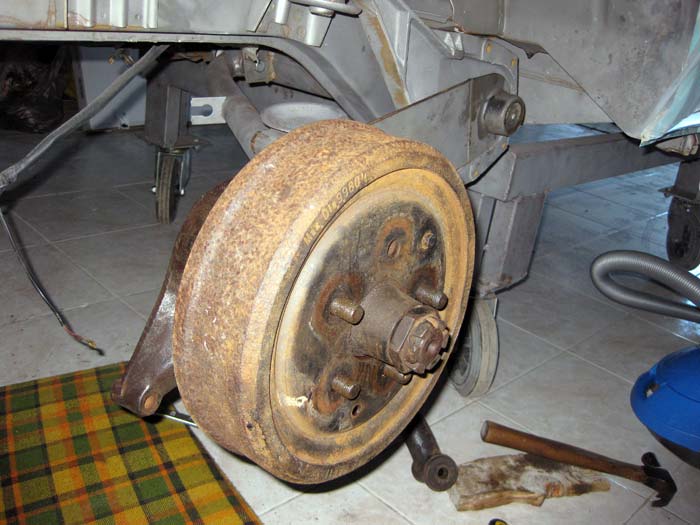
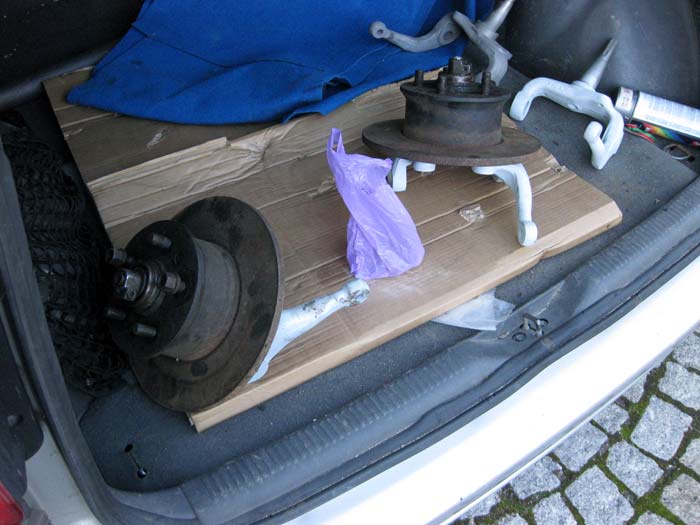
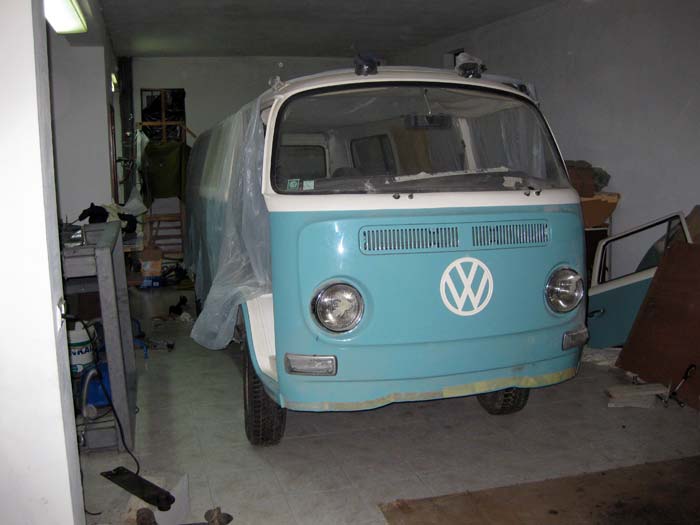
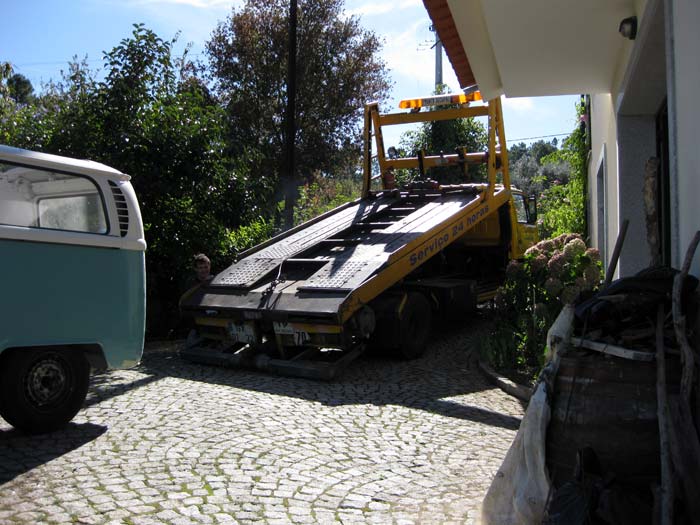
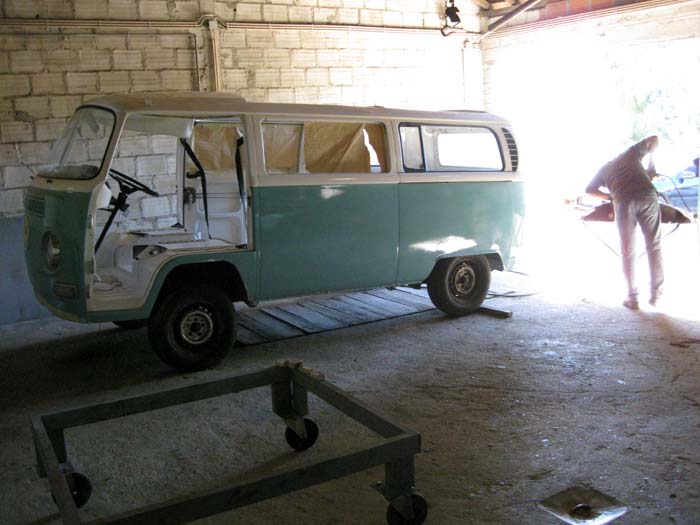
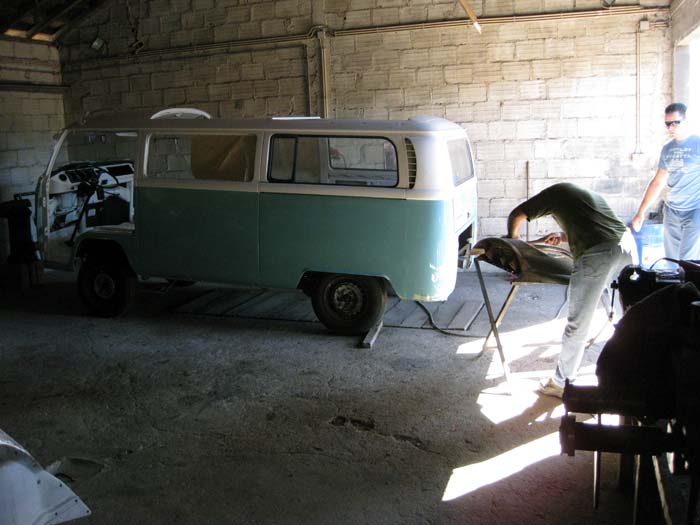
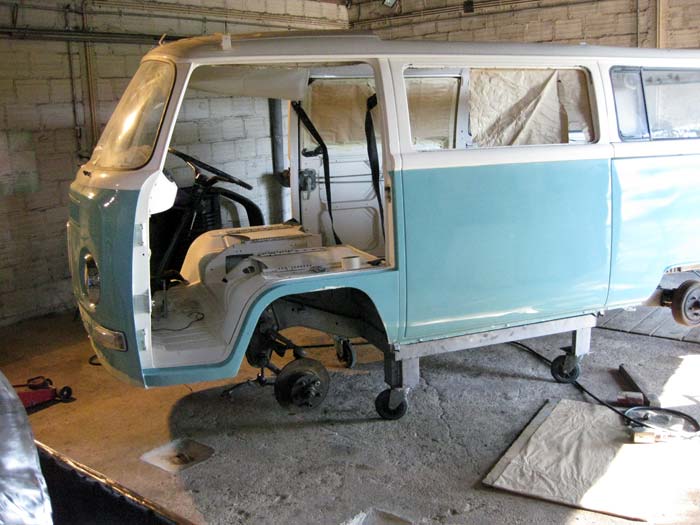
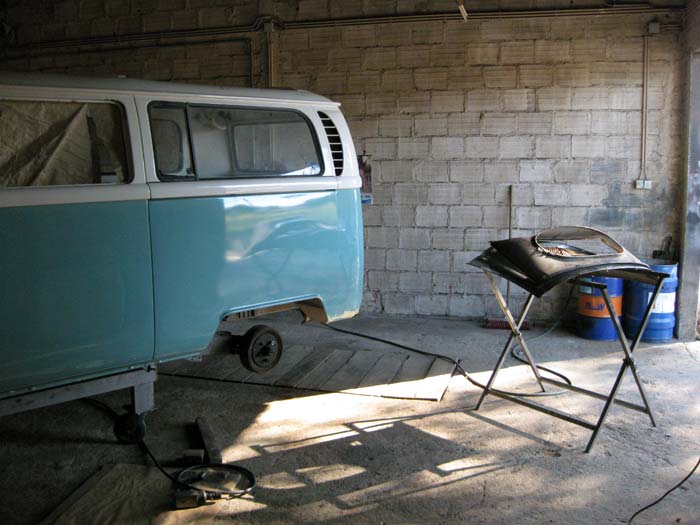
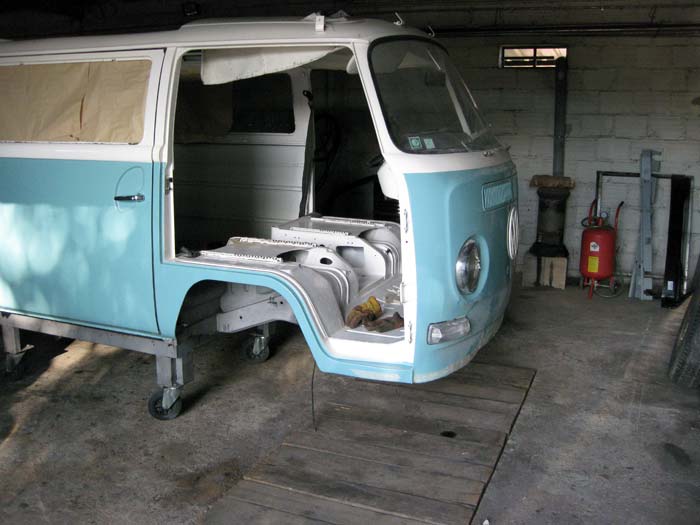
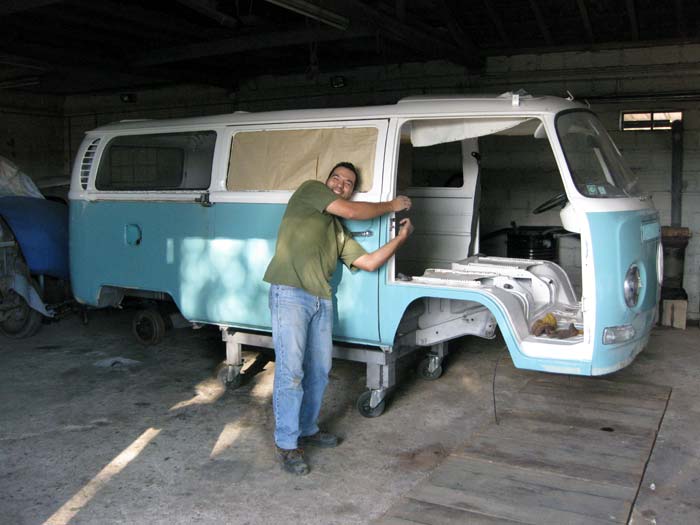
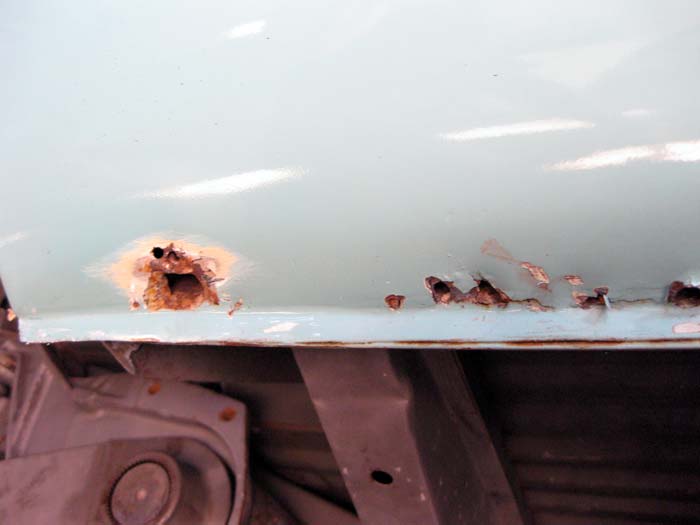
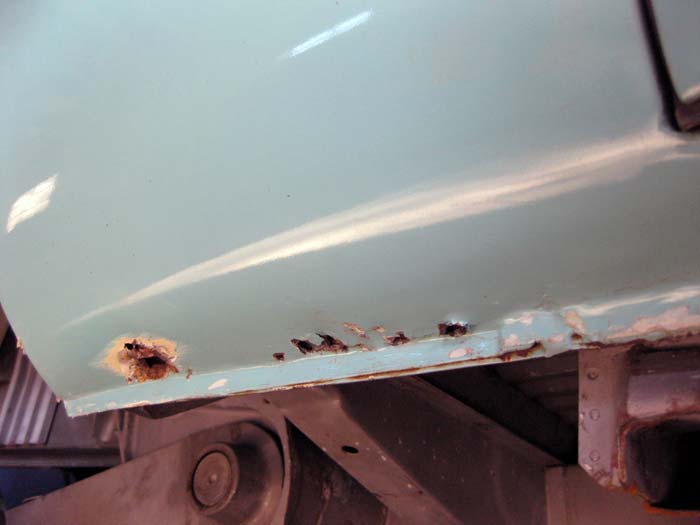
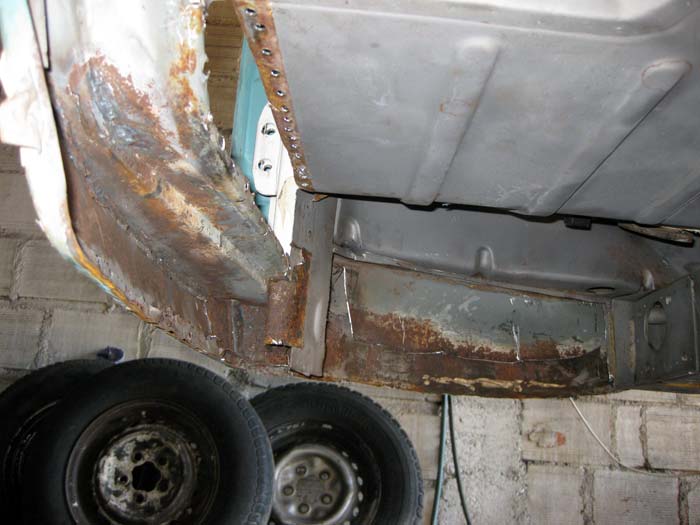
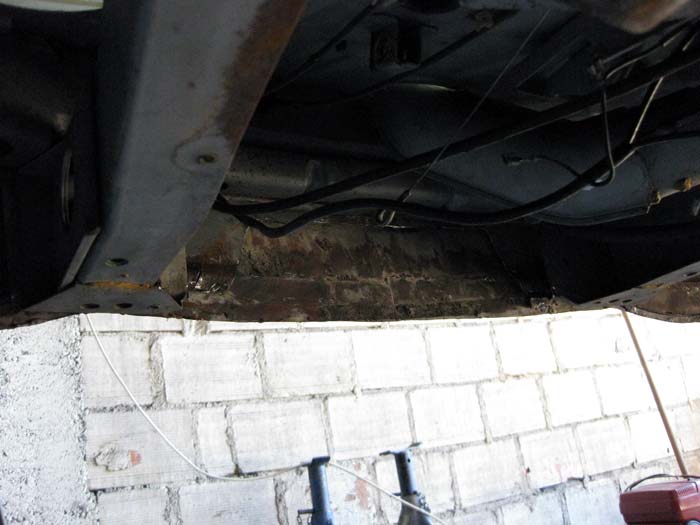
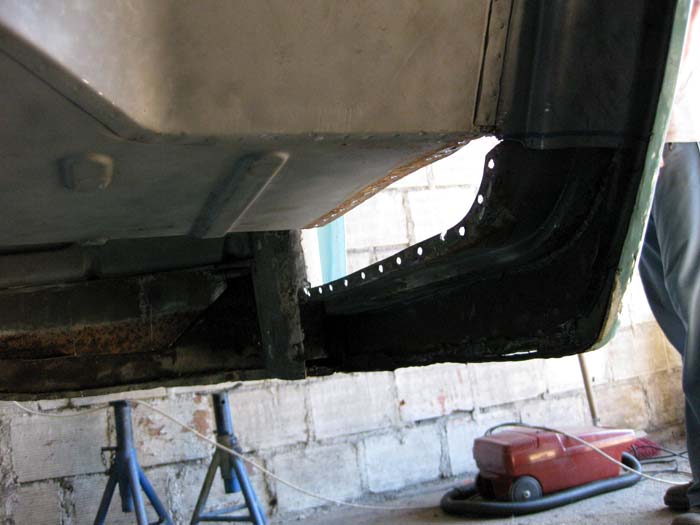
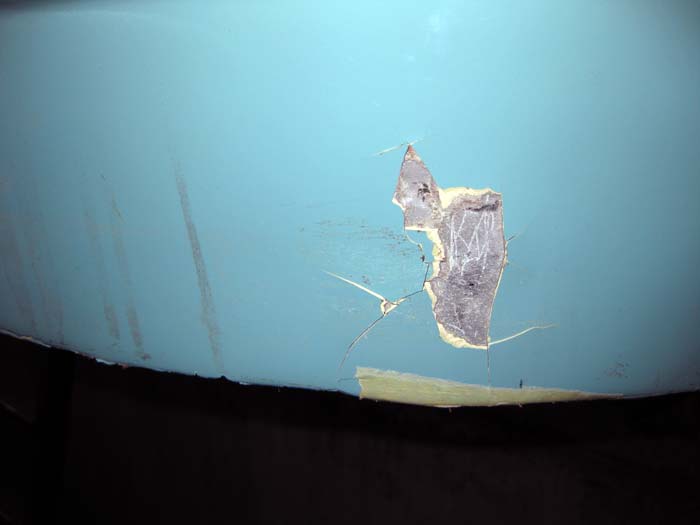
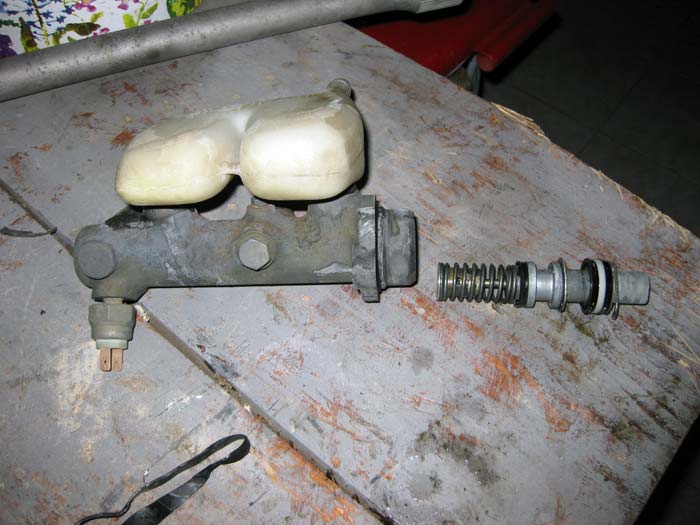
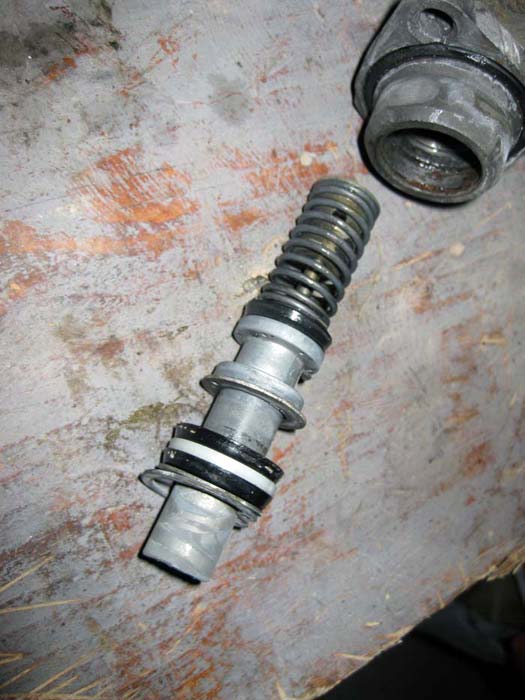
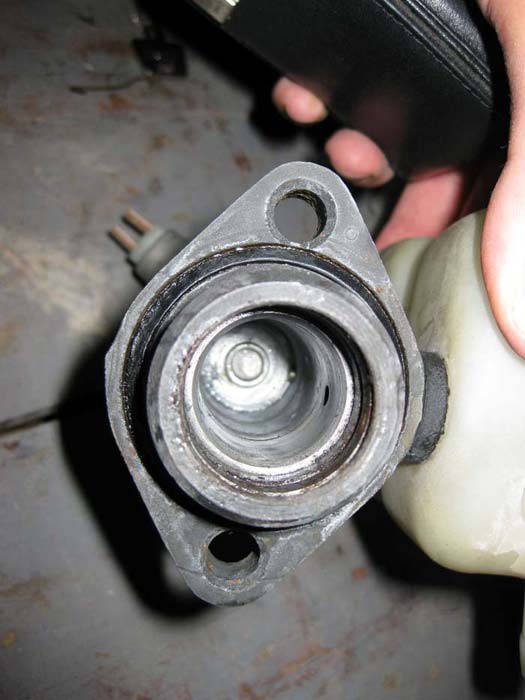
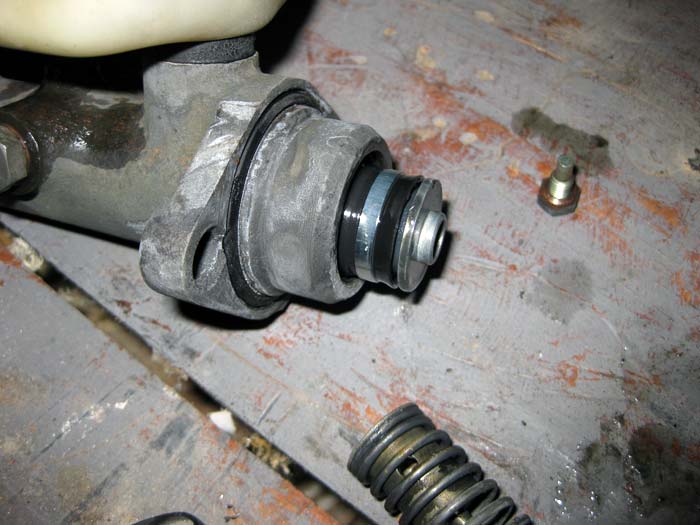
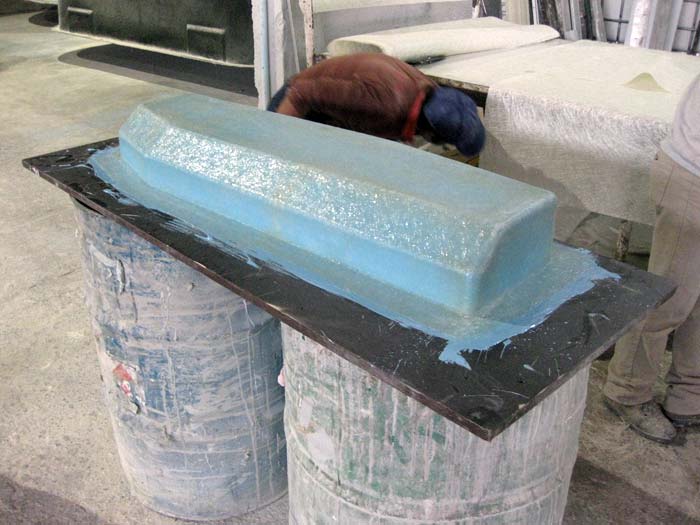
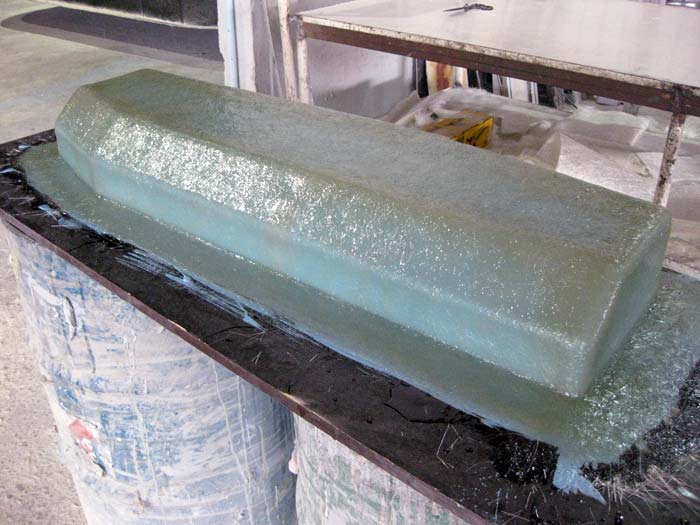
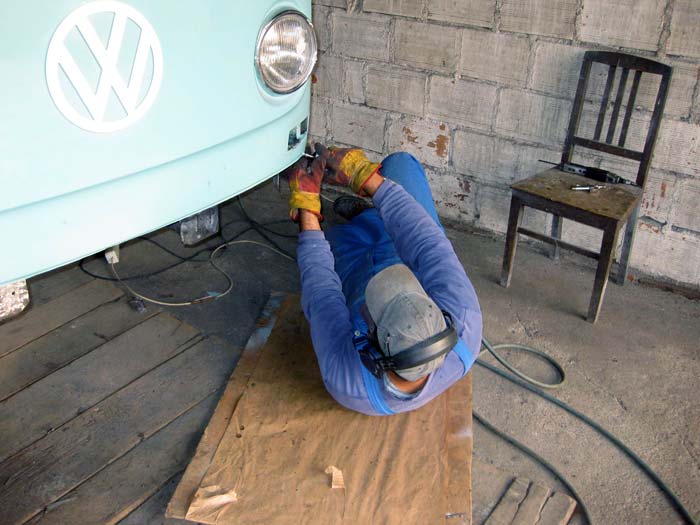
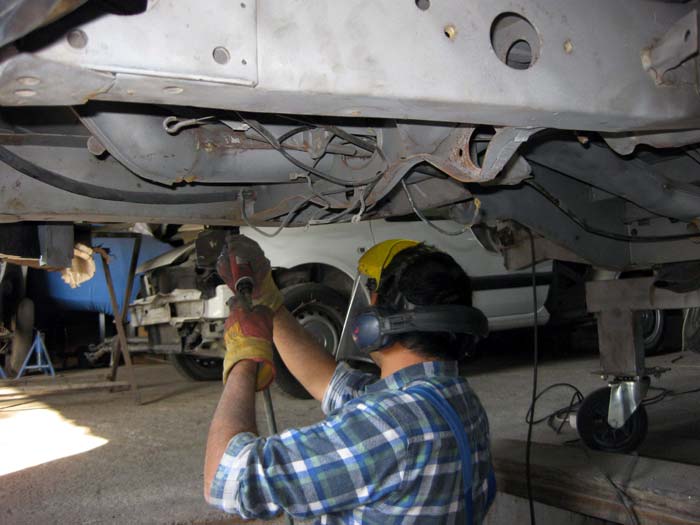
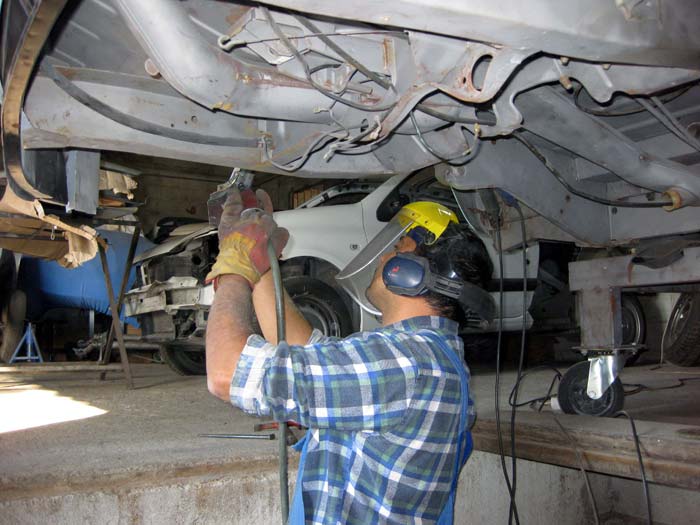
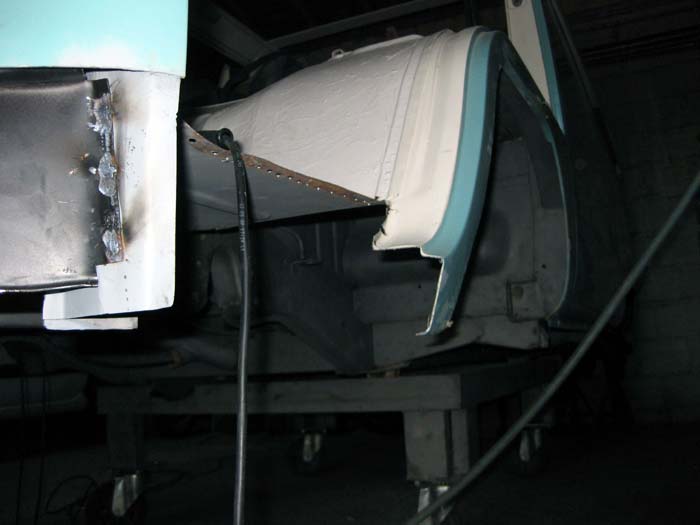
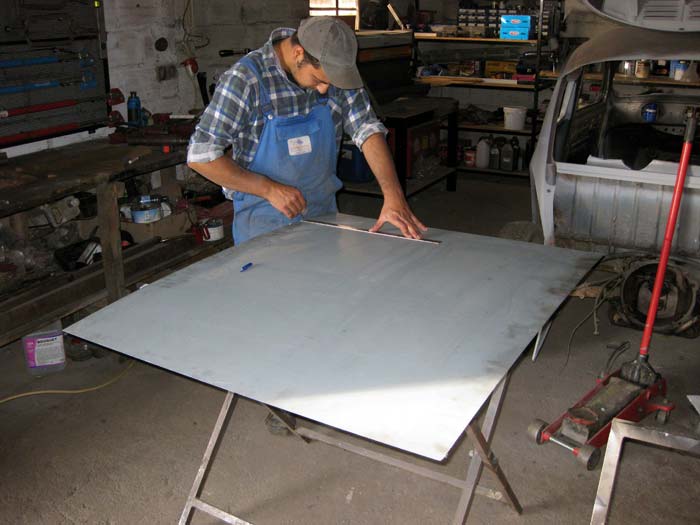
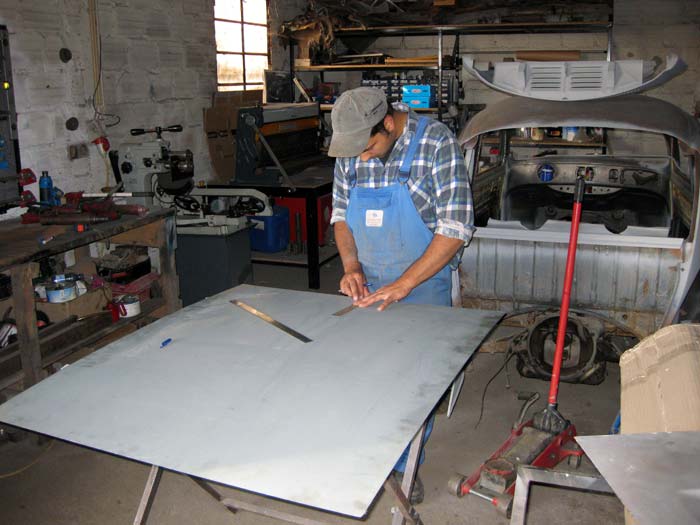
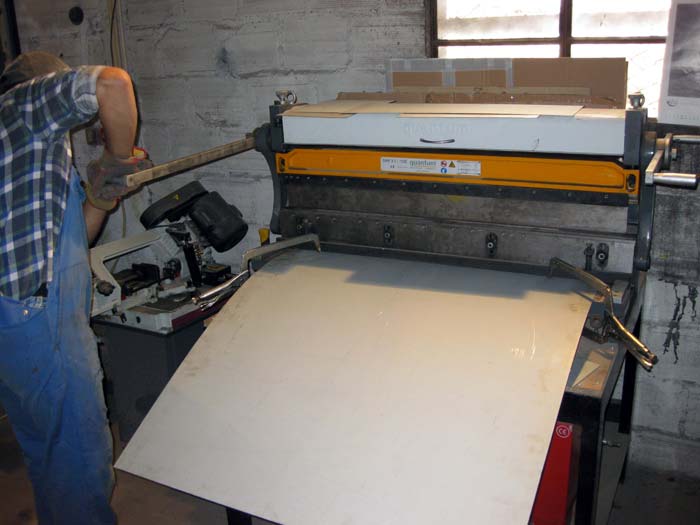
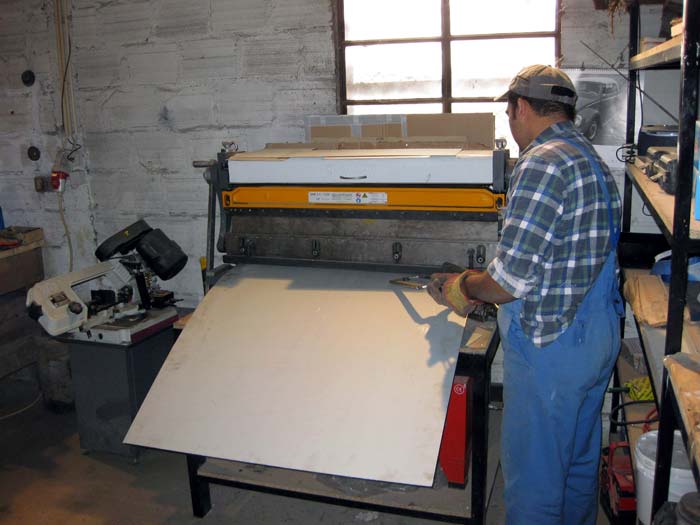
Johnny said:i learnt my lesson baremetalling the whole bus then not finding the time to paint it.... alot of flash and surface rust over a year but i know it will come off and its all on show. Like Nate says POR 15 will take care of a lot of that. this is a really detailed resto and shows us alot of stuff gone into the resto we take for granted, thats what makes it a great thread.
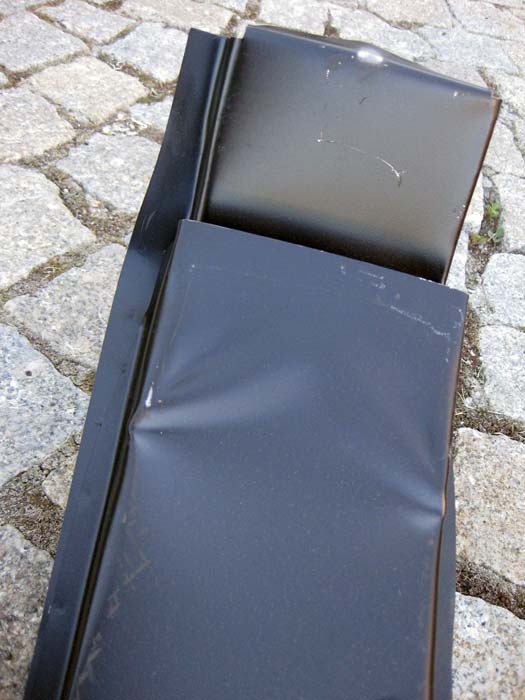
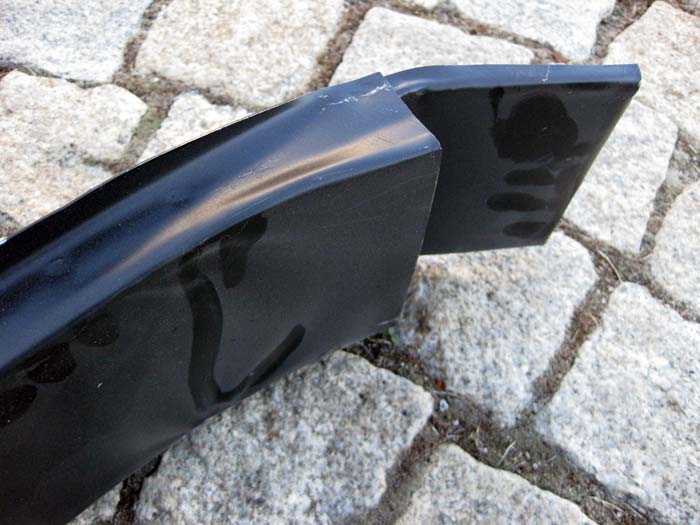
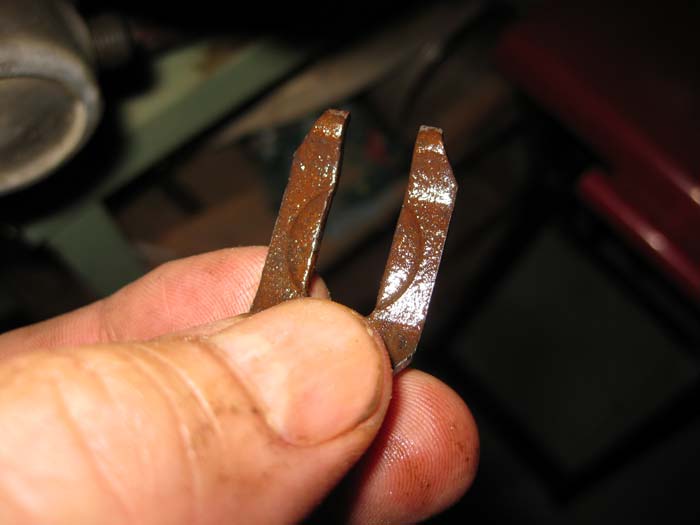
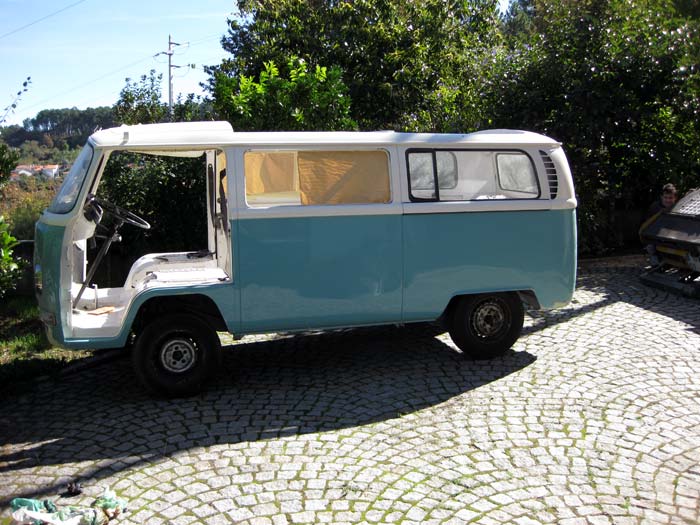
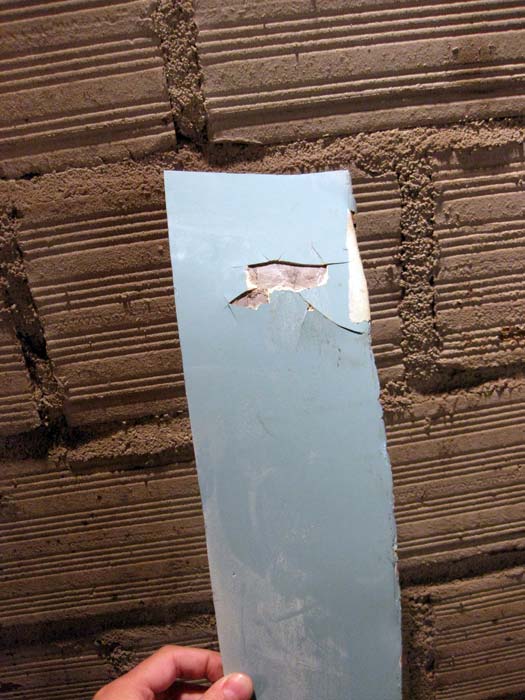
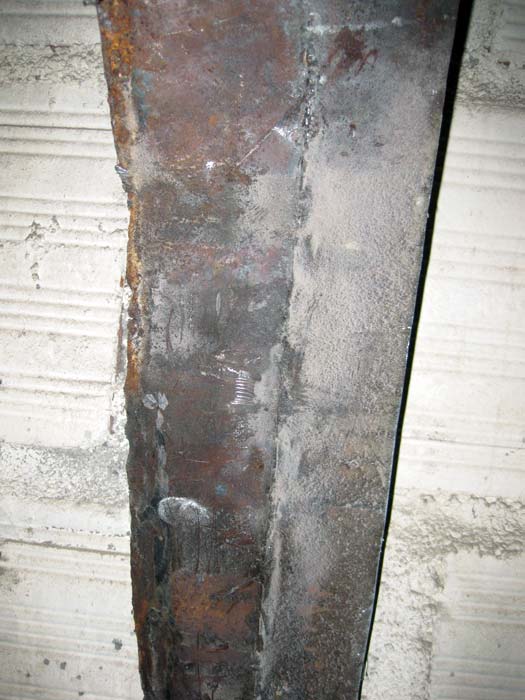
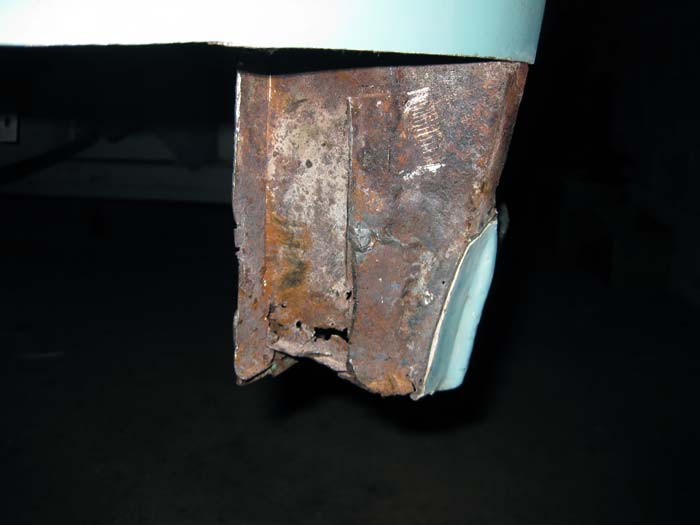
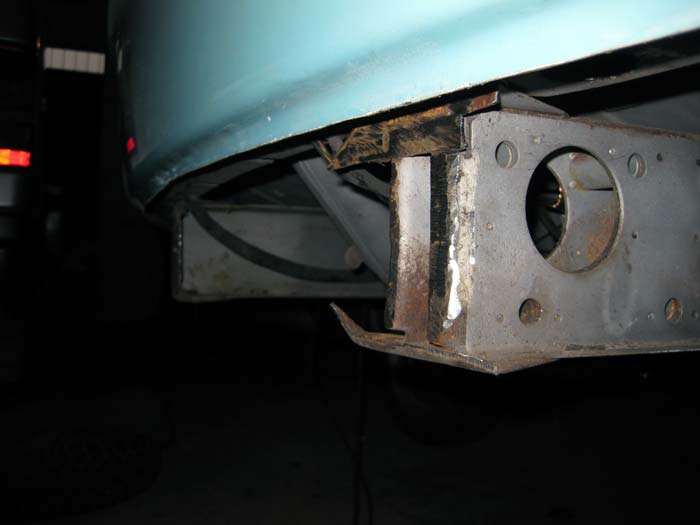
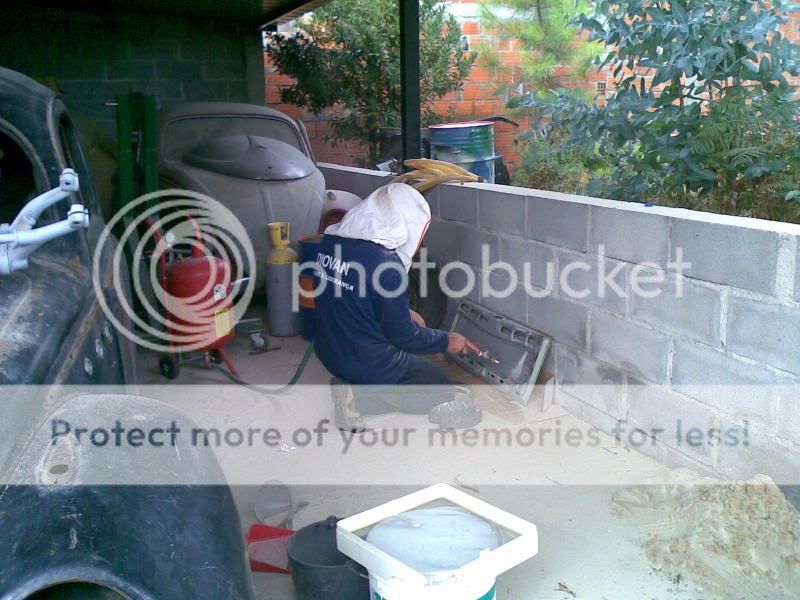
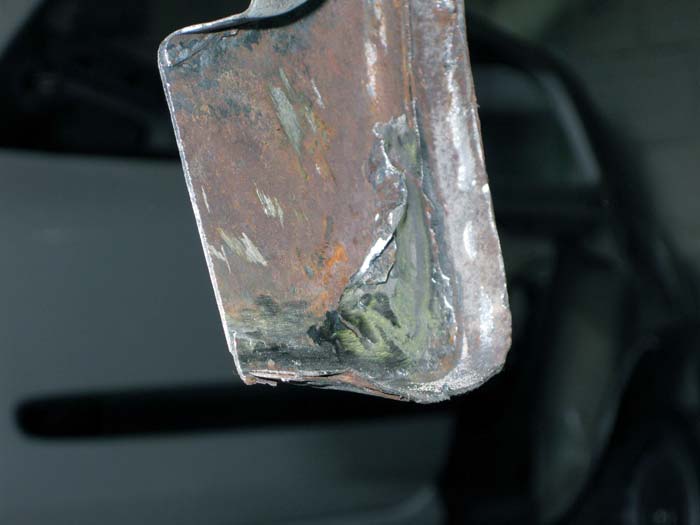
im glad your happy with the bumper trim
Thanks Johnny.....
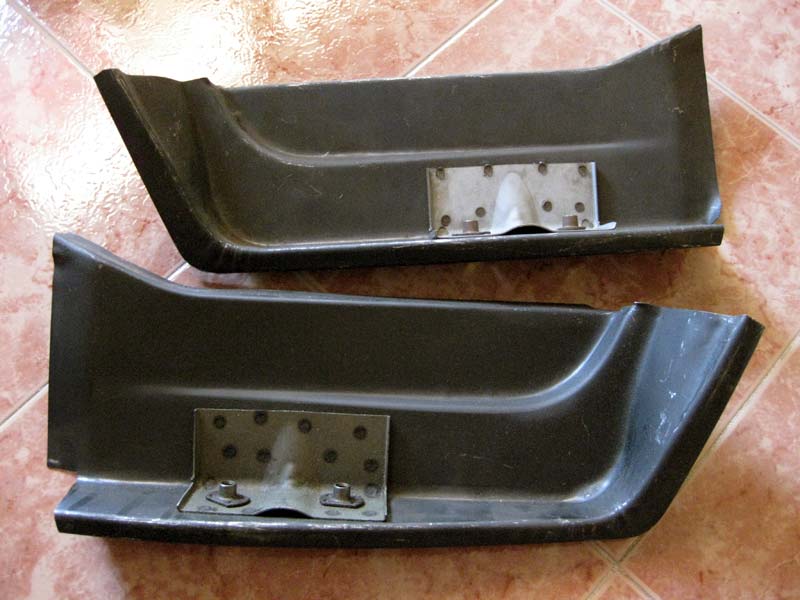
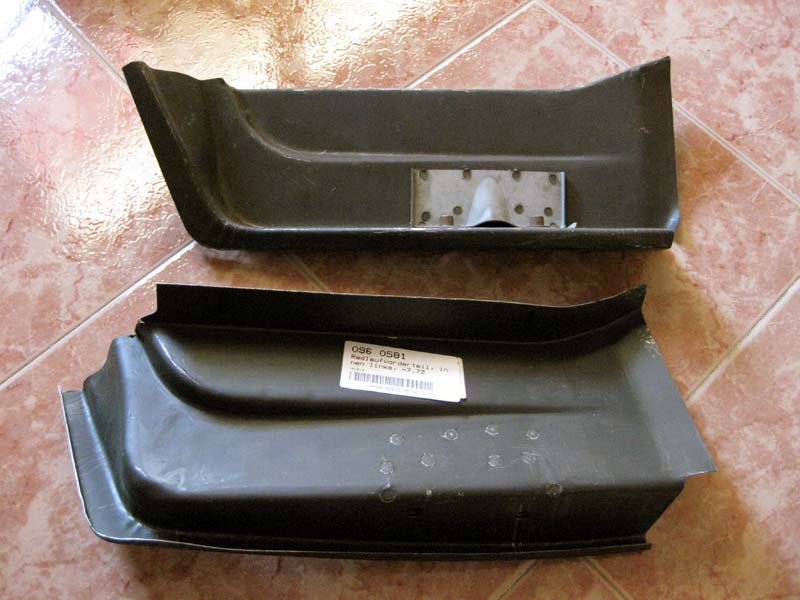
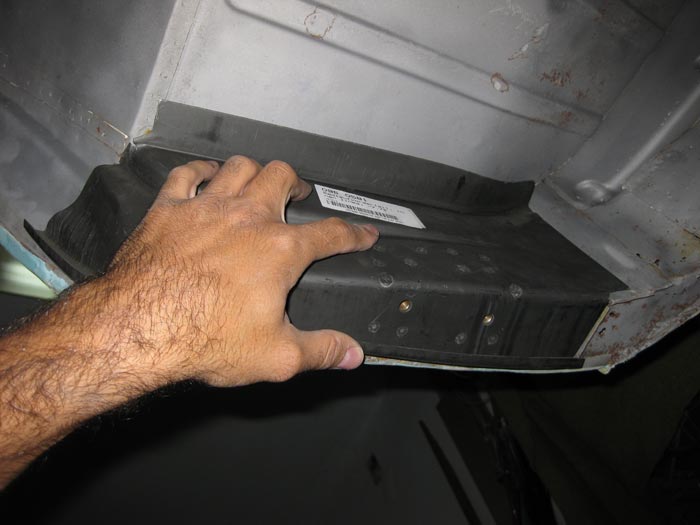
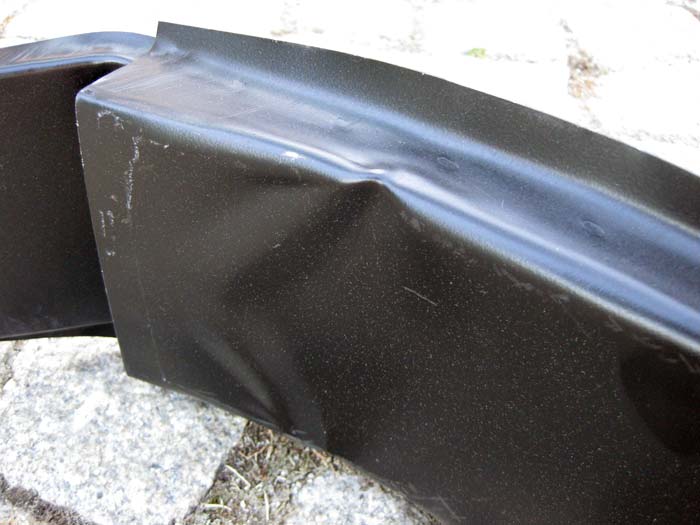
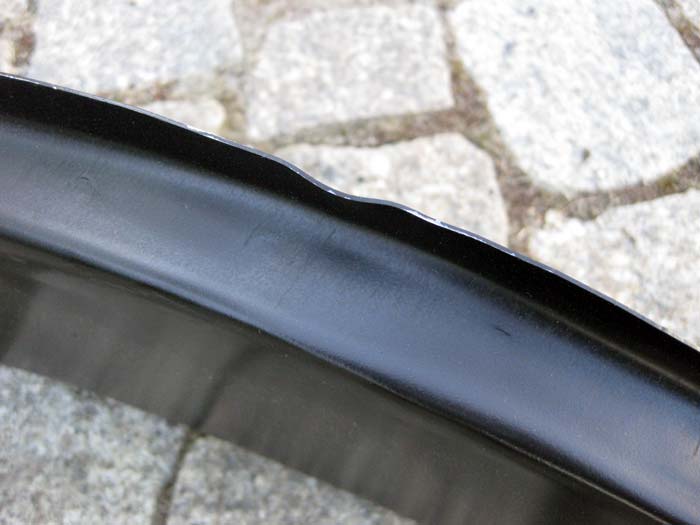
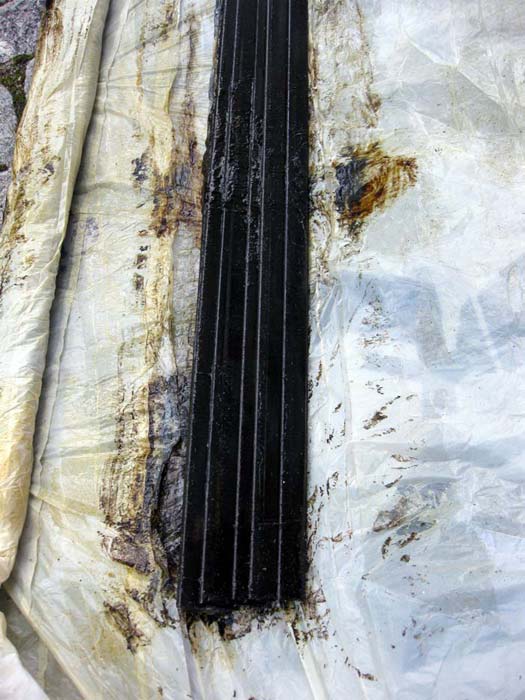
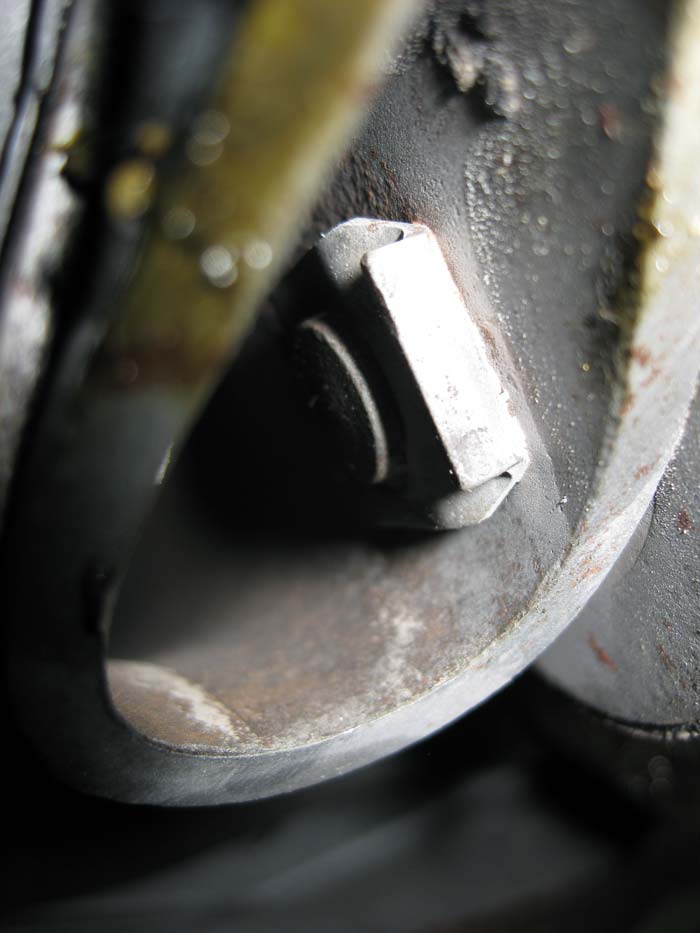
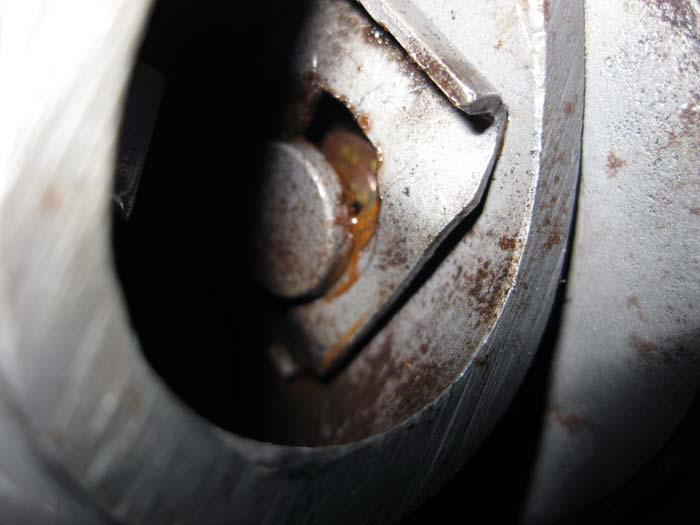
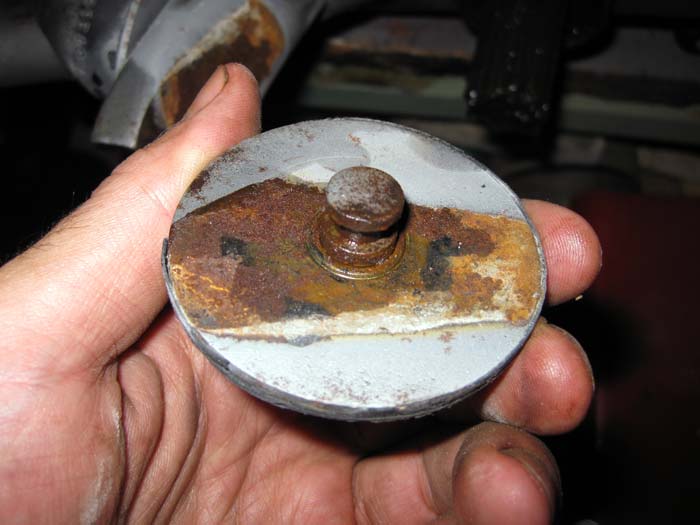
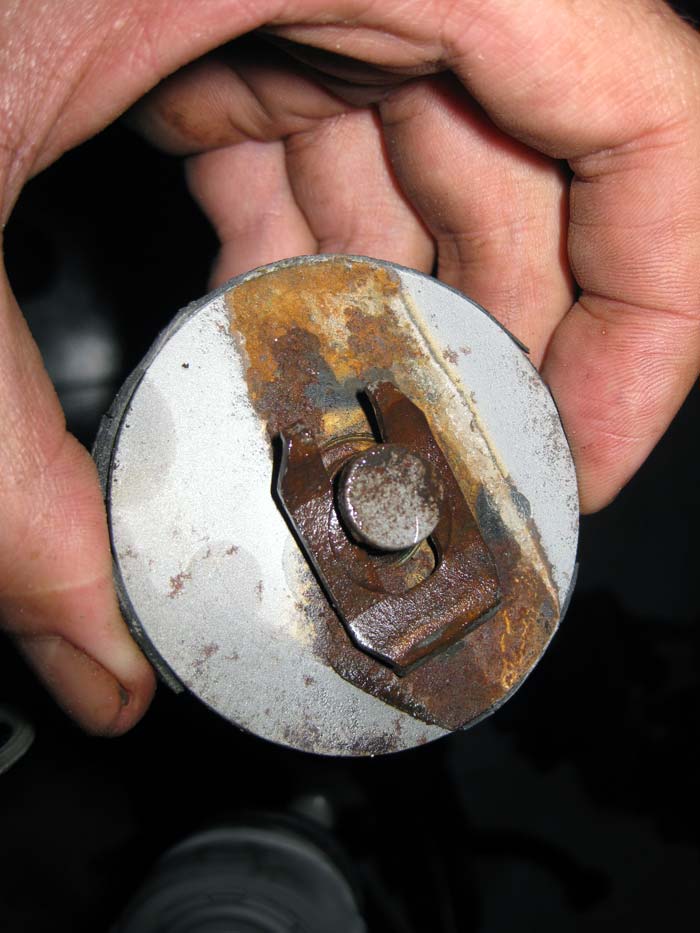
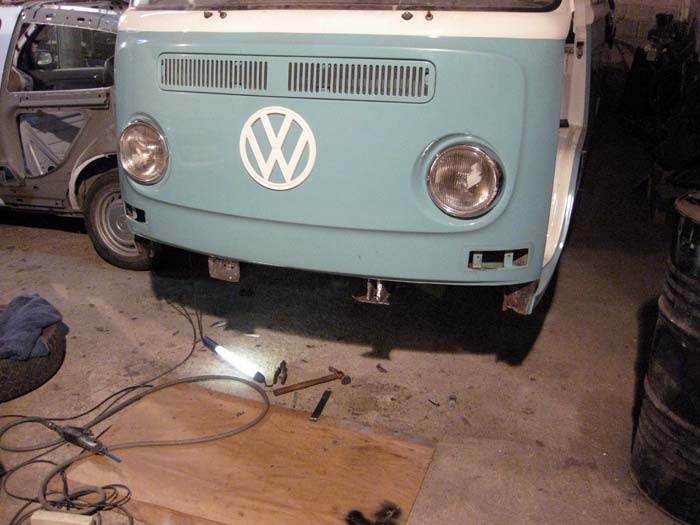
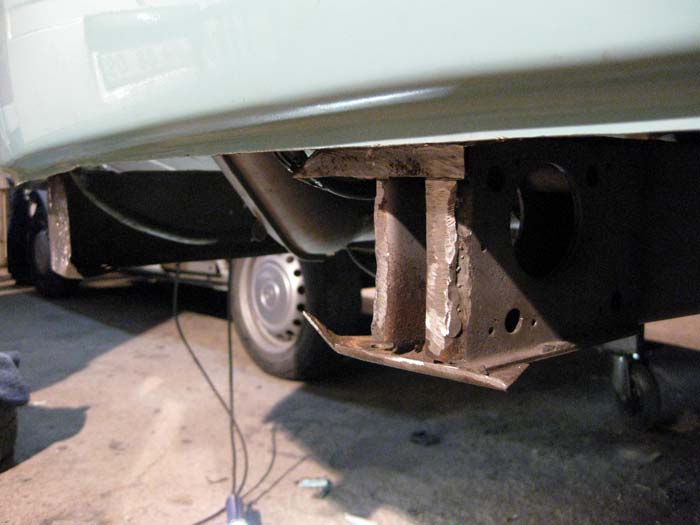
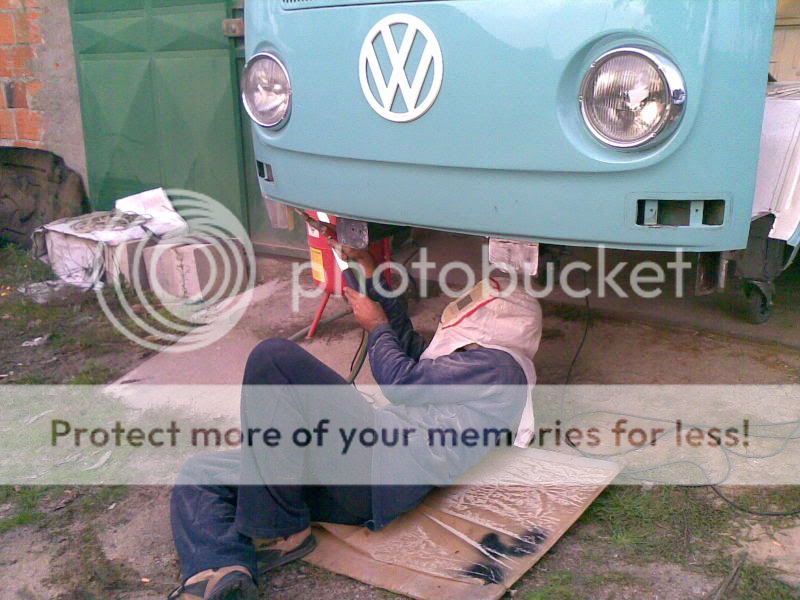
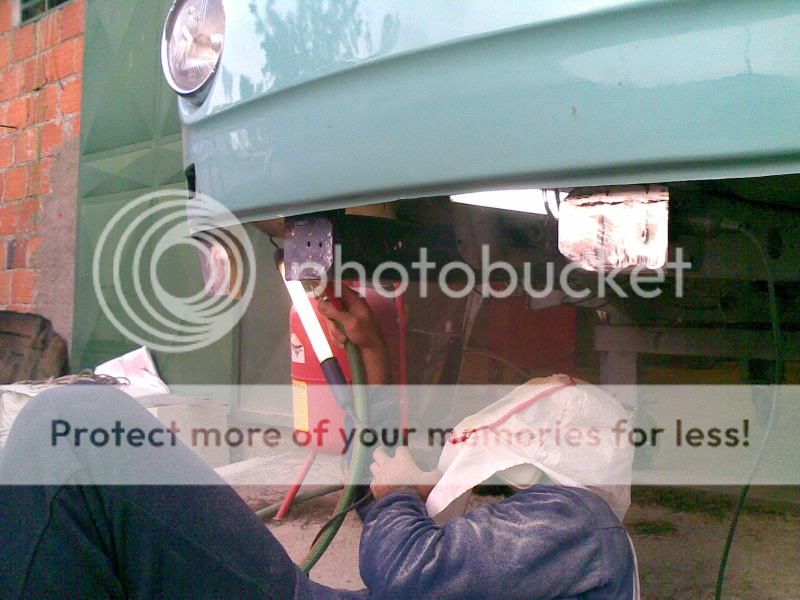
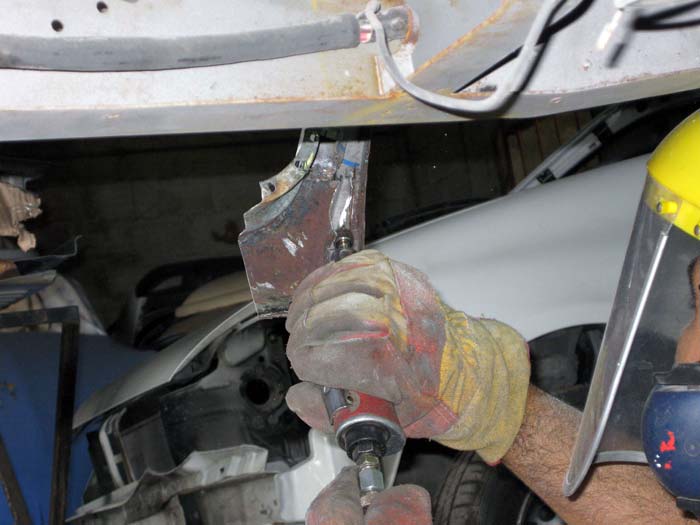
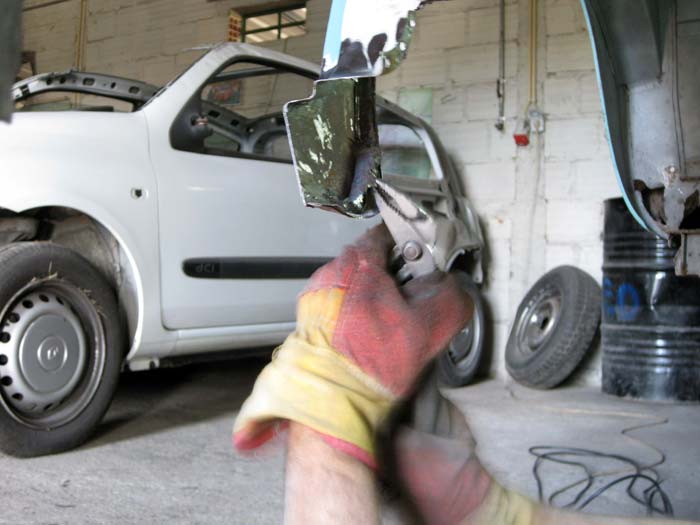
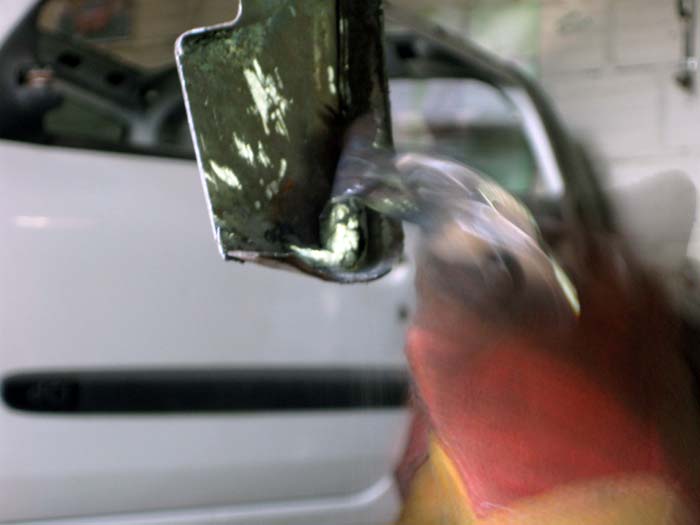
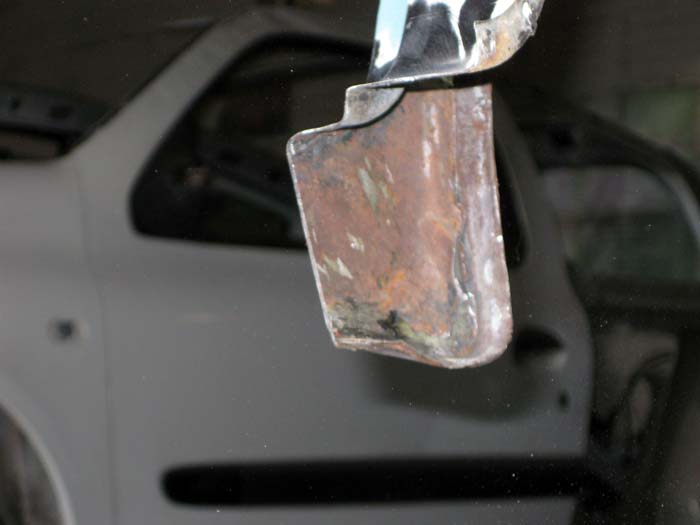
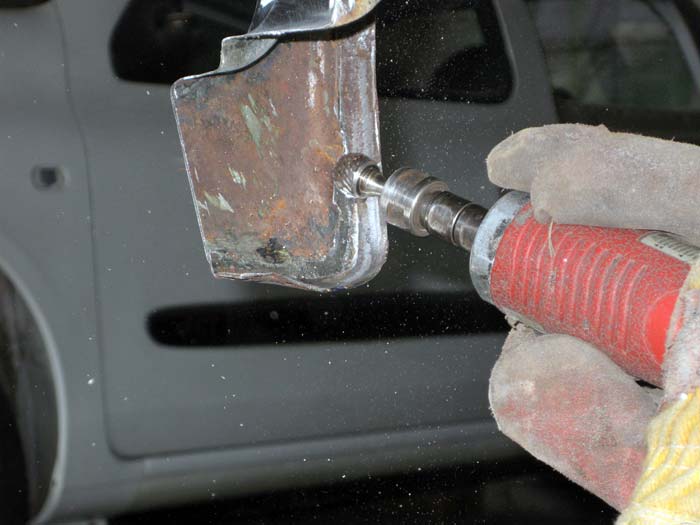
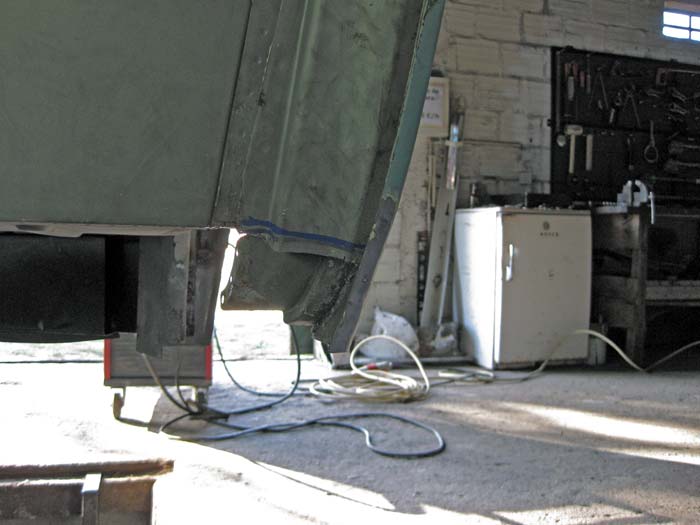
I'm not sure I will use these bumper trim. Can I ask for your help
? Is there any thread about wich years/models are the correct ones for these bumper trims? I read somewhere that for the 68' buses the deluxe bumper trims should be the round ones and not these squared ones.....