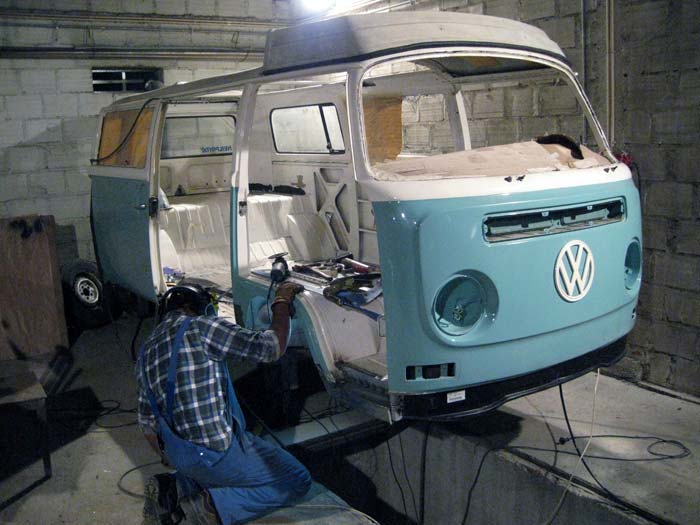
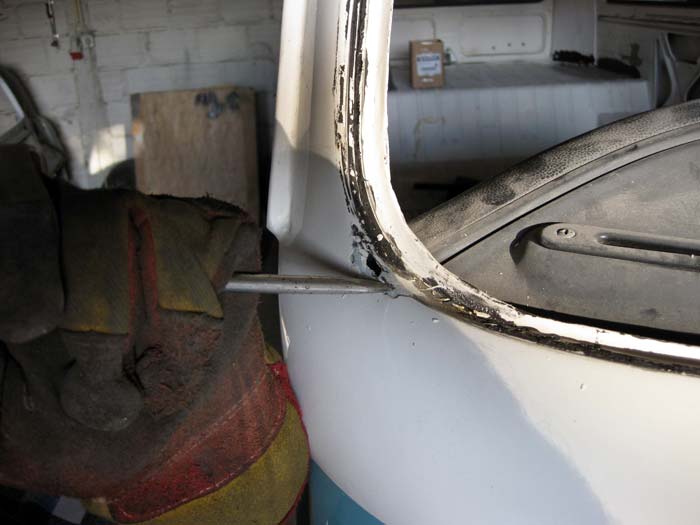
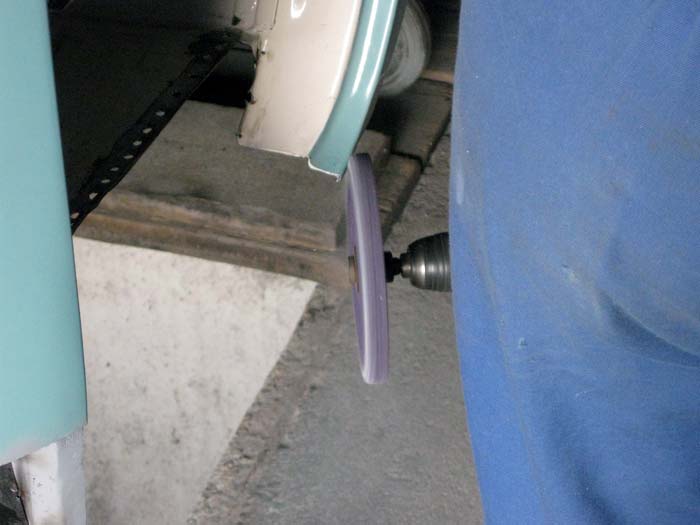
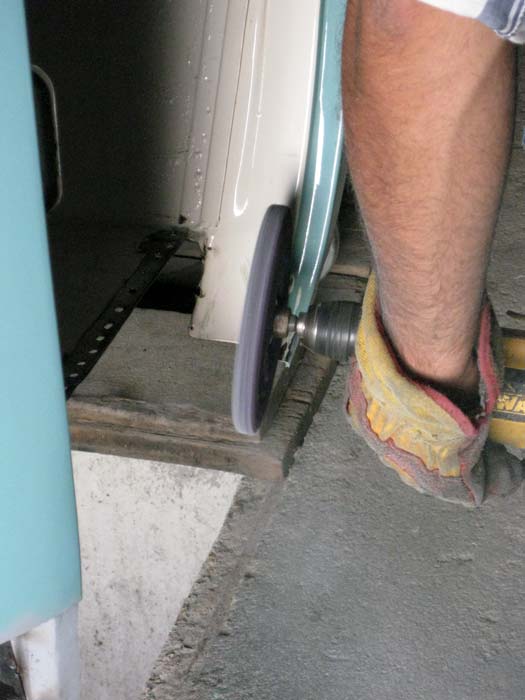
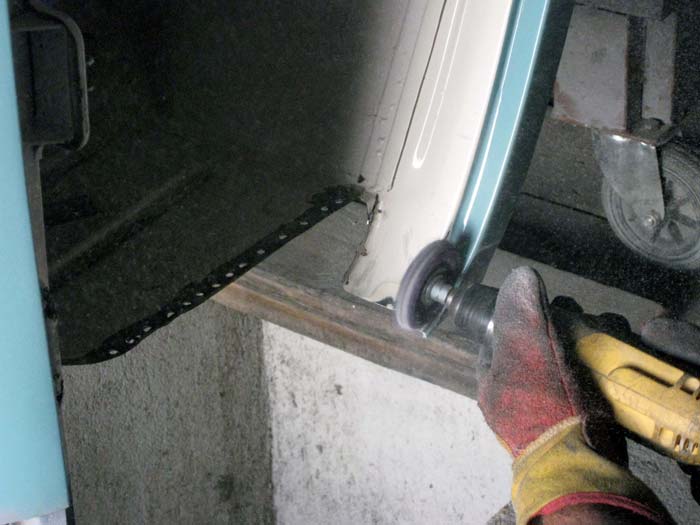
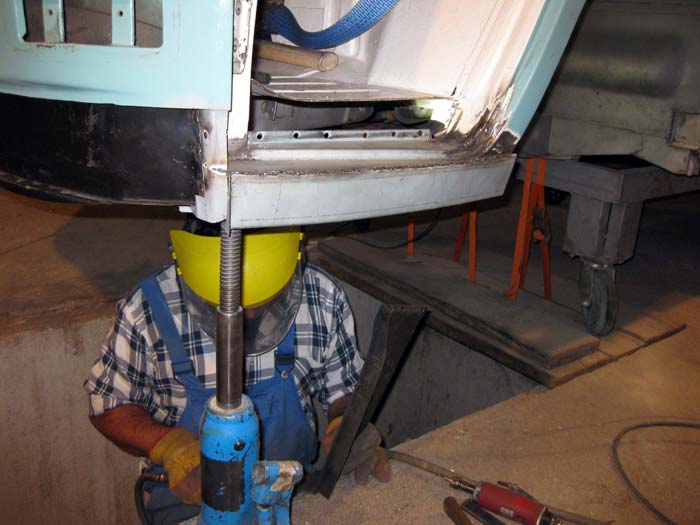
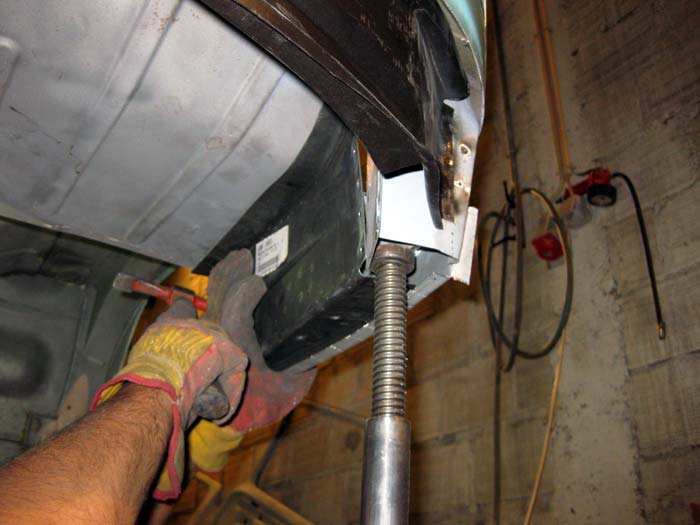
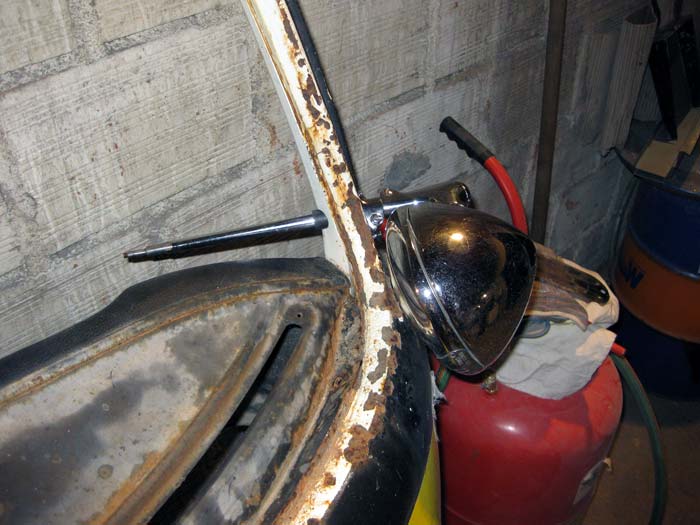
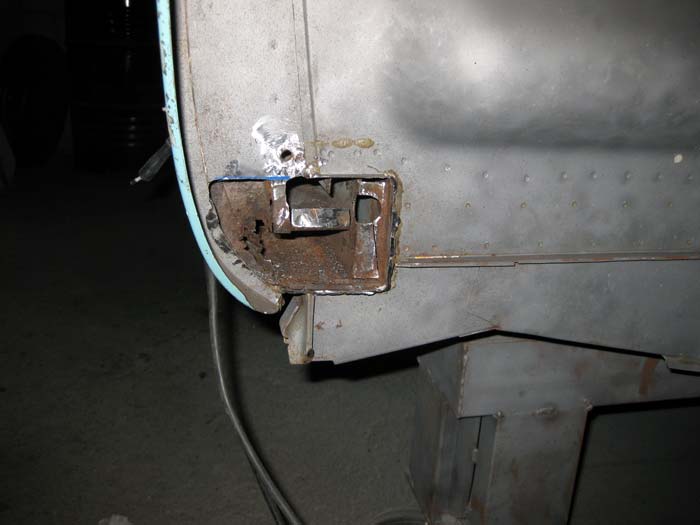
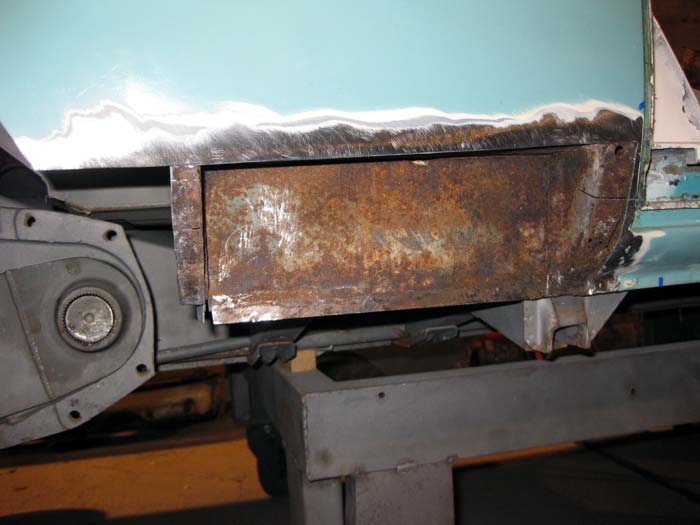
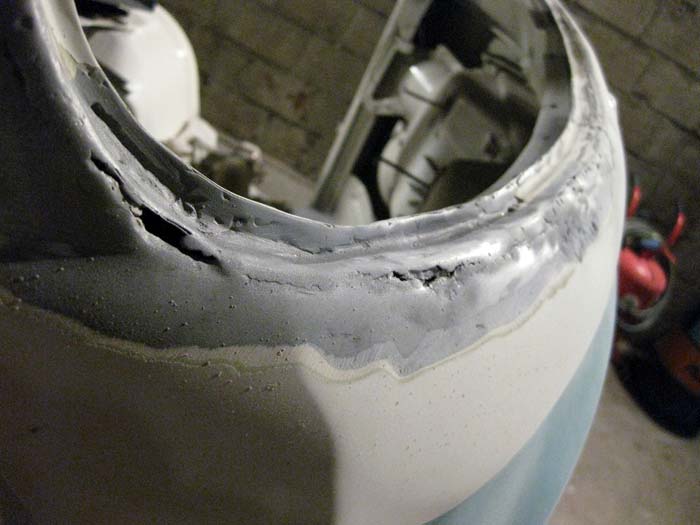
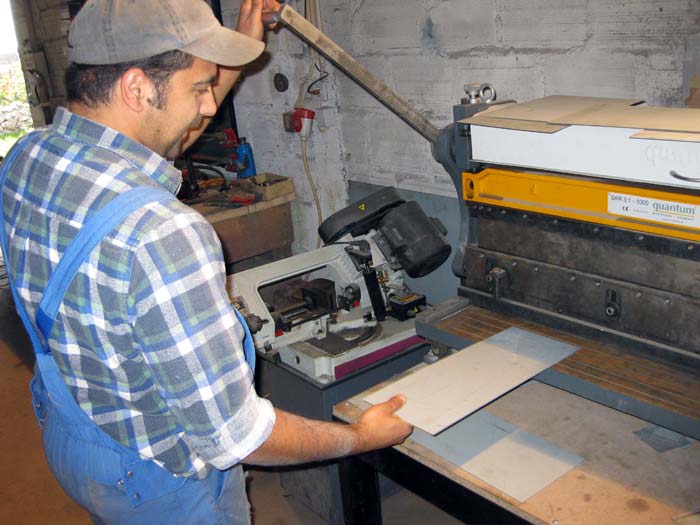
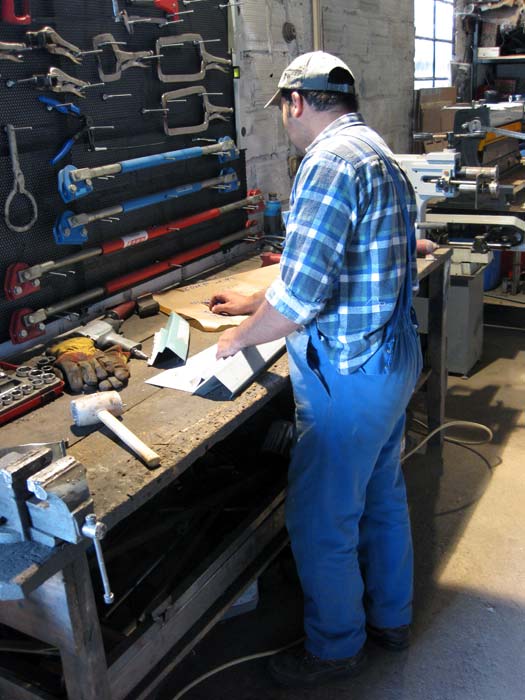
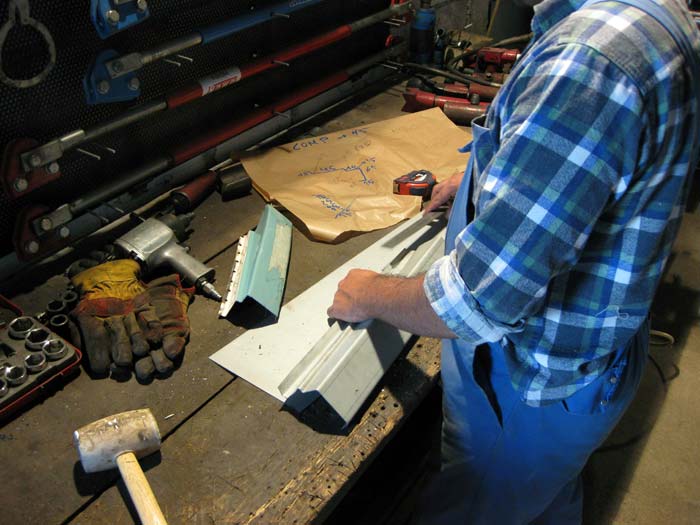
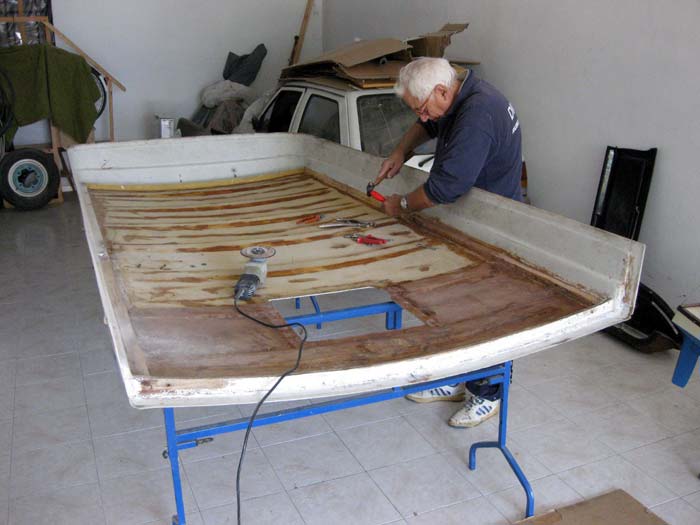
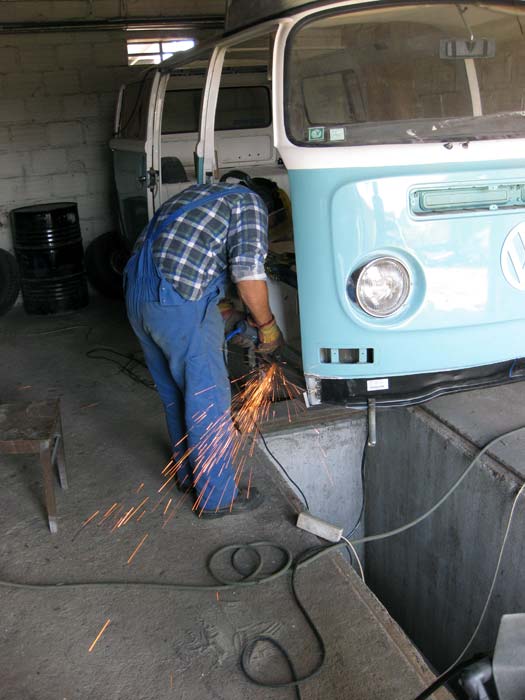
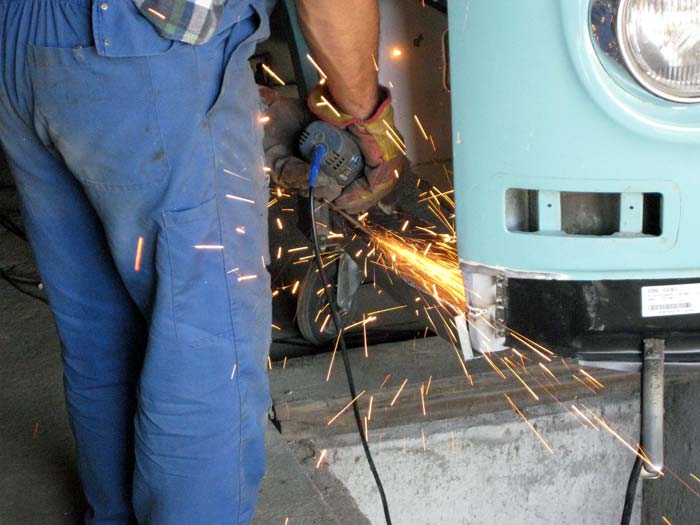
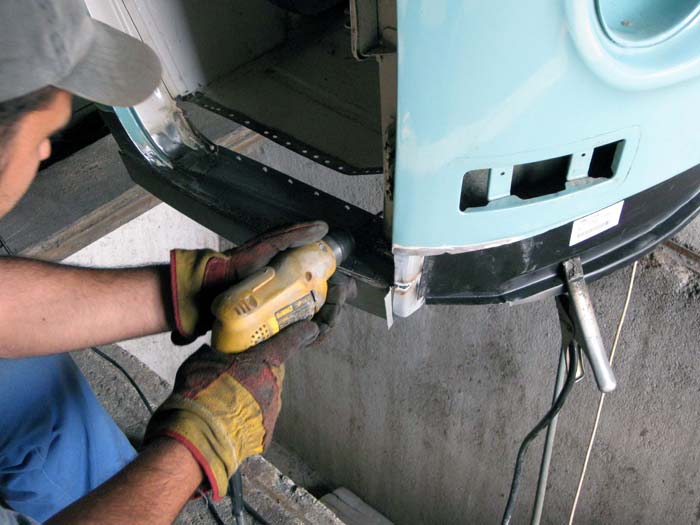
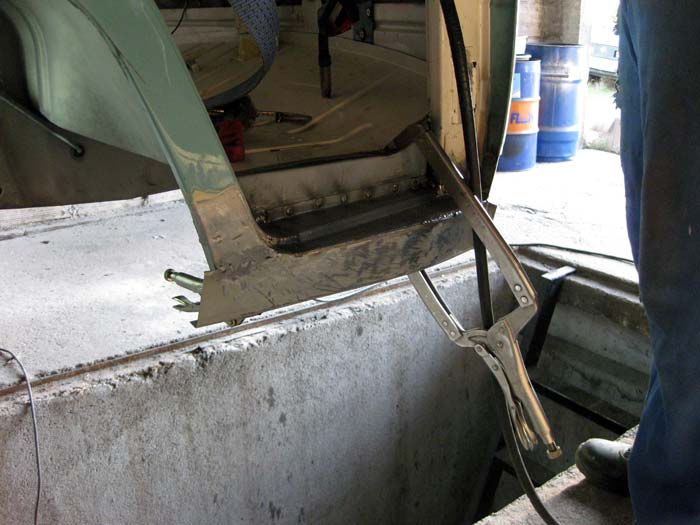
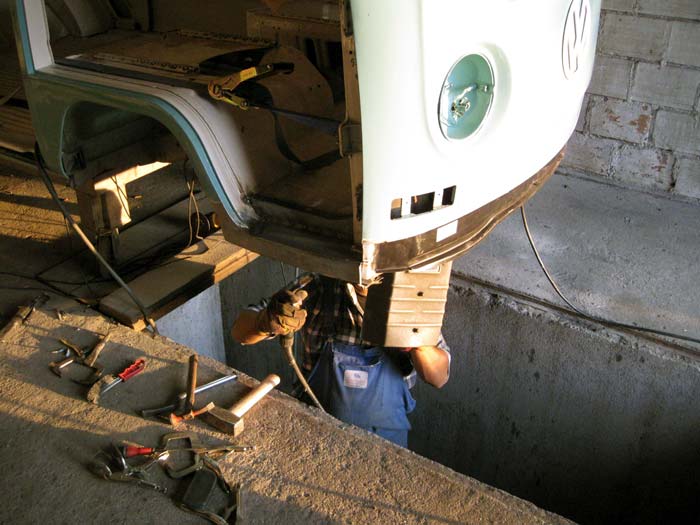
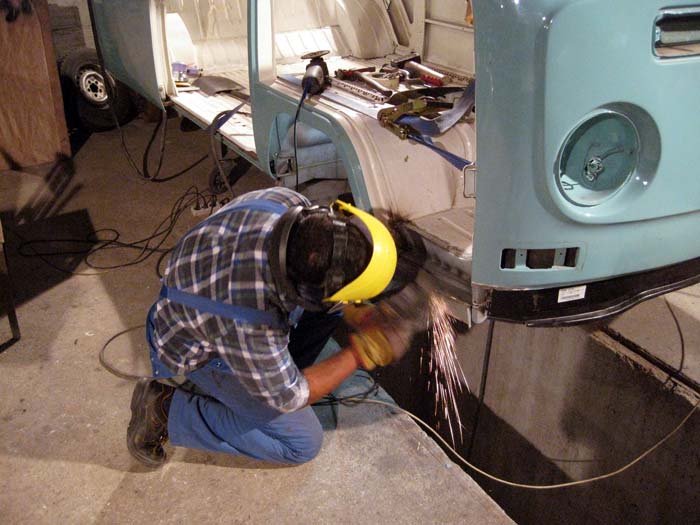
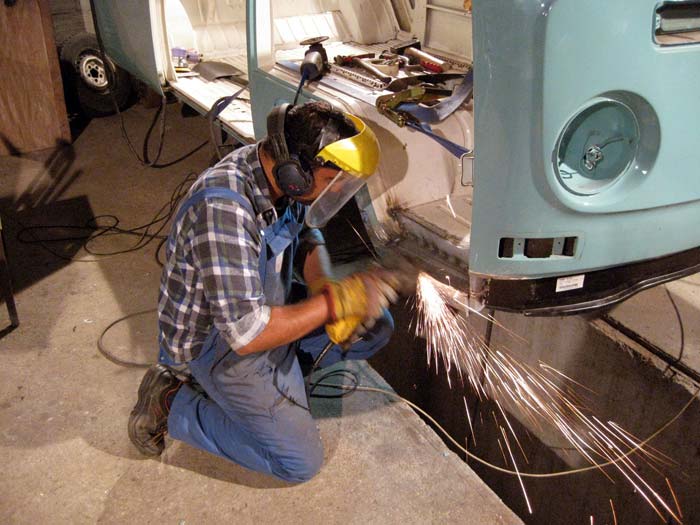
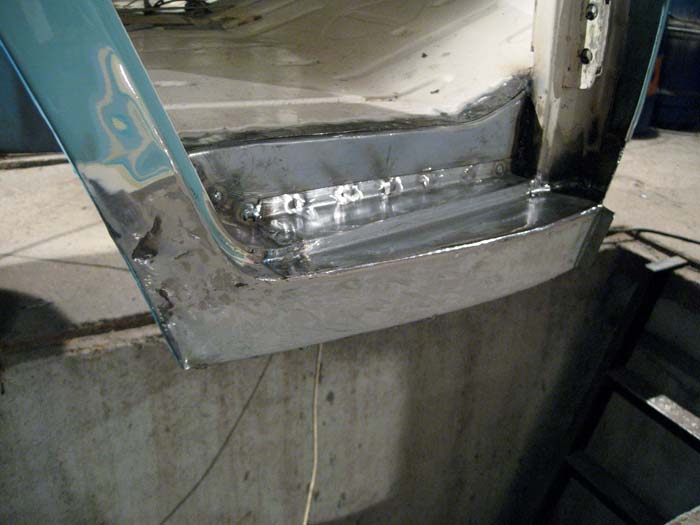
after bending and cuting the metal sheet where necessary, the replacement part was getting the right way :mrgreen:

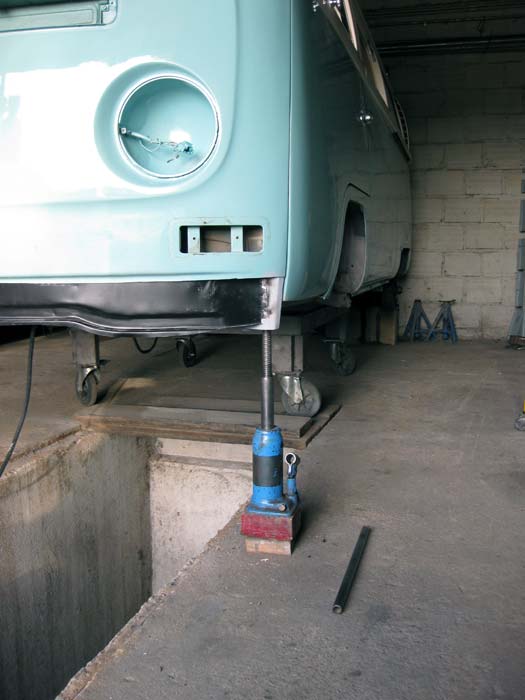
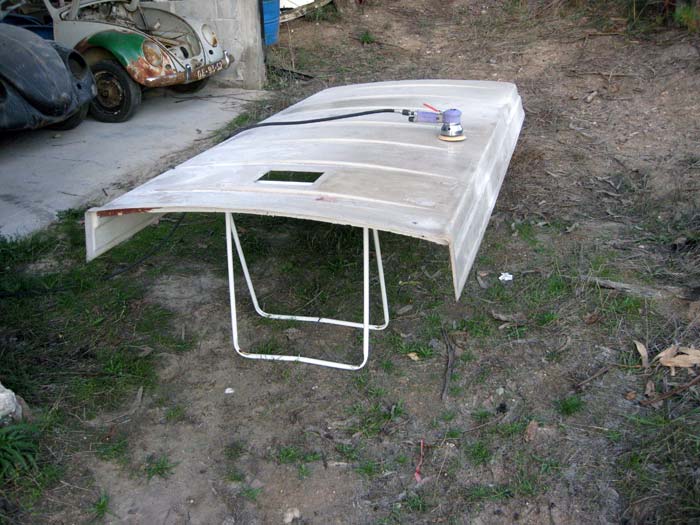
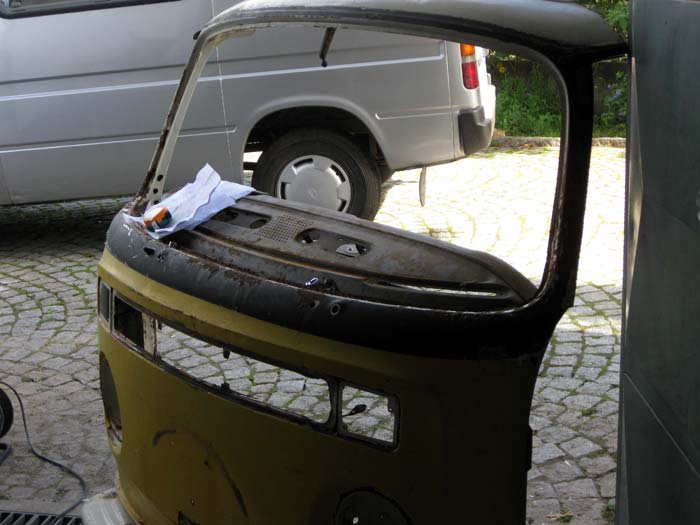
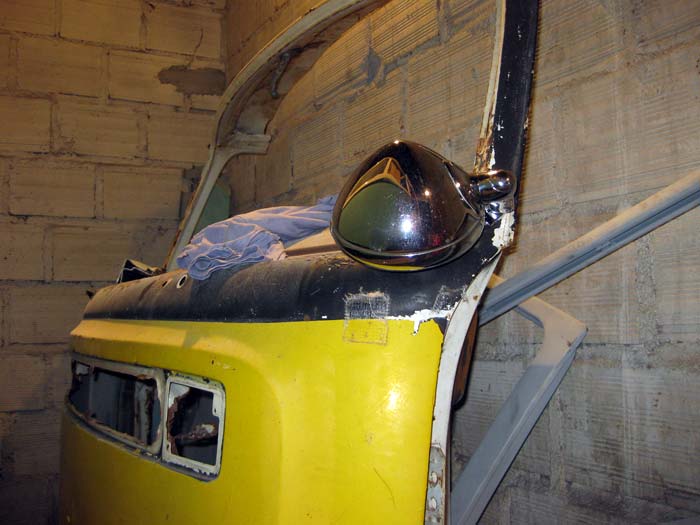
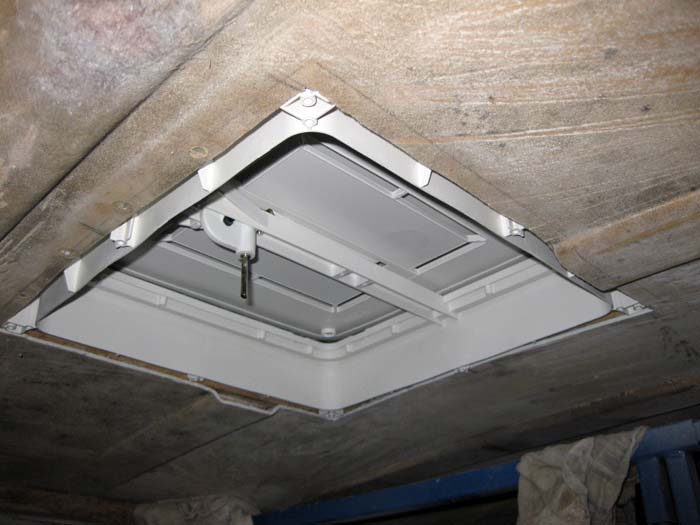
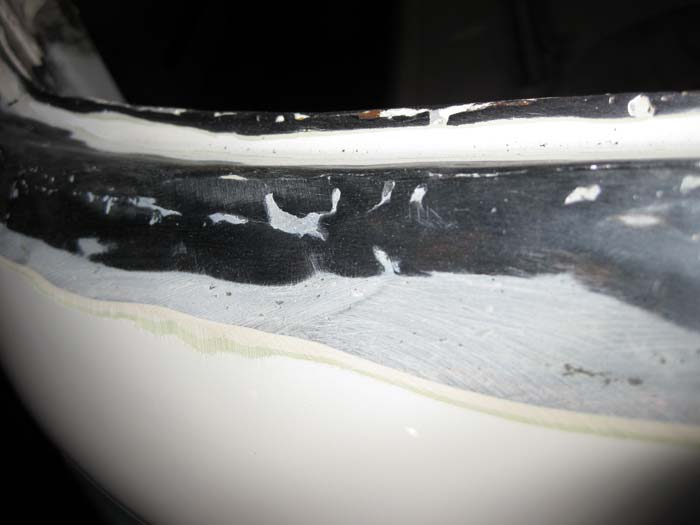
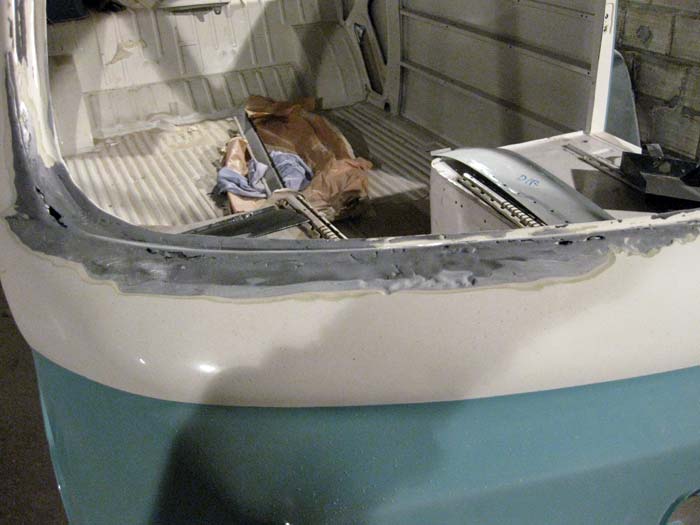
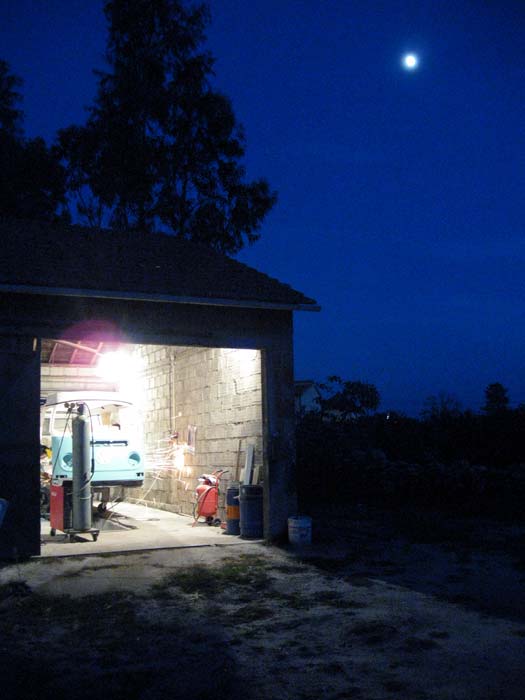
... but it was getting late, so I returned to Viseu. And once there, the poptop was needing some attention...
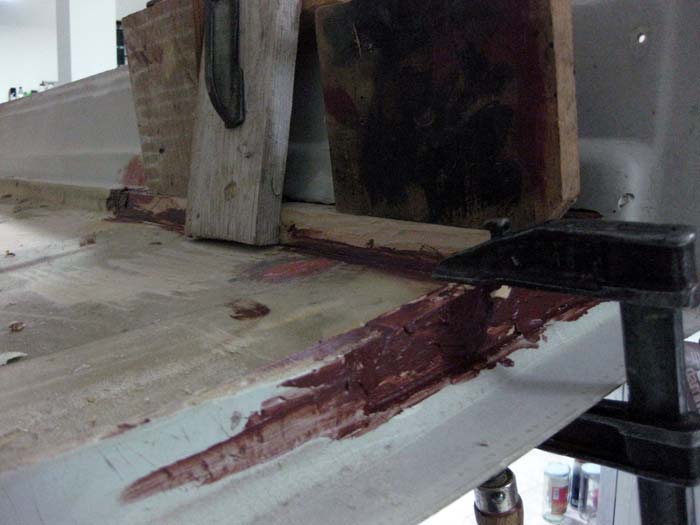
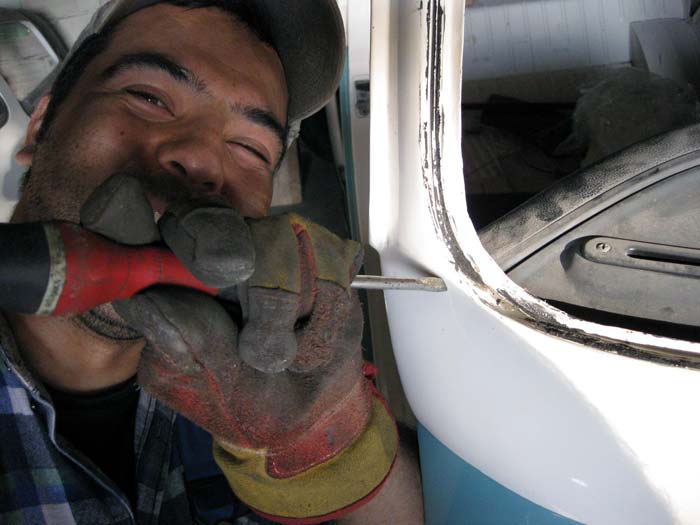
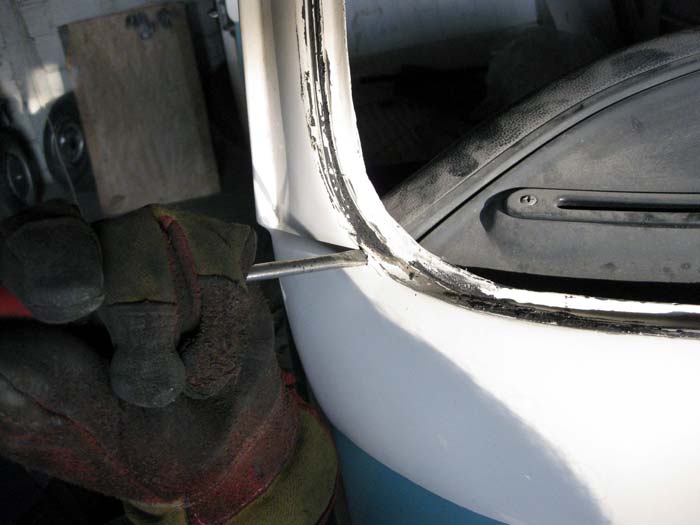
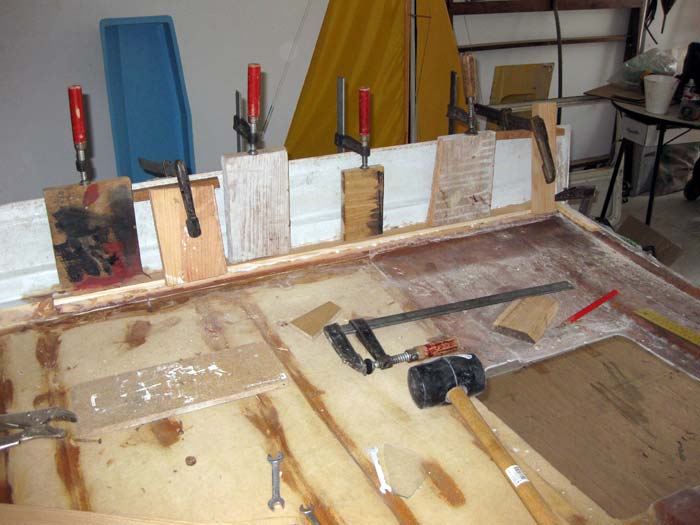
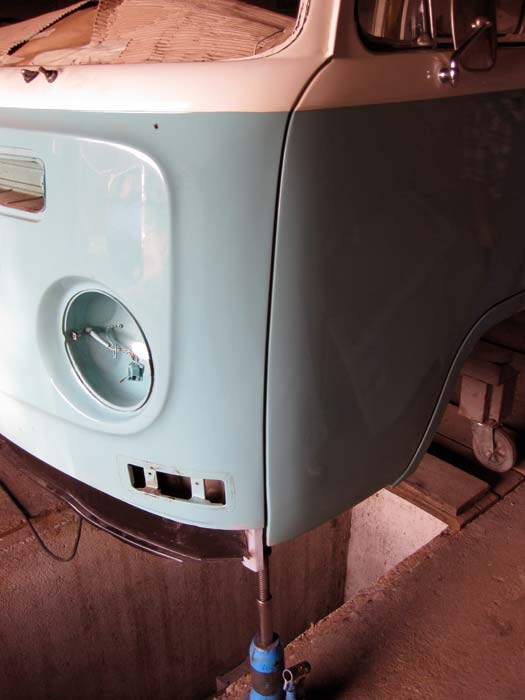
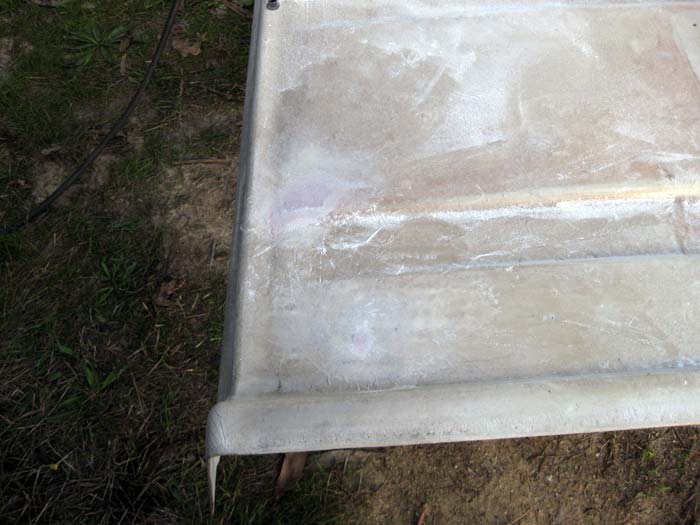
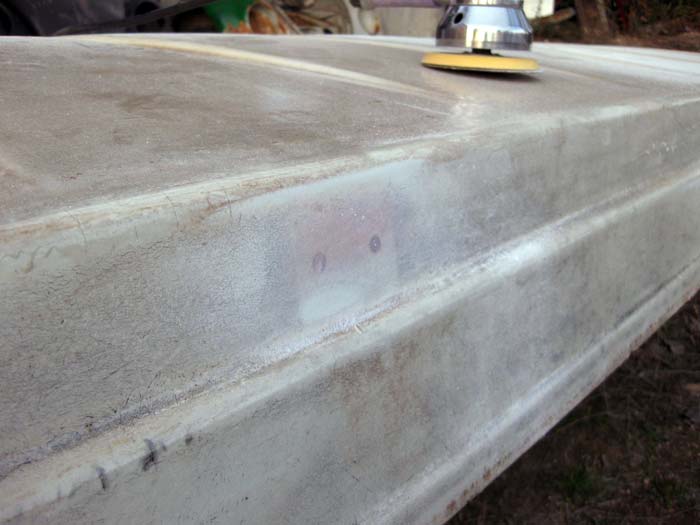
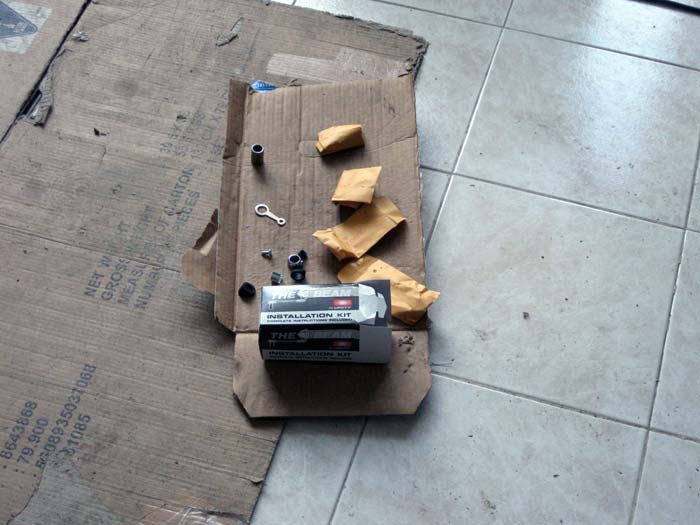
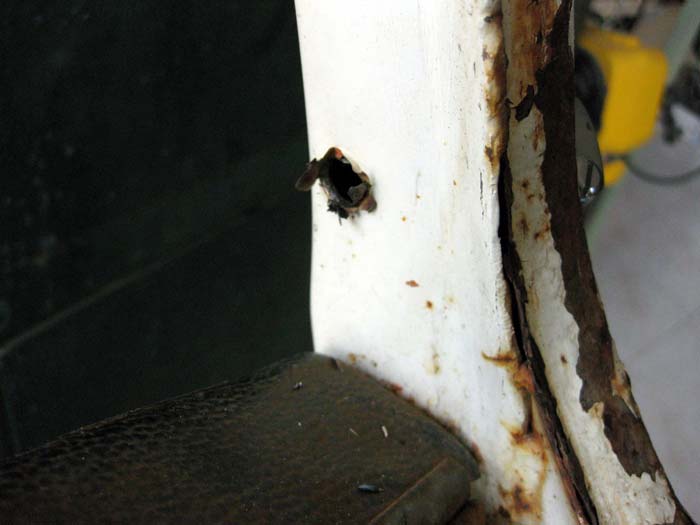
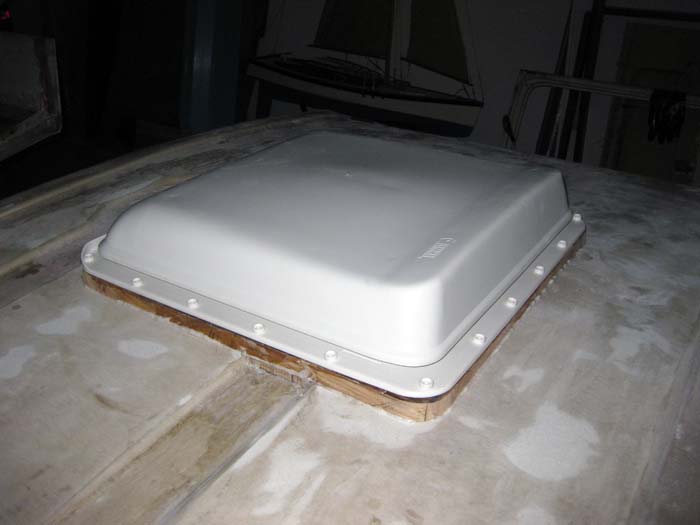
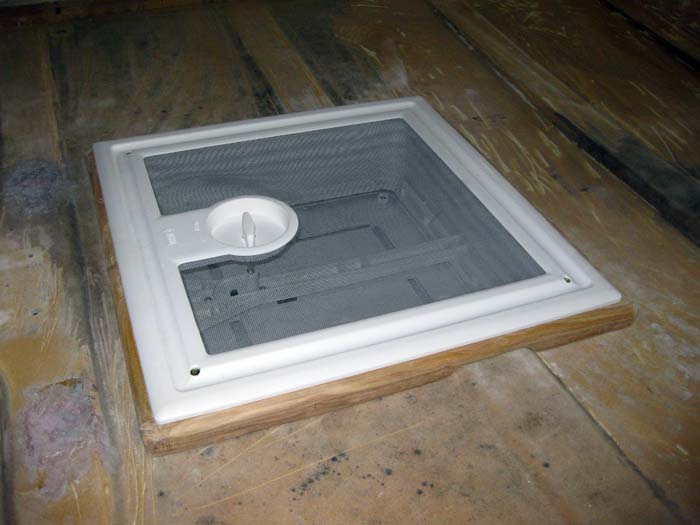
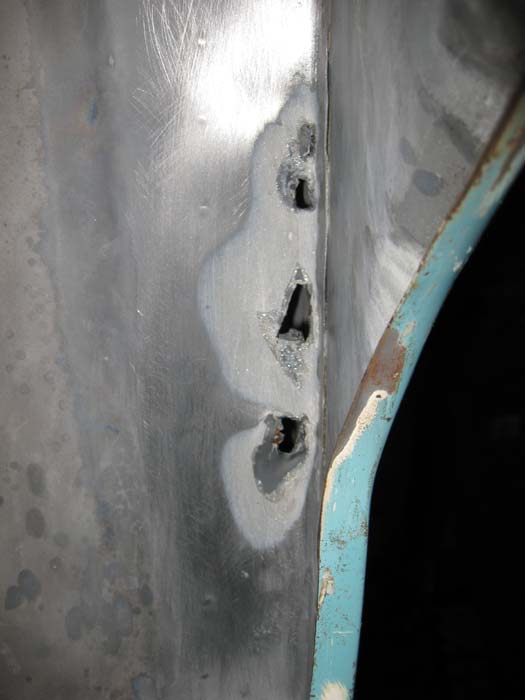
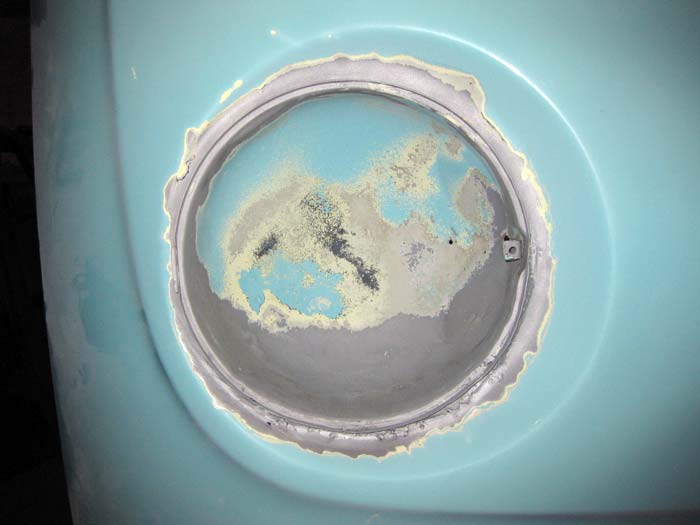
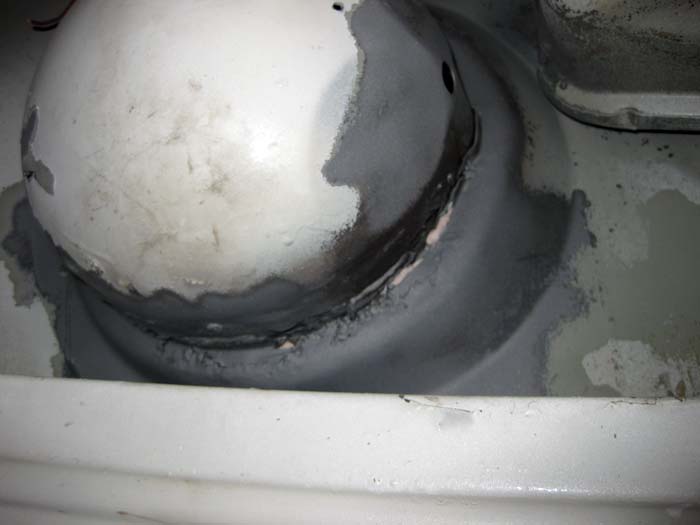
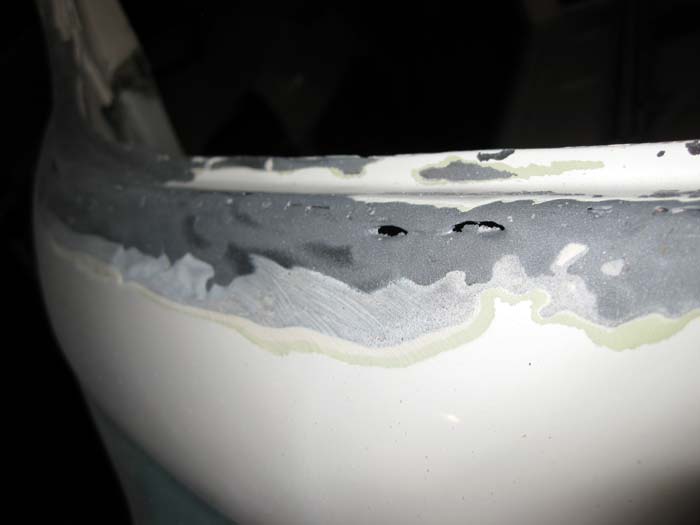
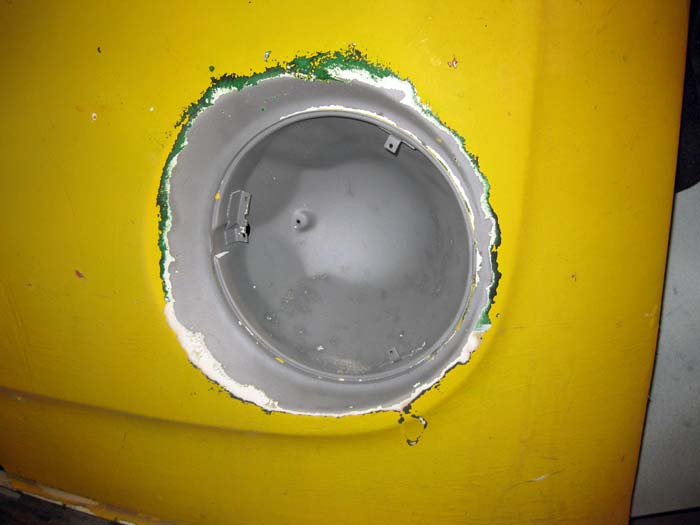
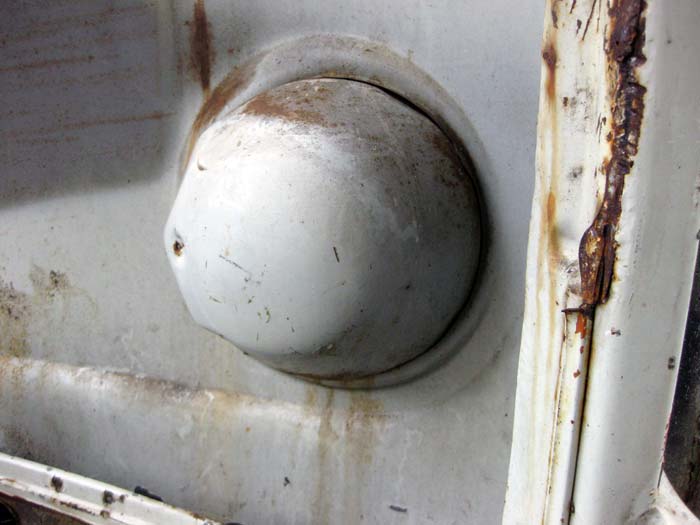
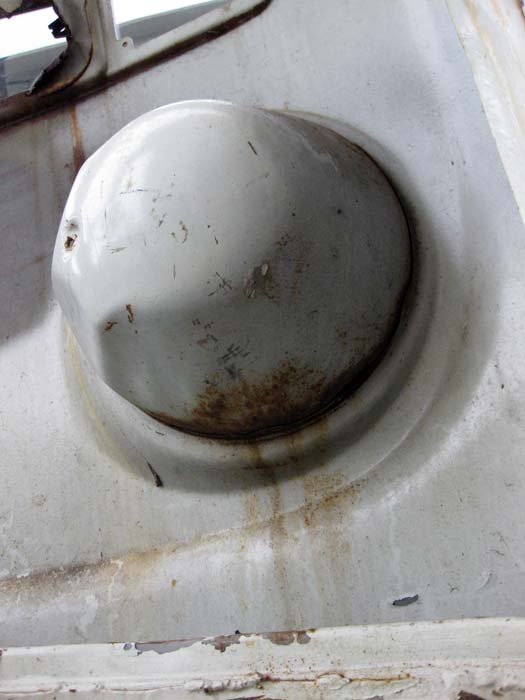
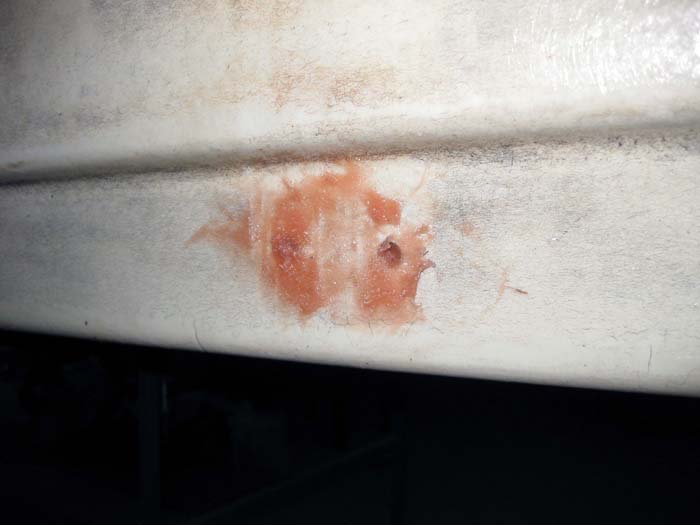
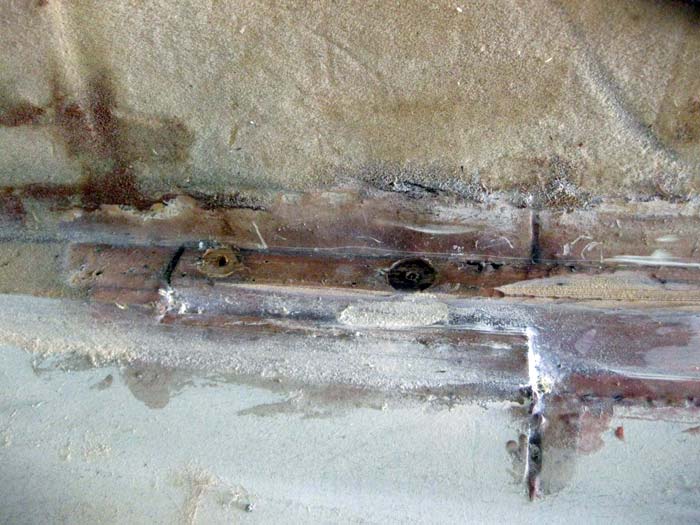
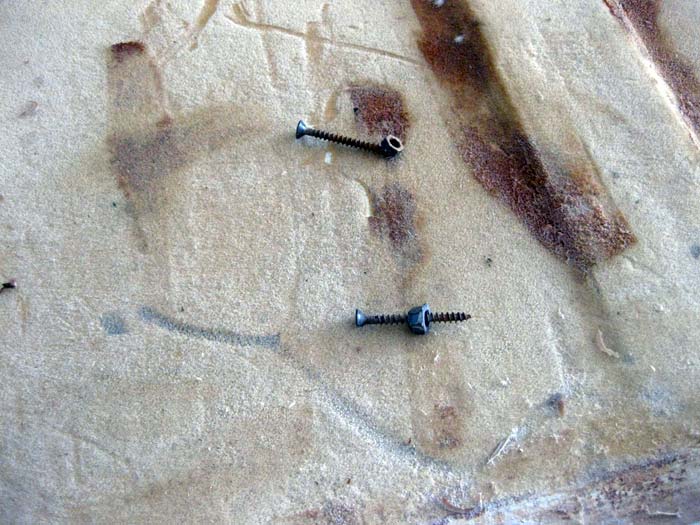
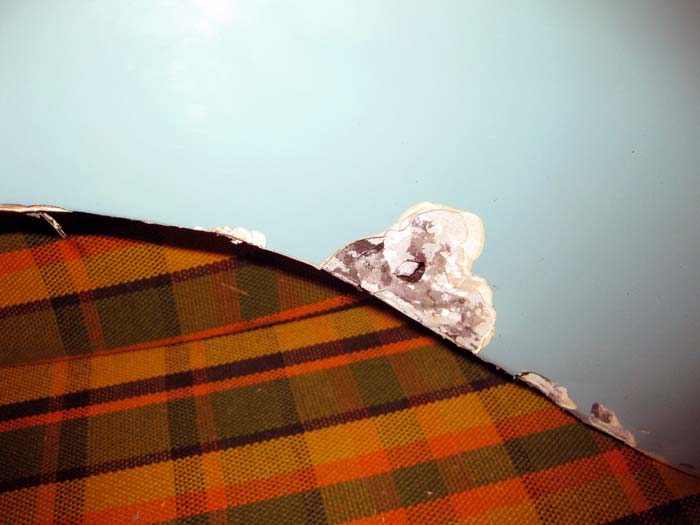
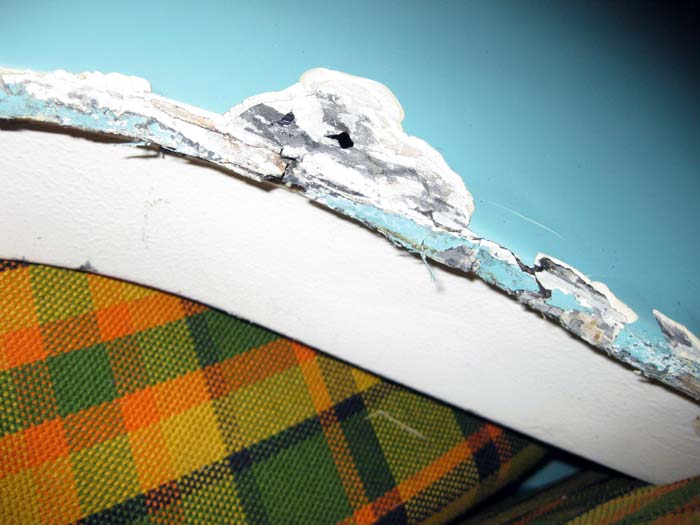
... I also needed to fill the holes he had...
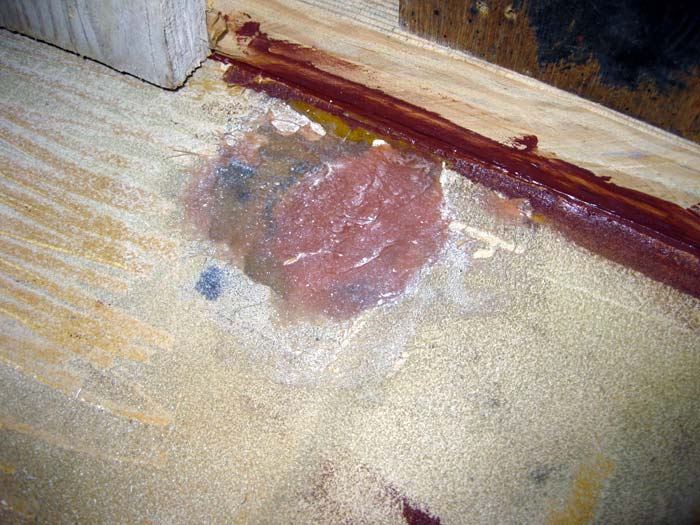
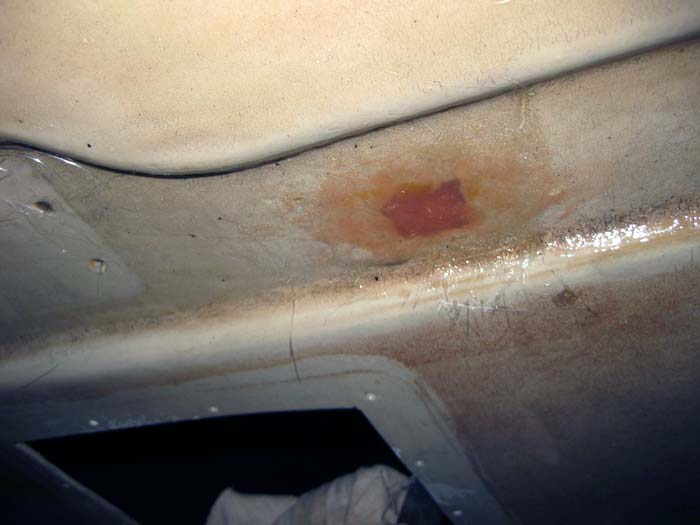
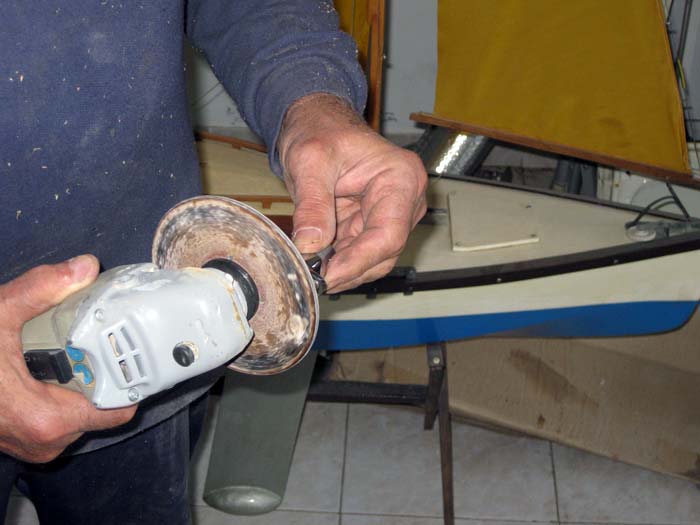
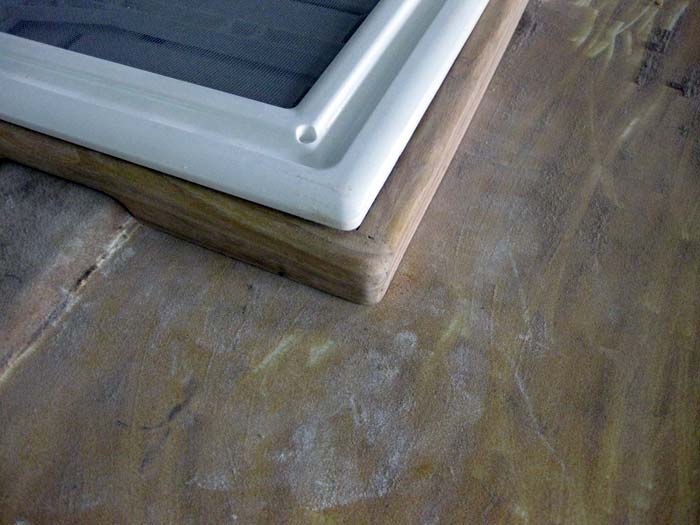
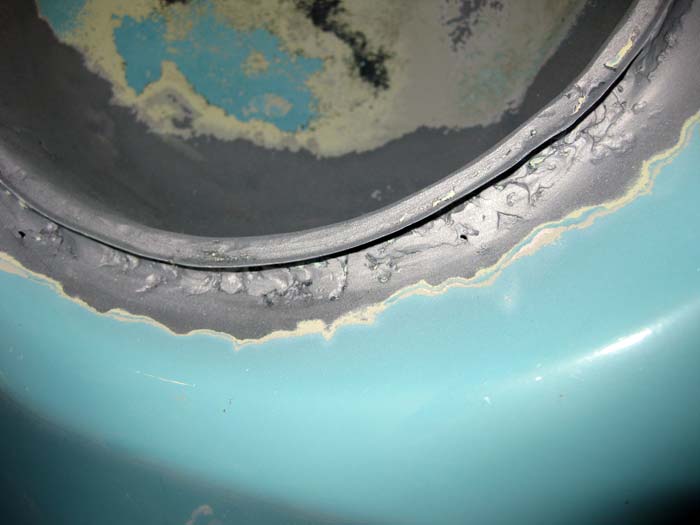
... and after I sanded them a first time....
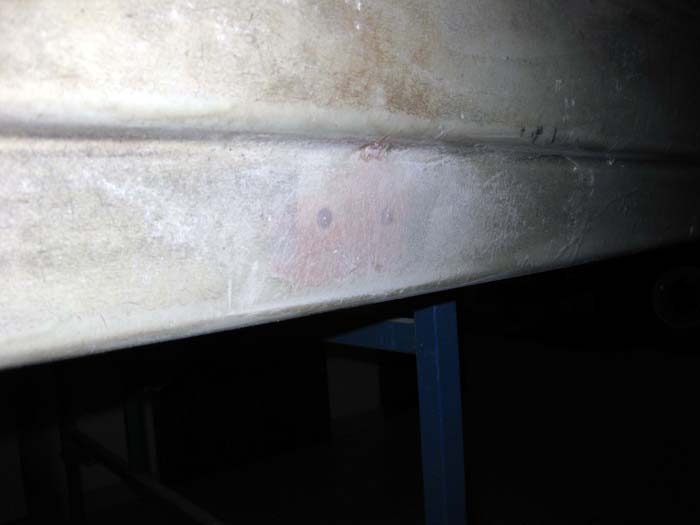
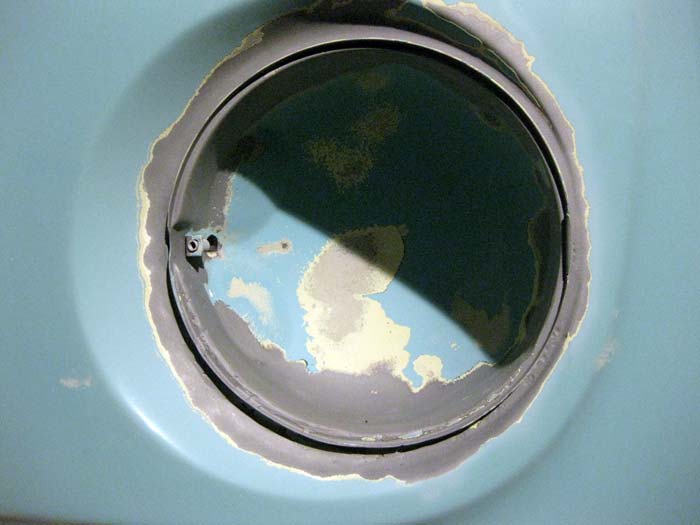
...they were almost perfect!
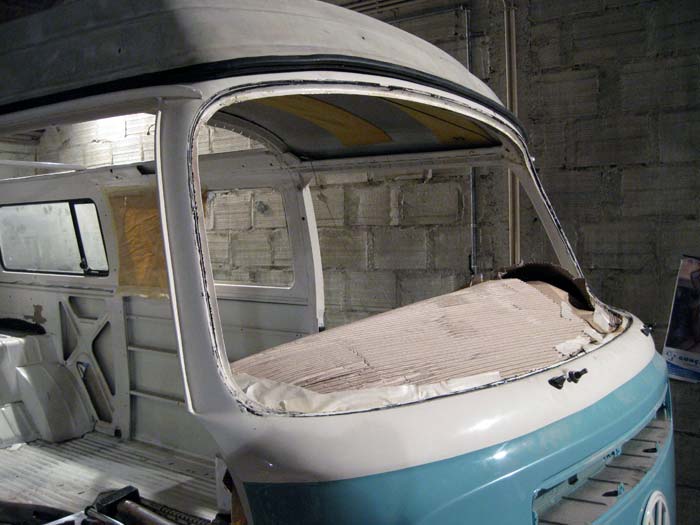
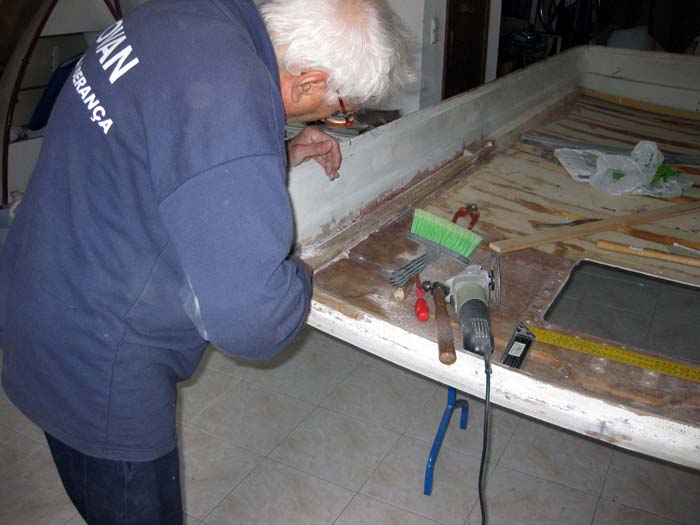
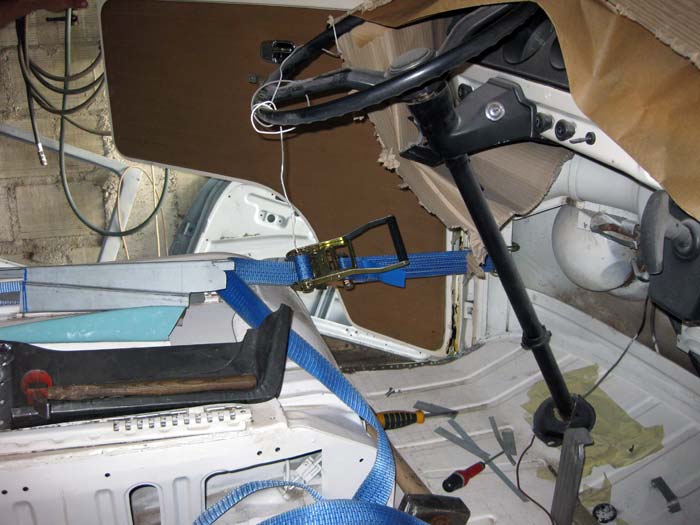
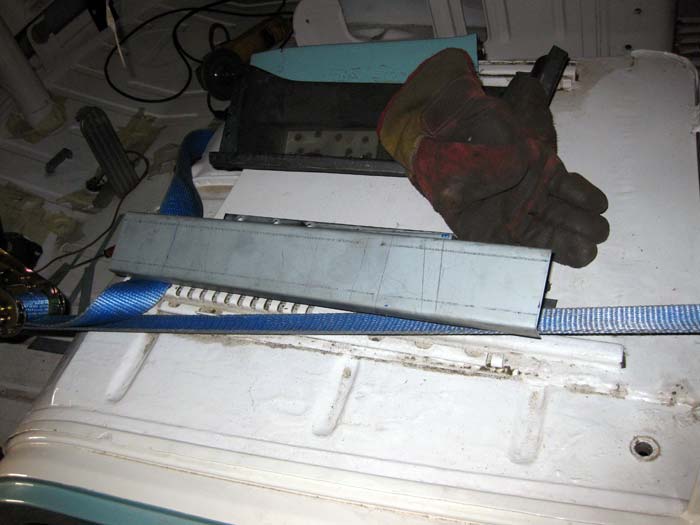
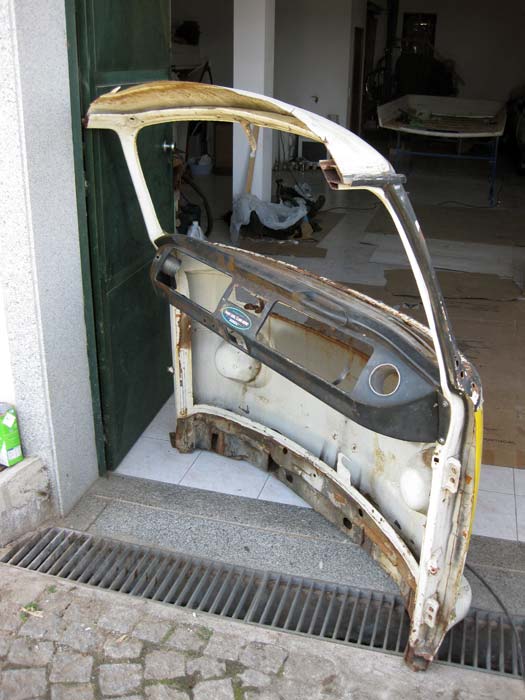
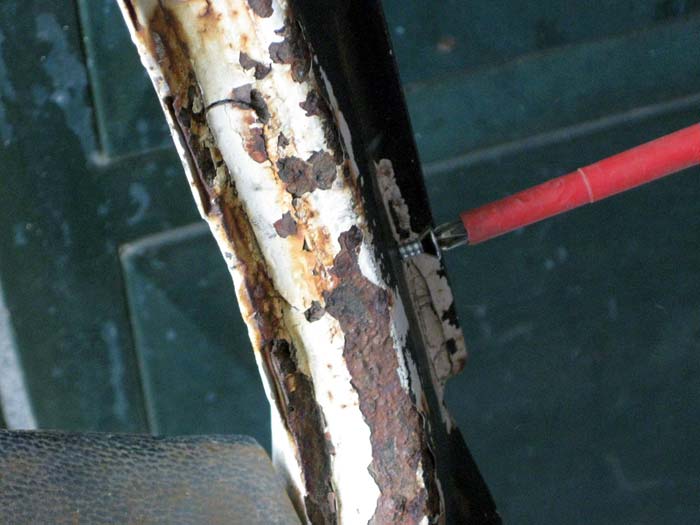
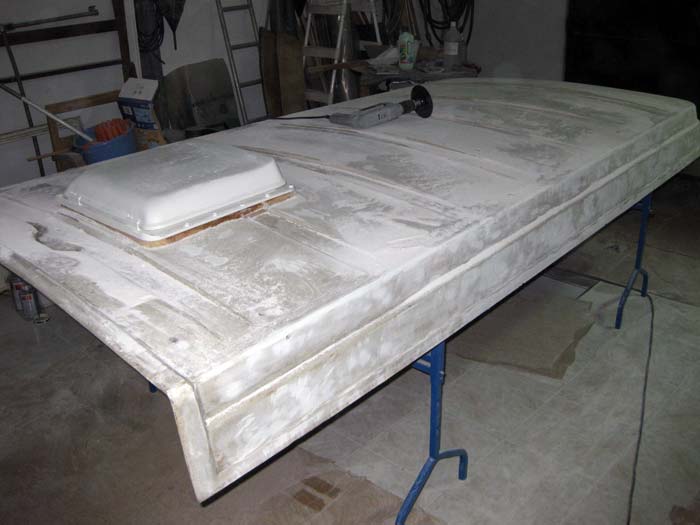
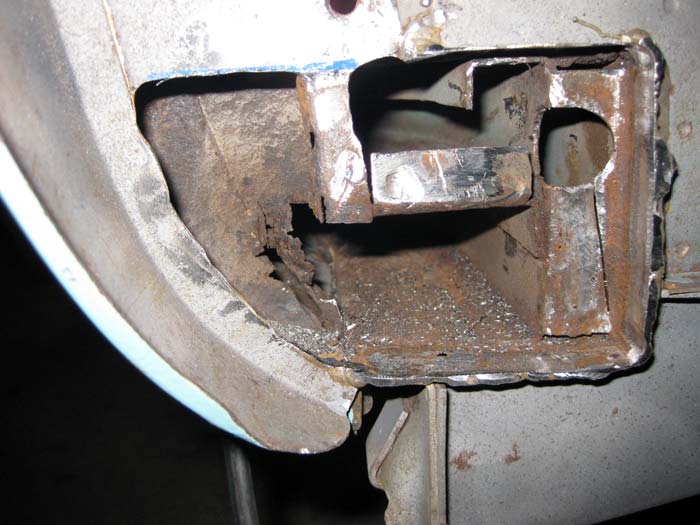
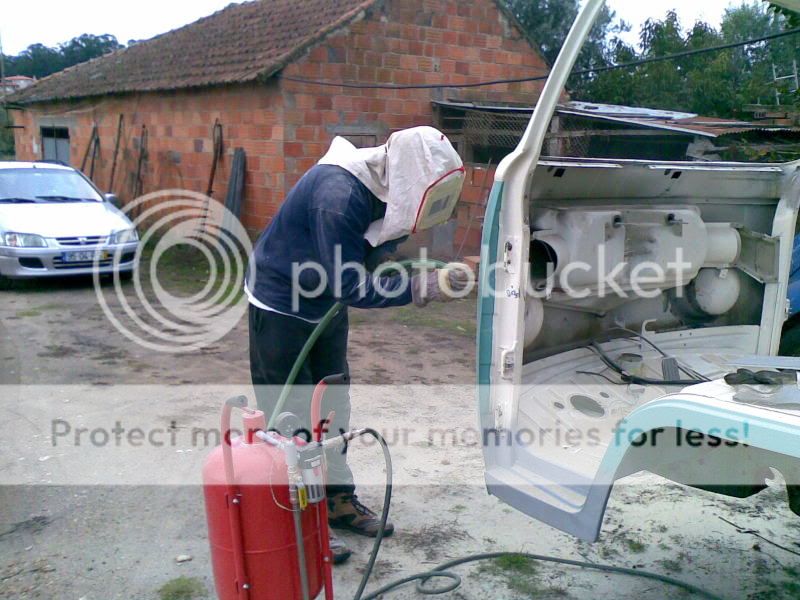
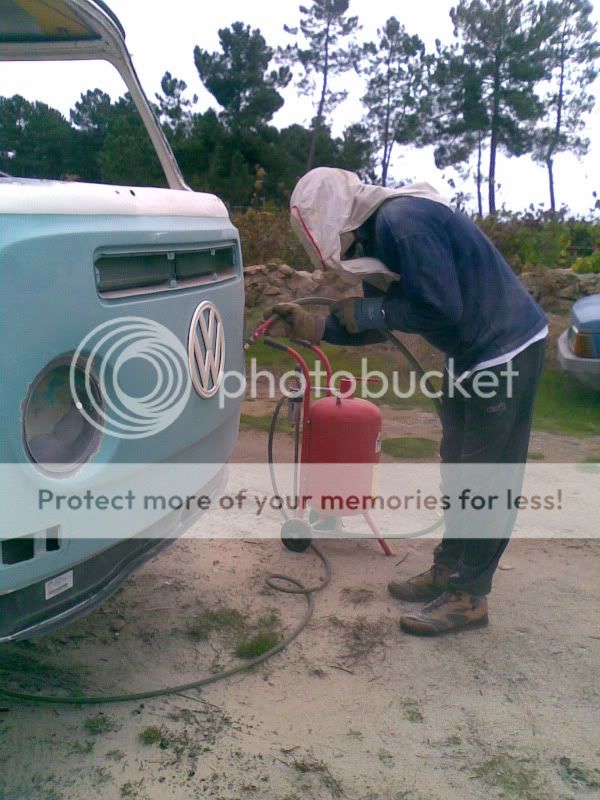
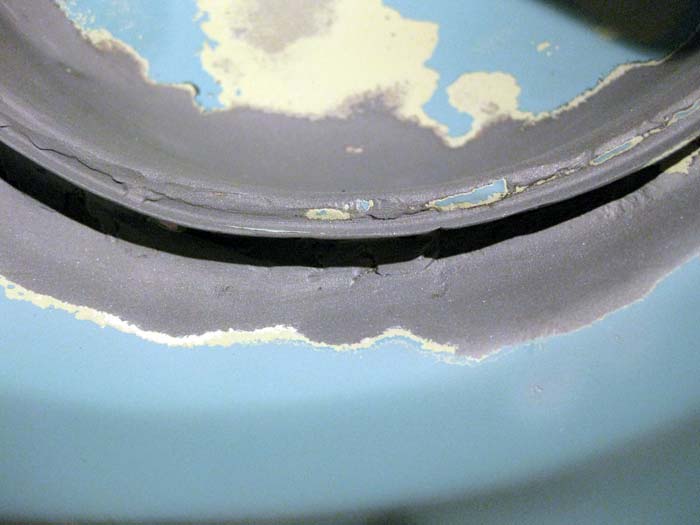
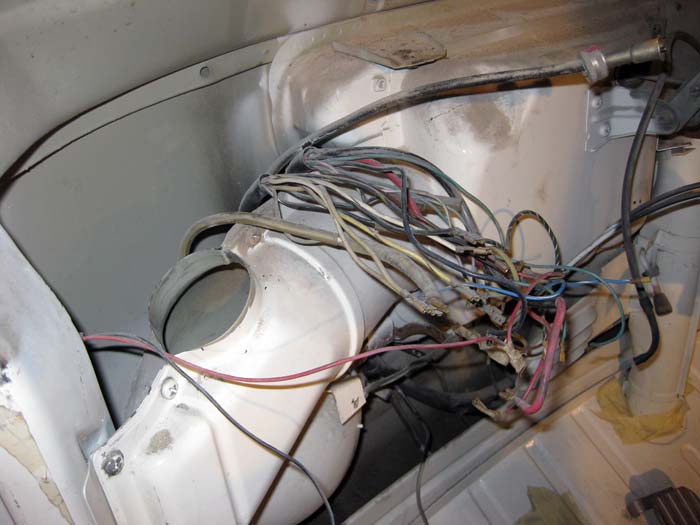
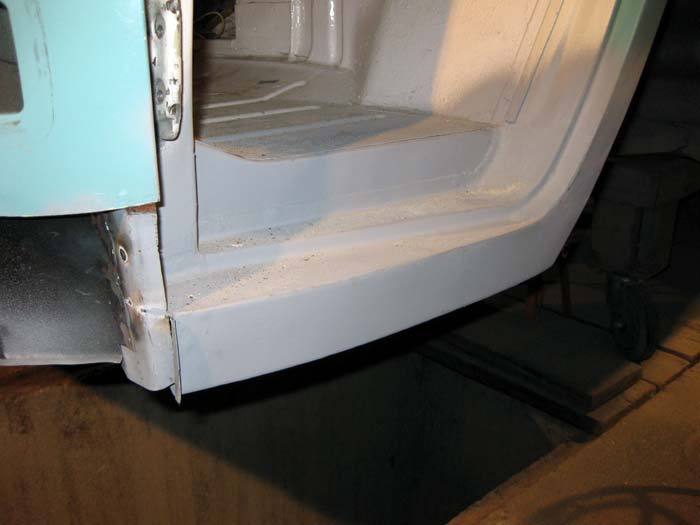
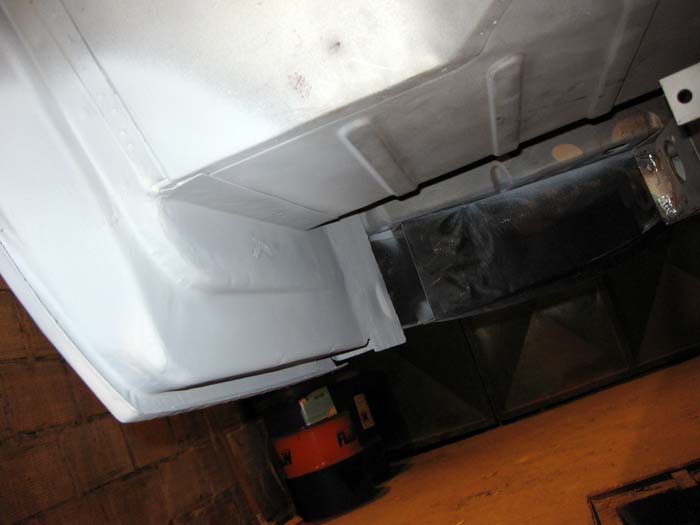
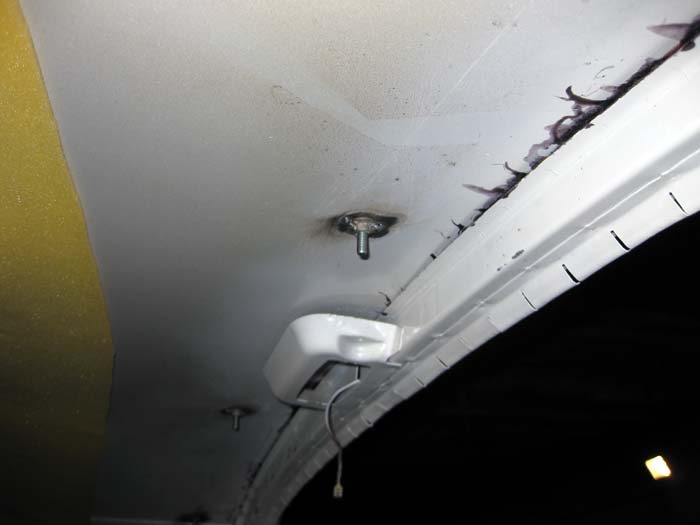
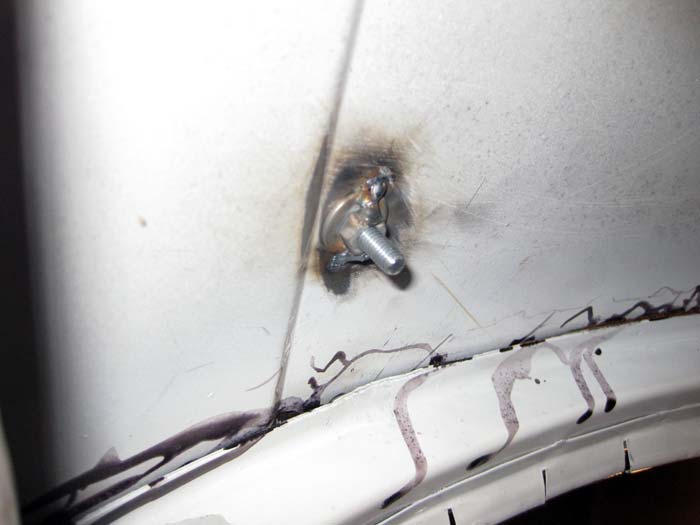
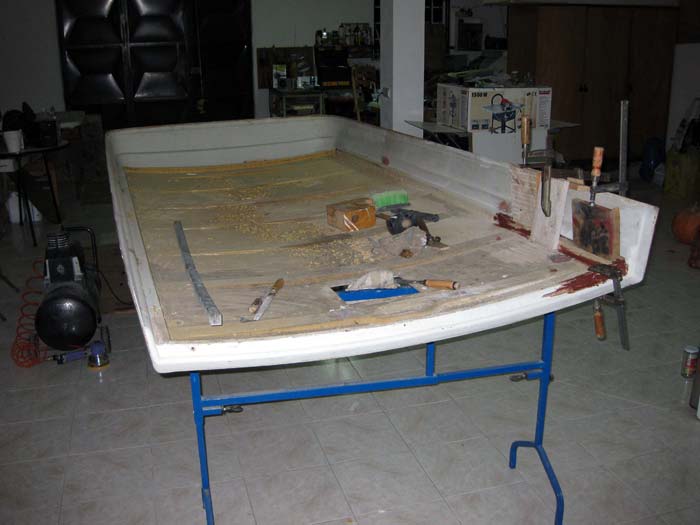
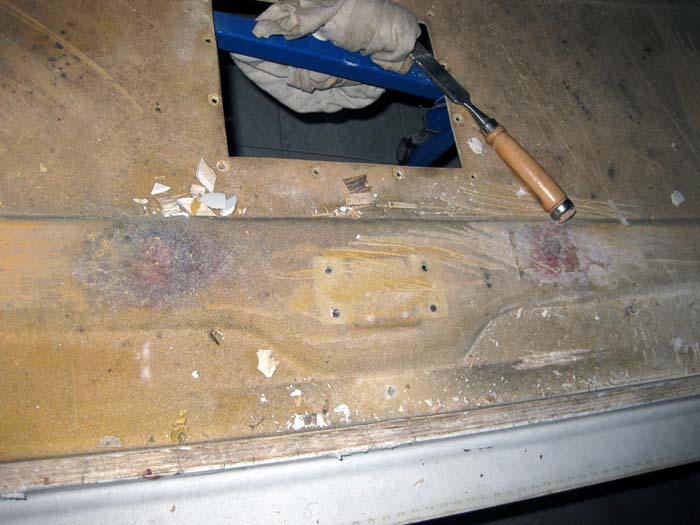
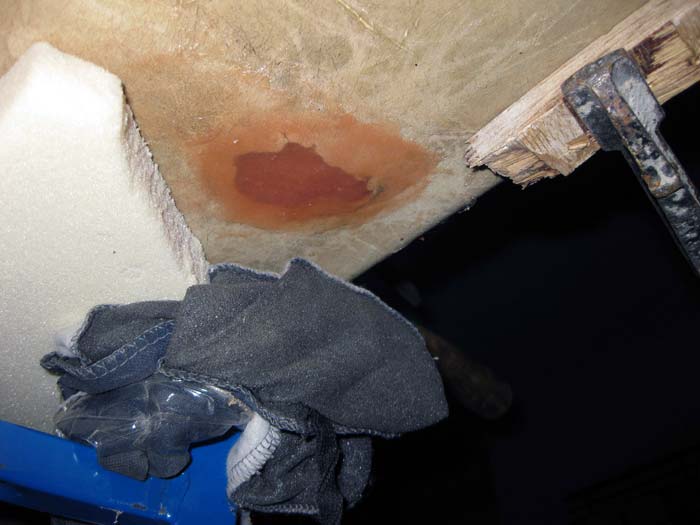
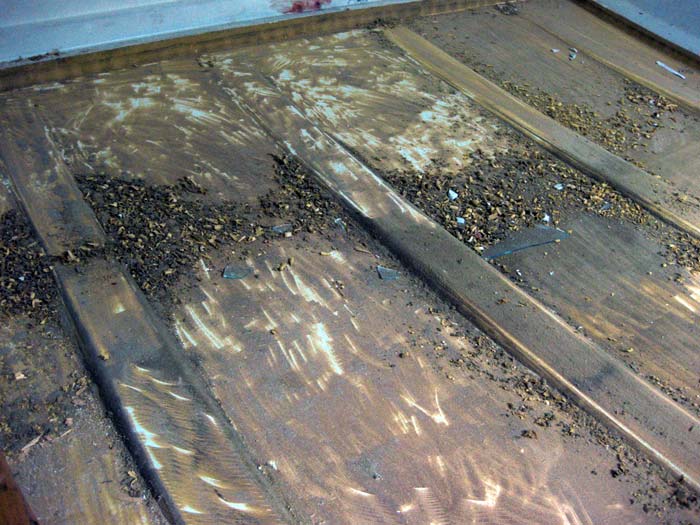
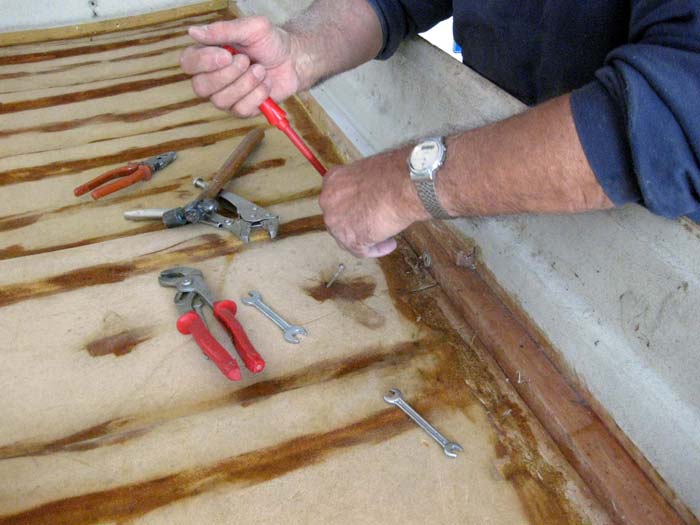
Other task to do: scrapping what was left of the inner lining:
... but it was getting late, so I returned to Viseu. And once there, the poptop was needing some attention...
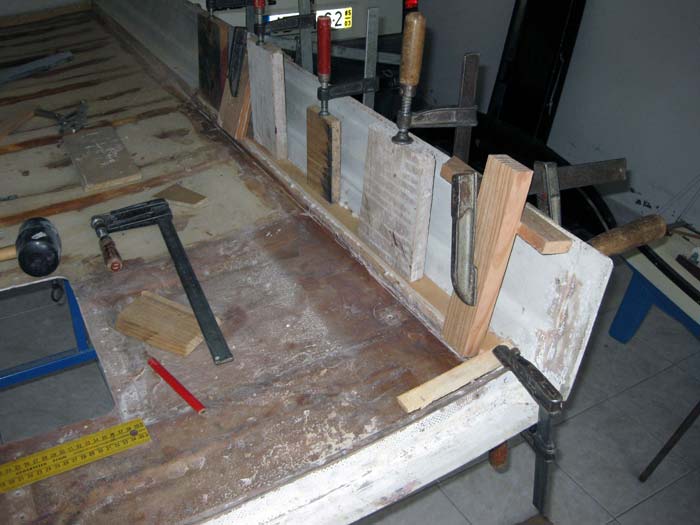
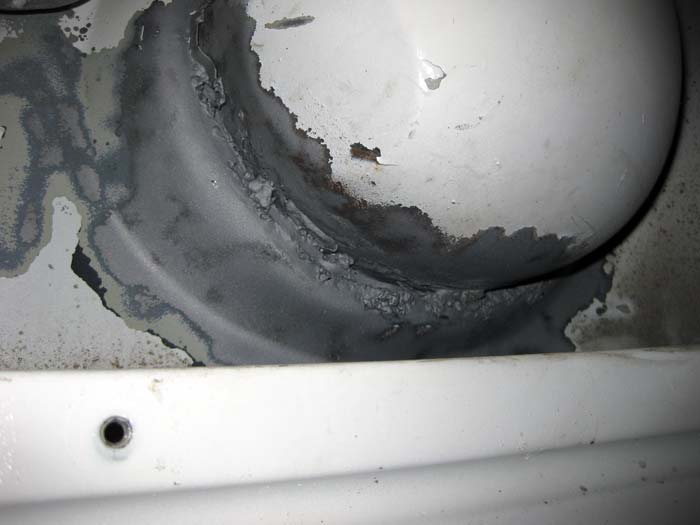
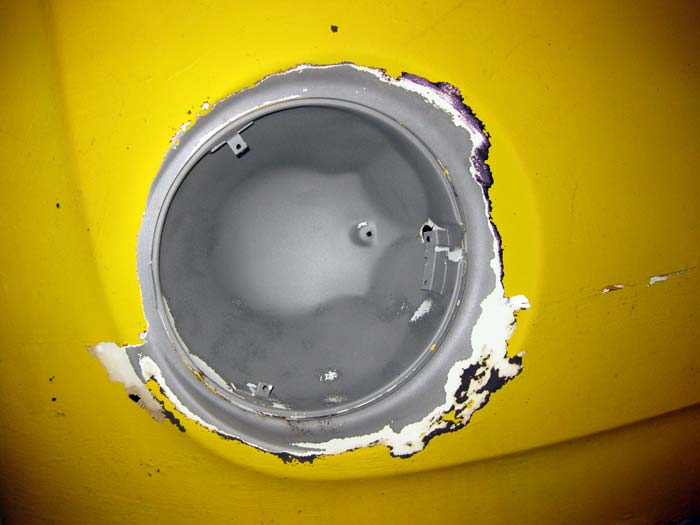
... I also needed to fill the holes he had...
... and after I sanded them a first time....
...they were almost perfect!
Other task to do: scrapping what was left of the inner lining:


")