1968 Campervan conversion

Early Bay Forum

Help Support Early Bay Forum:

This site may earn a commission from merchant affiliate links, including eBay, Amazon, and others.
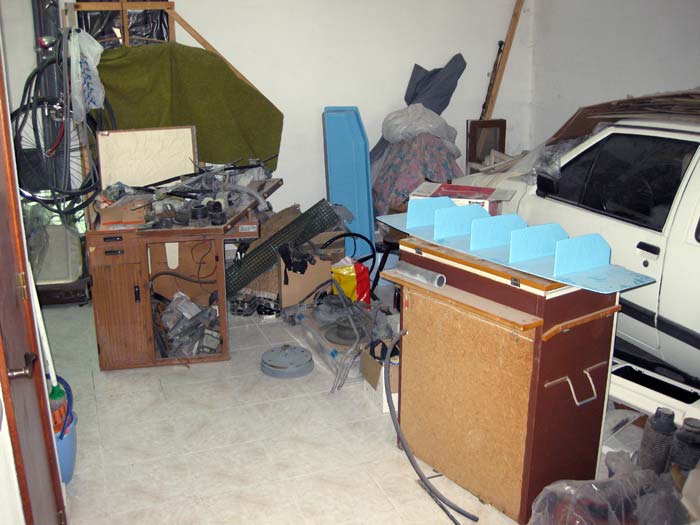
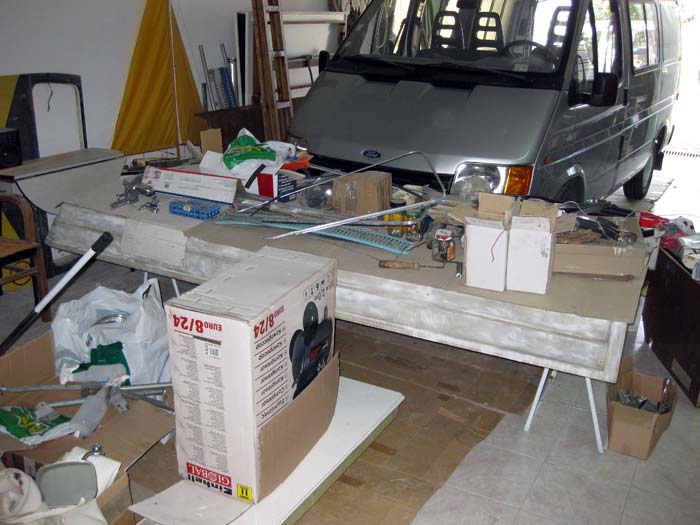
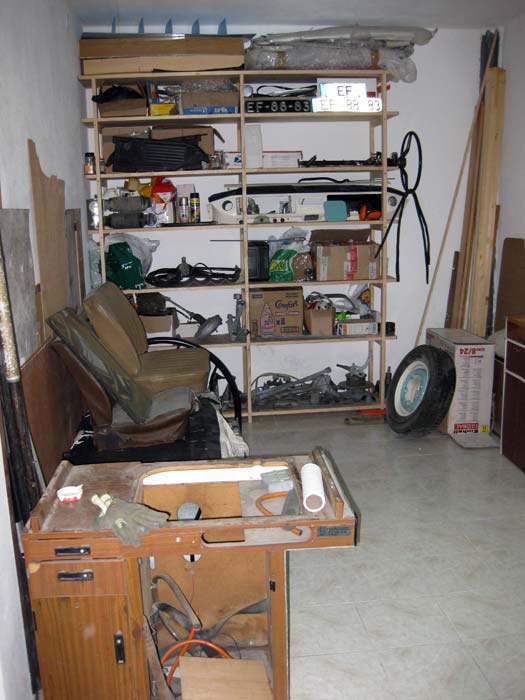
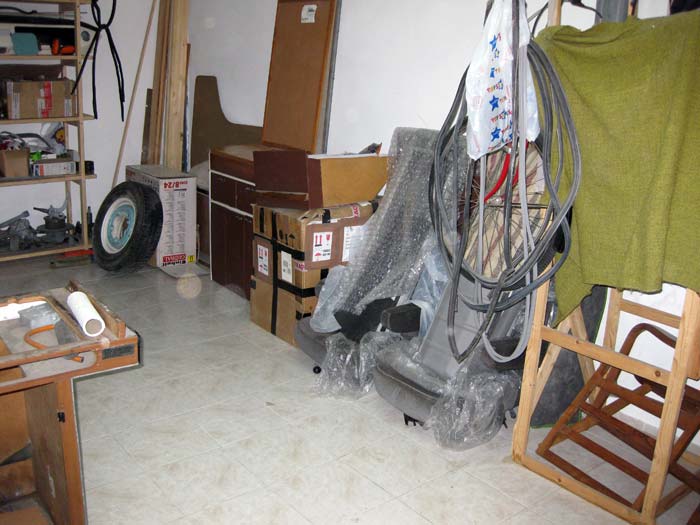
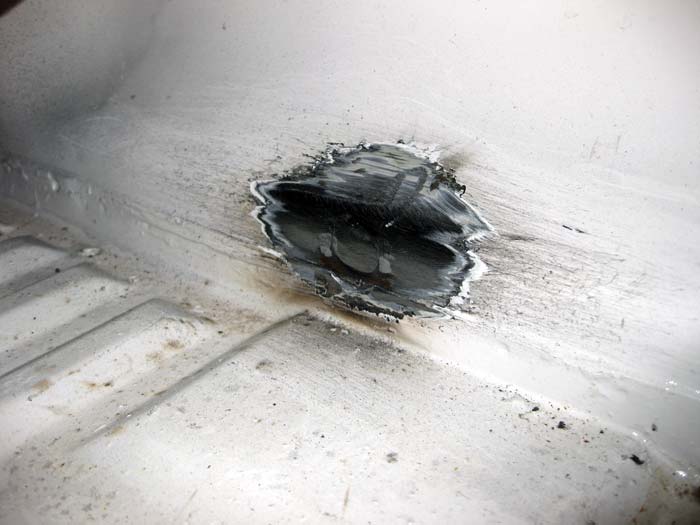
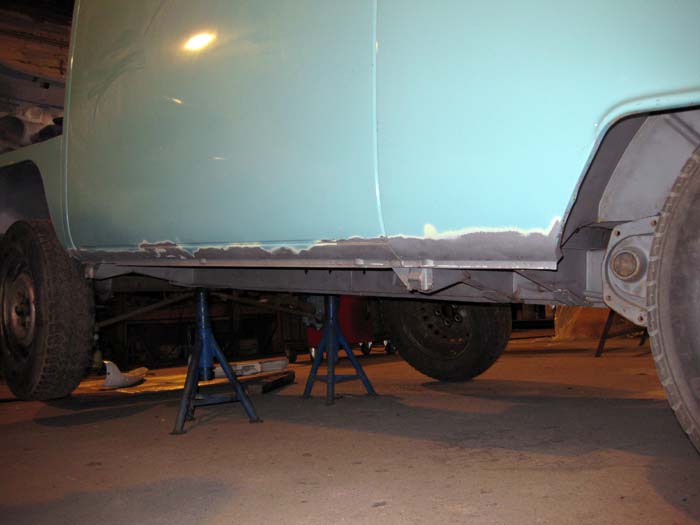
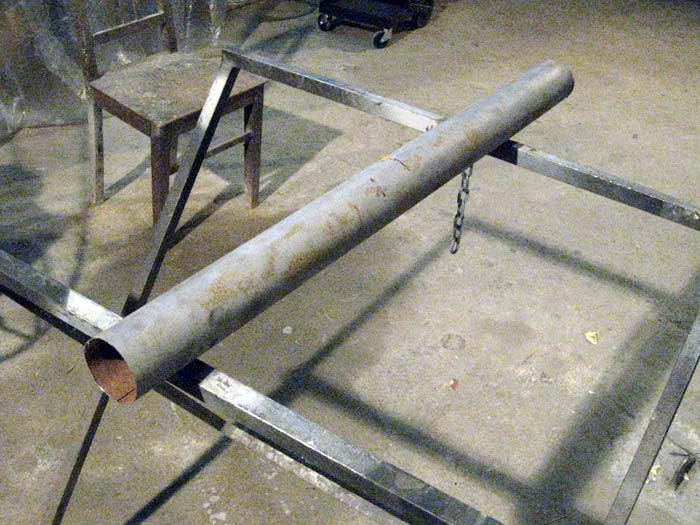
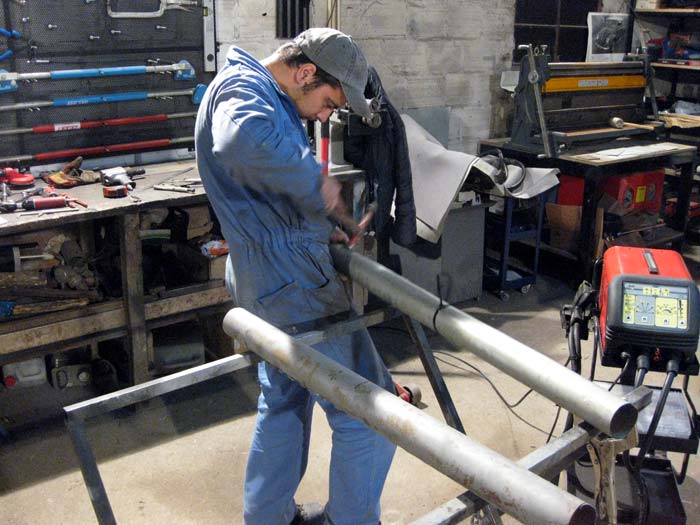
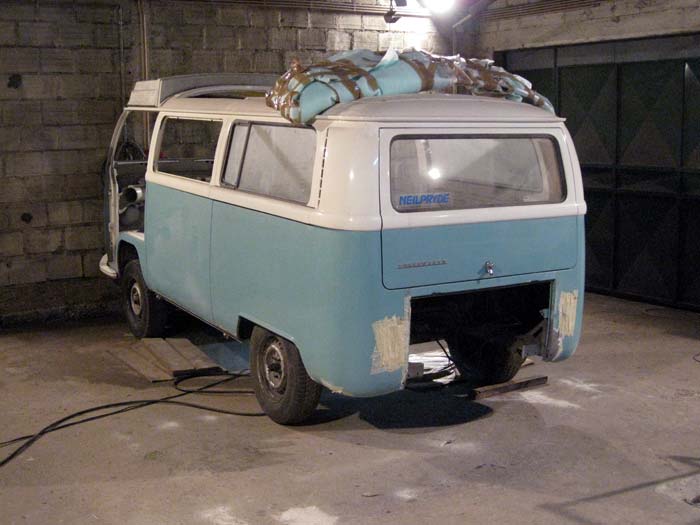
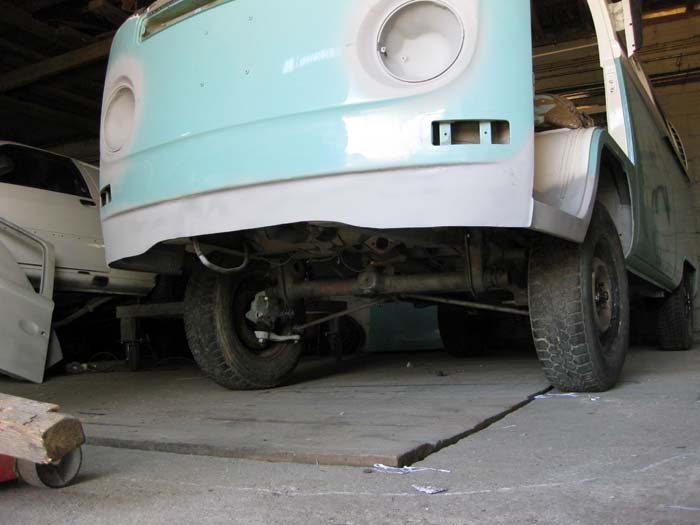
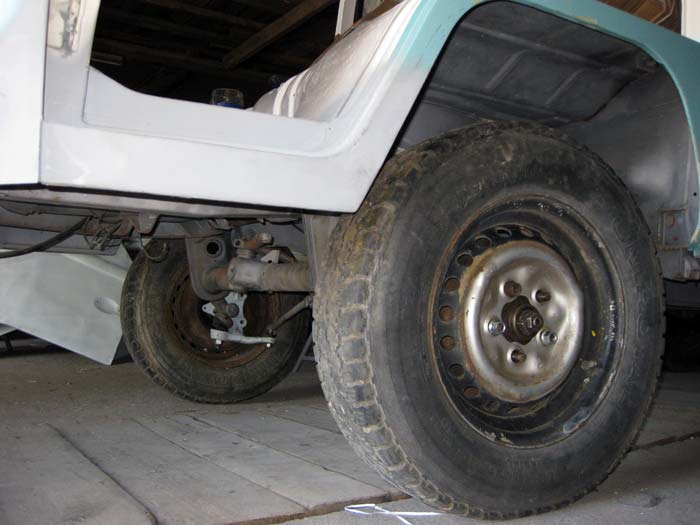
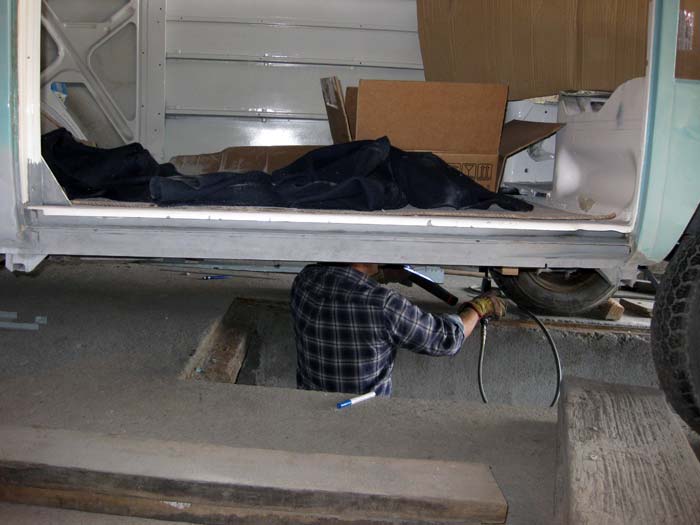
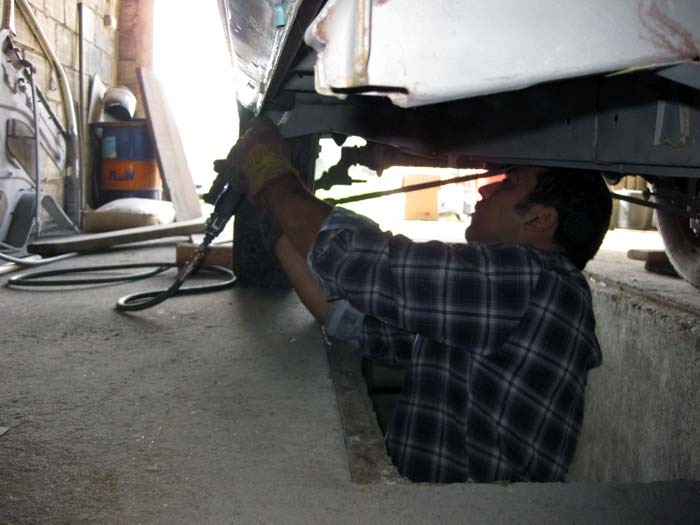
so I had to mount both suspensions to pull the bus outside... This kind of work is not to be done inside a closed space:

IMG_1223.jpg


IMG_1224.jpg


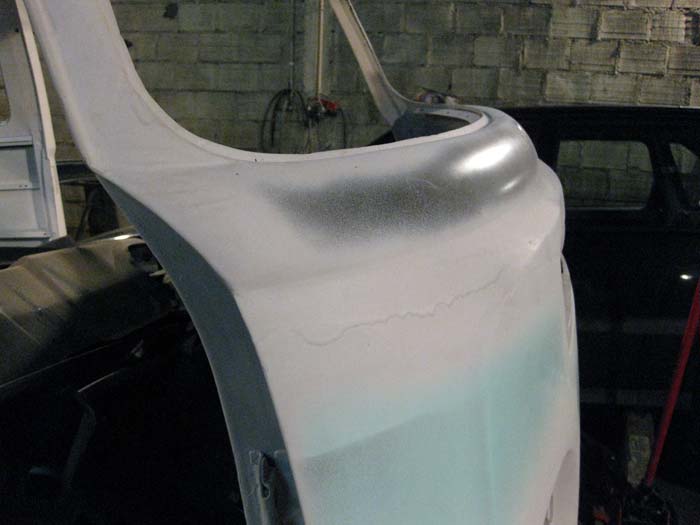
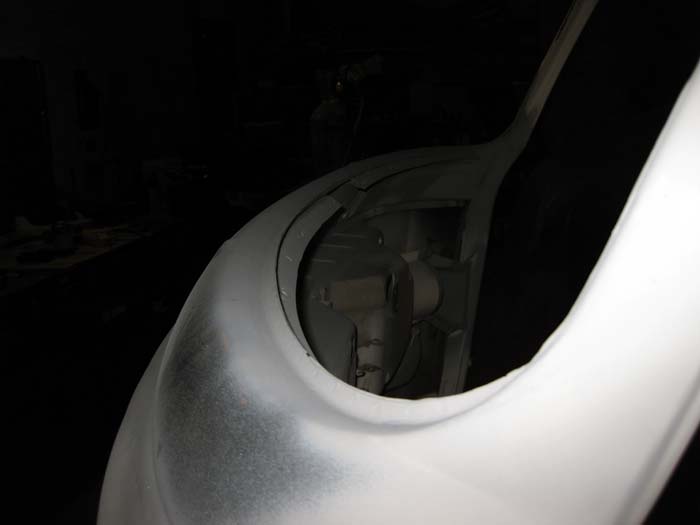
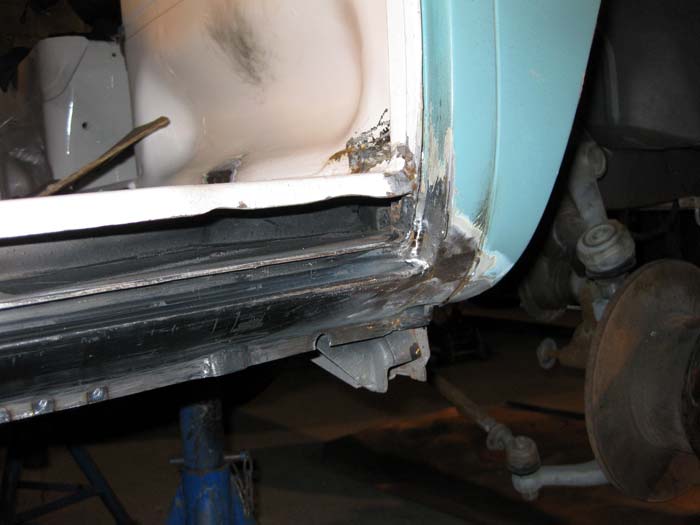
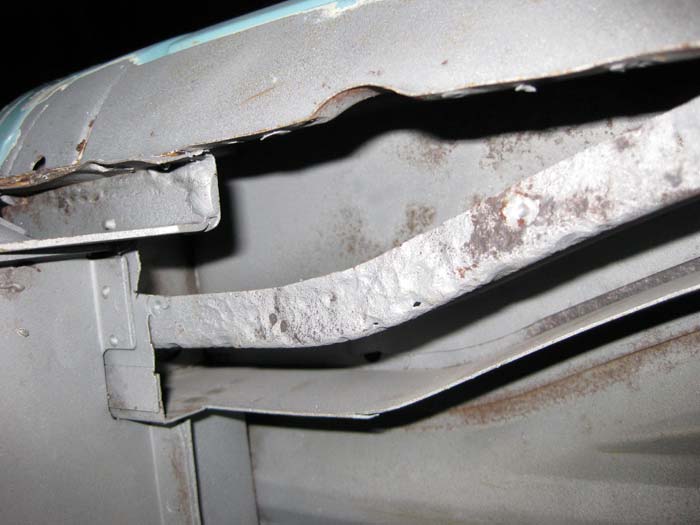
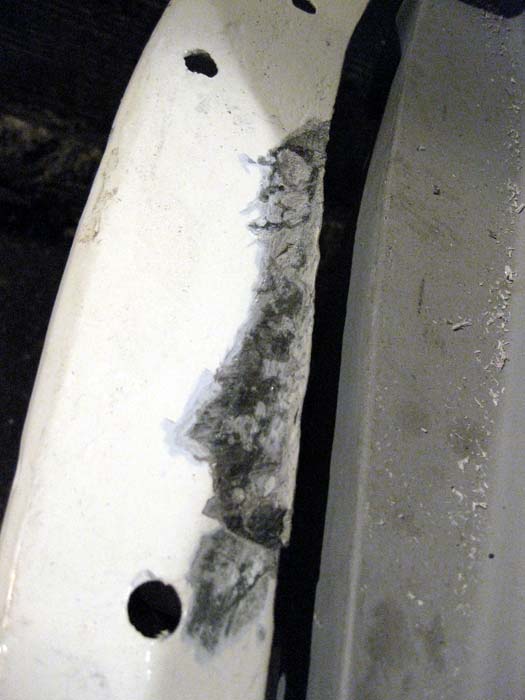
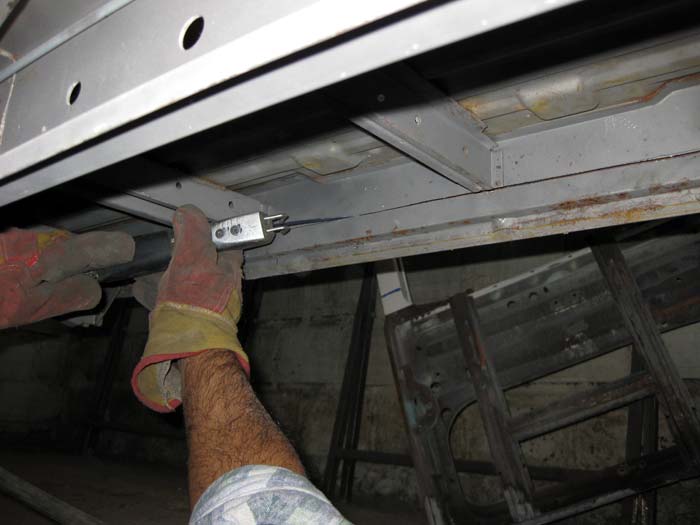
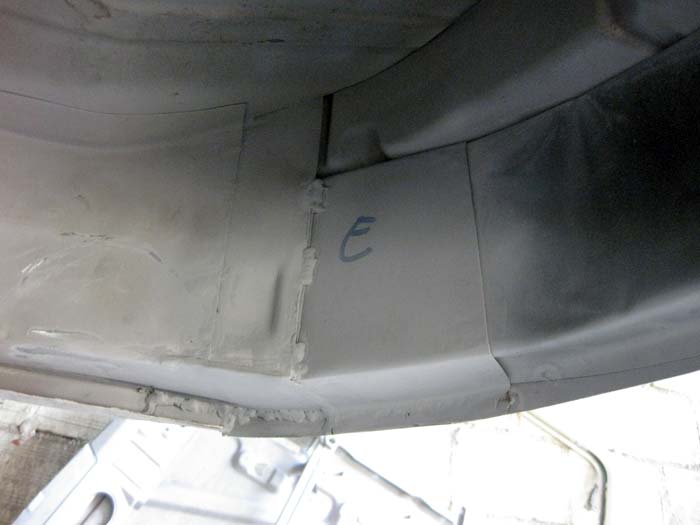
and after I cleaned these areas....
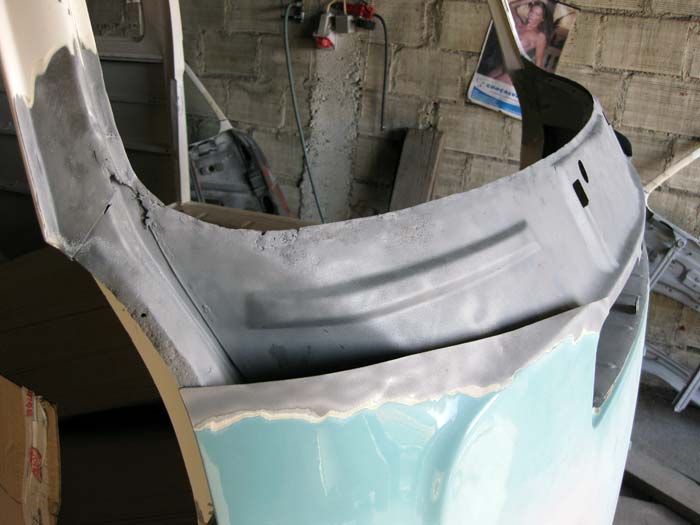
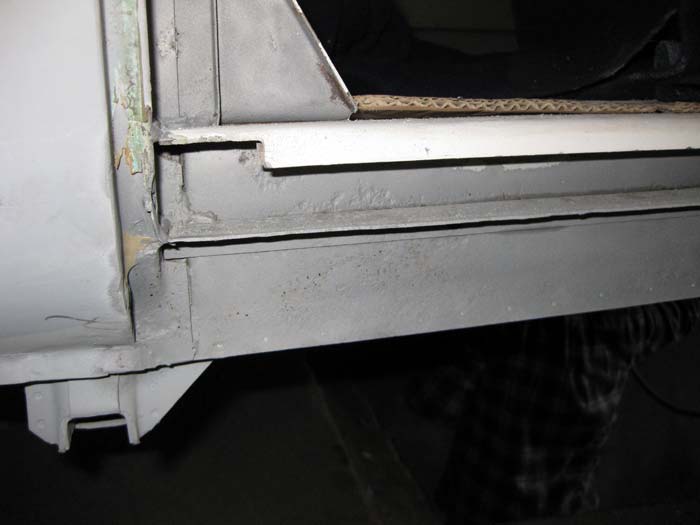
IMG_1234.jpg


IMG_1235.jpg


IMG_1236.jpg


IMG_1237.jpg


IMG_1238.jpg


IMG_1240.jpg


0 rust :mrgreen: !
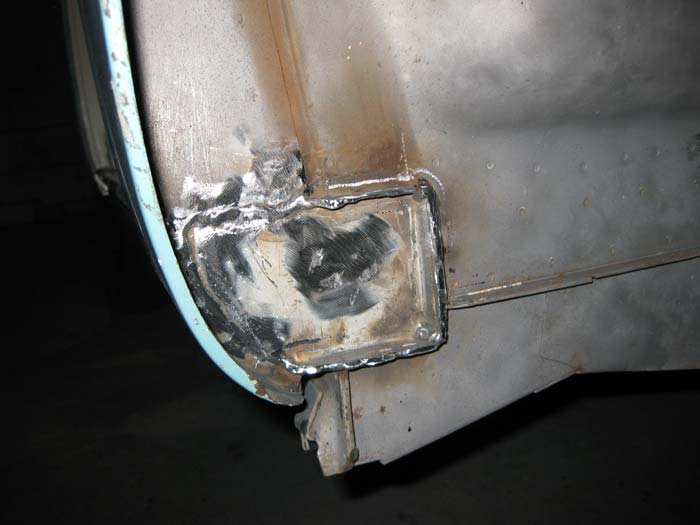
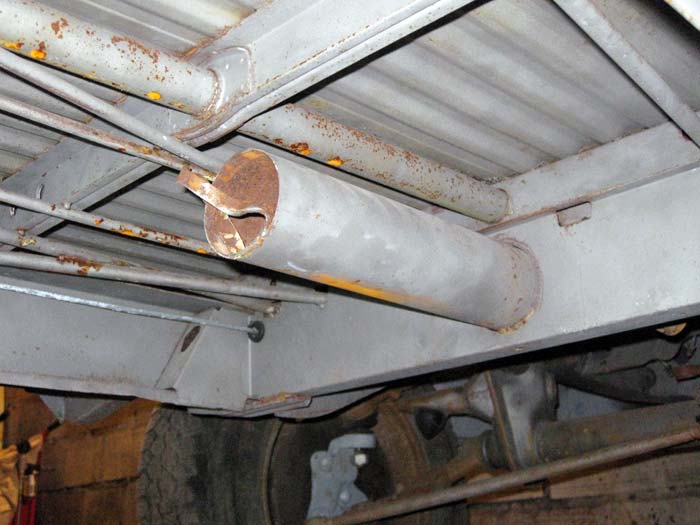
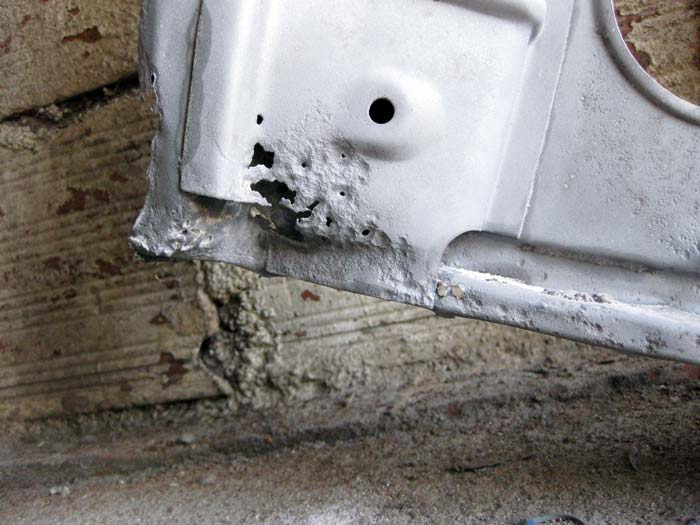
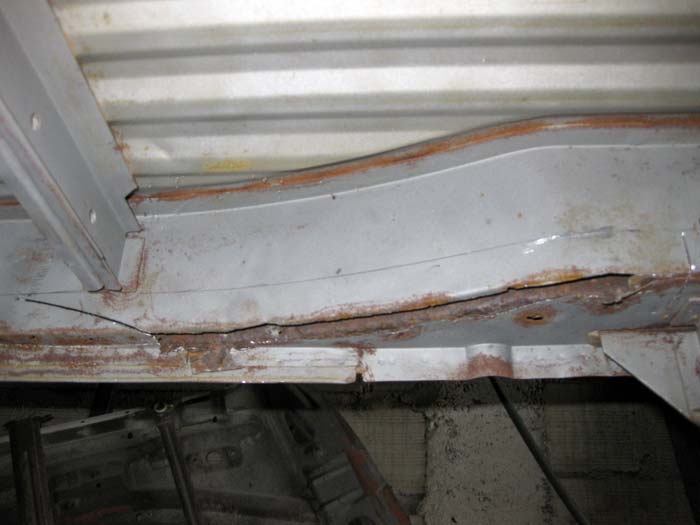
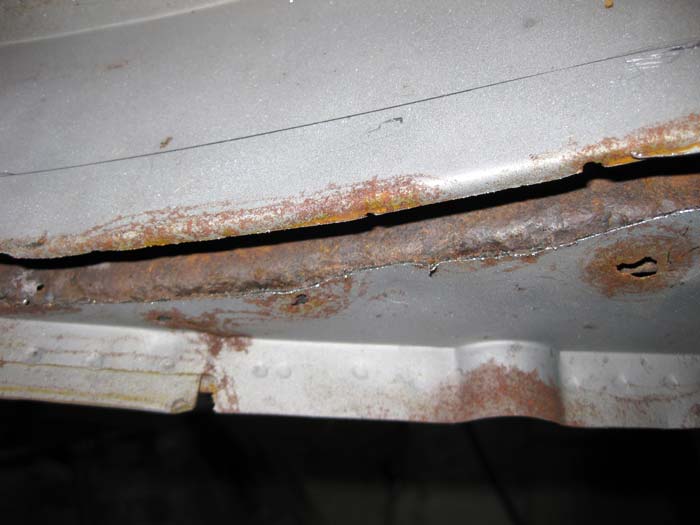
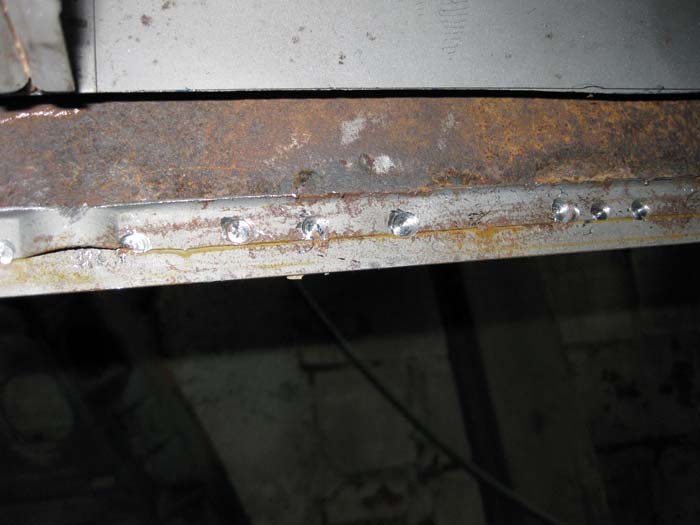
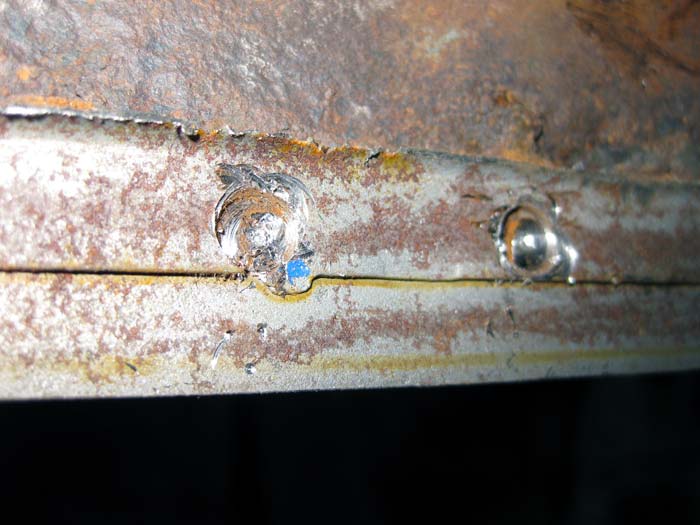
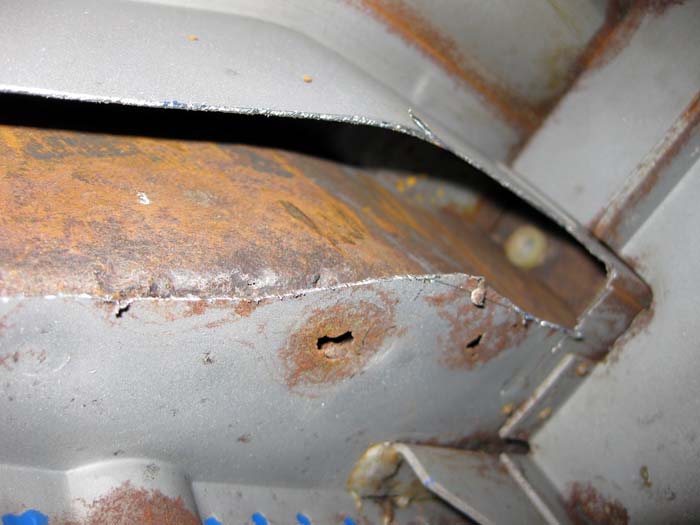
However, some more holes appeared :|
At least you get to know where you may have rust problems in a near future :mrgreen:

IMG_1239.jpg


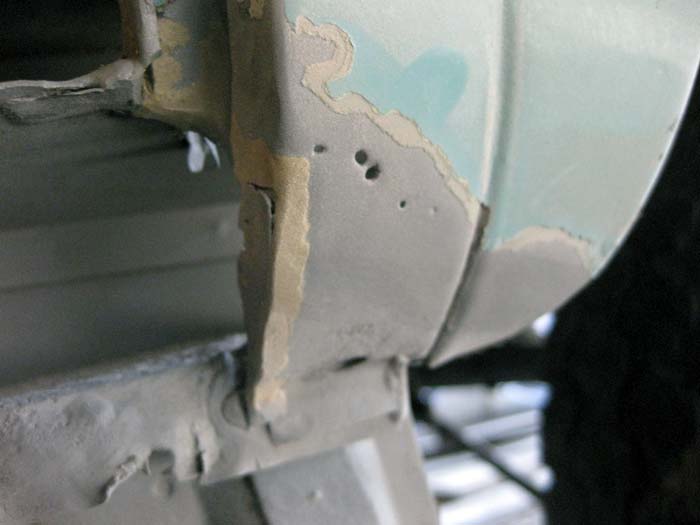
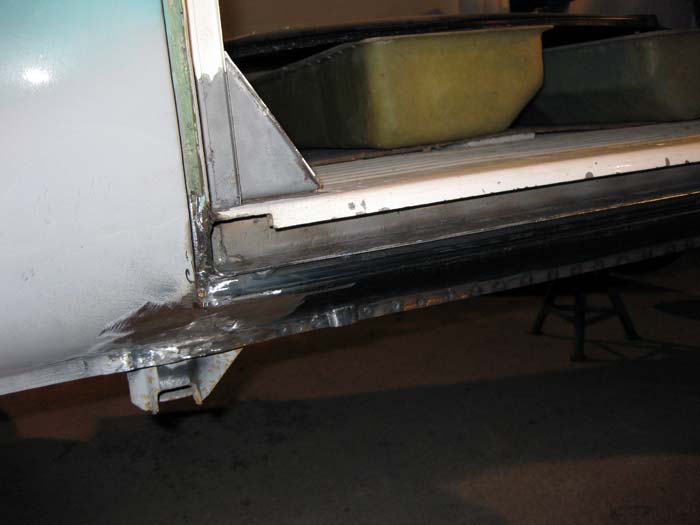
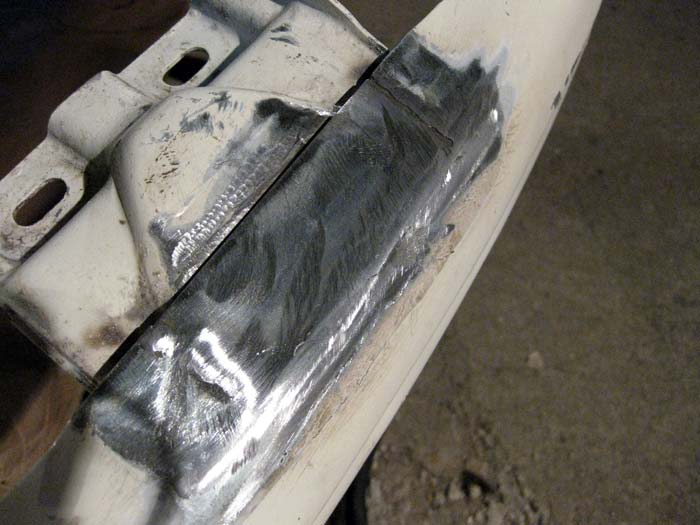
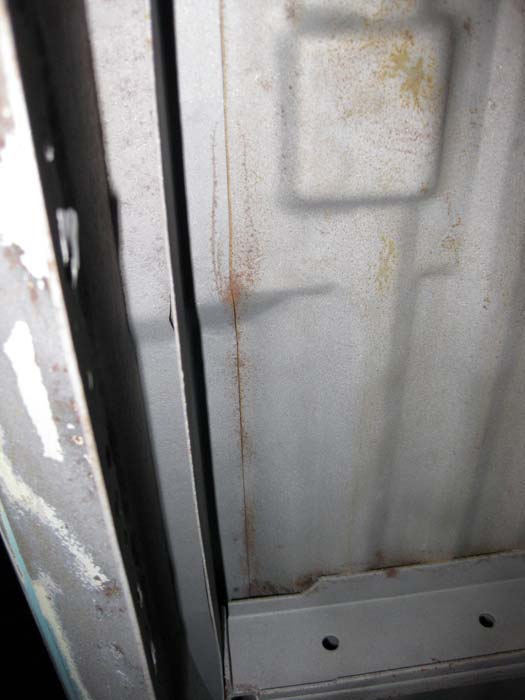
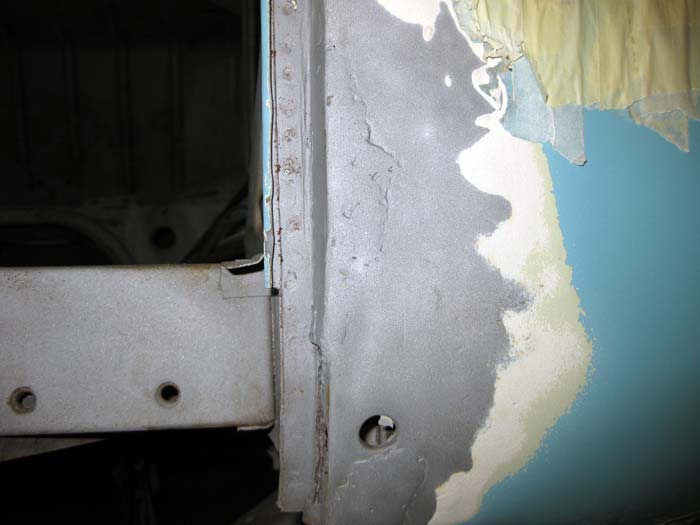
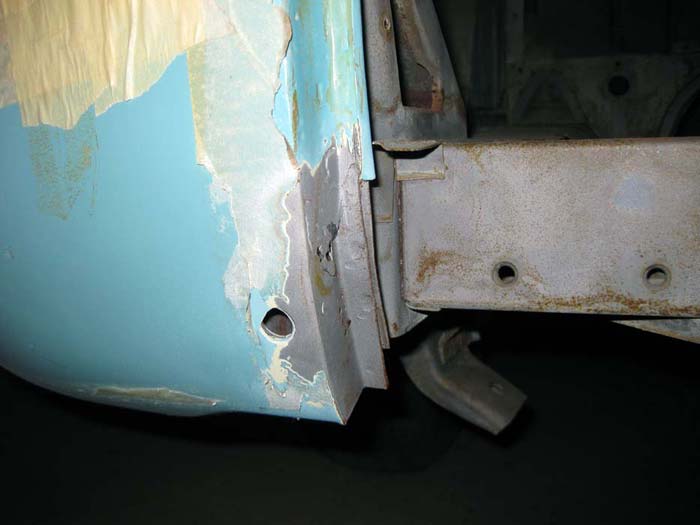
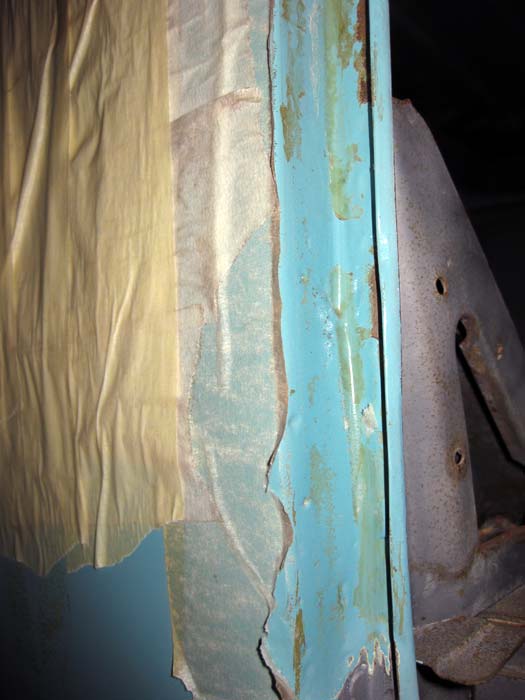
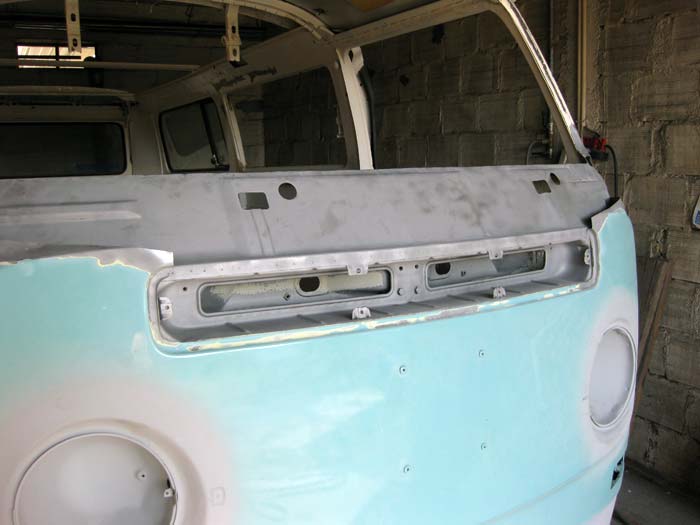
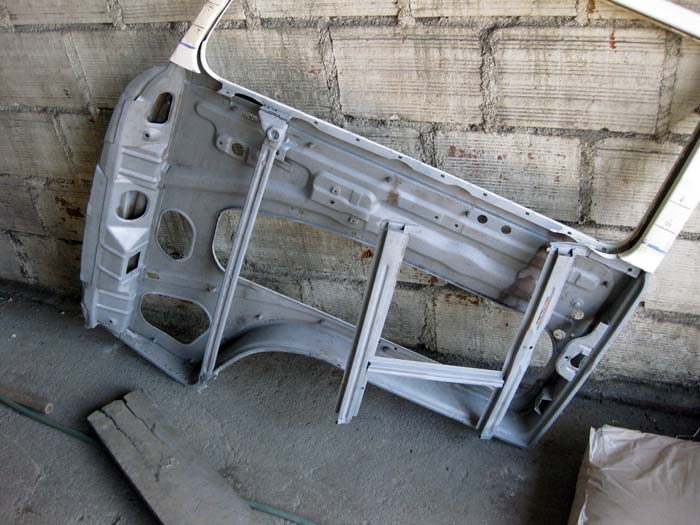
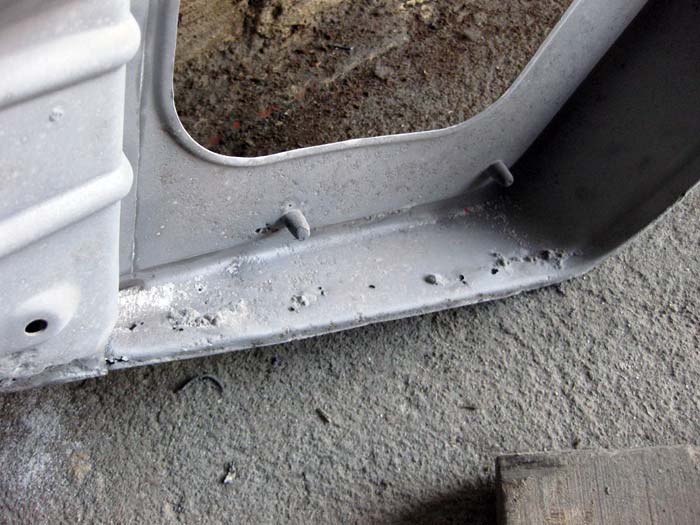
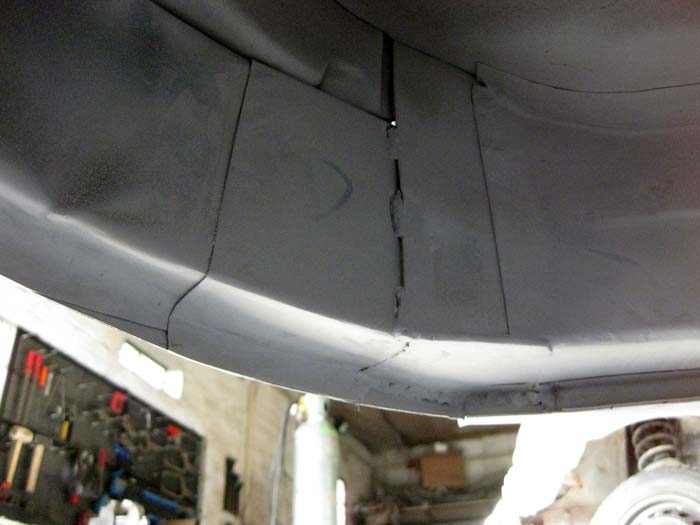
I also cleaned one of the doors... but I didn't have enough sand :|
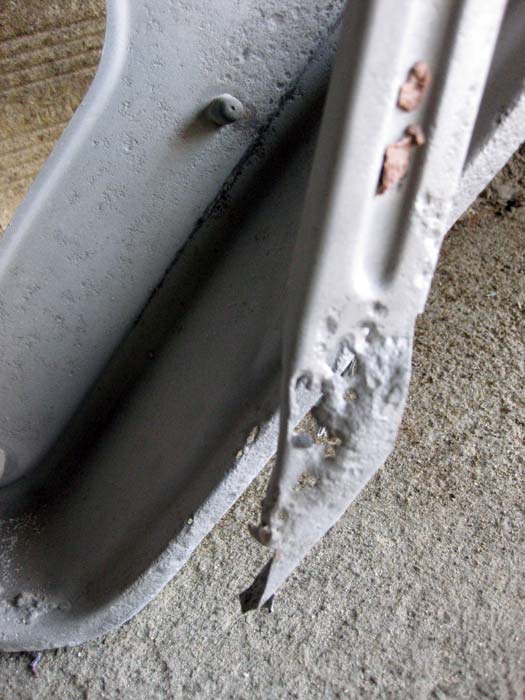
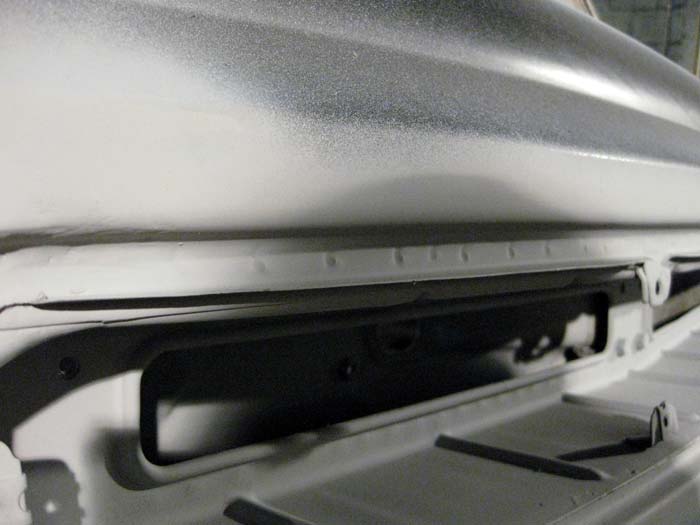
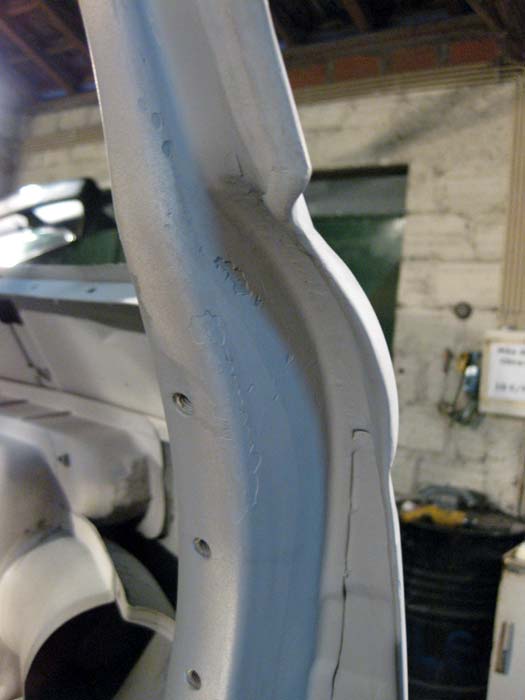
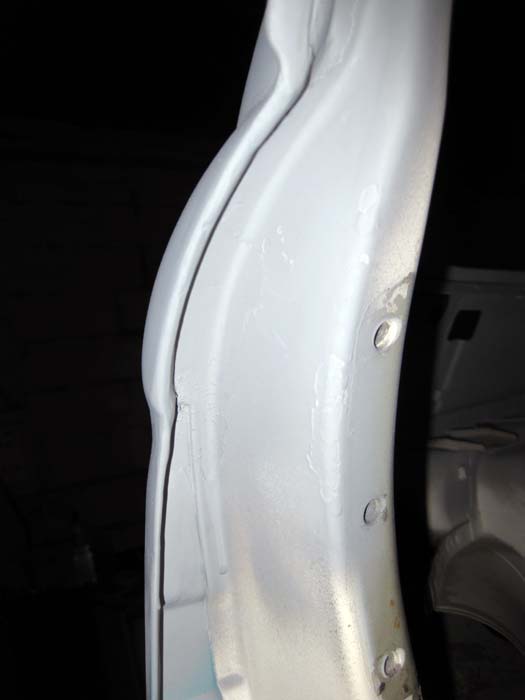
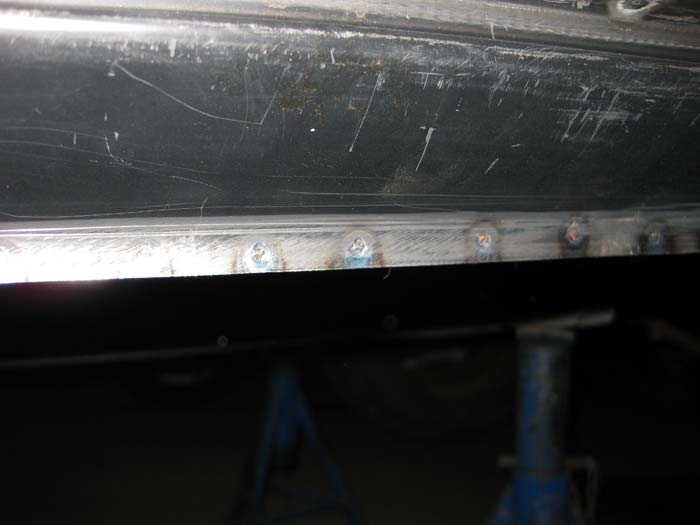
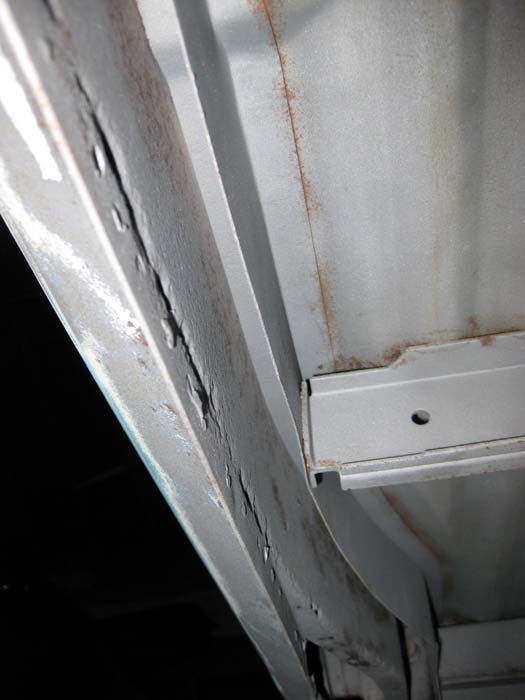
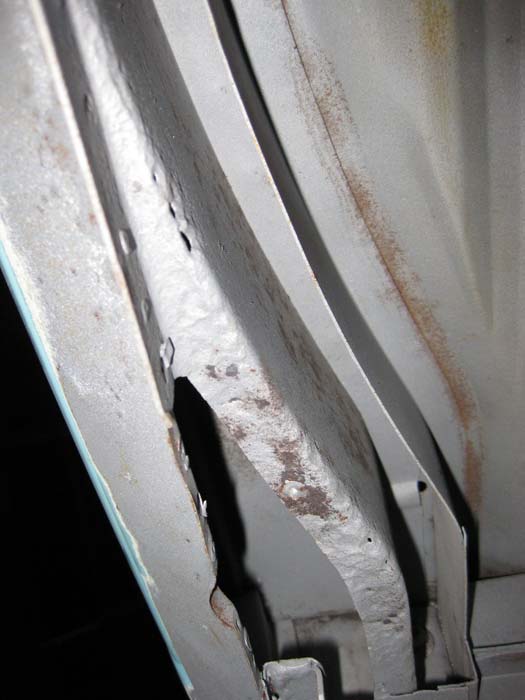
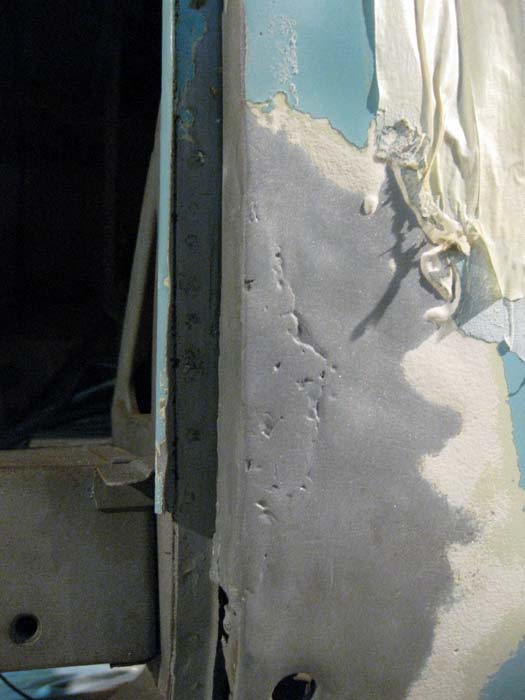
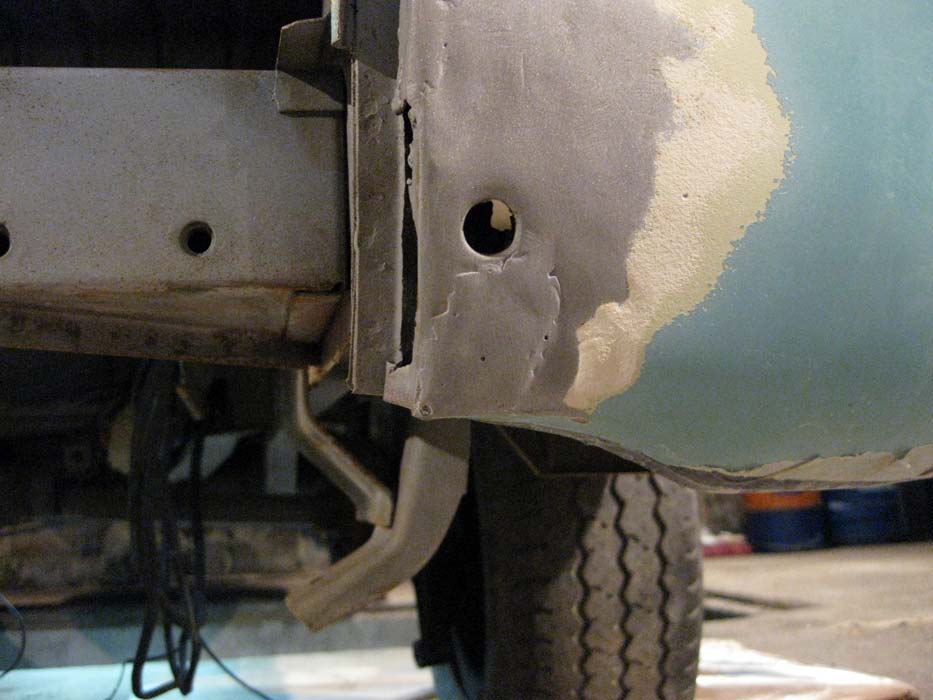
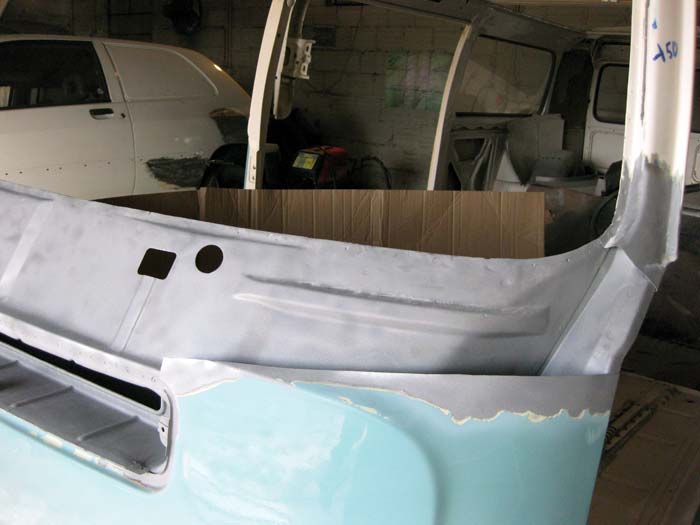
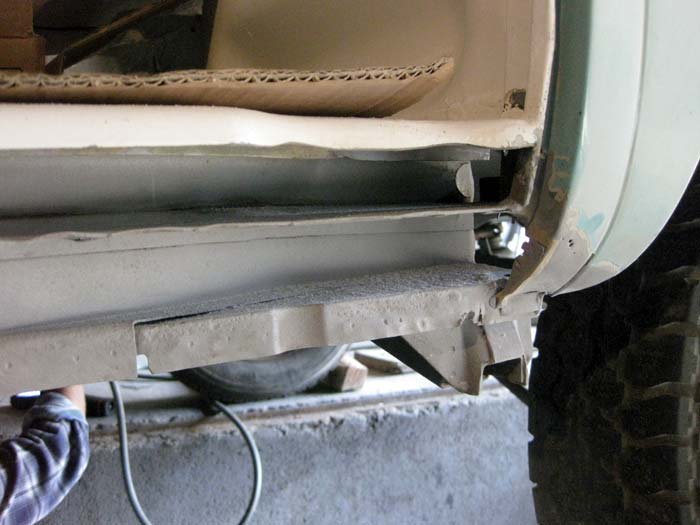
IMG_1229.jpg


IMG_1233.jpg


IMG_1232.jpg


IMG_1230.jpg


IMG_1231.jpg
 
with the wheels in place (without the dolly in the way), Hugo finally managed to start cutting all the rotten areas underneath the bus:

IMG_1226.jpg


IMG_1228.jpg


IMG_1245.jpg


IMG_1246.jpg


IMG_1247_b.jpg


.... and while Hugo was working in another car, I started cutting all these welding points

IMG_1248.jpg


IMG_1249.jpg


In the interior of those areas, there was a lot of superficial rust:

IMG_1250.jpg
 
the front/underneath is excellent:

IMG_1243.jpg


IMG_1244.jpg


And I'm still considering if I'm going to mount the original optics or the later H4 :roll:

IMG_1251.jpg


IMG_1252.jpg


While I was cleaning all the sand there was inside the bus, some Hugo friends were arriving into his bodyshop.
They were preparing a barbeque :mrgreen:

IMG_1258.jpg


IMG_1257.jpg


;)
 
Next day, there was another task to do. I had a lot of pieces to get in some new shelves so I took them out from all the places from where they were and we started to organize them:

IMG_1214.jpg


IMG_1215.jpg


IMG_1216.jpg


IMG_1217.jpg


so a couple hours later, I had everything cataloged and protected in boxes:

IMG_1286.jpg


IMG_1285.jpg


what a puzzle!
:mrgreen:
 
I went back to Lisbon and a couple of days later, Hugo sent me these pictures:

Imagem(038).jpg


Imagem(039).jpg


... and the area to be used already cutted:

Imagem(040).jpg


Imagem(041).jpg


... and before Hugo weld it in place, he protected the area with a primer:

Imagem(042).jpg


Imagem(043).jpg


Imagem(044).jpg


Imagem(046).jpg


Imagem(047).jpg


... and also inside the new panel:

Imagem(045).jpg
 
then he started welding it:

Imagem(048).jpg


Imagem(049).jpg


Imagem(052).jpg


... and with his new welding machine, he welded the upper part of the new panel:

Imagem(050).jpg


Imagem(051).jpg


Imagem(053).jpg


Imagem(054).jpg


Imagem(060).jpg
 
and almost done:

Imagem(055).jpg


....grinding the welding excesses...

Imagem(056).jpg


Imagem(057).jpg


Imagem(058).jpg


... and once again, with his new welding machine he welded the bottom part of the panel to the bus:

Imagem(059).jpg


sweet!
:mrgreen:
 
To end this area, Hugo pulled the bus outside....

Imagem(061).jpg


Imagem(062).jpg


Imagem(063).jpg


Imagem(064).jpg


... and he protected the new weldings with a primer....

Imagem(065).jpg


Awesome work!
8)
 
Doors look well corroded but I'm curious at how Hugo's gonna tackle this one 8)
I must say that 40 EUR for 12,6 kg (25 lbs) is actually....a bargain!
They look new and at least they're all original, quite nice but I've never seen it done before.
Nice work on the front clip too.
 
gninnam said:
Those doors look to me like they are well past saving??

I guess so, but Hugo is still deciding if they worth being saved. The question is that I got to pay all the work Hugo is doing on the bus. It's probably cheaper to get a pair of new doors and sell again the panels I bought.. or use them if the new doors are the ones with a recess on the panel...

thanks Johnny ;)

T2-Nate: It was 19,5 Kg for 40€... ;)
even cheaper :mrgreen:
(did you see my post about the Unity instalation kits :?: )
 
While I was in Lisbon, Hugo sent me these pictures:

Imagem(066).jpg


Imagem(067).jpg


Imagem(068).jpg


Imagem(069).jpg


Imagem(070).jpg


Imagem(071).jpg


Imagem(072).jpg


a few days later I went to Hugo's bodyshop.
You just can't see where Hugo's fixed it:

IMG_1328.jpg


IMG_1329.jpg


IMG_1331.jpg


IMG_1327.jpg


IMG_1330.jpg


and here's also a sweet job...

IMG_1307.jpg


IMG_1308.jpg


IMG_1309.jpg


and the same here....

IMG_1311.jpg
 
the bumpers also needed some of Hugo's attention:

IMG_1313.jpg


and some old holes inside also....

IMG_1310.jpg


but there were still some areas to sandblast. So I did it:

IMG_1321.jpg


IMG_1322.jpg


IMG_1323.jpg


IMG_1324.jpg


and on the outside we decided to clean it also, just to be sure that there was no rust....

IMG_1332.jpg
 
We decided to sandblast other areas that we knew they needed to be fixed:

IMG_1314.jpg


IMG_1315.jpg


IMG_1316.jpg


there's still a lot bo the done :mrgreen:
 
Next day, Hugo mounted the front bumper....

IMG_1335.jpg


... but there was still a lot to be done in them.....

IMG_1352.jpg


Other task was to fix the heating pipe underneath the bus:

IMG_1337.jpg


IMG_1340.jpg


IMG_1342.jpg
 
so, we sandblasted the inside of the tube and because Hugo didn't have a tube with the same diameter, he decided the best way was to do a new one:

IMG_1336.jpg


IMG_1347.jpg


IMG_1348.jpg


IMG_1349.jpg


IMG_1350.jpg


IMG_1351.jpg


IMG_1354.jpg
 
but these are the areas that most concern me at the moment:

IMG_1346.jpg


IMG_1345.jpg


The weekend was over so I left hugo working and went back to Lisbon....

IMG_1339.jpg
 

Latest posts

Top