You are using an out of date browser. It may not display this or other websites correctly.
You should upgrade or use an alternative browser.
You should upgrade or use an alternative browser.
1968 Campervan conversion
- Thread starter joaonar
- Start date

Help Support Early Bay Forum:
This site may earn a commission from merchant affiliate
links, including eBay, Amazon, and others.


joaonar said:Sweet!")
Agree 8)
Any chance I could borrow Hugo on a permanent basis as he seems to do a great job :lol:
Loving the work you did so far
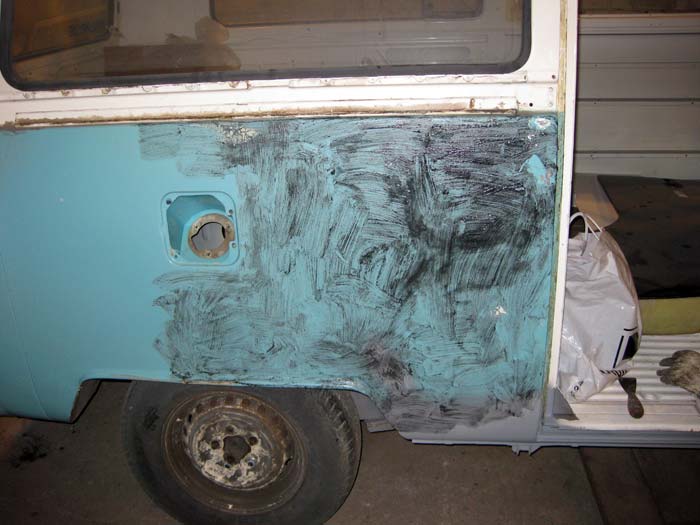
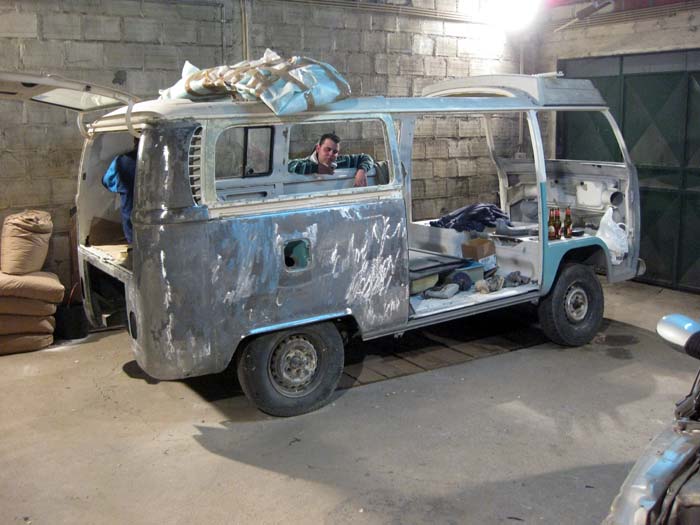
a couple of hours later....
but it was so cold, that Hugo decided to heat up the enviroment.. a smart decision :mrgreen:
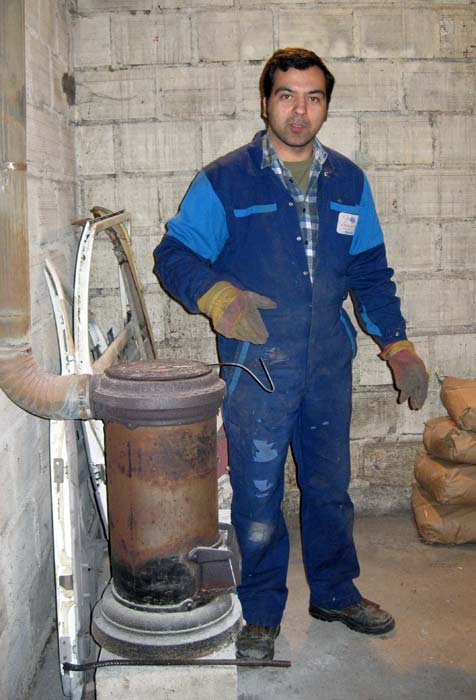
... it was getting warmer inside :mrgreen:
and with a friends help, the task was being done faster than I thought it would be....
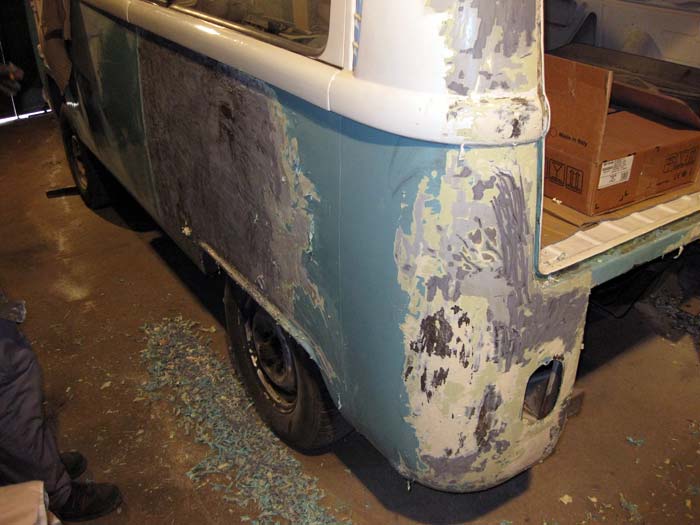
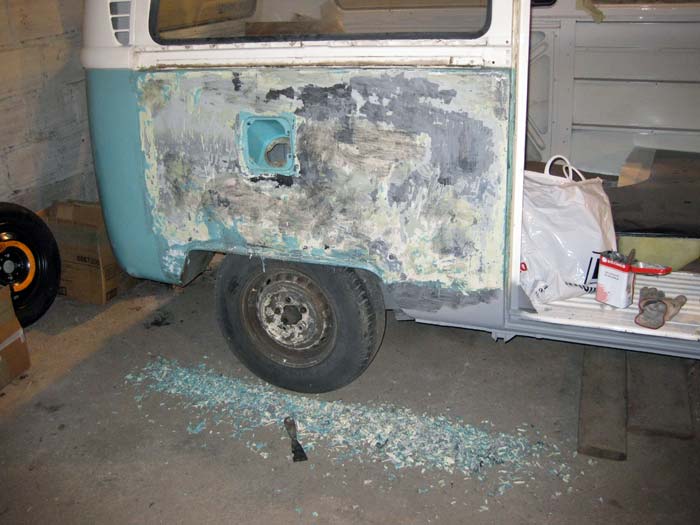
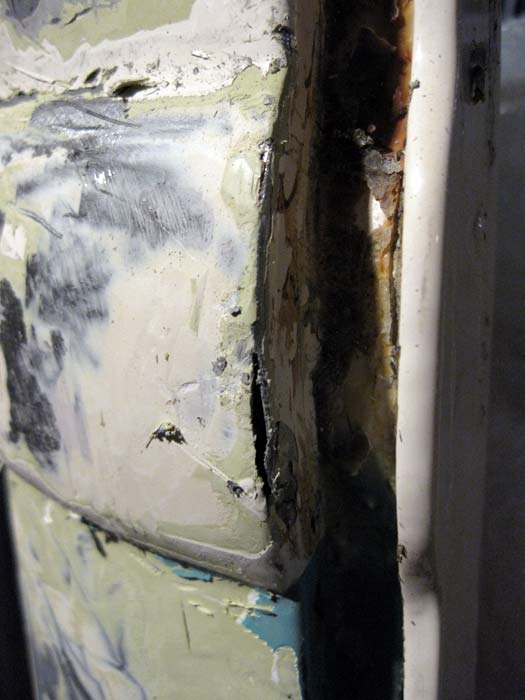
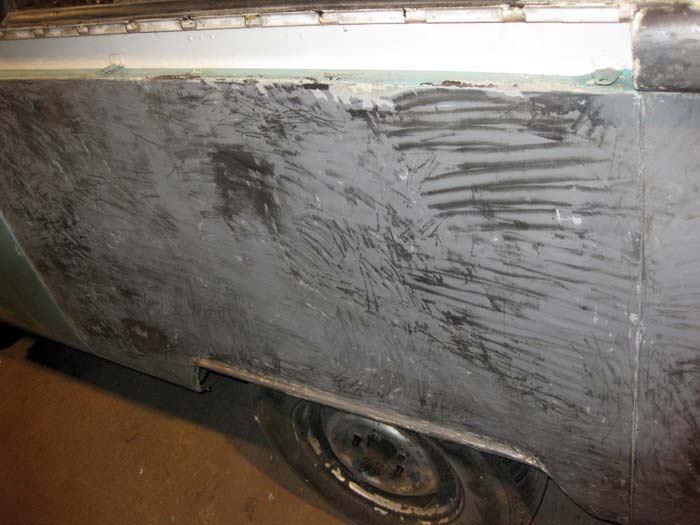
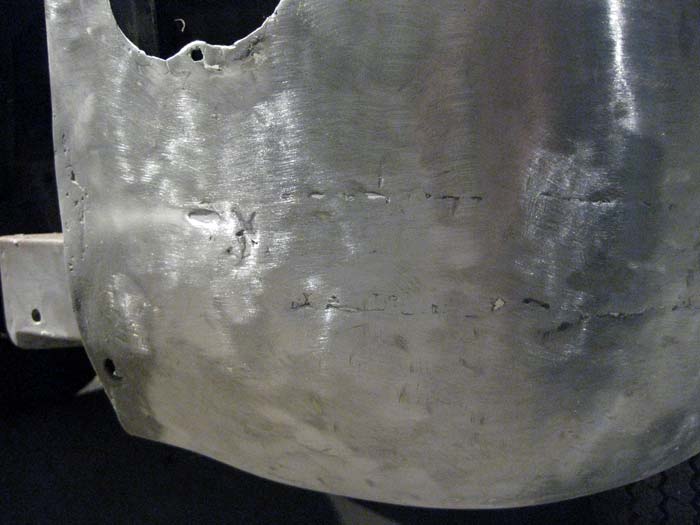
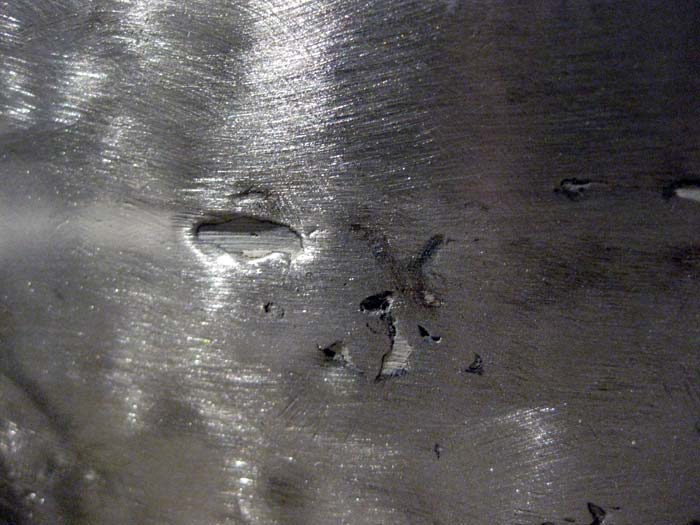
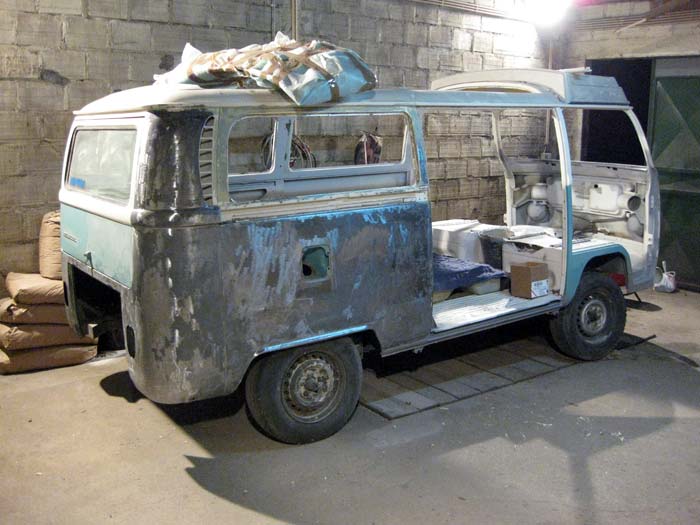
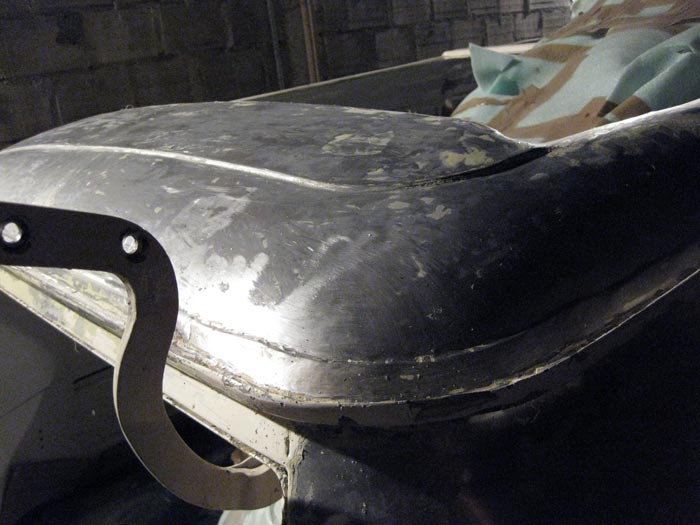
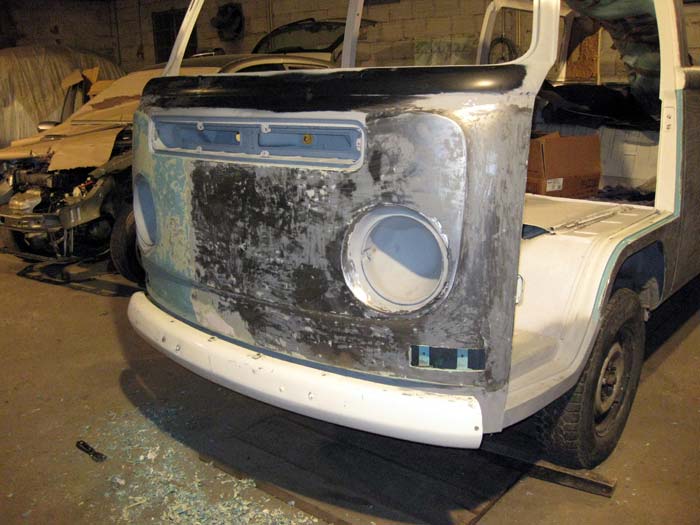
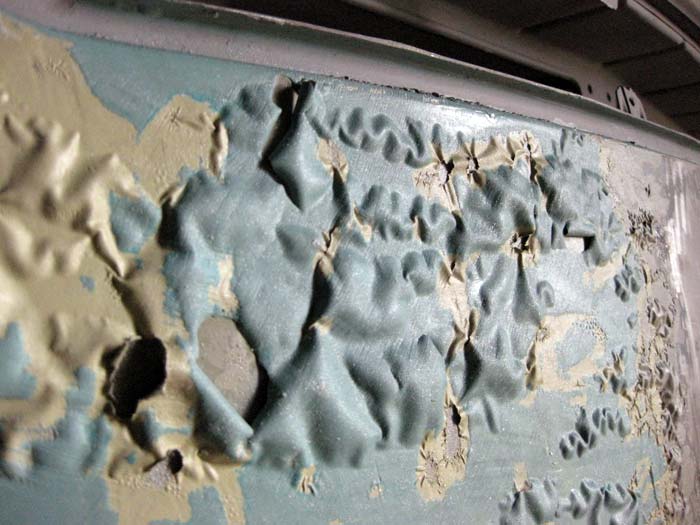
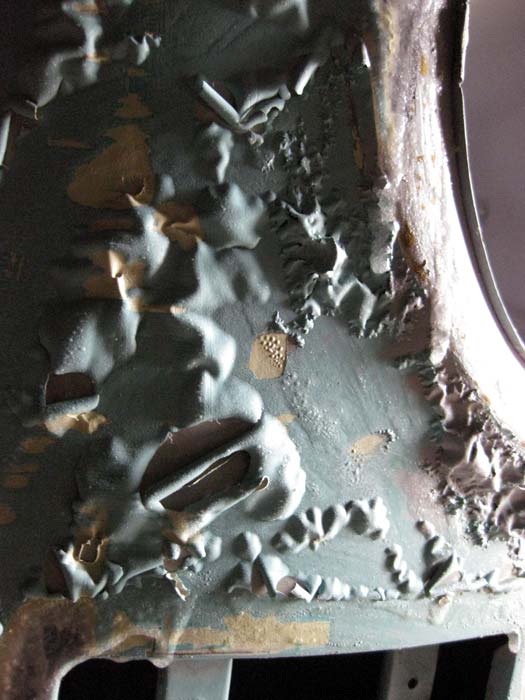
... and to prove we were right, areas to fix were appearing (a large hole underneath a lot of putty)
but it was so cold, that Hugo decided to heat up the enviroment.. a smart decision :mrgreen:
... it was getting warmer inside :mrgreen:
and with a friends help, the task was being done faster than I thought it would be....
... and to prove we were right, areas to fix were appearing (a large hole underneath a lot of putty)


$10.00
Volkswagen Genuine VW Driver Gear VW Logo Specifications T-Shirt Tee - X-Large - Black
wolframitersqga


$7.94
$15.10
Door Panel Clips, for VW Aircooled Door Panels, 50 Pieces, Compatible with Dune Buggy
Appletree Automotive

$31.80
Airfix Quickbuild Volkswagen Light Blue Camper Van Brick Building Model Kit, Multicolor
Amazon Global Store UK


$9.37
Empi 4429 Ivory Sun Visor Clips for Vw Bug 1965-1967/ Vw Bus 1968-1979, Pair
MOORE PARTS SOURCE

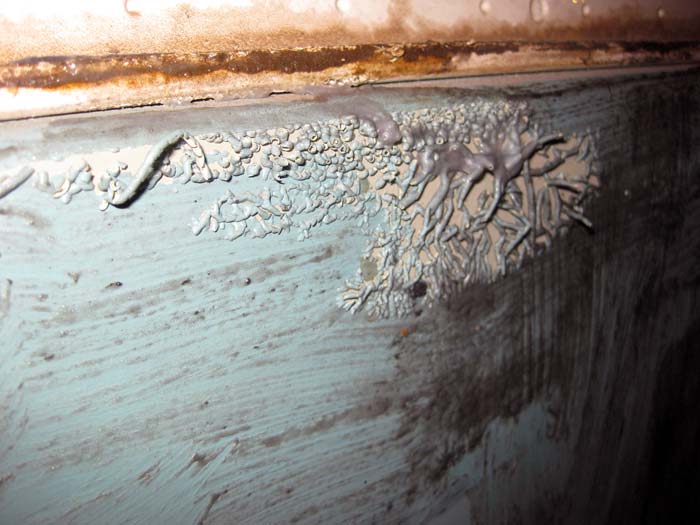
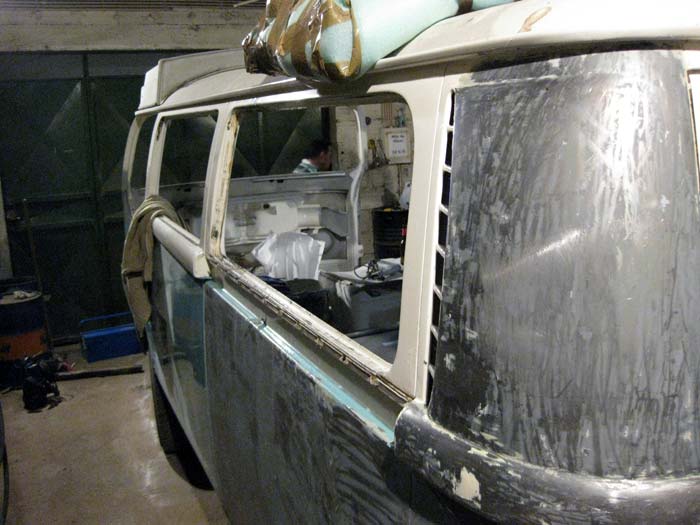
and more areas to fix:
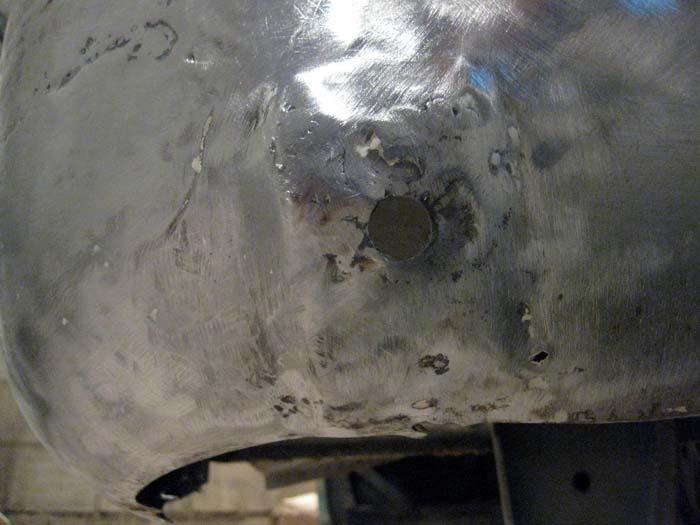
and near the sliding door...
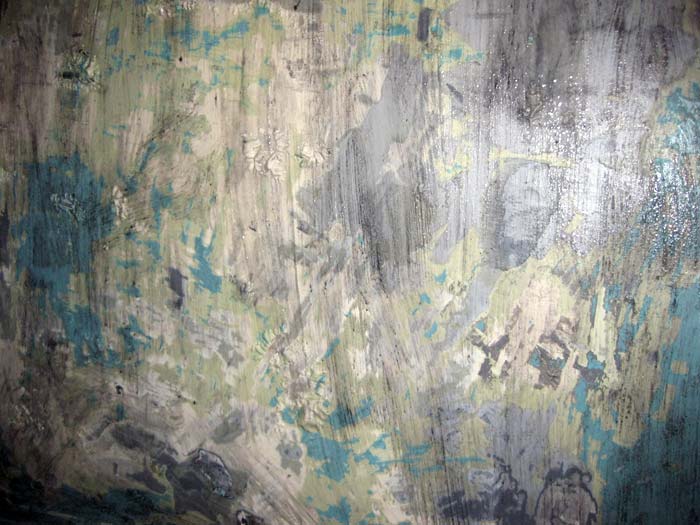
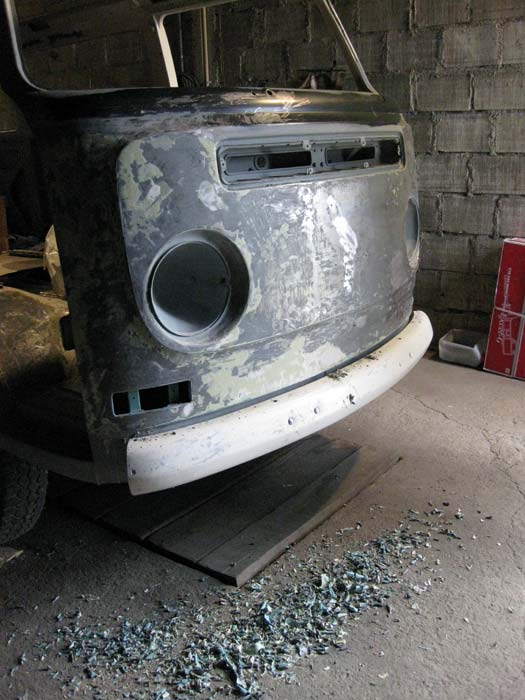
but we were already suspecting that the bus was full of rotten areas like these ones, so all the paint had really to come out.
But the weekend was over so went back to Lisbon and left them finishing the task....
and near the sliding door...
but we were already suspecting that the bus was full of rotten areas like these ones, so all the paint had really to come out.
But the weekend was over so went back to Lisbon and left them finishing the task....
bluebay said:Hugo`s the man,great work.
thanks bluebay! :mrgreen:
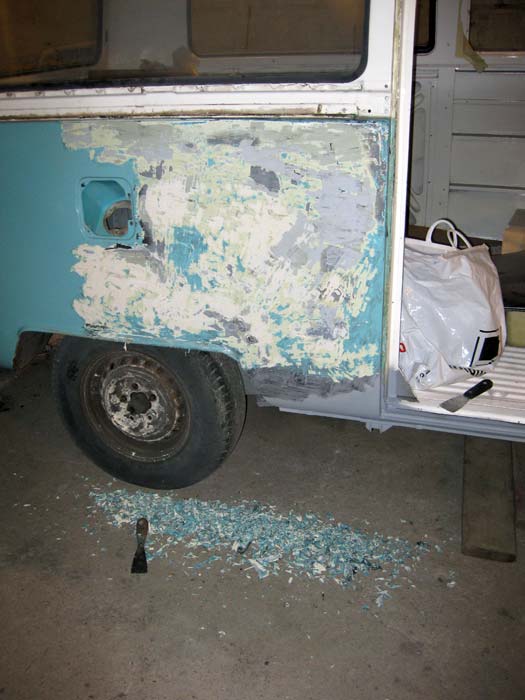
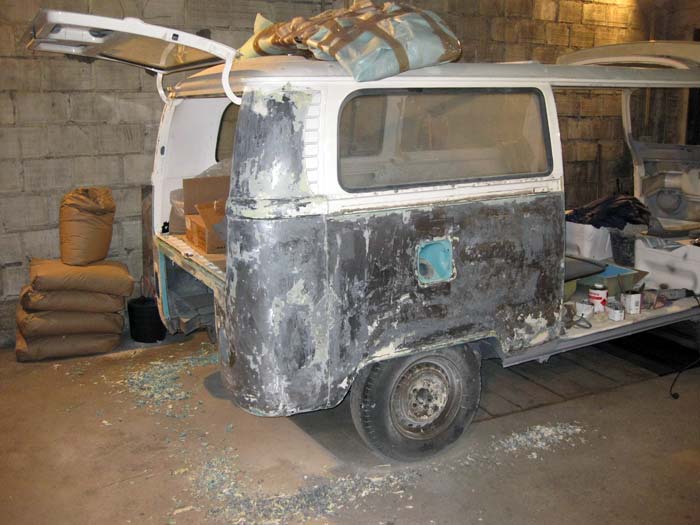
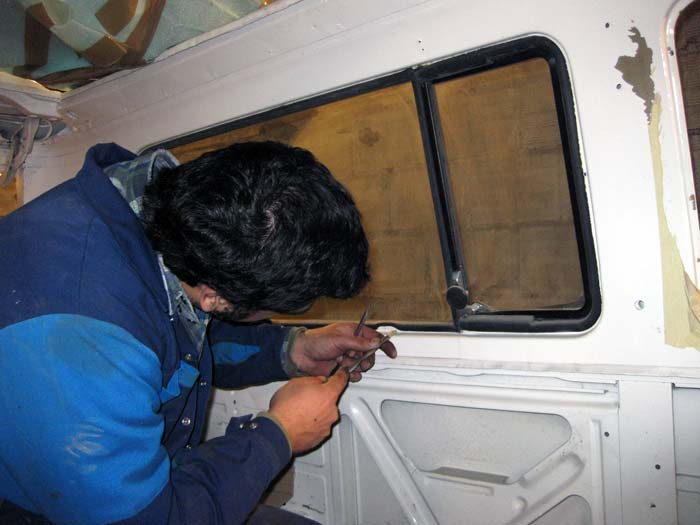
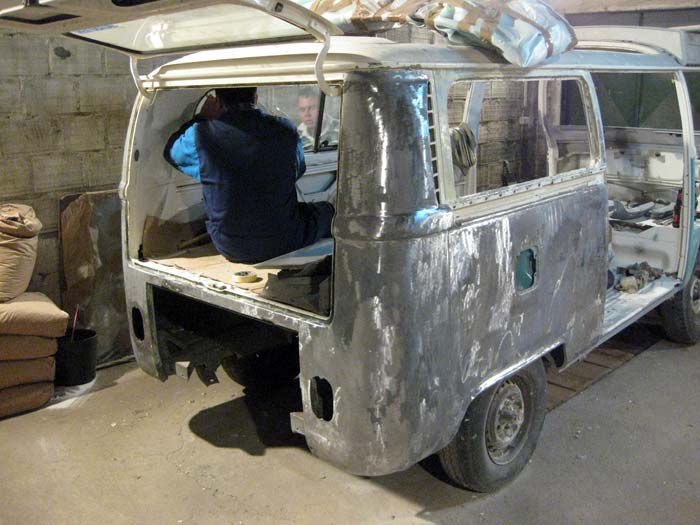
a weekend later I went back to Hugo's bodyshop.
The task was being done... but it was getting really cold. I proved I'm just not used to such lower temperatures

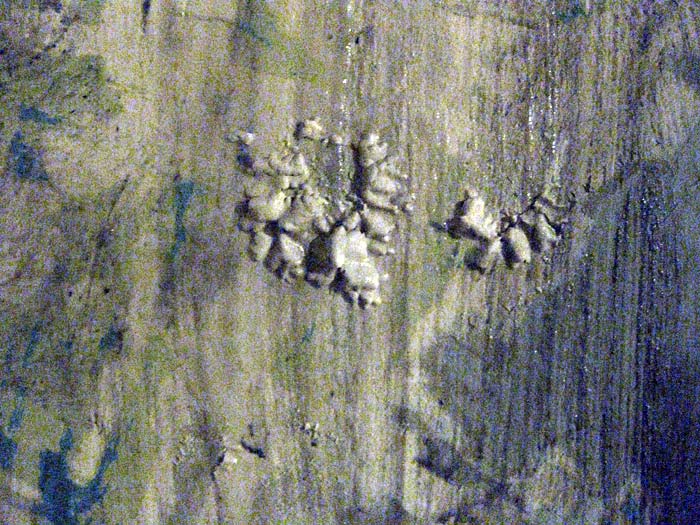
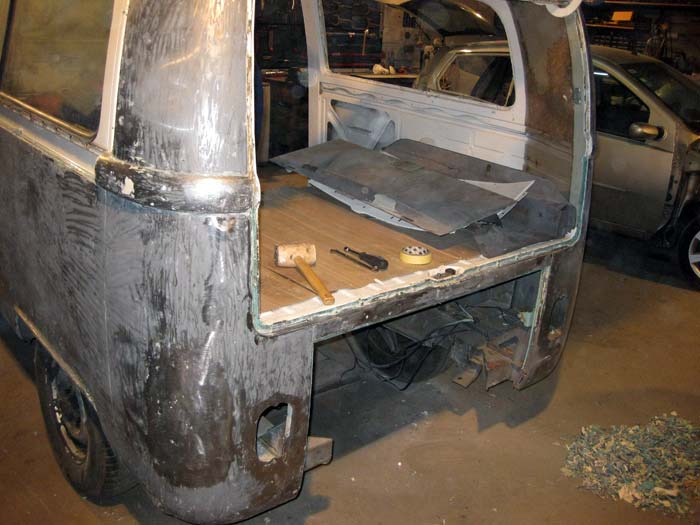
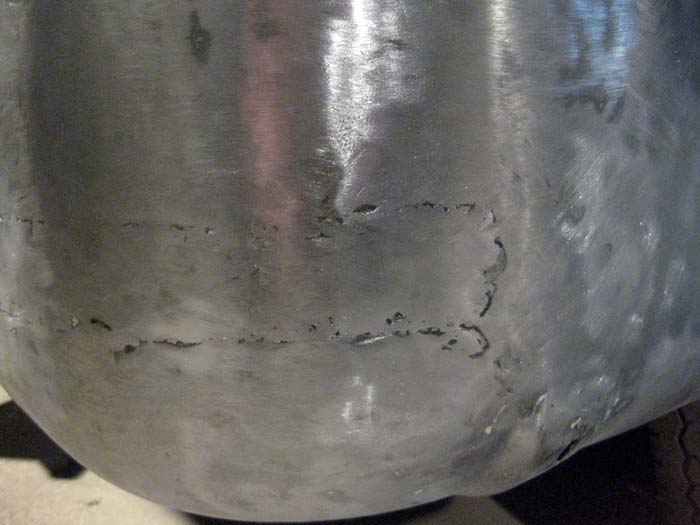
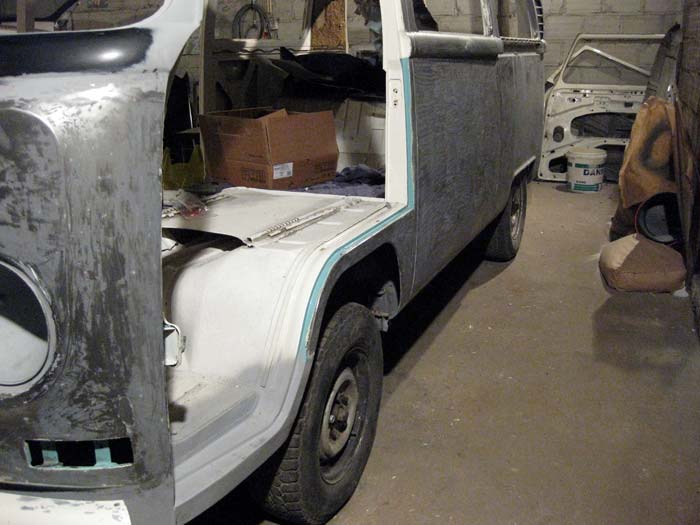
some more parts removed:
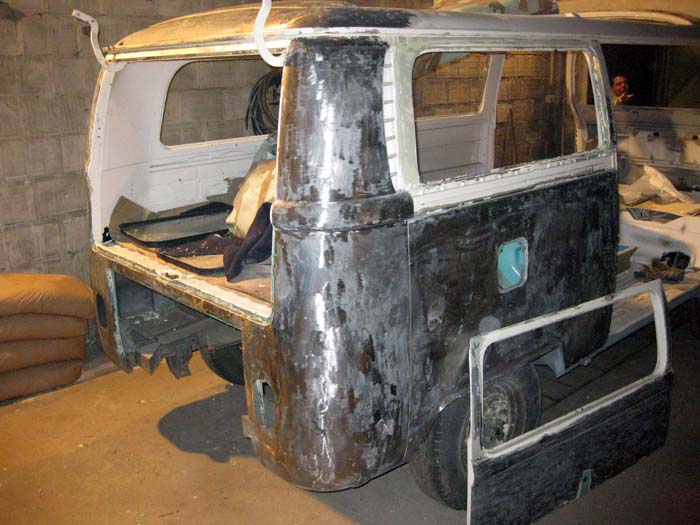
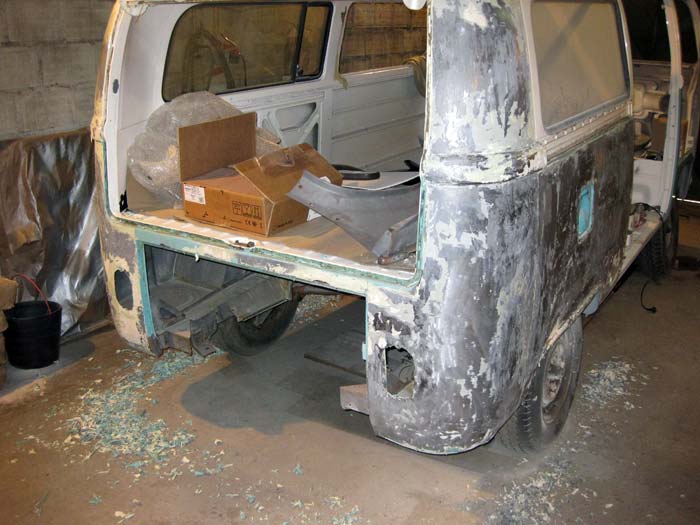
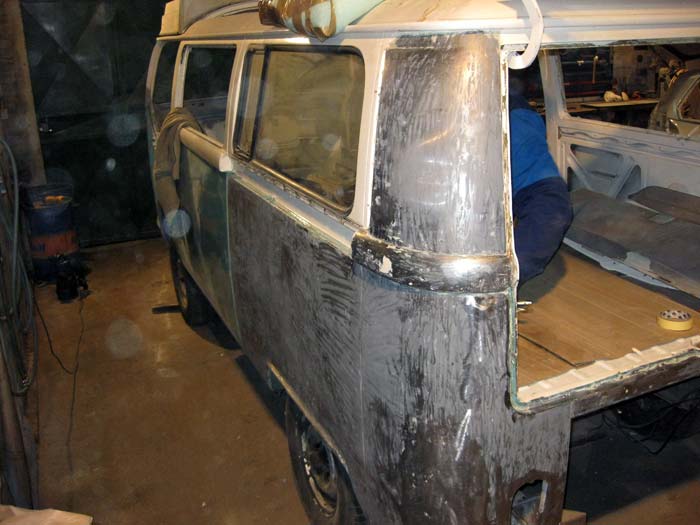
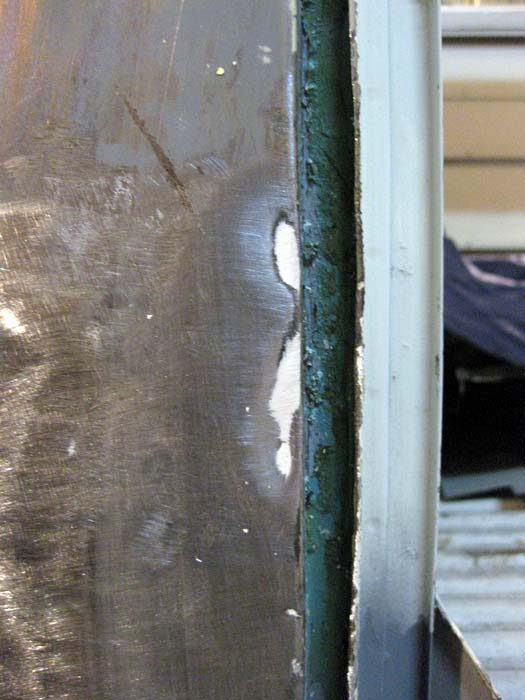
... this side was almost done.
... and to prevent any future problems in this area, we decided to fix it again... This time, the right way!
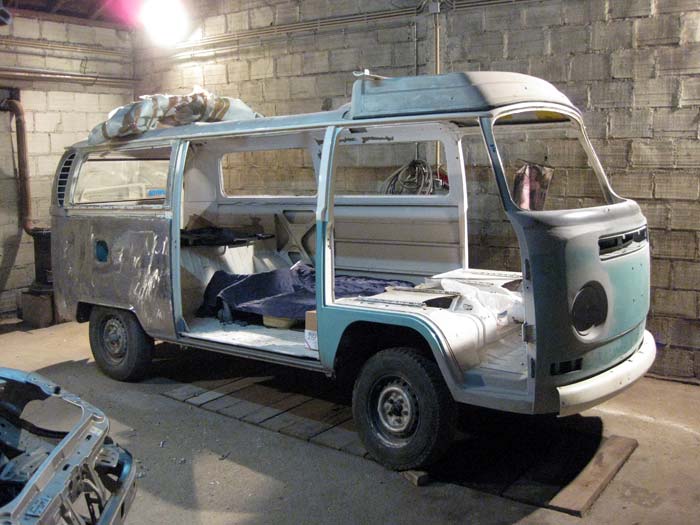
and almost ready to hit the road again.....
:mrgreen:
The task was being done... but it was getting really cold. I proved I'm just not used to such lower temperatures
some more parts removed:
... this side was almost done.
... and to prevent any future problems in this area, we decided to fix it again... This time, the right way!
and almost ready to hit the road again.....
:mrgreen:
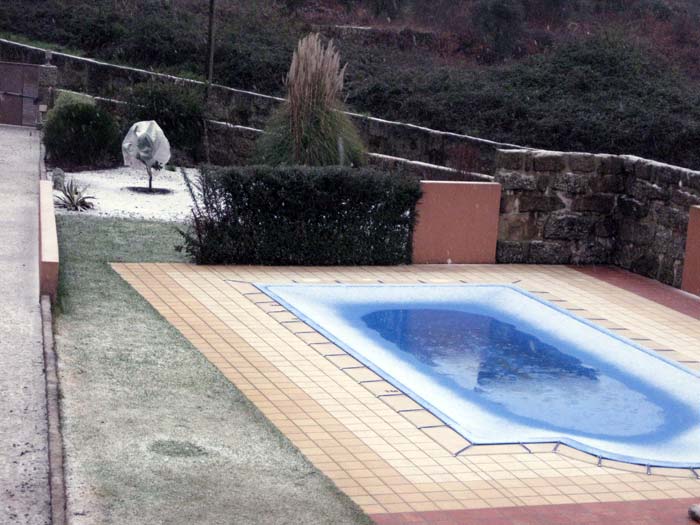
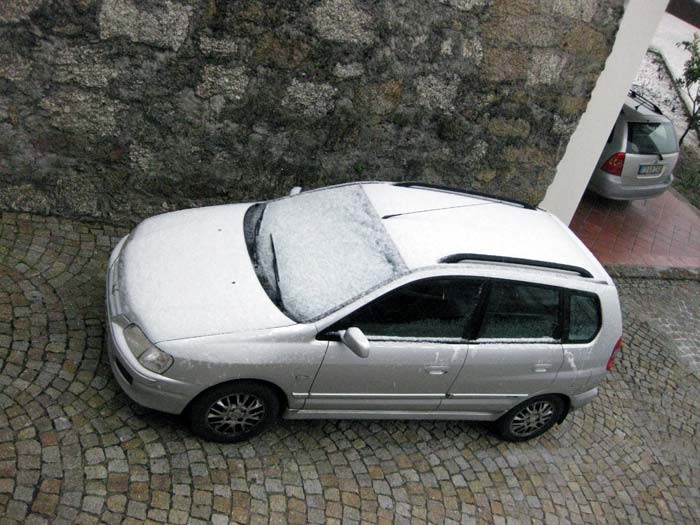
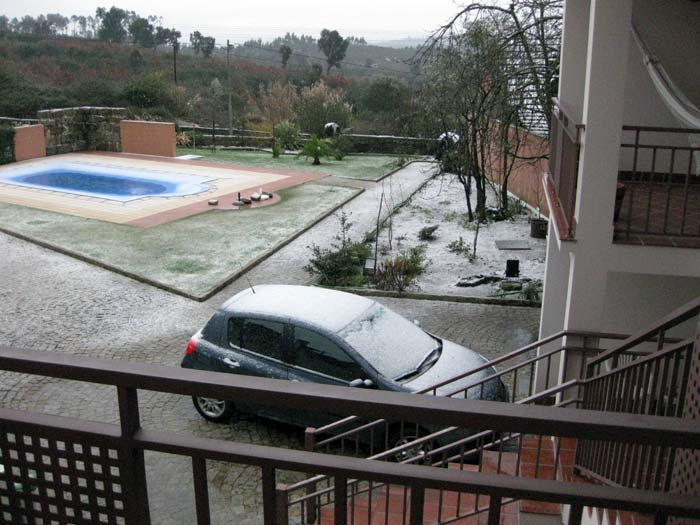
I was saying in the previous days, that the weather was cold.... How wrong I was.
Next day the weather was really cold!
:mrgreen:
I had never seen so much snow and ice in this region of Portugal.
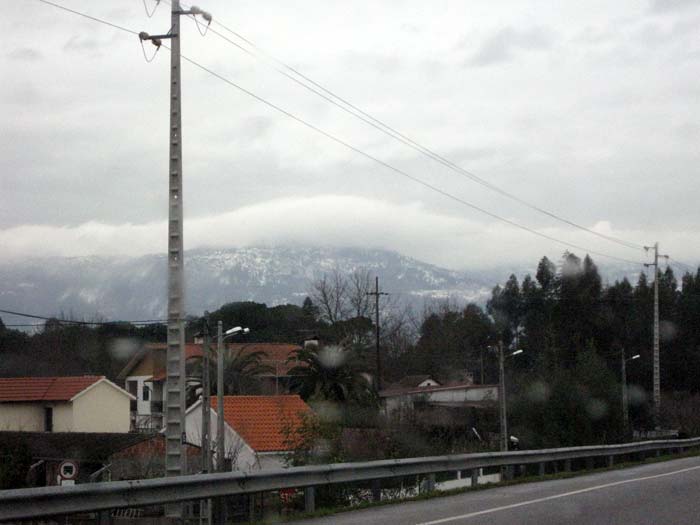
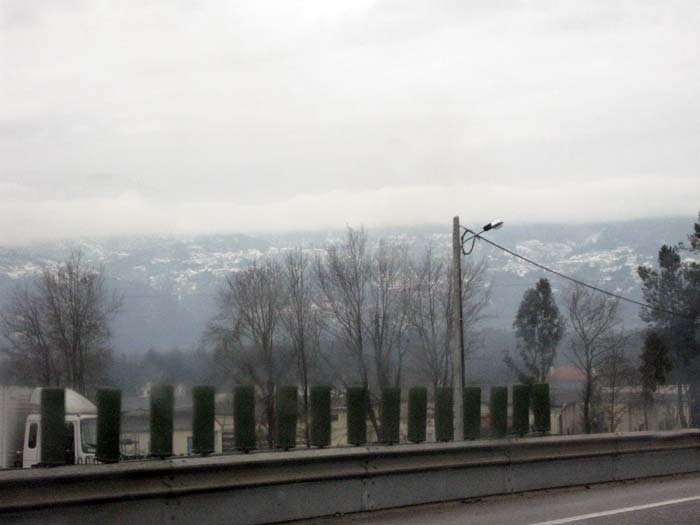
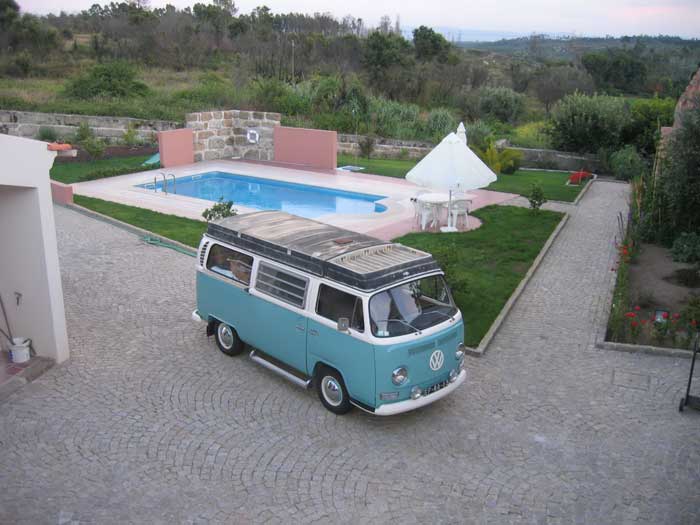
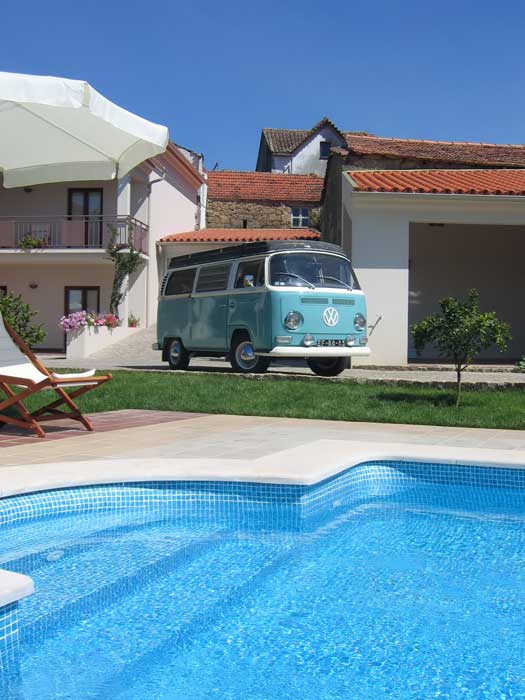
I was missing the Summer... being at the swimming pool at midnight with the water at 29º Celsius :mrgreen:
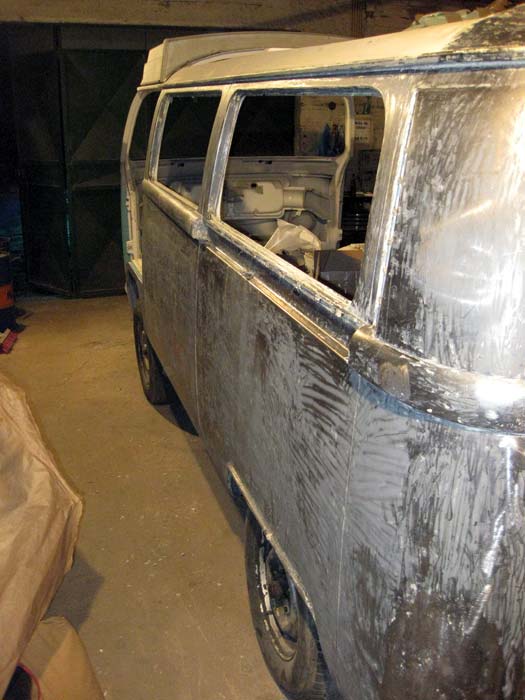
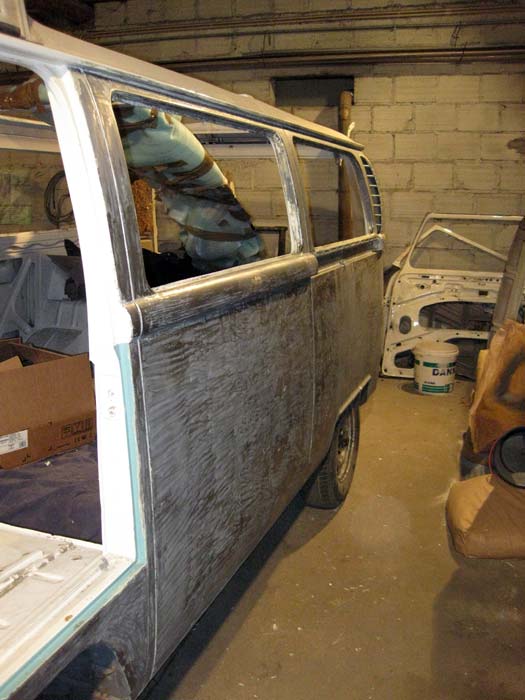
But getting back to the task.... it was almost done:
Next day the weather was really cold!
:mrgreen:
I had never seen so much snow and ice in this region of Portugal.
I was missing the Summer... being at the swimming pool at midnight with the water at 29º Celsius :mrgreen:
But getting back to the task.... it was almost done:
TJMElsenRusty
Member
- Joined
- Jul 22, 2009
- Messages
- 11
- Reaction score
- 0
An absolutely amazing project!
I was wondering what kind of tools / chemicals you used to remove the paint...
Since I am undertaking a simular project, and being in that very stage now, I'm closely following your project.
Kind Regards,
Thomas
I was wondering what kind of tools / chemicals you used to remove the paint...
Since I am undertaking a simular project, and being in that very stage now, I'm closely following your project.
Kind Regards,
Thomas
Hello thomas.
Thank you .
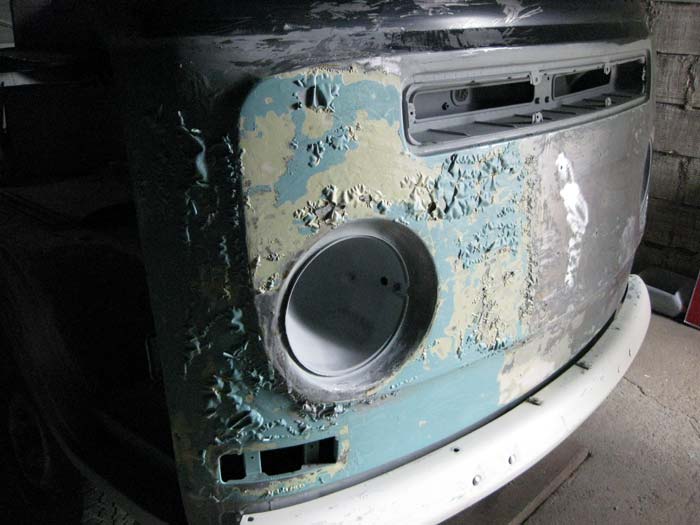
I used a paint remover in gel...Like this one, I guess:

and a pair of tools like this one:

here's a Hugo's friend removing the old paint from a '63 bug using this method:

but you can also use a heat gun to remove your old paint.
http://www.frost.co.uk/result_search.asp" onclick="window.open(this.href);return false;
or,

Some say it's better because of very small traces of paint remover that can be left under the new paint.... and they can begin to oxidize the metal sheet underneath it.
If you decide to use a chemical paint remover in gel, you will need to clean the body extremely well before paint it again.
You will need also a breathing mask, a pair of proper gloves (gloves able to resist to the paint remover), some old clothes and a pair of protection glasses
you can also use these kind of abrasive nylon discs:


but be aware not use them a lot in the same area... they can heat up and wear the metal sheet.
Here's another of Hugo's friend using one in the same '63 bug:

I sure hope this helps you
Thank you
.I used a paint remover in gel...Like this one, I guess:
and a pair of tools like this one:
here's a Hugo's friend removing the old paint from a '63 bug using this method:
but you can also use a heat gun to remove your old paint.
http://www.frost.co.uk/result_search.asp" onclick="window.open(this.href);return false;
or,
Some say it's better because of very small traces of paint remover that can be left under the new paint.... and they can begin to oxidize the metal sheet underneath it.
If you decide to use a chemical paint remover in gel, you will need to clean the body extremely well before paint it again.
You will need also a breathing mask, a pair of proper gloves (gloves able to resist to the paint remover), some old clothes and a pair of protection glasses
you can also use these kind of abrasive nylon discs:
but be aware not use them a lot in the same area... they can heat up and wear the metal sheet.
Here's another of Hugo's friend using one in the same '63 bug:
I sure hope this helps you


TJMElsenRusty
Member
- Joined
- Jul 22, 2009
- Messages
- 11
- Reaction score
- 0
Thanks a lot! Very clear; especially with the pictures.
I've been cleaning a few panels with a grinder disc: a so called "lamella disc";

Just like you said, you really have to be careful with the heat it generates, but for now it has all gone very well.
And since I don't like all the chemicals that are in a paint removal product, I prefer to do it the dusty way...
I'll be following your story!
Thomas
I've been cleaning a few panels with a grinder disc: a so called "lamella disc";
Just like you said, you really have to be careful with the heat it generates, but for now it has all gone very well.
And since I don't like all the chemicals that are in a paint removal product, I prefer to do it the dusty way...
I'll be following your story!
Thomas
G
Guest
Guest
that way too dangerous and can heat warp the panels, i use those to grind off excess weld.
you could have saved yourself hours of work using strip discs like this,

they are far quicker and safer for large panels
i did a whole bus in about 4 hours using these on a 400W grinder with little or no effort, you get no sticky mess and no residue but there is alot of dust.
you could have saved yourself hours of work using strip discs like this,
they are far quicker and safer for large panels
i did a whole bus in about 4 hours using these on a 400W grinder with little or no effort, you get no sticky mess and no residue but there is alot of dust.
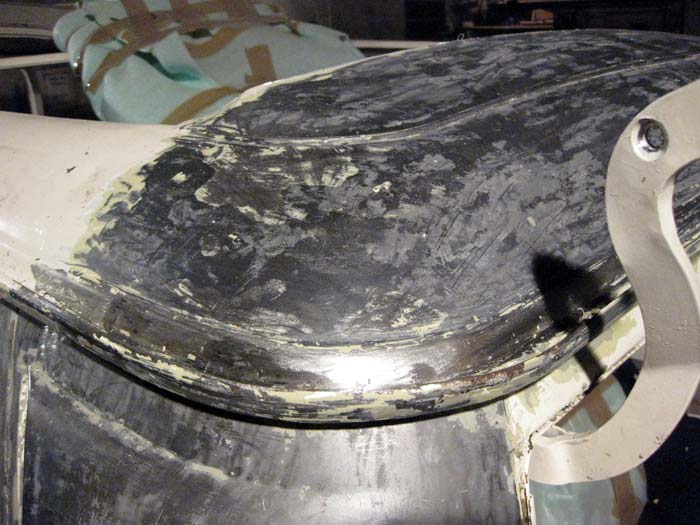
That's the kind of discs I'm talking about... and what Hugo used on the bus.
a disc like that was being used in this picture:
I guess Hugo decided to use a paint remover because there was a lot of putty everywhere on the bus beneath the paint... It was going to make a mess... and we were working inside the bodyshop.
He used it later, when the bus was almost in bare metal....
Similar threads
- Replies
- 10
- Views
- 730
- Locked
Parts For Sale
now sold: 1600 engine for sale (august 2023)
- Replies
- 8
- Views
- 1K
- Replies
- 29
- Views
- 2K
Vehicle For Sale
1971 T2a Double Cab Pick Up
- Replies
- 0
- Views
- 1K