Justin & Muttley
Well-known member
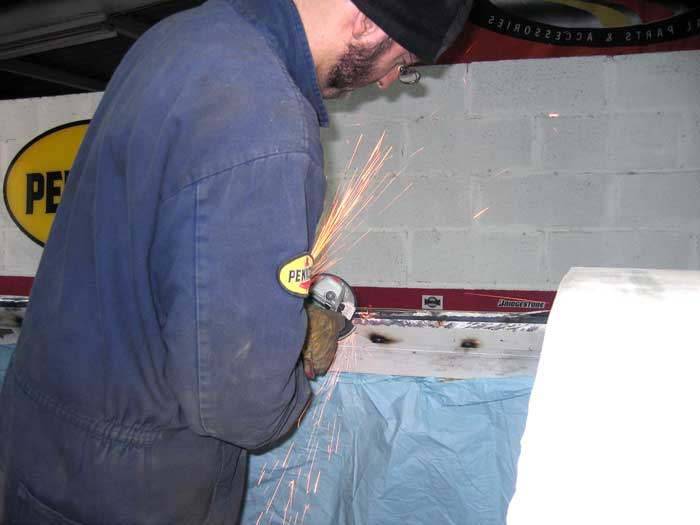
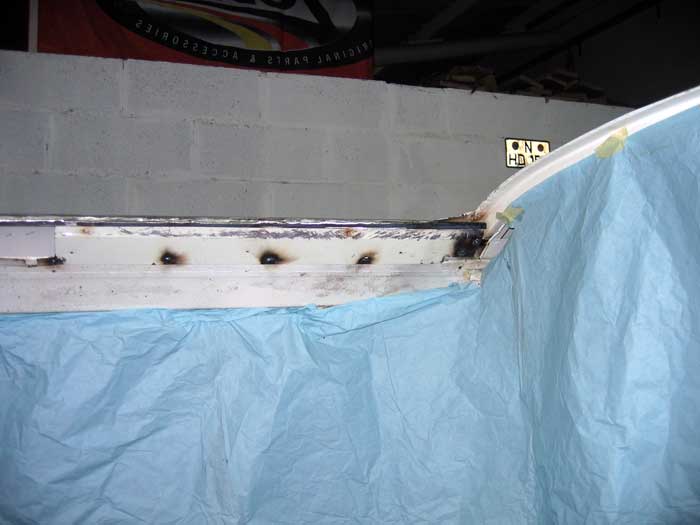
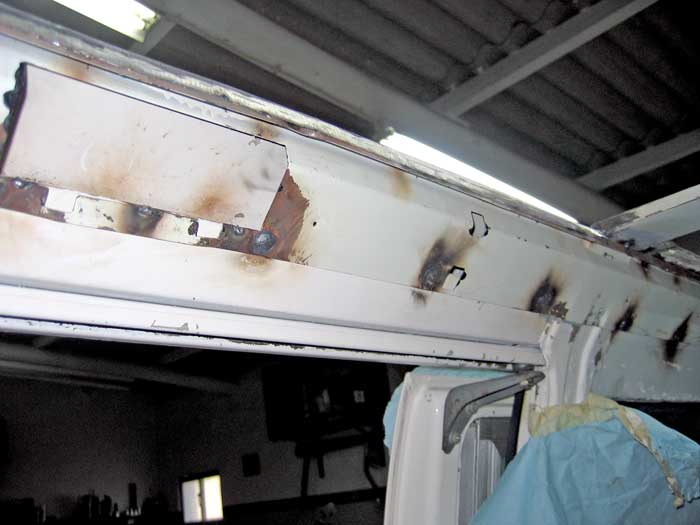
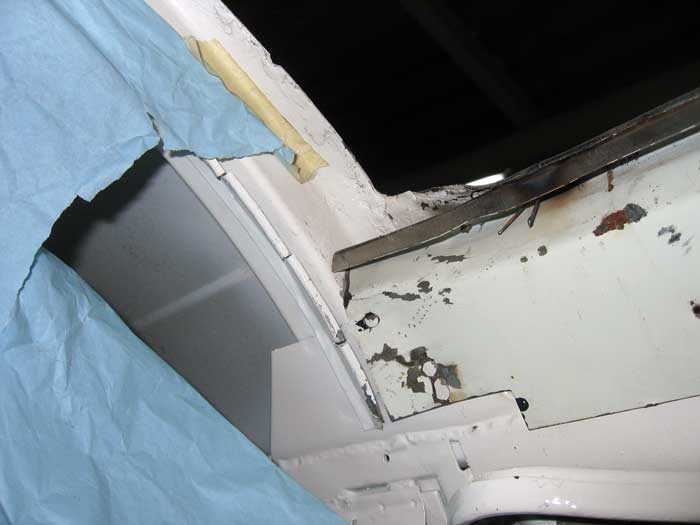
What a great story! 8)
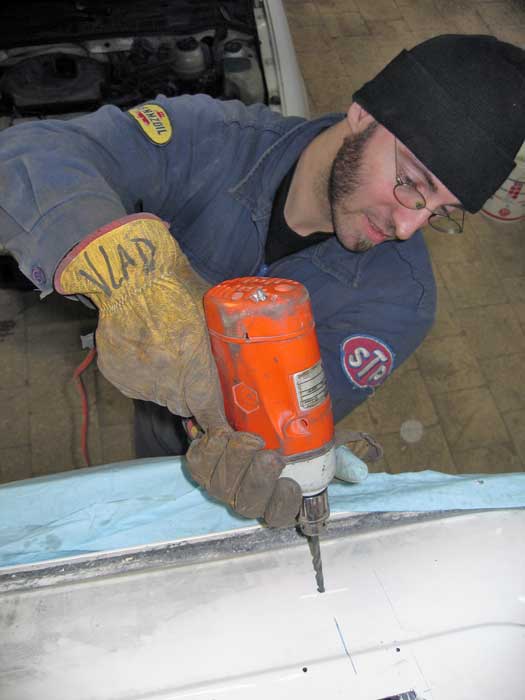
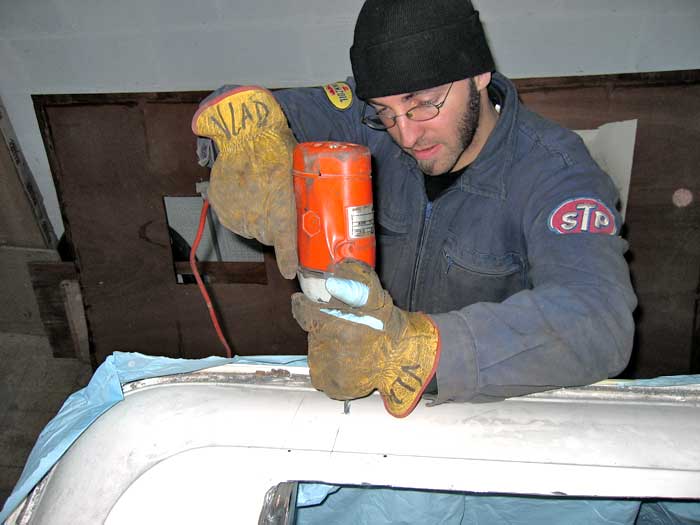
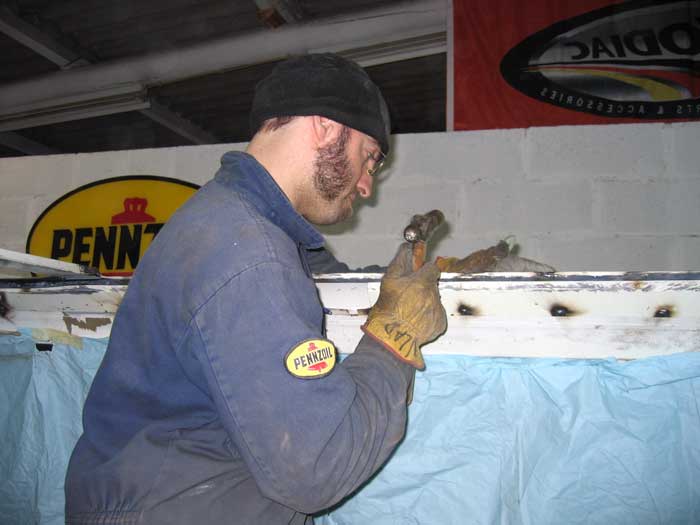
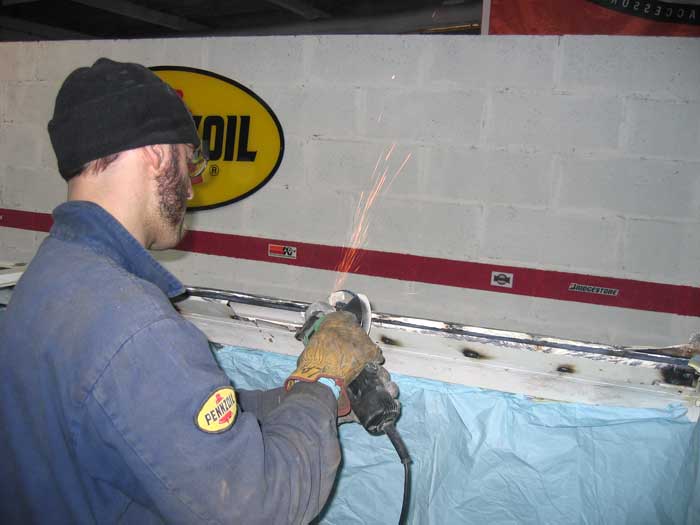
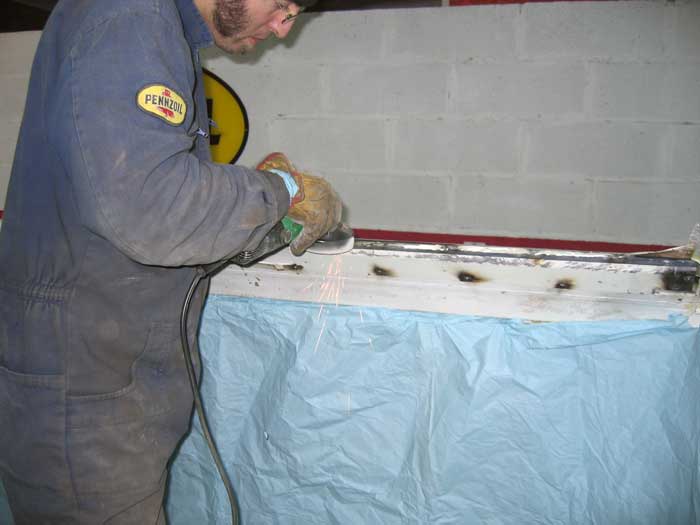
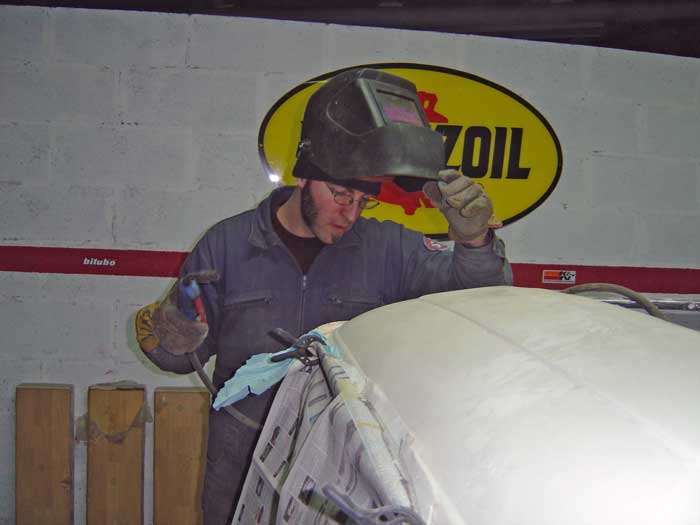
Please also congratulate Vlad on his amazing sideburns!! 8) 8)
")
Please also congratulate Vlad on his amazing sideburns!! 8) 8)
gninnam said:(...)
When did this all take place??


 )
)