You are using an out of date browser. It may not display this or other websites correctly.
You should upgrade or use an alternative browser.
You should upgrade or use an alternative browser.
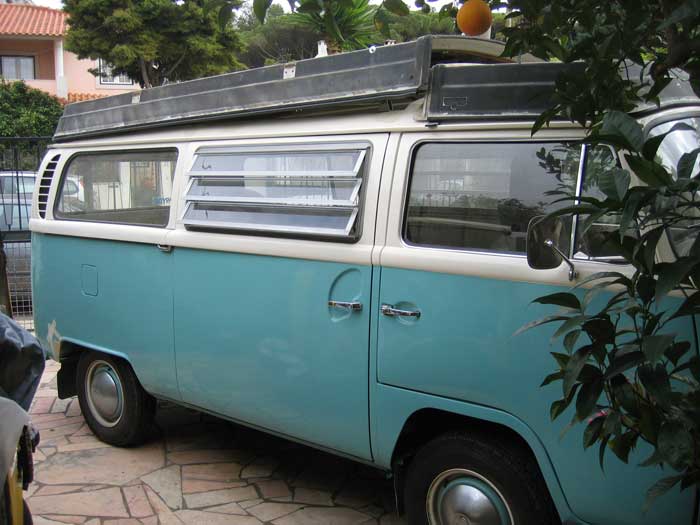
1968 Campervan conversion
- Thread starter joaonar
- Start date

Help Support Early Bay Forum:
This site may earn a commission from merchant affiliate
links, including eBay, Amazon, and others.
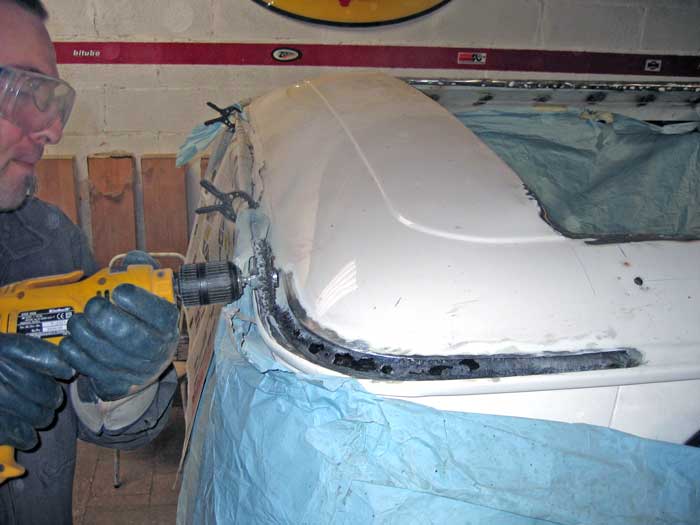
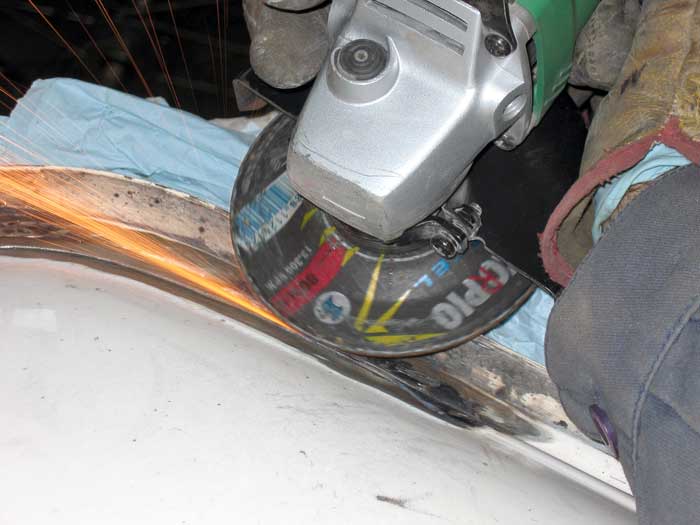
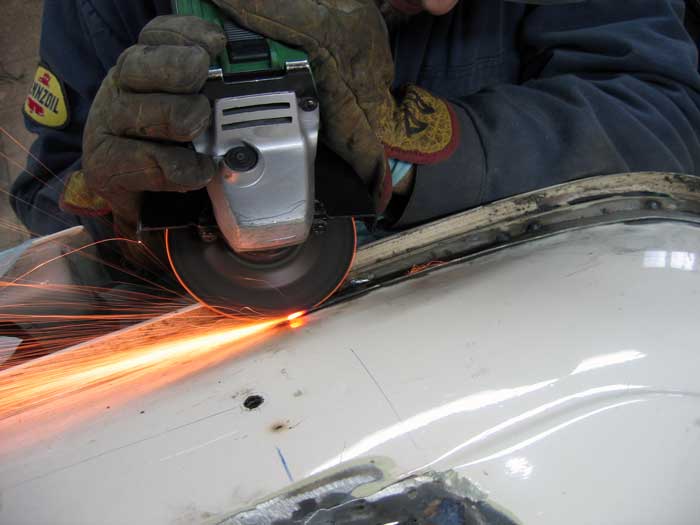
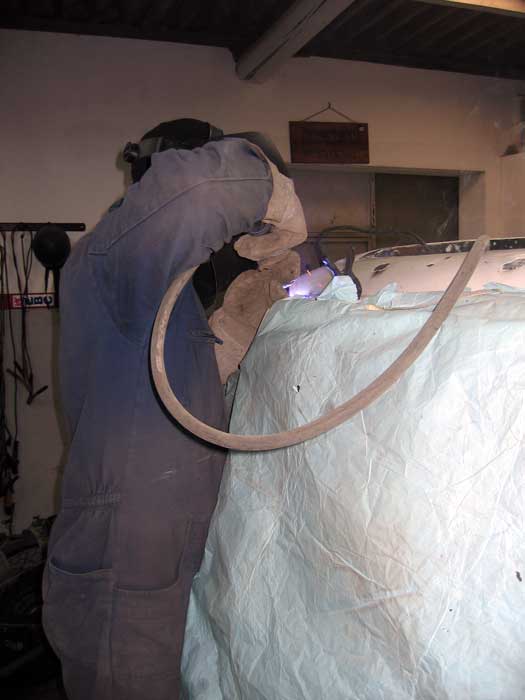
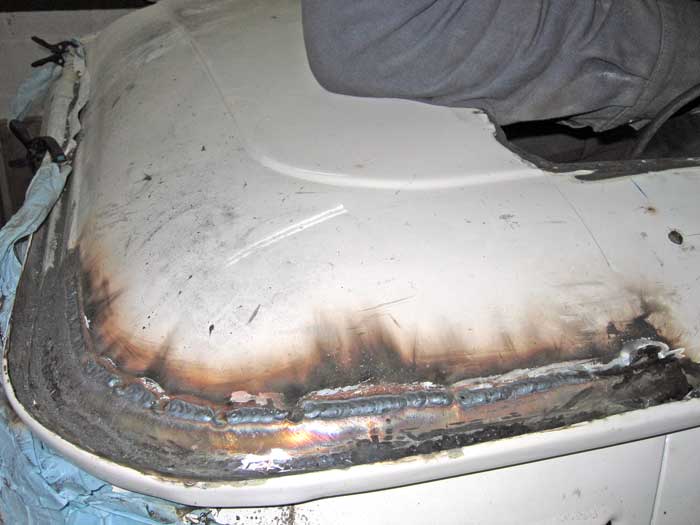
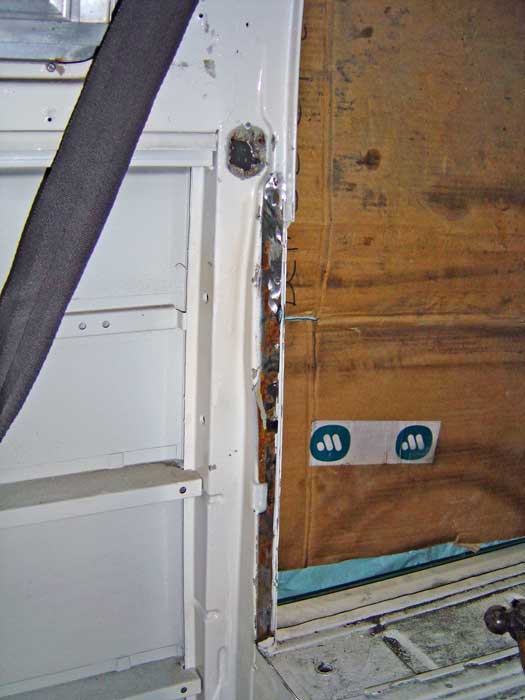
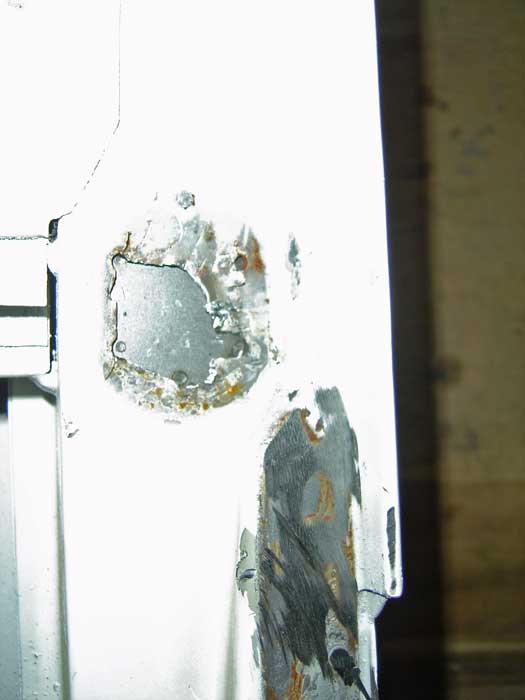
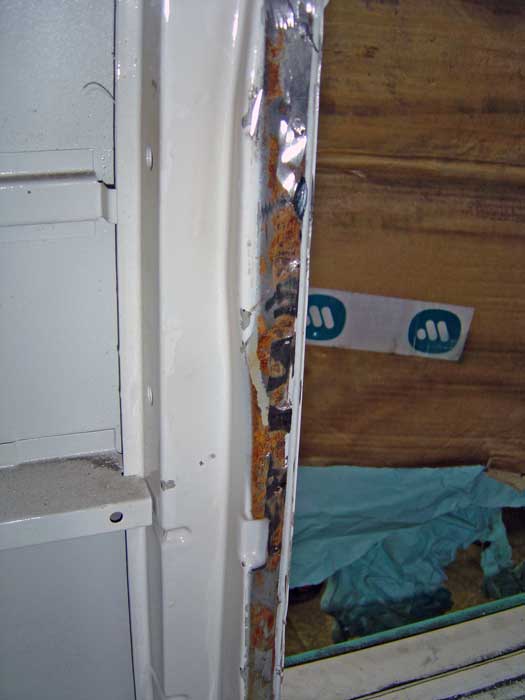
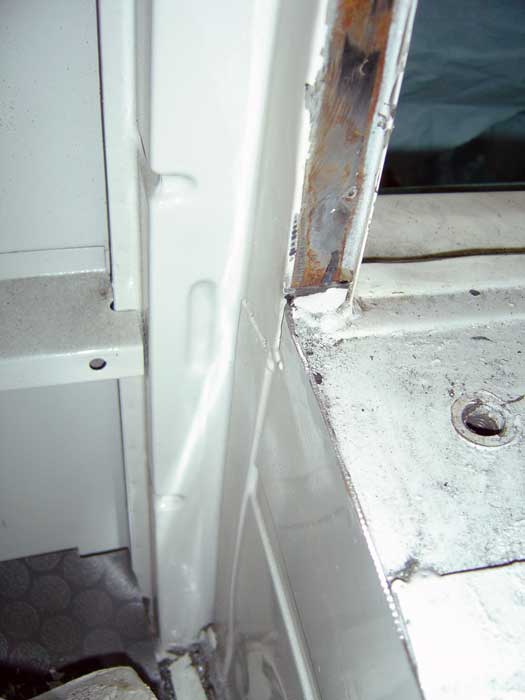
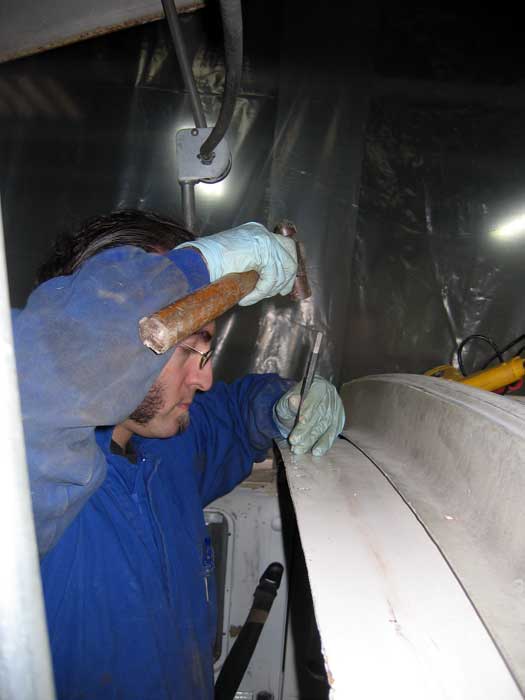
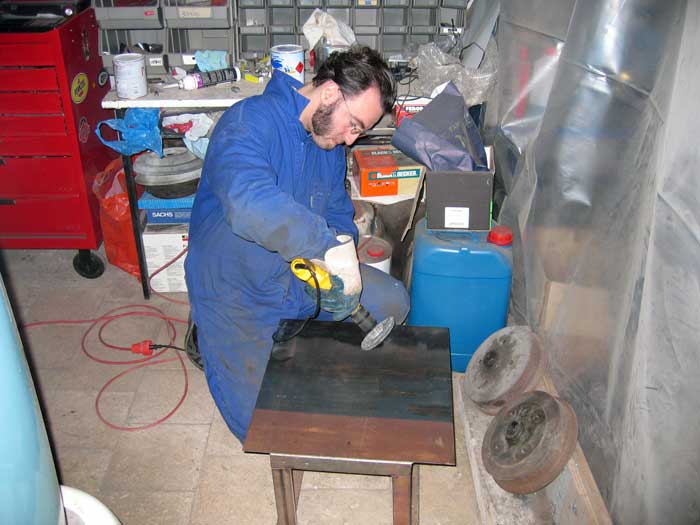
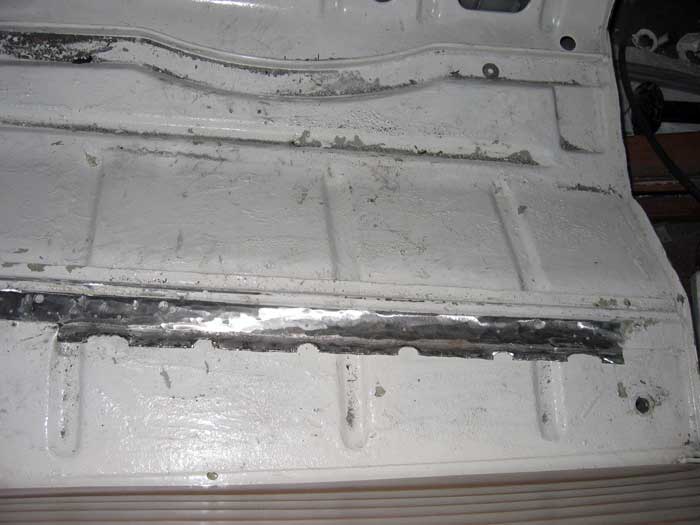
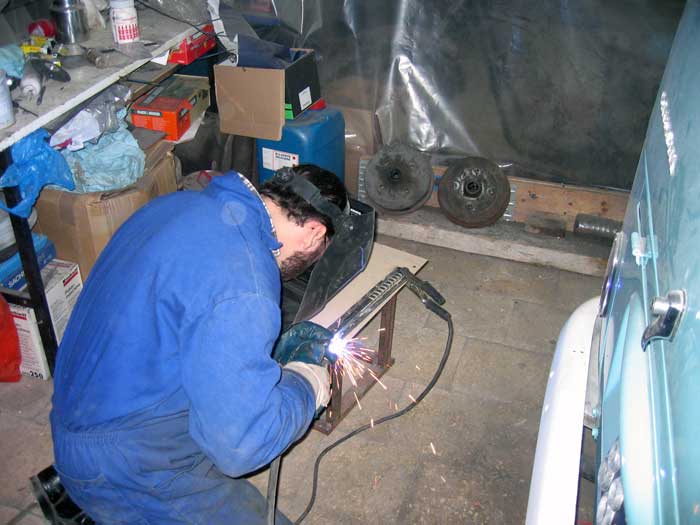
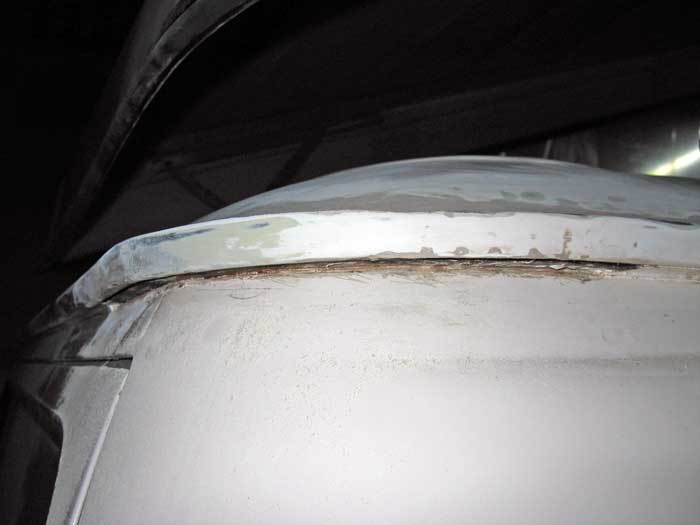
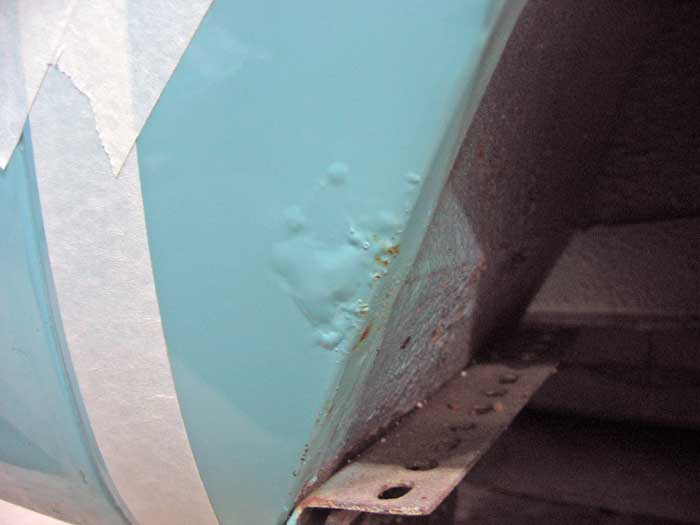
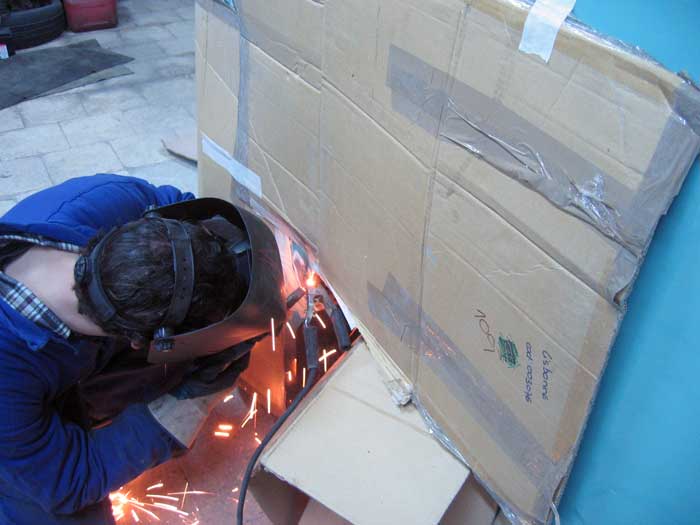
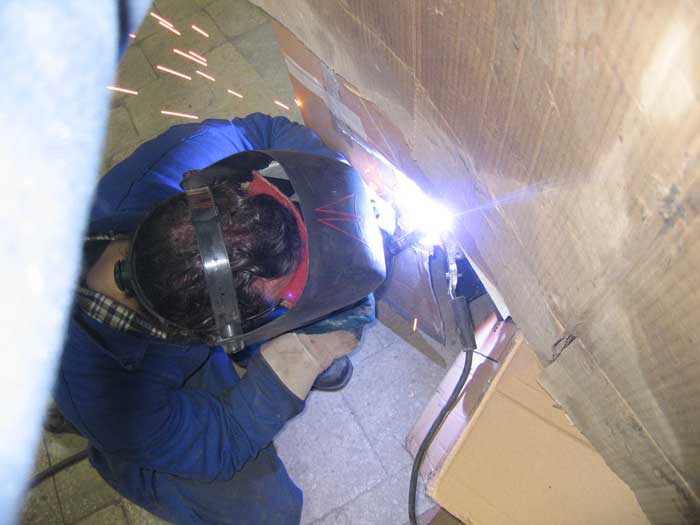
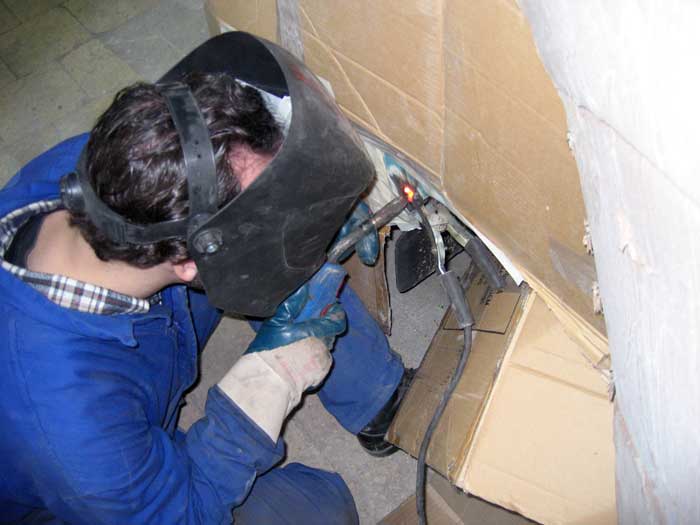
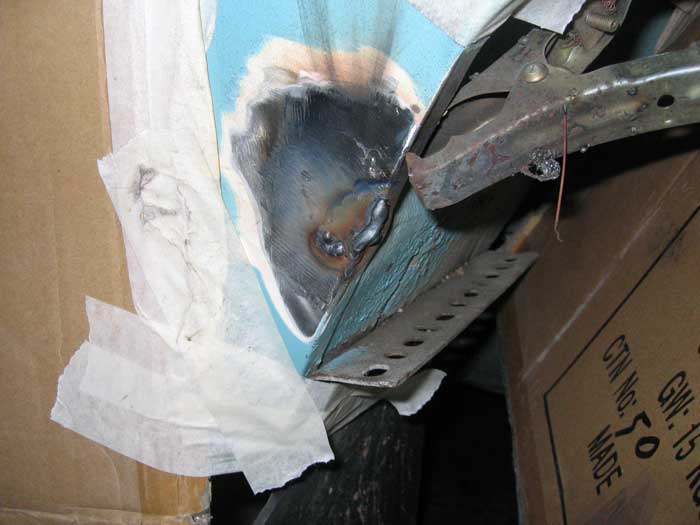
and he started welding it...
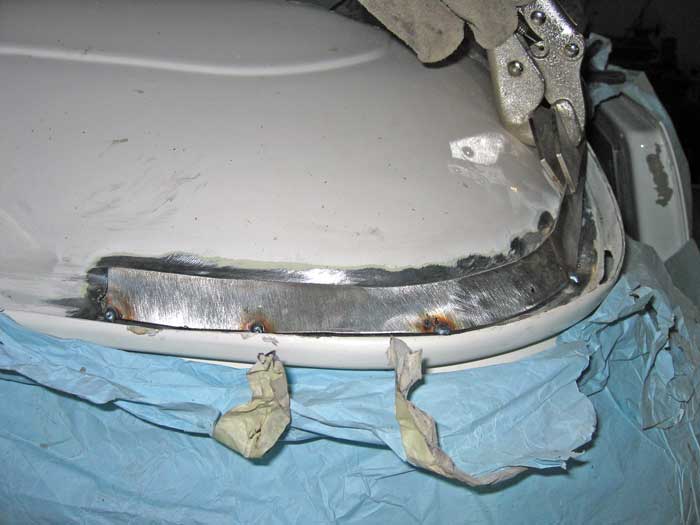
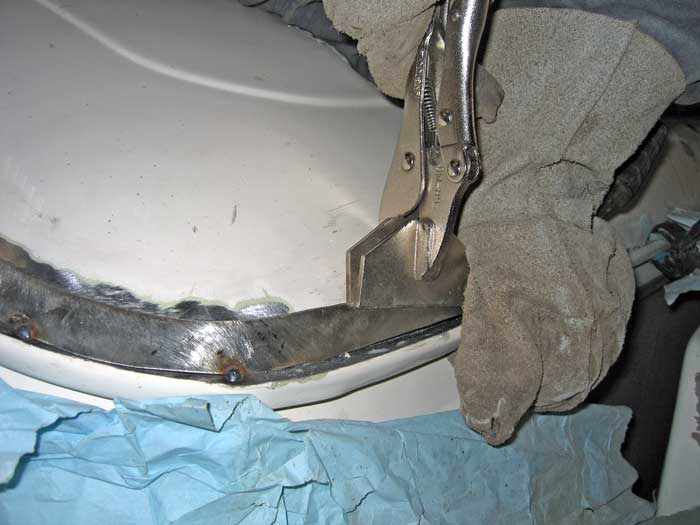
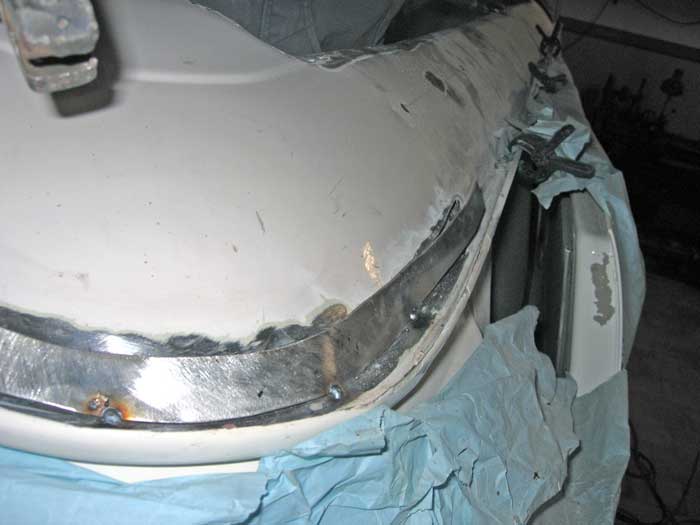


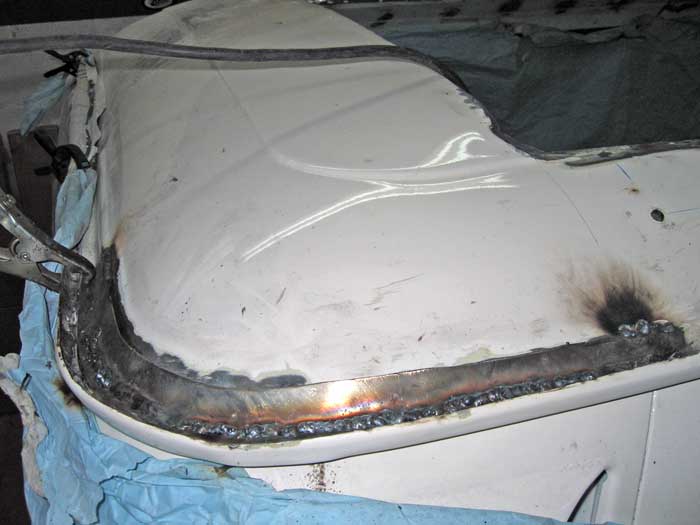

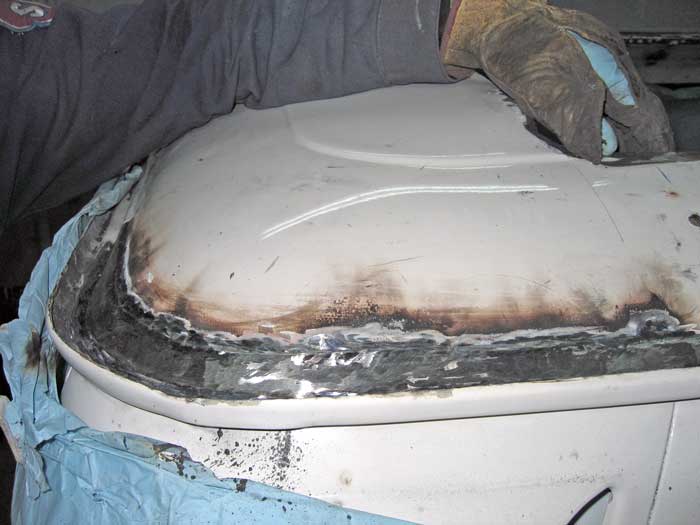
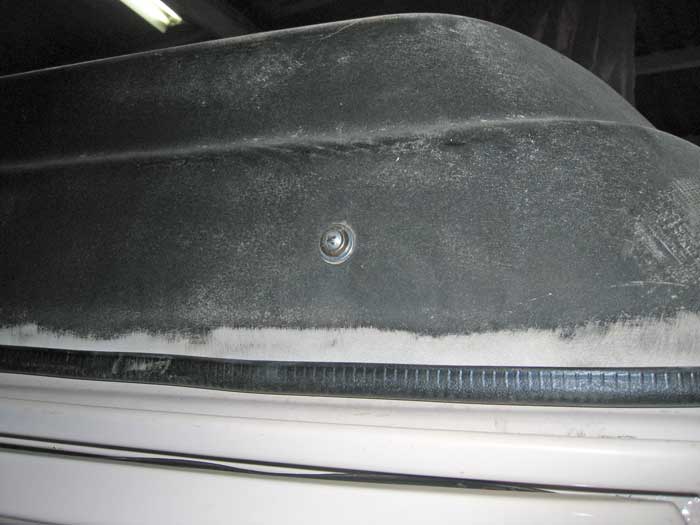
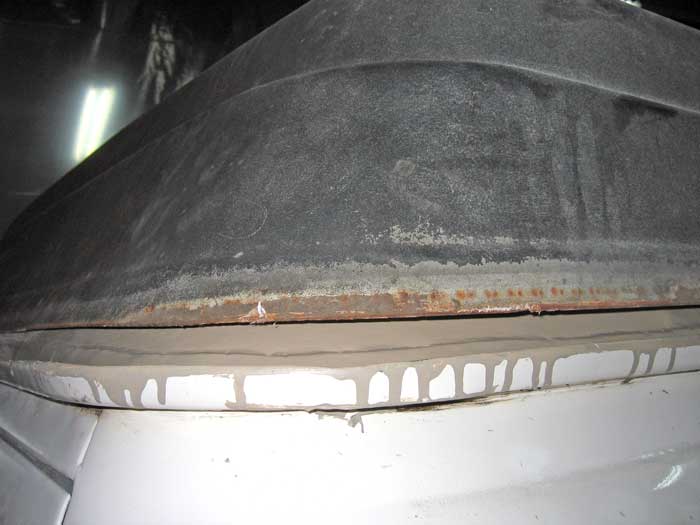
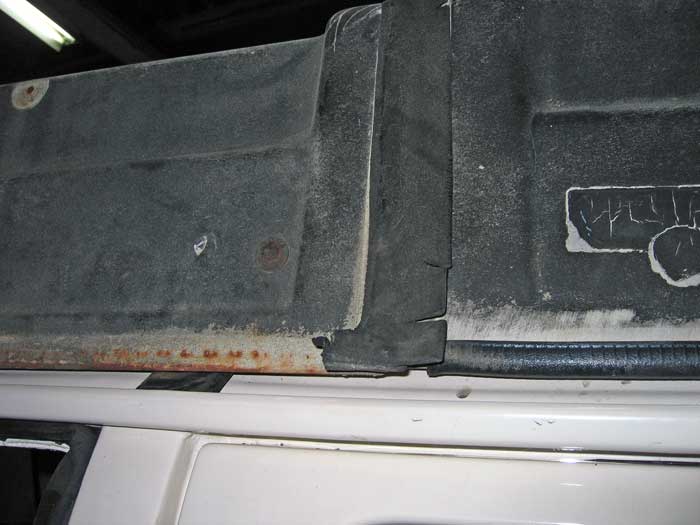
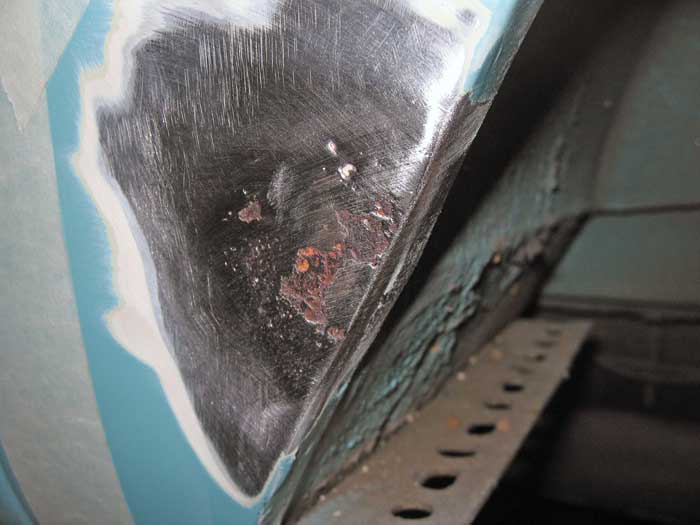
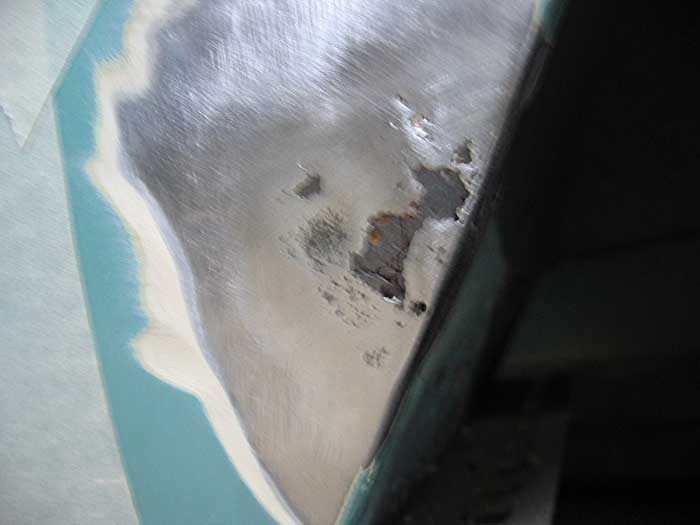
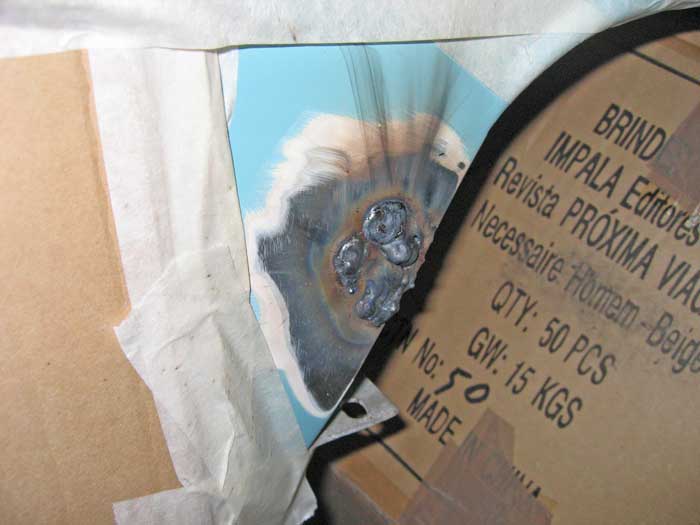
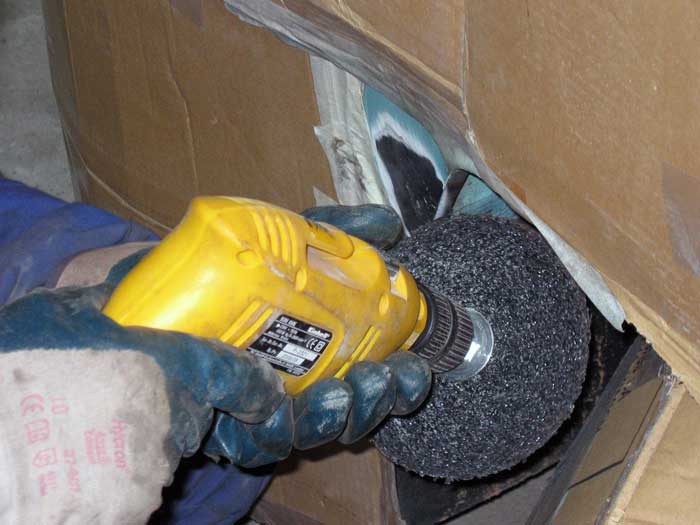
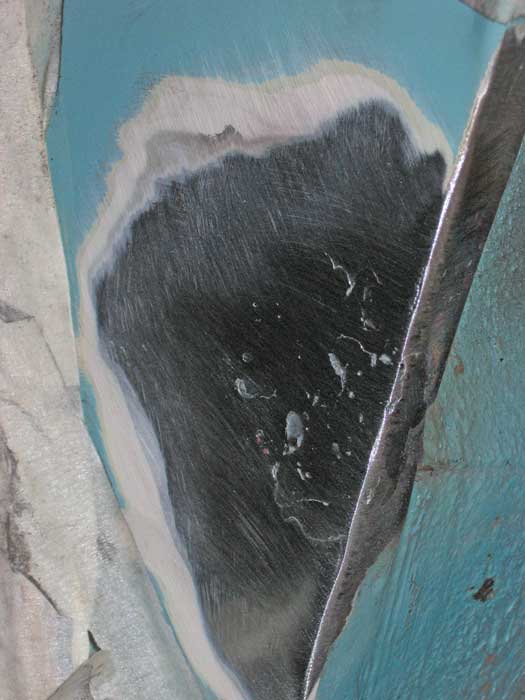
and after cleaning the area with a industrial degreaser, Vlad protected the area with a primer.
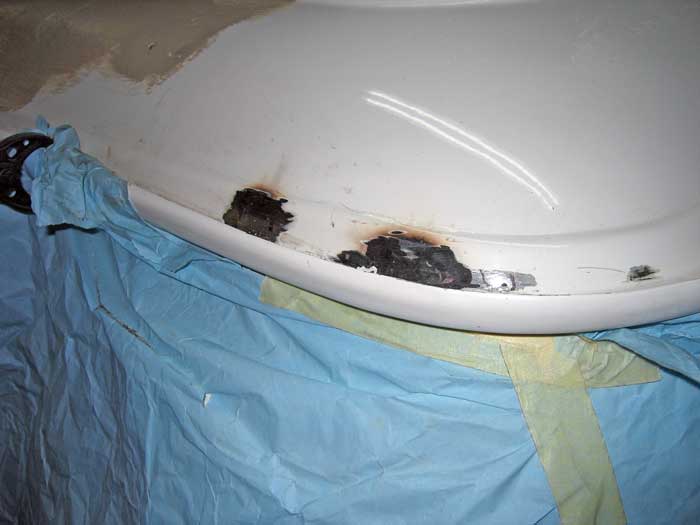
I decided to fix this area this way. I was tired of paint jobs and body work. There was a lot more to be done and all I wanted was to finish this process... besides, I was hoping that the wax and the anti-rust product I used were sufficient to hold this area for some years.
and after cleaning the area with a industrial degreaser, Vlad protected the area with a primer.
I decided to fix this area this way. I was tired of paint jobs and body work. There was a lot more to be done and all I wanted was to finish this process... besides, I was hoping that the wax and the anti-rust product I used were sufficient to hold this area for some years.
G
Guest
Guest
ive said it before its great to see someone actually at work on a bus, loving the pictures 8)
melod
Well-known member
hi jnar. just want to congratulate you for the enormous effort that you are having to restore the van, again... when i want to do something on my van, i always check your posts in the portuguese forum, garagemvw, to see what you've done... best regards and your van will be perfect at the end....
grande abraço
grande abraço
Thanks Jonhny.
There's a lot more pictures to come ... at least 3 more years of them :mrgreen:
Next day:
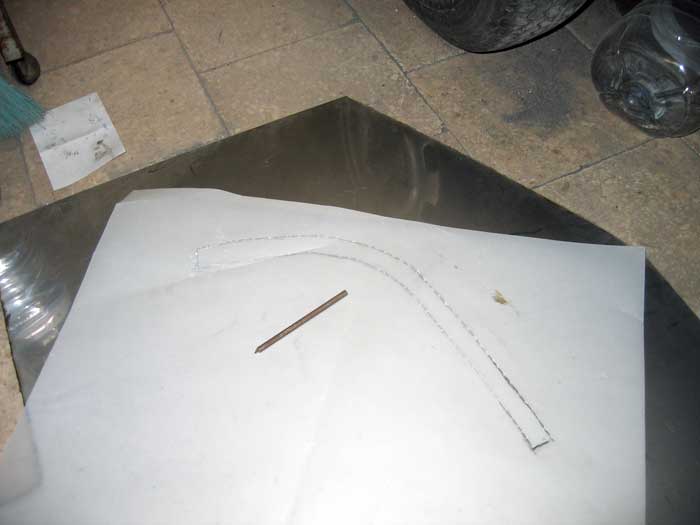
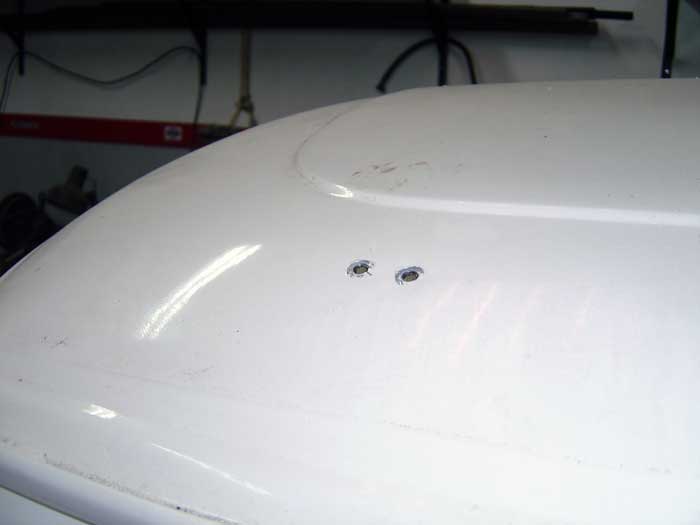
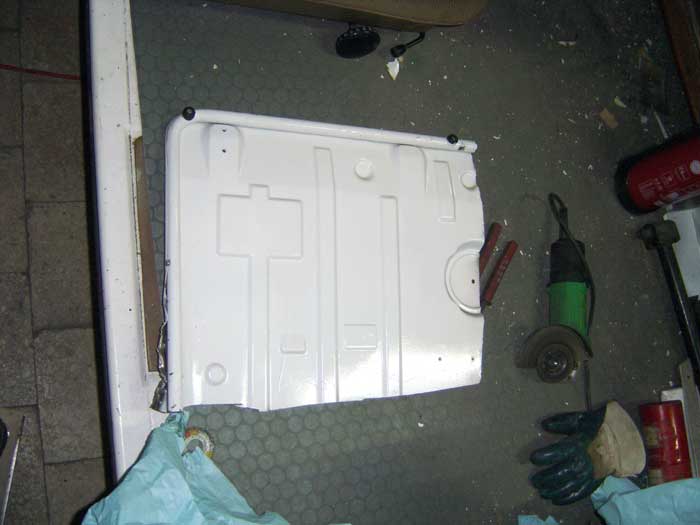
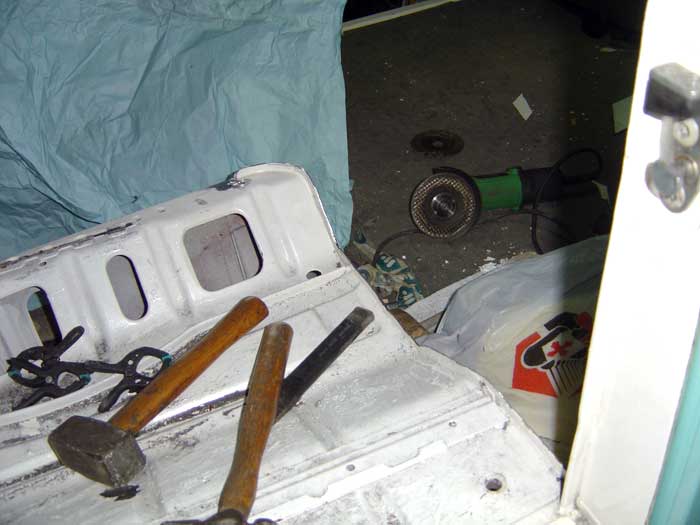
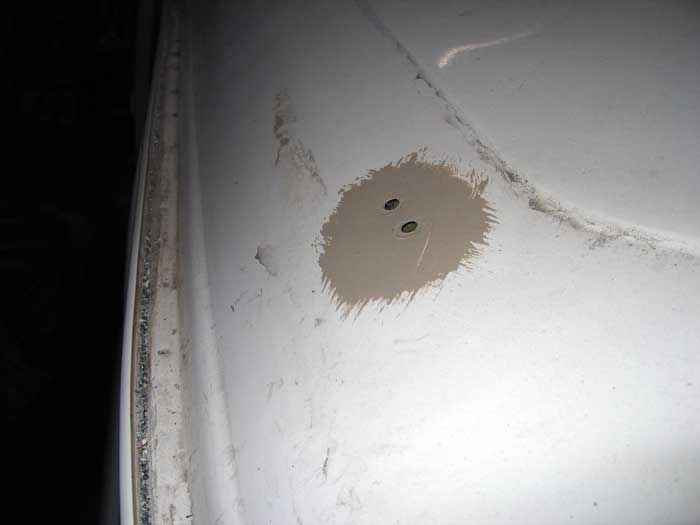
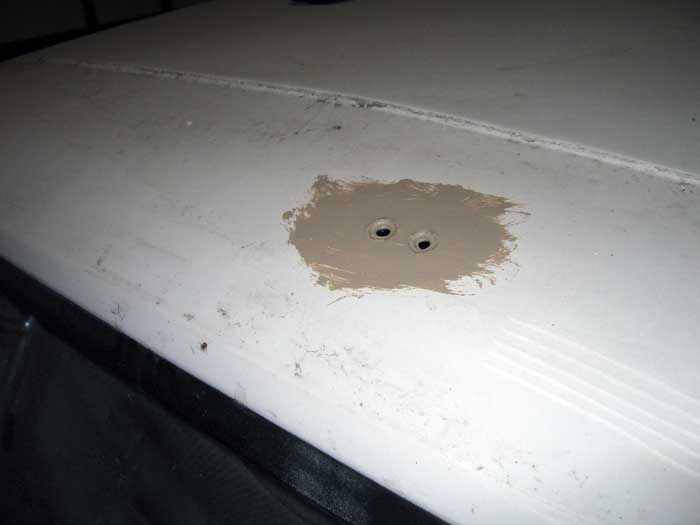
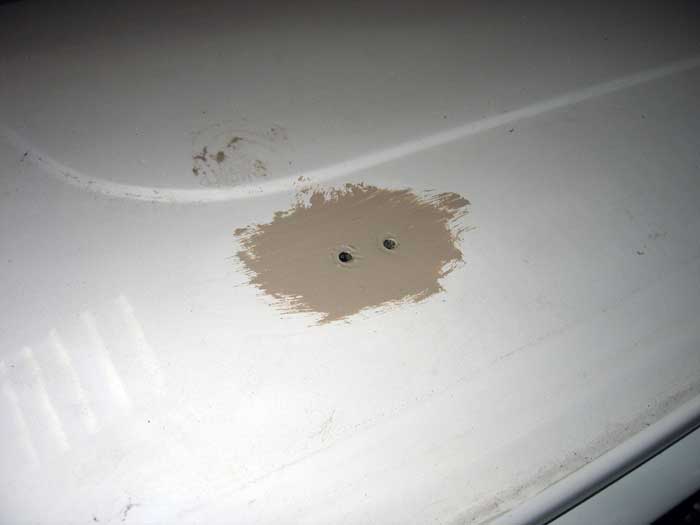
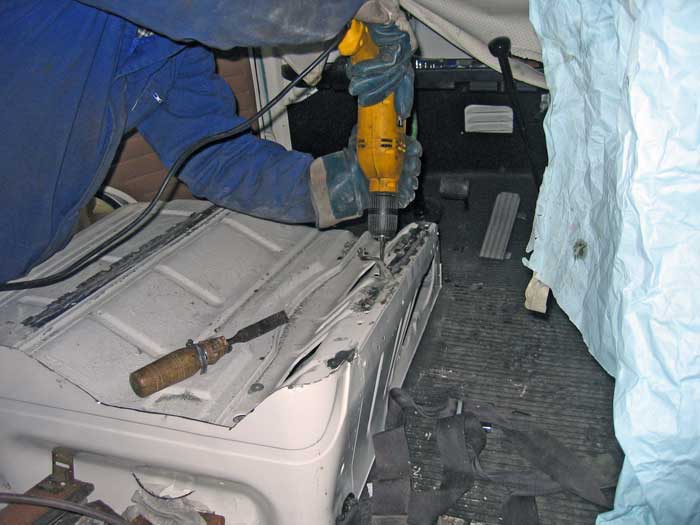
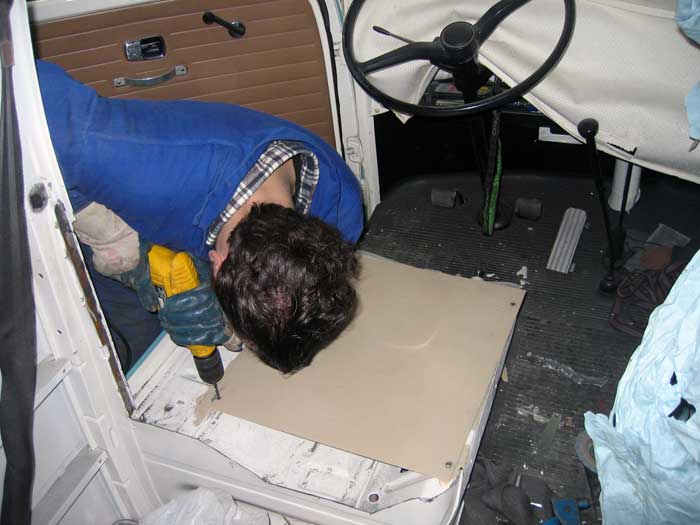
I took the measurements for the lugage part from the westy and drilled the holes in my bus.
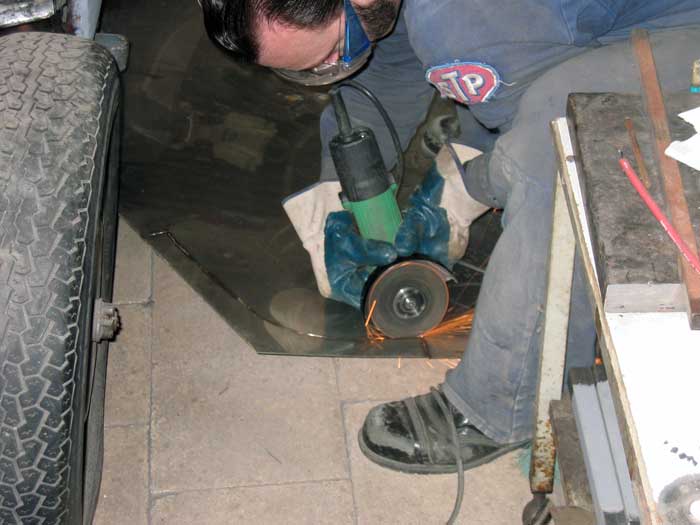
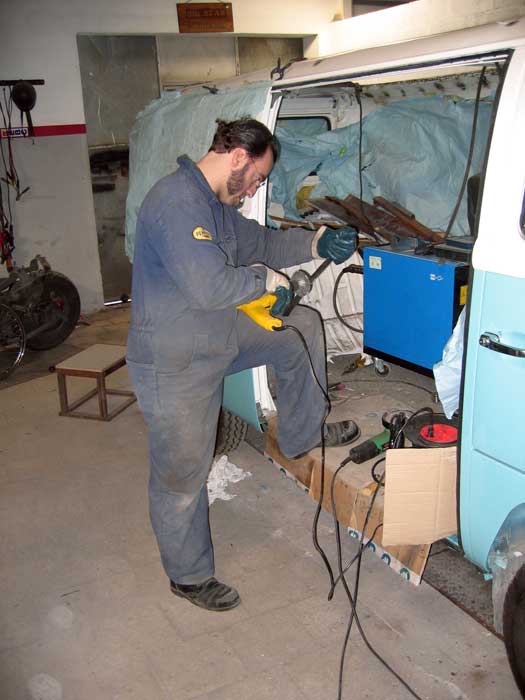
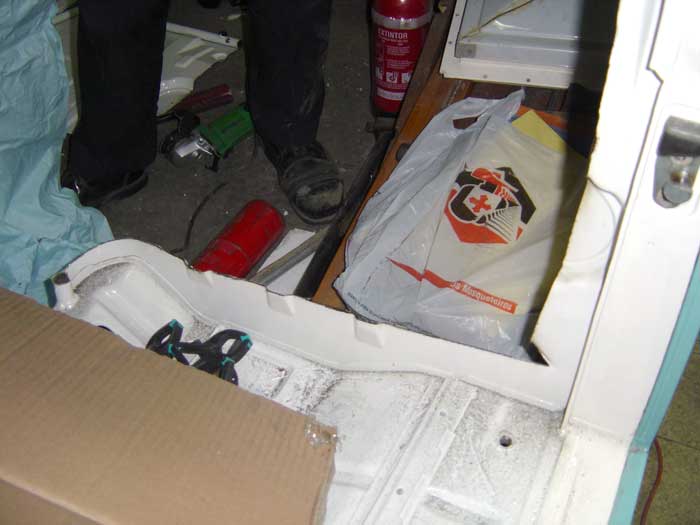
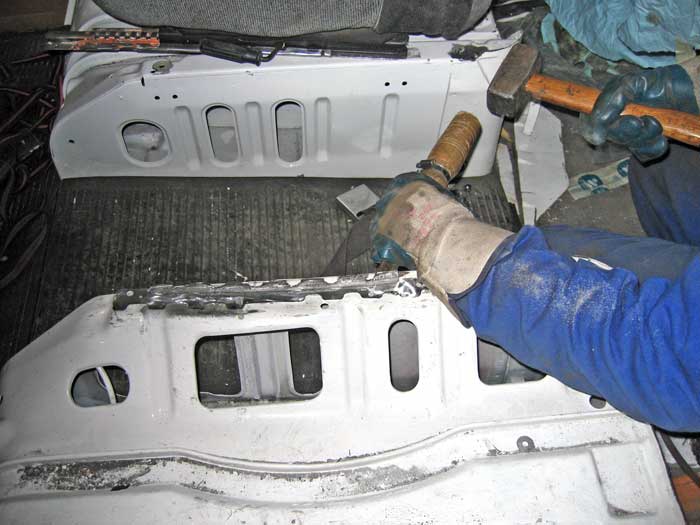
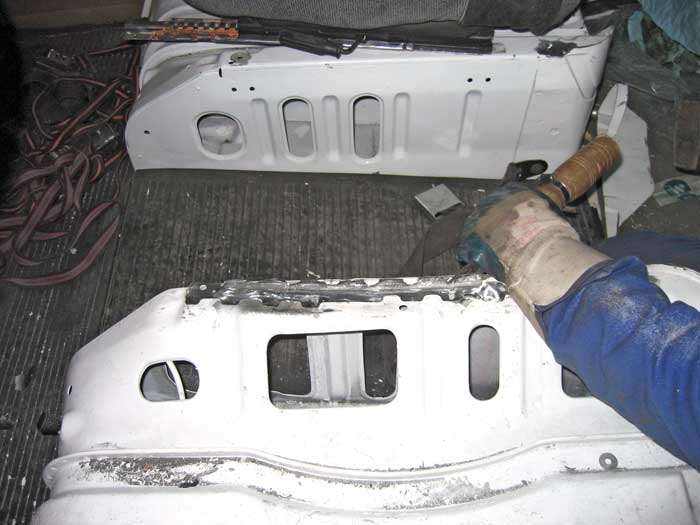
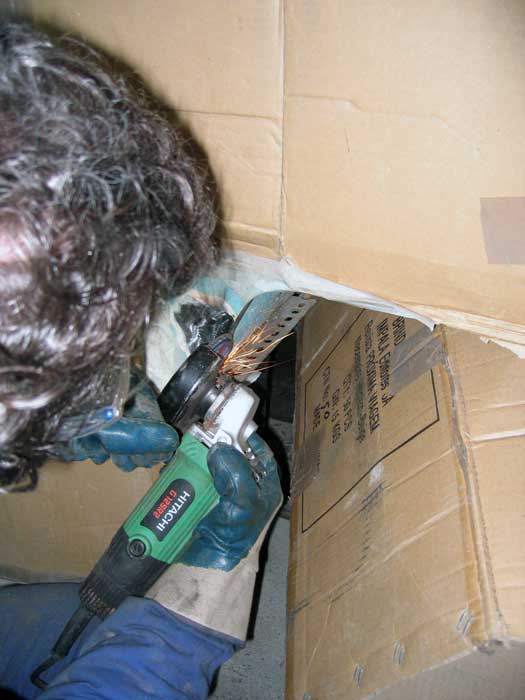
while Vlad was cuting the rear from the seats area
There's a lot more pictures to come ... at least 3 more years of them :mrgreen:
Next day:
I took the measurements for the lugage part from the westy and drilled the holes in my bus.
while Vlad was cuting the rear from the seats area
melod said:hi jnar. just want to congratulate you for the enormous effort that you are having to restore the van, again... when i want to do something on my van, i always check your posts in the portuguese forum, garagemvw, to see what you've done... best regards and your van will be perfect at the end....
grande abraço
Hi melod!
Sounds a bit strange being here and writing in english for you :mrgreen:
I hope you see all these amazing threads in this great forum ... There's so much to learn here 8)


$7.94
$15.05
Door Panel Clips, for VW Aircooled Door Panels, 50 Pieces, Compatible with Dune Buggy
Appletree Automotive


$9.47
Empi 4429 Ivory Sun Visor Clips for Vw Bug 1965-1967/ Vw Bus 1968-1979, Pair
MOORE PARTS SOURCE


$10.00
Volkswagen Genuine VW Driver Gear VW Logo Specifications T-Shirt Tee - X-Large - Black
wolframitersqga


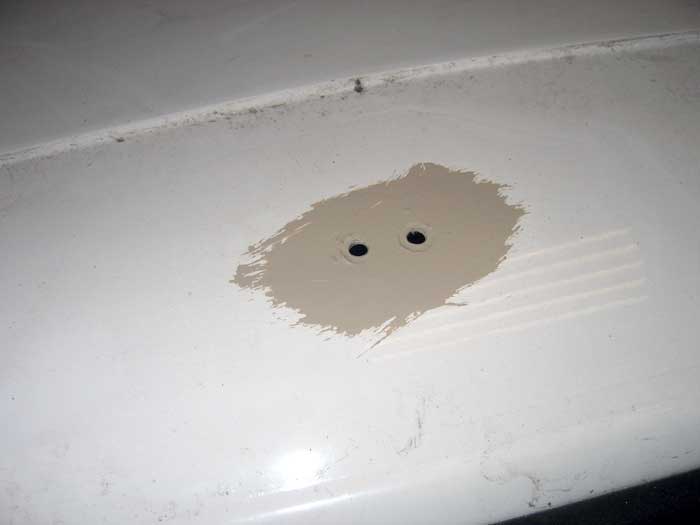
Next day:
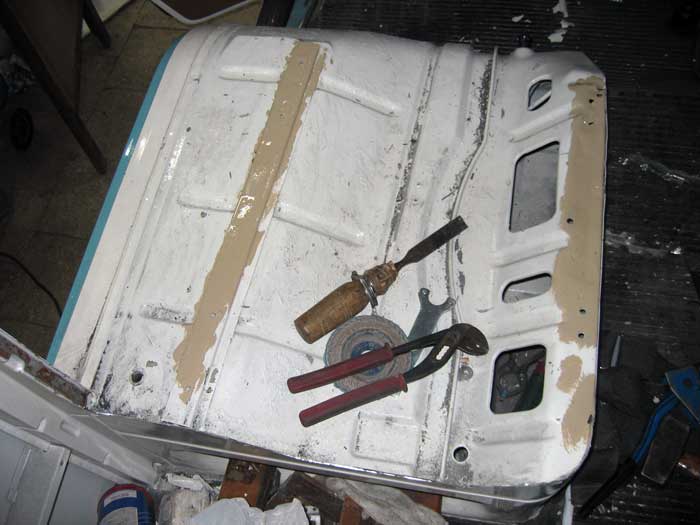
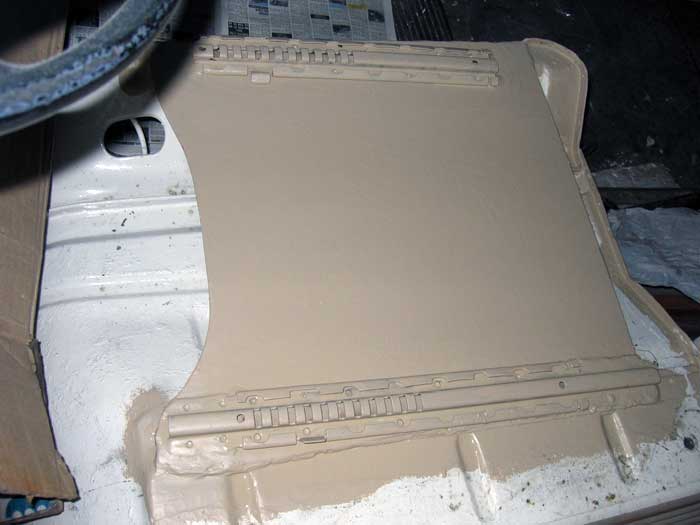
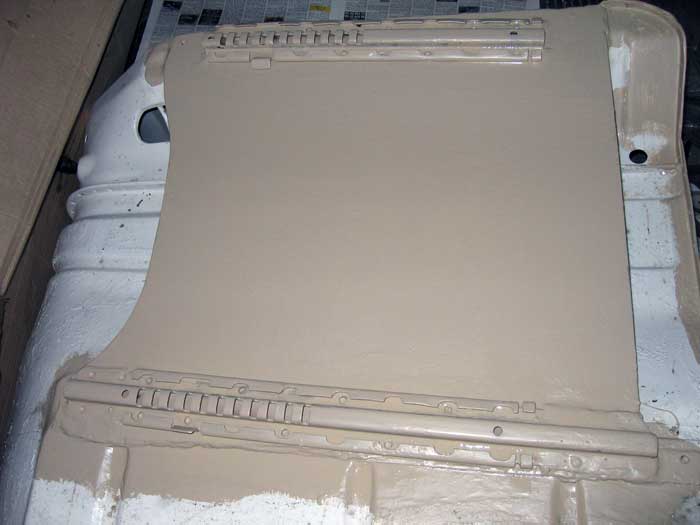
The holes I made, protected with primer:
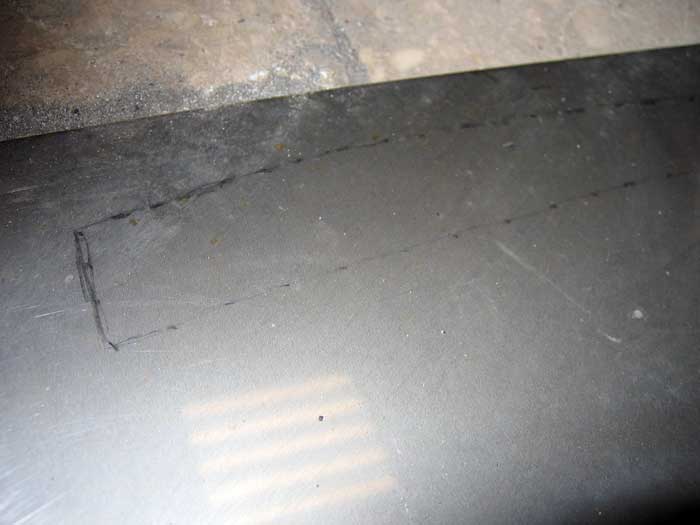
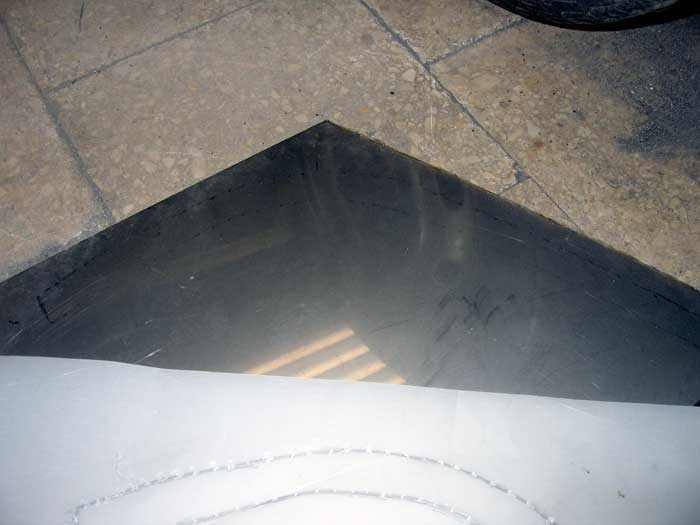
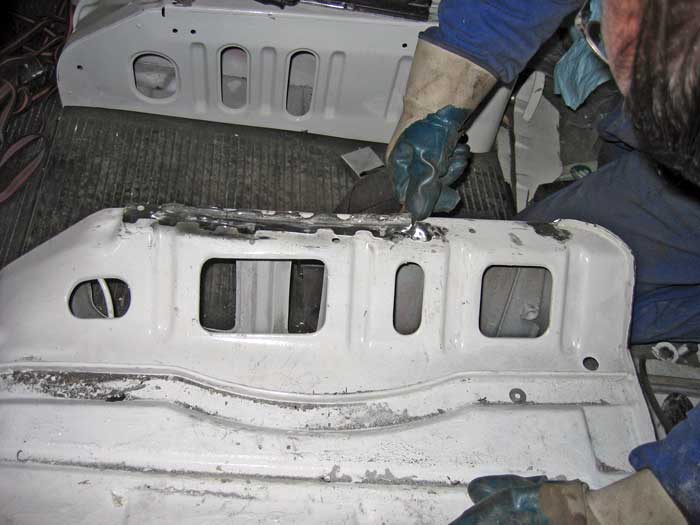
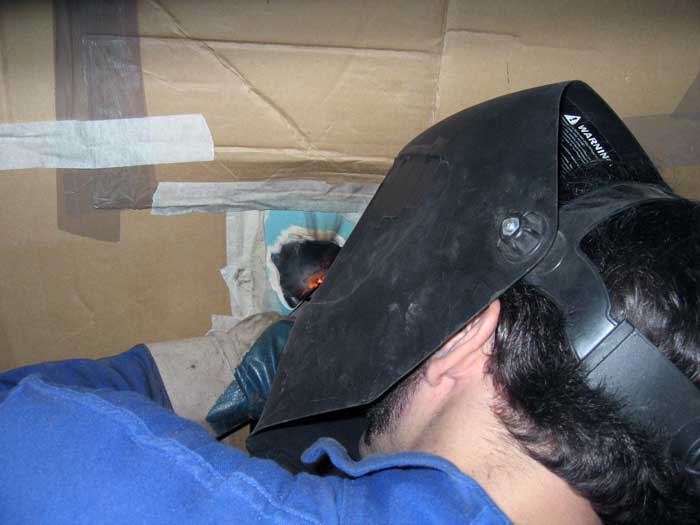
and he cuted the rear metal part from the passengers seat
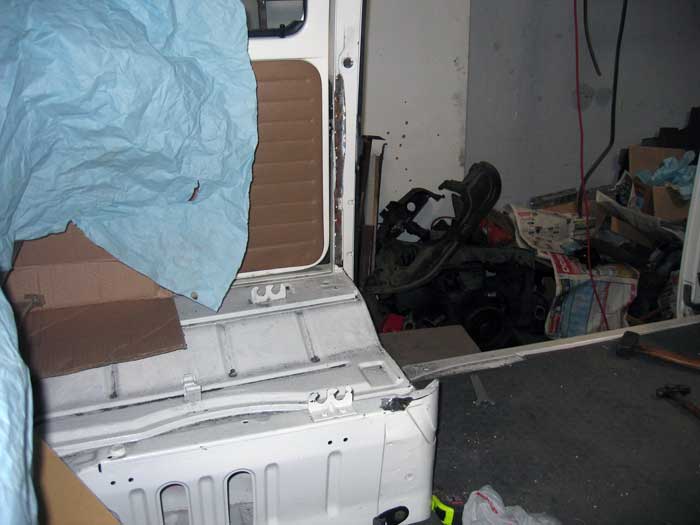
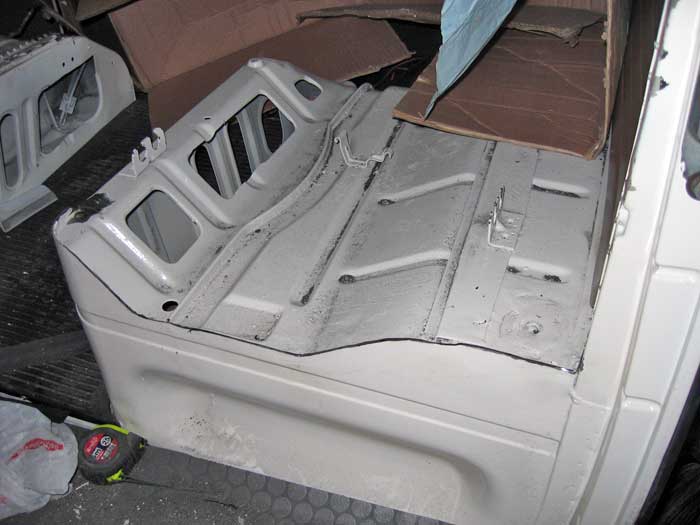
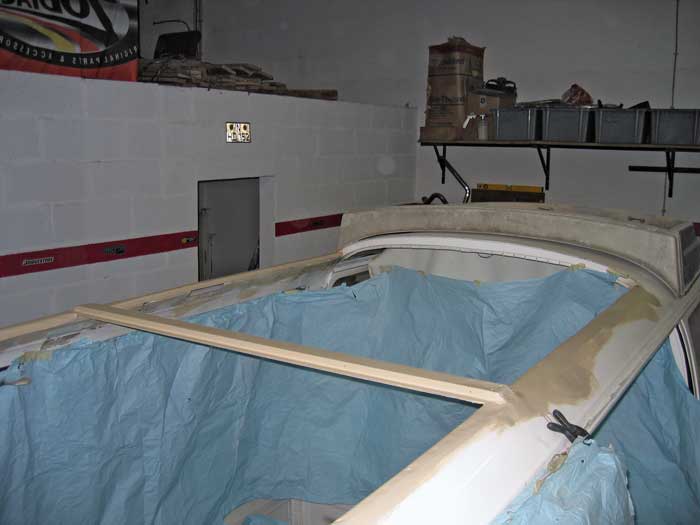
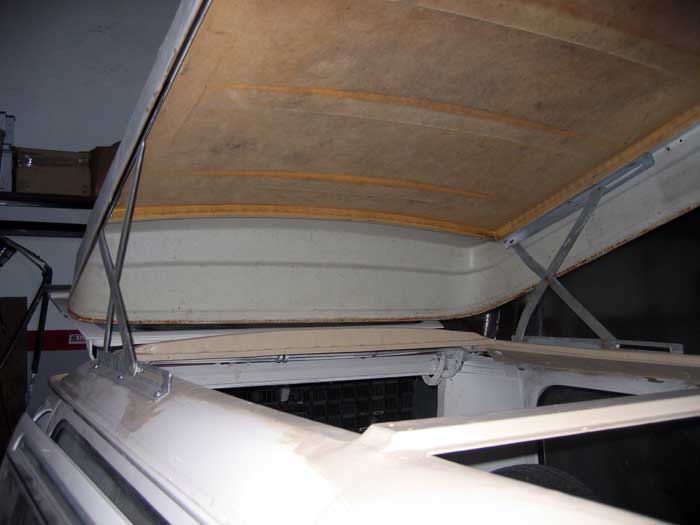
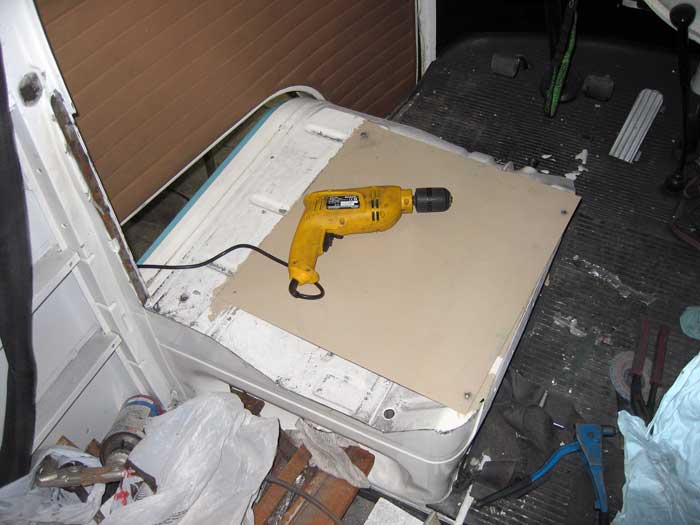
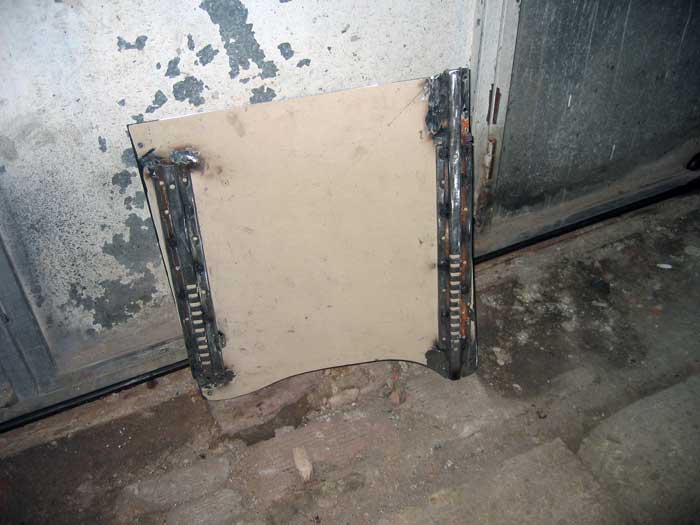
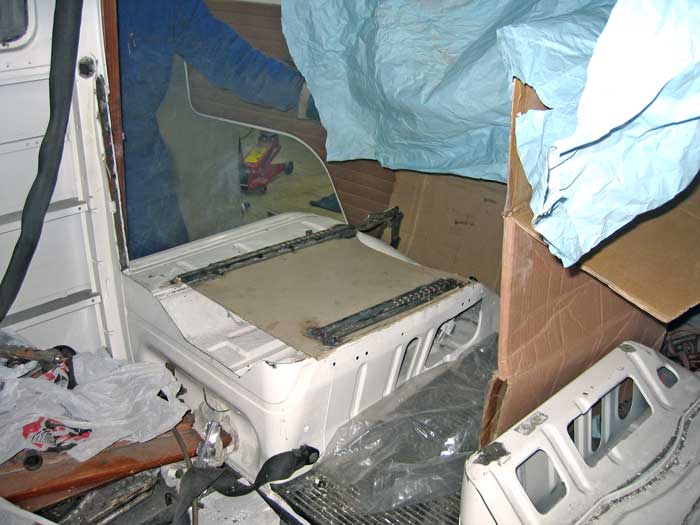
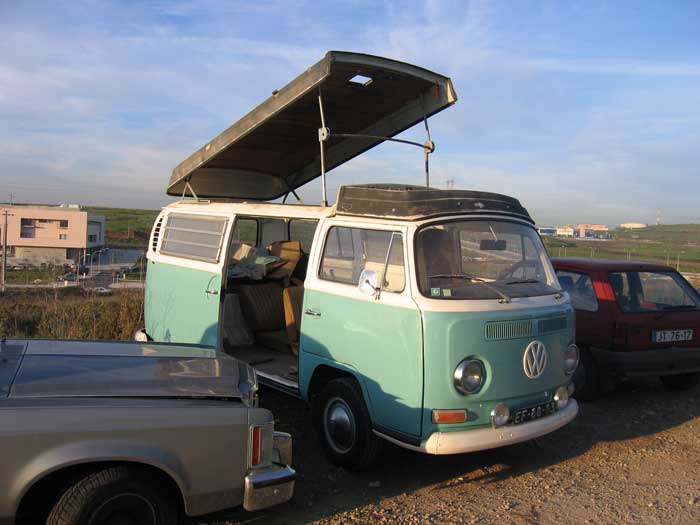
The luggage support pieces already in place:
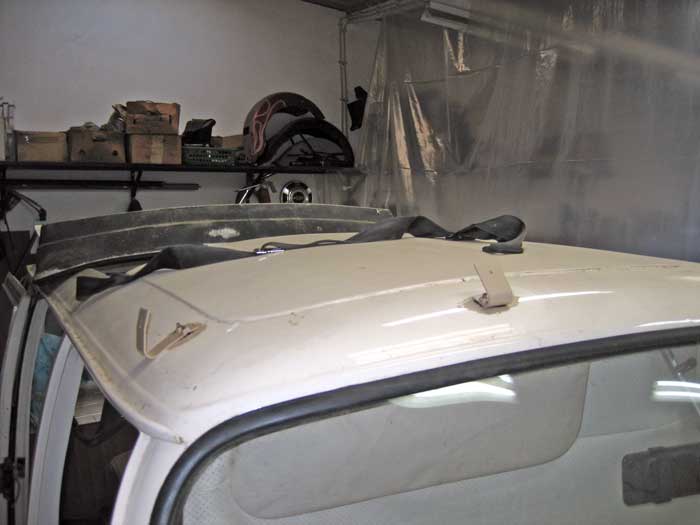
and the luggage piece and poptop in the correct place:
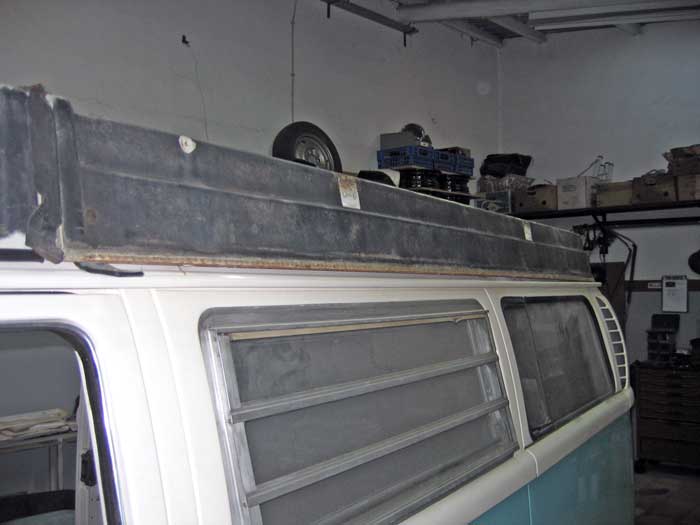
some adjustments had to be made at the time...
The holes I made, protected with primer:
and he cuted the rear metal part from the passengers seat
The luggage support pieces already in place:
and the luggage piece and poptop in the correct place:
some adjustments had to be made at the time...
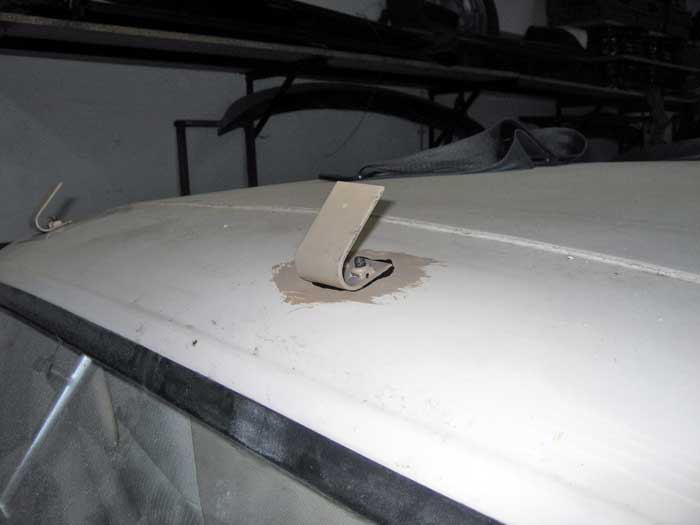
next day:
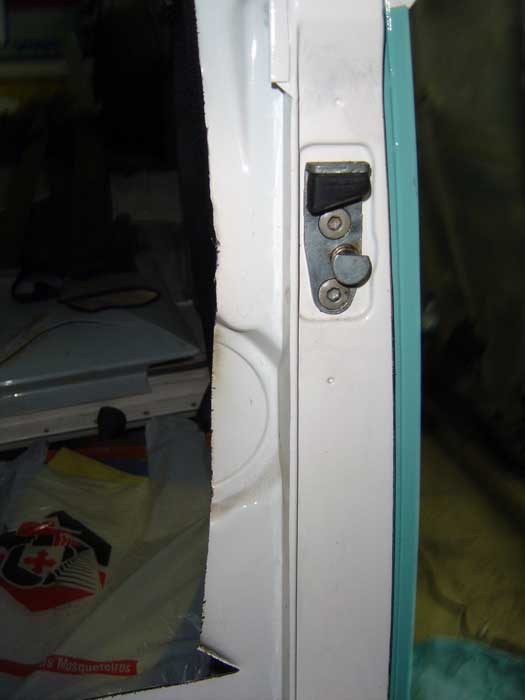
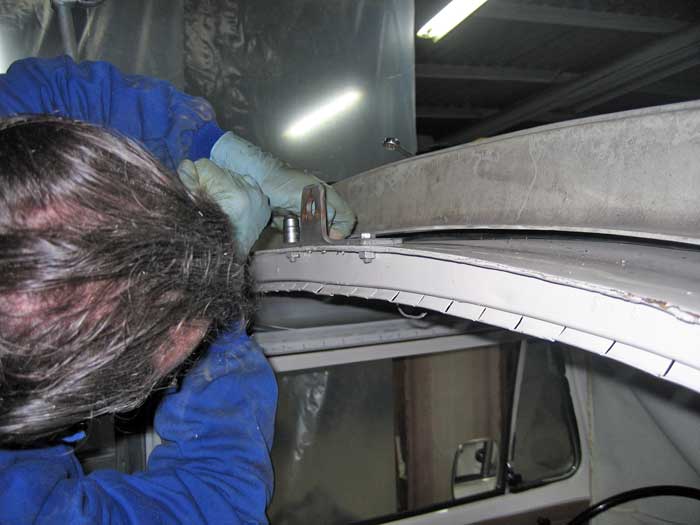
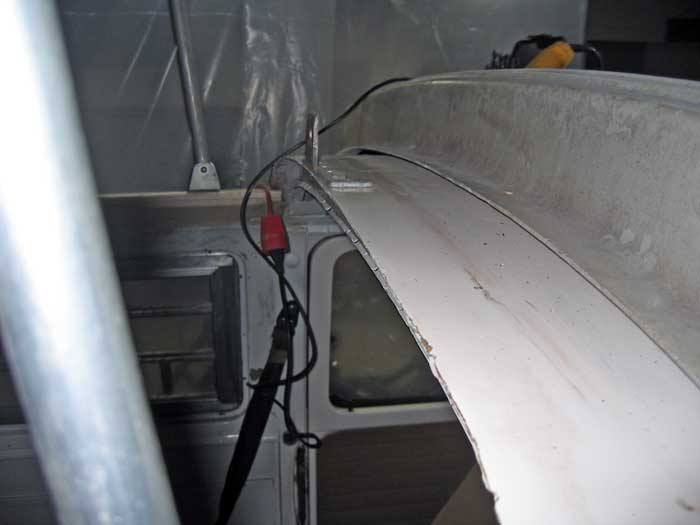
another piece that had to be mounted in place: the central lock:
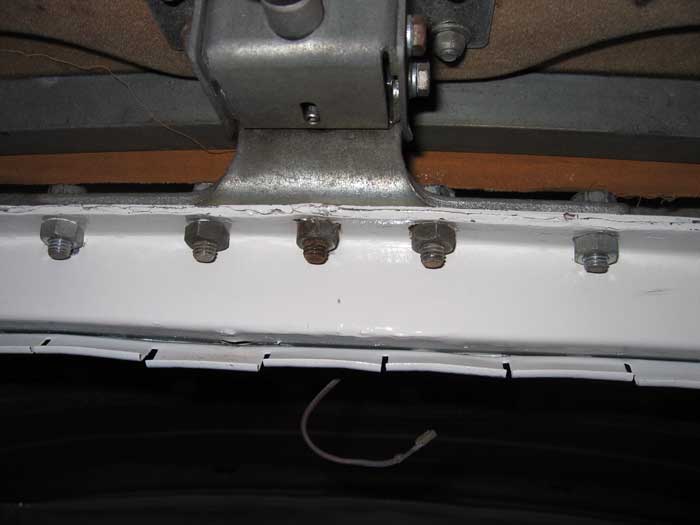
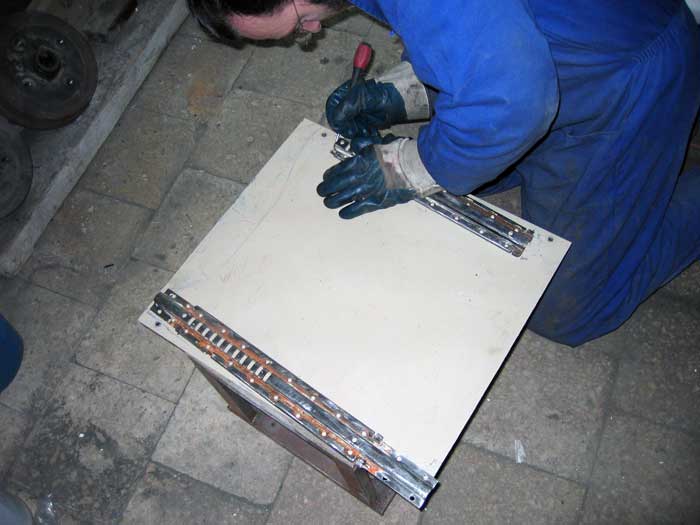
and a picture of the rear hinges in place and working fine...
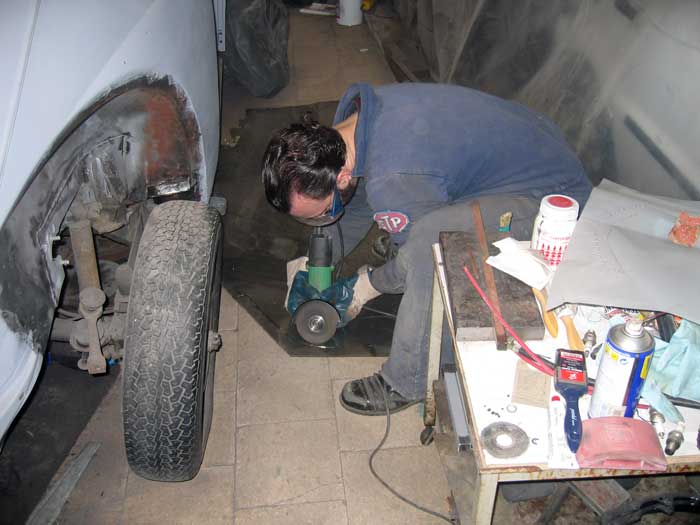
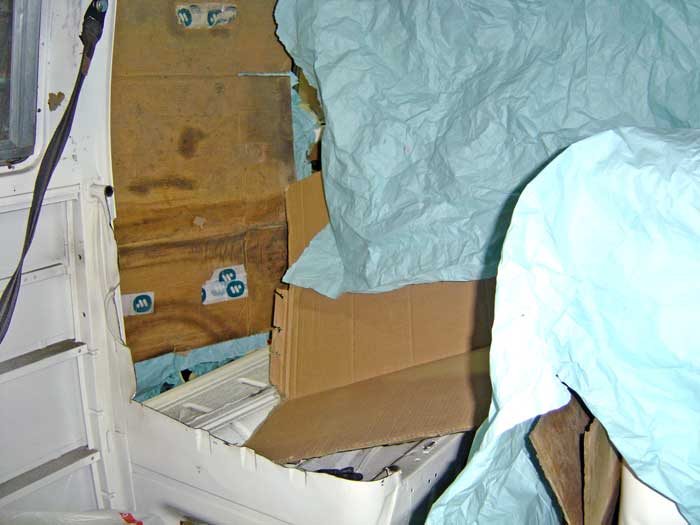
and vladimir working around the central lock....
5 bolts? :roll:
another piece that had to be mounted in place: the central lock:
and a picture of the rear hinges in place and working fine...
and vladimir working around the central lock....
5 bolts? :roll:
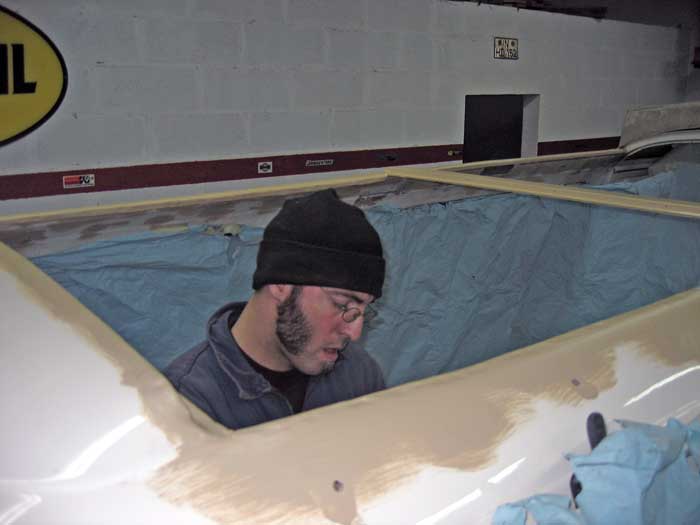
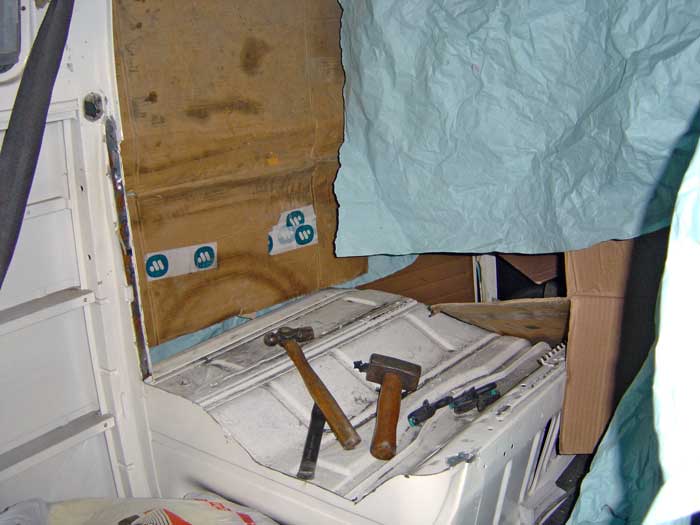
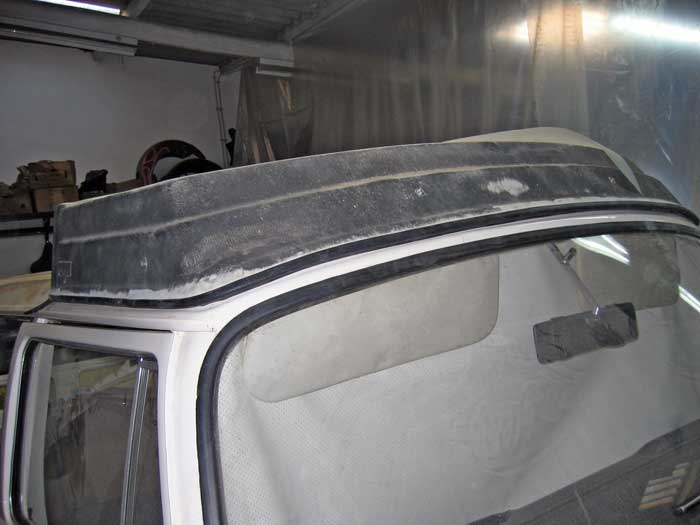
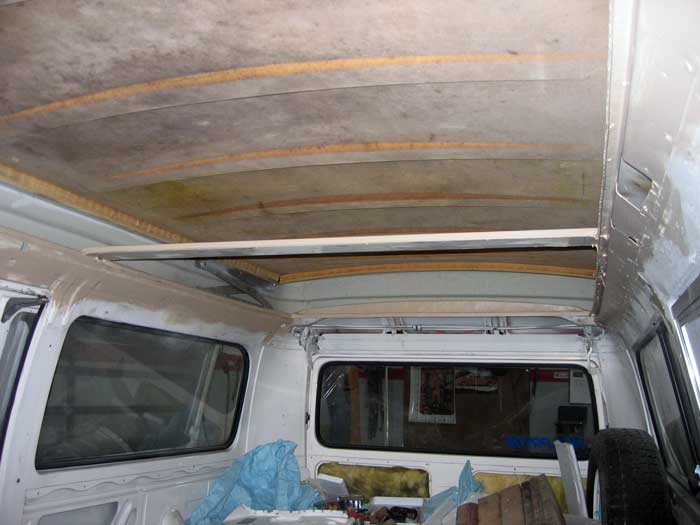
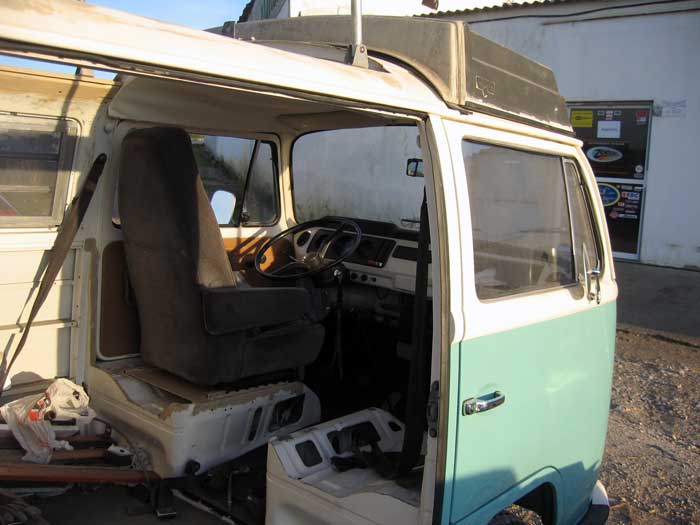
on the following days I sanded all the roof area....

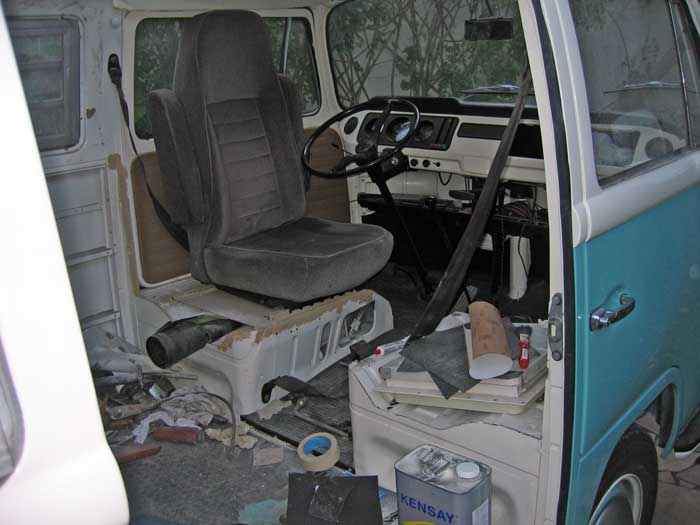
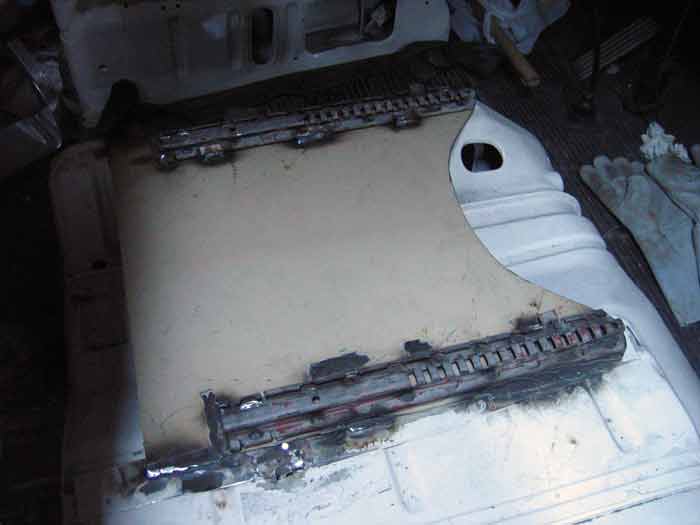
... and we started to mount the new seats:
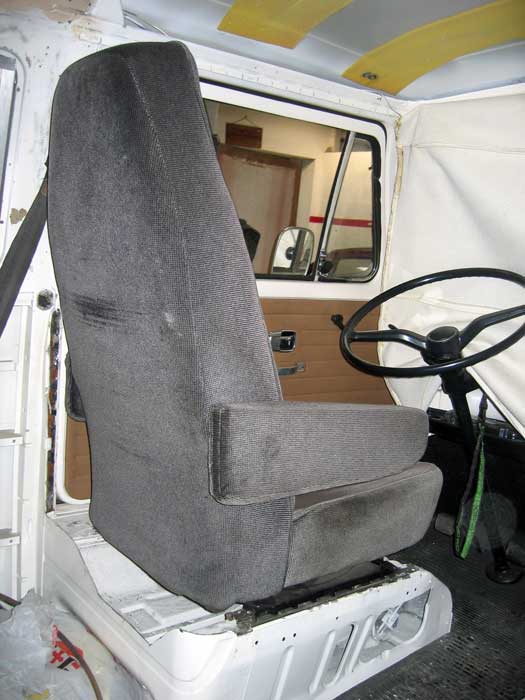
the seat rails were a litle more narrowed than the original ones....
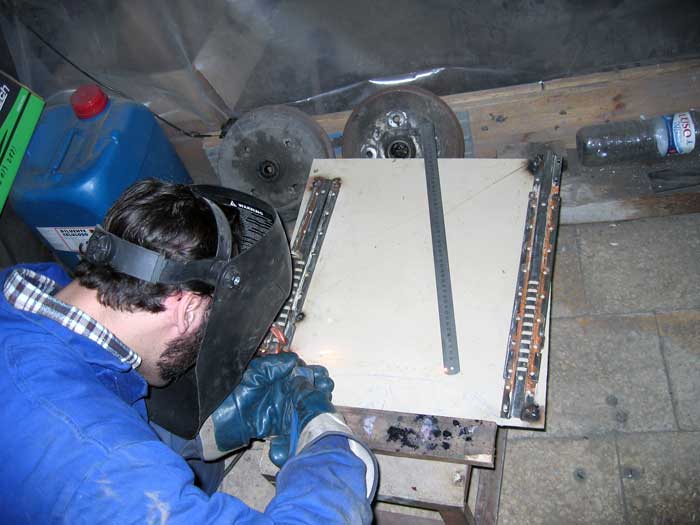
... so we had to use a sheet metal plate as a solid base for them. I then decided to make them slightly diagonal instead of paralel ( :roll: ). But first, we had to cut the original seat rails:
... taking out the original rails...
without them....
... primer ...
... and we started to mount the new seats:
the seat rails were a litle more narrowed than the original ones....
... so we had to use a sheet metal plate as a solid base for them. I then decided to make them slightly diagonal instead of paralel ( :roll: ). But first, we had to cut the original seat rails:
... taking out the original rails...
without them....
... primer ...
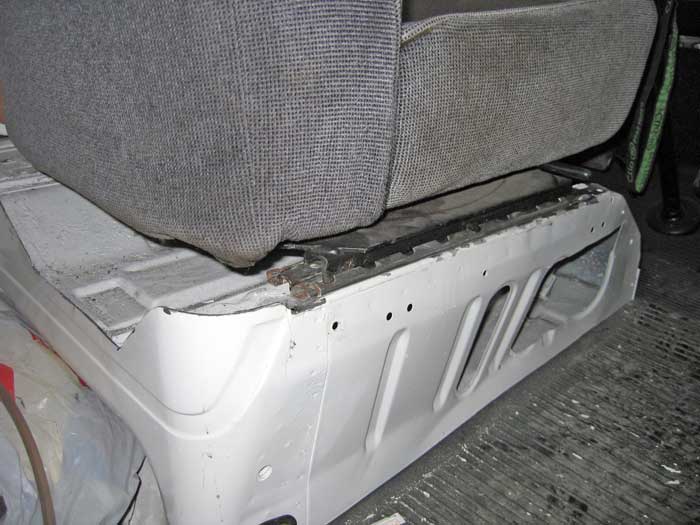
... old seat rails or what was left of them....
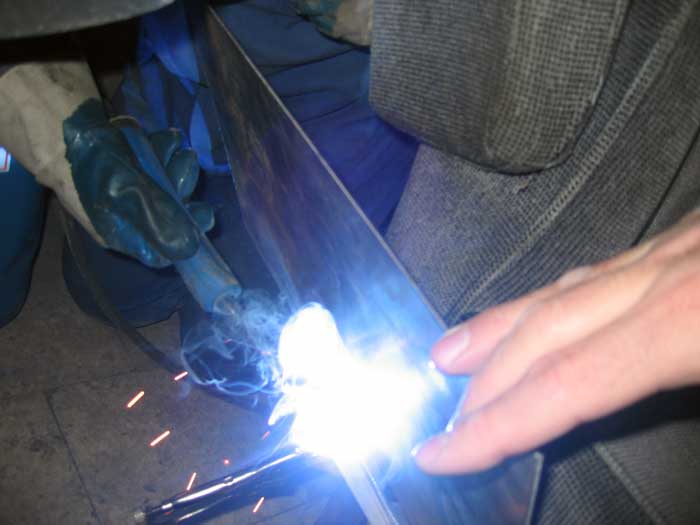
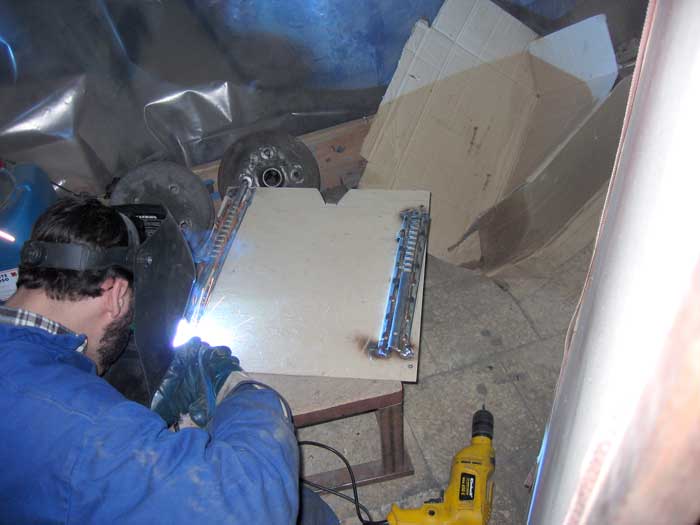
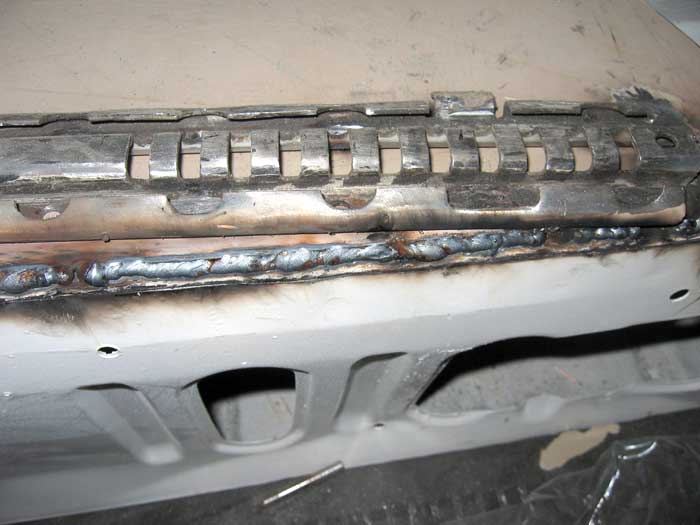
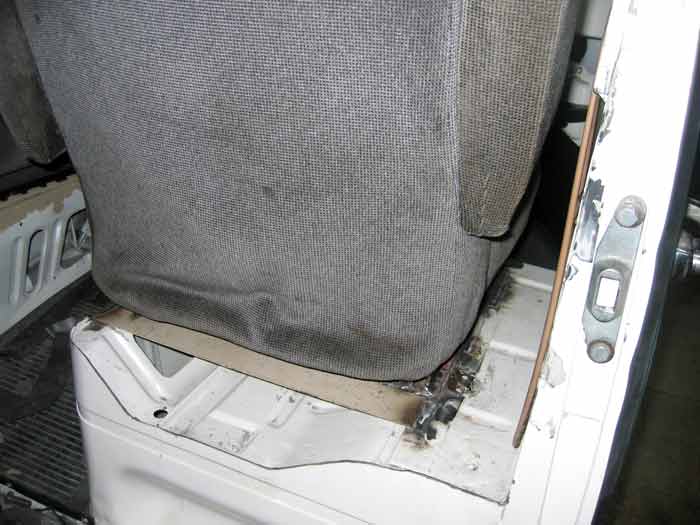
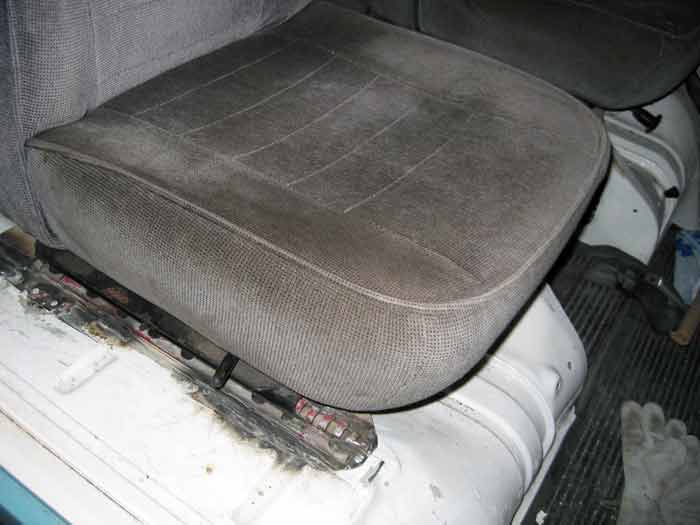
welding the new seat rails in place....
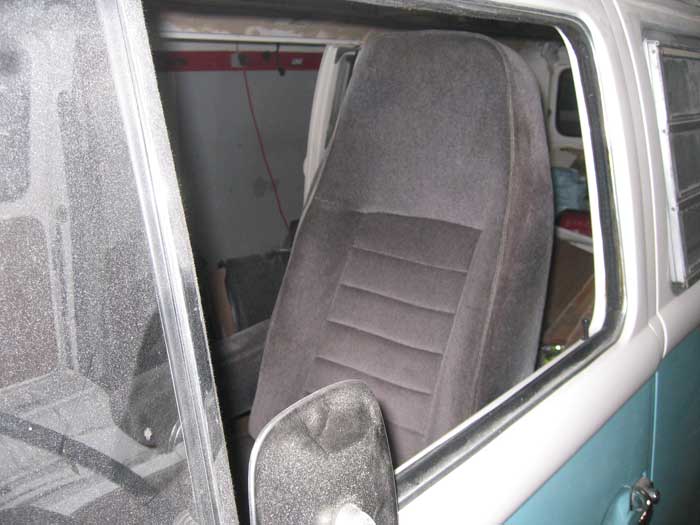
....and some adjustments with the seat in place :mrgreen:
....and without the seat....
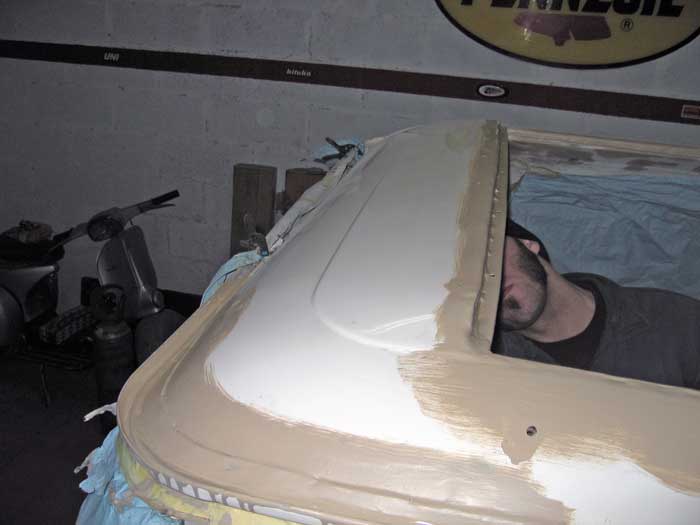
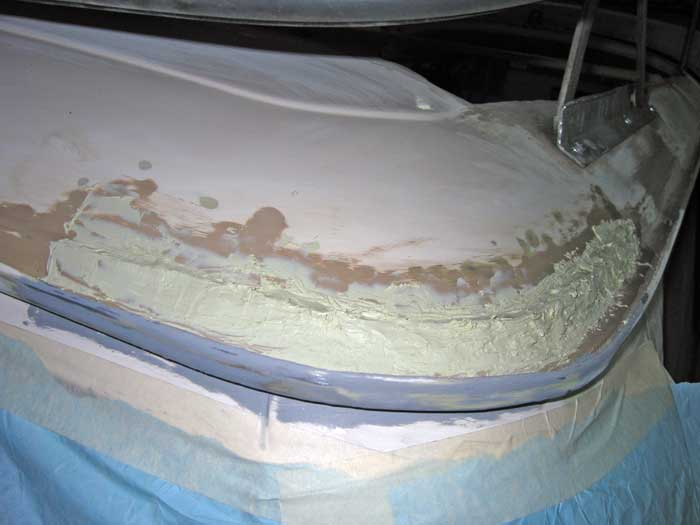
... still more prep on the roof rear corner....

(not perfect I knew that... but at least at that time I knew what was there)
The seat rails already welded...
... and ready to be welded in the bus.
Job being done....
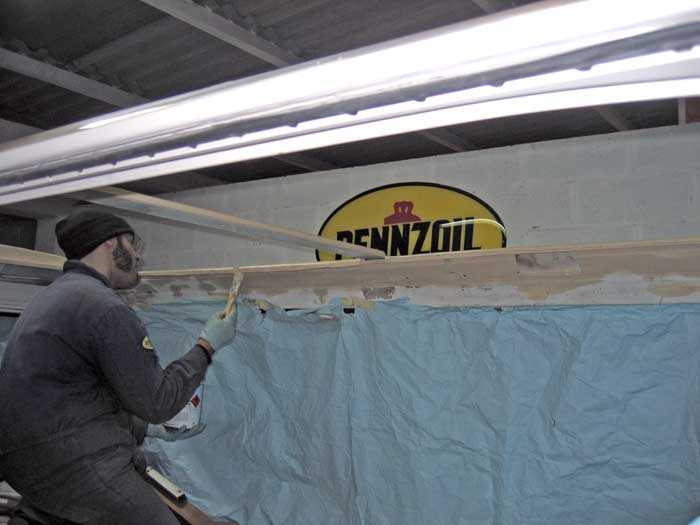
... and again, while Vlad was working in the seats I was sanding and painting the roof rear corner.

This day was the 30/12/2006.
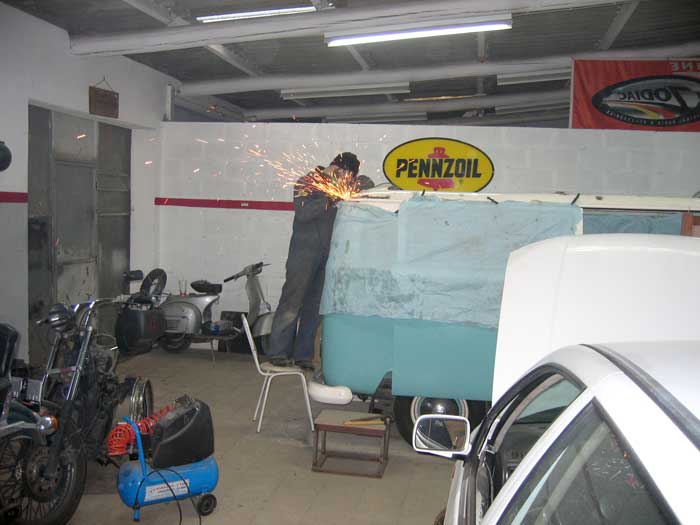
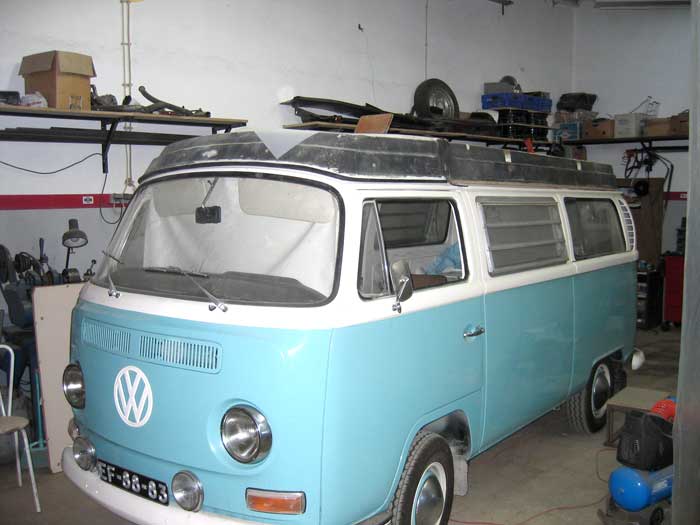
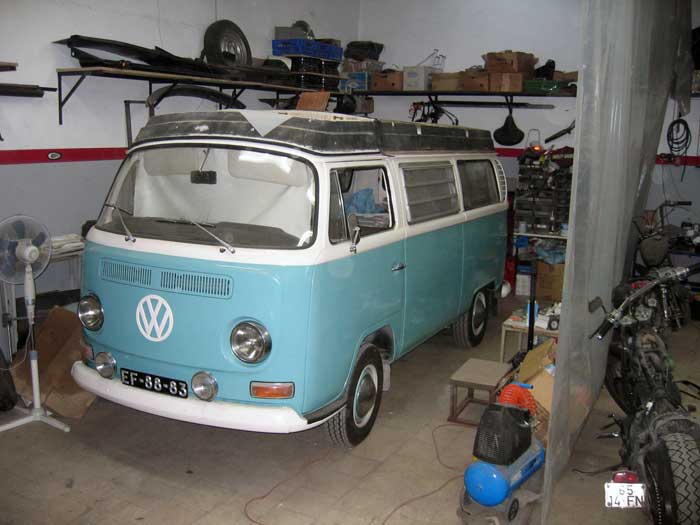
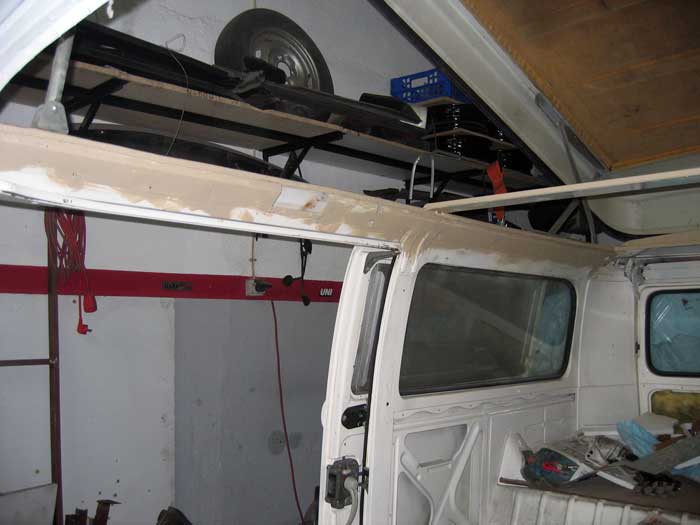
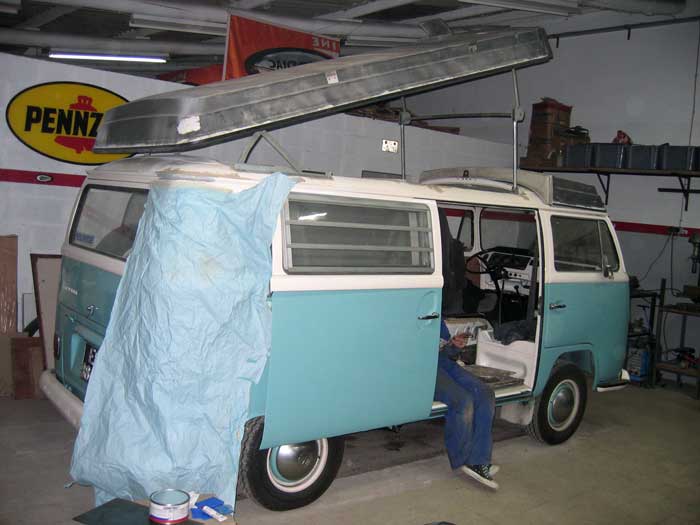
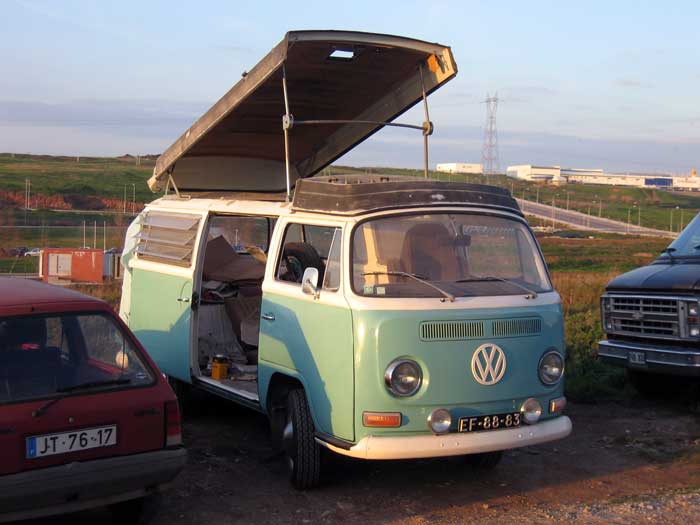
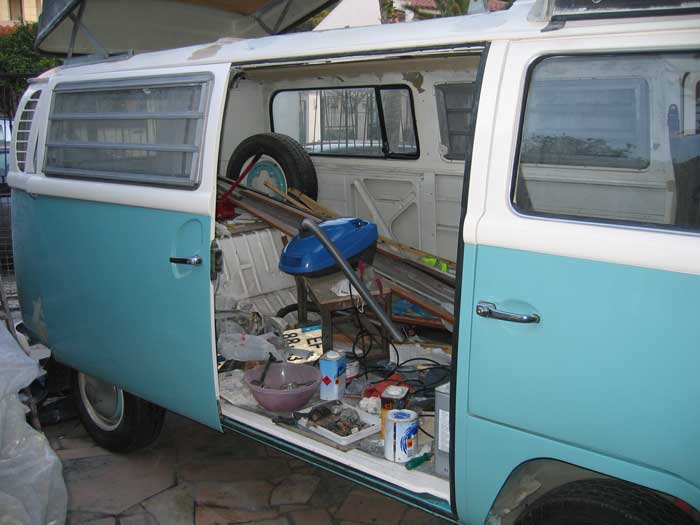
a couple days after I went again to Vlads bodyshop. I took the van outside while Vlad was parking another one inside the garage:
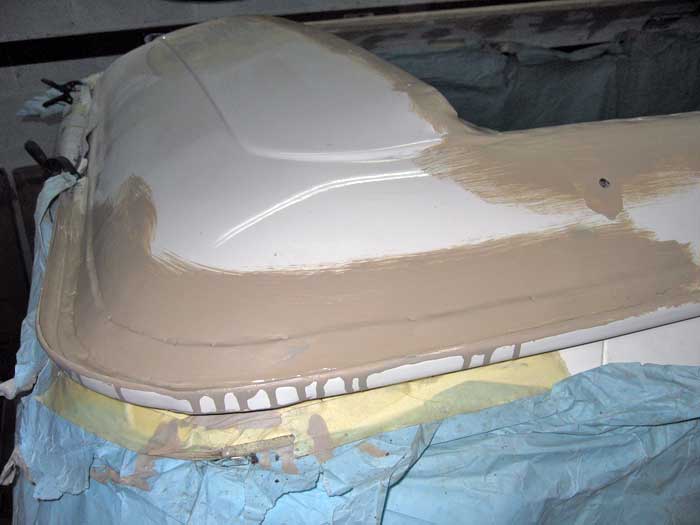
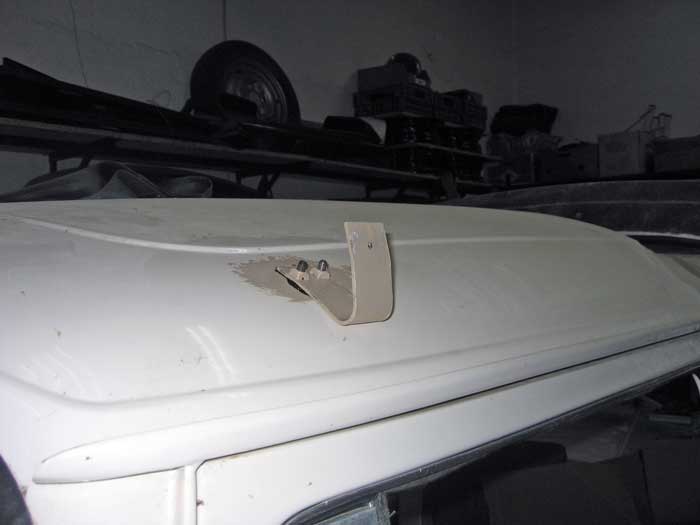
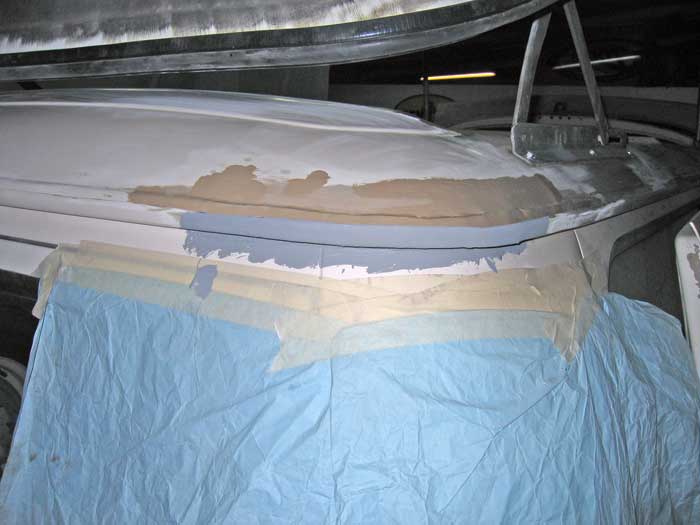
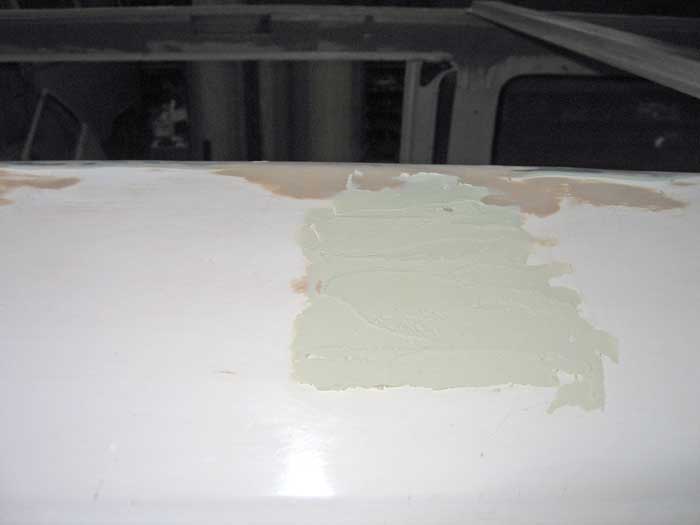
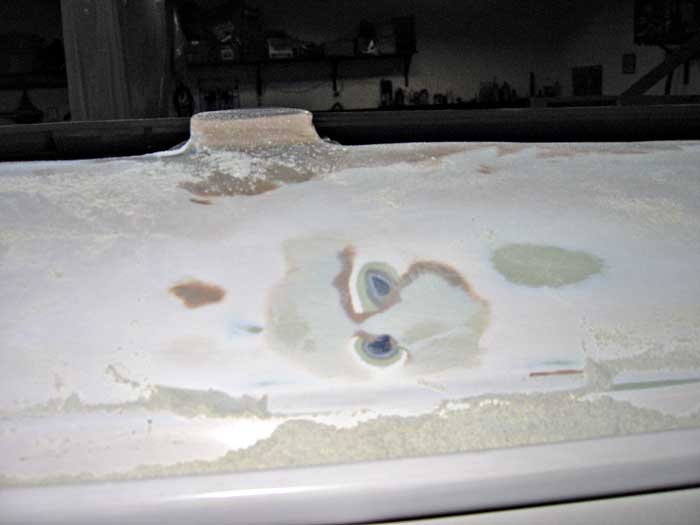
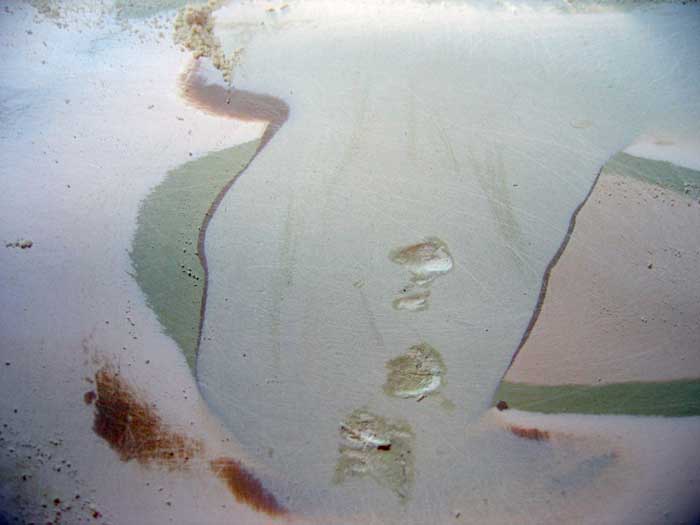
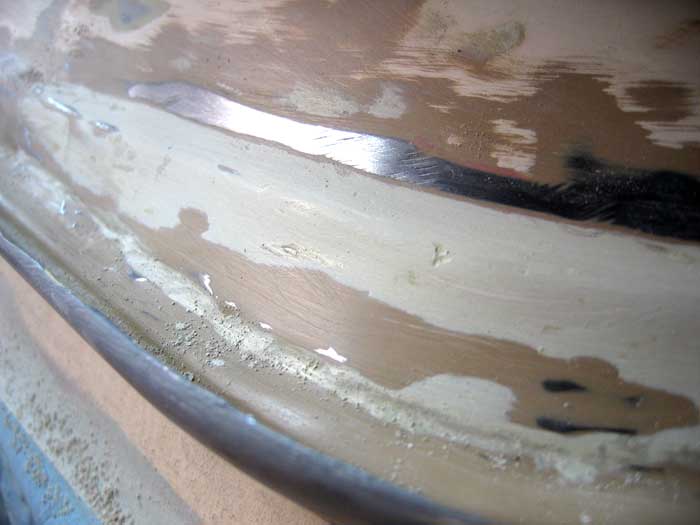
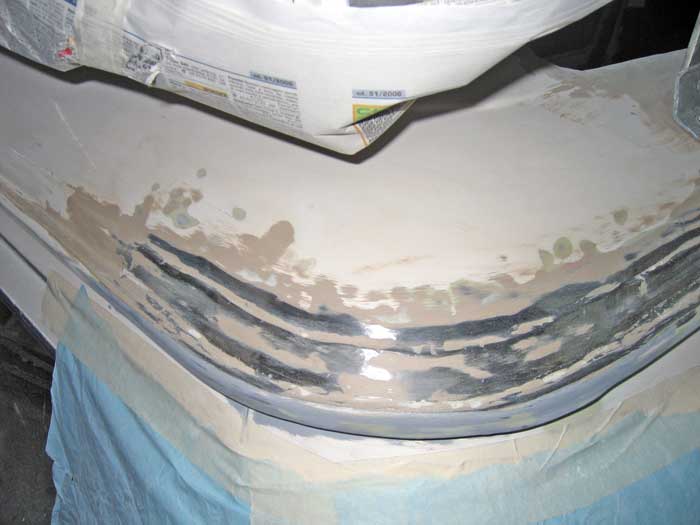
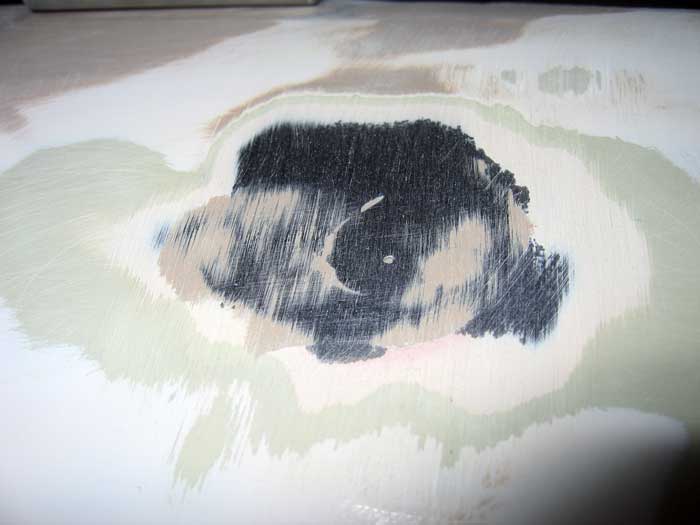
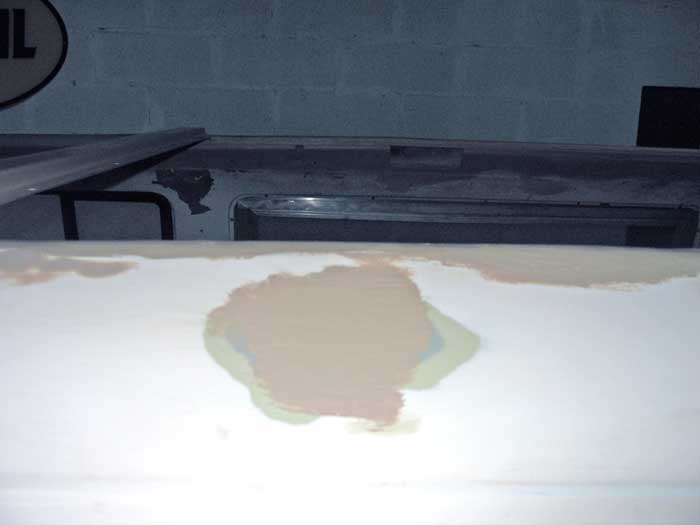
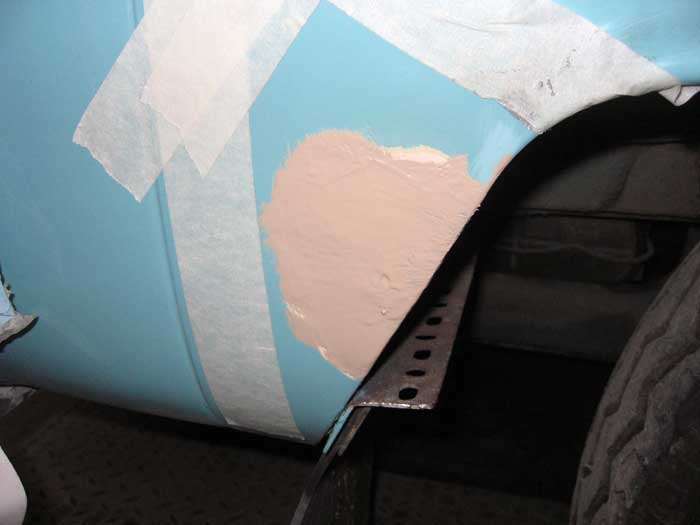
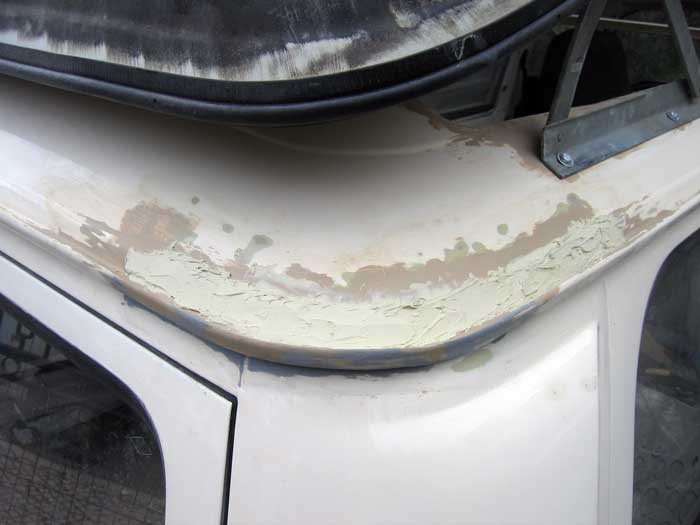
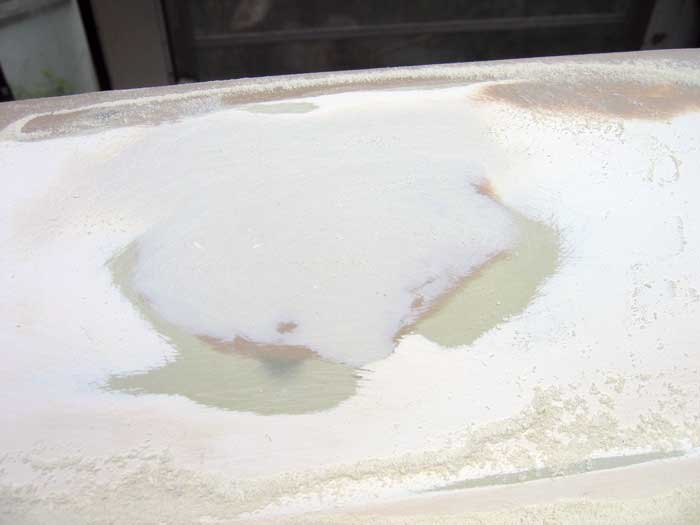
I sanded it again and started preparing myself for my first experience using putty :mrgreen:
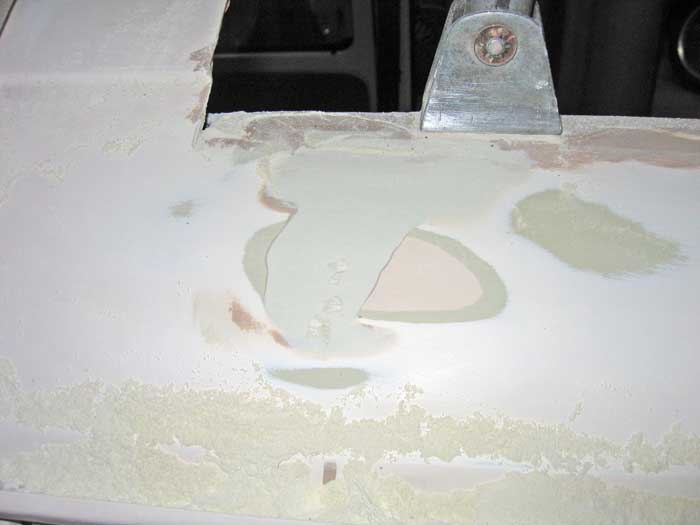
... I then began what was going to be my first attempt :lol:
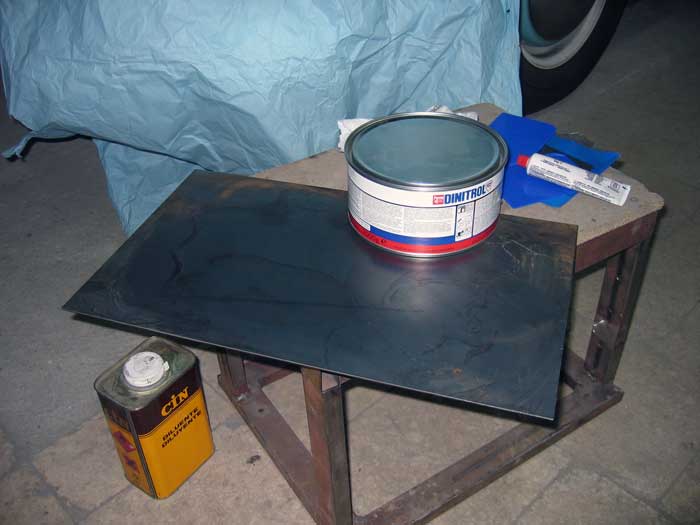
... and before sanding it ....
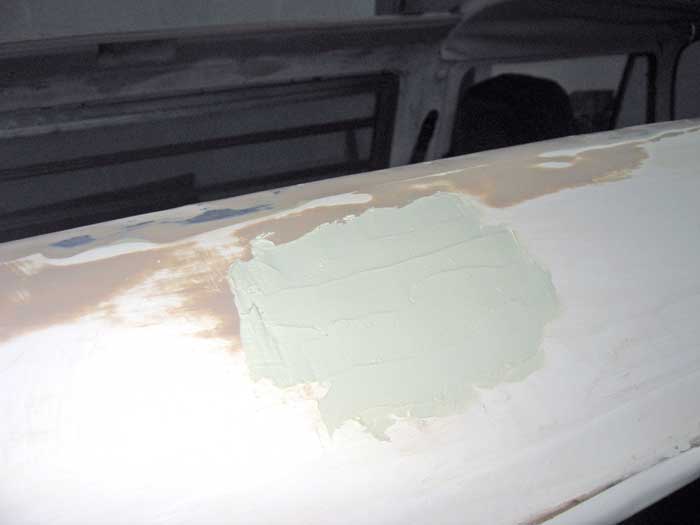
I sanded it again and started preparing myself for my first experience using putty :mrgreen:
... I then began what was going to be my first attempt :lol:
... and before sanding it ....
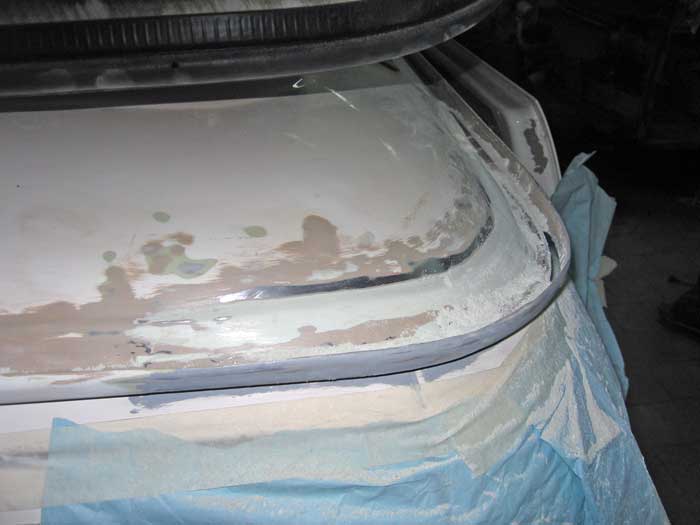
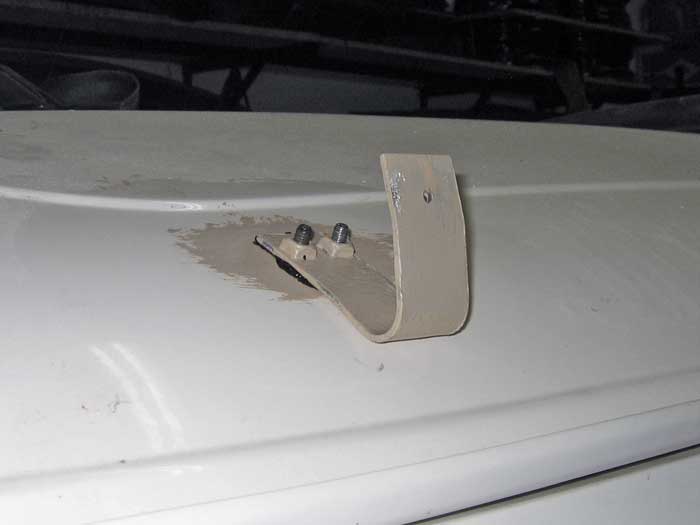
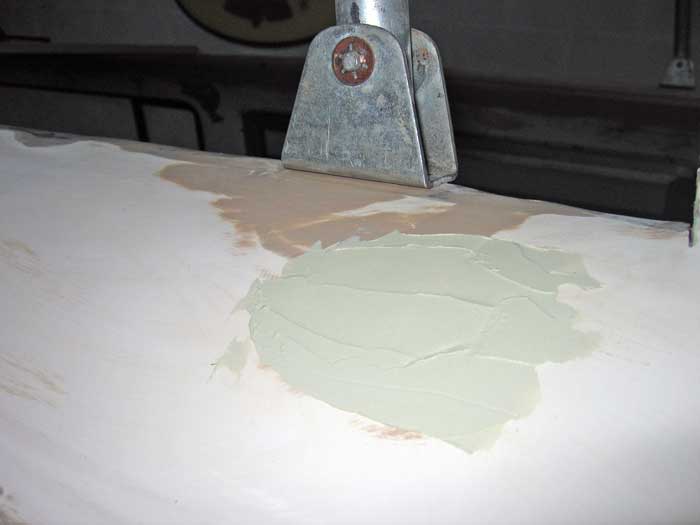
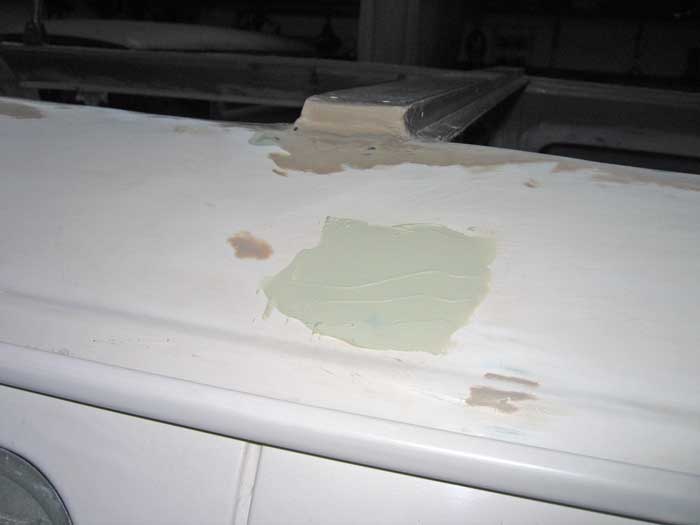
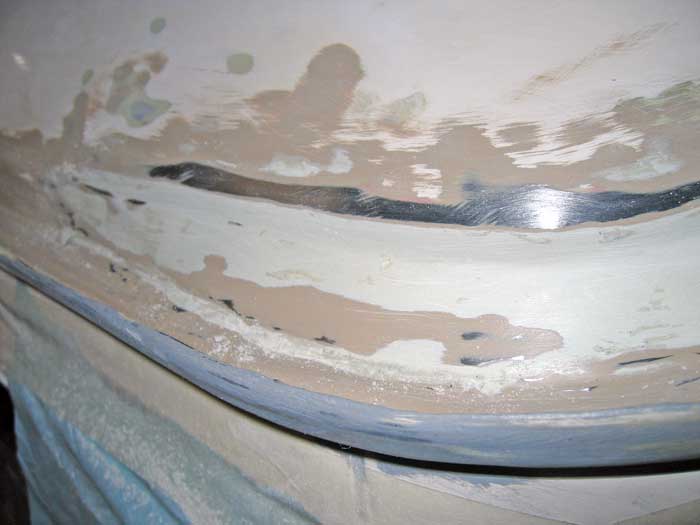
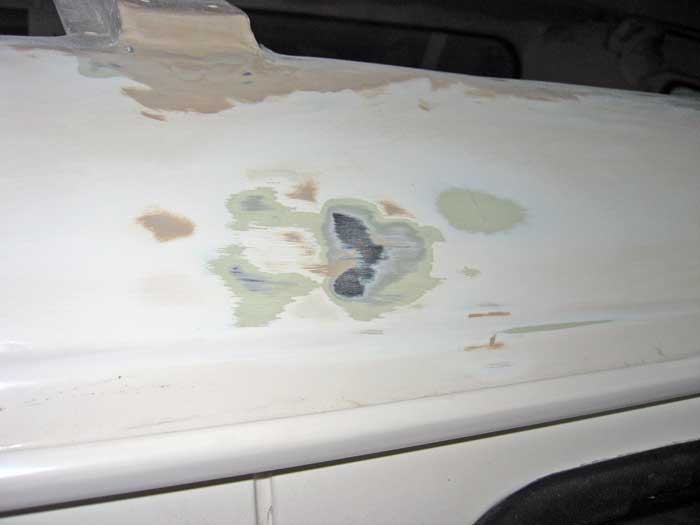
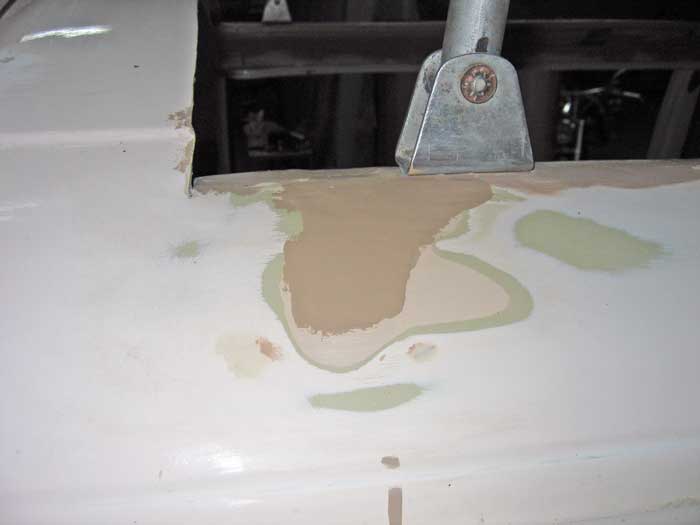
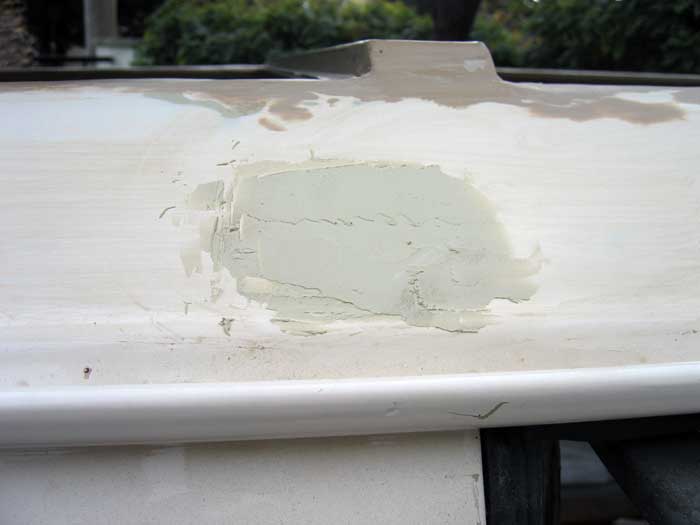
although the final look of my first attempt was good and following the advice from a friend (a professional car
painter) I had to remove all the putty applied. Why? I dind't use enought hardner
The putty would never dry out....
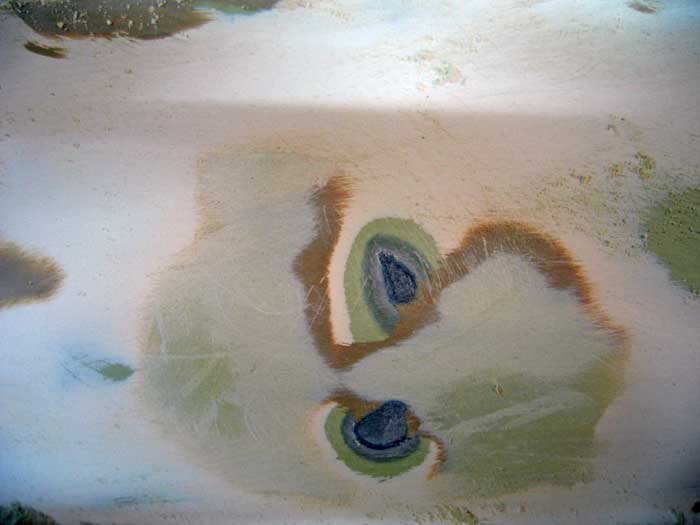
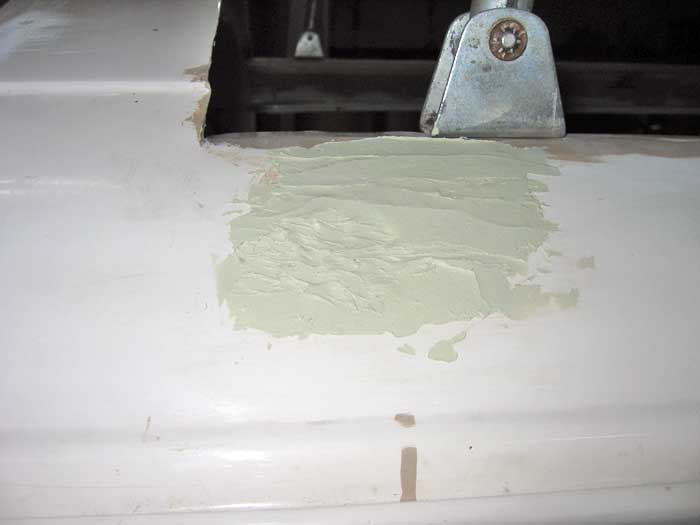
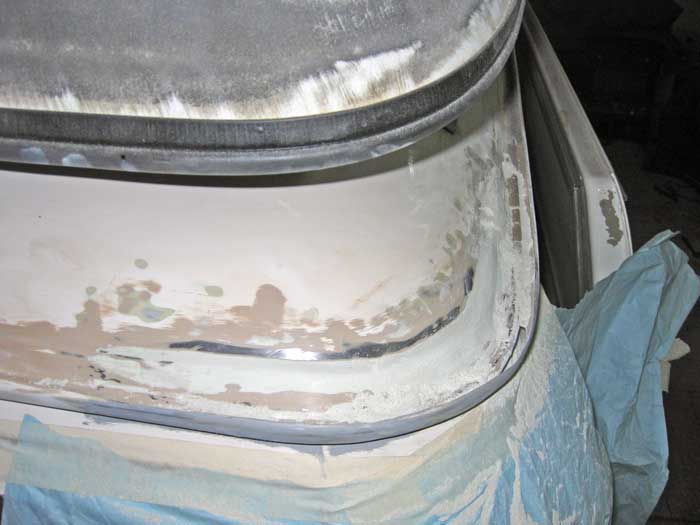
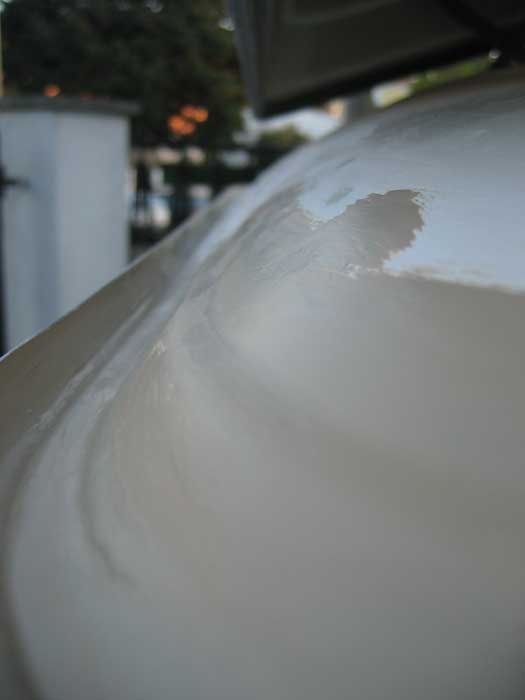
... and it was almost perfect (at least, for me :mrgreen: )
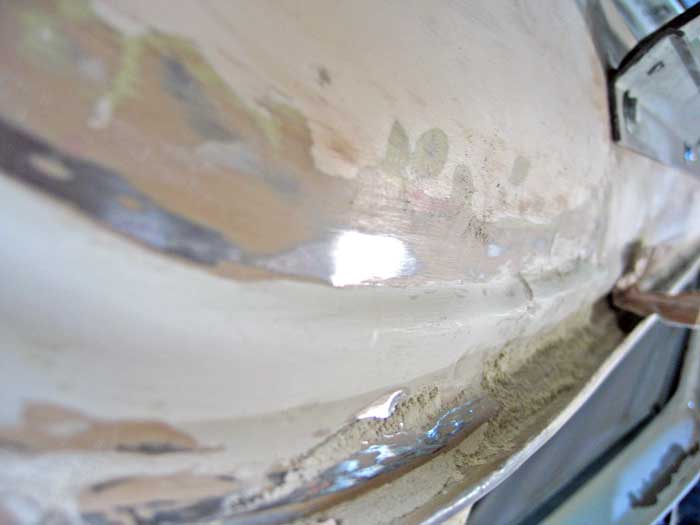
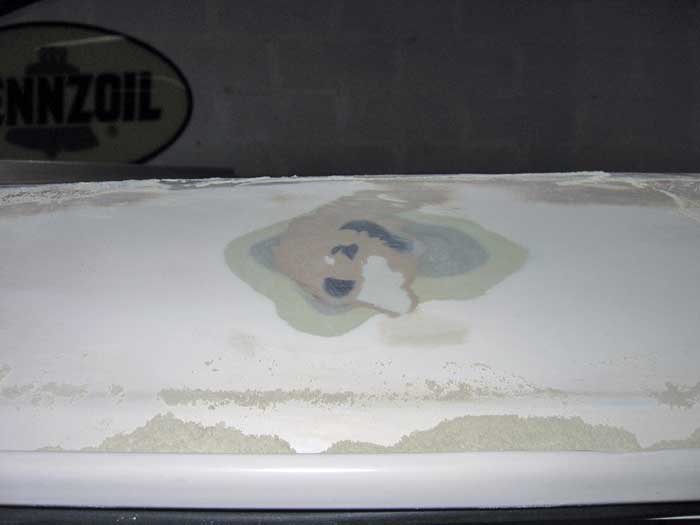
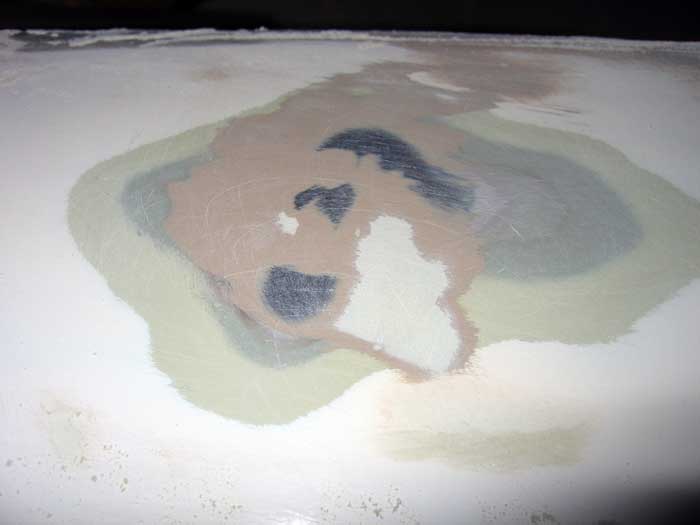
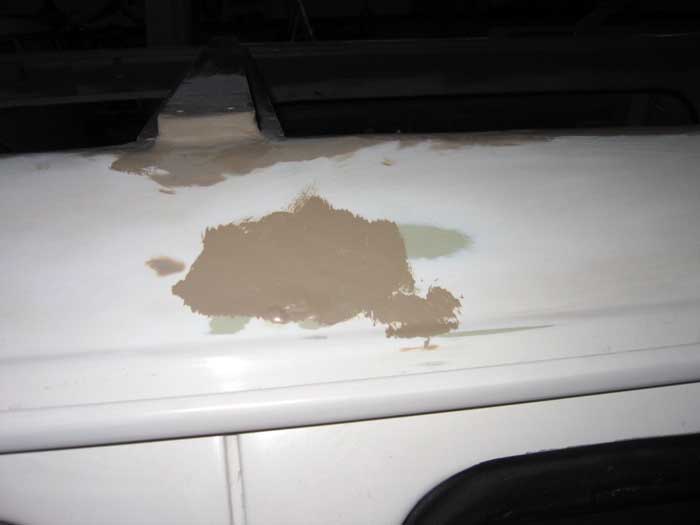
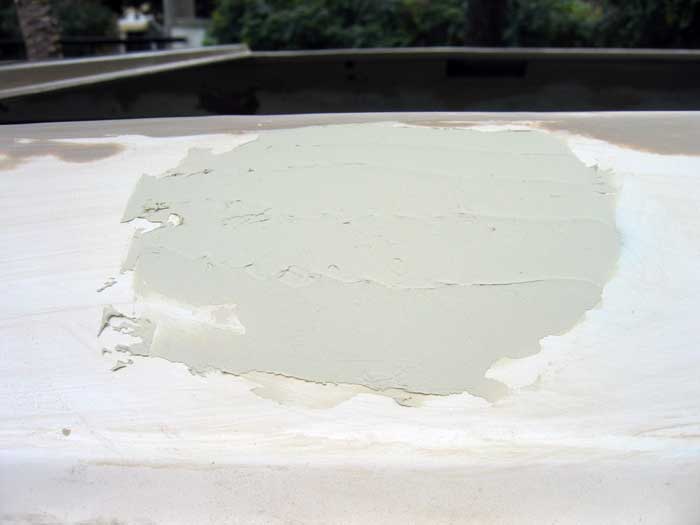
so... here I was going again....
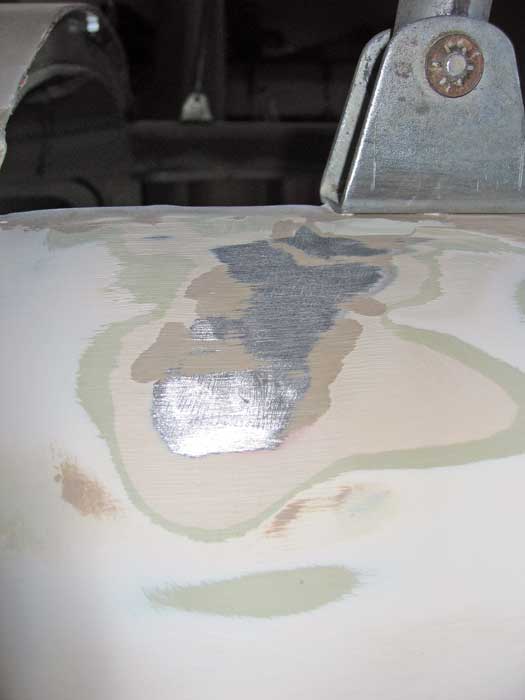
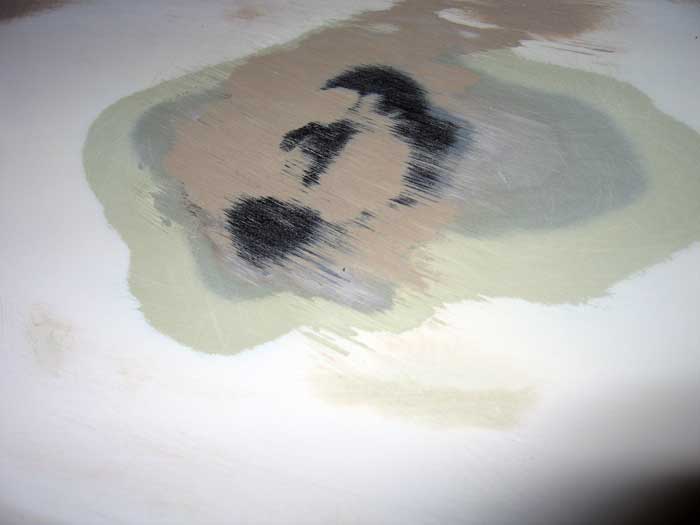
more sanding, more primer, more sanding, more primer..... :mrgreen:


painter) I had to remove all the putty applied. Why? I dind't use enought hardner
The putty would never dry out....
... and it was almost perfect (at least, for me :mrgreen: )
so... here I was going again....
more sanding, more primer, more sanding, more primer..... :mrgreen:


... next day I took her home.
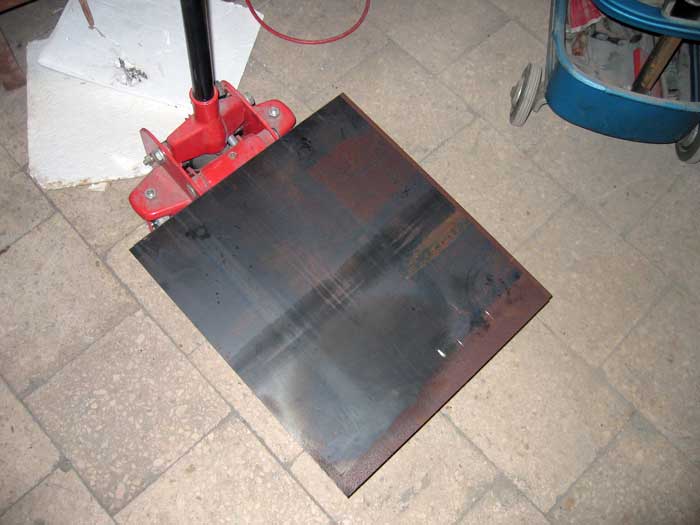
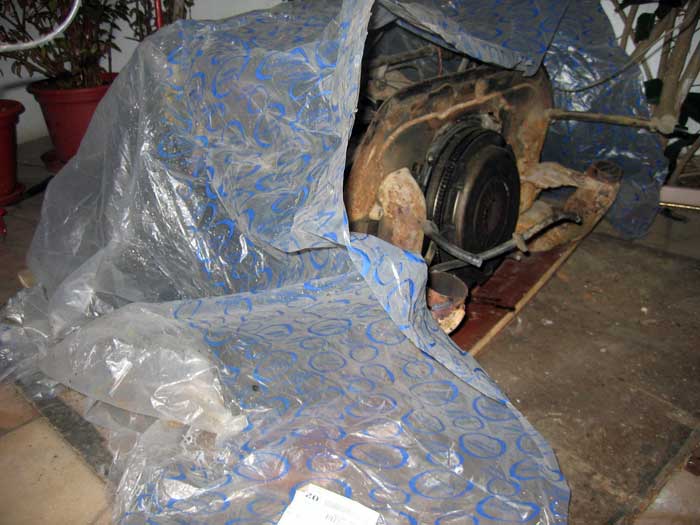
... and within it I brought home a hydraulic jack borrowed....
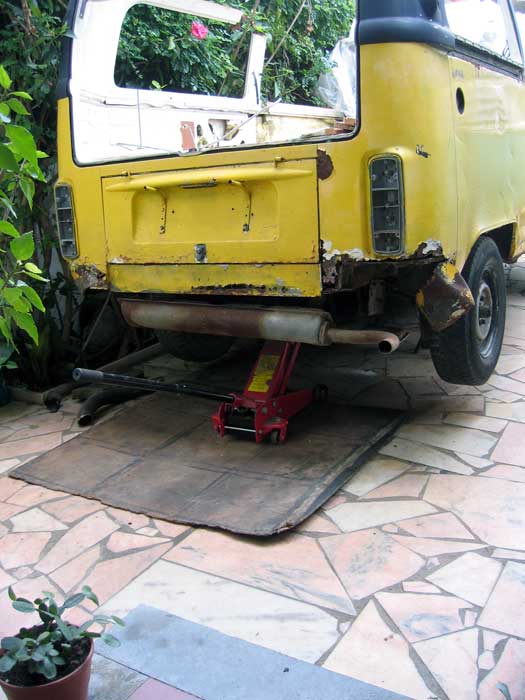
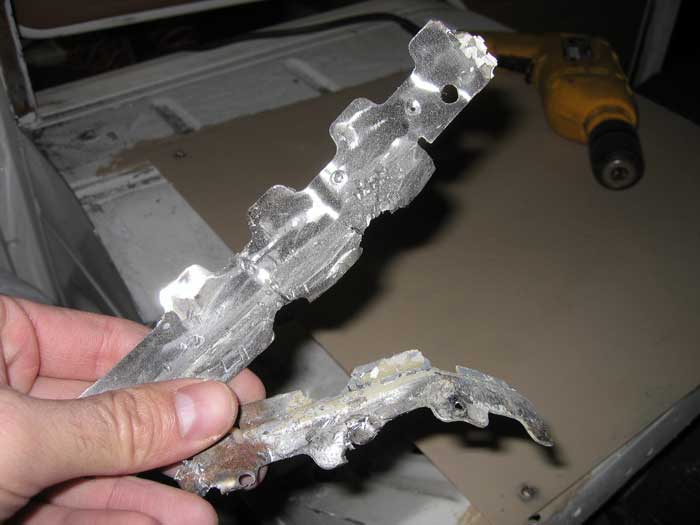
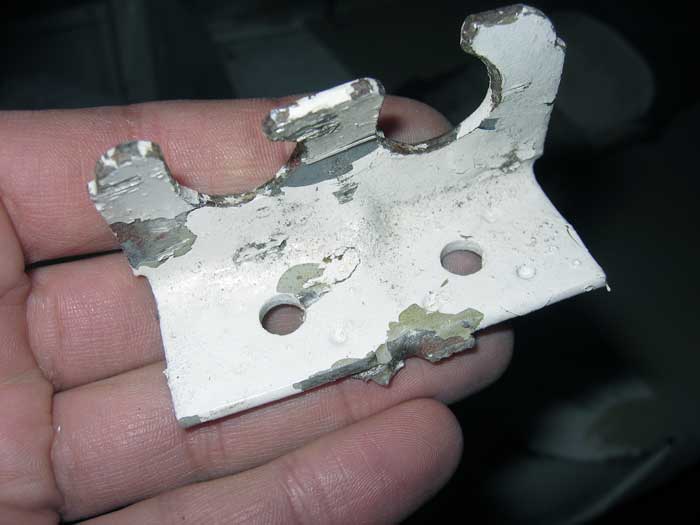
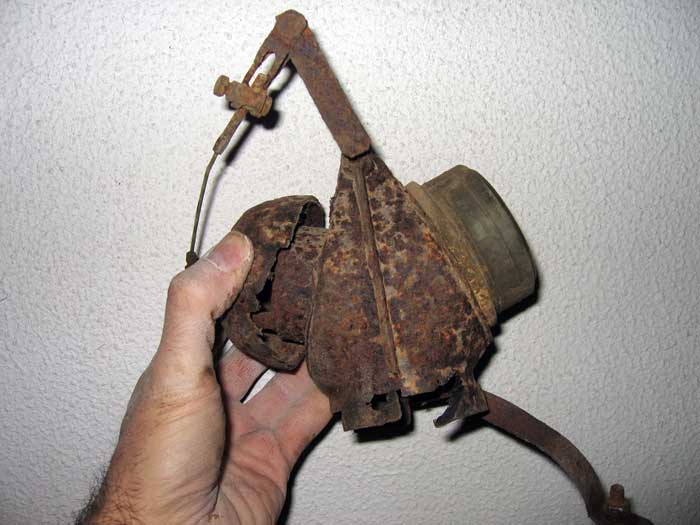
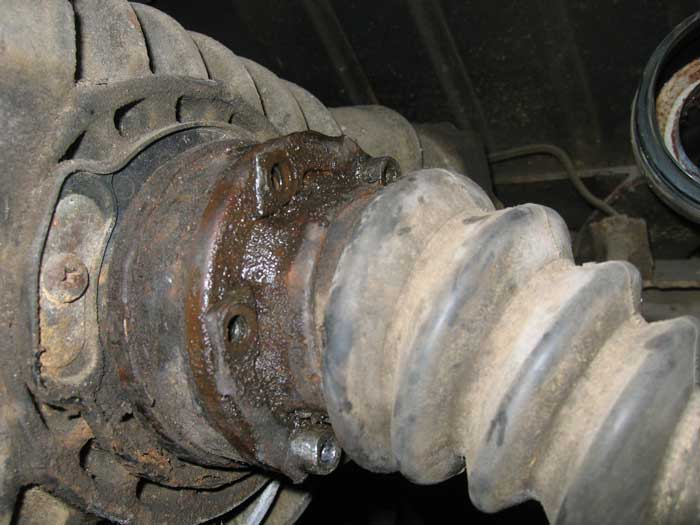
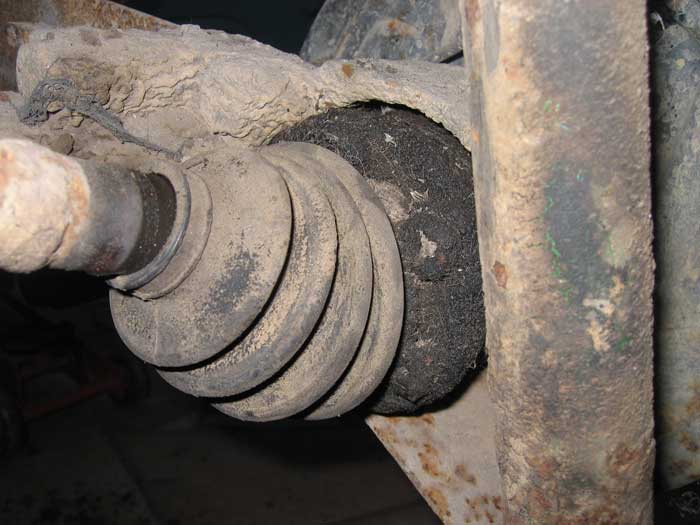
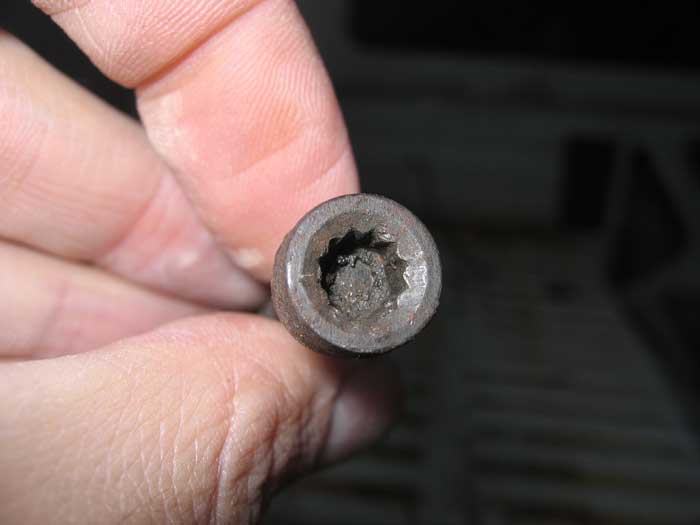
... but the work I had to do was much more complicated than I expected. All screws and bolts were completely rusted ....

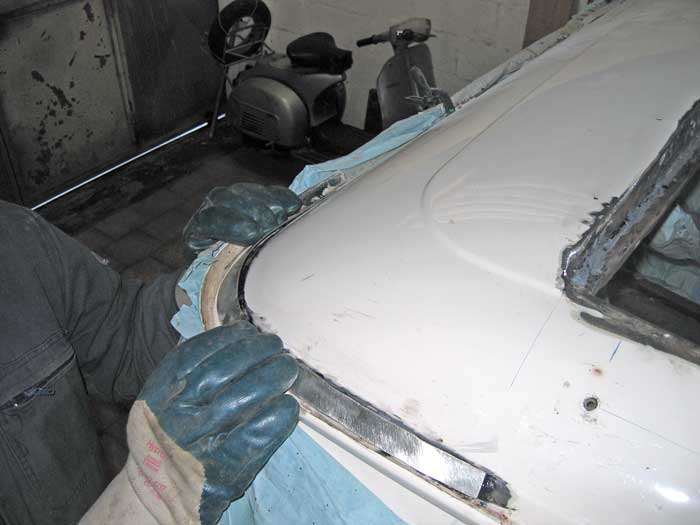
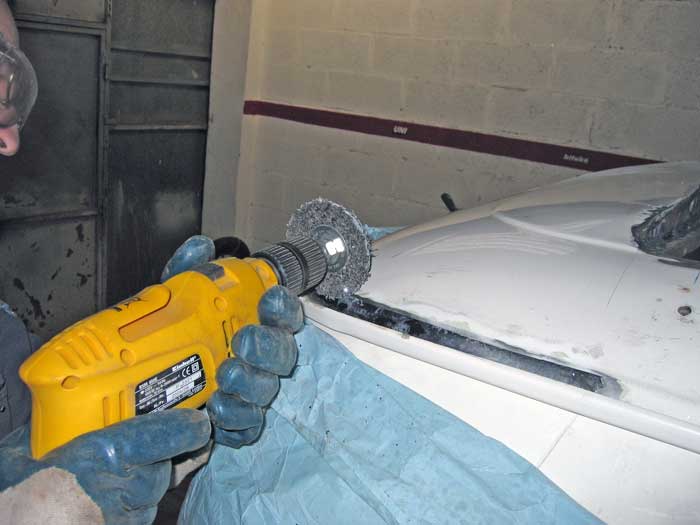
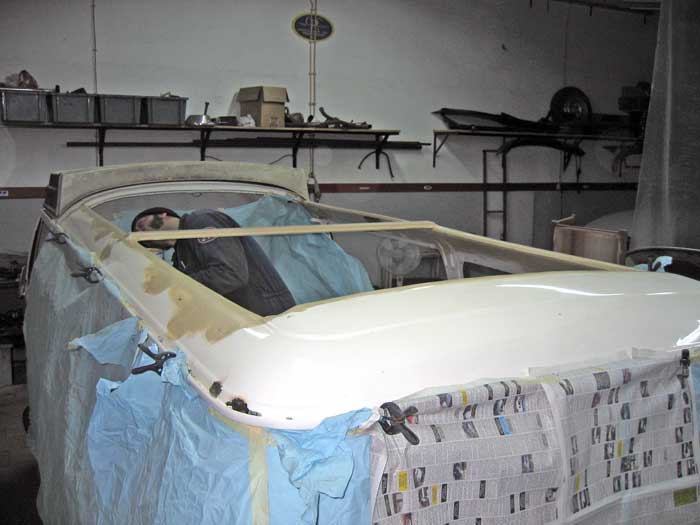
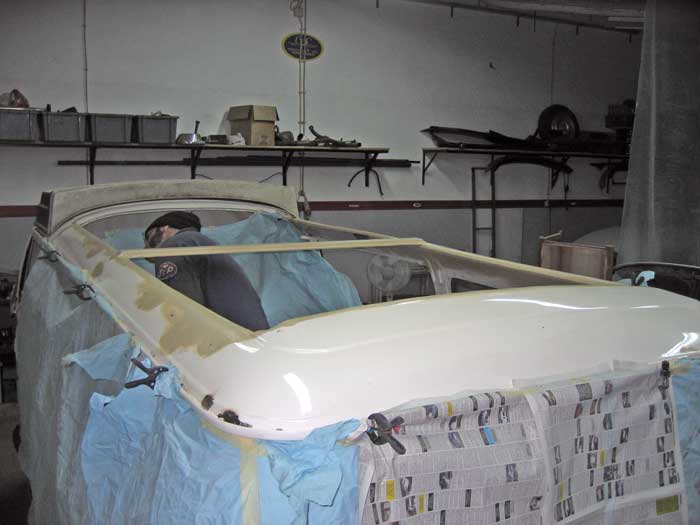
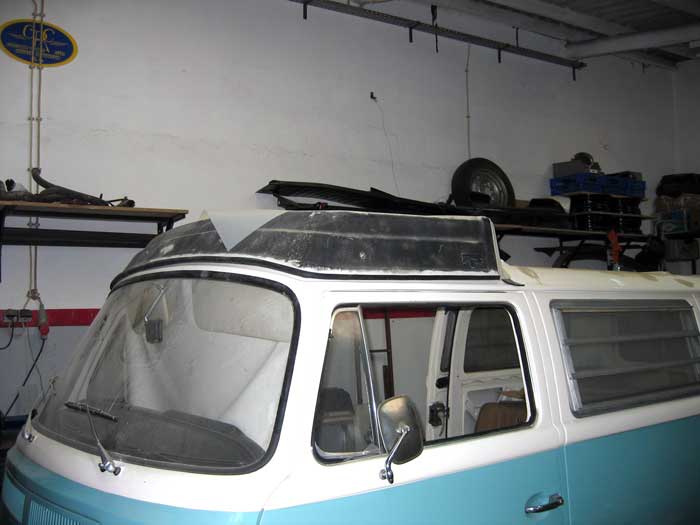
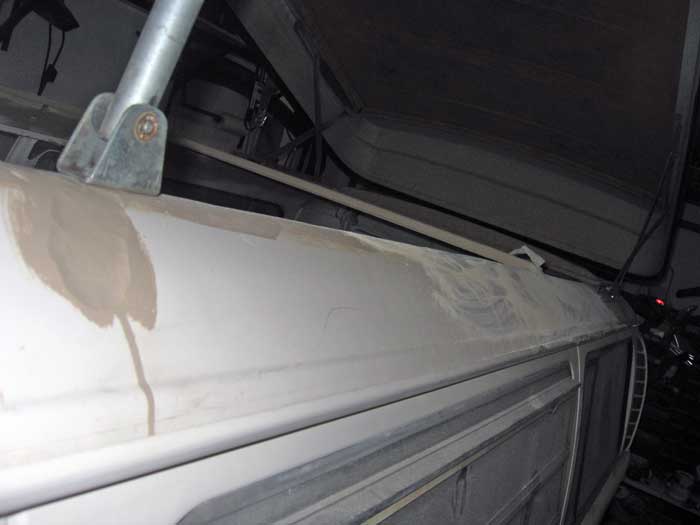
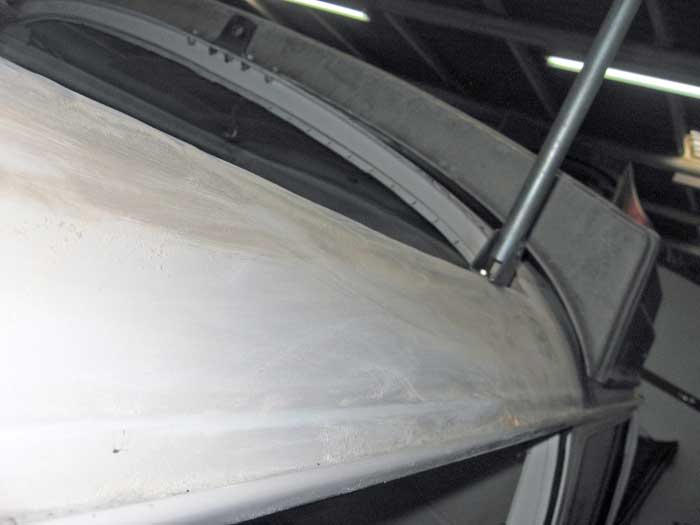
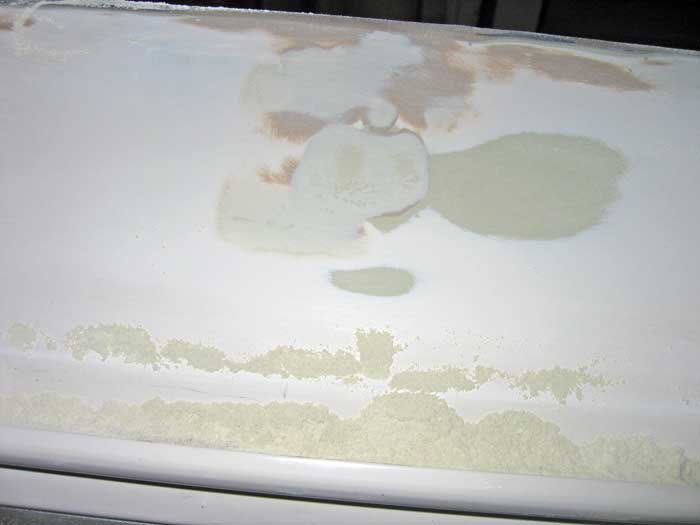
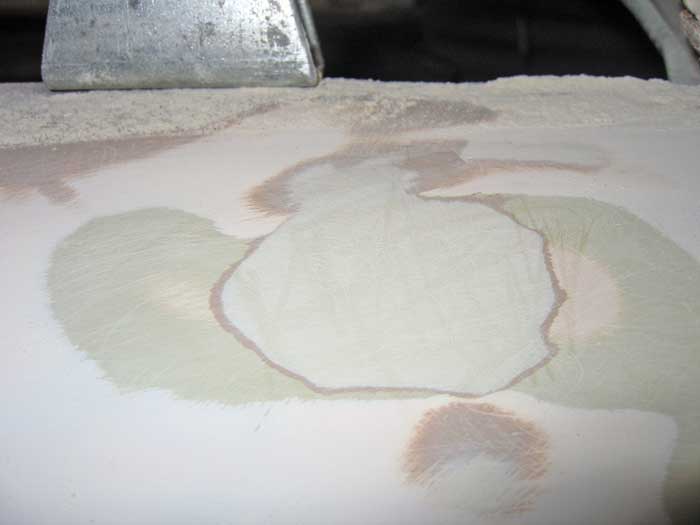
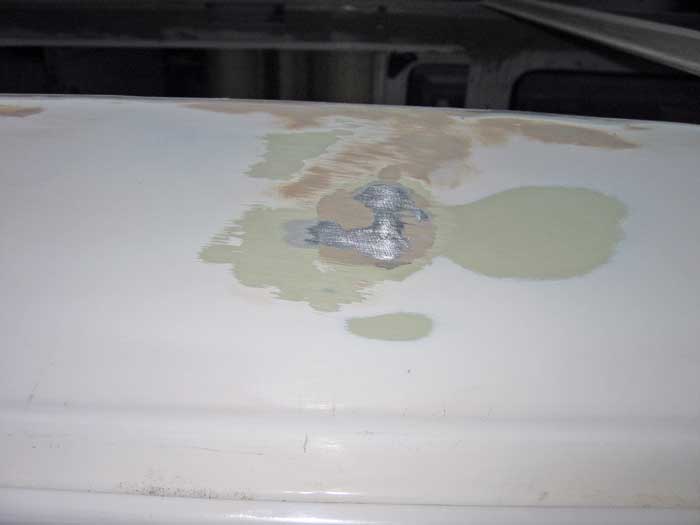
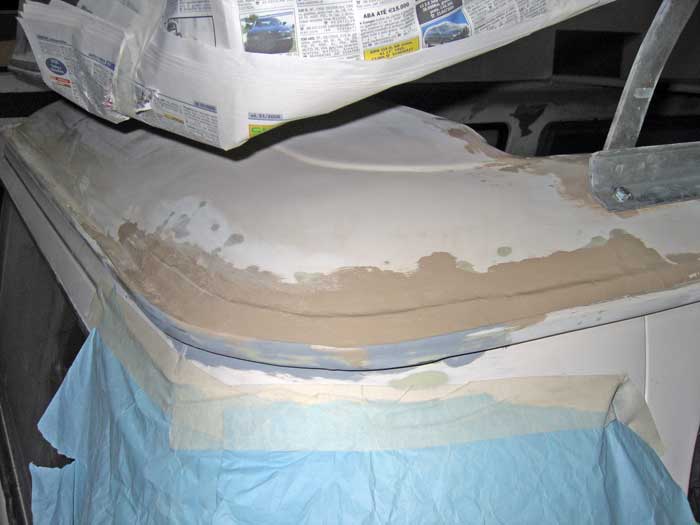
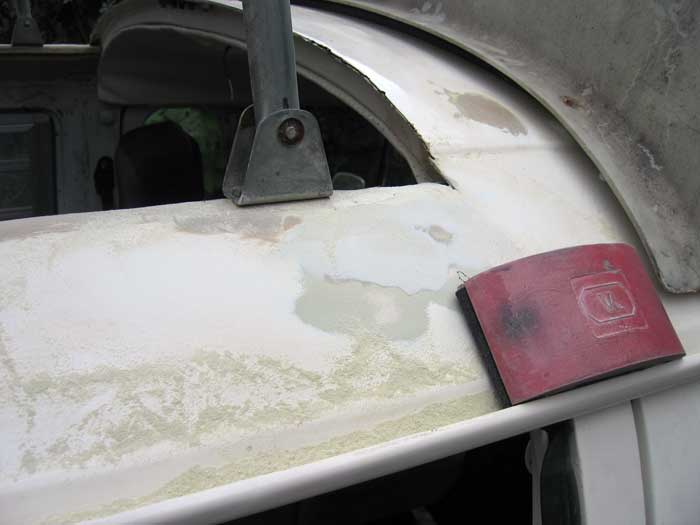
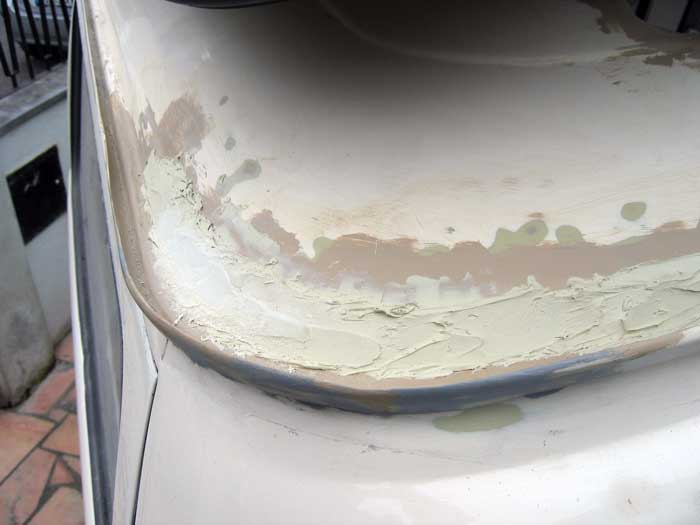
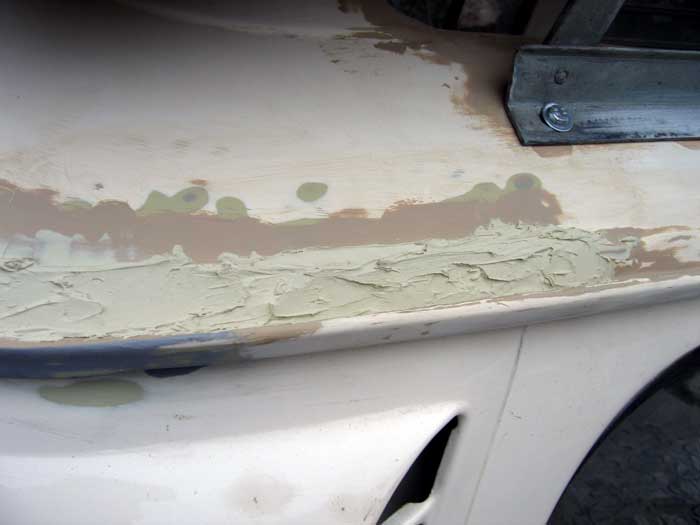
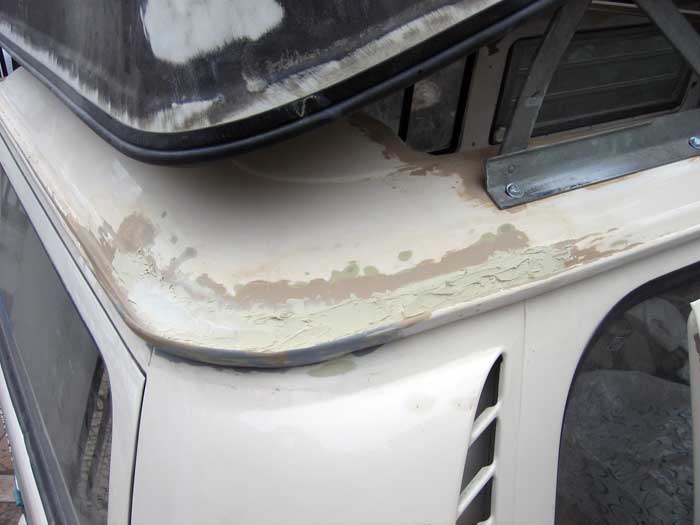
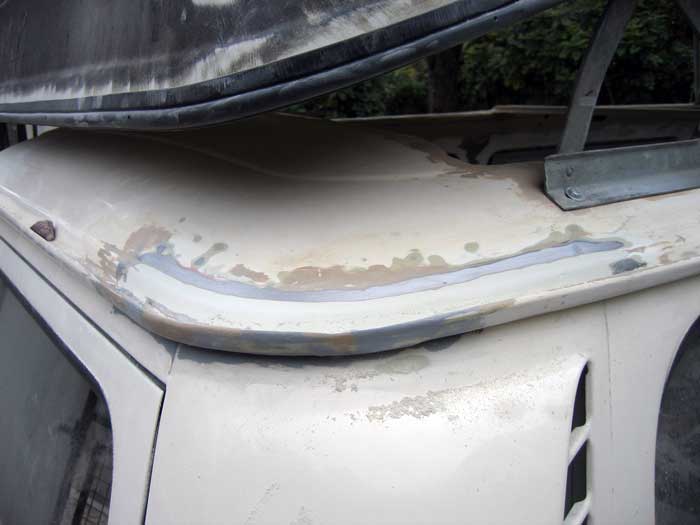
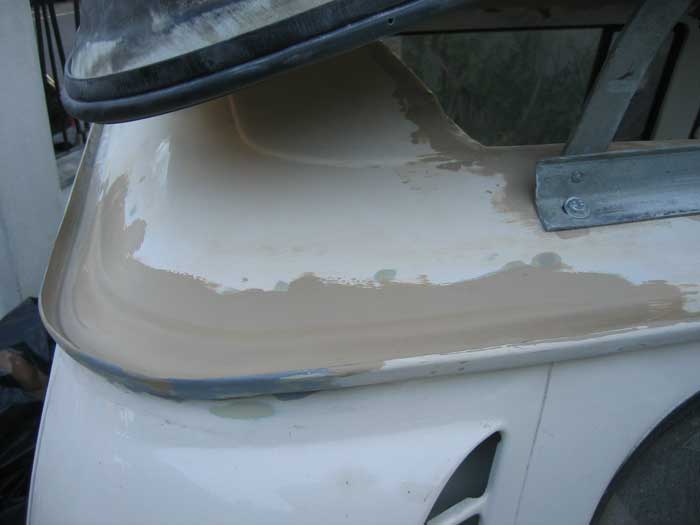
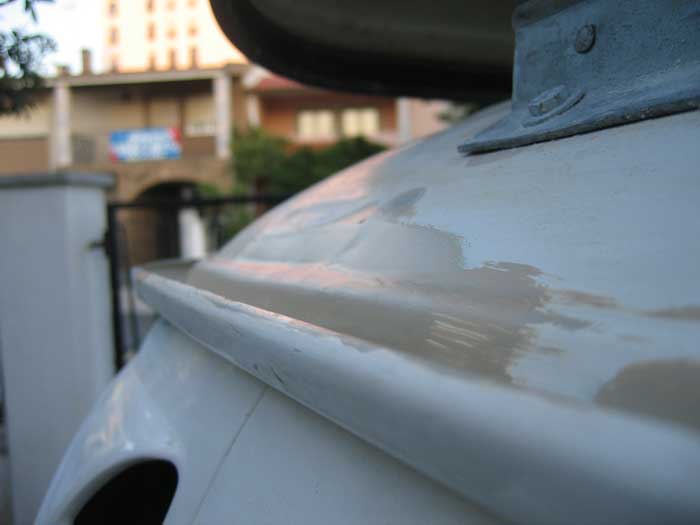
Meanwhile I was (and again) trying to make the rear roof corner look as I wanted:

I knew then it was really dry....
... and within it I brought home a hydraulic jack borrowed....
... but the work I had to do was much more complicated than I expected. All screws and bolts were completely rusted ....
Meanwhile I was (and again) trying to make the rear roof corner look as I wanted:
I knew then it was really dry....
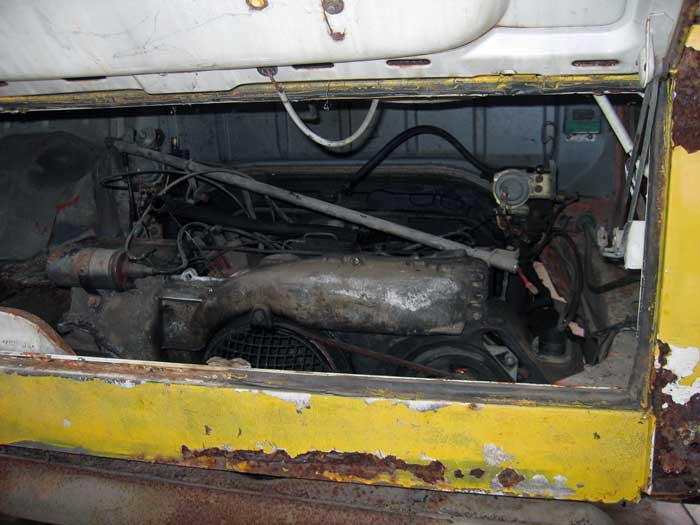
finally, after several hours, I managed to remove the type IV 2000 cc's motor ....
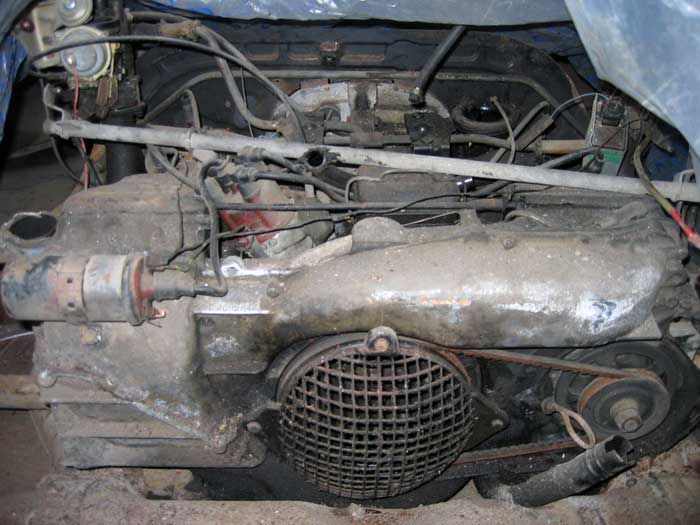
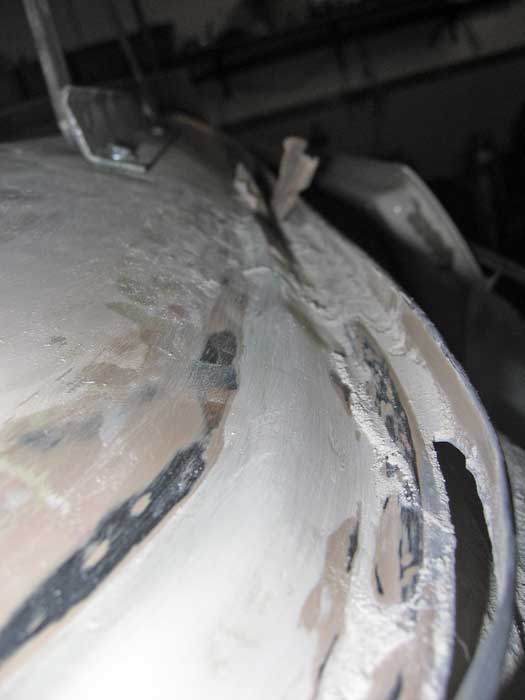
... but some parts had to be cut. Their general condition was pitiful.

.. and the rear corner: done!
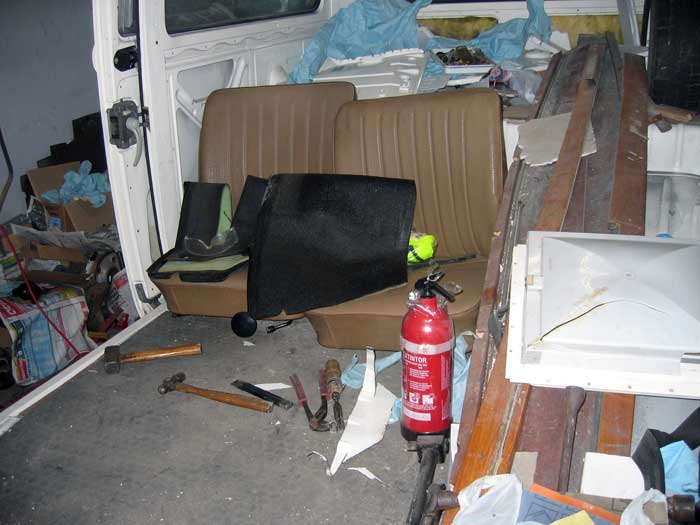
.. caos inside ....
... but some parts had to be cut. Their general condition was pitiful.
.. and the rear corner: done!
.. caos inside ....
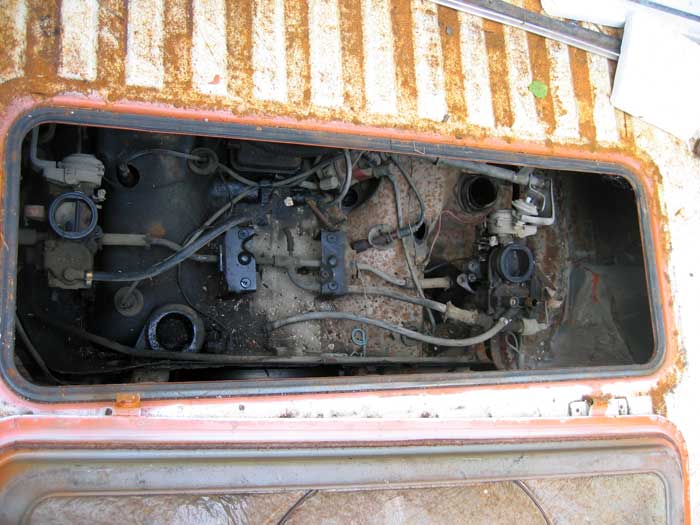
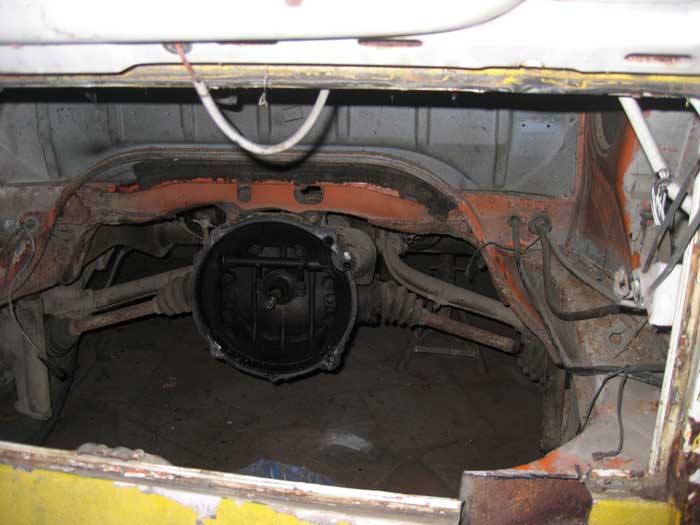
with some professional help, we managed to remove the gearbox....
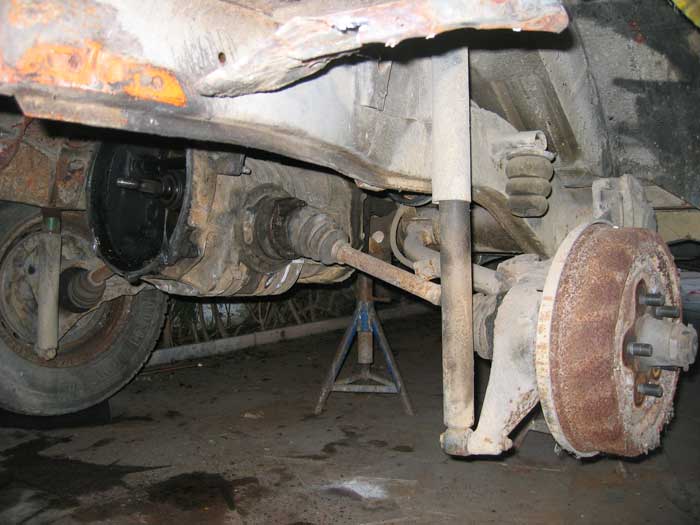
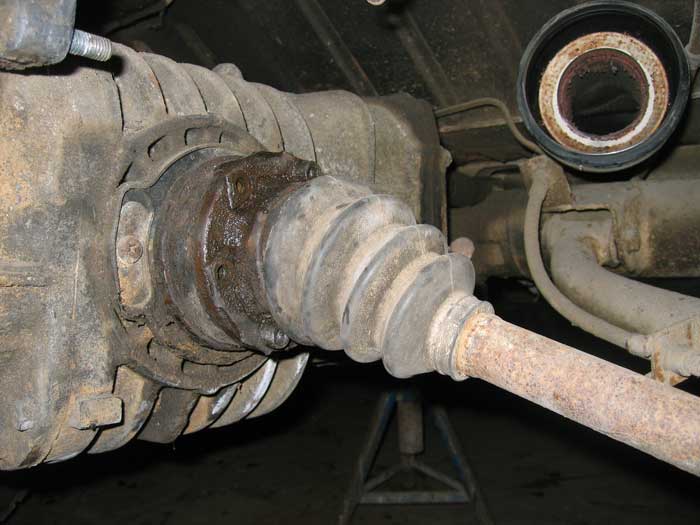
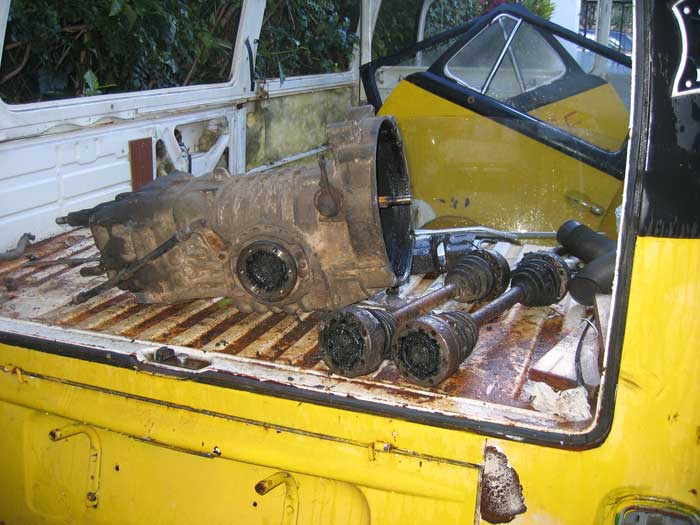
... and the front suspension ....
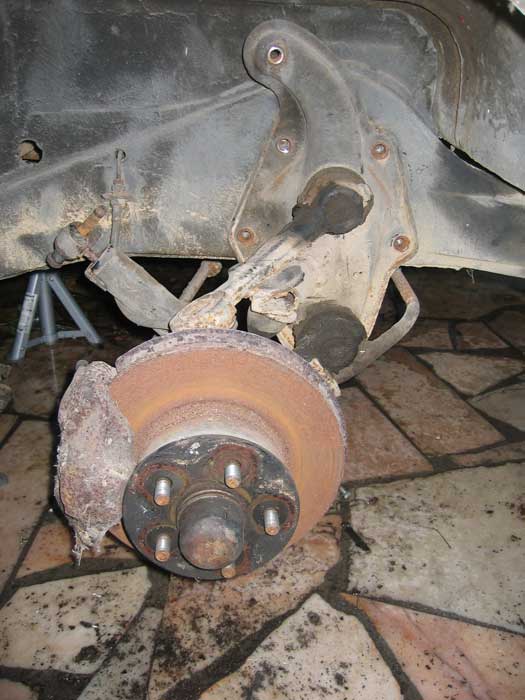
the idea was to remove all the Mechanical parts from the westy and use them in my bus....
was and still is :mrgreen:
... and the front suspension ....
the idea was to remove all the Mechanical parts from the westy and use them in my bus....
was and still is :mrgreen:

Similar threads
- Replies
- 10
- Views
- 734
- Locked
Parts For Sale
now sold: 1600 engine for sale (august 2023)
- Replies
- 8
- Views
- 1K
- Replies
- 29
- Views
- 2K
Vehicle For Sale
1971 T2a Double Cab Pick Up
- Replies
- 0
- Views
- 1K