You are using an out of date browser. It may not display this or other websites correctly.
You should upgrade or use an alternative browser.
You should upgrade or use an alternative browser.
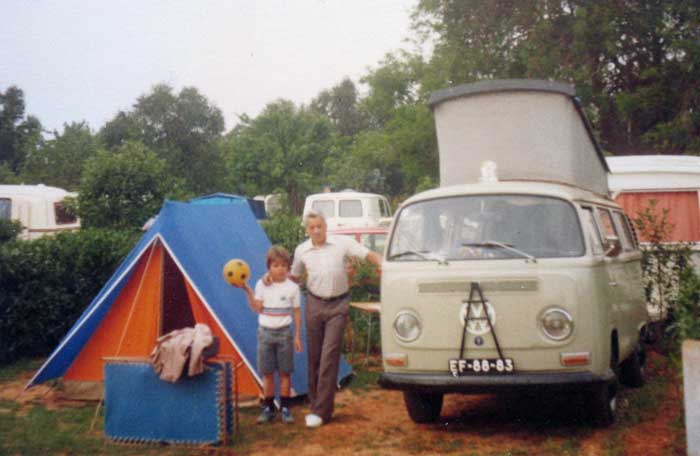
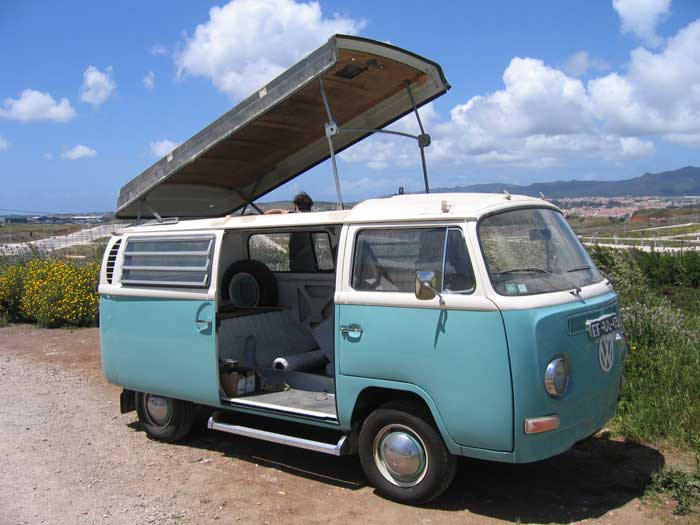
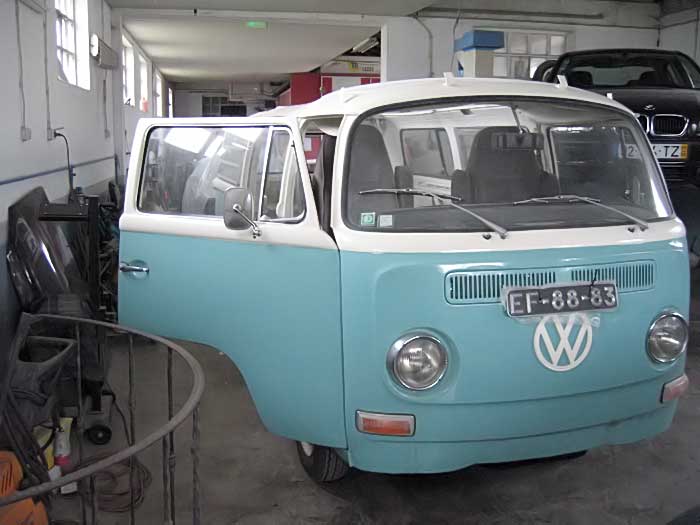
1968 Campervan conversion
- Thread starter joaonar
- Start date


Help Support Early Bay Forum:
This site may earn a commission from merchant affiliate
links, including eBay, Amazon, and others.

G
Guest
Guest
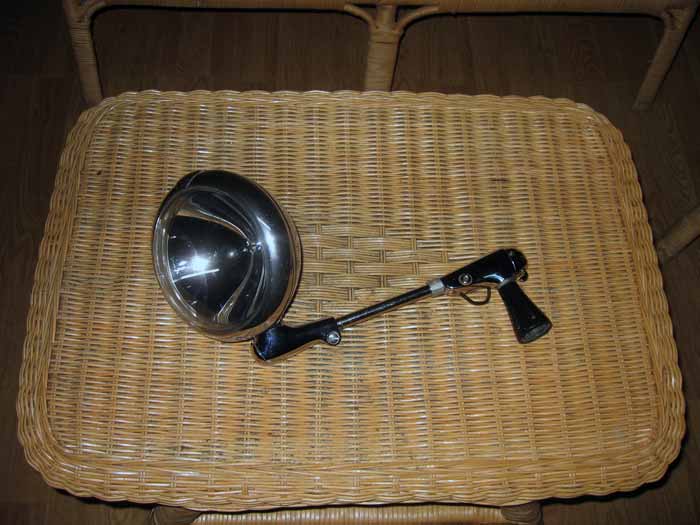
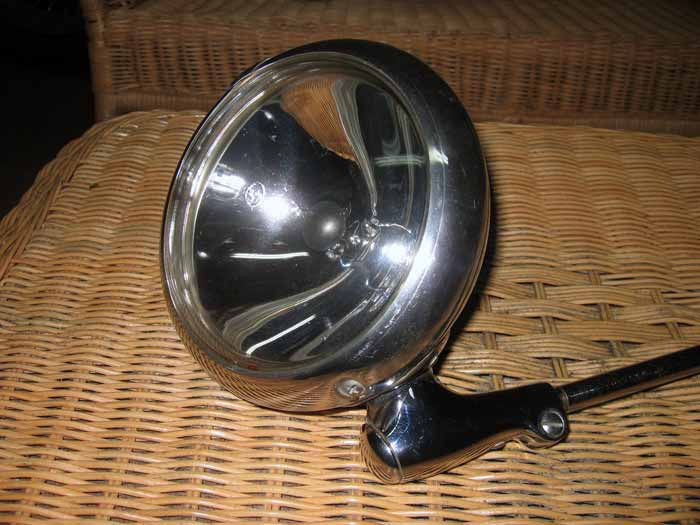
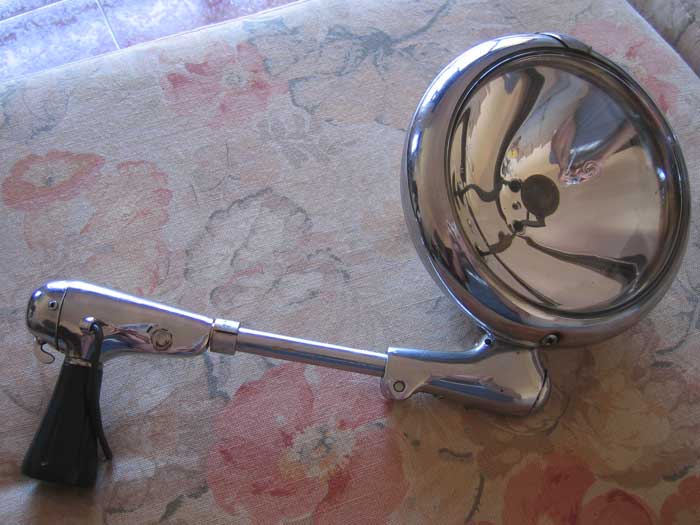
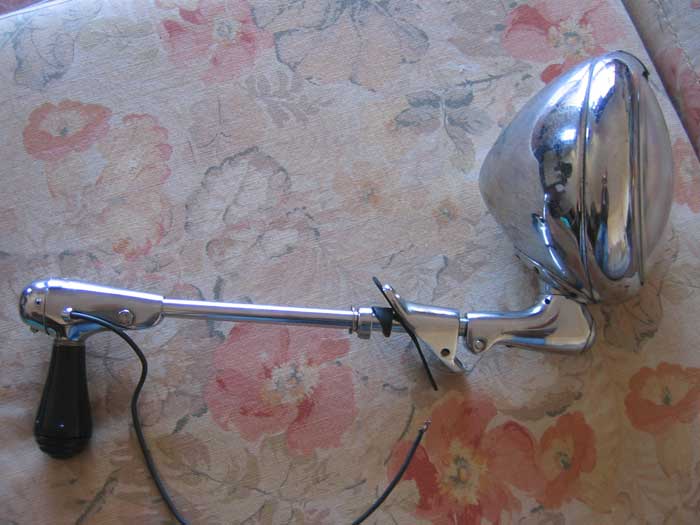
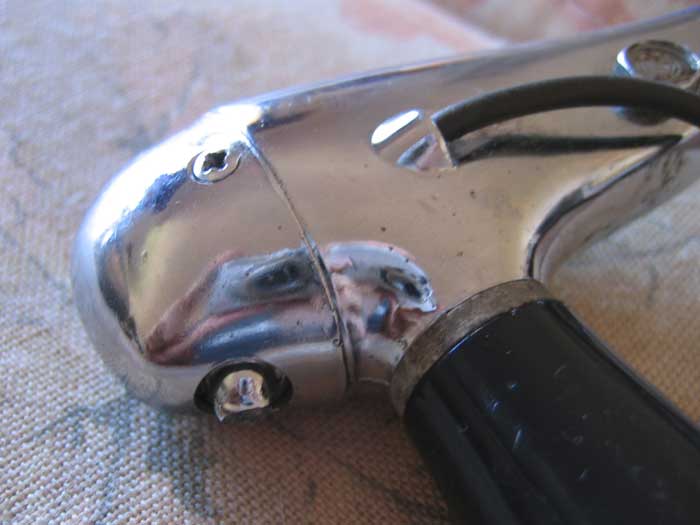
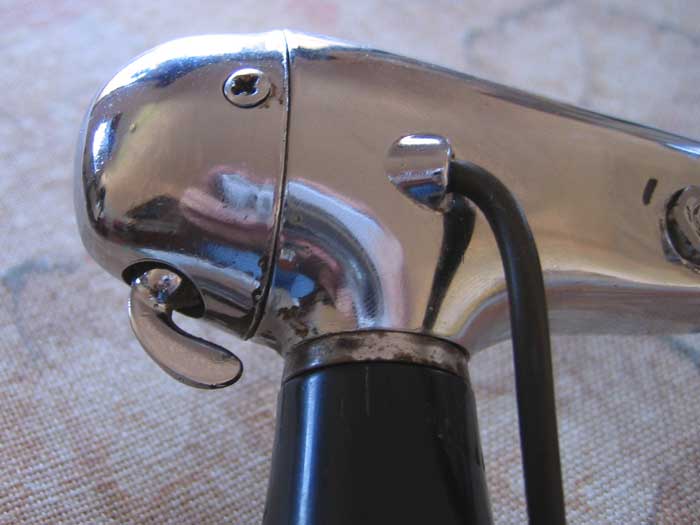
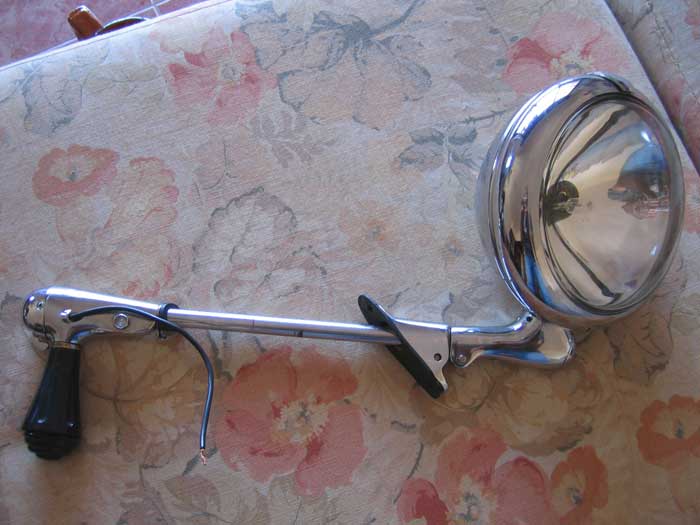
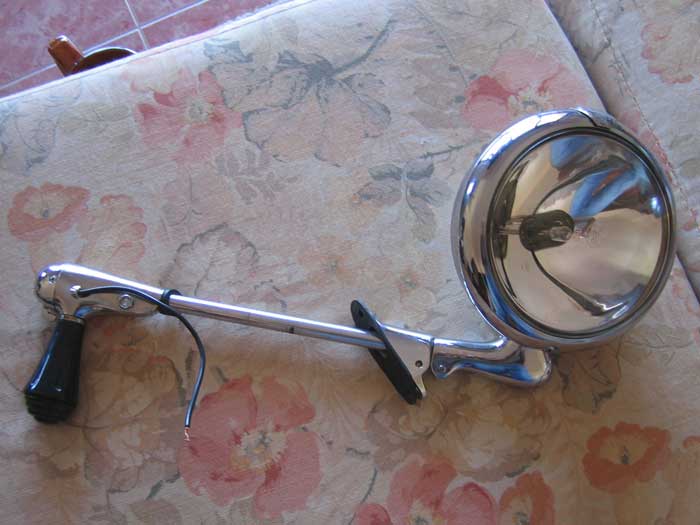
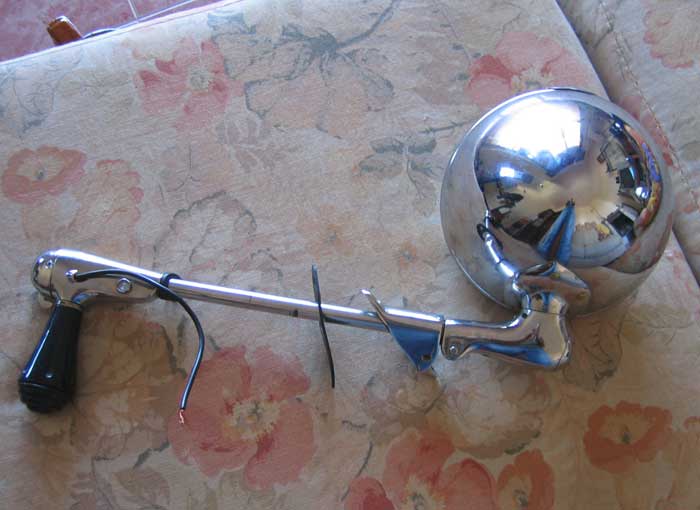
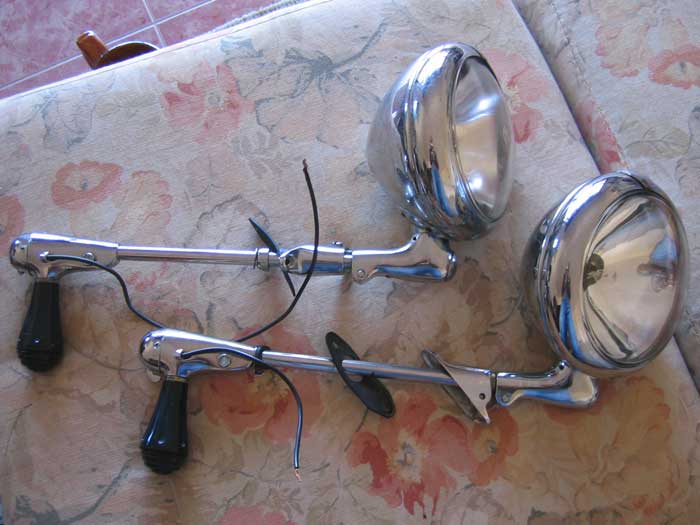
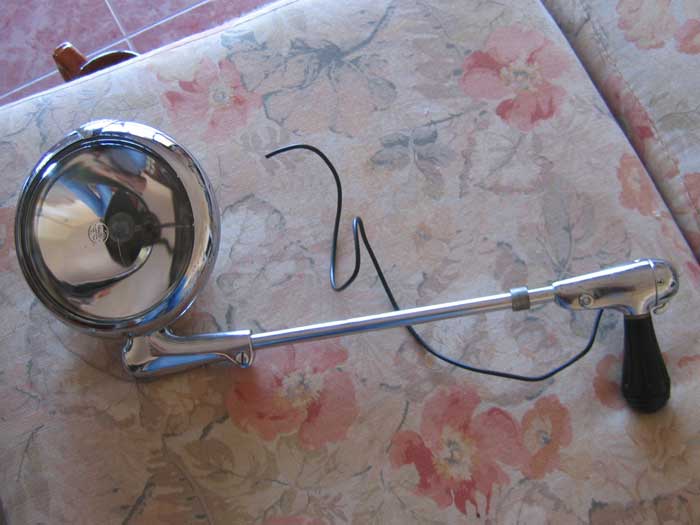
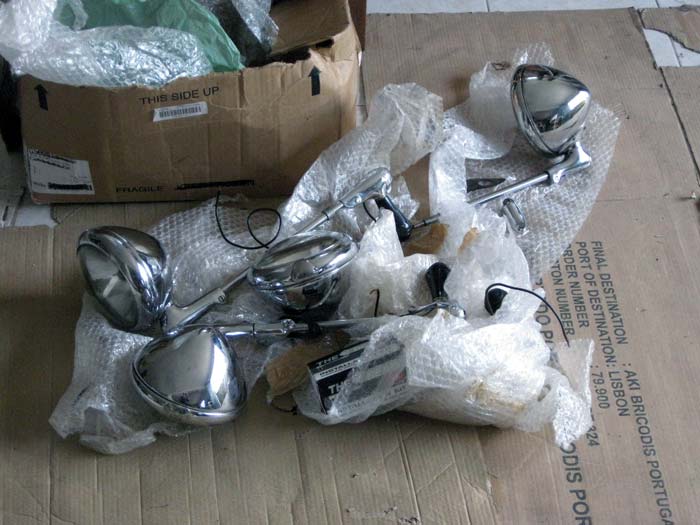
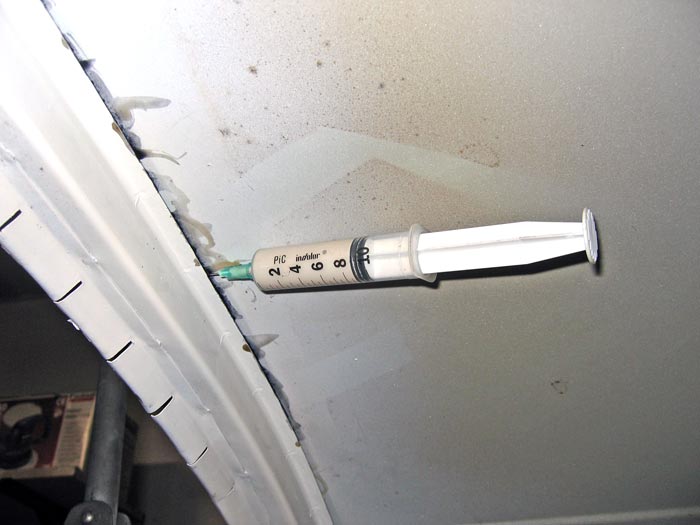
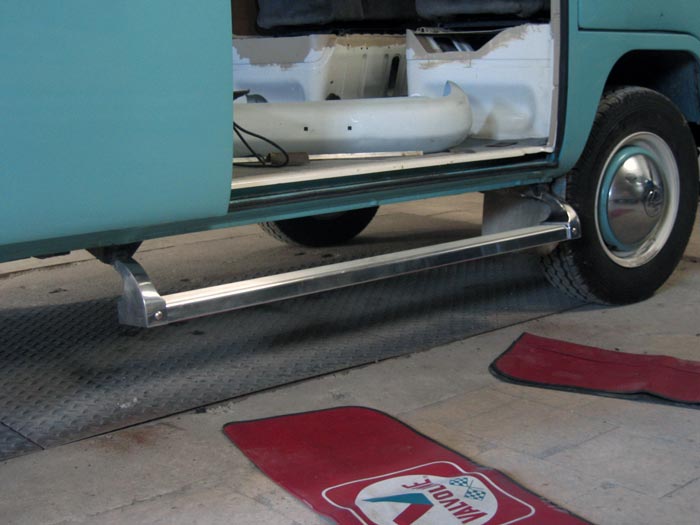
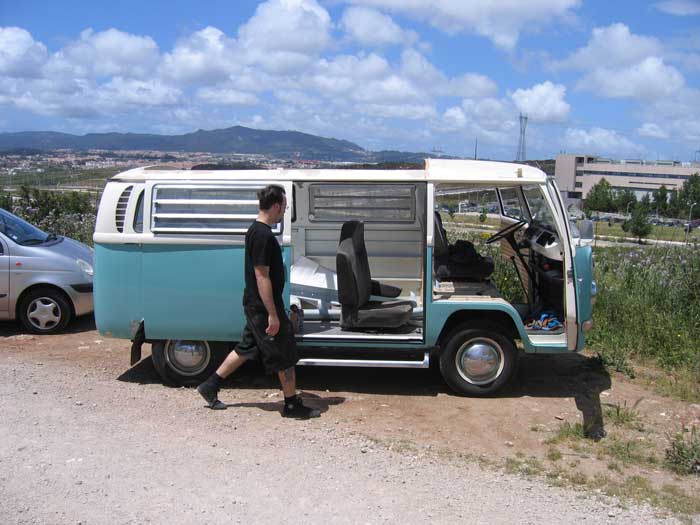
i love that spot very cool! what brand/make is it?
G
Guest
Guest
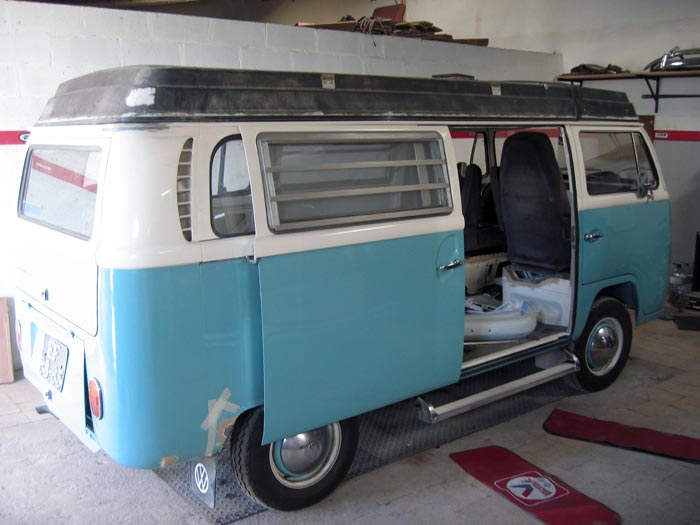
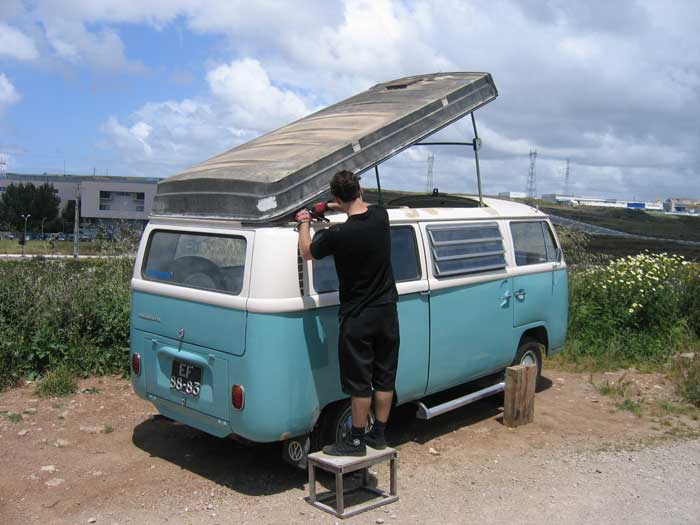
lovely bit of kit. i love the way it works from the inside 


$9.93
$10.95
Empi 00-4428-B VW Bug, Beetle, Sun Visor Clips, Type 1, 68-79, Black, Pair
MOORE PARTS SOURCE


$9.37
Empi 4429 Ivory Sun Visor Clips for Vw Bug 1965-1967/ Vw Bus 1968-1979, Pair
MOORE PARTS SOURCE


$7.94
$15.05
Door Panel Clips, for VW Aircooled Door Panels, 50 Pieces, Compatible with Dune Buggy
Appletree Automotive


$10.00
Volkswagen Genuine VW Driver Gear VW Logo Specifications T-Shirt Tee - X-Large - Black
wolframitersqga
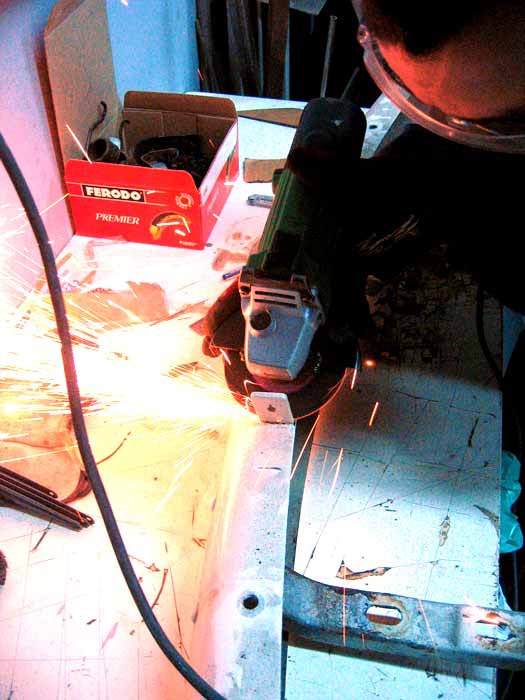
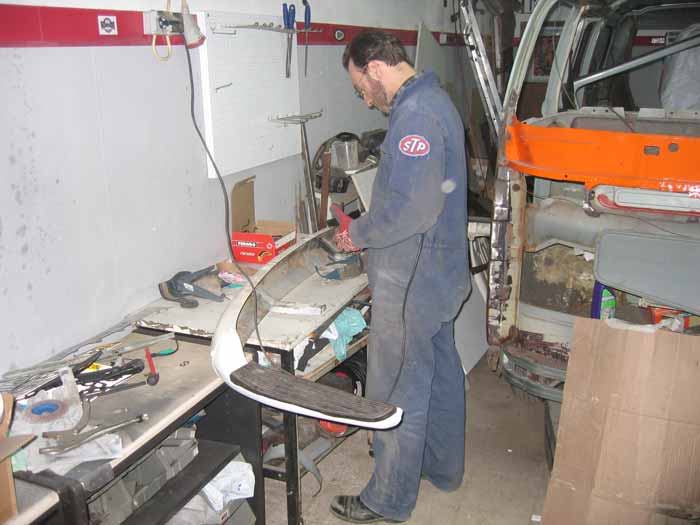
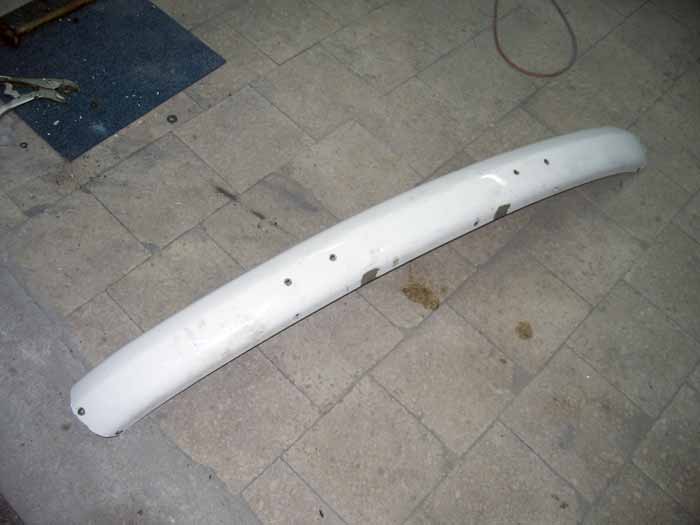
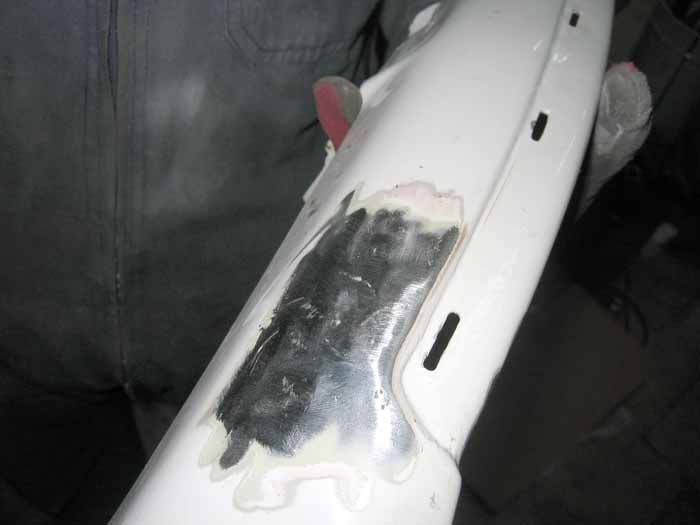
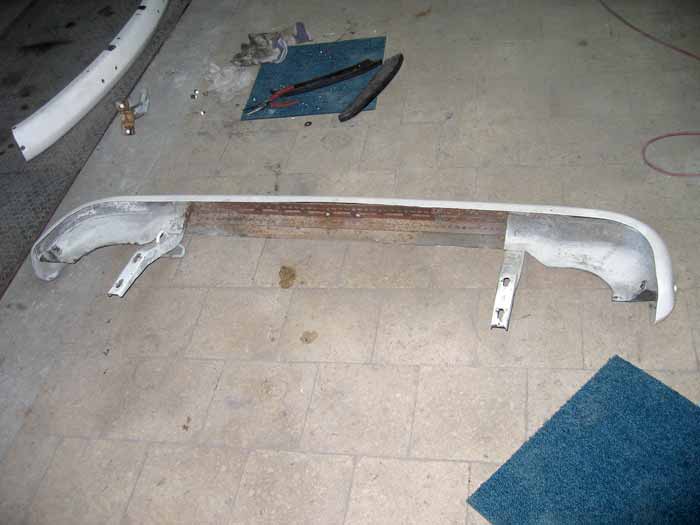
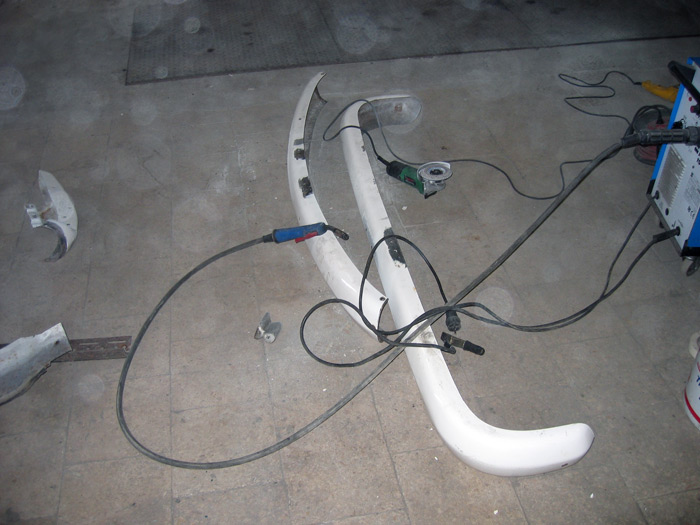
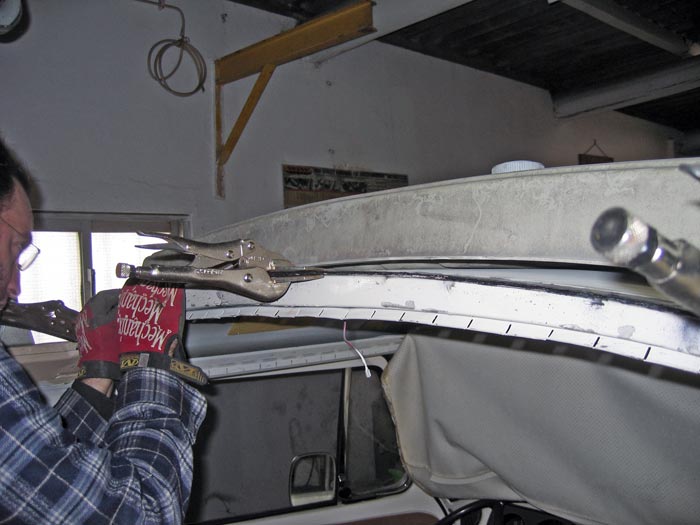
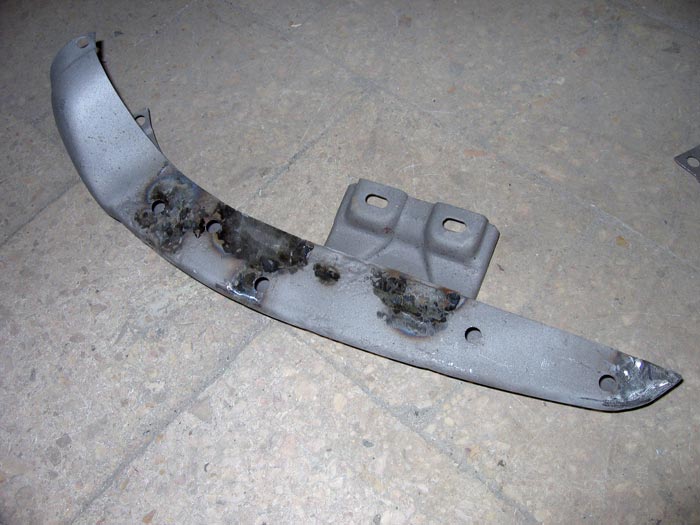
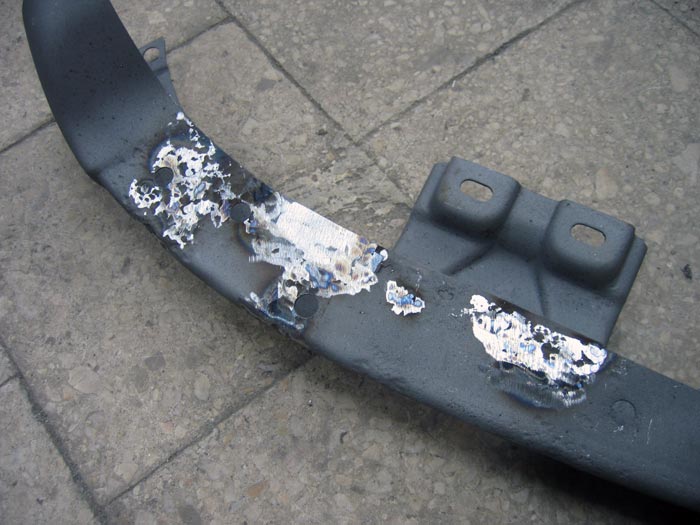
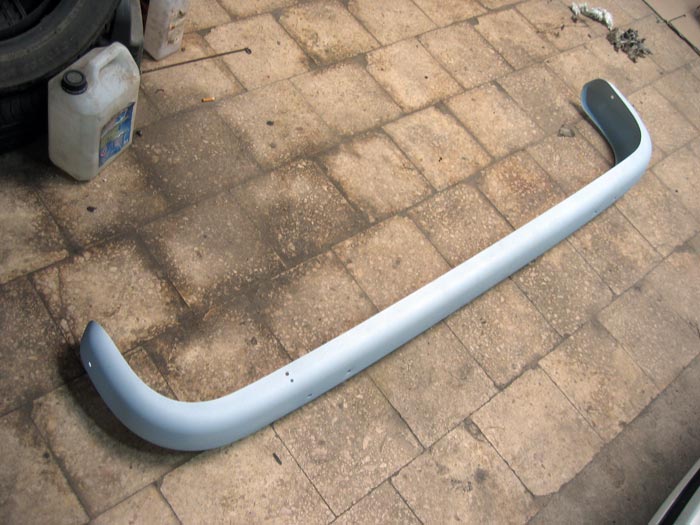
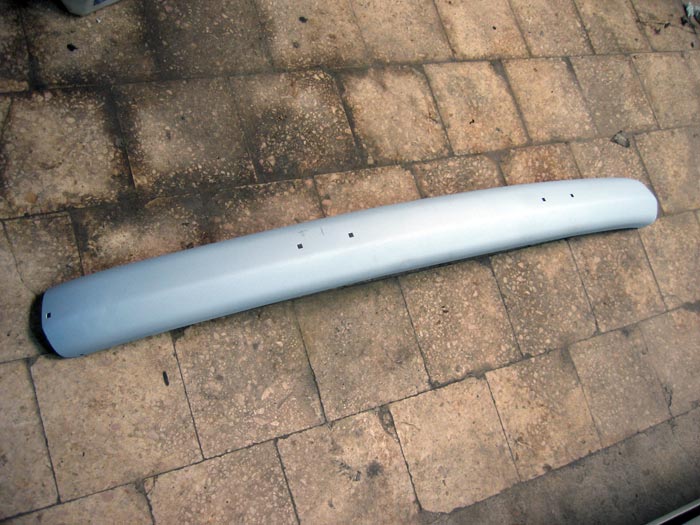
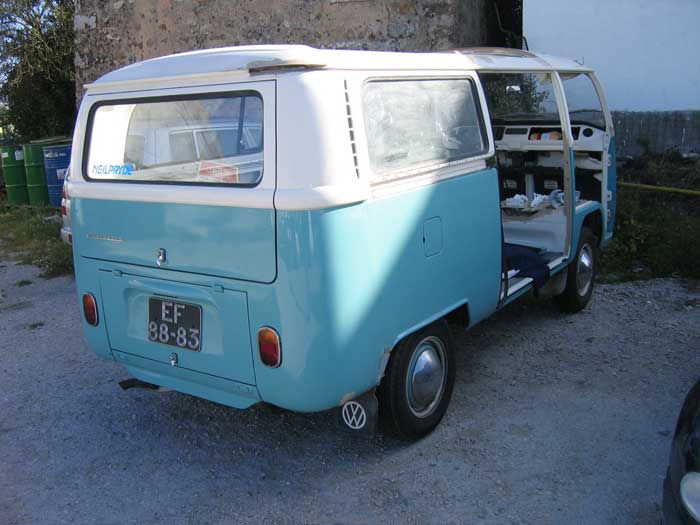
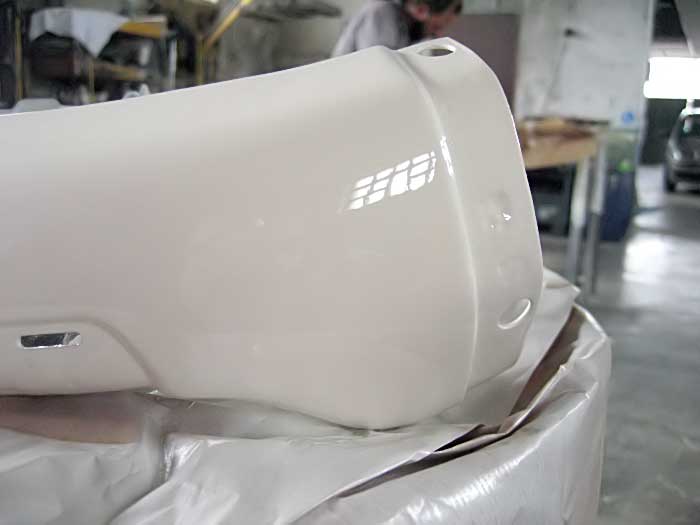
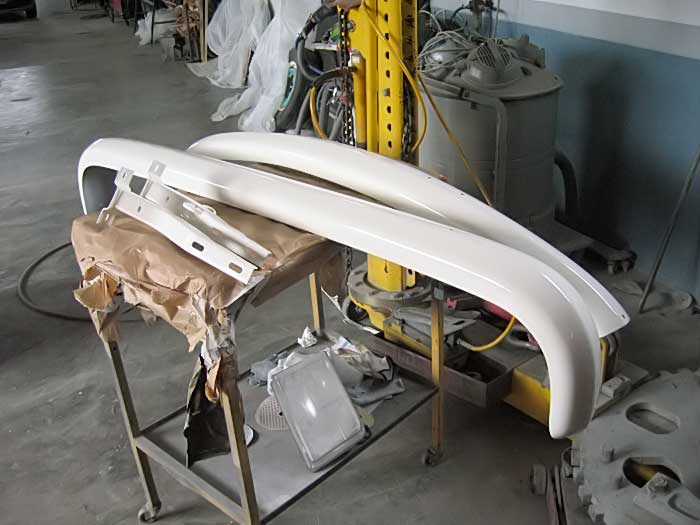
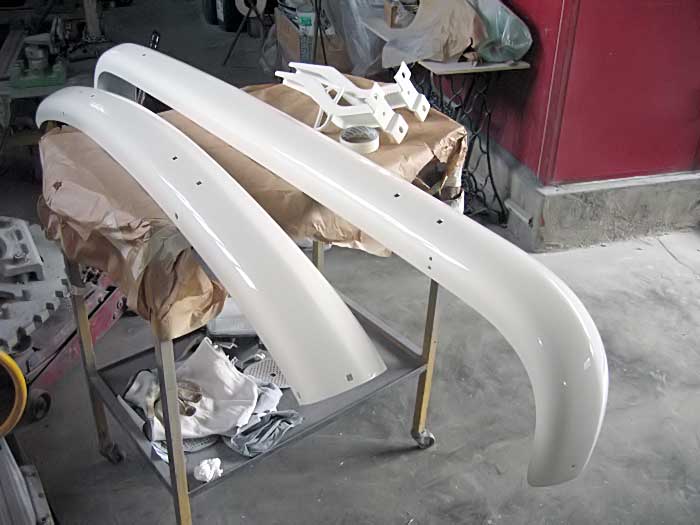
on the following days we decided to finish working on the bumpers....
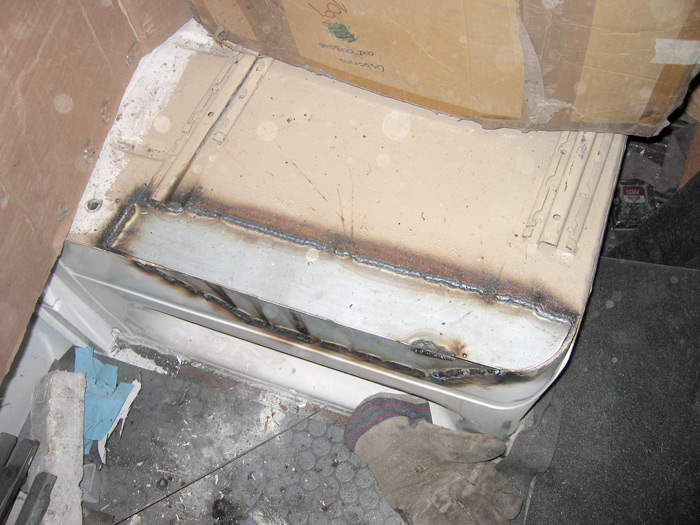
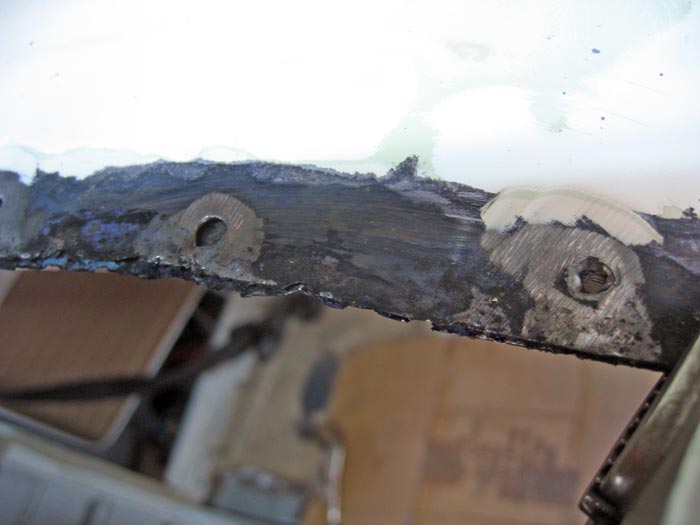
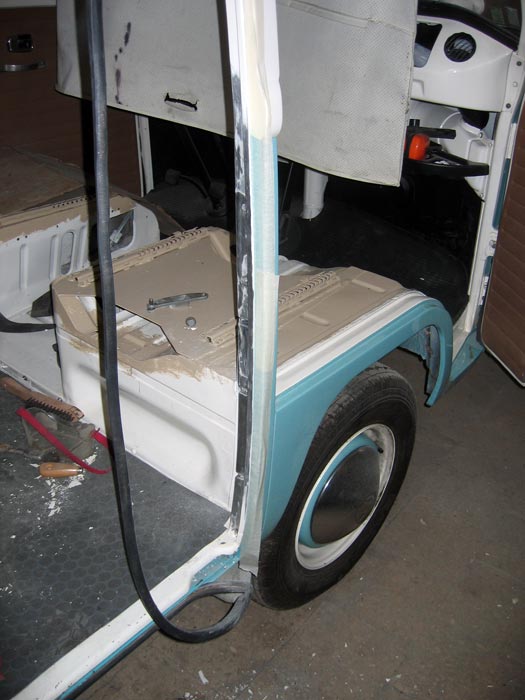
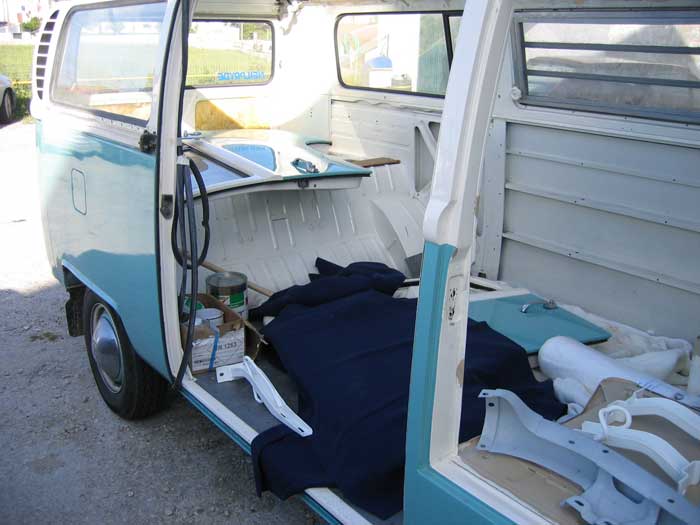
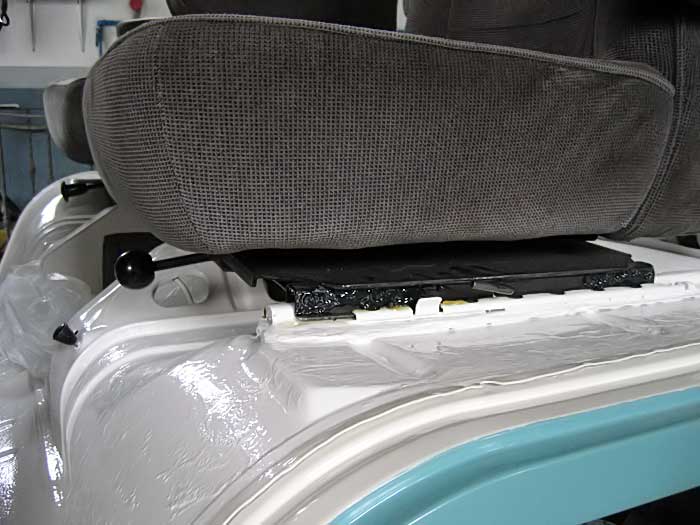
But there was still more to do. We decided to close this area under the drivers seat....
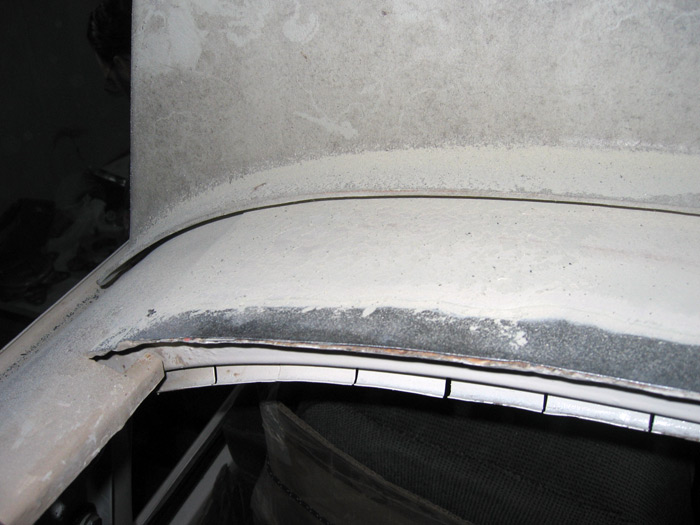
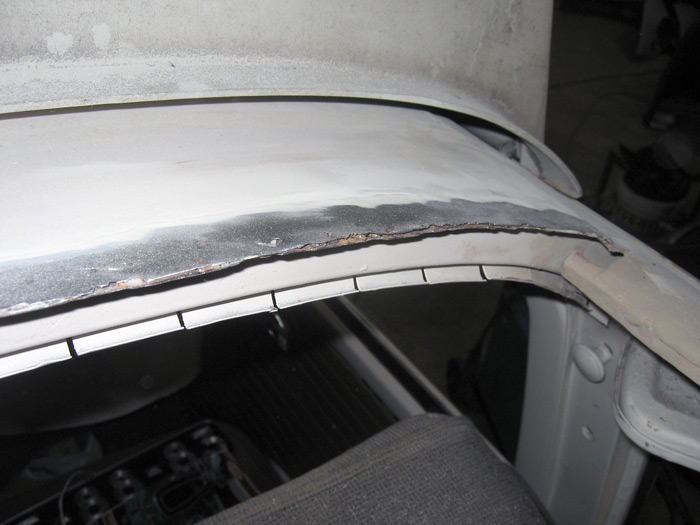
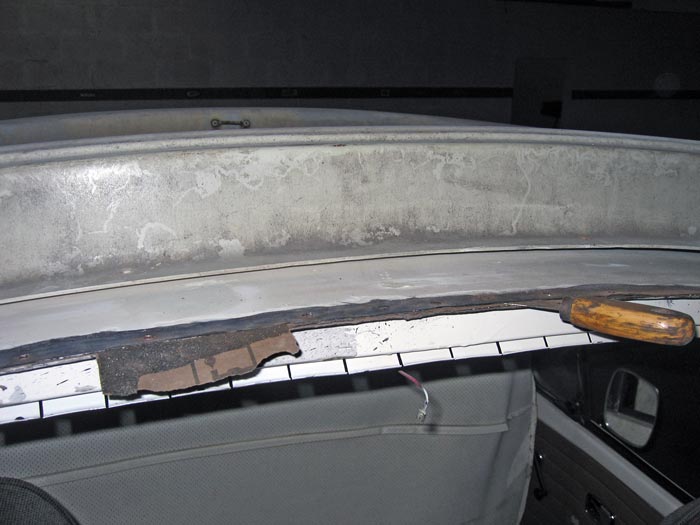
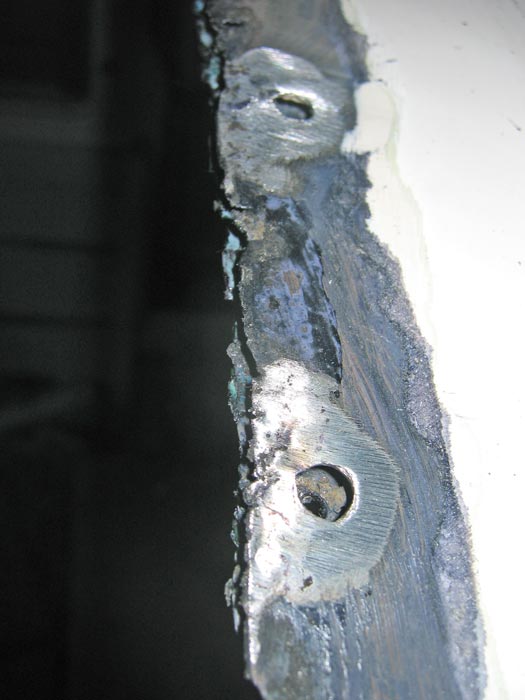
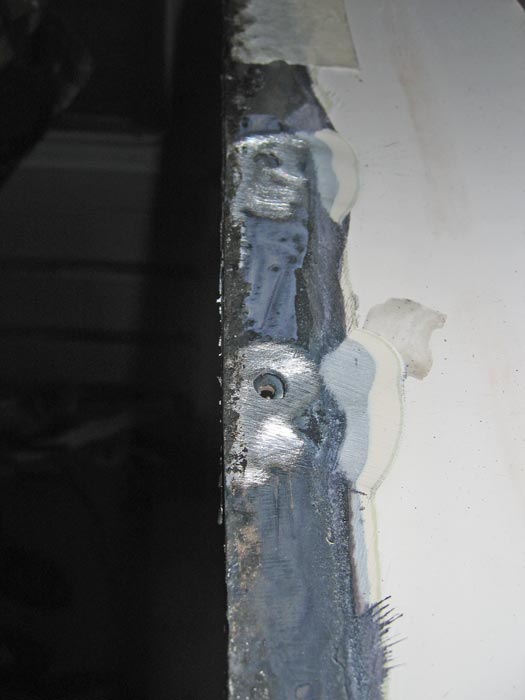
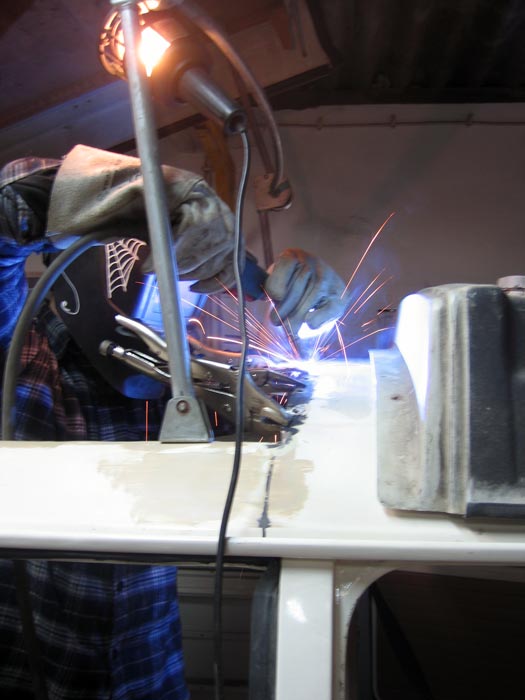
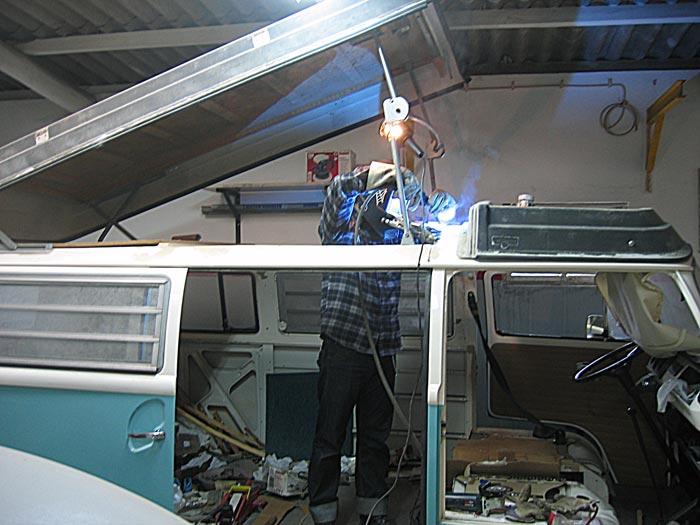
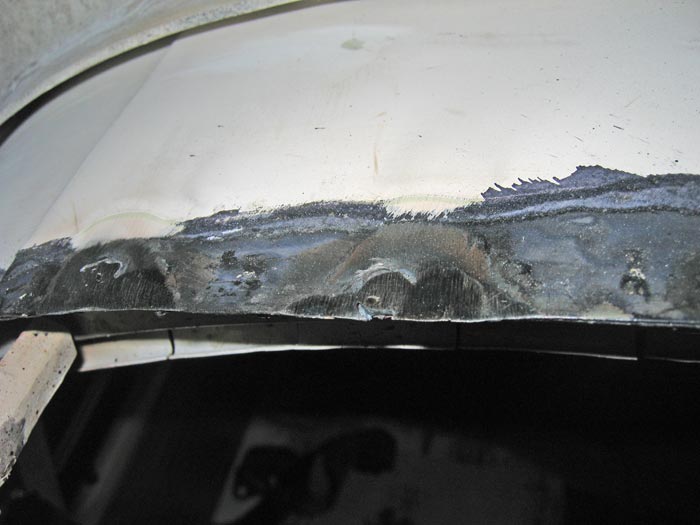
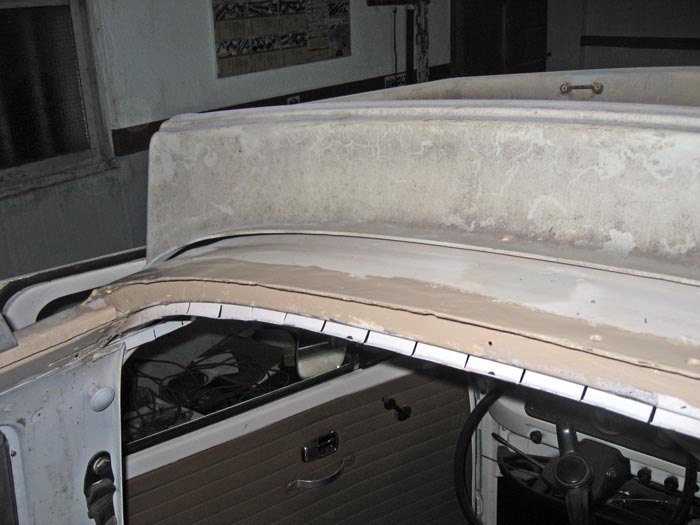
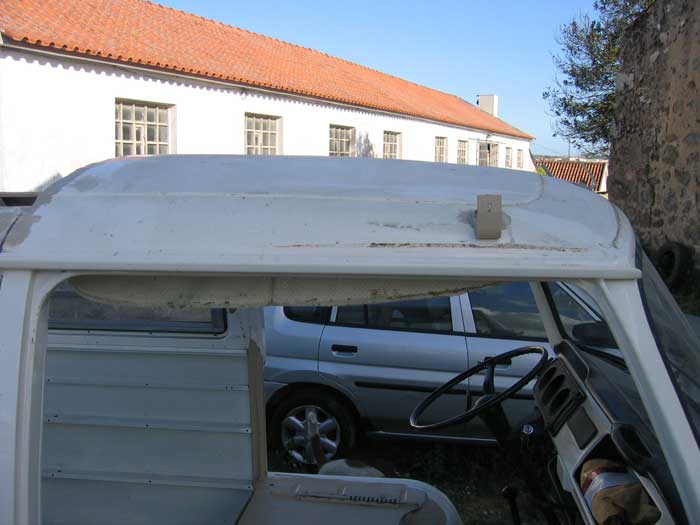
... and on the roof, due to the old cut, there was more welding to do.:
But there was still more to do. We decided to close this area under the drivers seat....
... and on the roof, due to the old cut, there was more welding to do.:
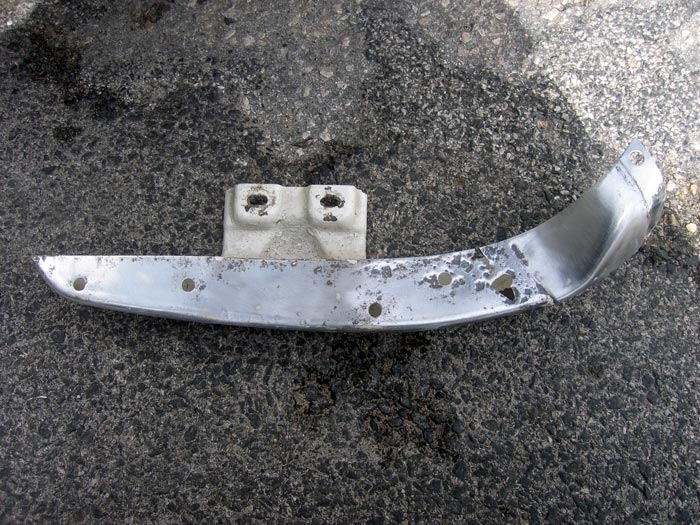


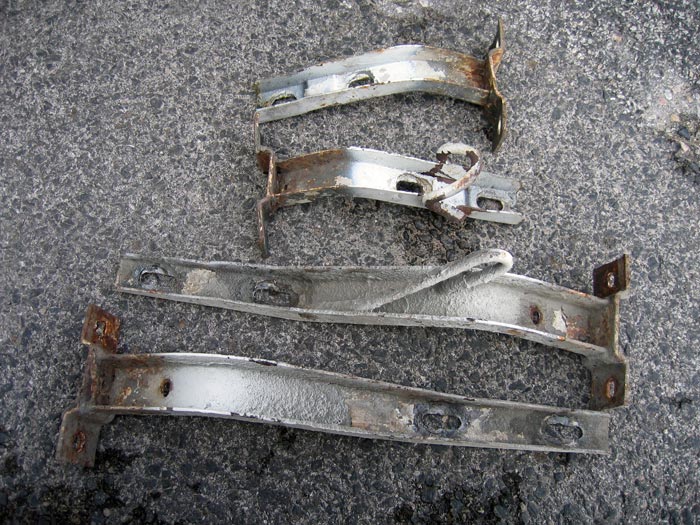
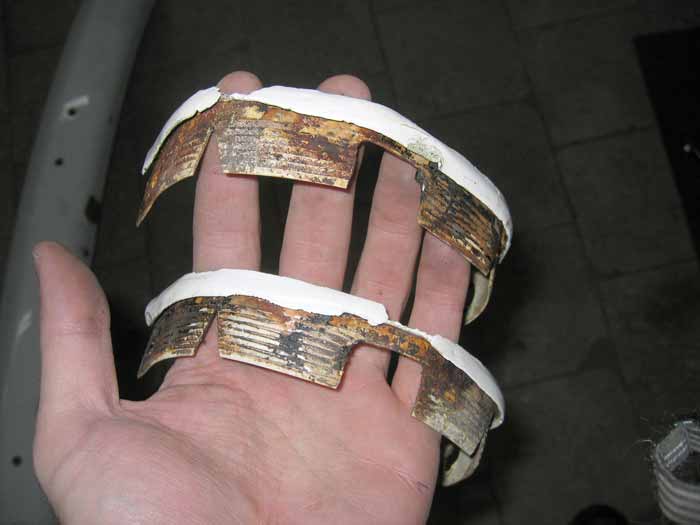
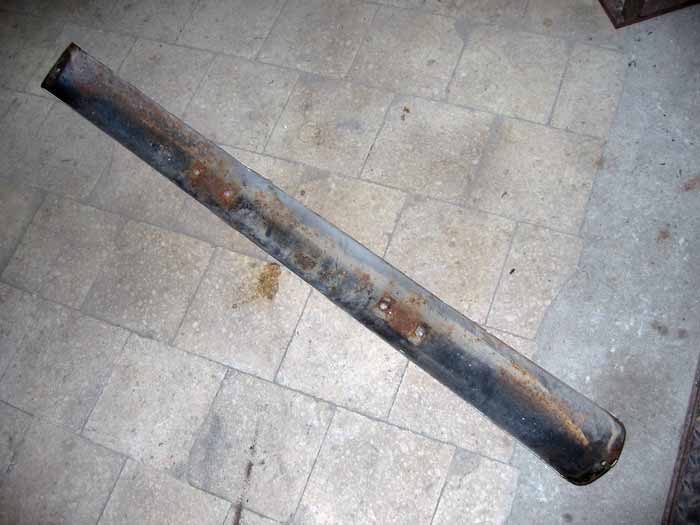
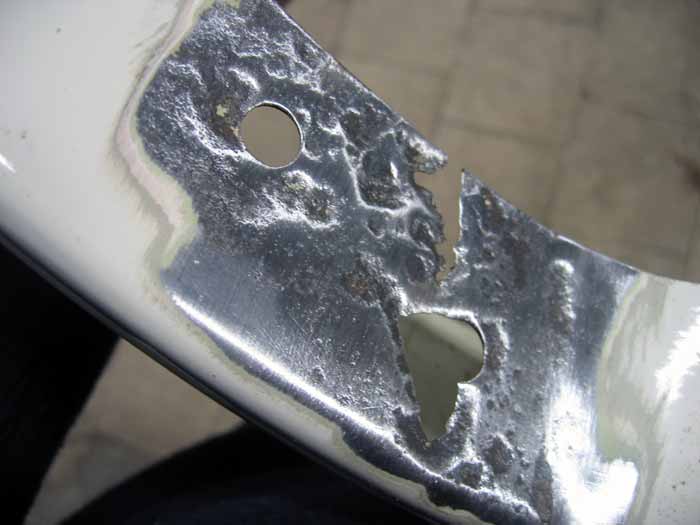
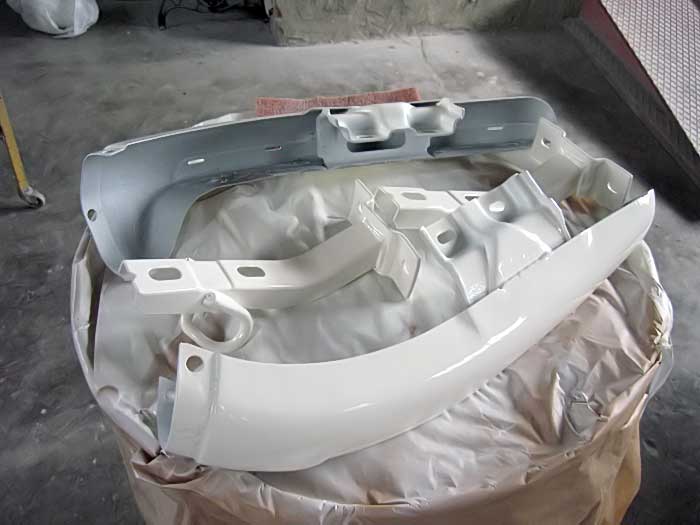
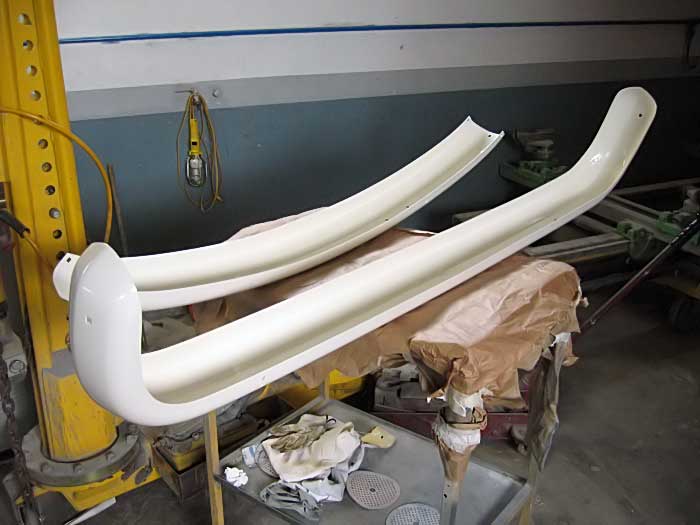
while both bumpers were sandblasted, there was more to do.
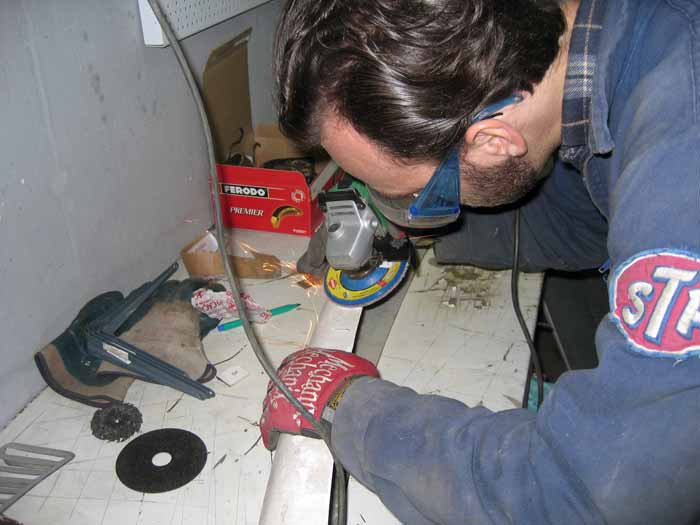
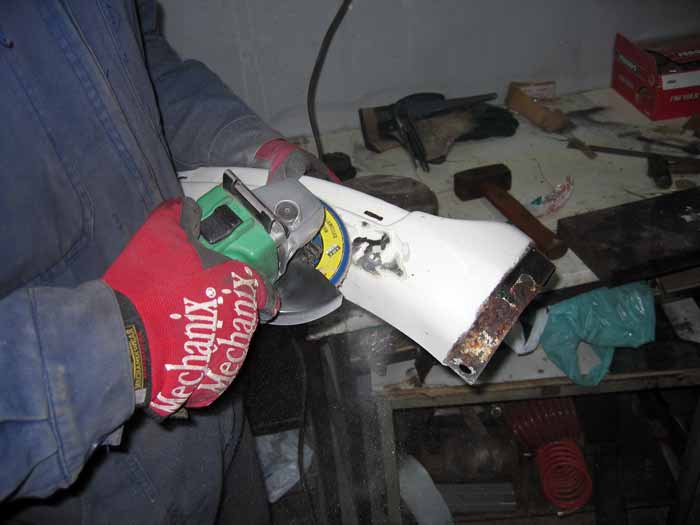
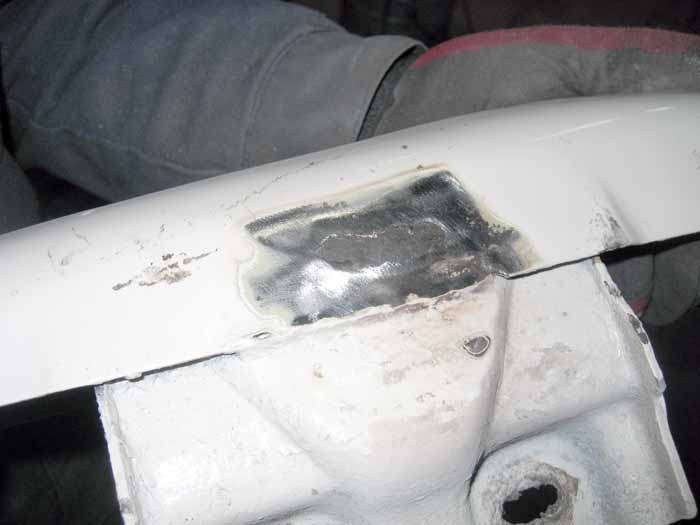
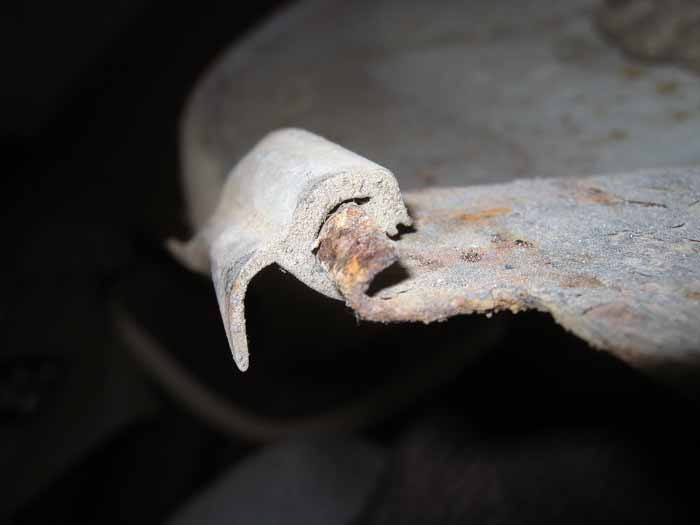
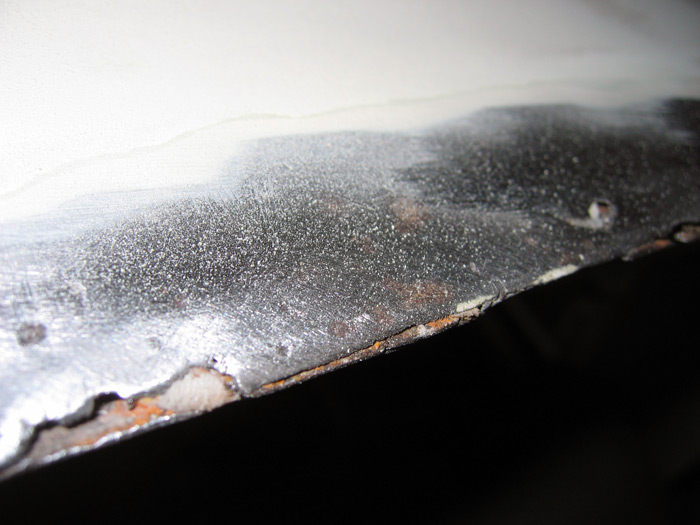
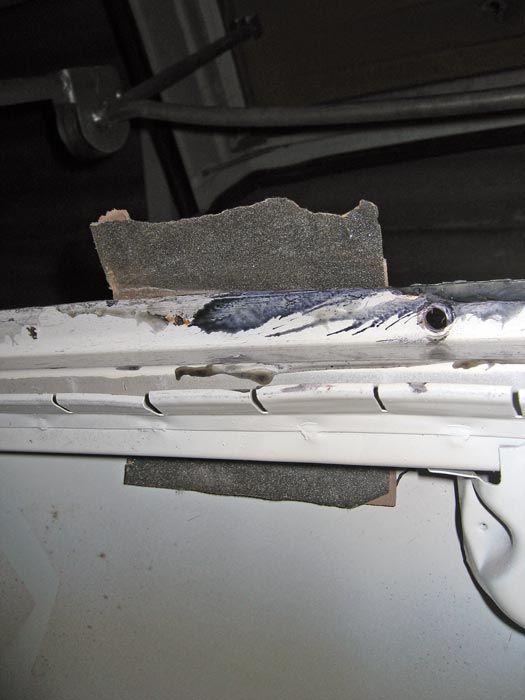
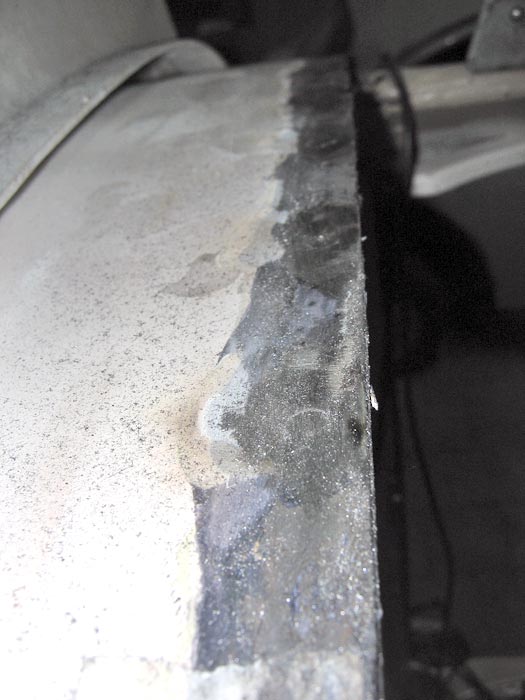
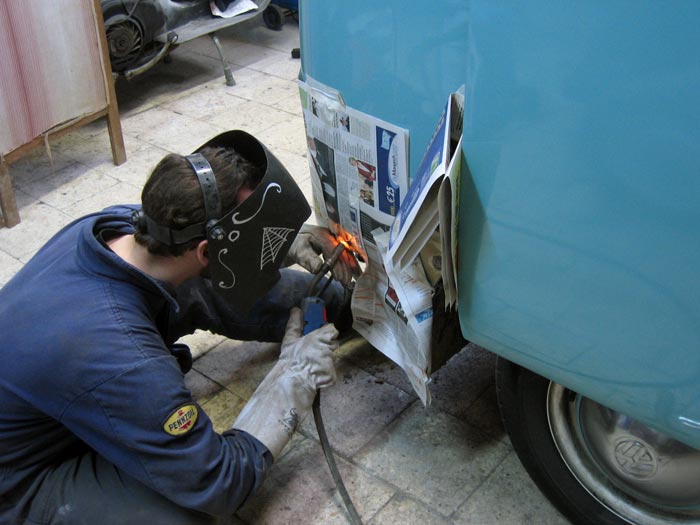
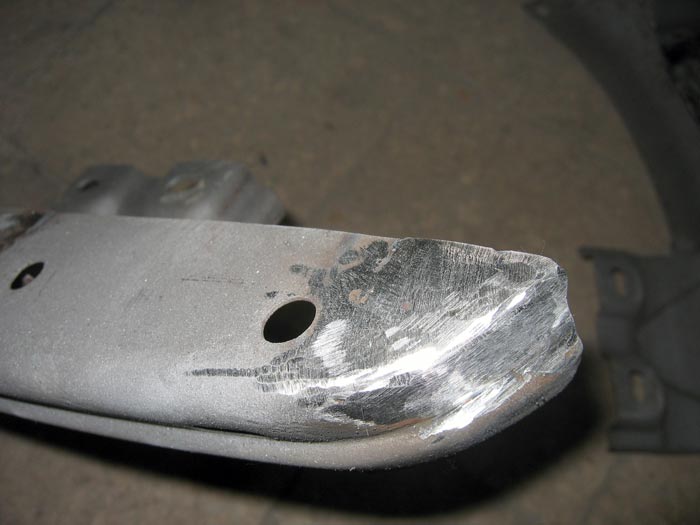
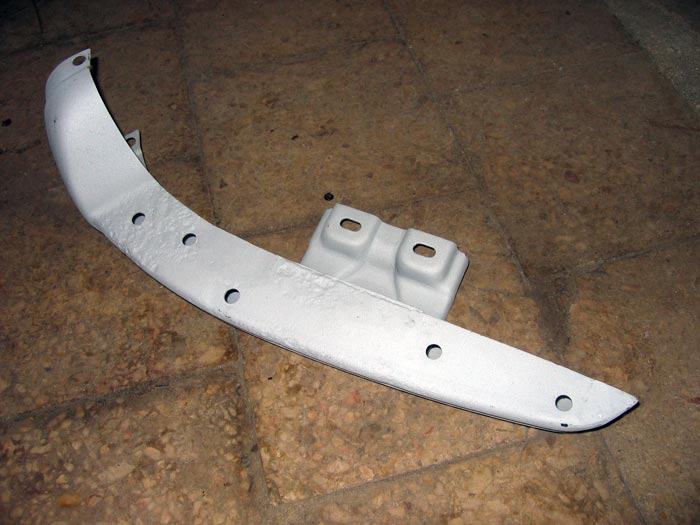
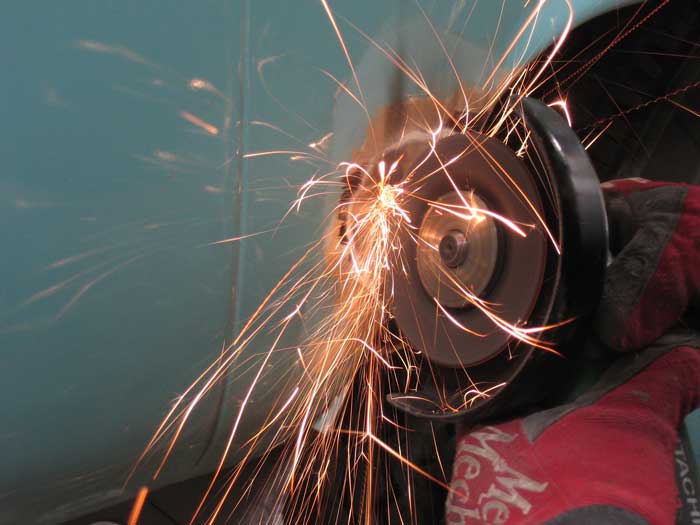
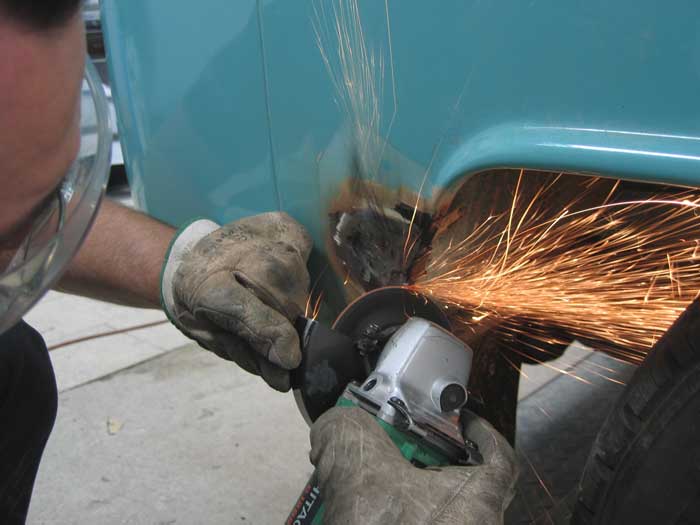
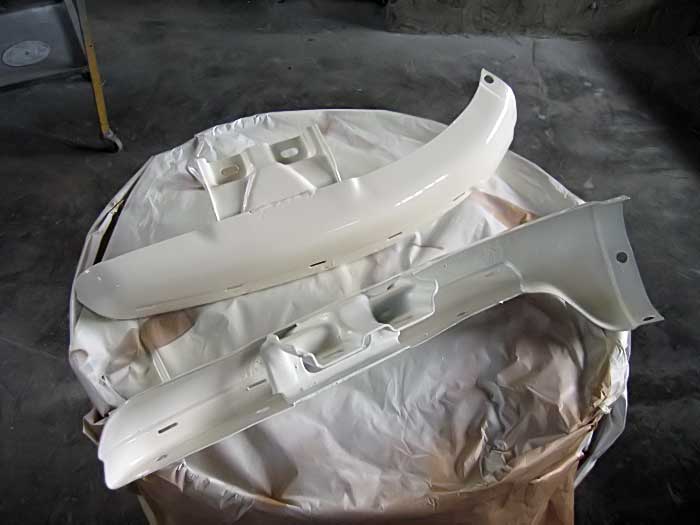
I decided to use a litle of sand paper to remove some rust from this area:
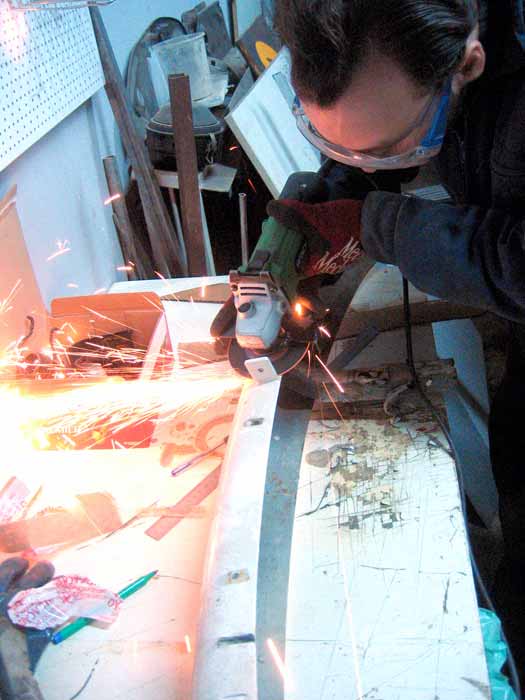
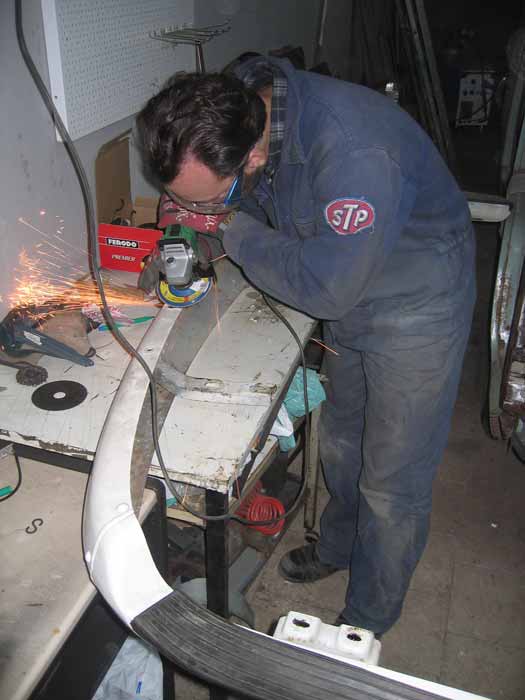
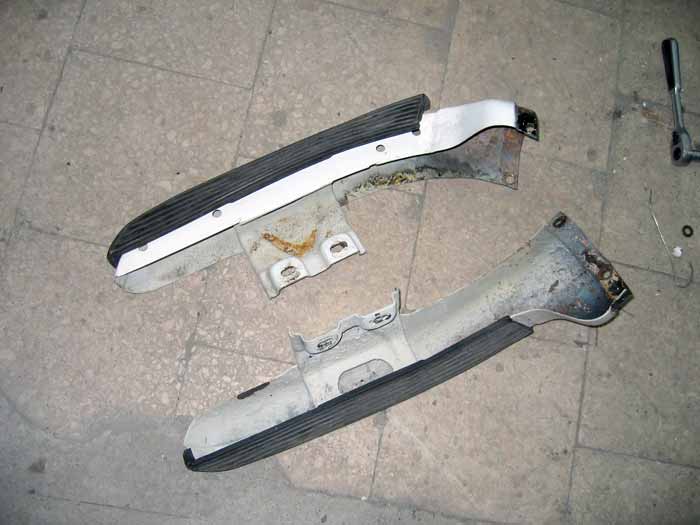
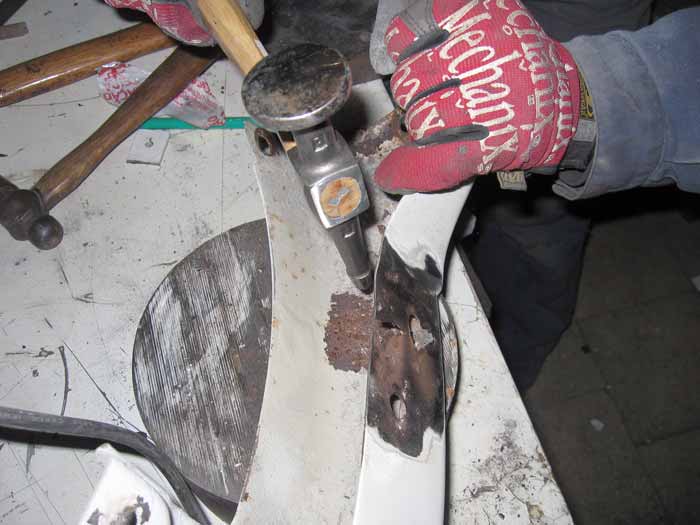
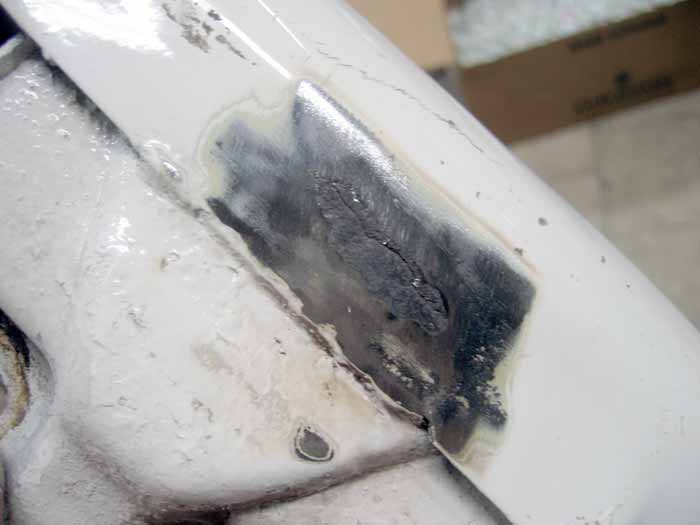
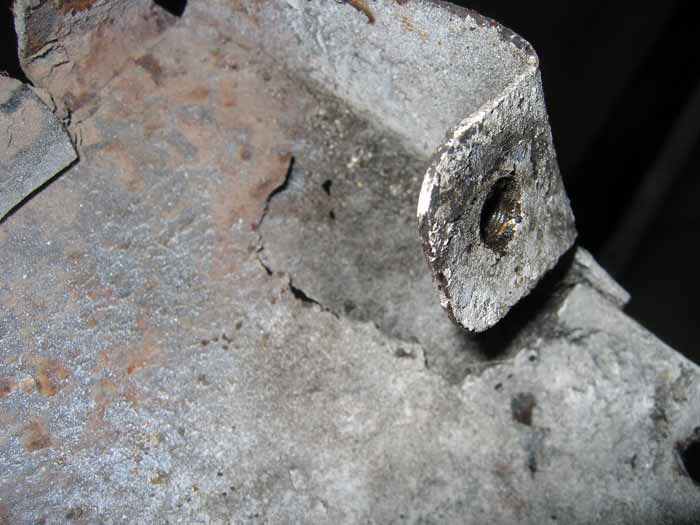
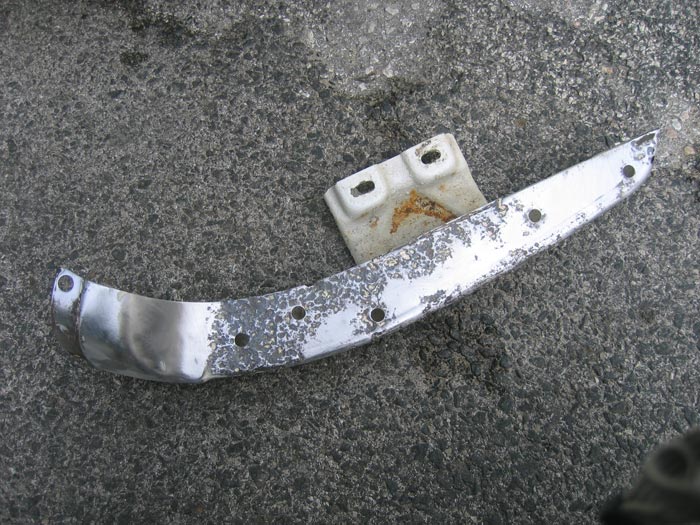
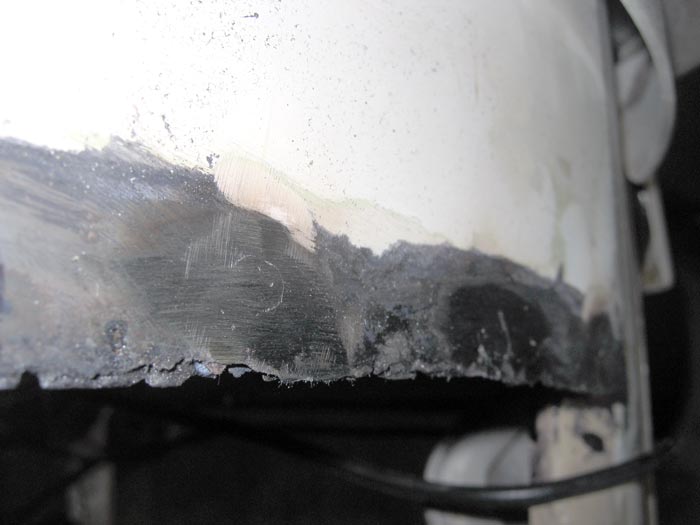
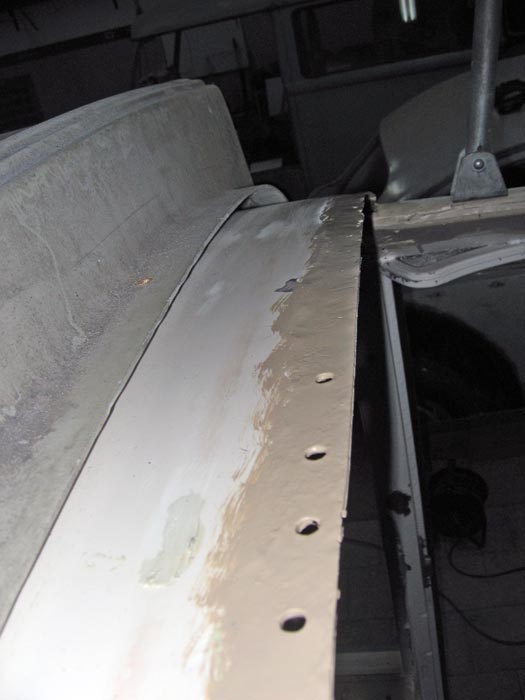
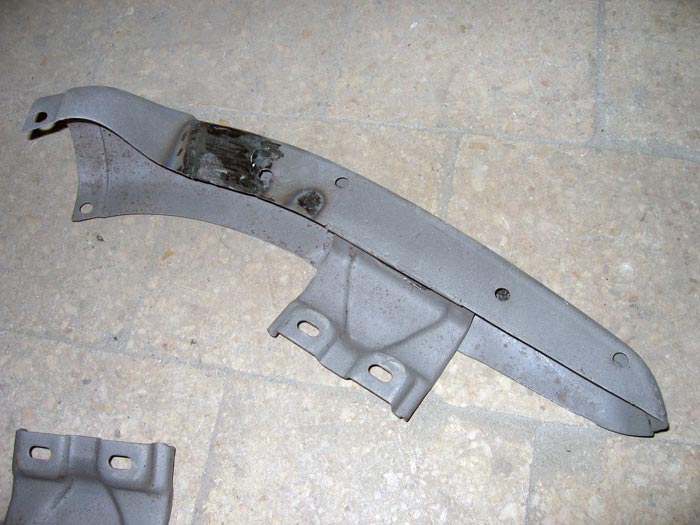
... and some holes to weld the to pieces together....

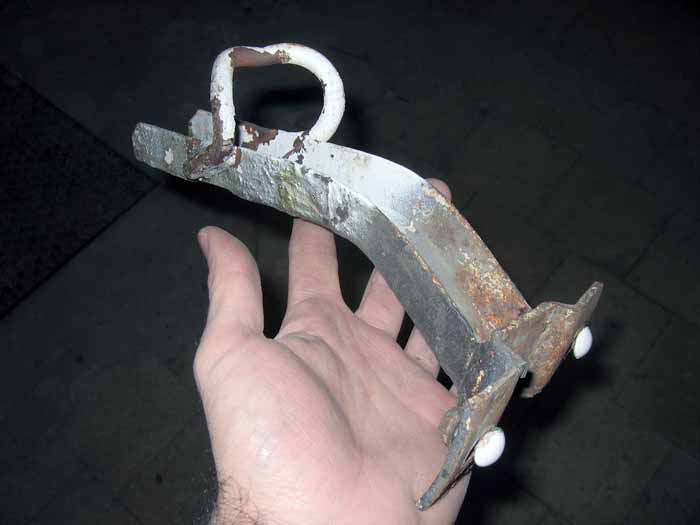
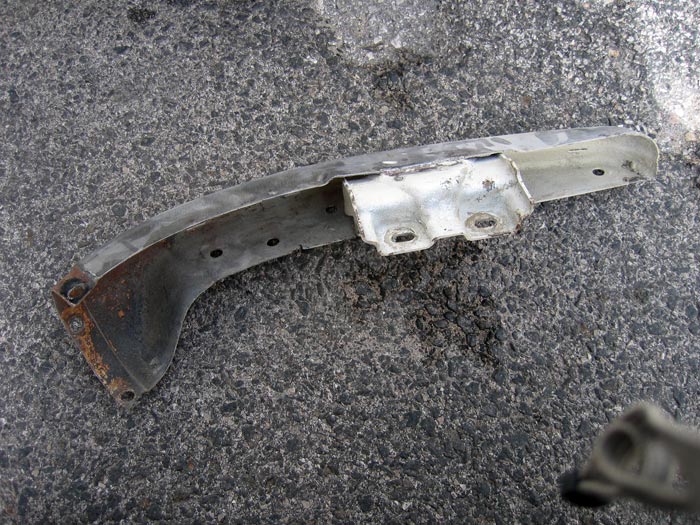
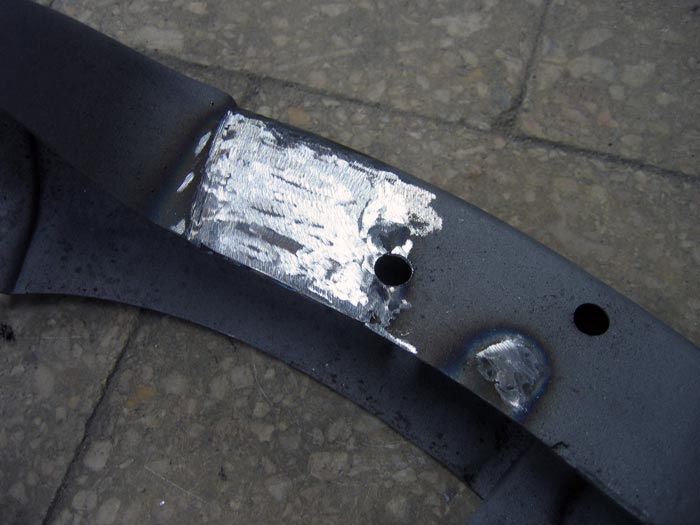
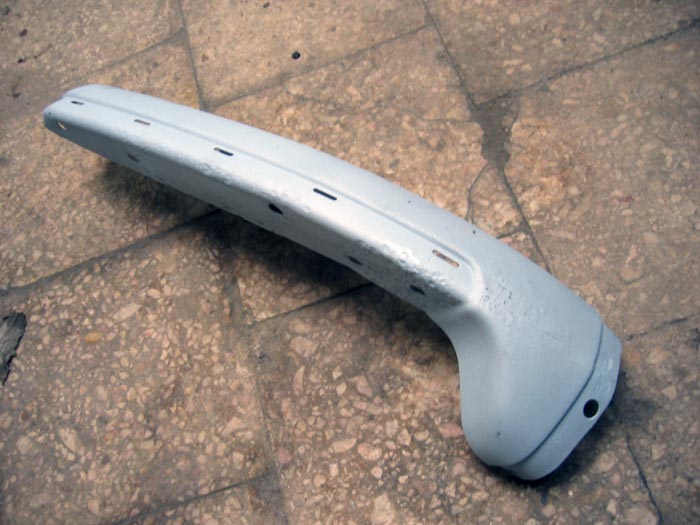
... and Vlad welding them...
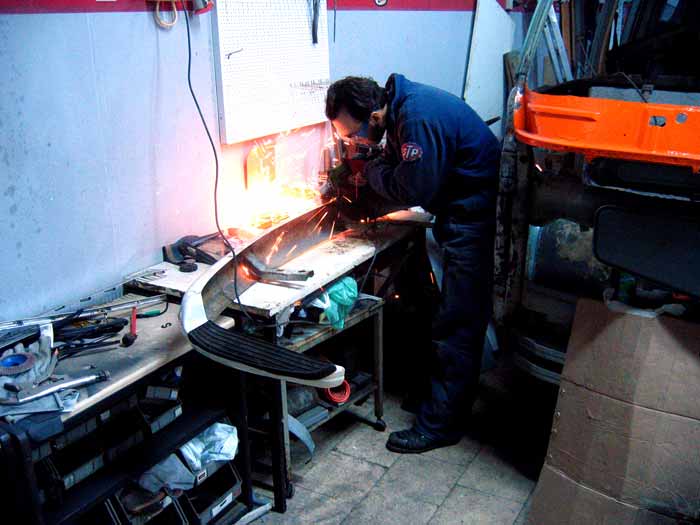
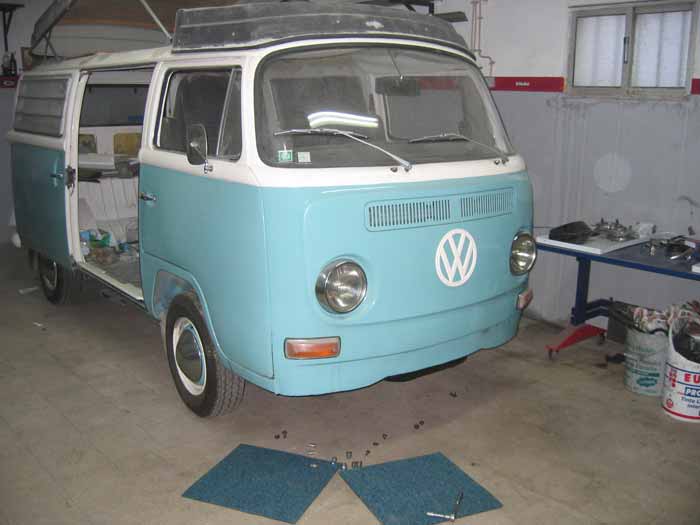
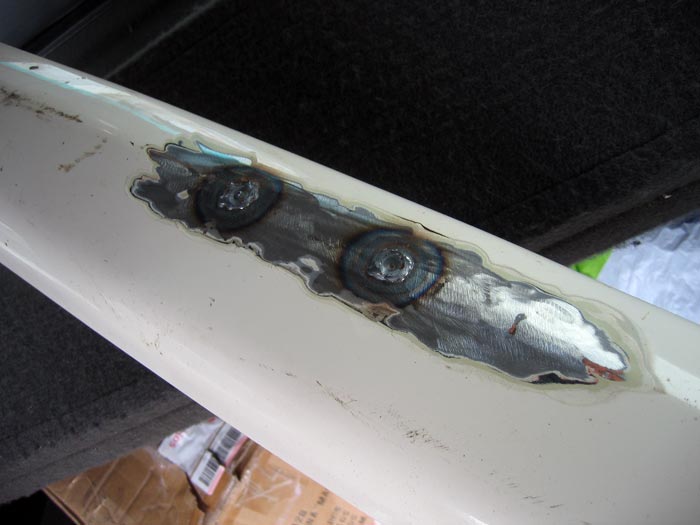
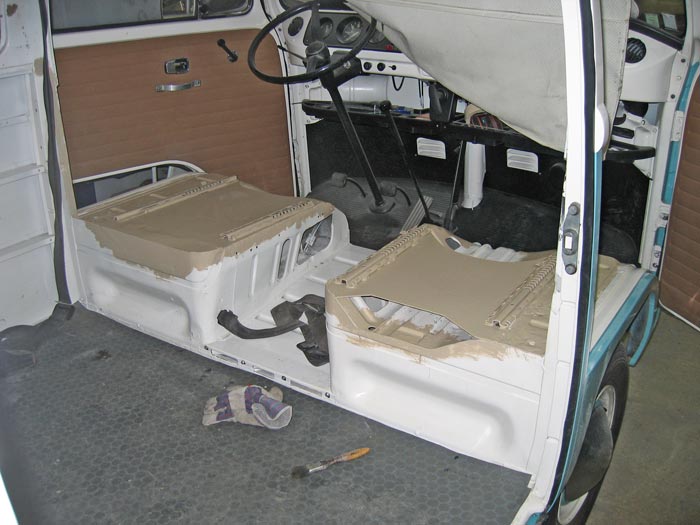
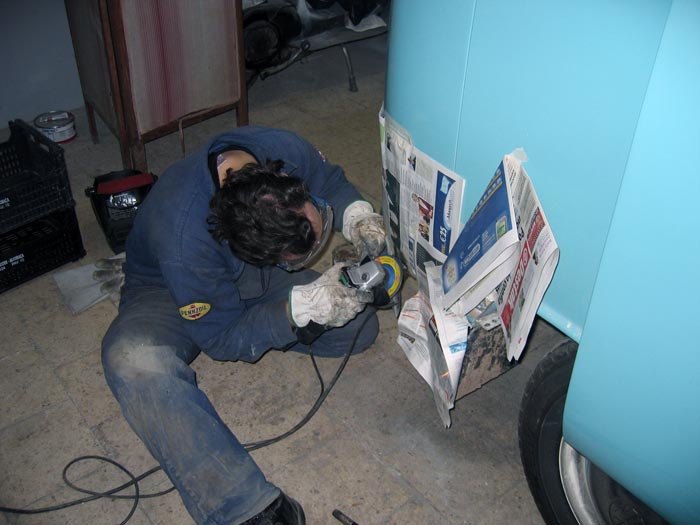
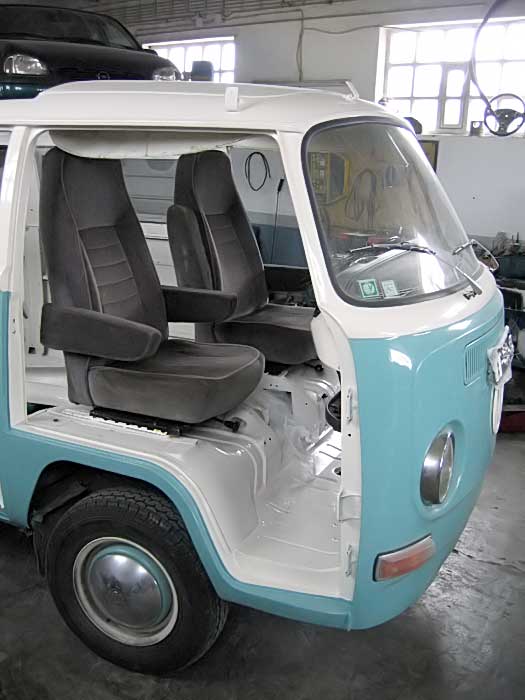
and the seats area was finished...
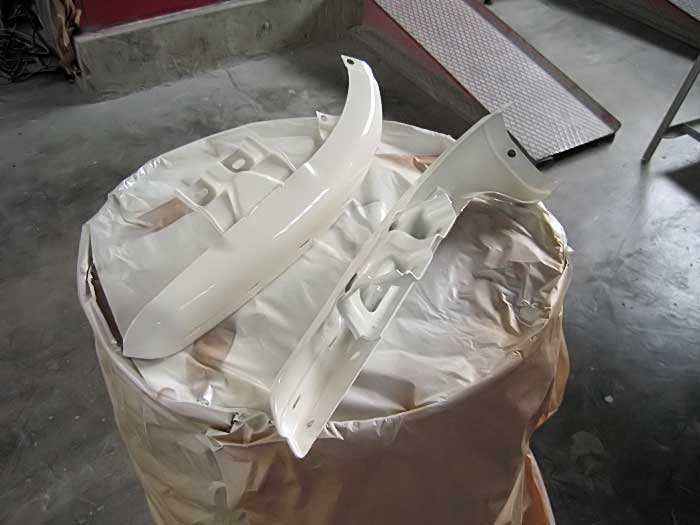
I decided to use a litle of sand paper to remove some rust from this area:
... and some holes to weld the to pieces together....
... and Vlad welding them...
and the seats area was finished...
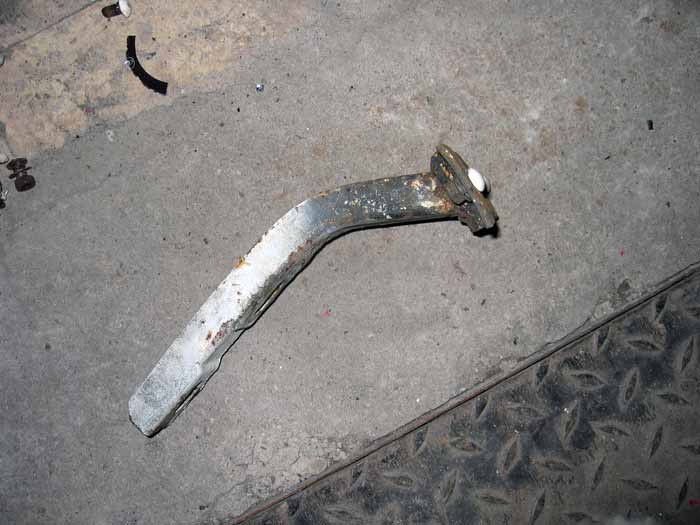
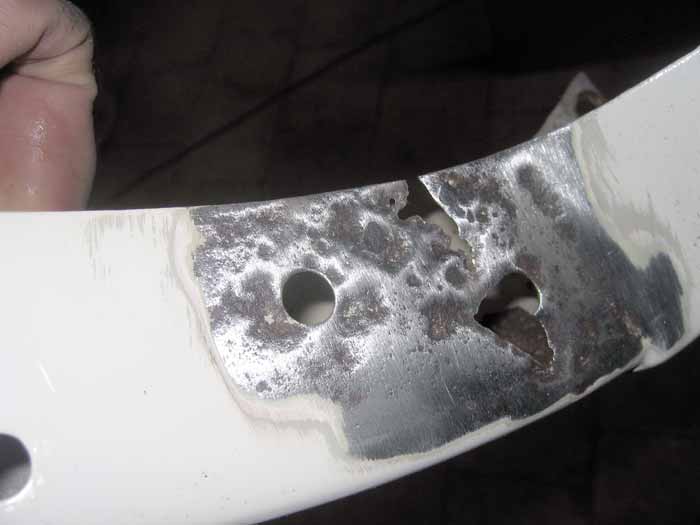
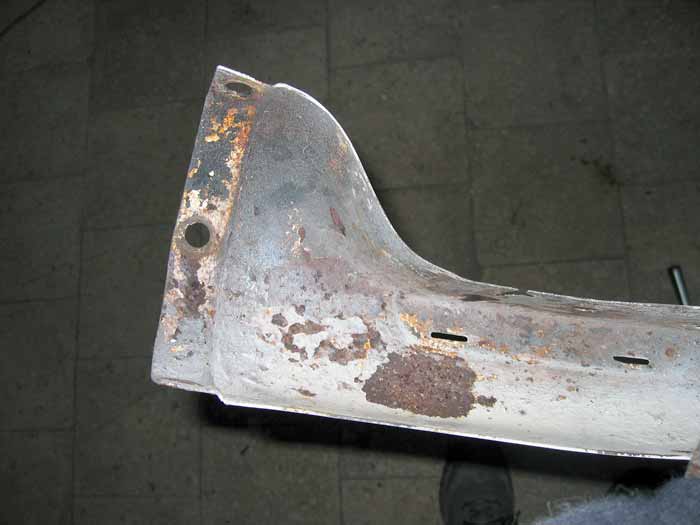
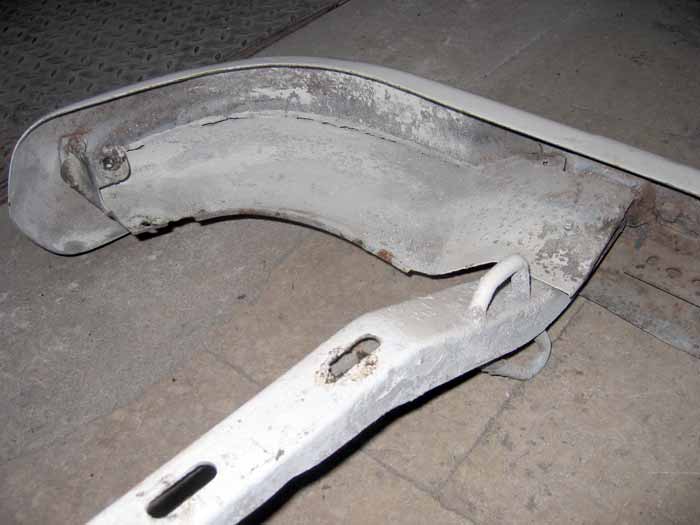
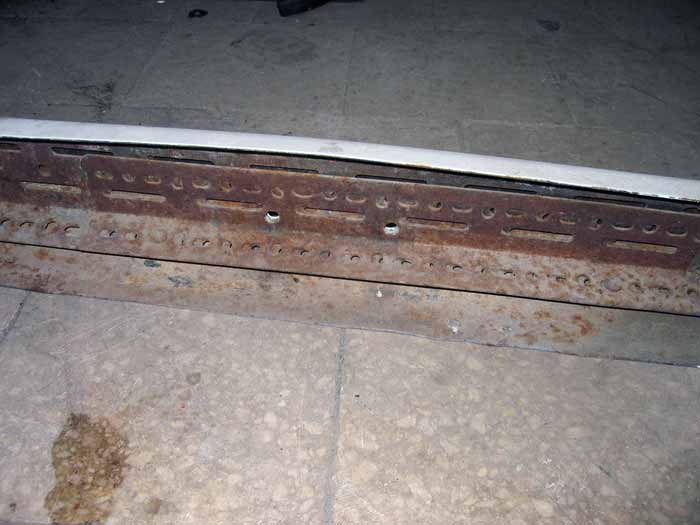
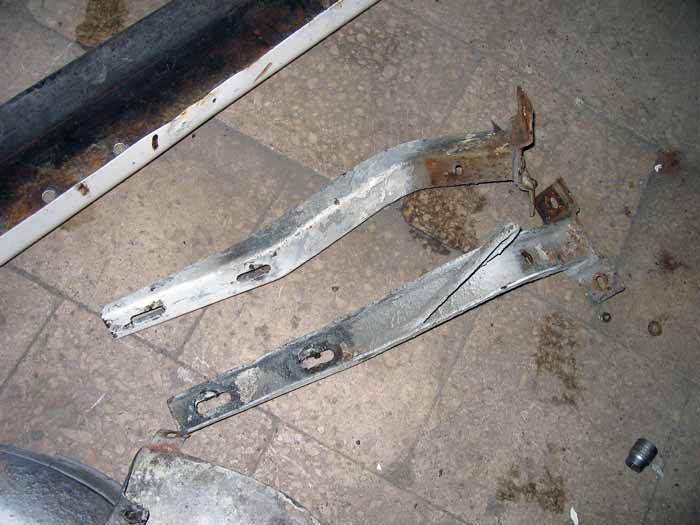
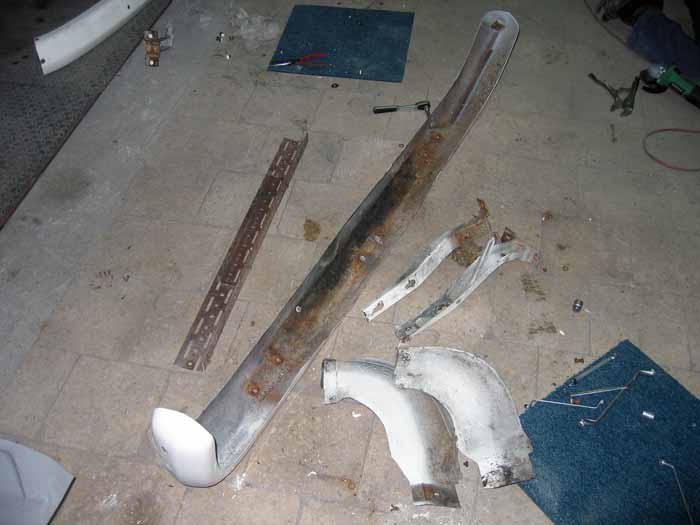
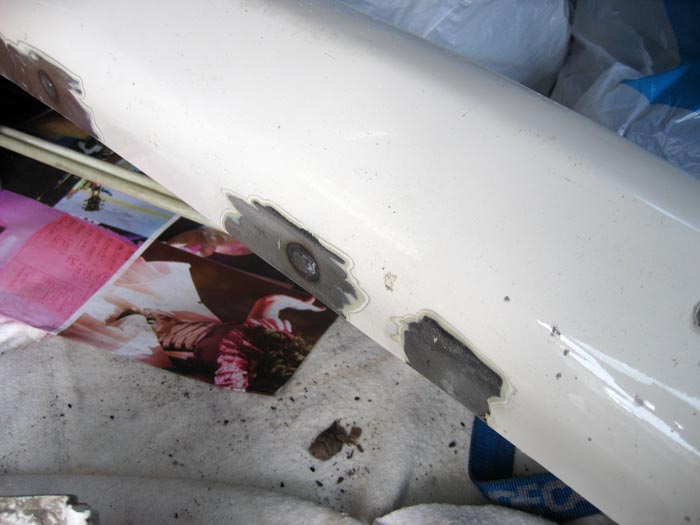
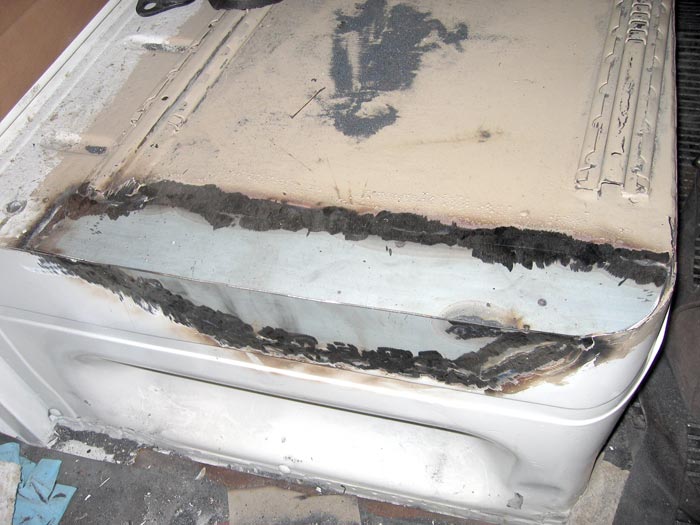
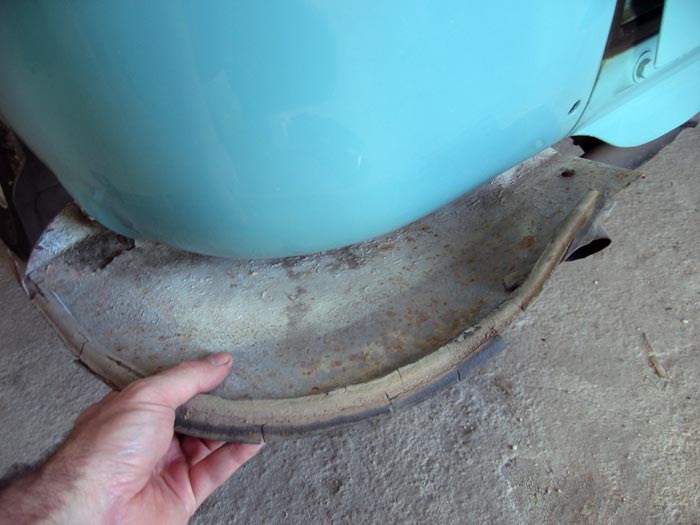
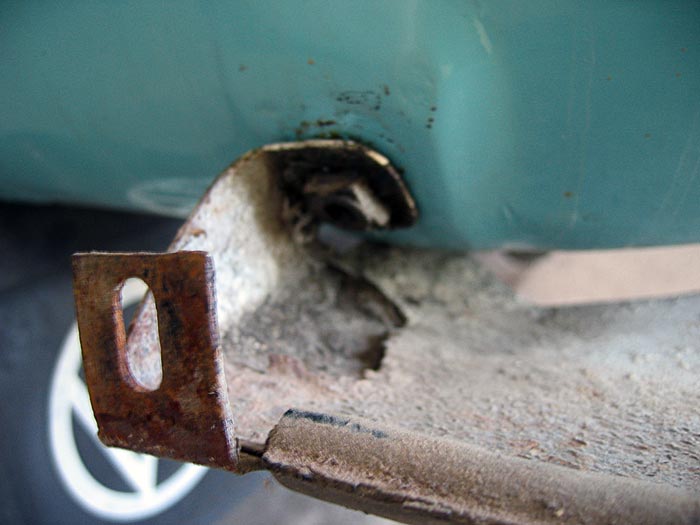
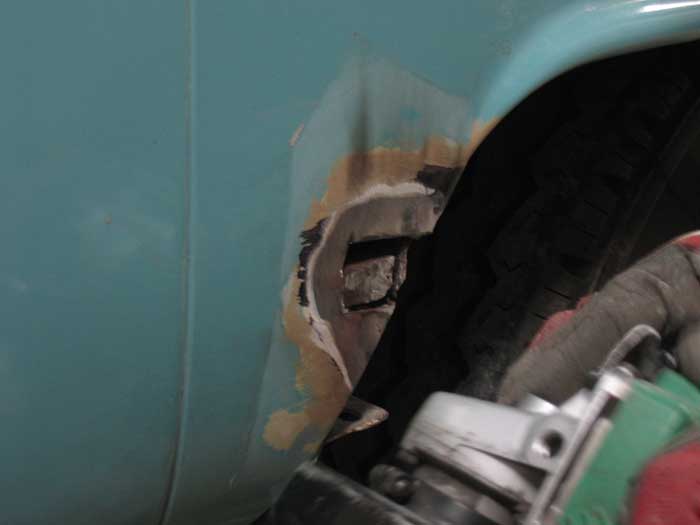
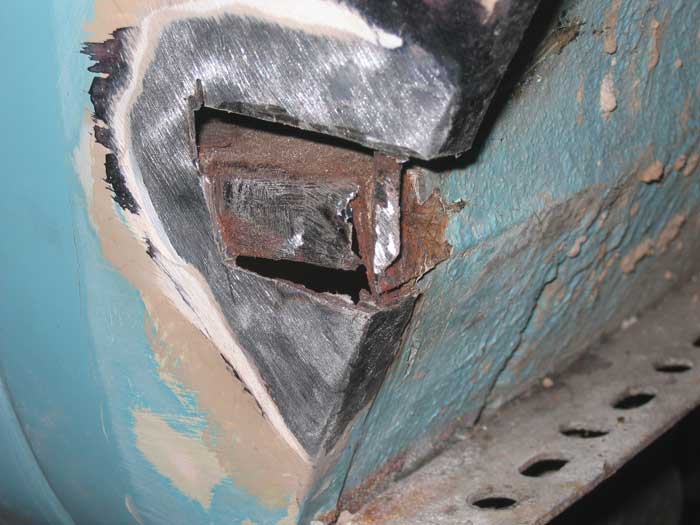
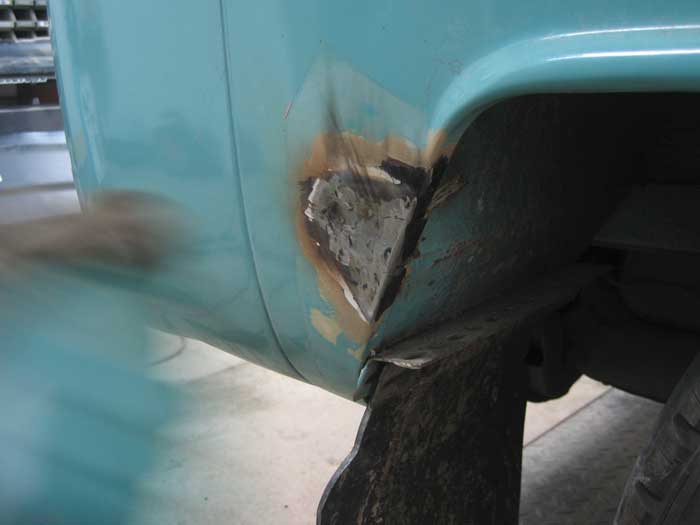
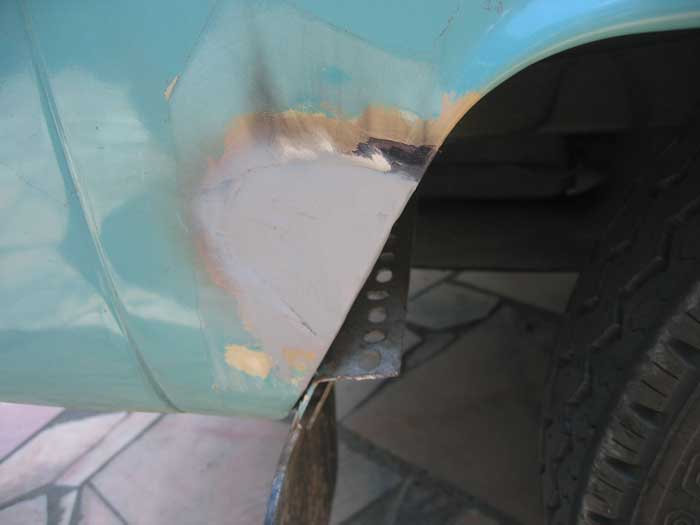
a day later and after removing the rear bumper we found out there were a few more rust holes... again where my father in law had "fix" it:
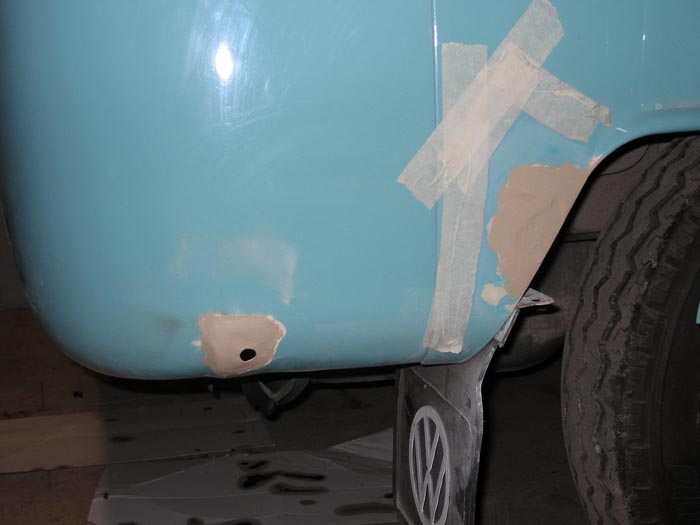
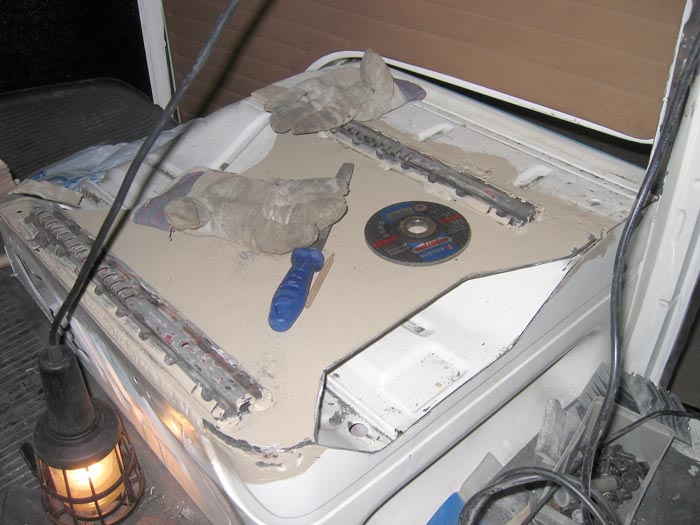
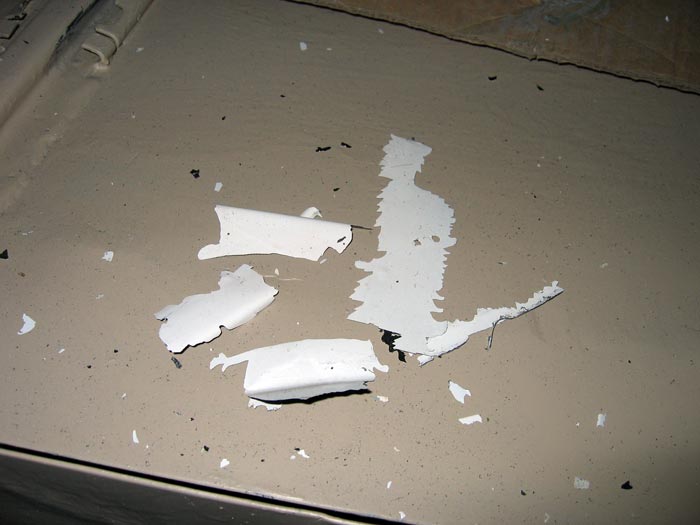
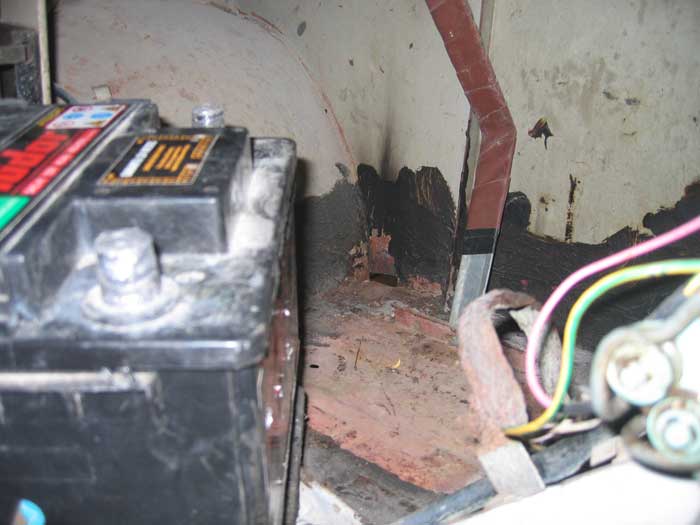
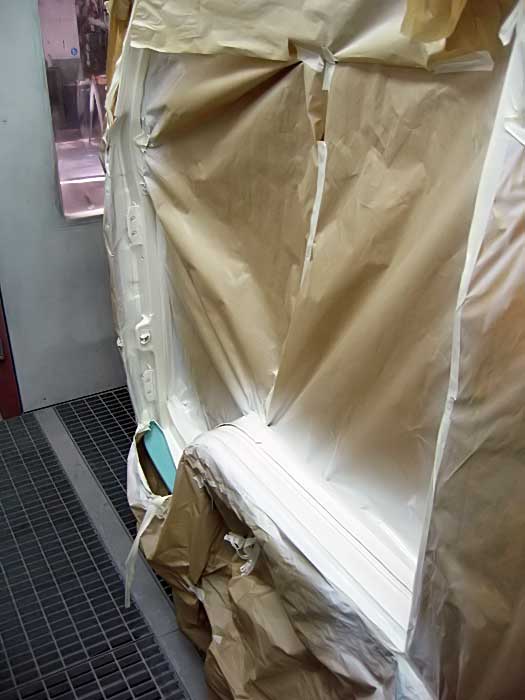
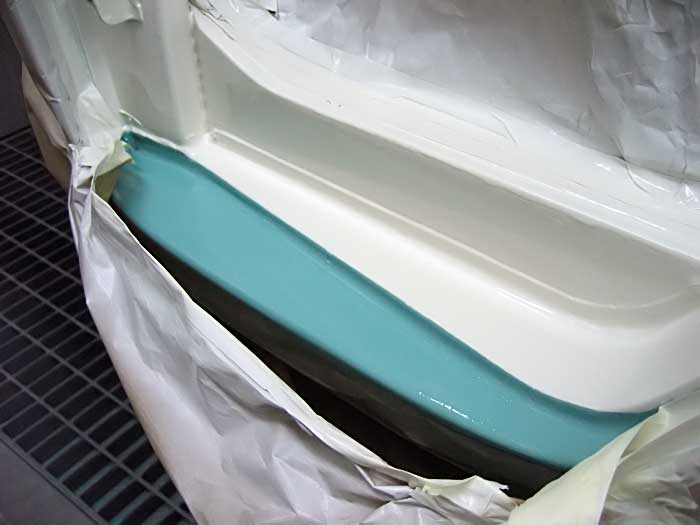
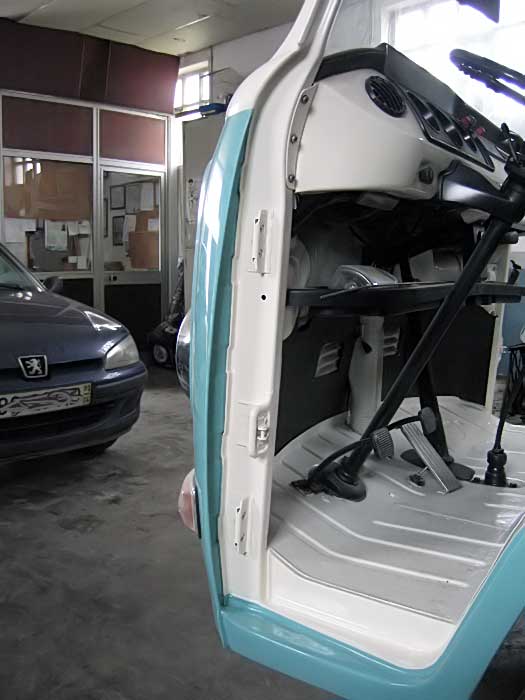
After removing the panels behind the front seats, there were some welding spots to do... After I used a degreaser but some of the new paint started to peel... :shock:
I removed all the paint that was peeling until it stoped :roll:
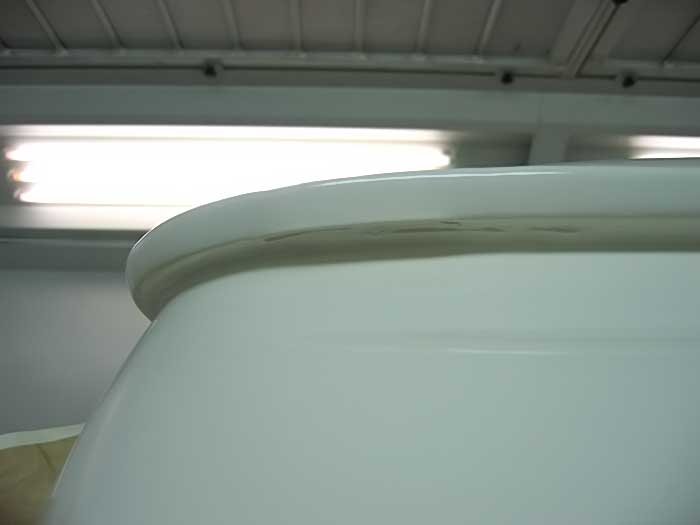
what a nice paint job... :evil:

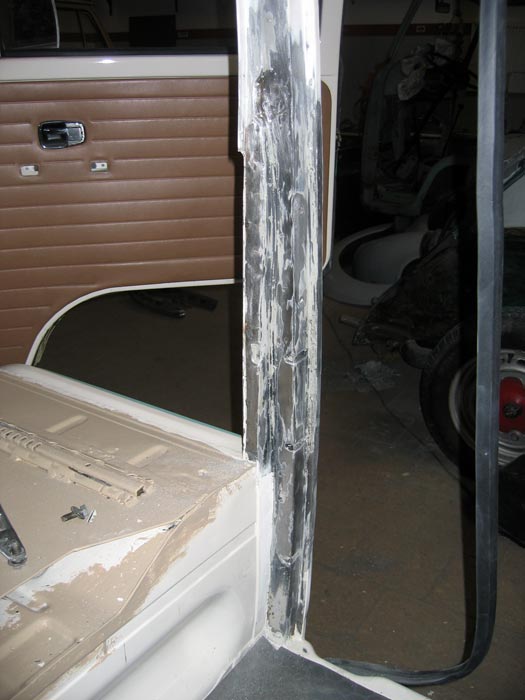
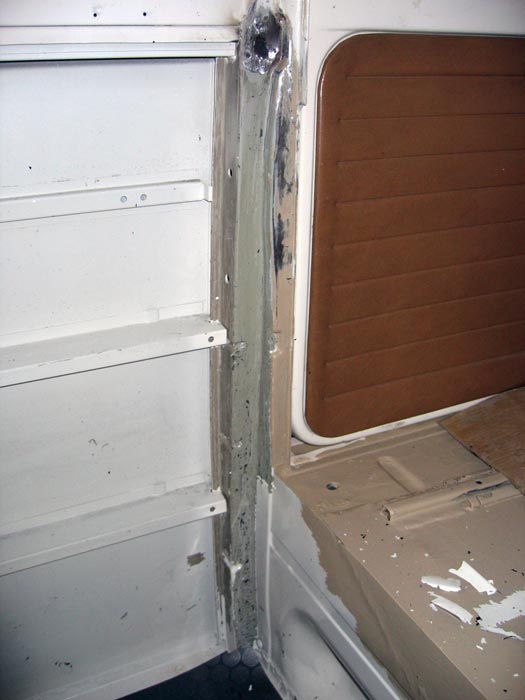
After removing the panels behind the front seats, there were some welding spots to do... After I used a degreaser but some of the new paint started to peel... :shock:
I removed all the paint that was peeling until it stoped :roll:
what a nice paint job... :evil:
G
Guest
Guest
its coming alone at a pace, nice work 8)
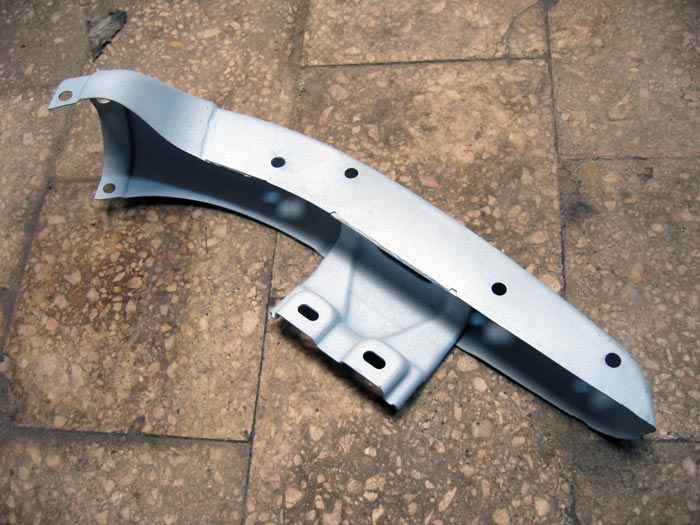

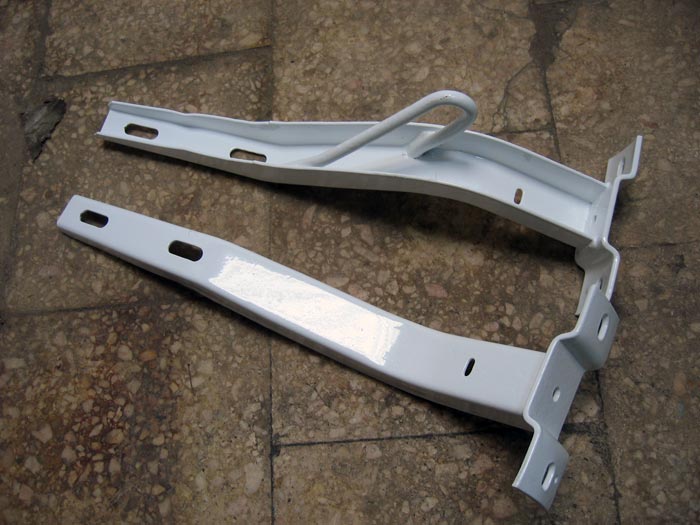
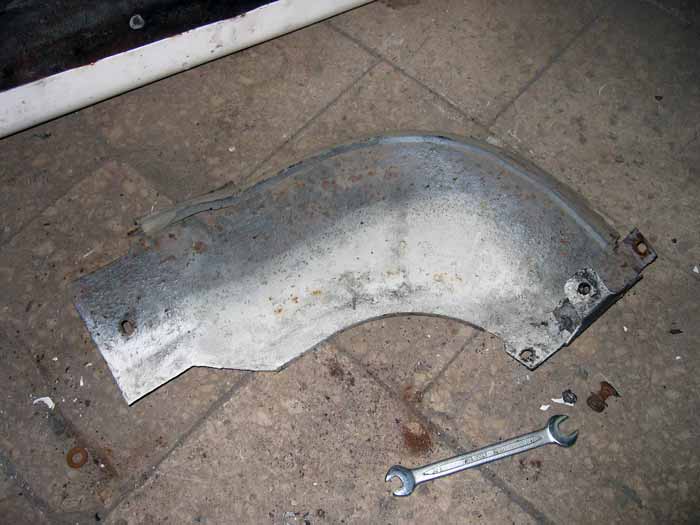
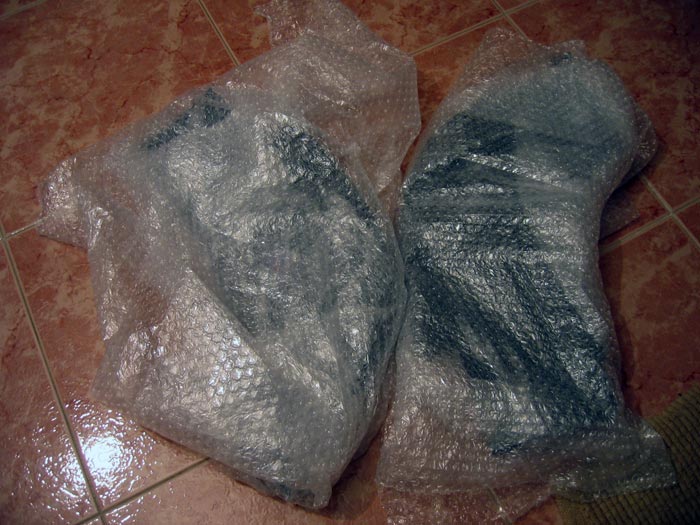
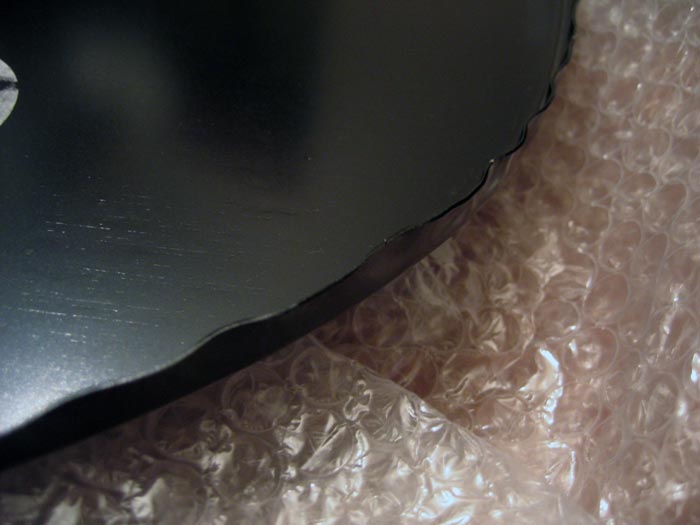
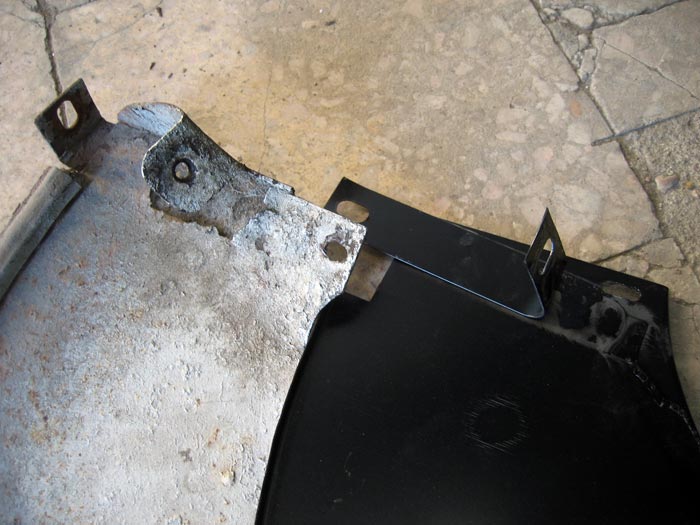
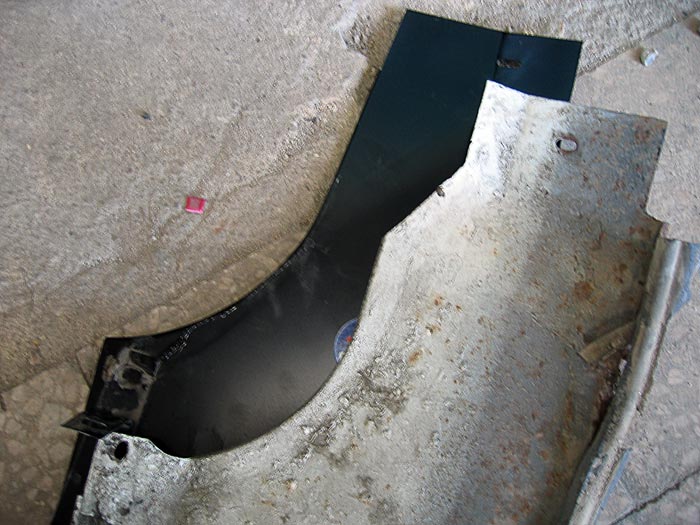
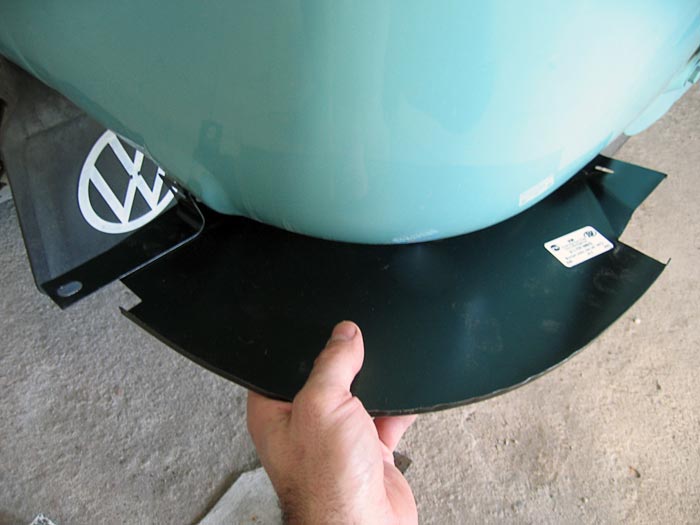
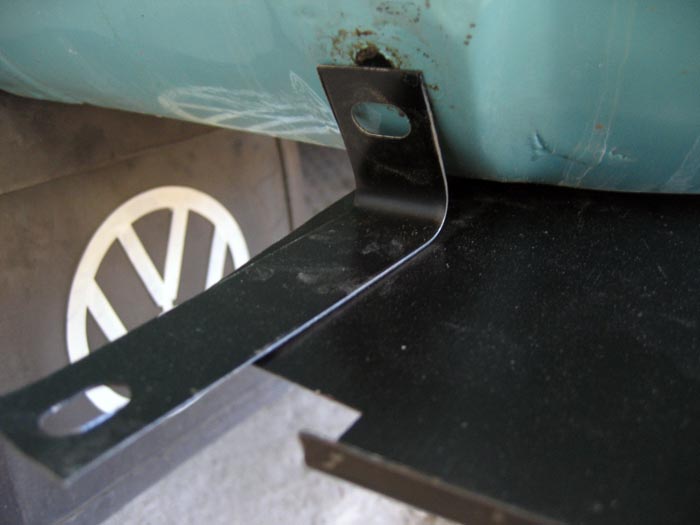
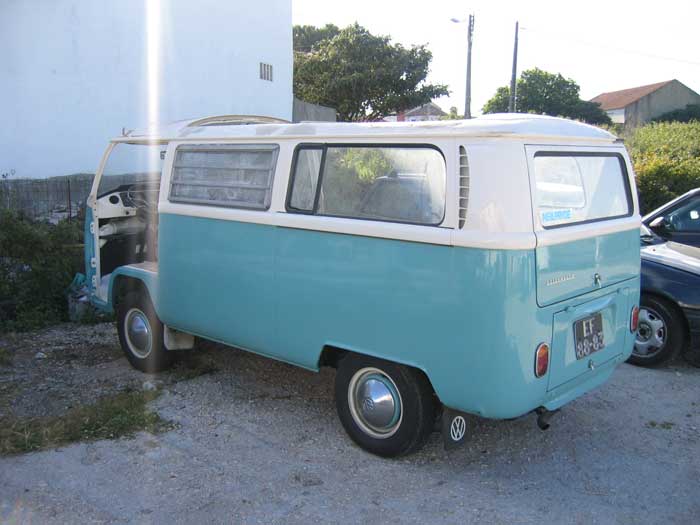
meanwhile I received a package from VWheritage with a new pair of splash panels... what a piece of brazilian crap! :evil:
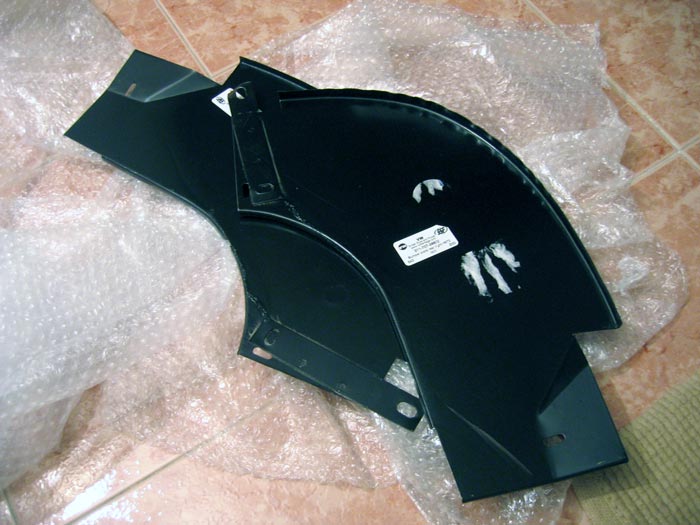
another mistake.... a couple years later (2009) I ended getting a 2nd hand pair in excellent condition. I will never use this ones from vwheritage :evil:
another mistake.... a couple years later (2009) I ended getting a 2nd hand pair in excellent condition. I will never use this ones from vwheritage :evil:
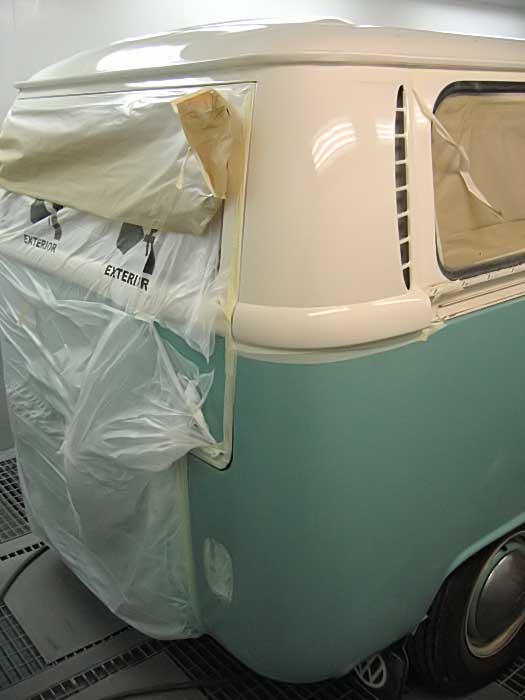
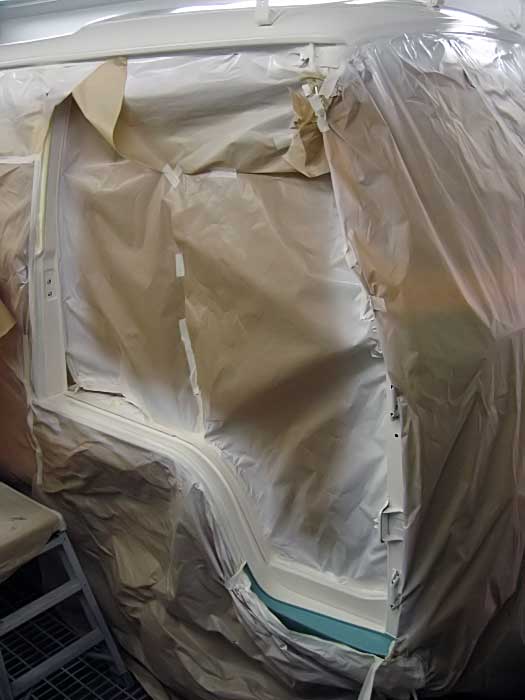
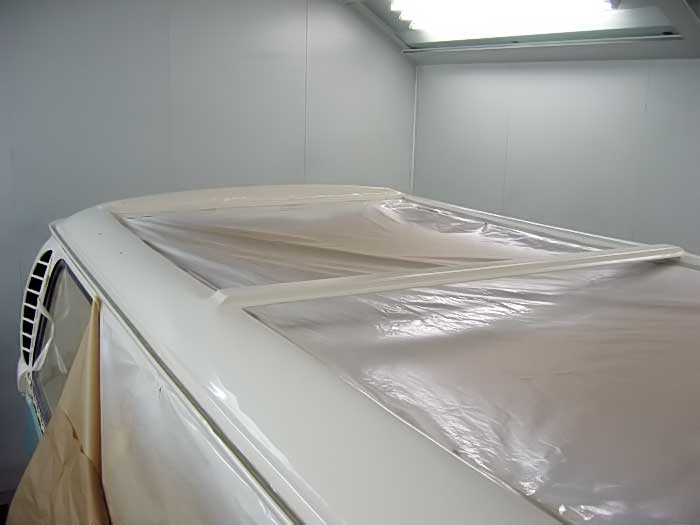
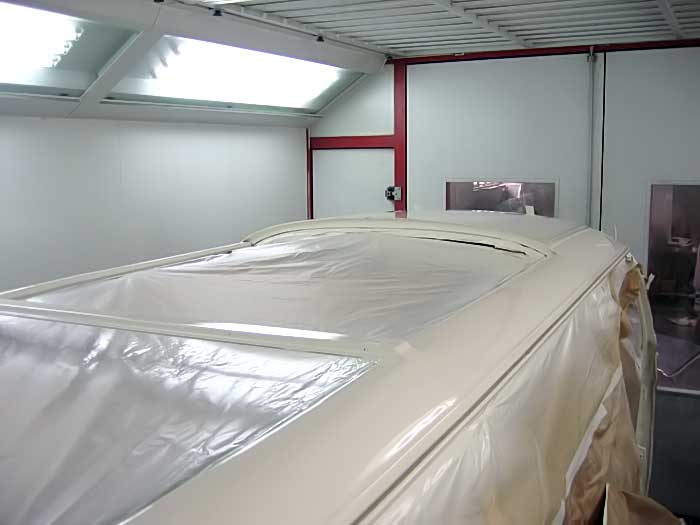
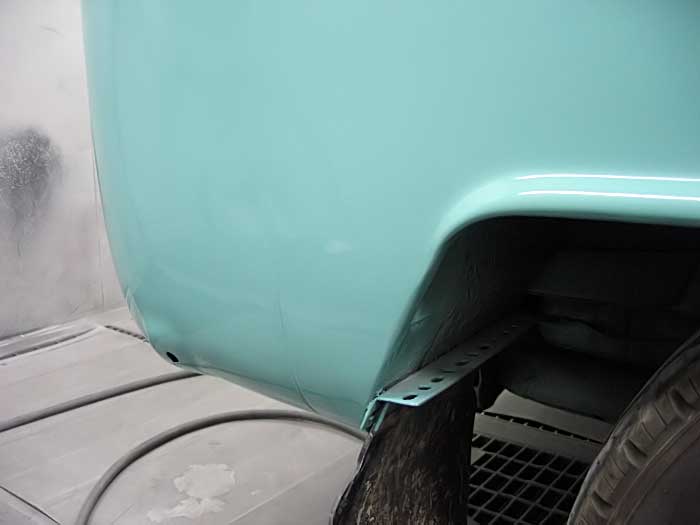
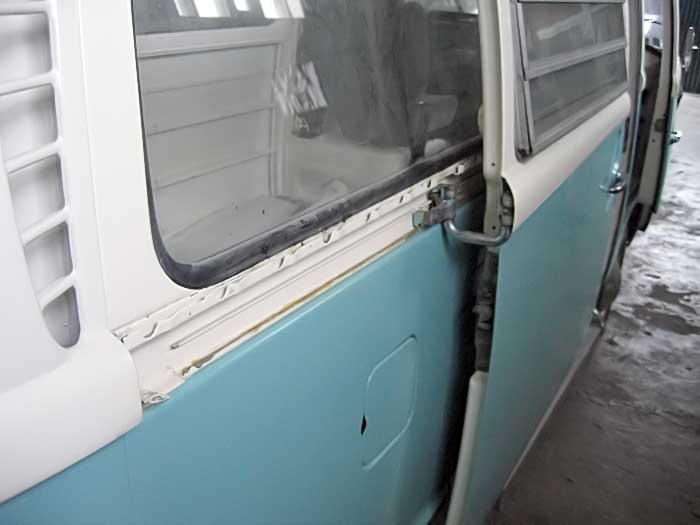
with the new partial paintjob scheduled in a week we decided to solve this issue in a better way
... was by then that I realized that all this was being done wrong and that it had started on the wrong side.
The restoration should began at the bottom of the van and not from the outside.
I have never done this before and knew nothing about it....
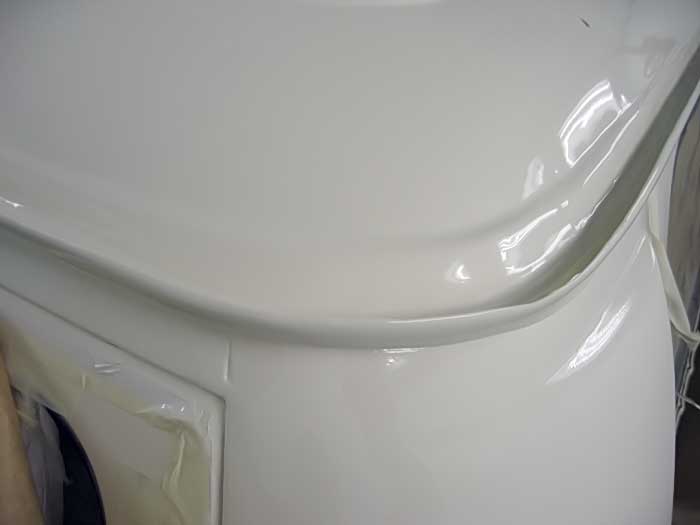
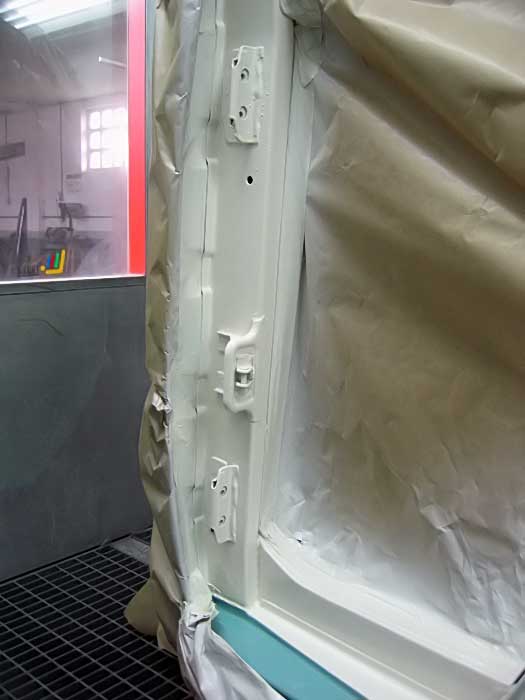
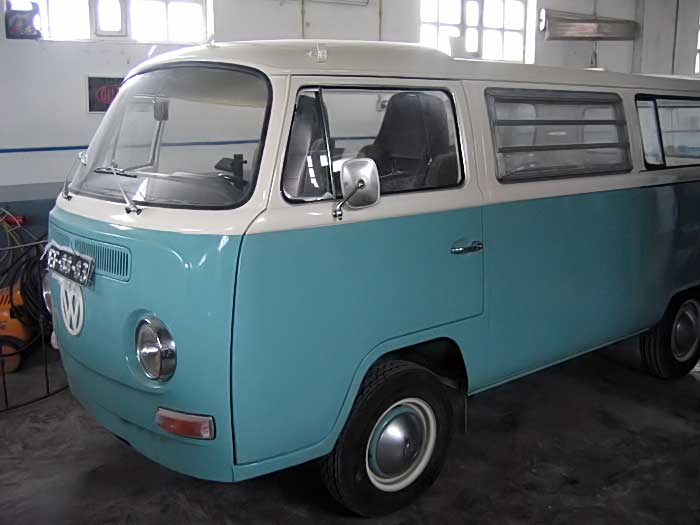
Anyway, I decided to go ahead with the second paint job.
It was a bunch of bad decisions, one after the other ...
:|
...and from the engine bay. I decided I had to fiz it later....
... was by then that I realized that all this was being done wrong and that it had started on the wrong side.
The restoration should began at the bottom of the van and not from the outside.
I have never done this before and knew nothing about it....
Anyway, I decided to go ahead with the second paint job.
It was a bunch of bad decisions, one after the other ...
:|
...and from the engine bay. I decided I had to fiz it later....


Similar threads
- Replies
- 10
- Views
- 734
- Locked
Parts For Sale
now sold: 1600 engine for sale (august 2023)
- Replies
- 8
- Views
- 1K
- Replies
- 29
- Views
- 2K
Vehicle For Sale
1971 T2a Double Cab Pick Up
- Replies
- 0
- Views
- 1K