1968 Campervan conversion

Early Bay Forum

Help Support Early Bay Forum:

This site may earn a commission from merchant affiliate links, including eBay, Amazon, and others.
:mrgreen:

yes.. the trip was miserable but an MP3 and a great desire to sleep works wonders :mrgreen:
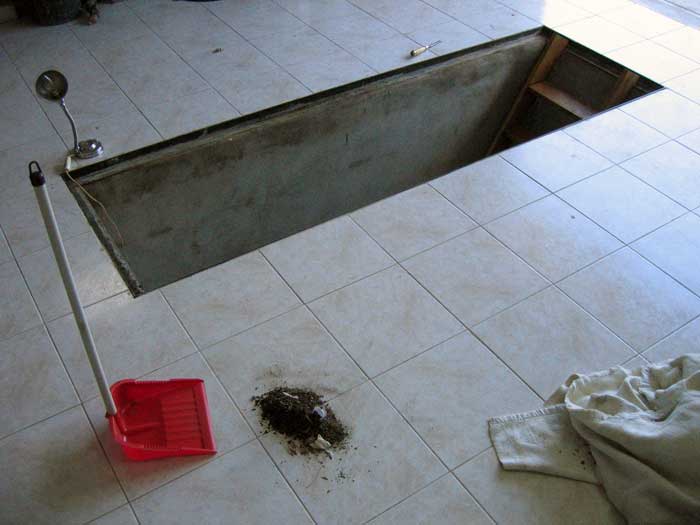
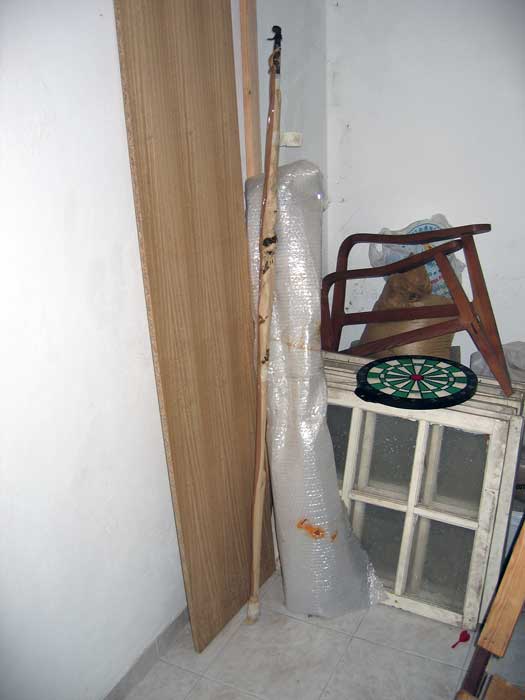
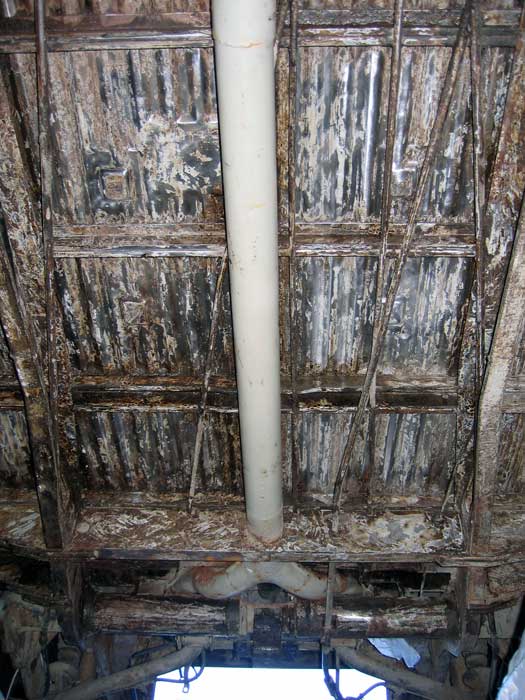
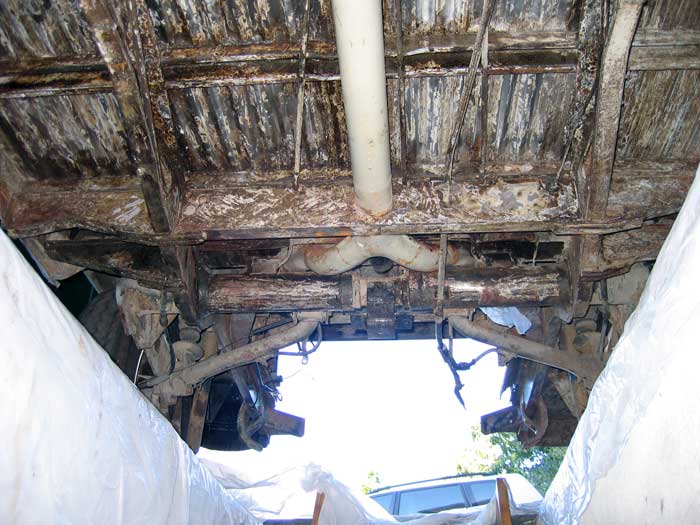
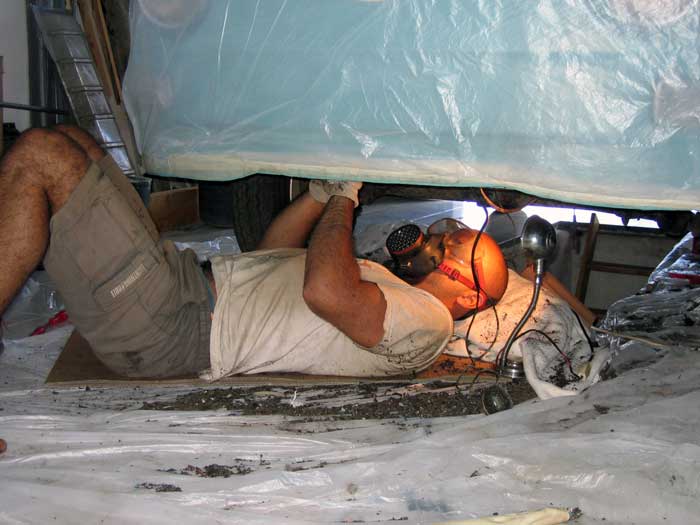
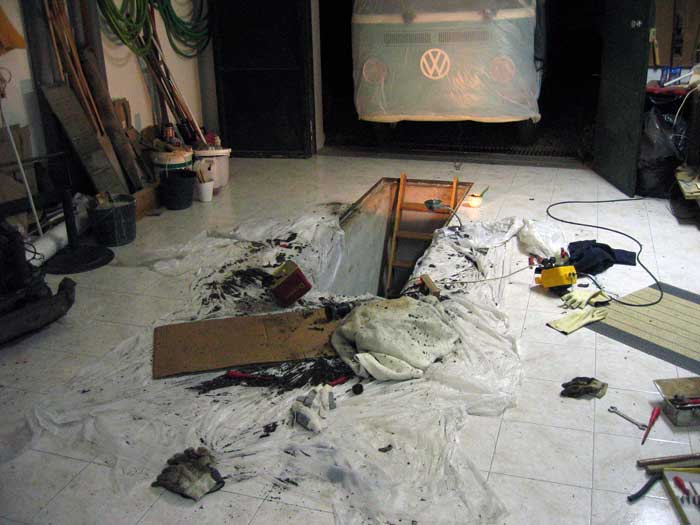
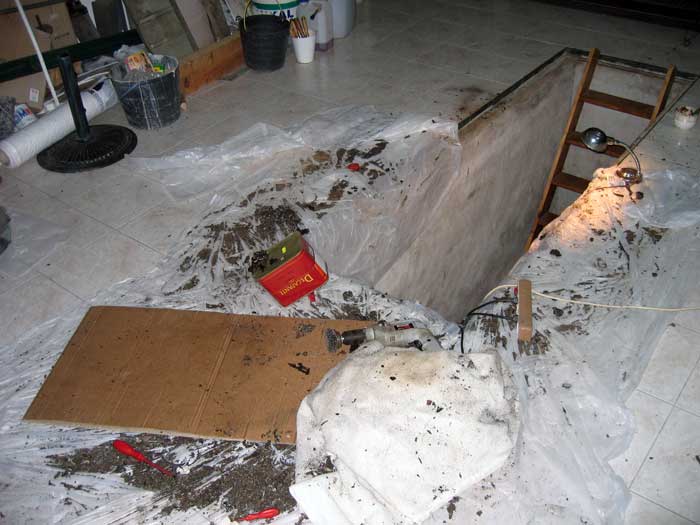
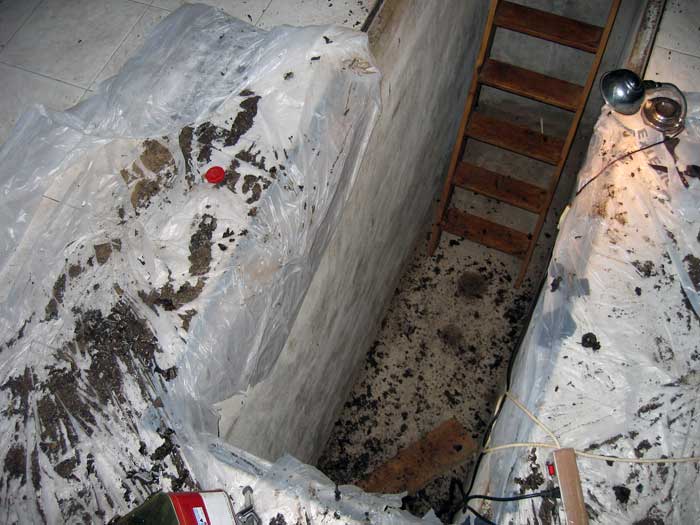
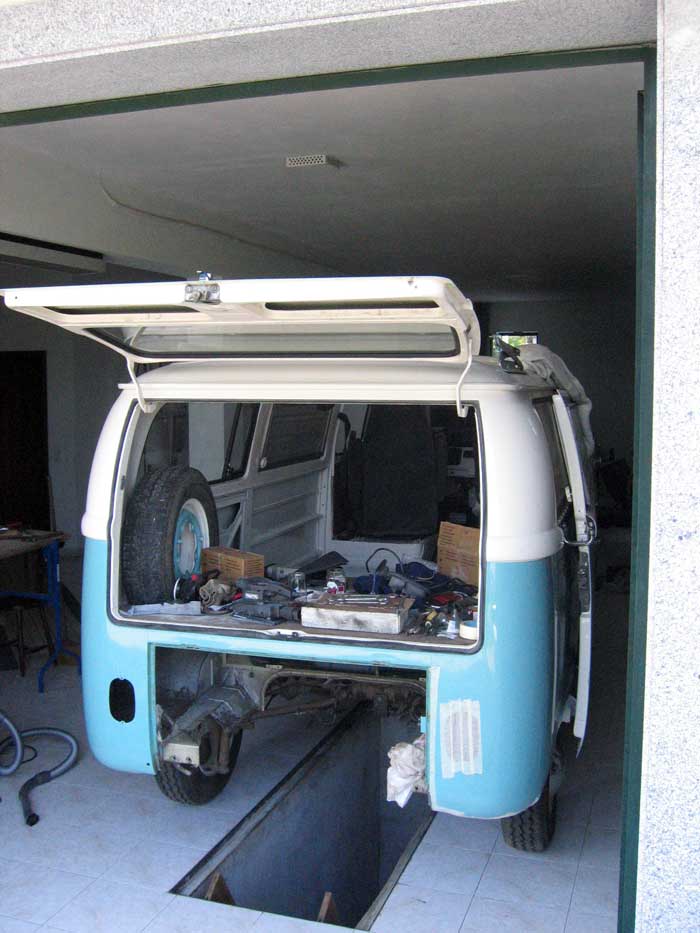
The pit was made thinking that it could be necessary one day later... and it was another reason that made me take the bus to the house.

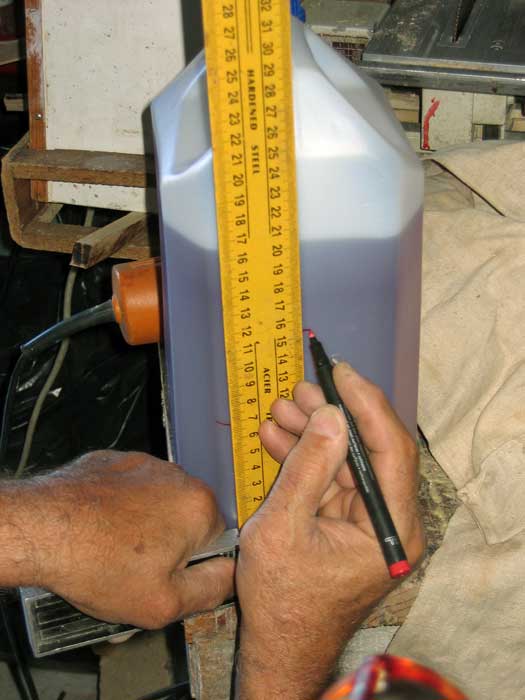
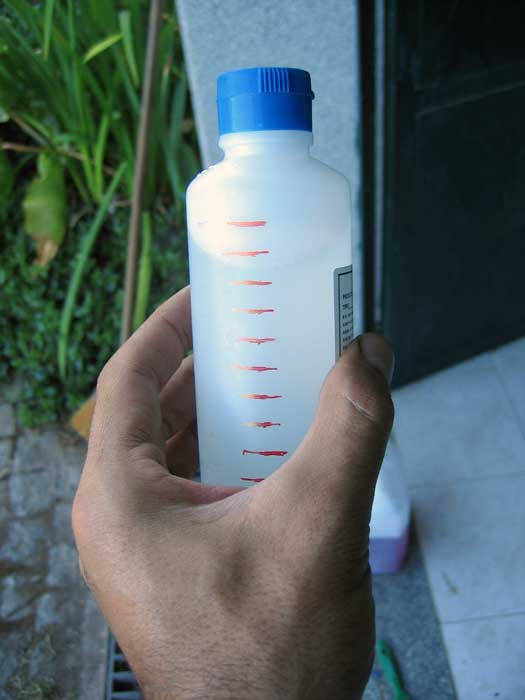
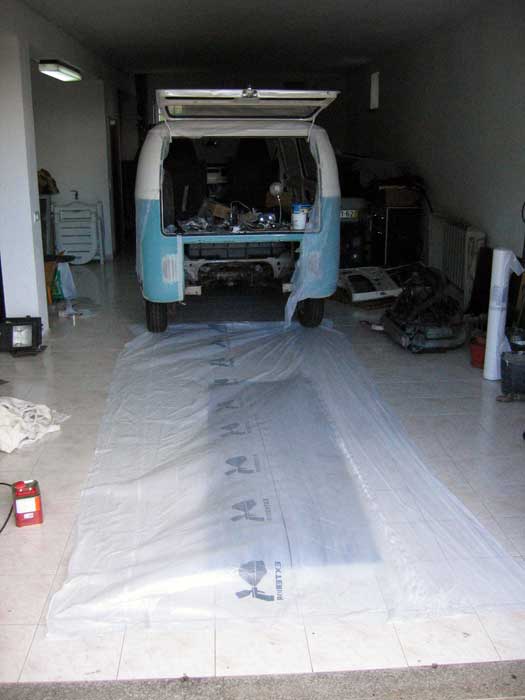
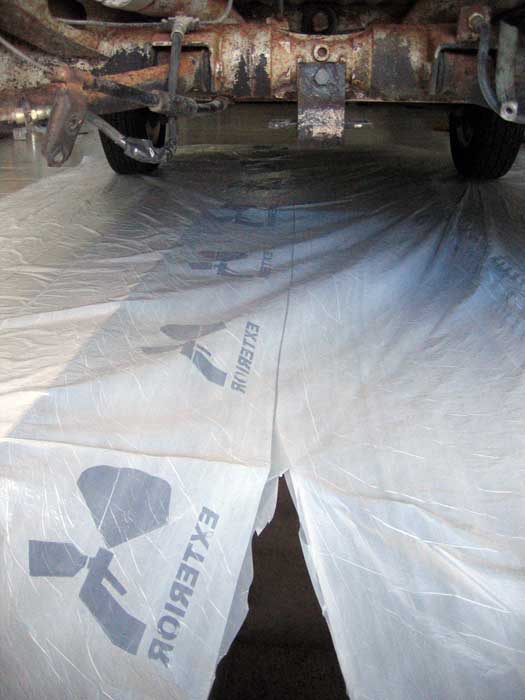
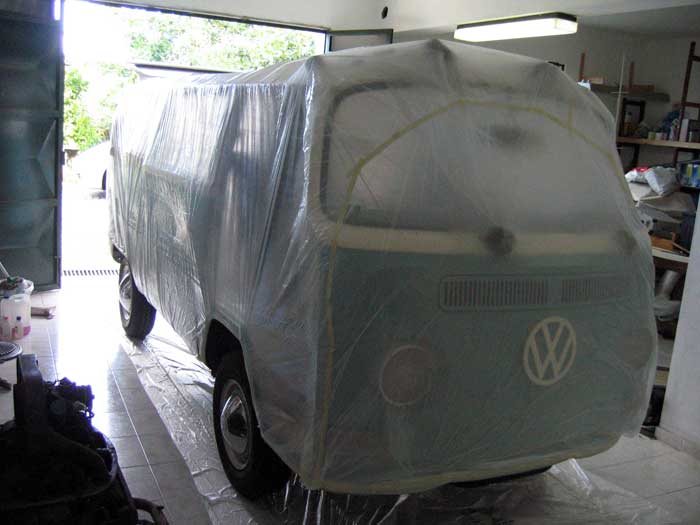
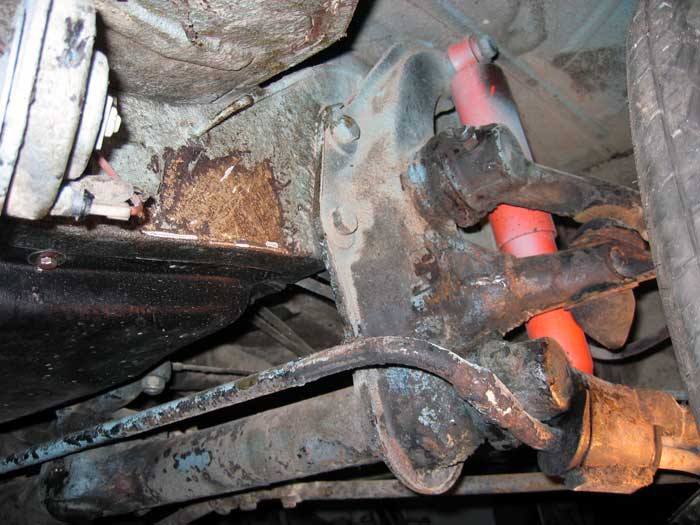
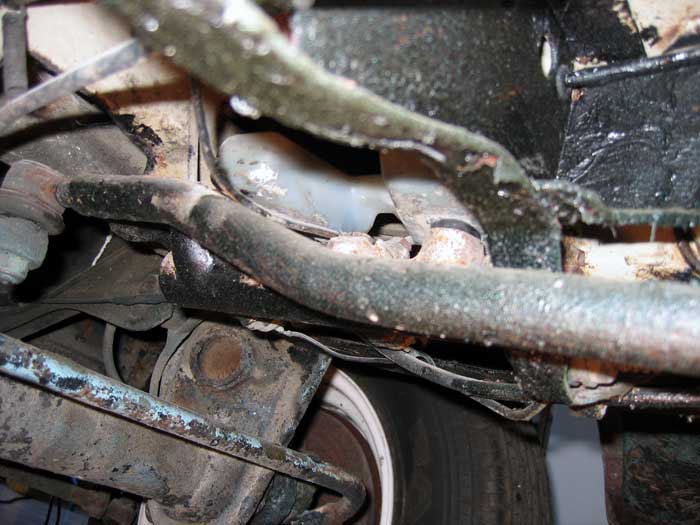
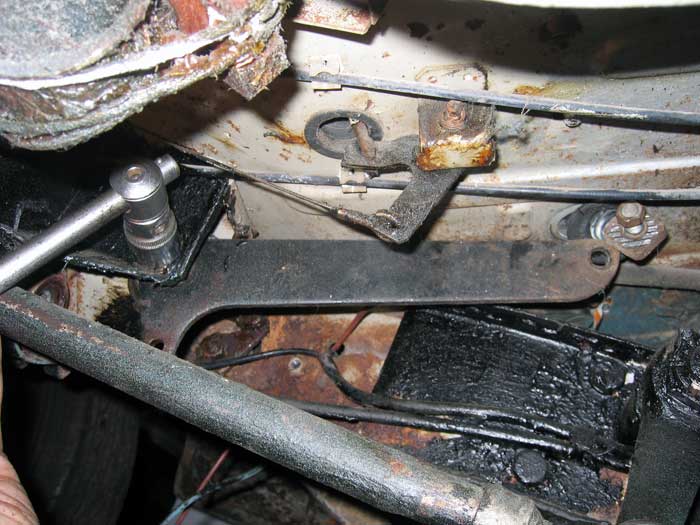
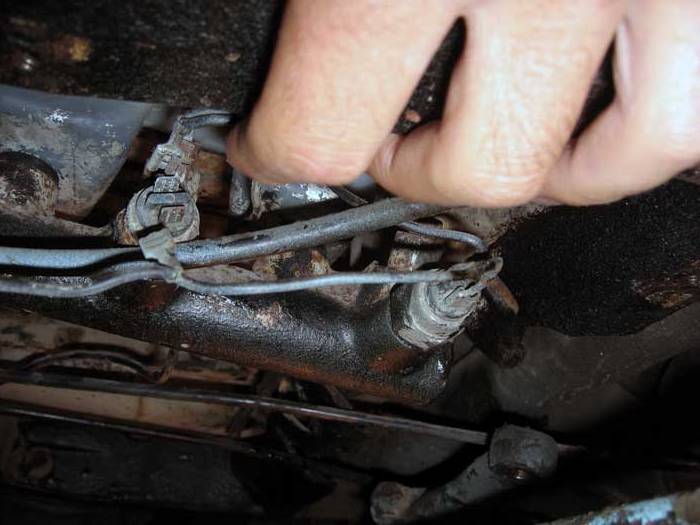
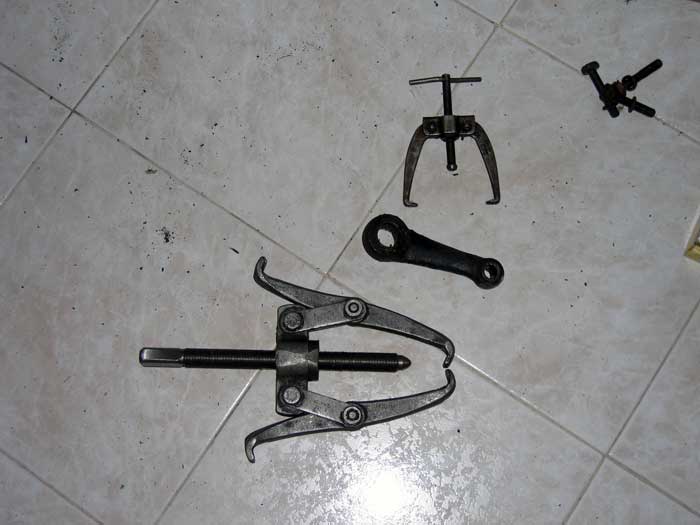
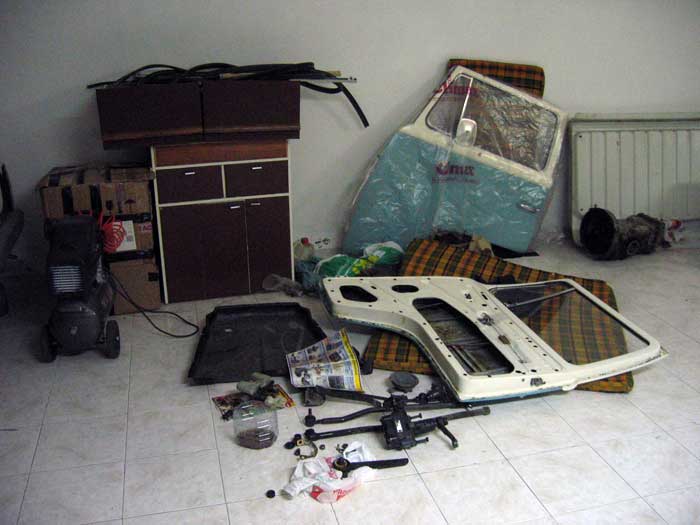
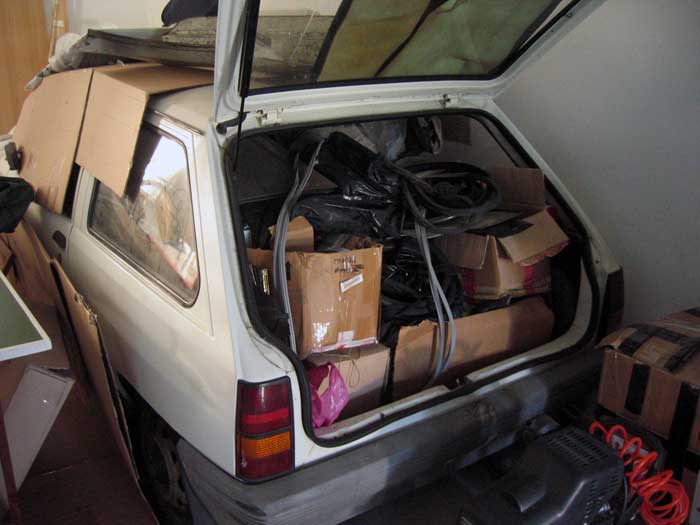
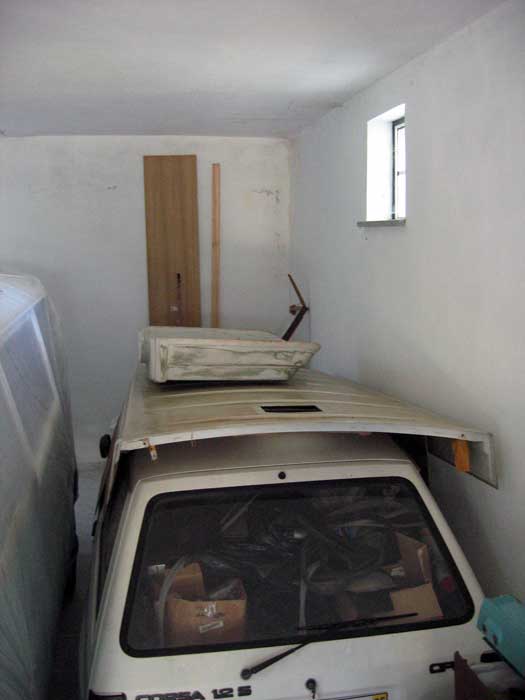
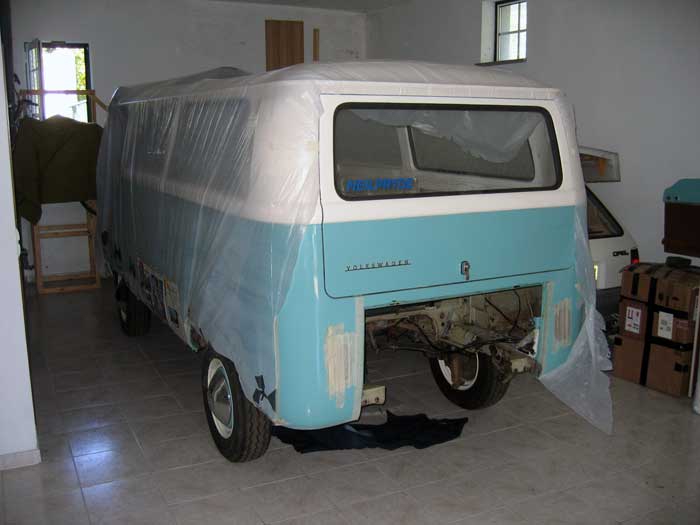
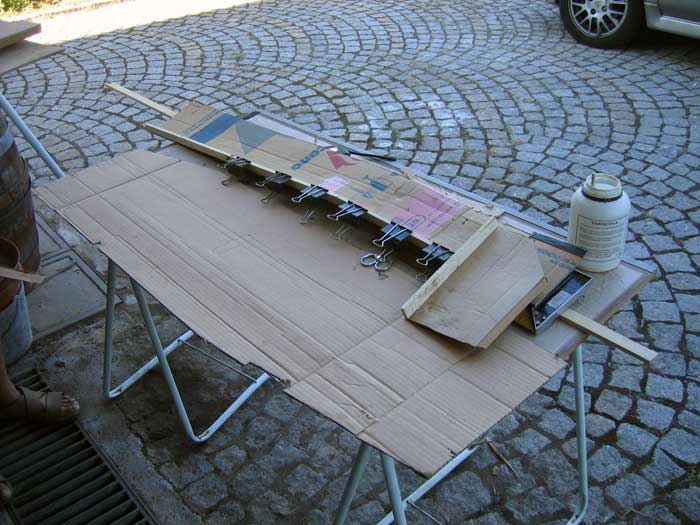
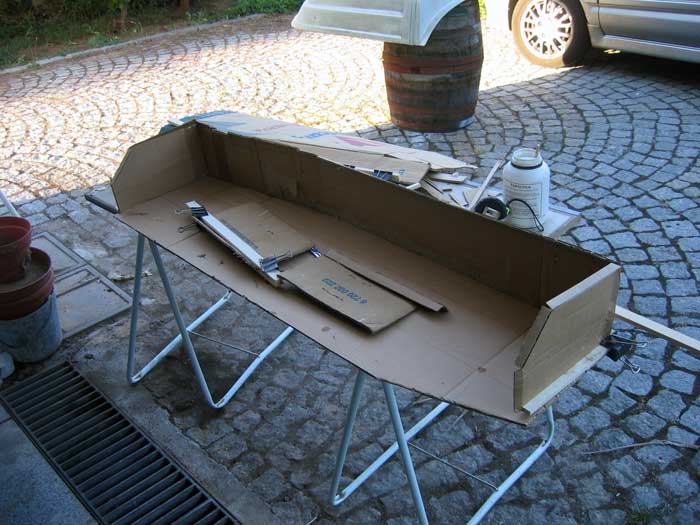
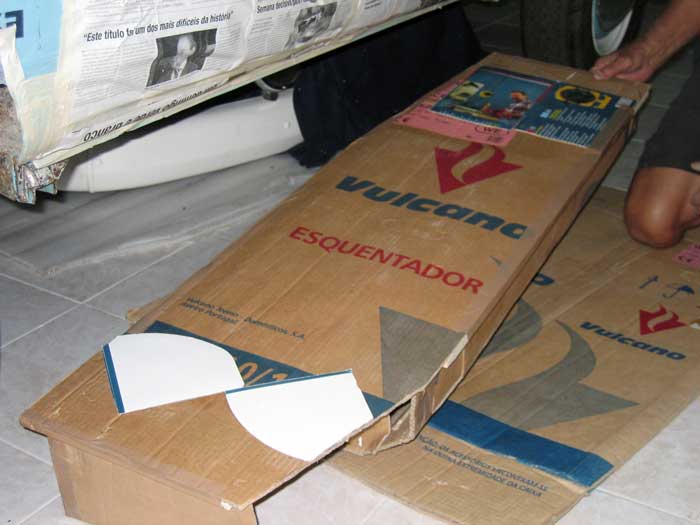
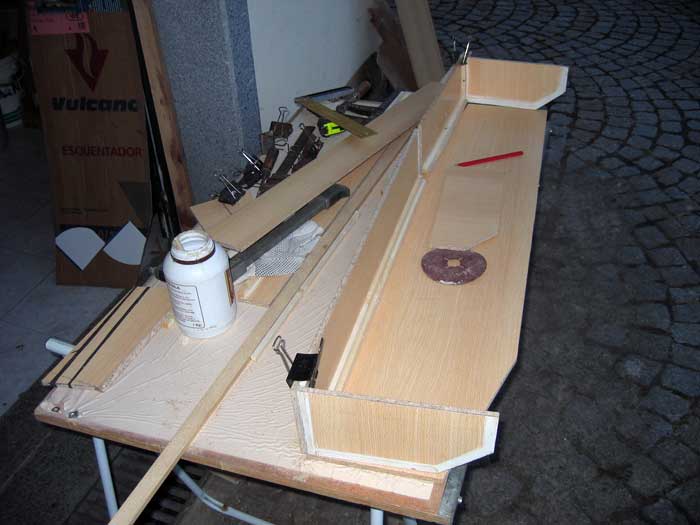
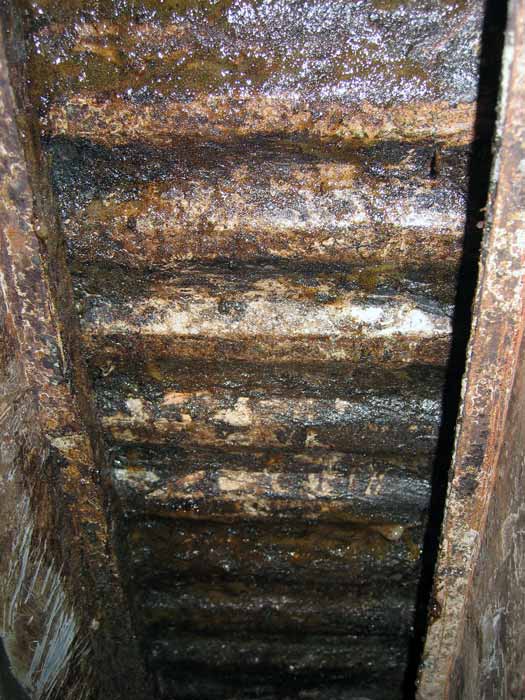
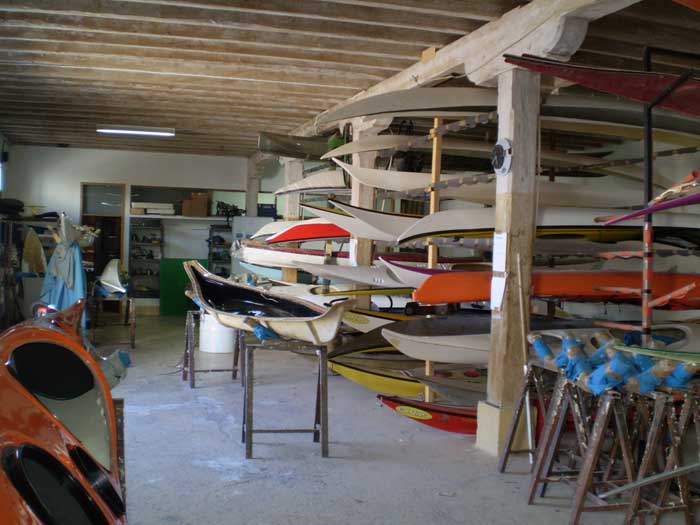
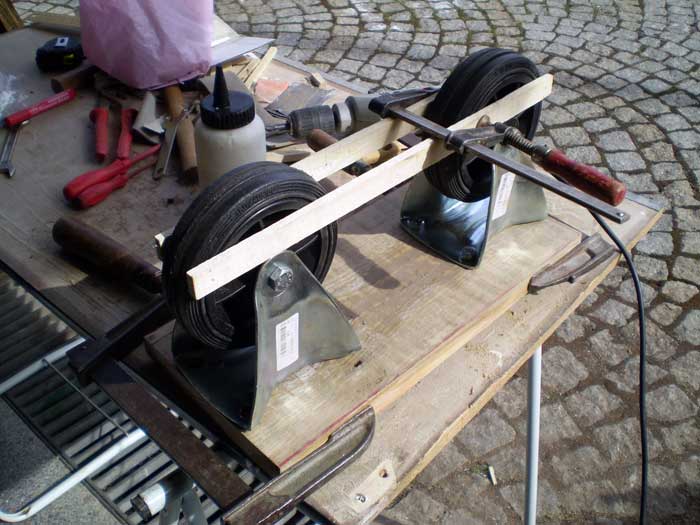
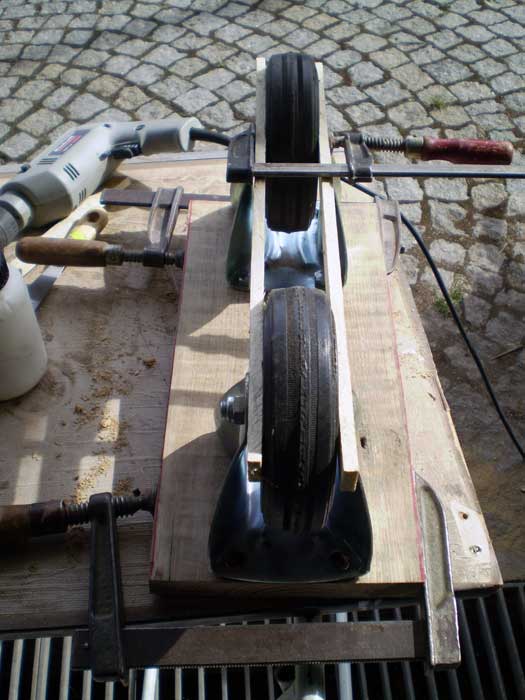
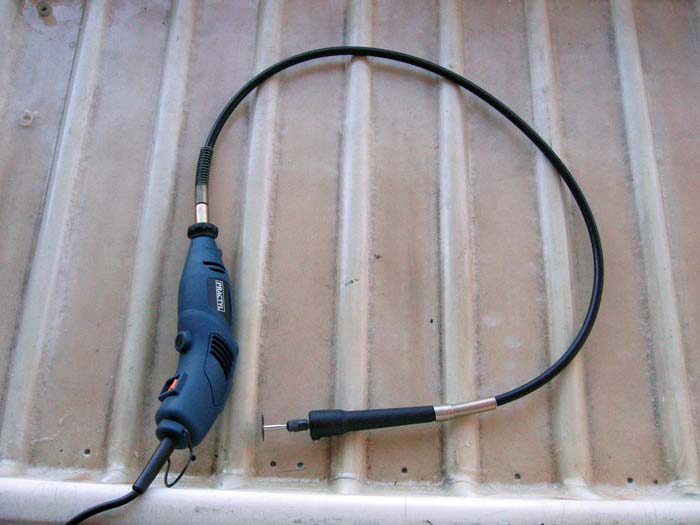
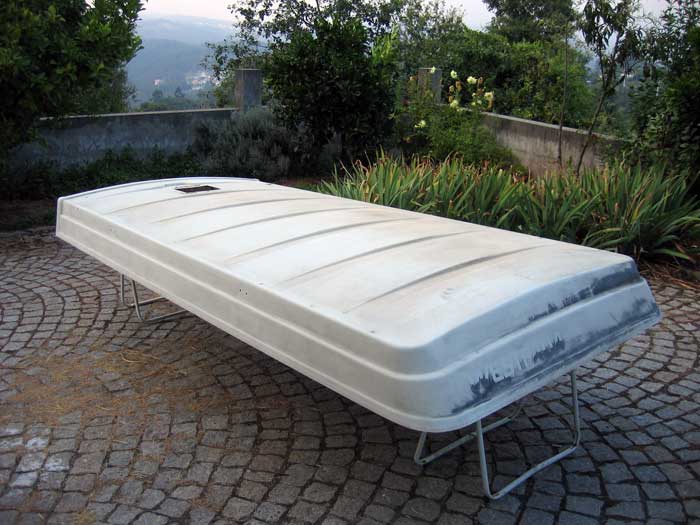
so... on the next day I decided to change between jobs again:

IMG_4664.jpg


IMG_4665.jpg


IMG_4666.jpg


IMG_4667.jpg


IMG_4668.jpg


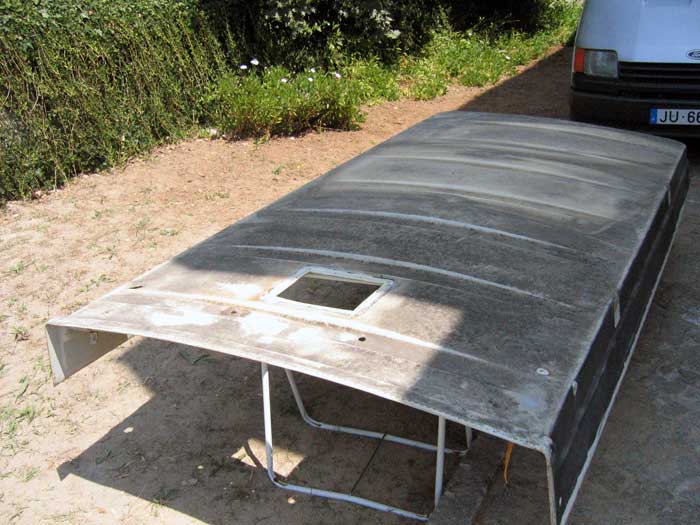
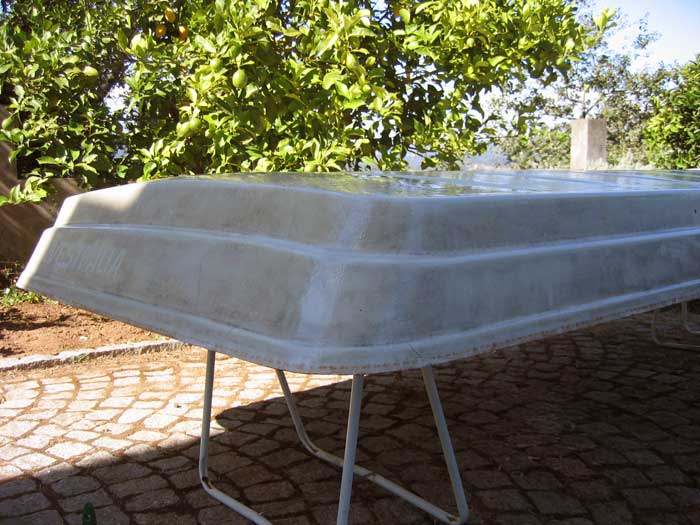
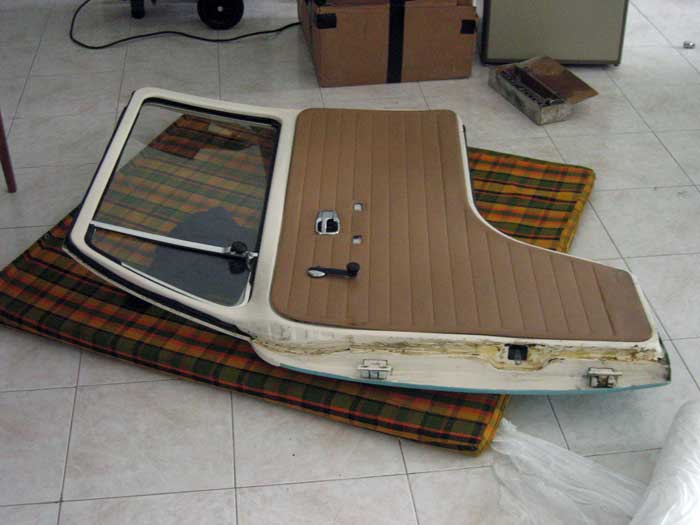
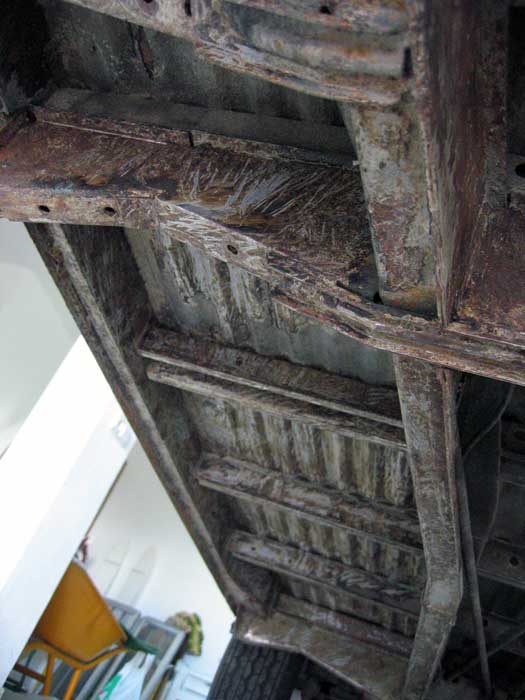
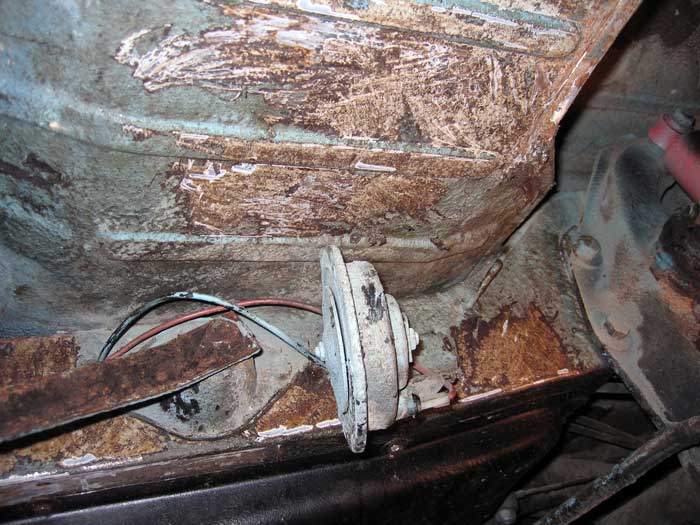
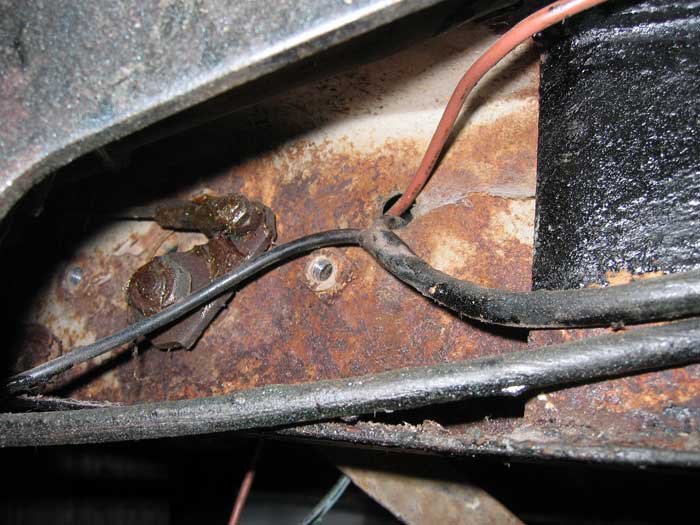
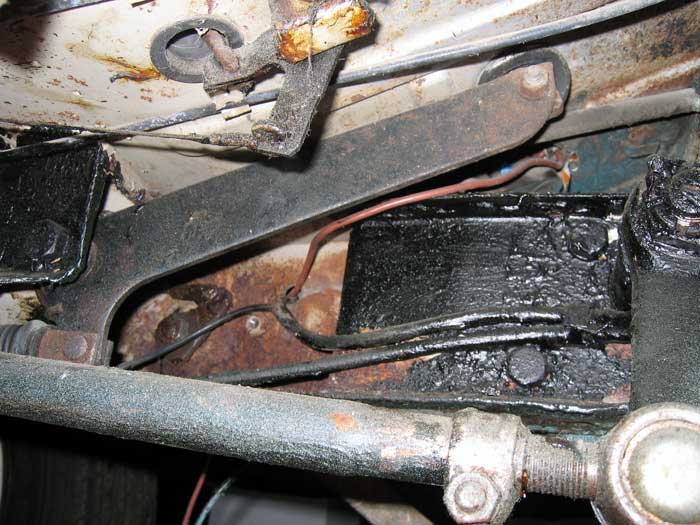
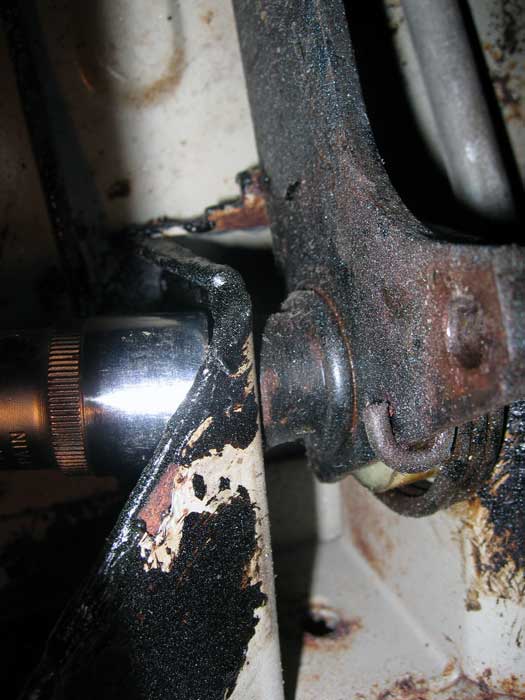
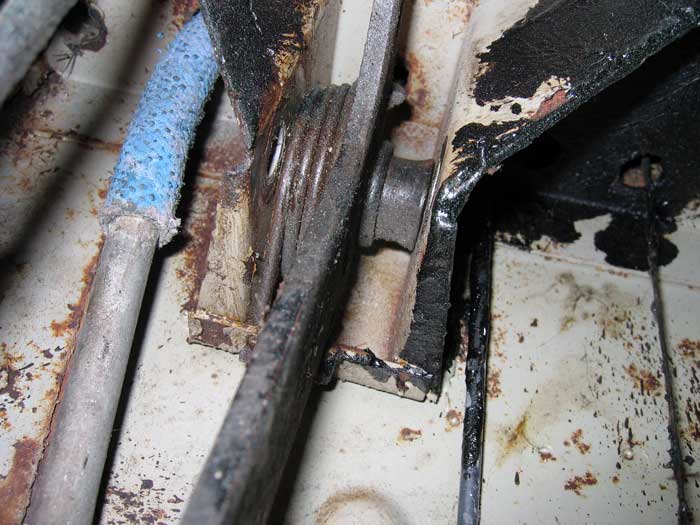
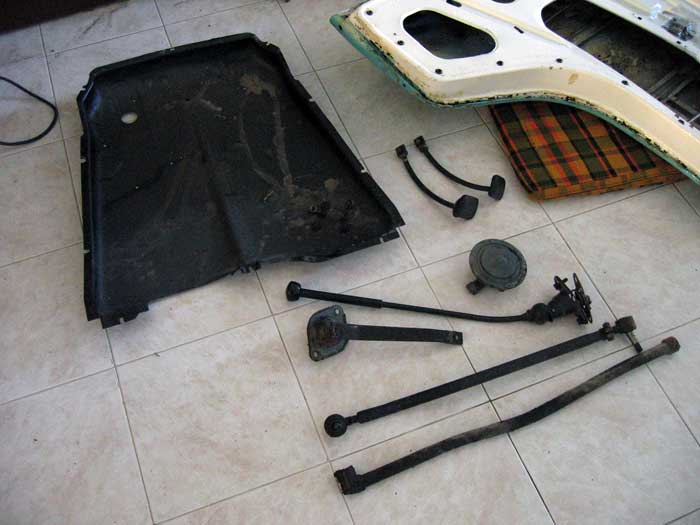
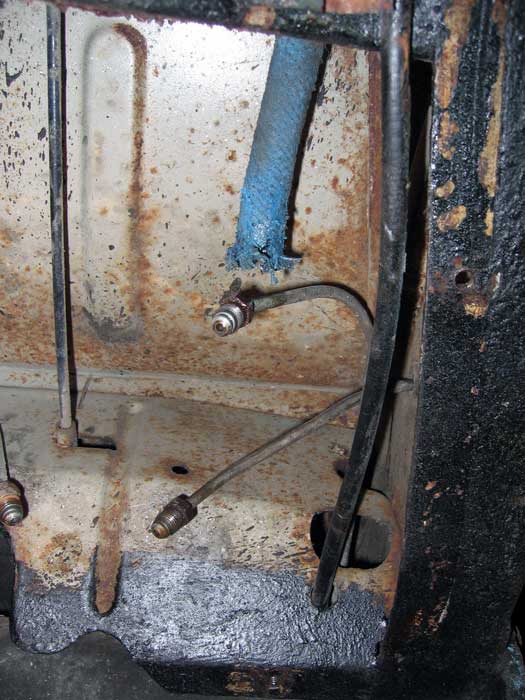
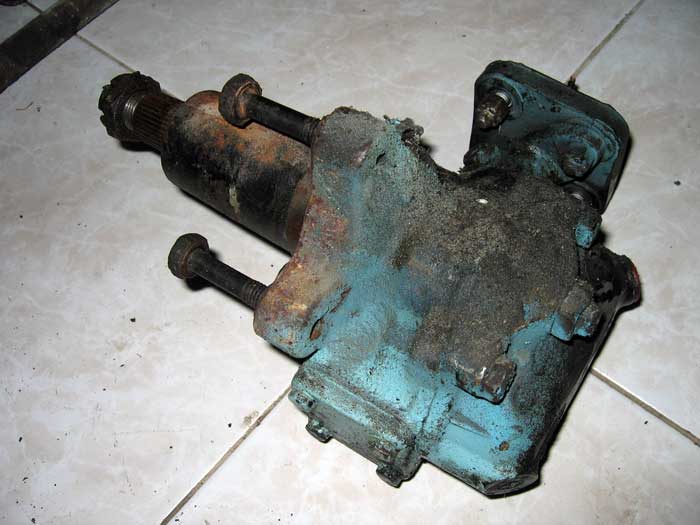
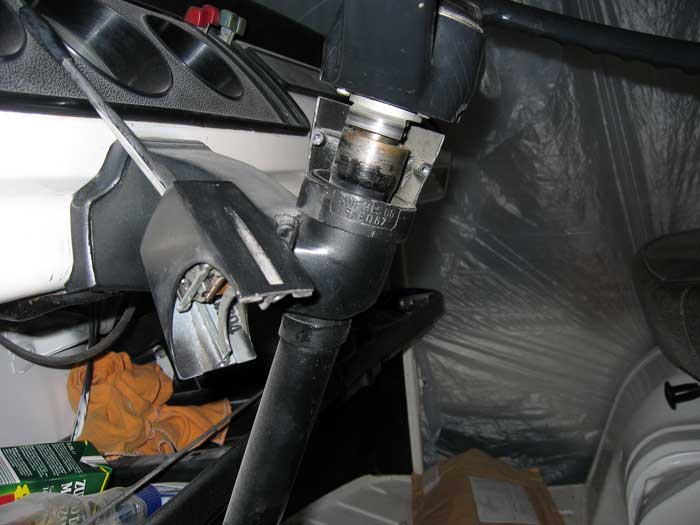
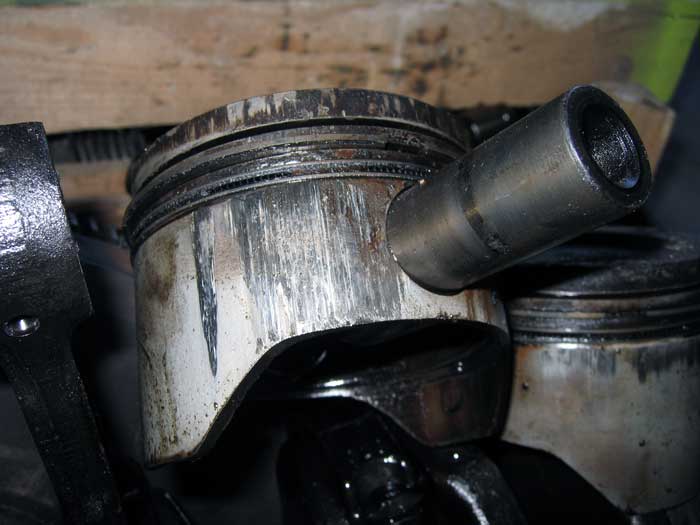
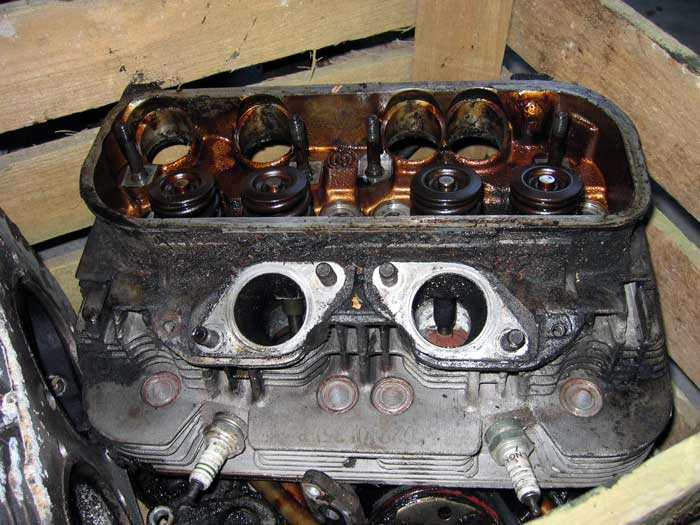
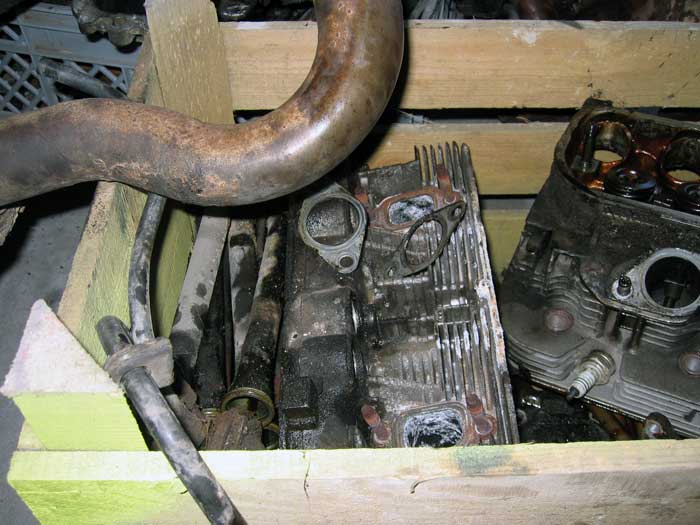
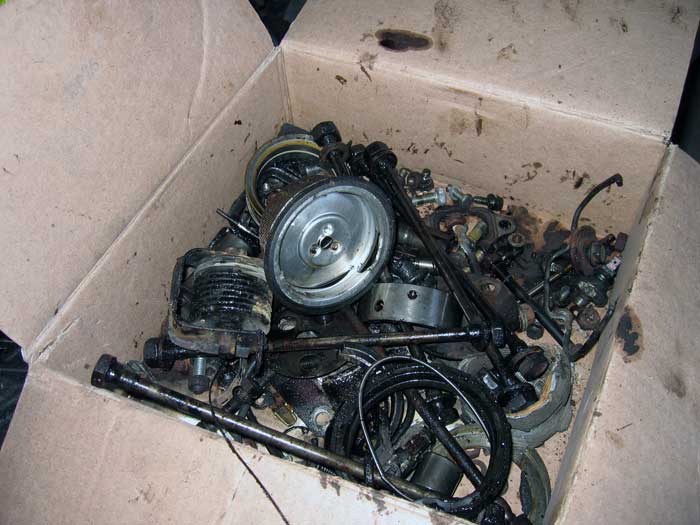
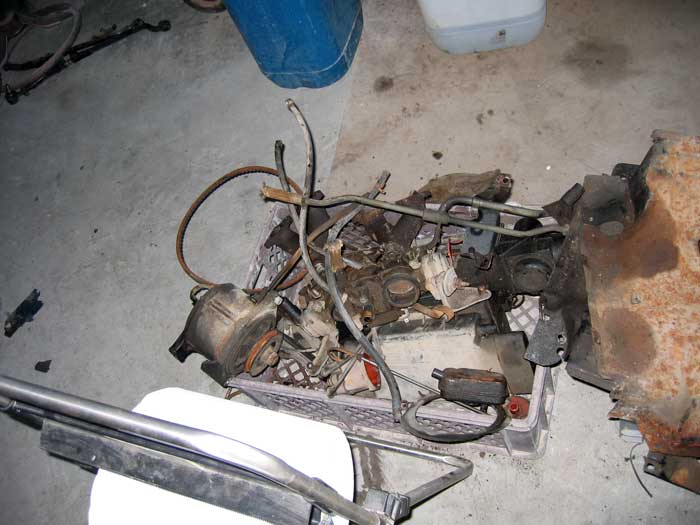
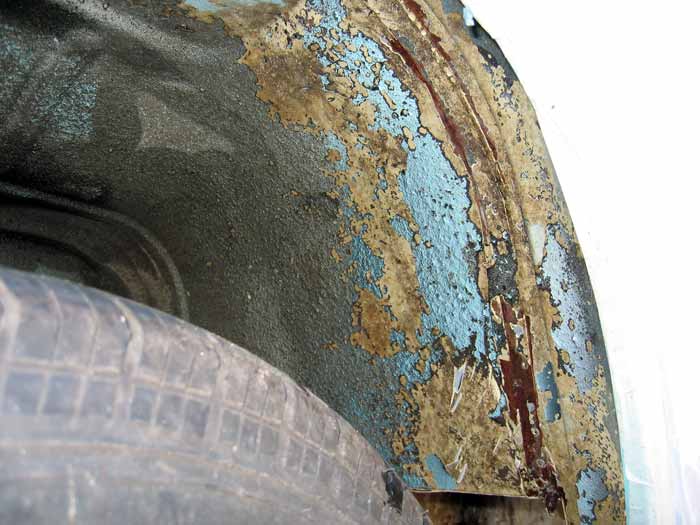
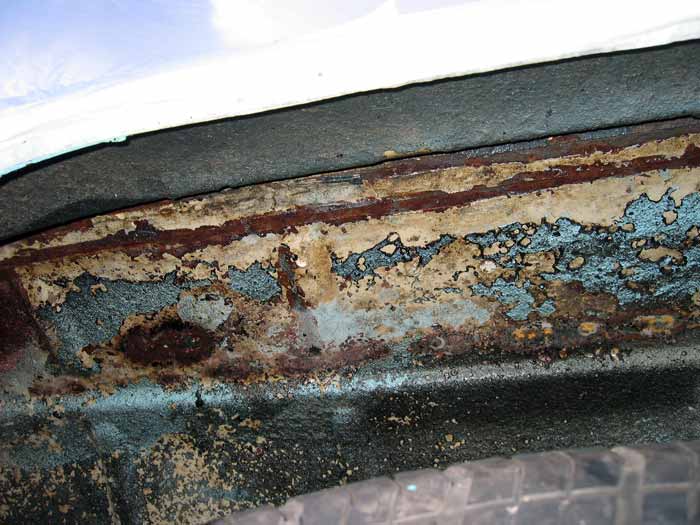
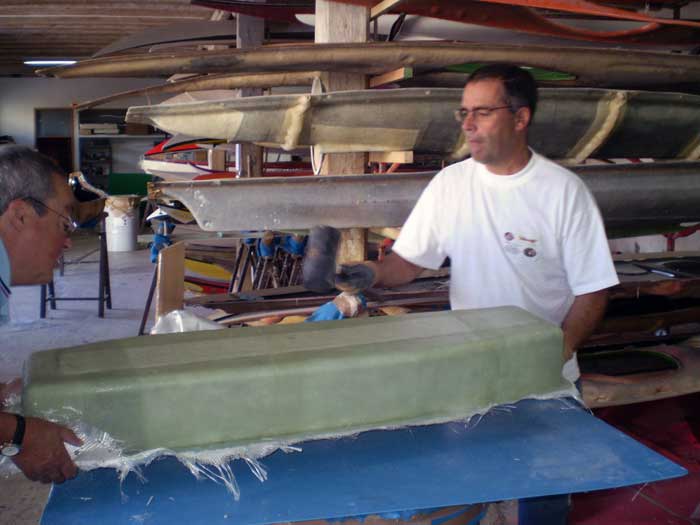
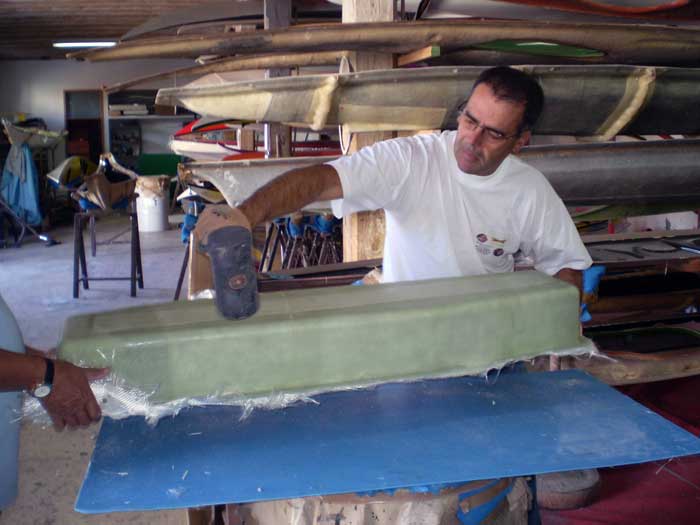
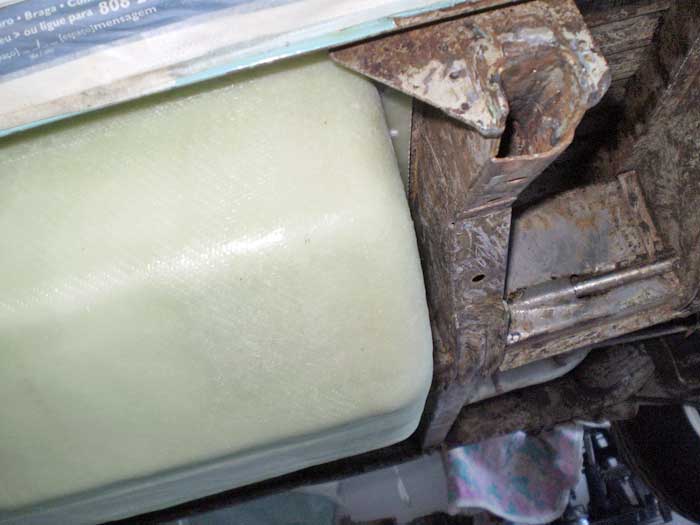
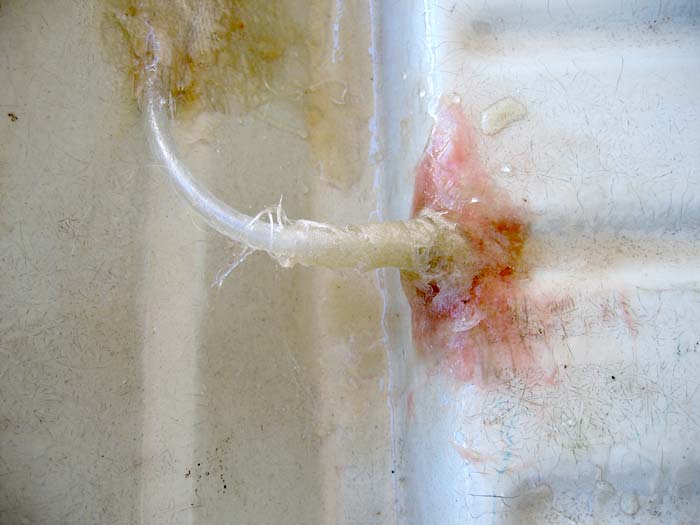
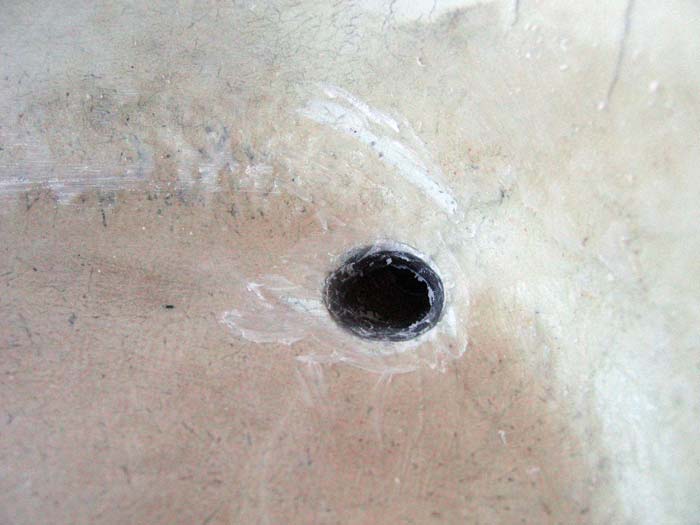
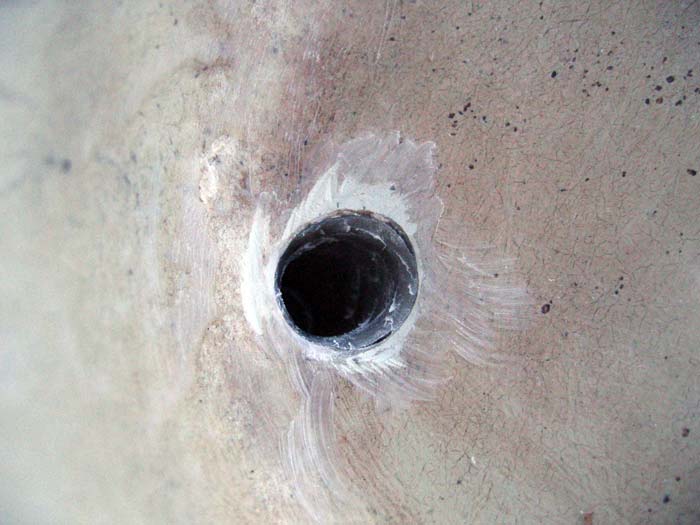
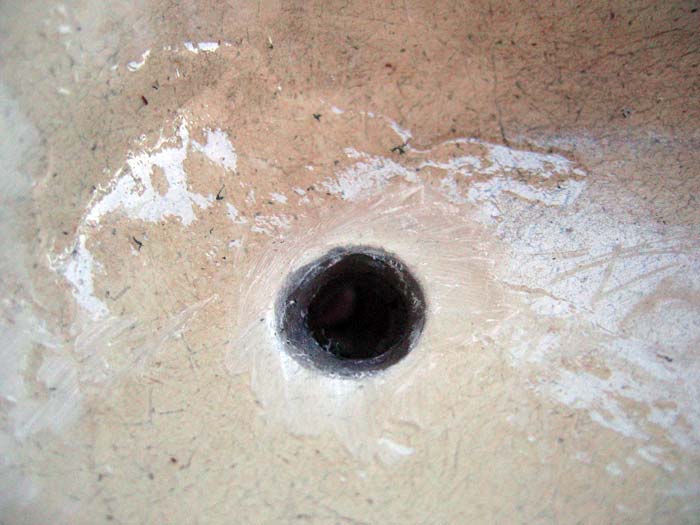
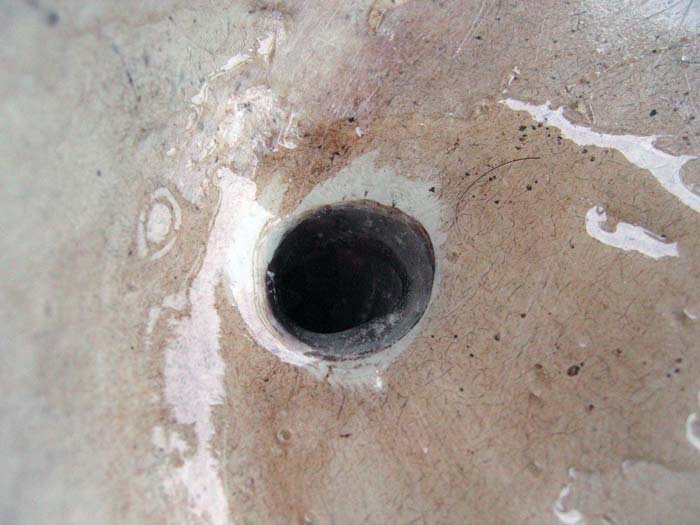
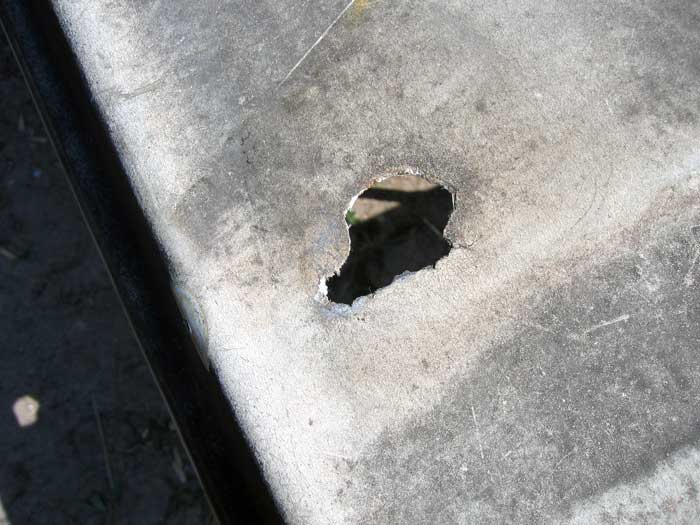
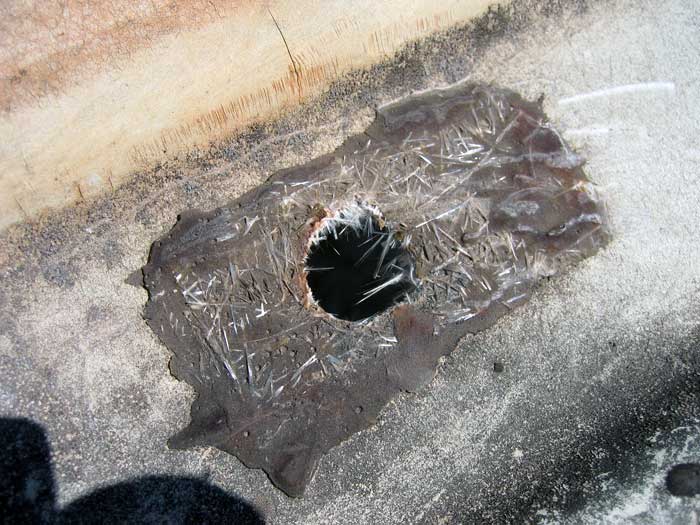
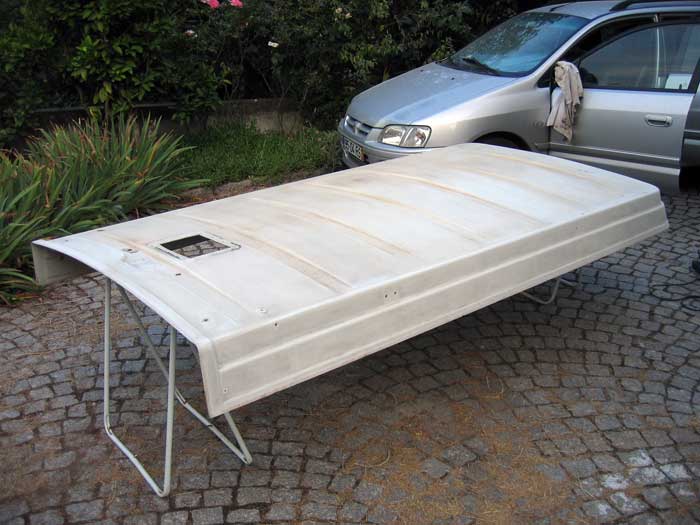
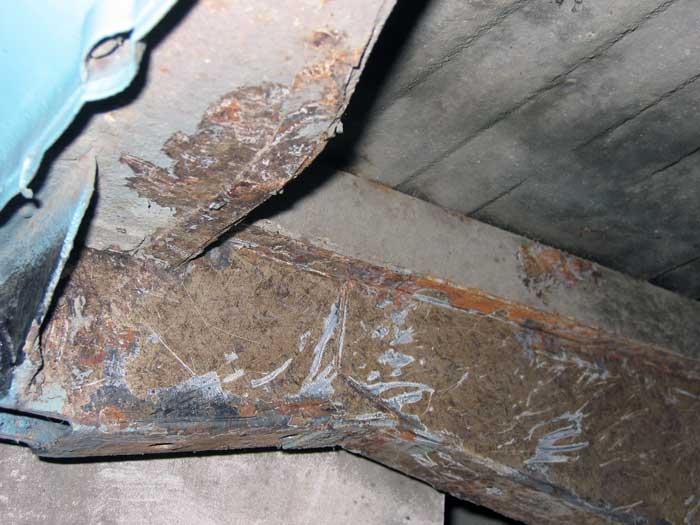
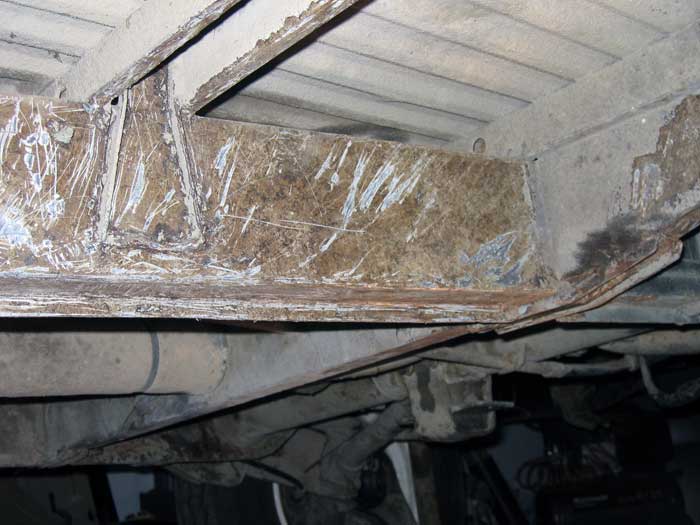
and a lot to get fixed...

IMG_4669.jpg


IMG_4671.jpg


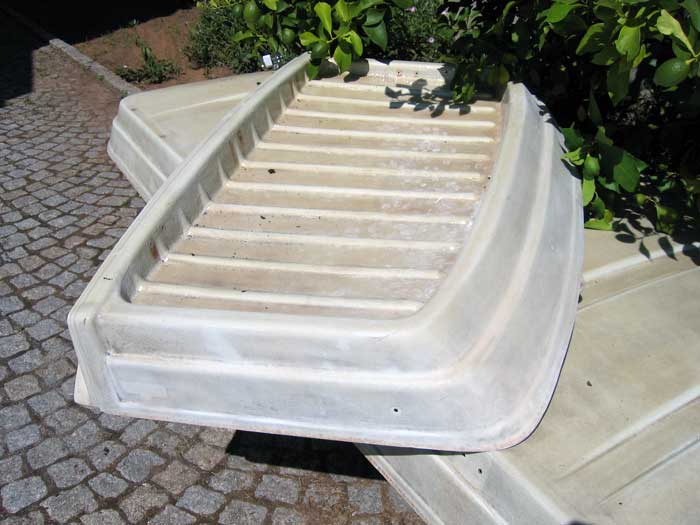
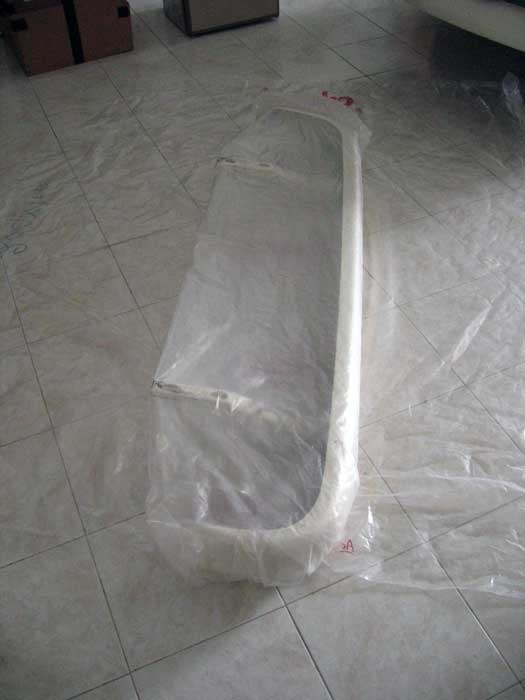
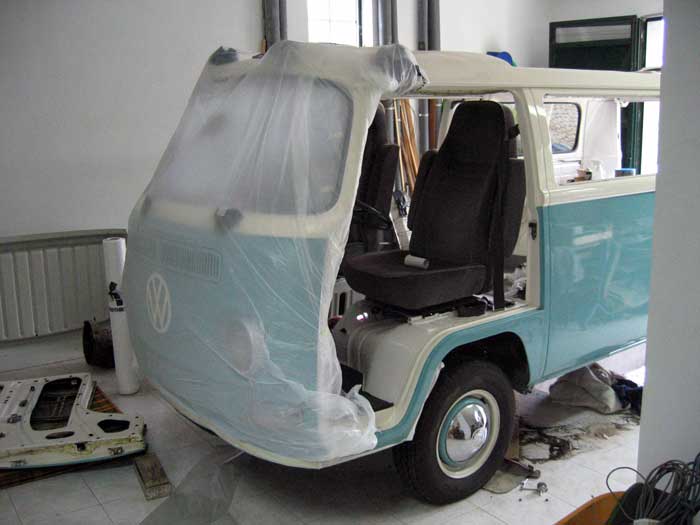
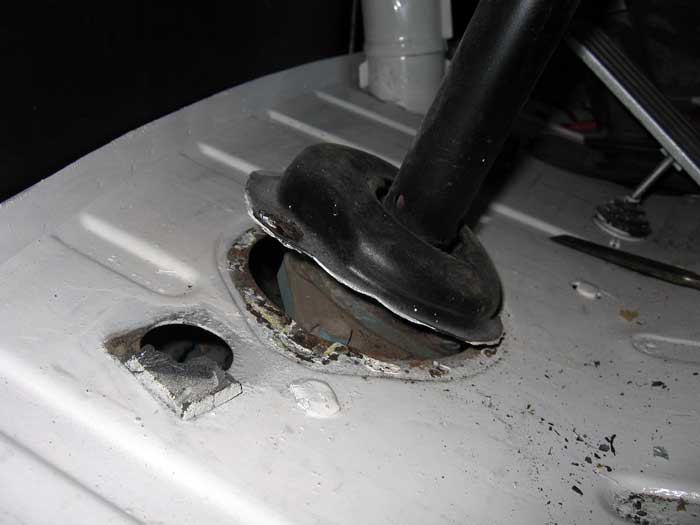
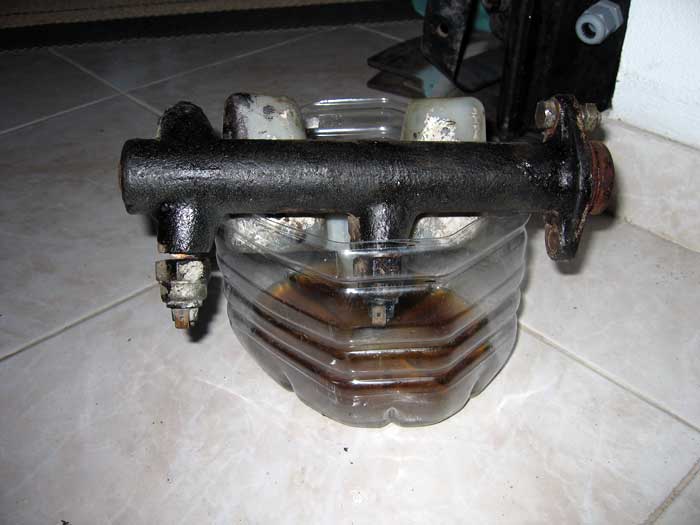
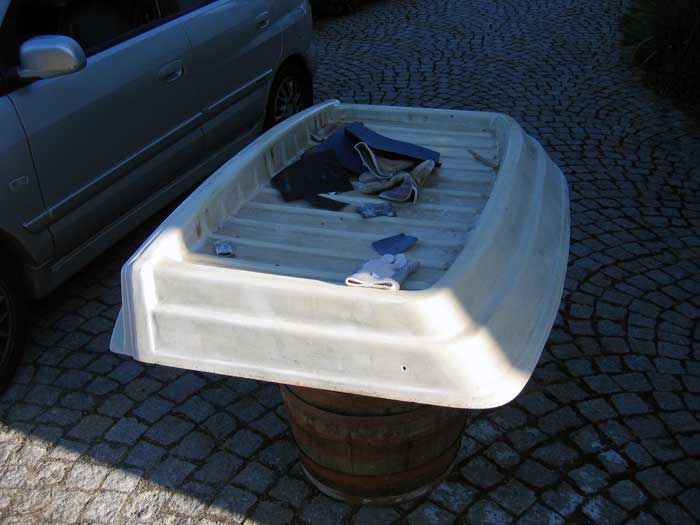
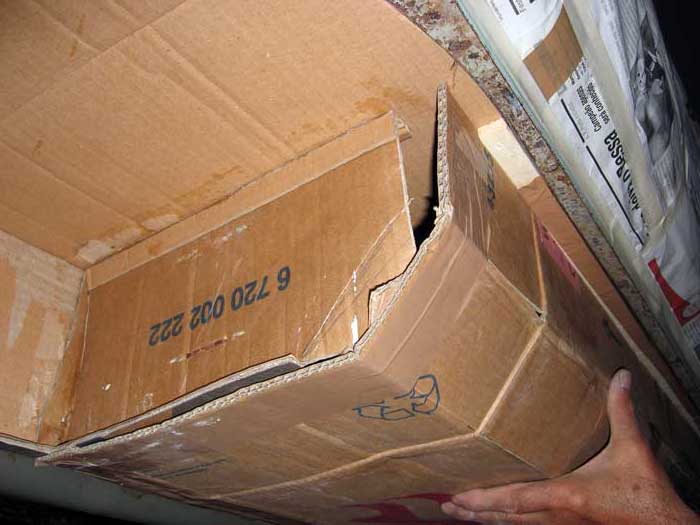
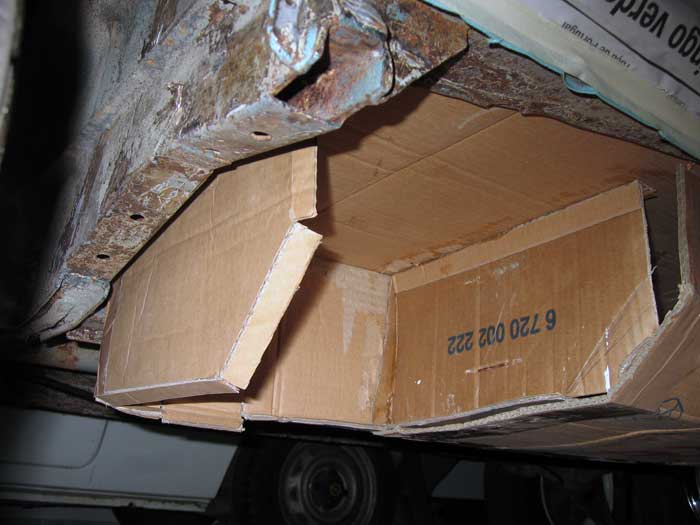
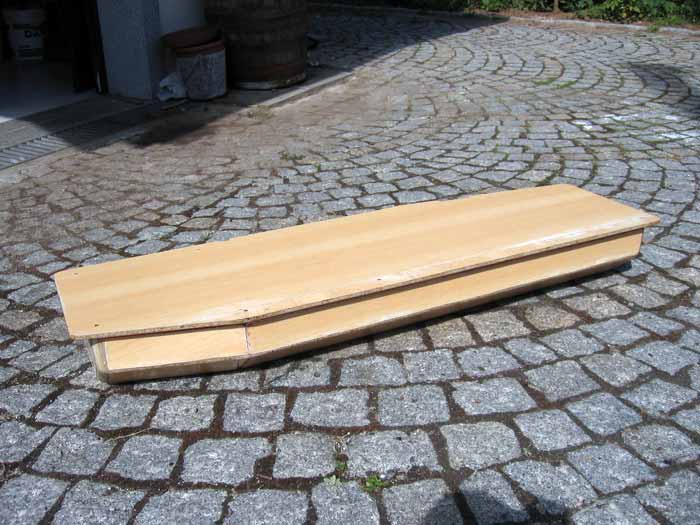
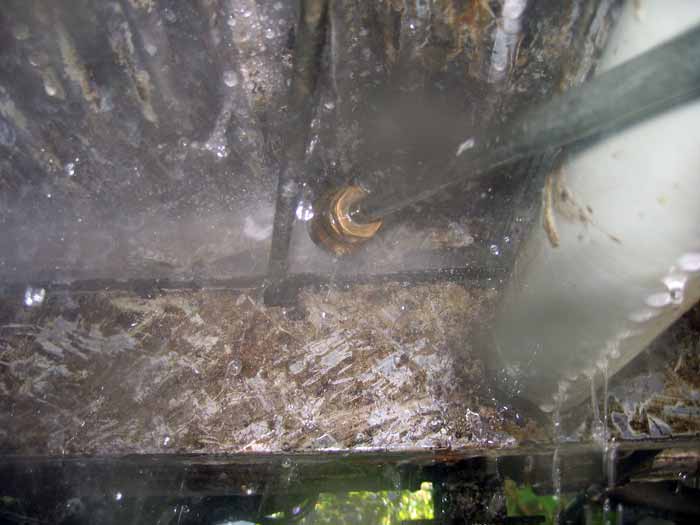
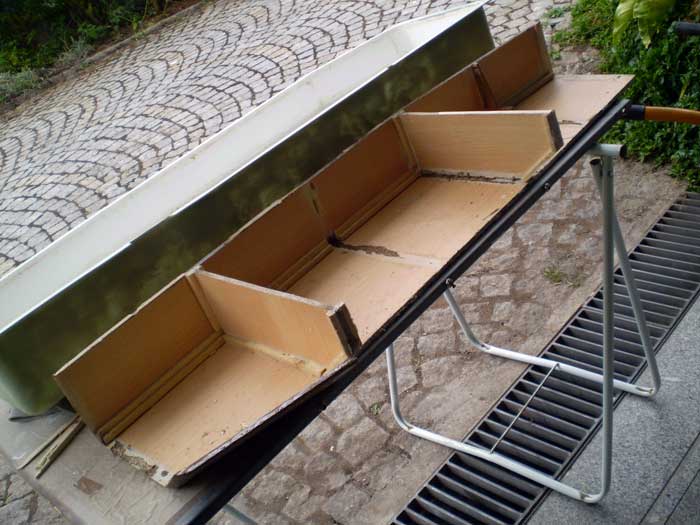
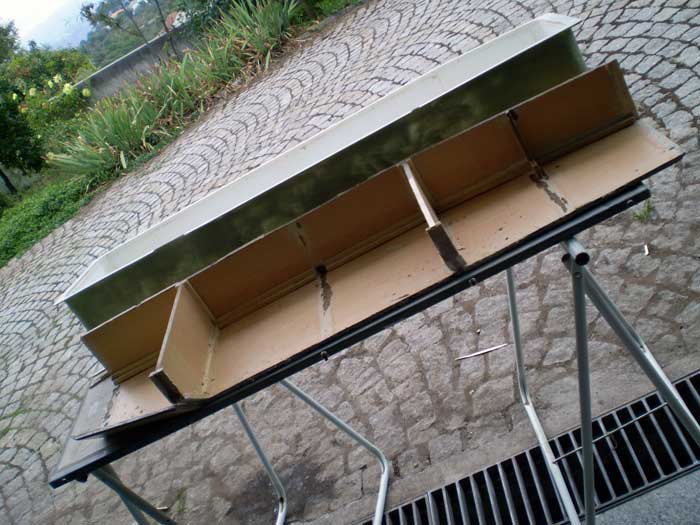
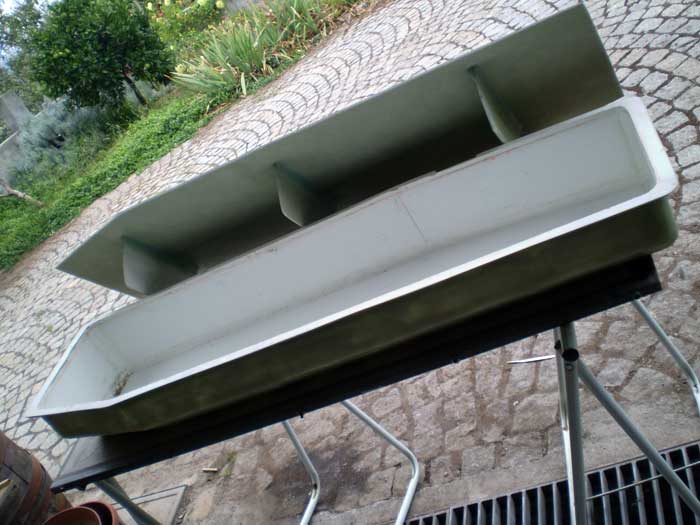
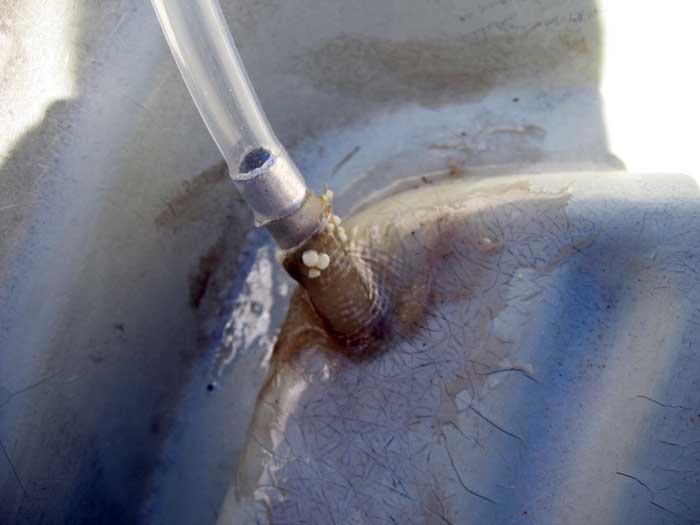
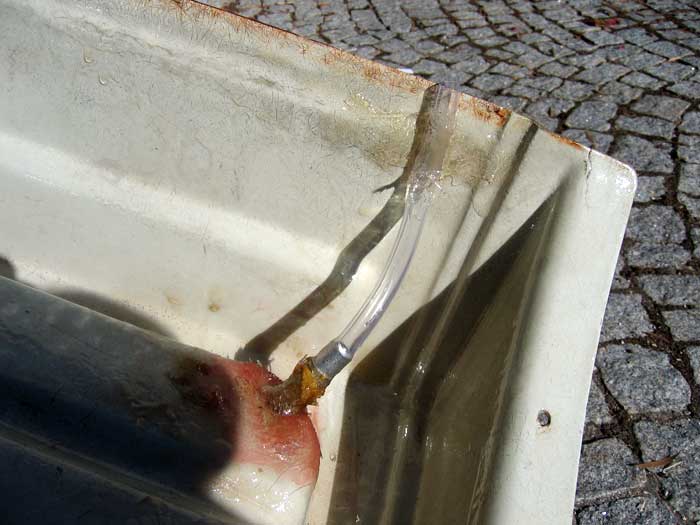
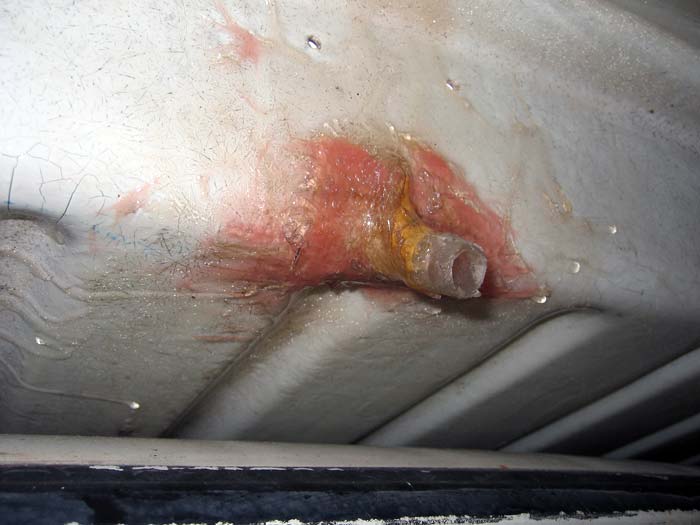
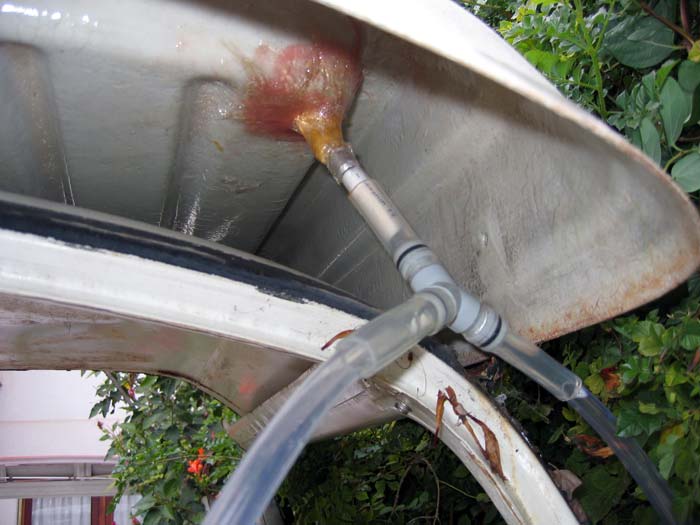
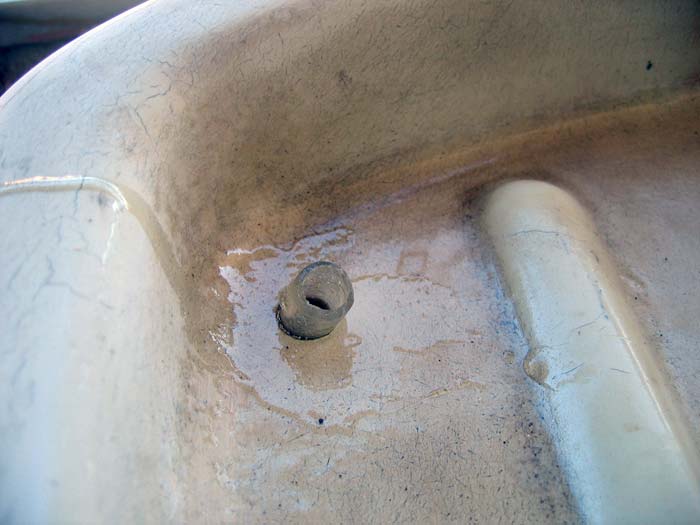
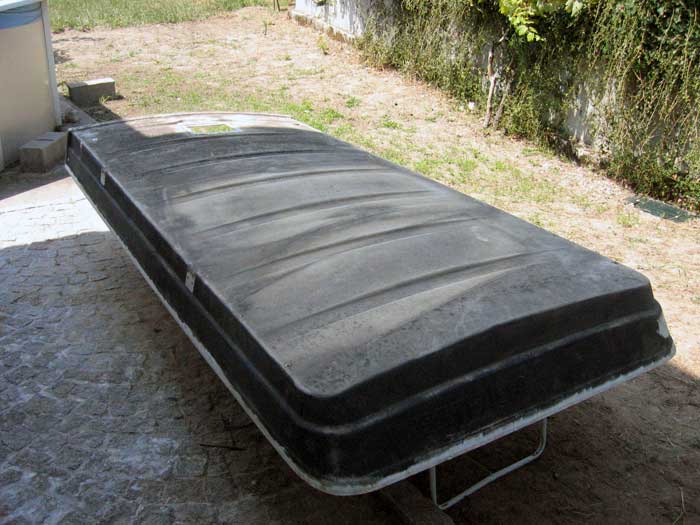
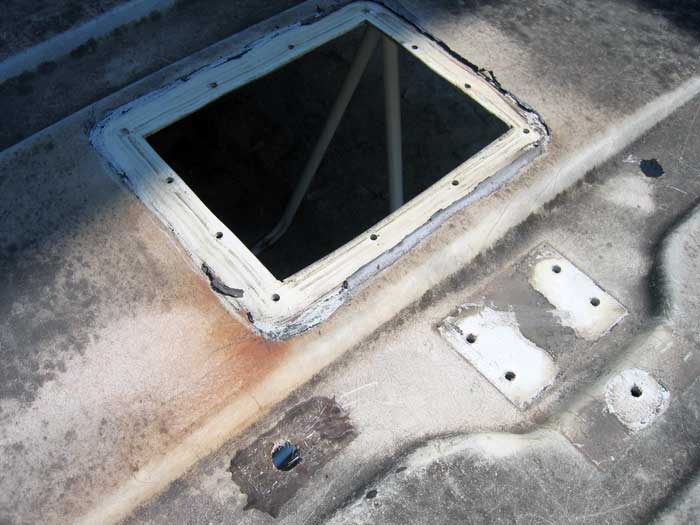
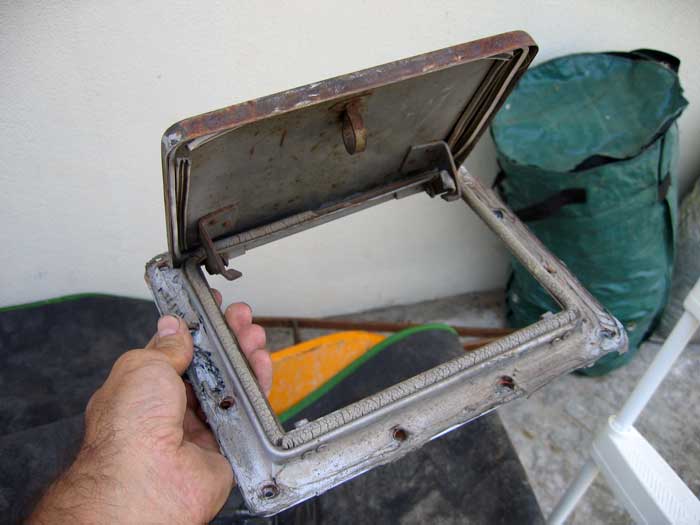
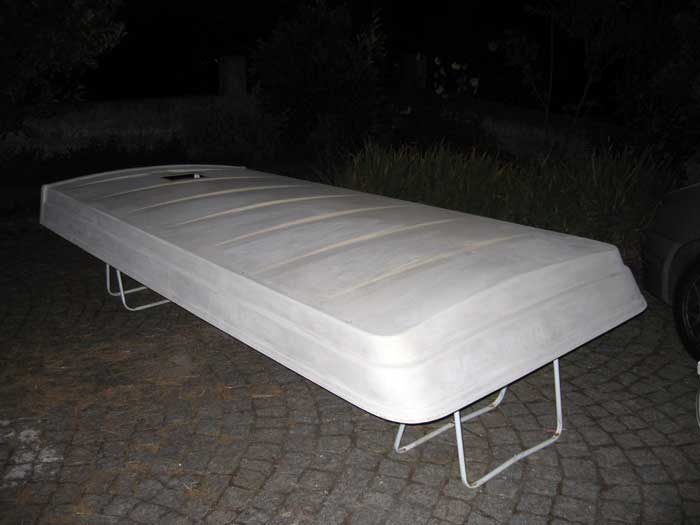
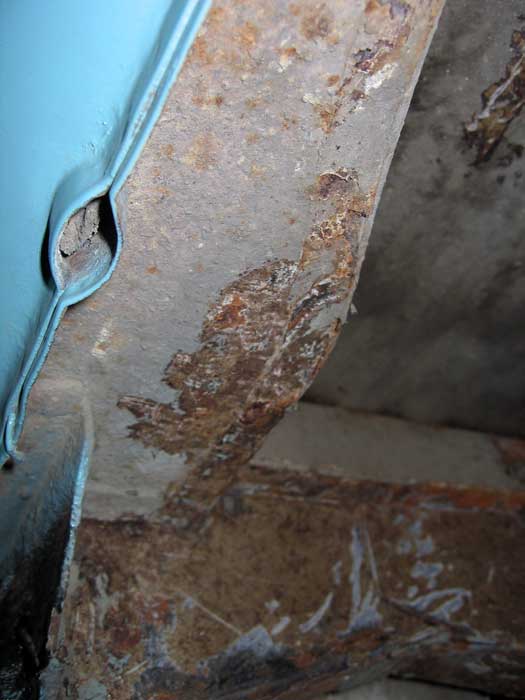
and the "original" skylight... but unfortunately it was broken. Some parts were missing....

IMG_4670.jpg


IMG_4672.jpg


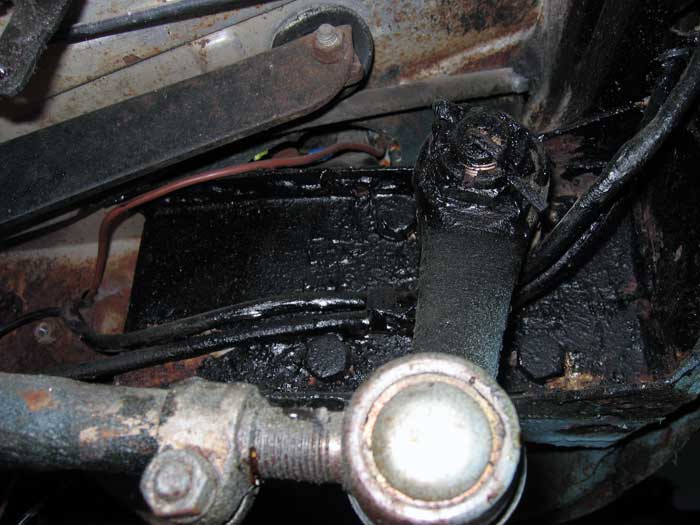
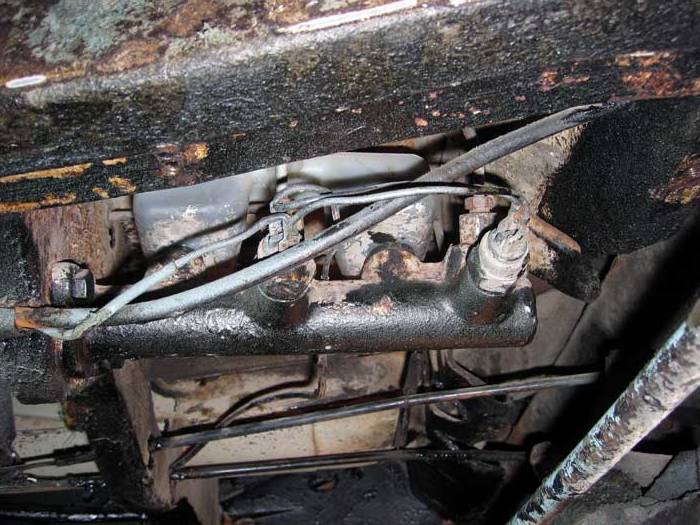
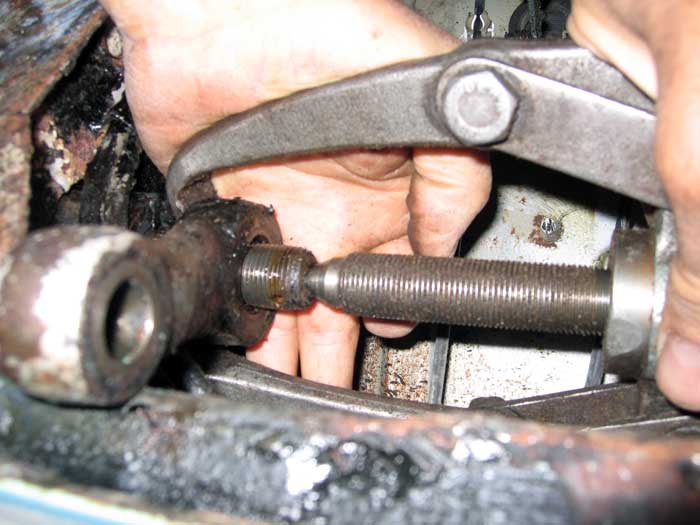
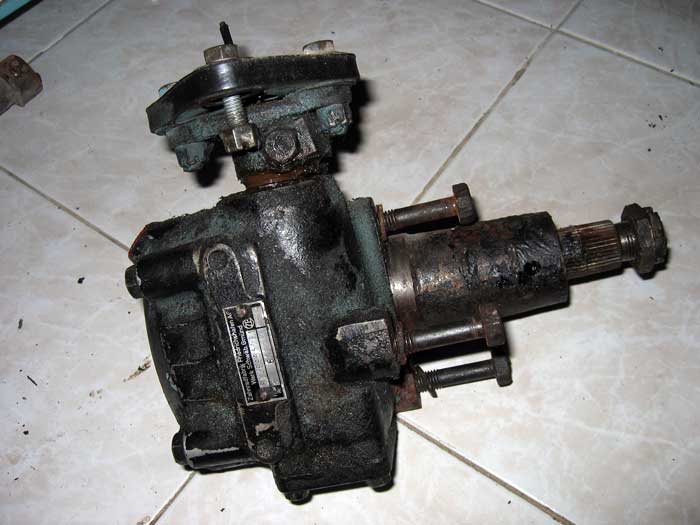
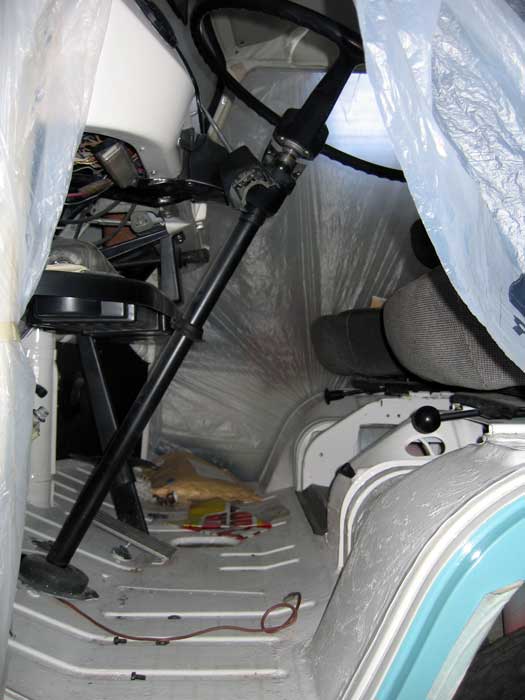
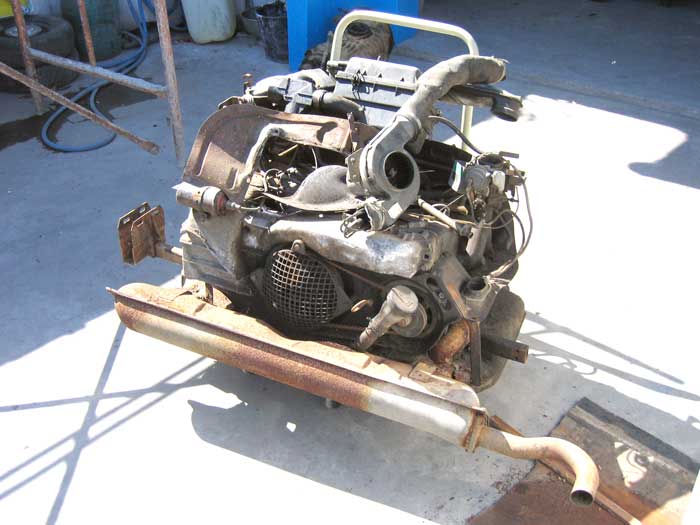
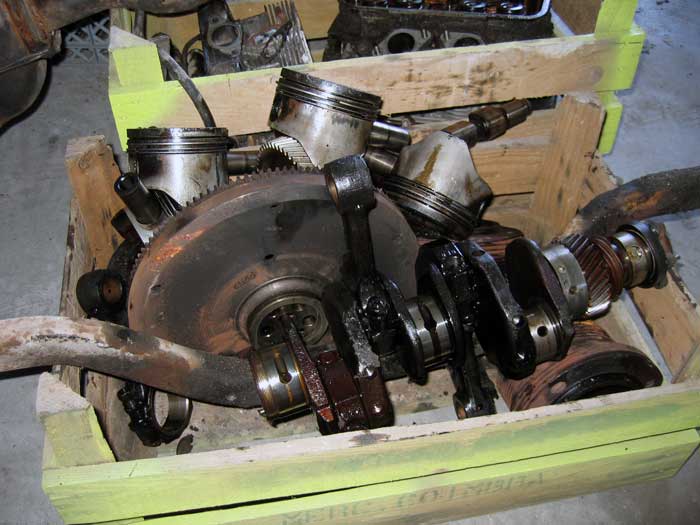
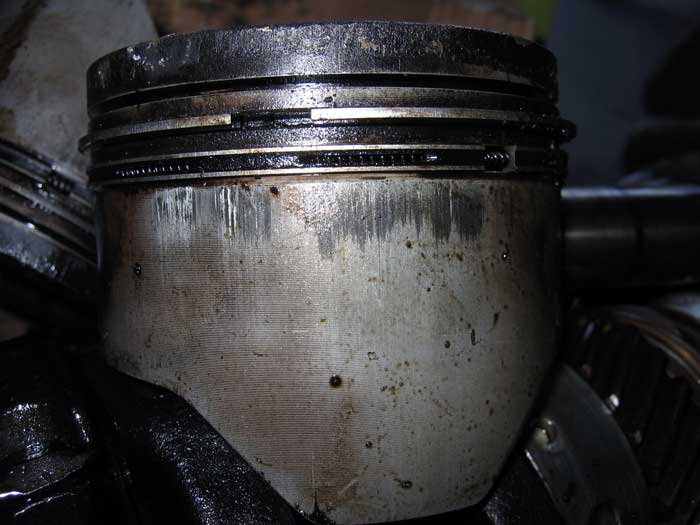
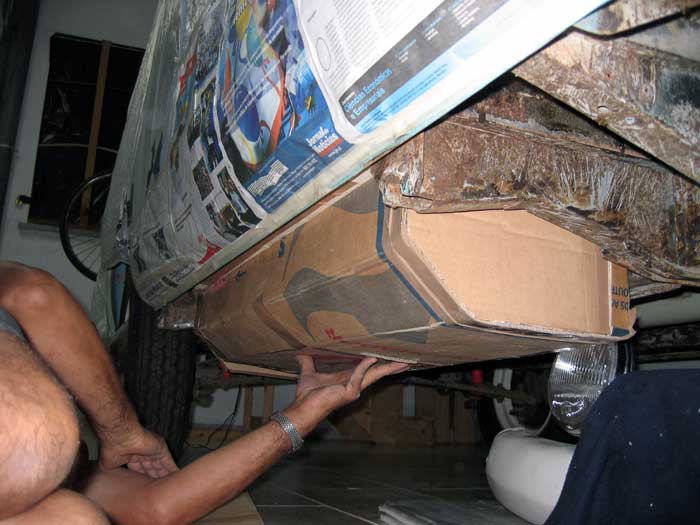
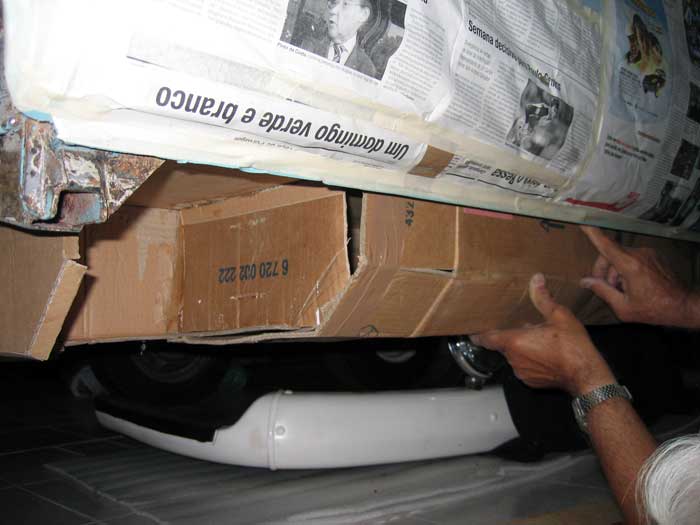
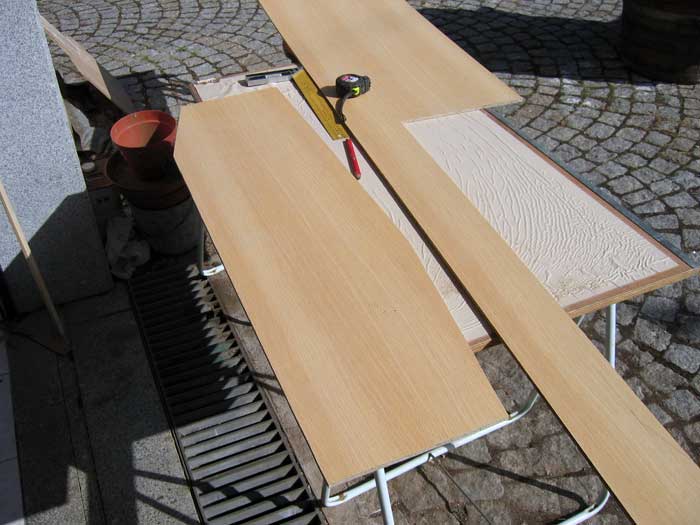
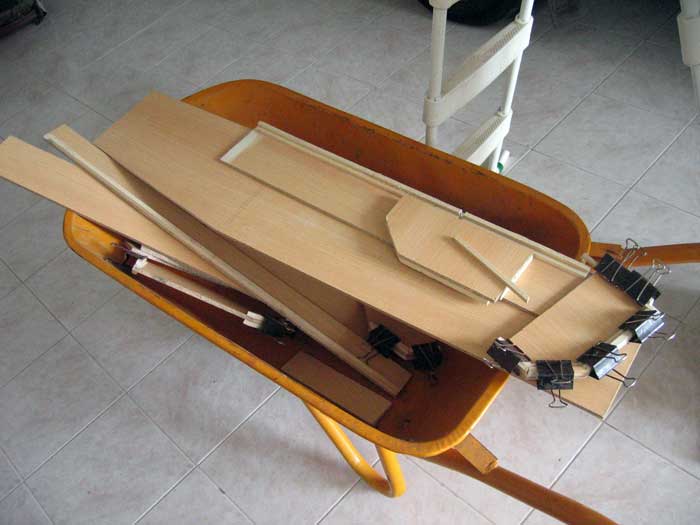
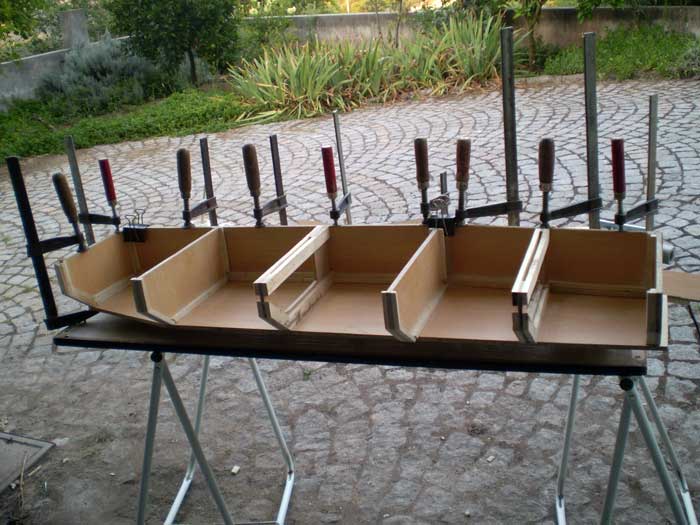
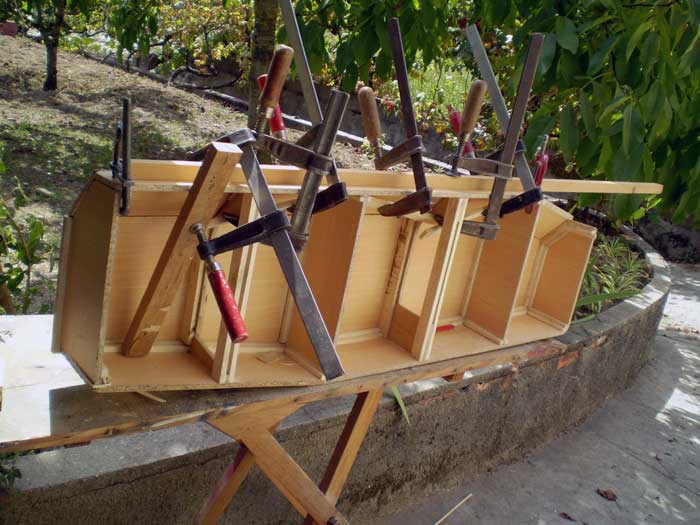
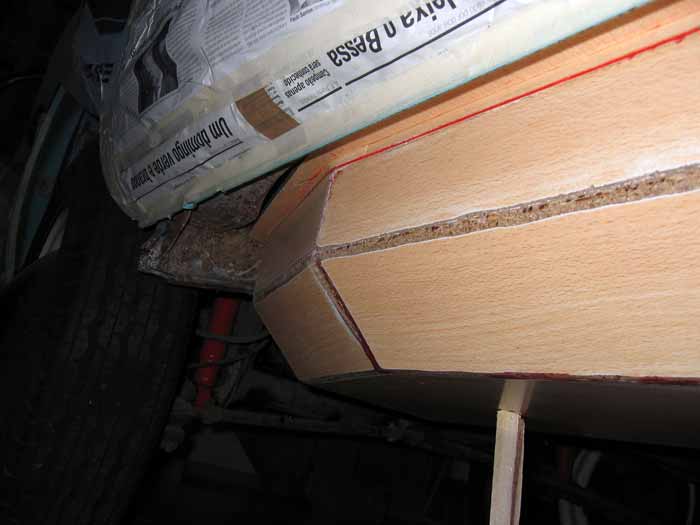
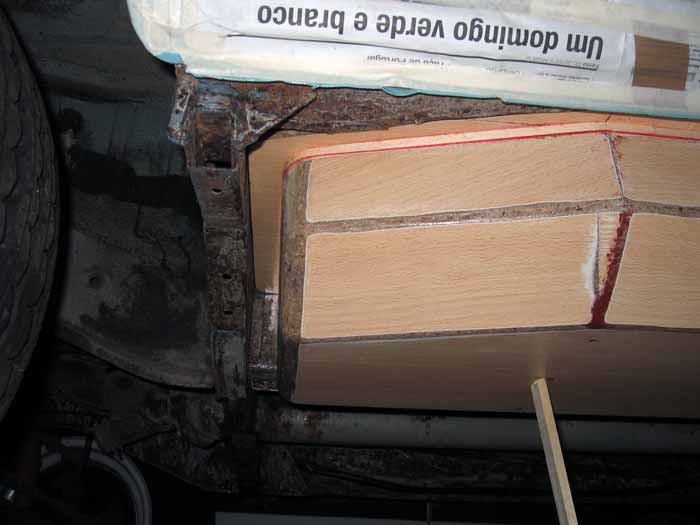
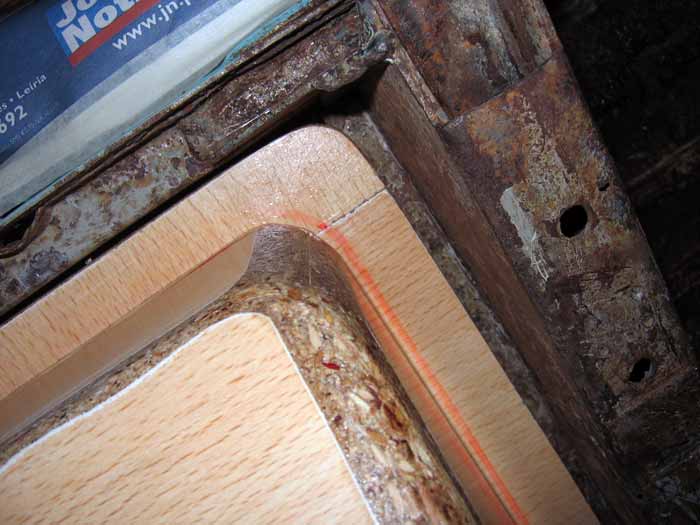
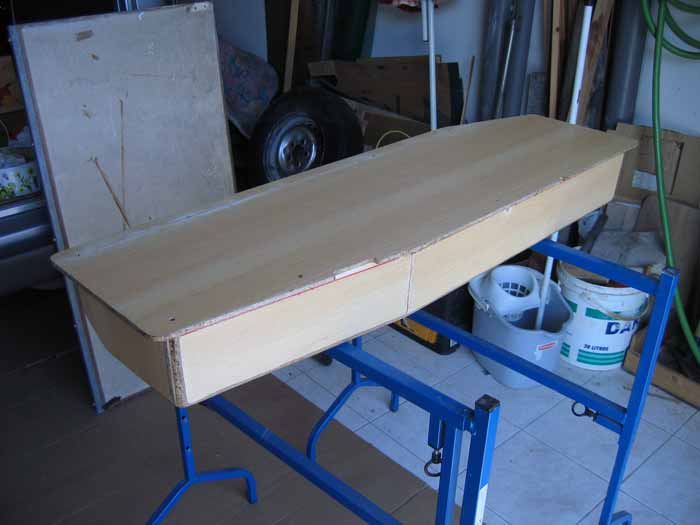
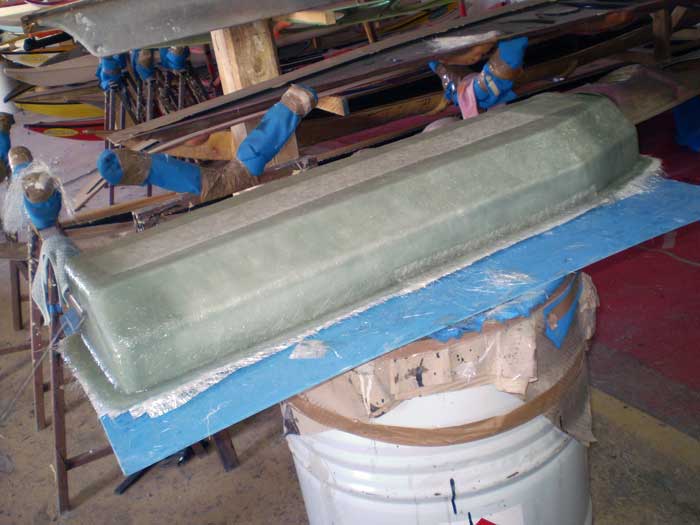
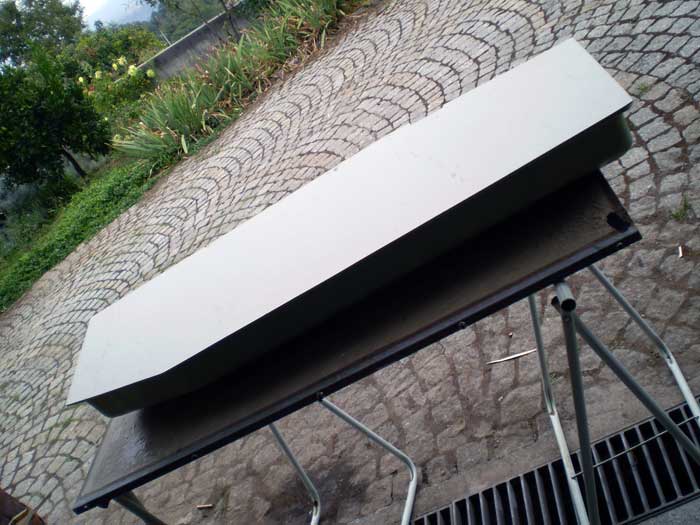
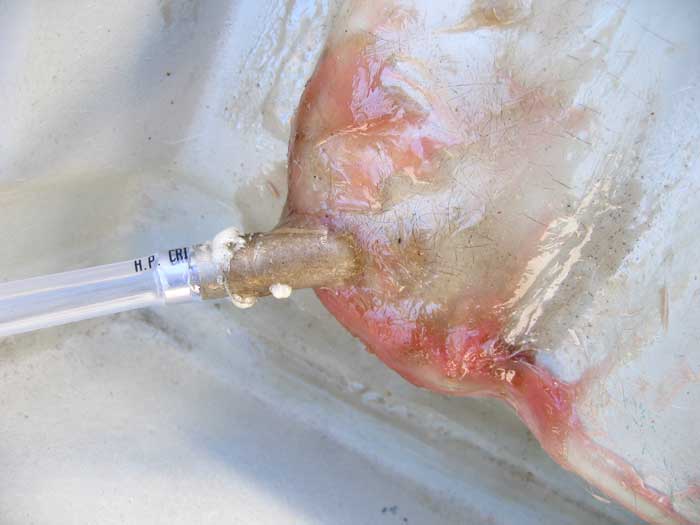
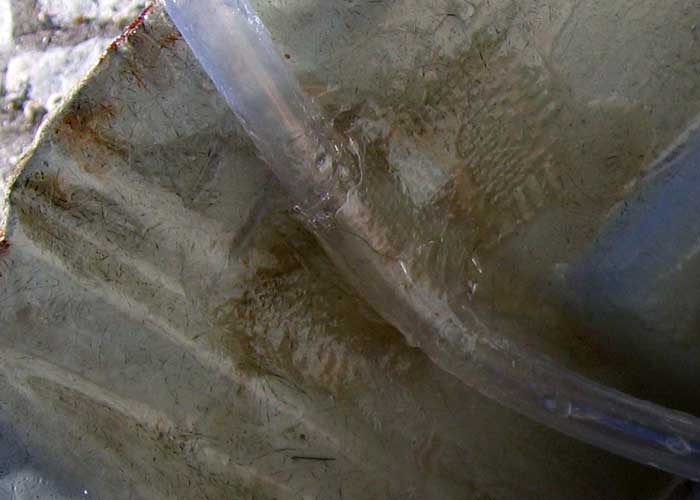
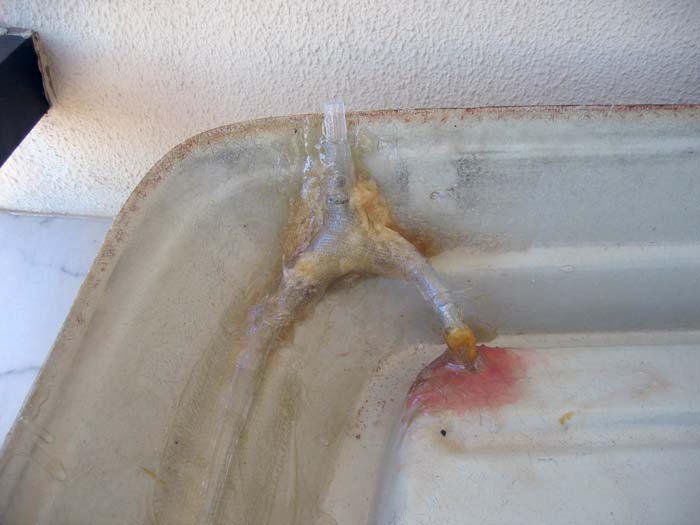
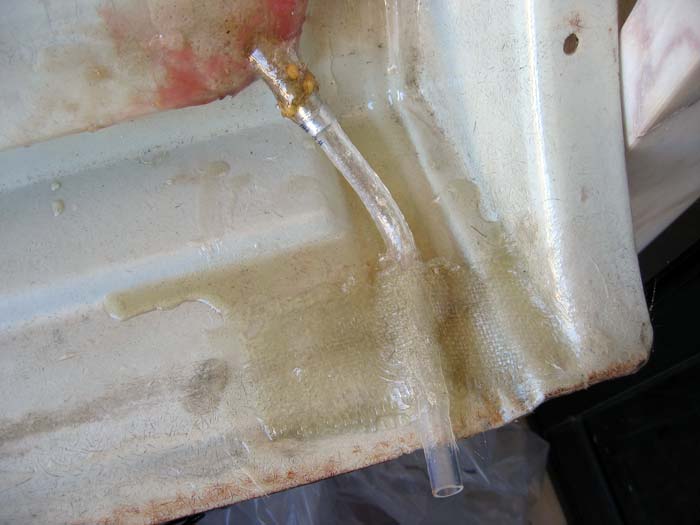
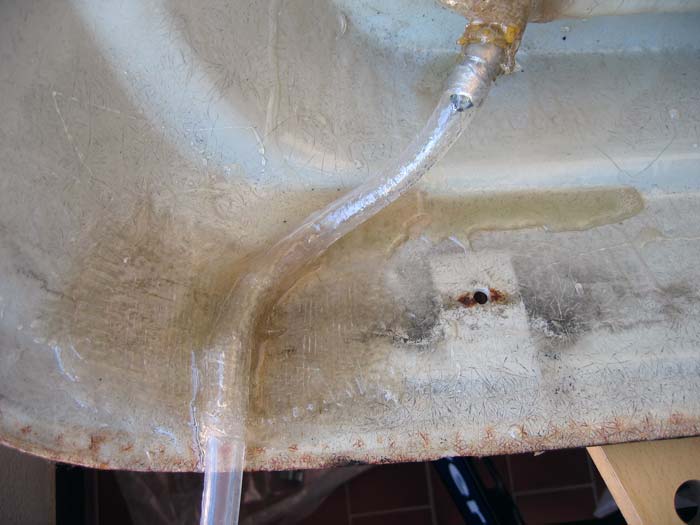
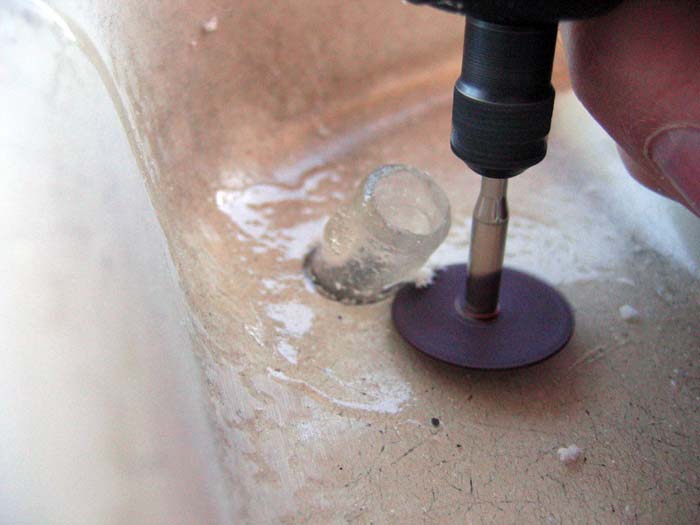
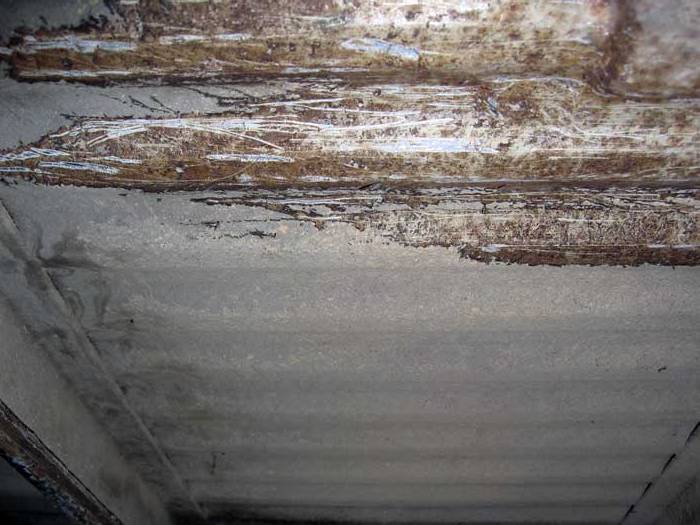
and after a few hours...
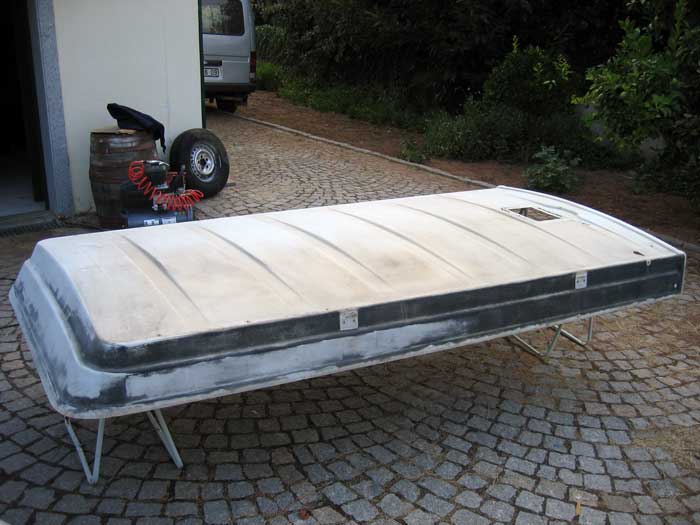
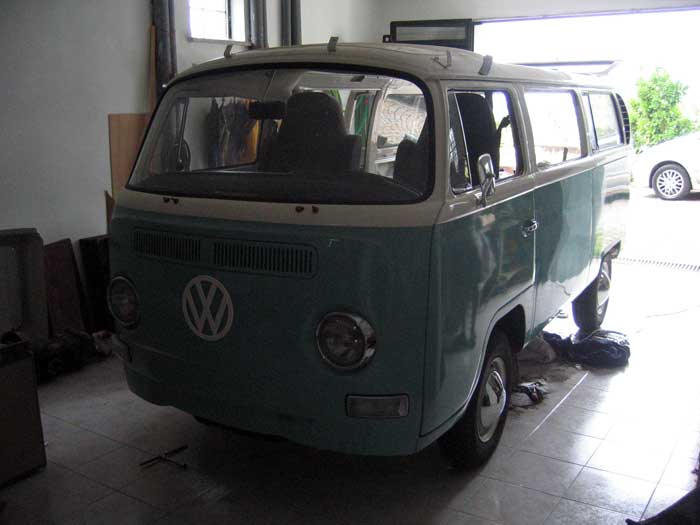
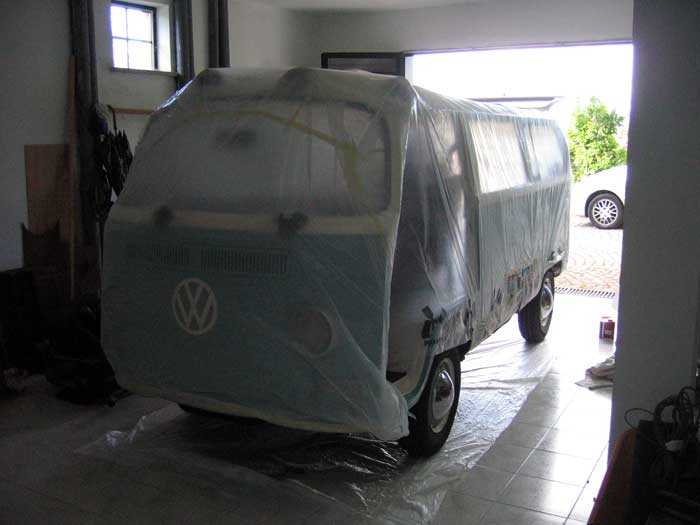
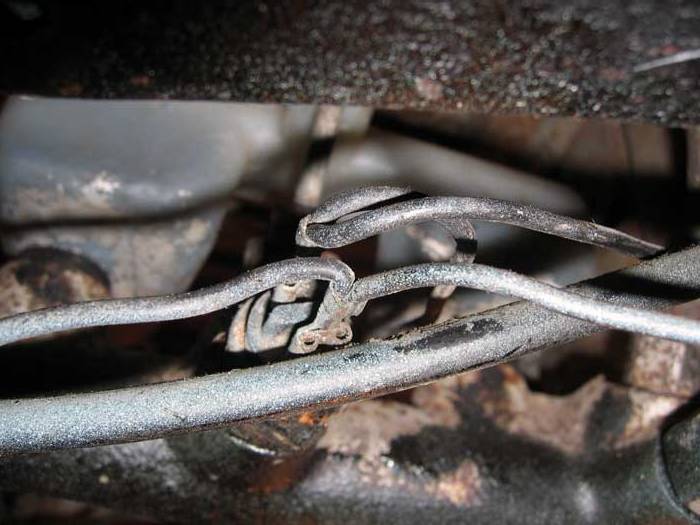
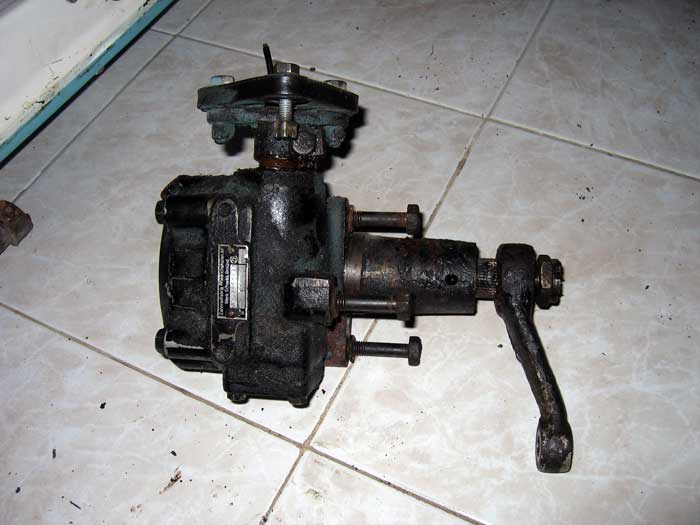
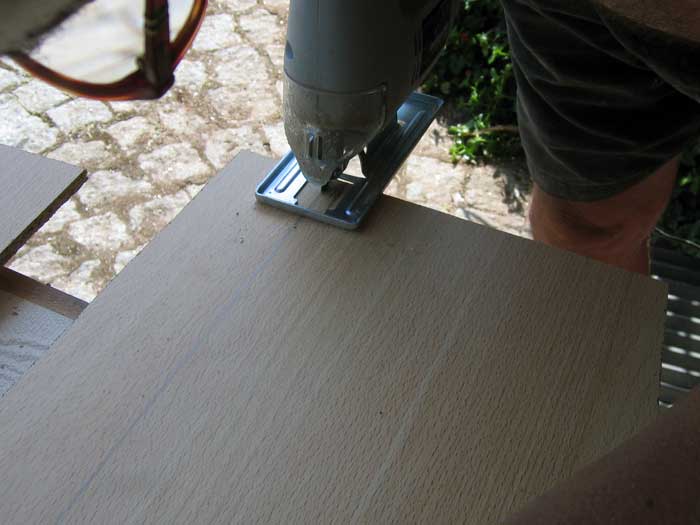
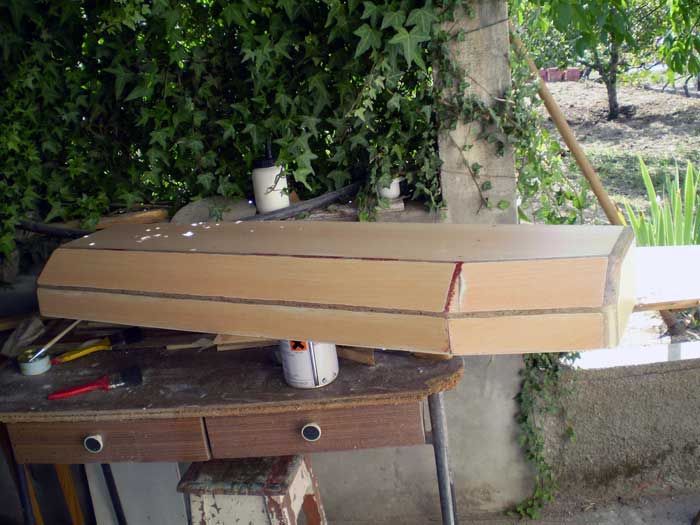
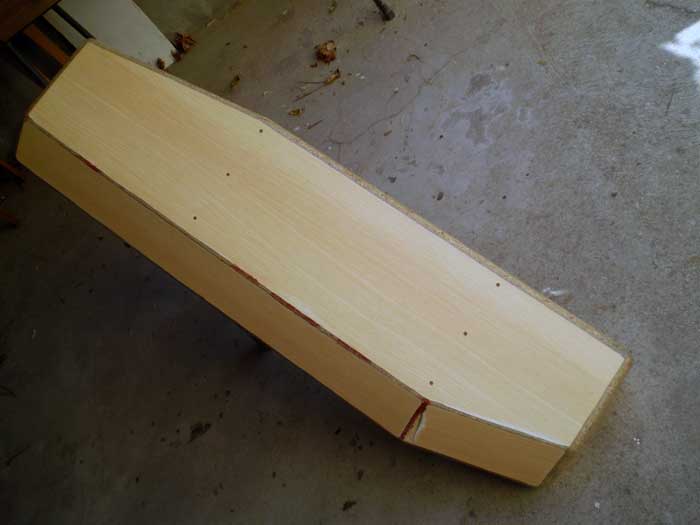
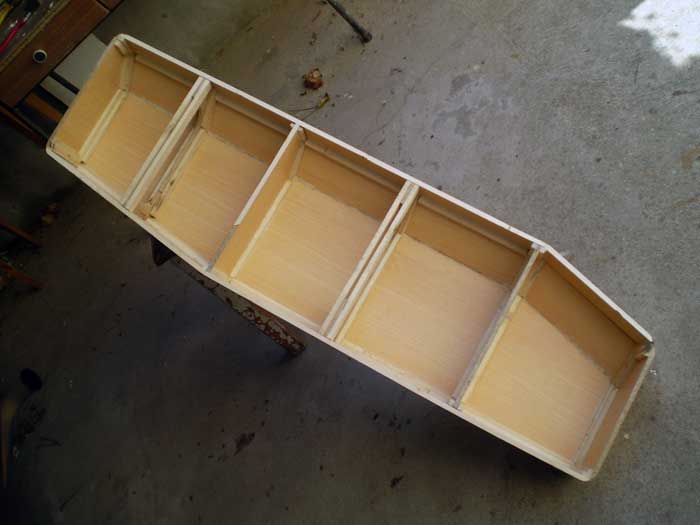
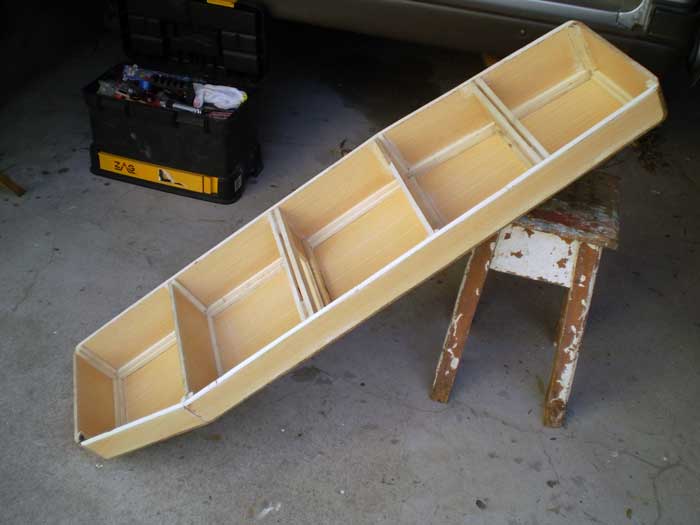
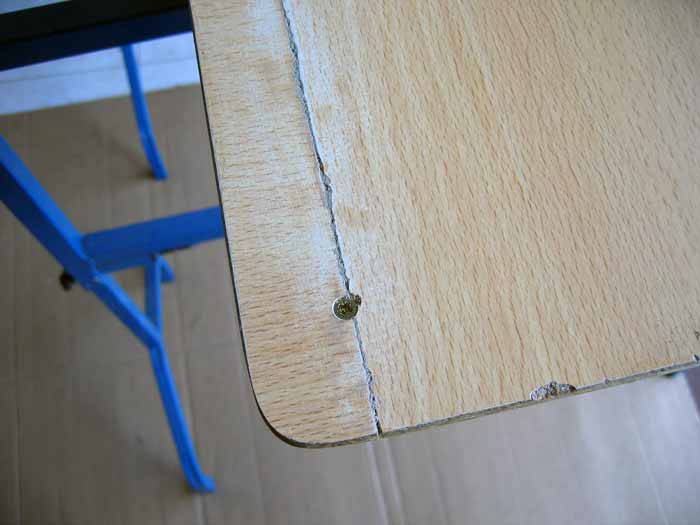
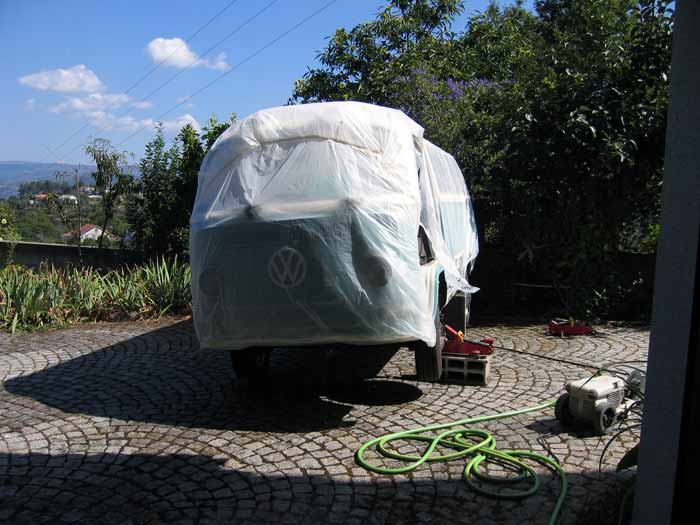
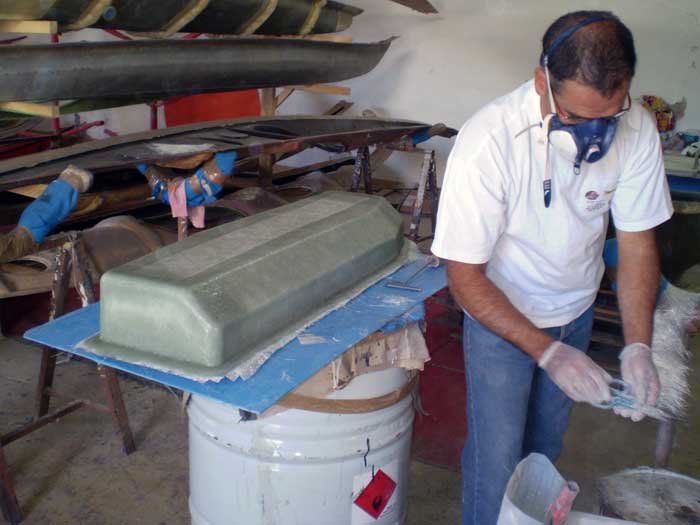
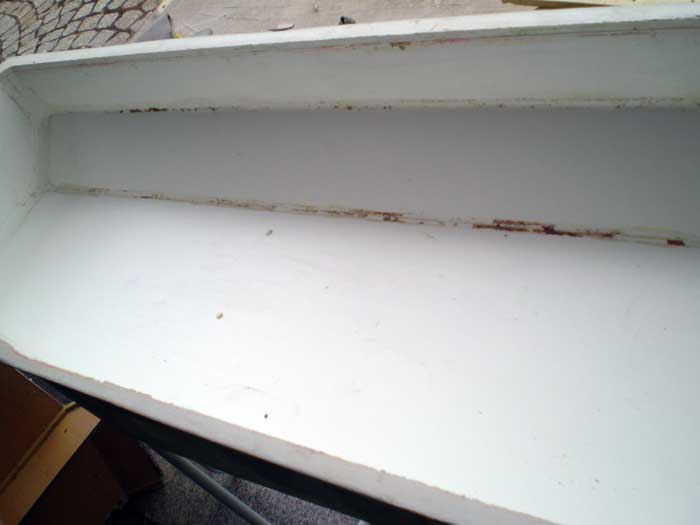
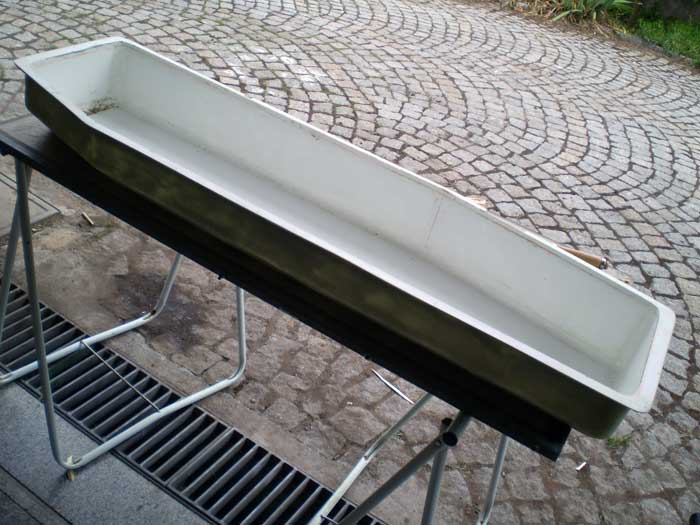
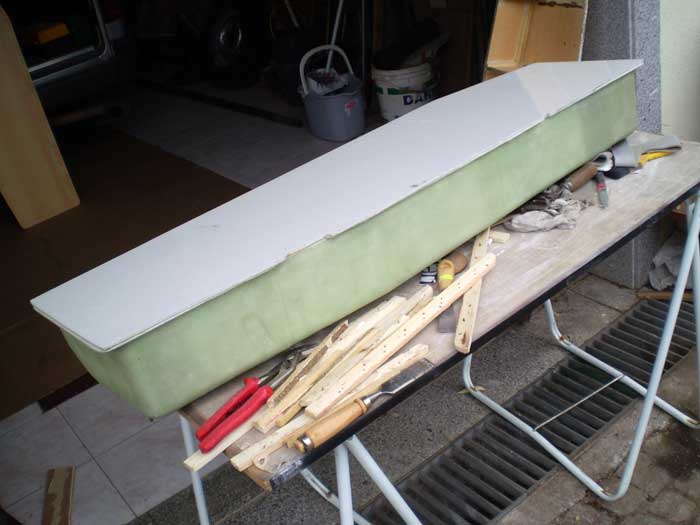
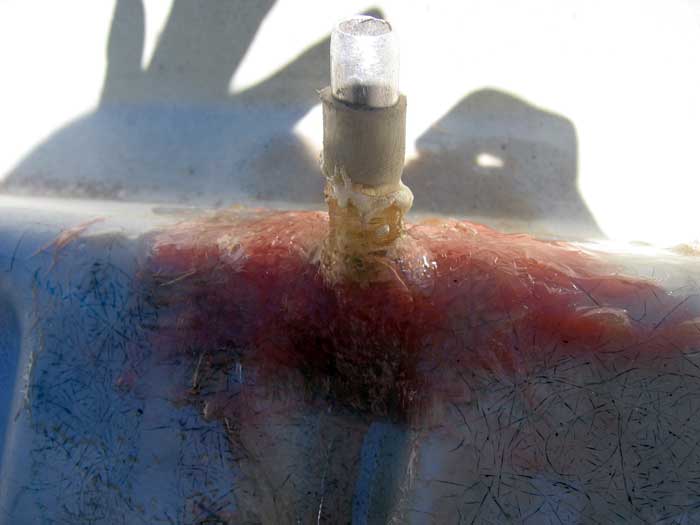
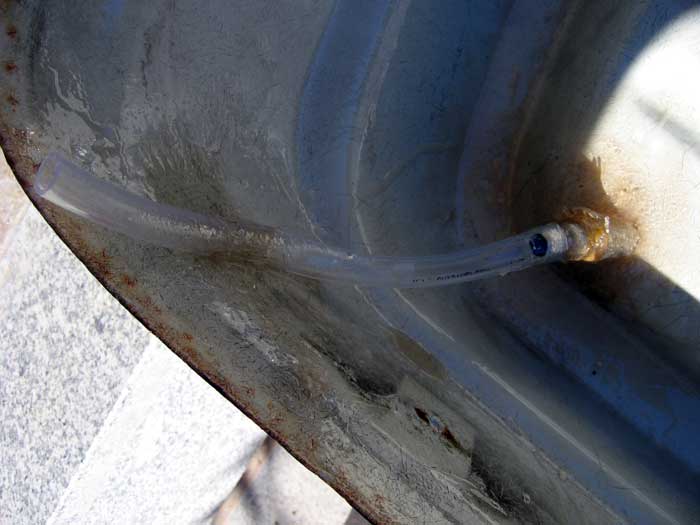
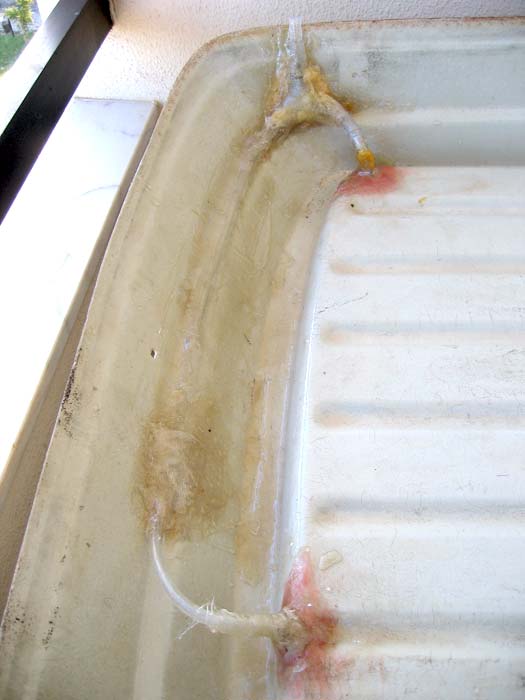
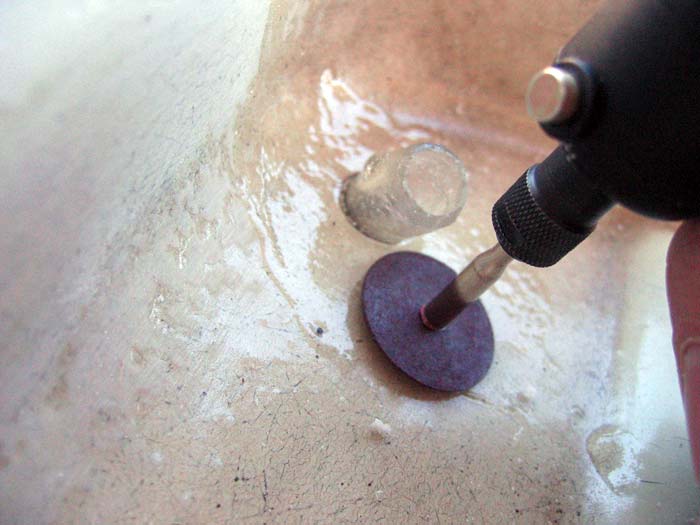
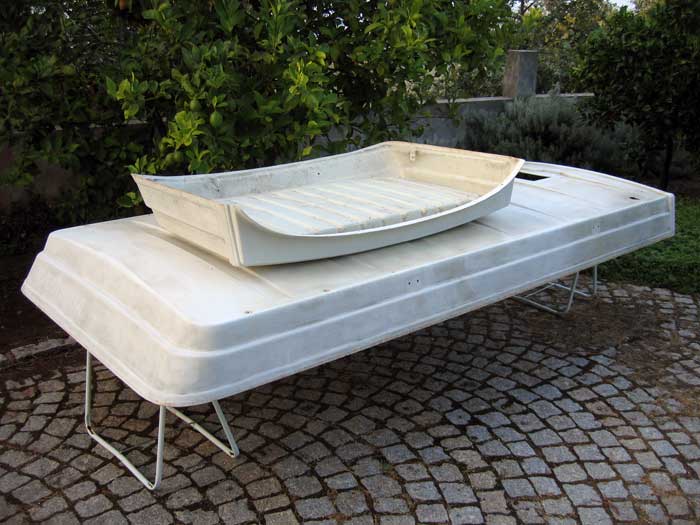
IMG_4674.jpg


IMG_4675.jpg


IMG_4676.jpg


and finally...

IMG_4678.jpg


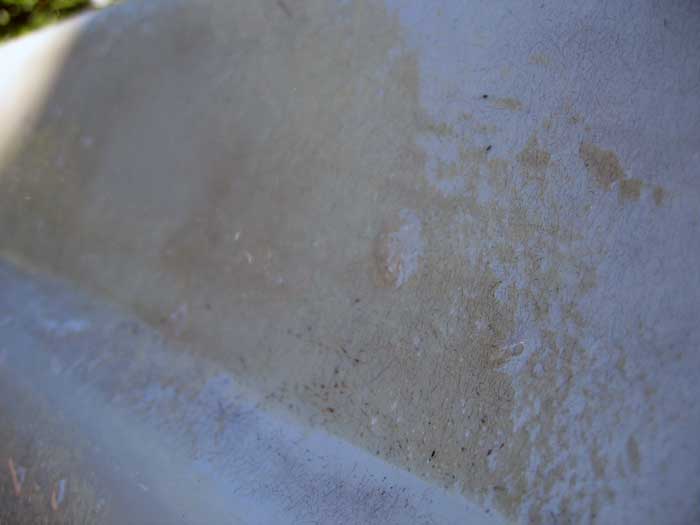
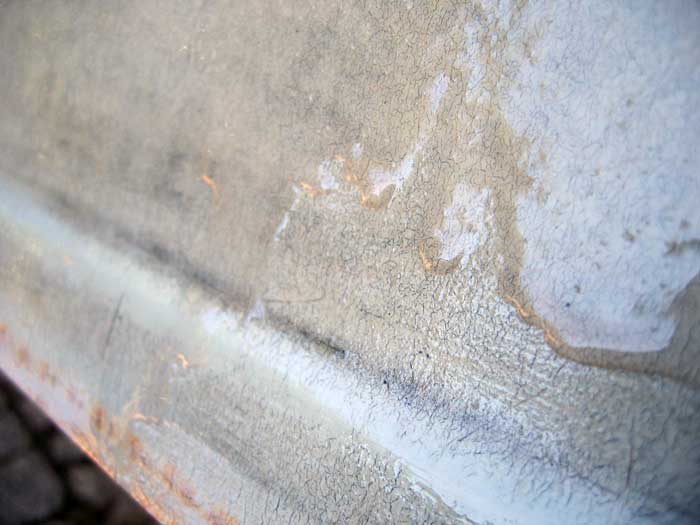
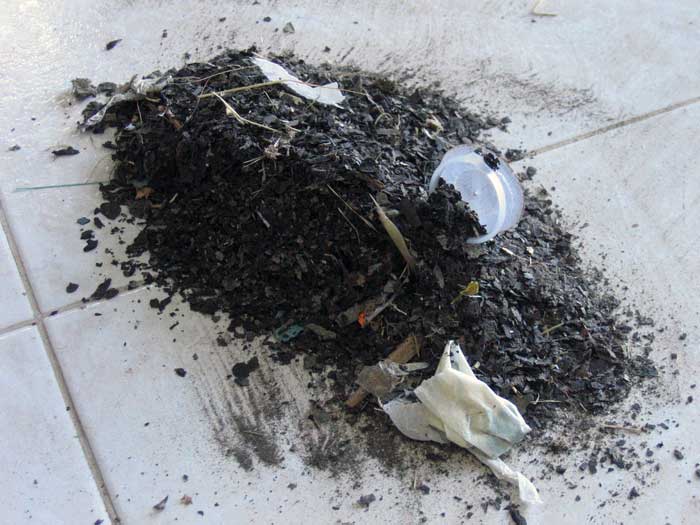
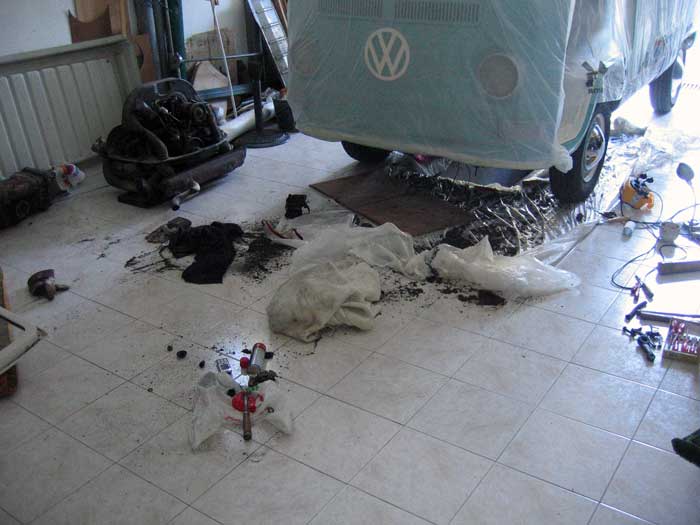
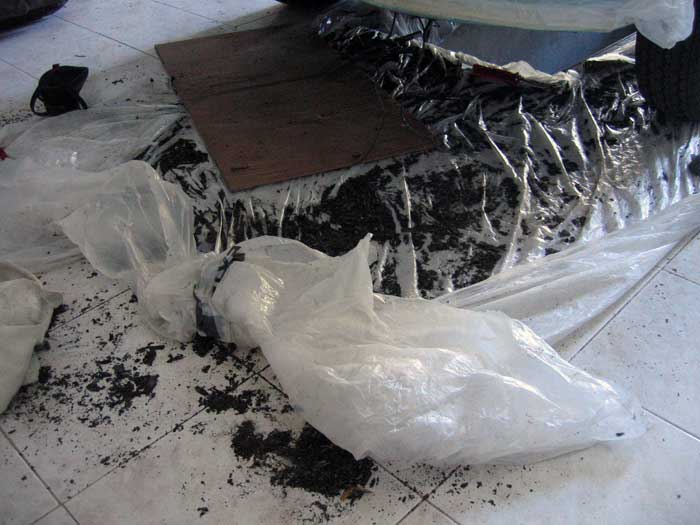
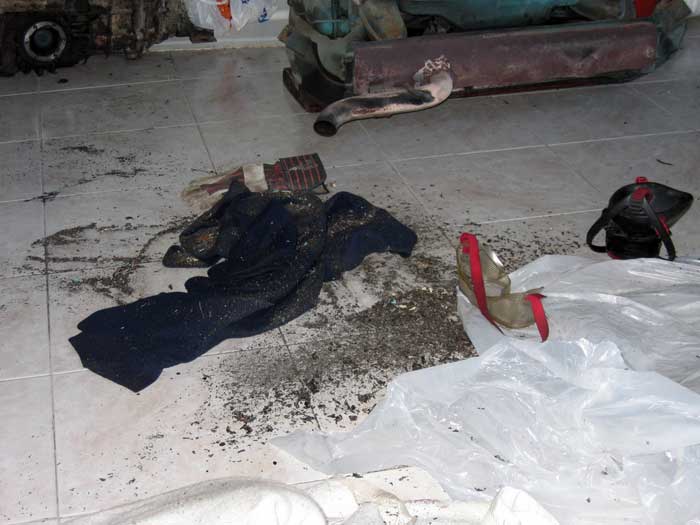
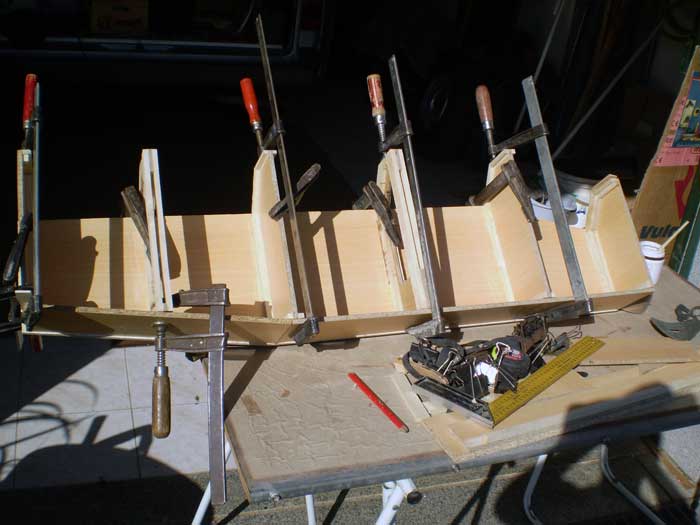
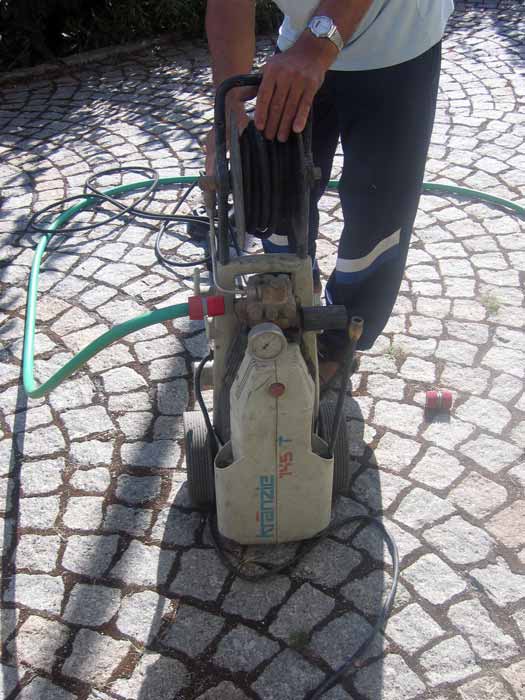
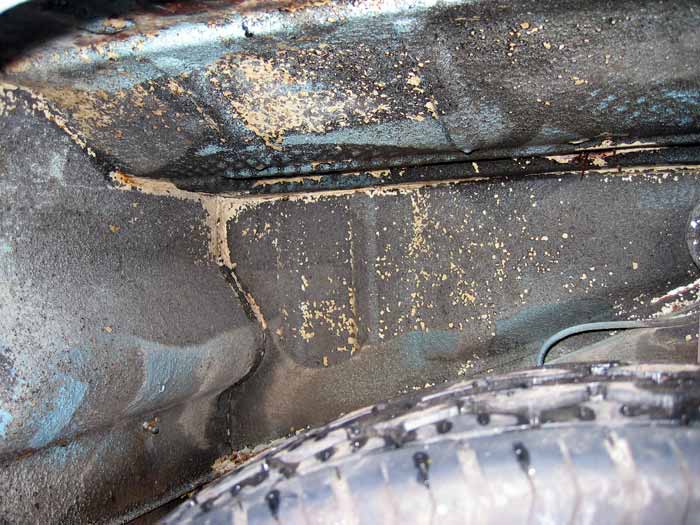
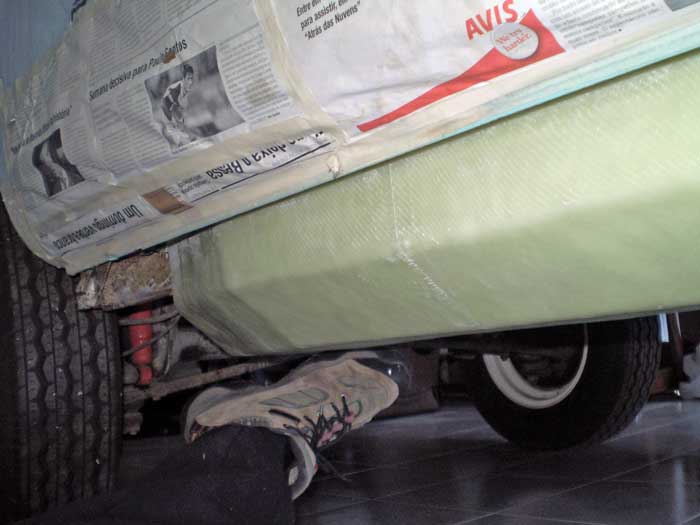
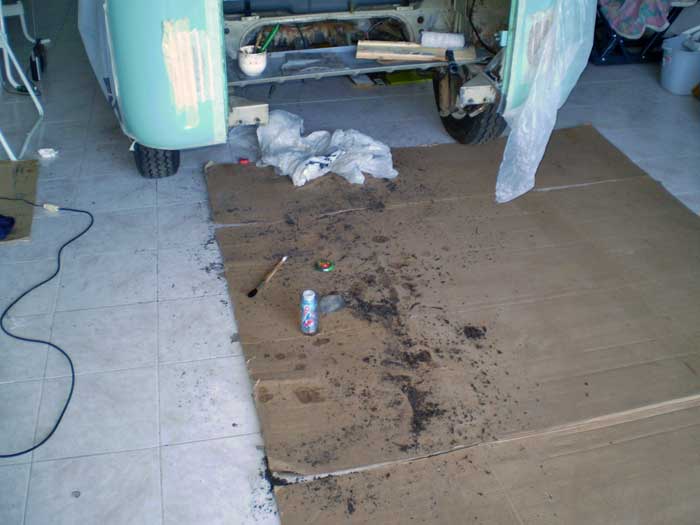
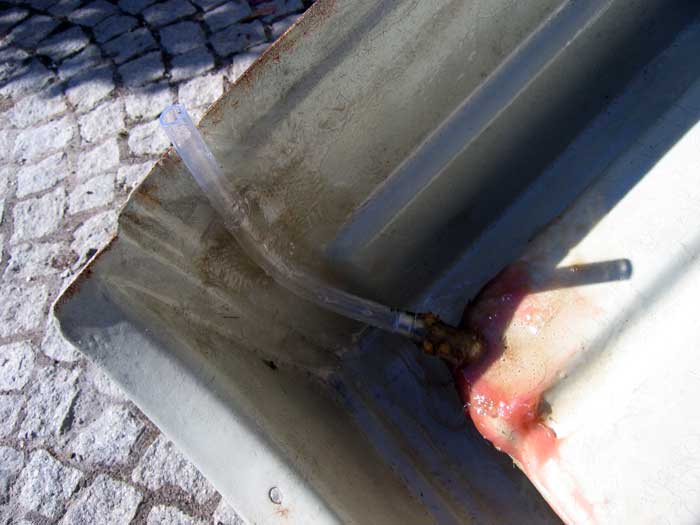
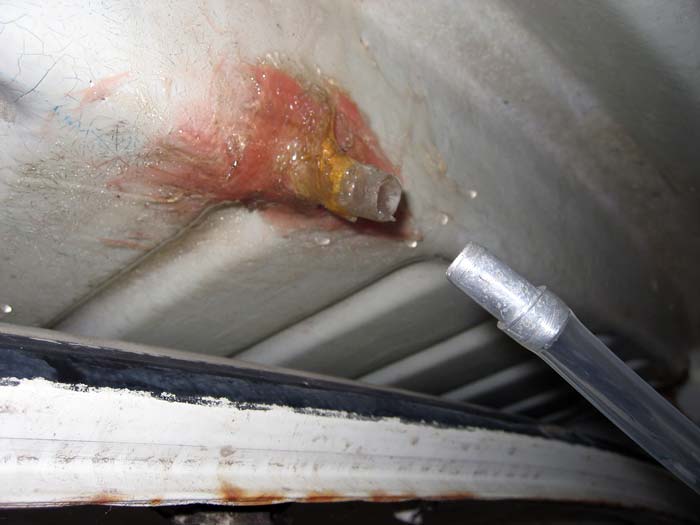
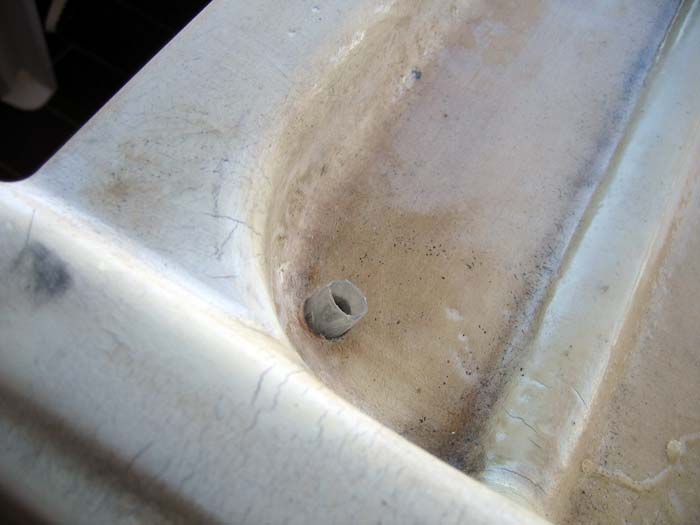
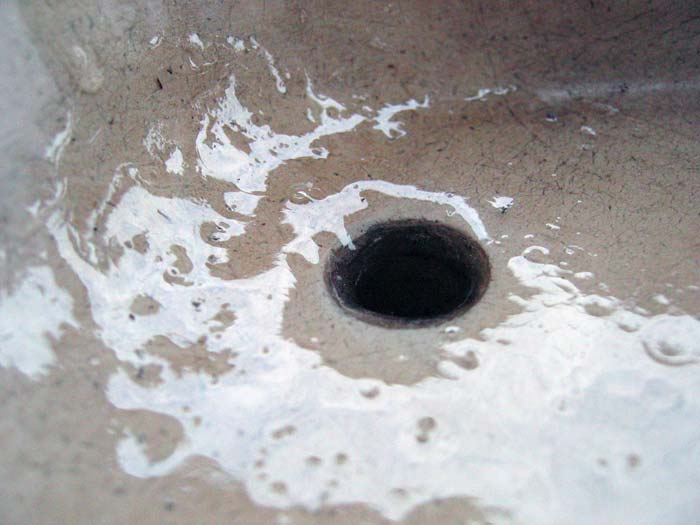
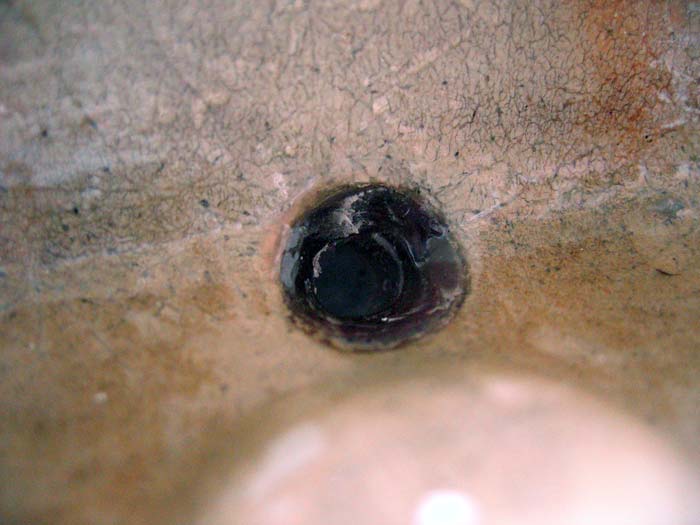
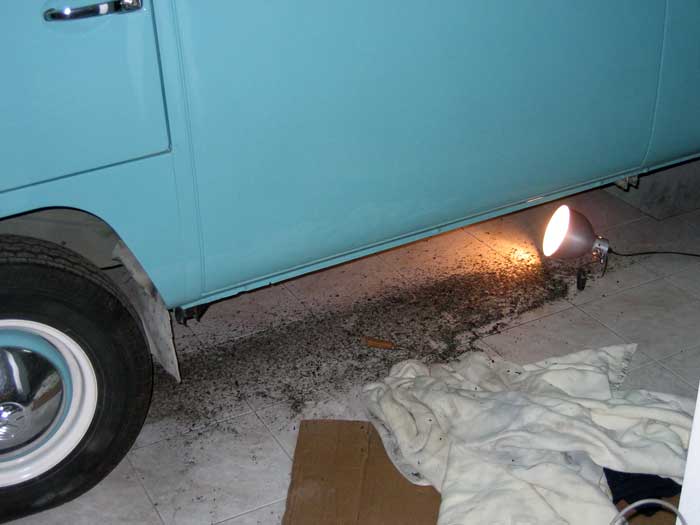
the next day, as it was raining, I went back to scraping...

IMG_4679.jpg


IMG_4681.jpg


IMG_4683.jpg


IMG_4684.jpg


IMG_4685.jpg


IMG_4686.jpg
 
after I sanded the poptop, I applied some resin to hydrate the fiberglass ...

IMG_4688.jpg


IMG_4689.jpg


IMG_4690.jpg


Not perfect, I know.....

IMG_4691.jpg


IMG_4692.jpg


IMG_4693.jpg


... but I had to sand it again anyway...

IMG_4790.jpg
 
and more parts removed from the bus....

IMG_4694.jpg


IMG_4696.jpg


IMG_4705.jpg


IMG_4706.jpg


IMG_4707.jpg


IMG_4708.jpg


...and then I decided to cover it with plastic to protect the paint job....

IMG_4709.jpg


... and to make the job of cleaning the garage floor more easier, I decided to cover the floor with the same plastic ...

IMG_4712.jpg


IMG_4713.jpg


IMG_4714.jpg


IMG_4715.jpg


the corrugated metal sheet has not helped this work ... and some lack of space to put my hand and chisel in some areas, didn't help either....

IMG_4716.jpg


and so decided to get reinforcements ... a can of paint stripper...

IMG_4717.jpg


and once fully protected .....

IMG_4718.jpg


IMG_4719.jpg


I started using the paint stripper... (and also, some protection for me)

IMG_4721.jpg


IMG_4723.jpg


and with the help of the paint stripper I managed to rich to the front of the bus faster....

IMG_4725.jpg


IMG_4726.jpg
 
a lot to fix and clean.... so a lot to take out from the bus :mrgreen:

IMG_4730.jpg


IMG_4731.jpg


IMG_4732.jpg


IMG_4734.jpg


IMG_4735.jpg


IMG_4736.jpg


IMG_4737.jpg


IMG_4739.jpg


IMG_4745.jpg


IMG_4753.jpg


IMG_4754.jpg


IMG_4756.jpg


IMG_4759.jpg


IMG_4760.jpg


what a puzzle.... :mrgreen:
 
... and some more parts to remove (with the help of some borrowed tools :mrgreen: )

IMG_4765.jpg


IMG_4770.jpg


... the steering box was in need of a good cleaning ...

IMG_4772.jpg


IMG_4773.jpg


IMG_4780.jpg


... even more parts :mrgreen:

IMG_4743.jpg


IMG_4744.jpg


... and the puzzle was getting more complicated :mrgreen: ....

IMG_4782.jpg


IMG_4796.jpg


IMG_4797.jpg


This job was almost done but there was still some parts to clean with harder access....

IMG_4740.jpg


IMG_4741.jpg


IMG_4742.jpg


The working positions were not the best :mrgreen:

IMG_4781.jpg


IMG_4810.jpg
 
the week was over and I had to go back to Lisbon.
So I had to clean it up...

IMG_4767.jpg


IMG_4768.jpg


IMG_4769.jpg


IMG_4783.jpg


IMG_4786.jpg


IMG_4785.jpg


my parts "warehouse"....

IMG_4746.jpg


IMG_4794.jpg


IMG_4792.jpg


the next step was to take both suspensions out from the van and clean them both...
 
easy said:
Cool 8) great work. The joys of working on a bus in a warm climate 8)

thanks easy... and yes, it's nice to work with this kind of weather and landscape:

almoco.jpg


panoramica.jpg


:mrgreen:
 
I took the 2000 cc's Type IV engine to another well known VW's shop... but it was completely ruined...

IMG_4519.jpg


IMG_4520.jpg


IMG_4801.jpg


IMG_4802.jpg


IMG_4803.jpg


IMG_4804.jpg


IMG_4805.jpg


IMG_4806.jpg


IMG_4807.jpg


IMG_4808.jpg


... but there's a lot to do first so I'm not going to bother with it, for now :mrgreen:
 
a couple of weeks later I get back to Viseu to visit my father....he was making the molds for the water tanks ... (yes, fresh and waste water tanks to mount beneath the bus)

IMG_4811.jpg


... so I sanded the poptop a litle more ...

IMG_4812.jpg


IMG_4813.jpg


meanwhile the mold was getting done...

IMG_4814.jpg


... and time to try it....

IMG_4824.jpg


IMG_4816.jpg


IMG_4819.jpg


IMG_4822.jpg


IMG_4825.jpg


We then decided to chane the height from 15 cm to 12 cm's (about 4.7 inches)

IMG_4826.jpg


IMG_4827.jpg


IMG_4828.jpg


when I left (Sunday) the mold was like this:

IMG_4829.jpg
 
While I was there that weekend I borrowed a high-pressure washing machine from a neighbor.
He uses the machine to remove old paint from the exterior house walls so I thought I could remove the rest of paint that was underneath the anti-chip with it....

IMG_4847.jpg


IMG_4839.jpg


IMG_4849.jpg


IMG_4850.jpg


IMG_4852.jpg


IMG_4854.jpg


IMG_4855.jpg


IMG_4856.jpg


IMG_4857.jpg


but it didn't work...
So the next step was to make a small support with wheels and getting another machine... But this was only going to be made in the following year of 2008 :mrgreen:
 
a few days later we asked a friend that owns a kayaks factory, to helps us making the first water tank :mrgreen:

fotostanques_08.jpg


fotostanques_09.jpg


fotostanques_10.jpg


fotostanques_11.jpg


fotostanques_12.jpg


fotostanques_13.jpg


but due to some minor mistakes in the wooden mold the tank didn't como out as easily as expected....

fotostanques_14.jpg


fotostanques_15.jpg
 
to separate one from the other we had to break the mold ....

fotostanques_18.jpg


fotostanques_19.jpg


and in the next pictures you can see where the cast stayed glued to the tank

fotostanques_16.jpg


fotostanques_17.jpg


fotostanques_20.jpg


fotostanques_21.jpg


but after a good cleaning....

fotostanques_22.jpg


fotostanques_23.jpg


... excellent! :mrgreen:
and it fits like a glove beneath the bus....

fotostanques_28.jpg


fotostanques_30.jpg


ready to cross the Sahara desert!
:mrgreen:
 
Thanks majorhangover ;) ....

so, here are a few more :mrgreen: :

we started working in the wheels for my small dolly (?)...

fotostanques_24.jpg


fotostanques_25.jpg


at the end, they were not used ...
and as I was there so some more scraping :mrgreen:

fotostanques_26.jpg
 
Another idea I had was to put some pieces of tube to drain water directly into the rain gutters...

fibragem02.jpg


fibragem03.jpg


fibragem04.jpg


fibragem05.jpg


fibragem06.jpg


pormenor.jpg


.. not perfect but no one will see them once this piece get's into the right place....

fibragem07.jpg


fibragem08.jpg
 
The central tube wasn't in the right place....

bagageira03.jpg


bagageira01.jpg


so I had to change it a litle bit....

bagageira02.jpg


and after a few days, they were Ok!

bagageira05.jpg


bagageira08.jpg


bagageira07.jpg


it lacked some sanding and painting... but it will look better in the end.
:mrgreen:
 

Latest posts

Top