You are using an out of date browser. It may not display this or other websites correctly.
You should upgrade or use an alternative browser.
You should upgrade or use an alternative browser.
1970 Dormobile resto
- Thread starter Rexer
- Start date


Help Support Early Bay Forum:
This site may earn a commission from merchant affiliate
links, including eBay, Amazon, and others.
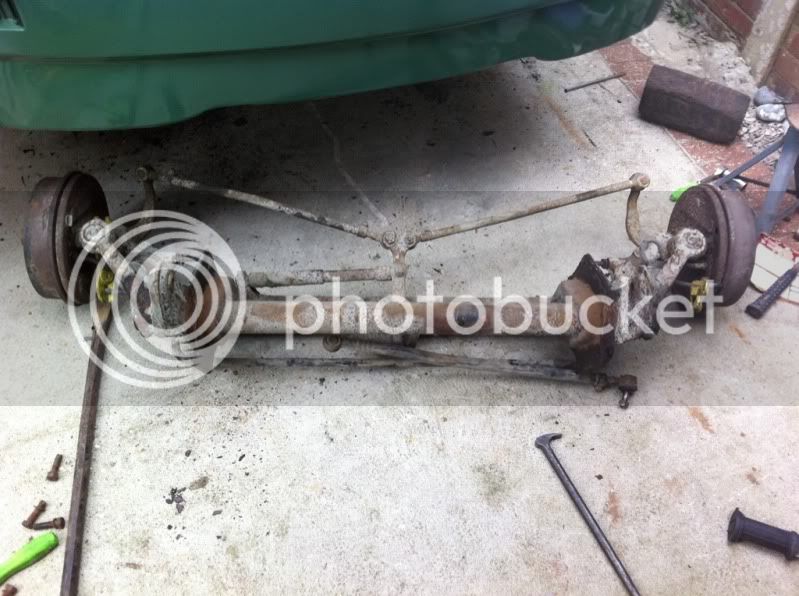
Had a couple of days to play so thought id give you an update.
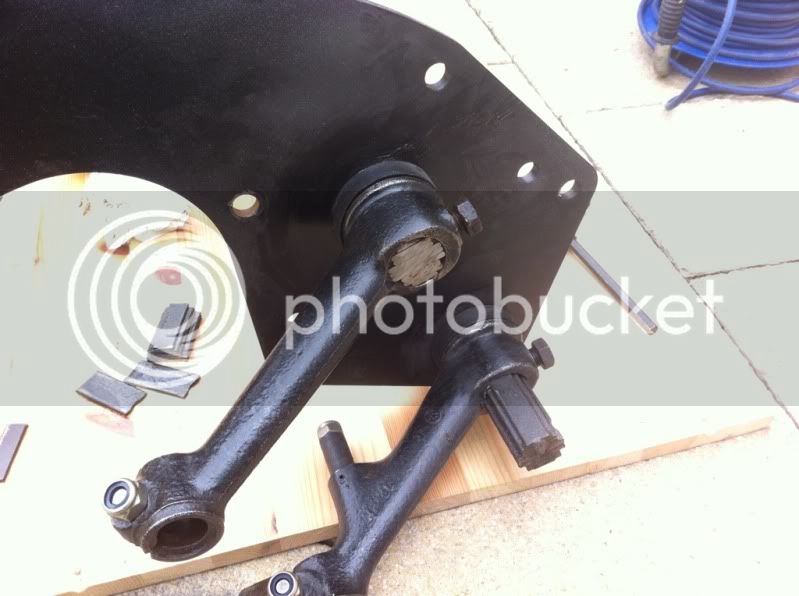
Managed to get the old beam out without too much grief, i'll let the photos do the talking
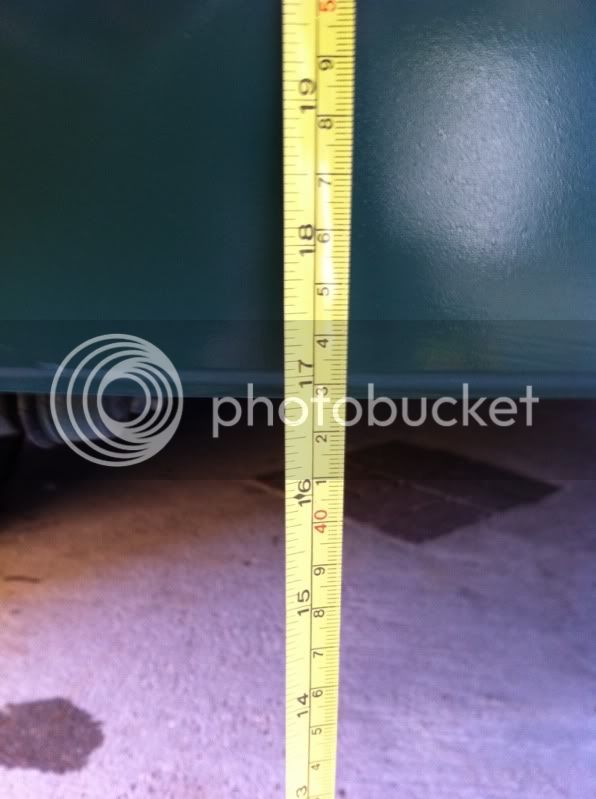
I need to get some of these inches off
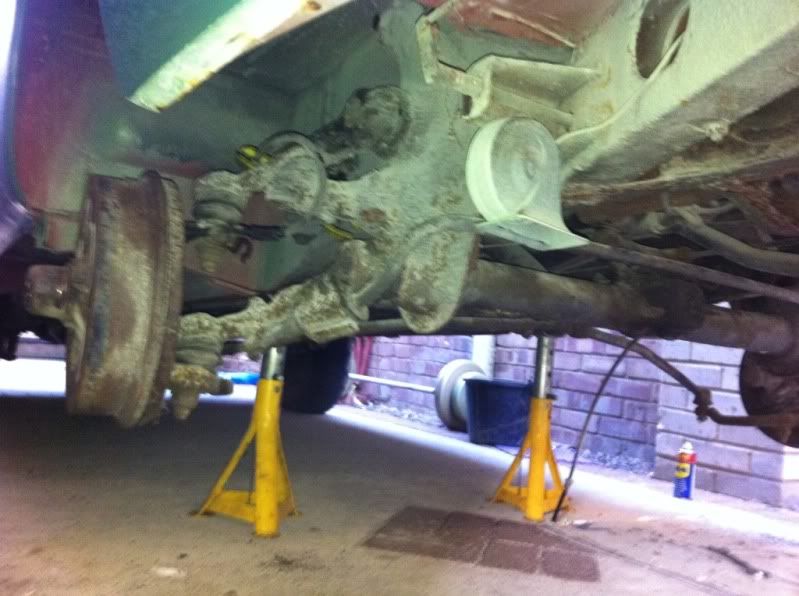
GET OUT !!!
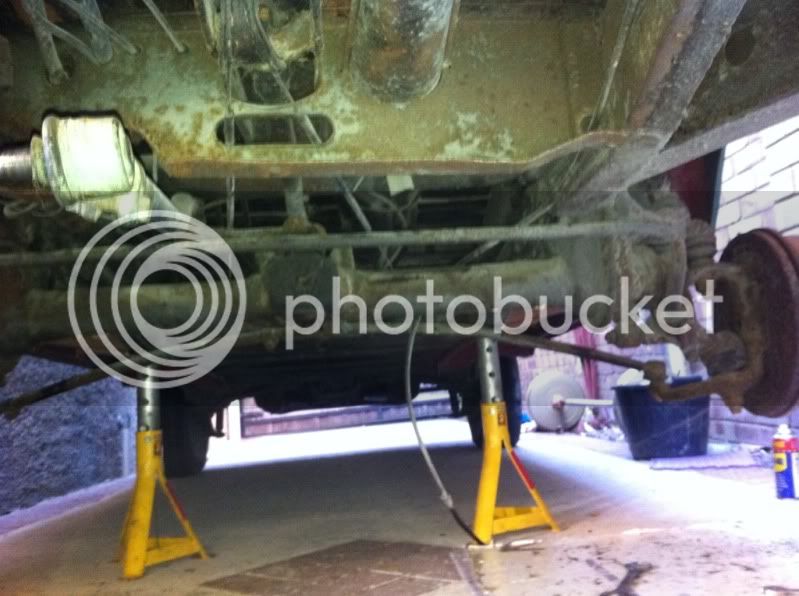
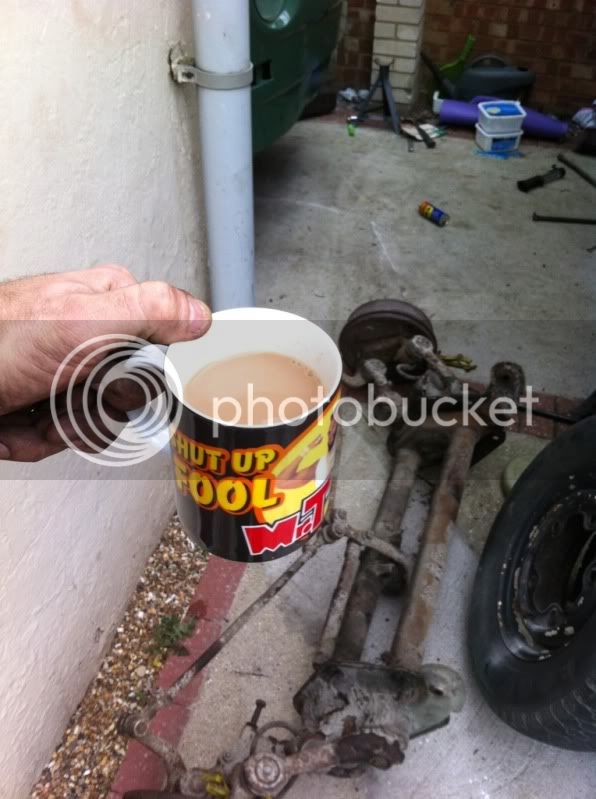
out she comes
Time for a cuppa splosh
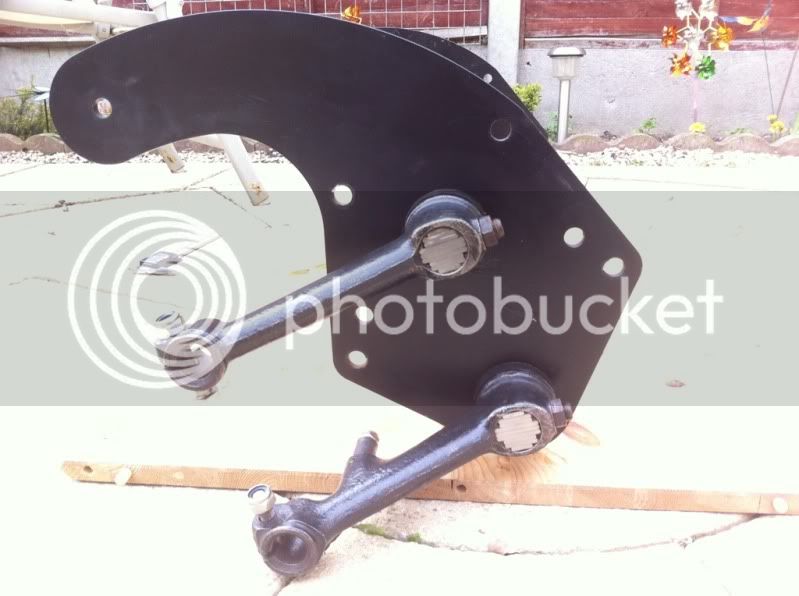
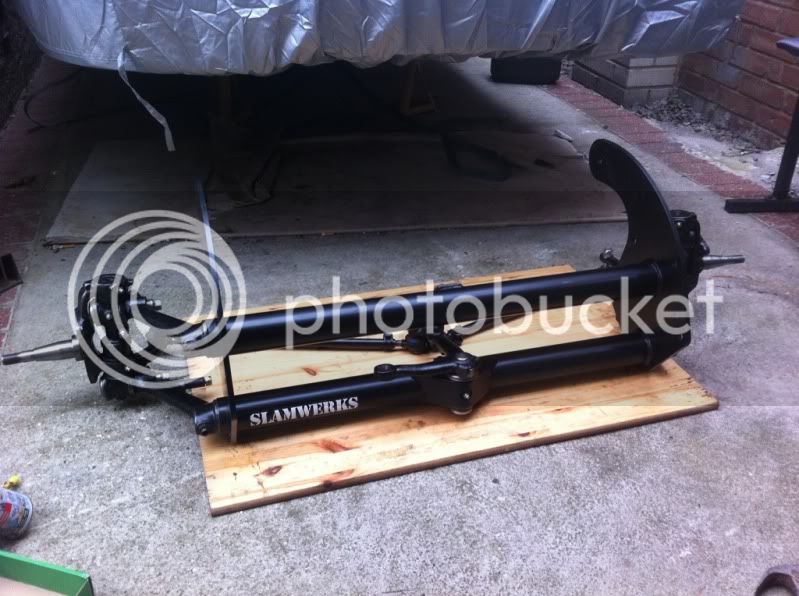
Out with the old, in with the new
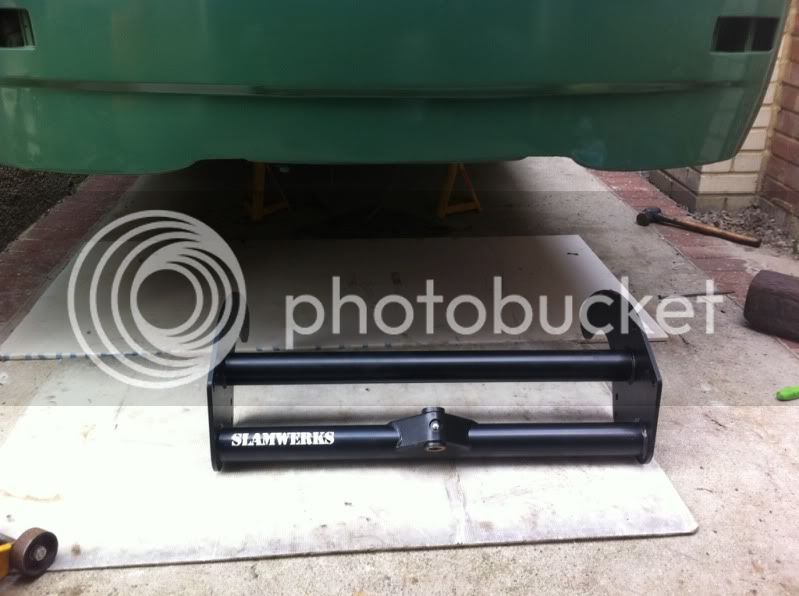
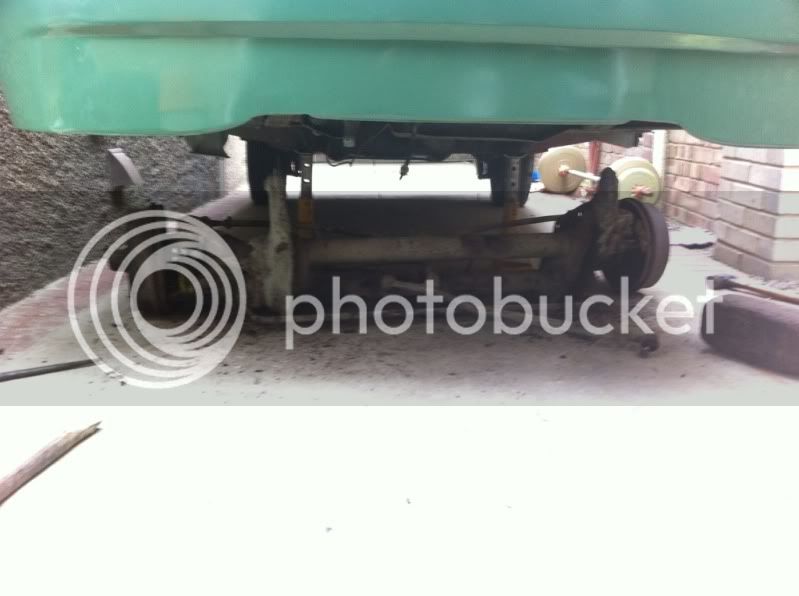
Shame it wont get seen that much, had to jack out the end plates as they were a little too close together and wouldnt fit, sorted now though")
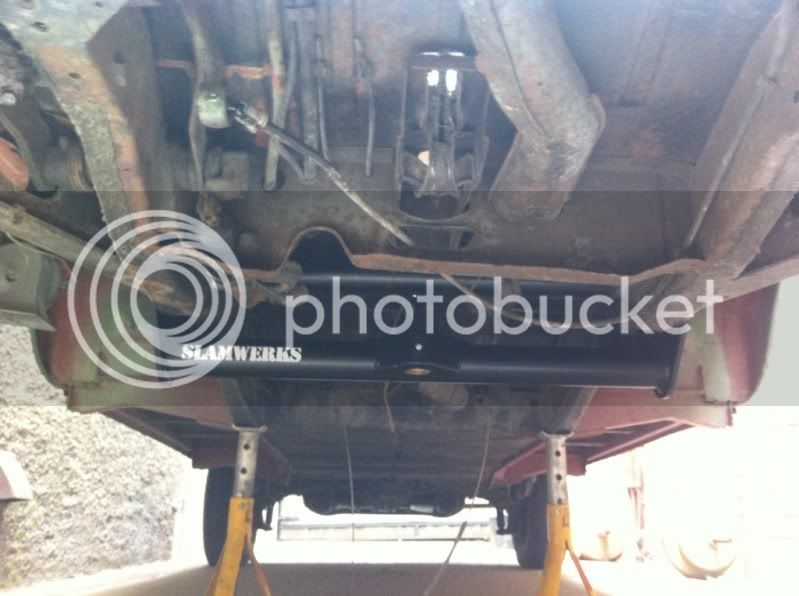
It dont get much closer than that, have to get thinking about shock mountings
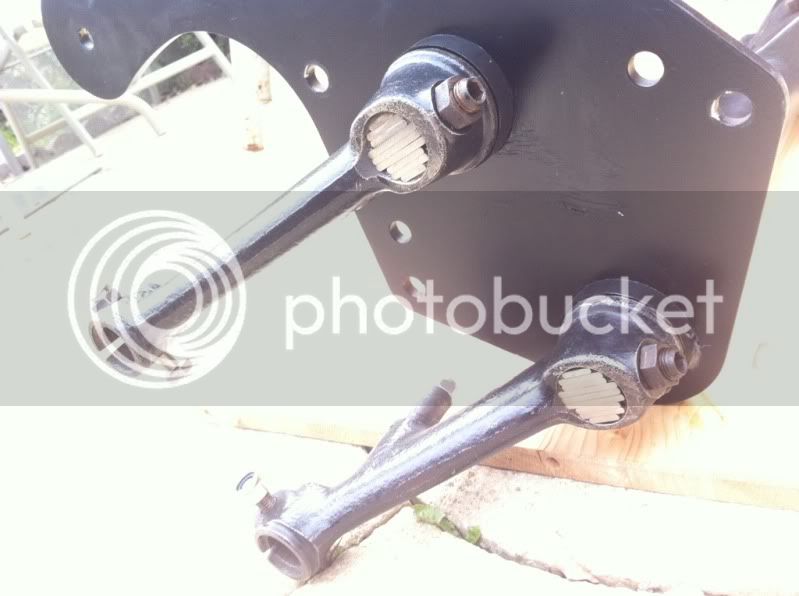
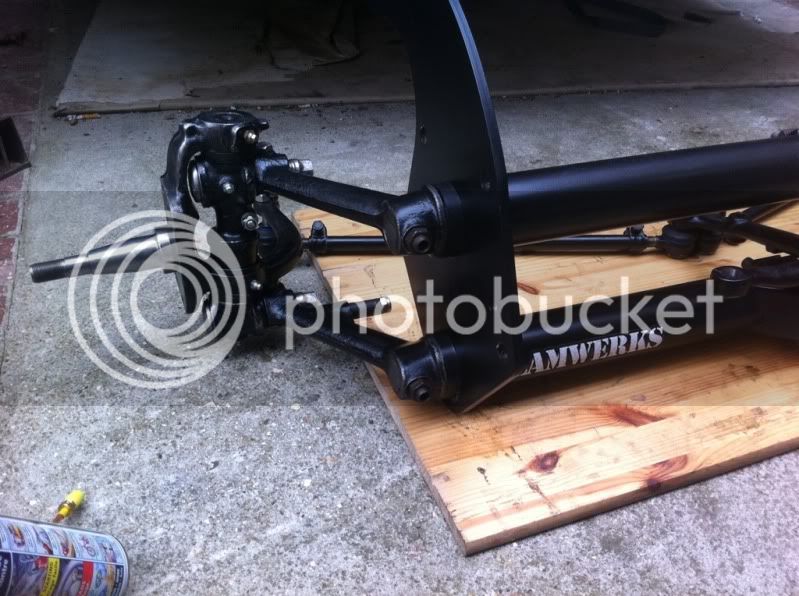
Also had a mad panic that my torsion leaves would not fit the new beam, they do, just need to cut them down and re drill the dimples.
Beam back out for that job then i can start fitting up the king and link spindles
Managed to get the old beam out without too much grief, i'll let the photos do the talking
I need to get some of these inches off
GET OUT !!!
out she comes
Time for a cuppa splosh
Out with the old, in with the new
Shame it wont get seen that much, had to jack out the end plates as they were a little too close together and wouldnt fit, sorted now though
It dont get much closer than that, have to get thinking about shock mountings
Also had a mad panic that my torsion leaves would not fit the new beam, they do, just need to cut them down and re drill the dimples.
Beam back out for that job then i can start fitting up the king and link spindles
really enjoyed looking through this thread thanks!! Im new to the forum (today) and im about to start my own resto also on a 1970 dormobile. Mine is in a very sorry state unfortunately and i have a new front chassis to fit along with a complete roof chop. My plan is to do all the work myself, although im a mechanic not a panel beater i can weld etc so sure ill manage it. well done on the work youve done so far im sure its going to look amazing
Rob
Welcome to Earlybay and thanks for your comments.
You have picked the right van to restore IMO, pop in to the introduce your self thread.
There is a few of us Dormy owners on here so there will be loads of advice if you need it mate
Lets see your van then !!!
Welcome to Earlybay and thanks for your comments.
You have picked the right van to restore IMO, pop in to the introduce your self thread.
There is a few of us Dormy owners on here so there will be loads of advice if you need it mate
Lets see your van then !!!
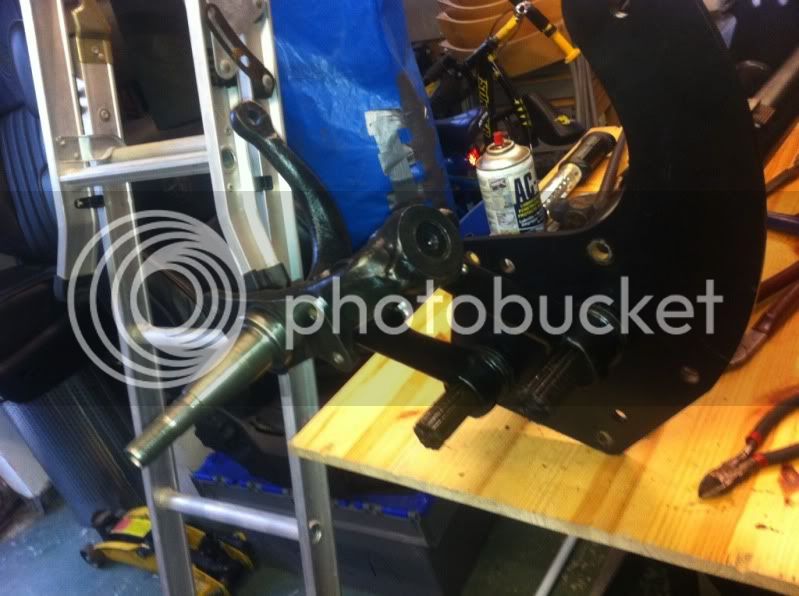
Had a little tinker in the garage yesterday
Leaf springs fitted
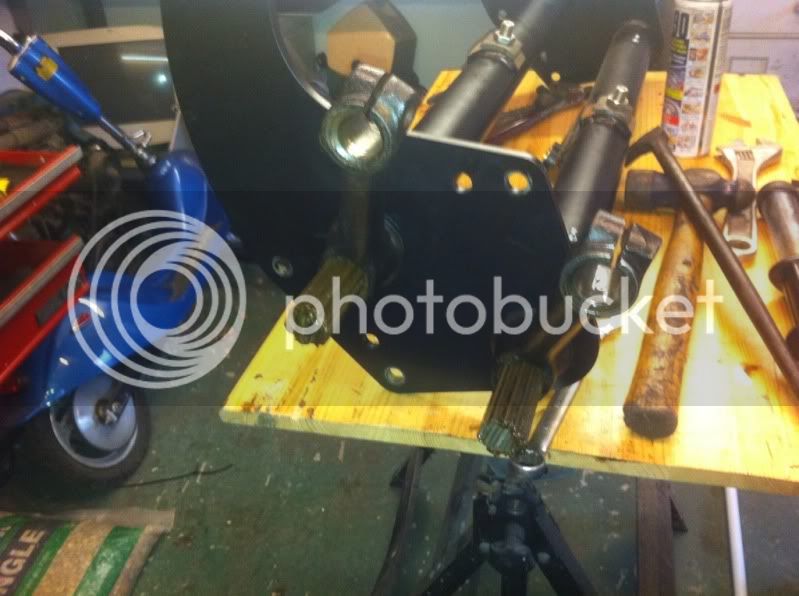
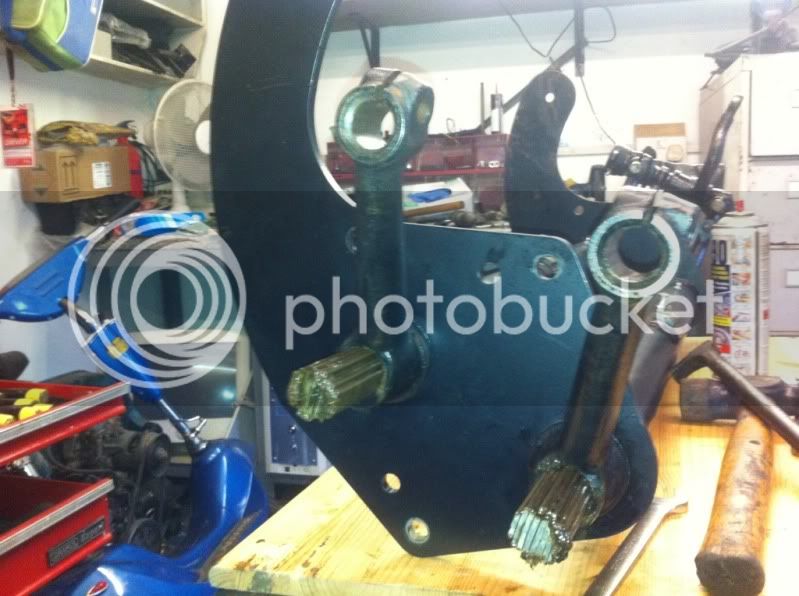
Link pins not lined up properly
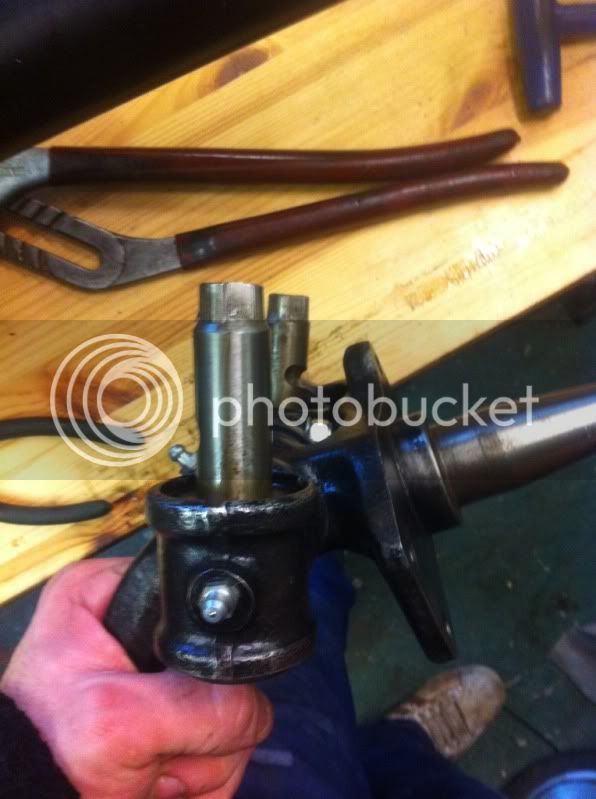
sorted with a little twist of the king pin
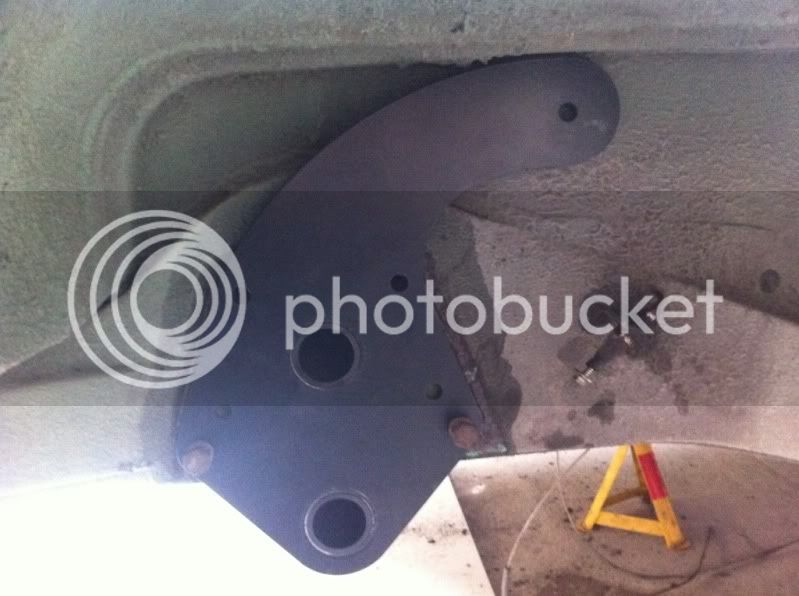
Couldn't help a little trial fit of the brakes
caliper bracket
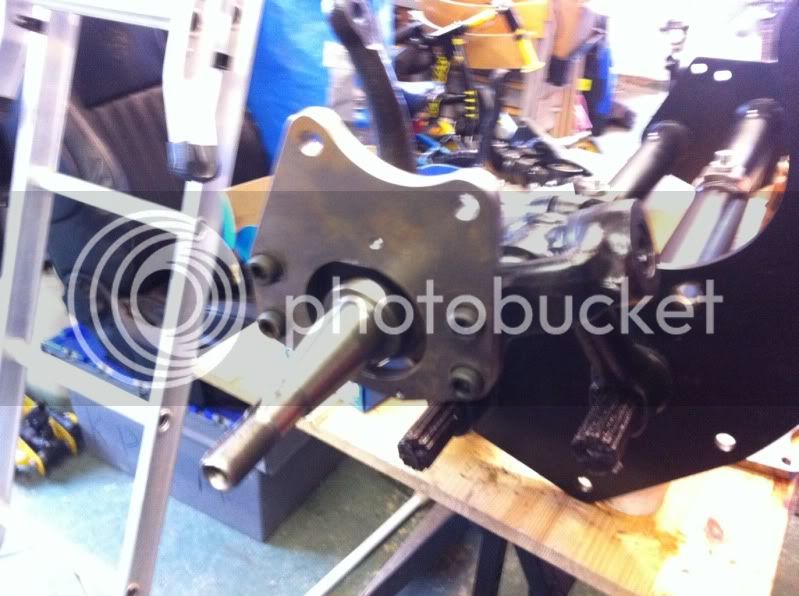
back plate
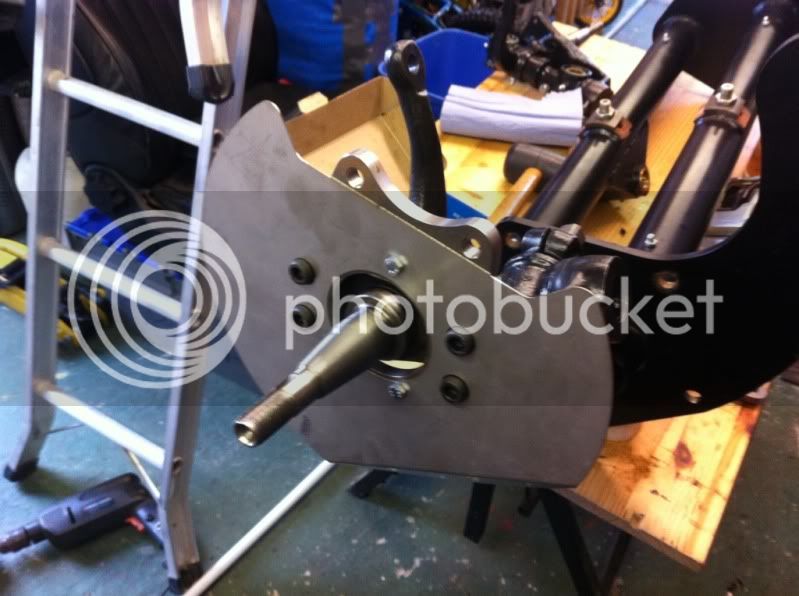
Disc and calliper
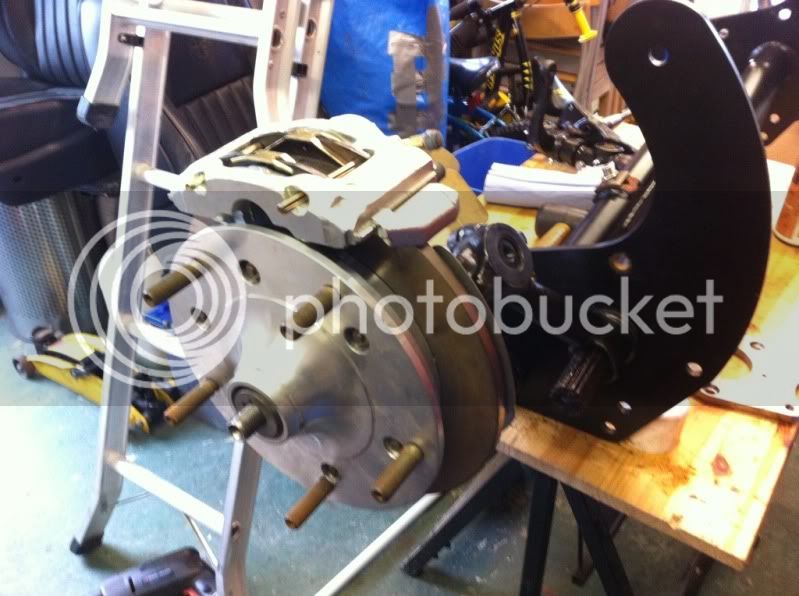
Need to send the swivel arm to Slamwerks to have the drag link ball joint taper reamed out a little deeper to stop the bal joint hitting the top tube as i'm using the early bay one instead of the split one.
Then its time to get the cutting disc out to lop off all that extra leaf spring then drill out the dimples.
More parts ordered from Heritage :-
Opening quarter seals
Front hub nuts
Draglink
see ya soon
Leaf springs fitted
Link pins not lined up properly
sorted with a little twist of the king pin
Couldn't help a little trial fit of the brakes
caliper bracket
back plate
Disc and calliper
Need to send the swivel arm to Slamwerks to have the drag link ball joint taper reamed out a little deeper to stop the bal joint hitting the top tube as i'm using the early bay one instead of the split one.
Then its time to get the cutting disc out to lop off all that extra leaf spring then drill out the dimples.
More parts ordered from Heritage :-
Opening quarter seals
Front hub nuts
Draglink
see ya soon
Fitted some new seals to my opening quarters today and gave them a polish up, just need some new rivets to finish the job but considering some tiny bolts instead
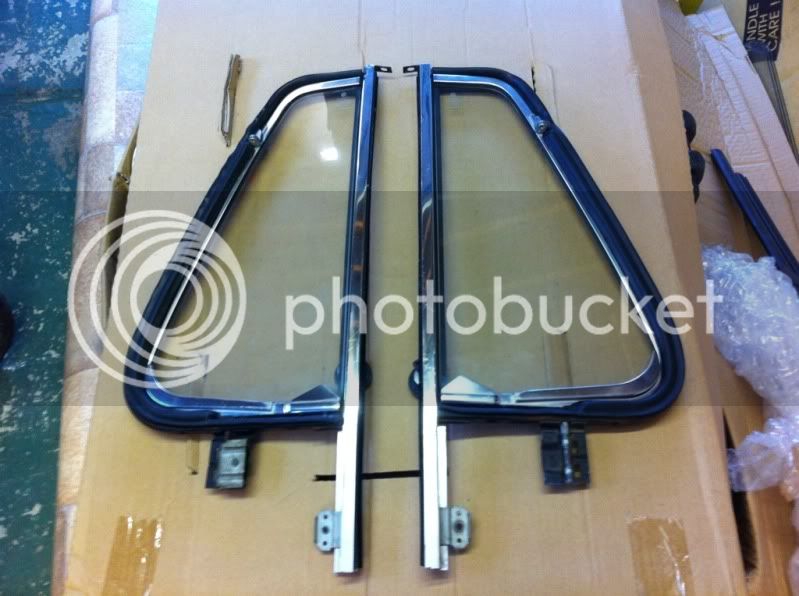
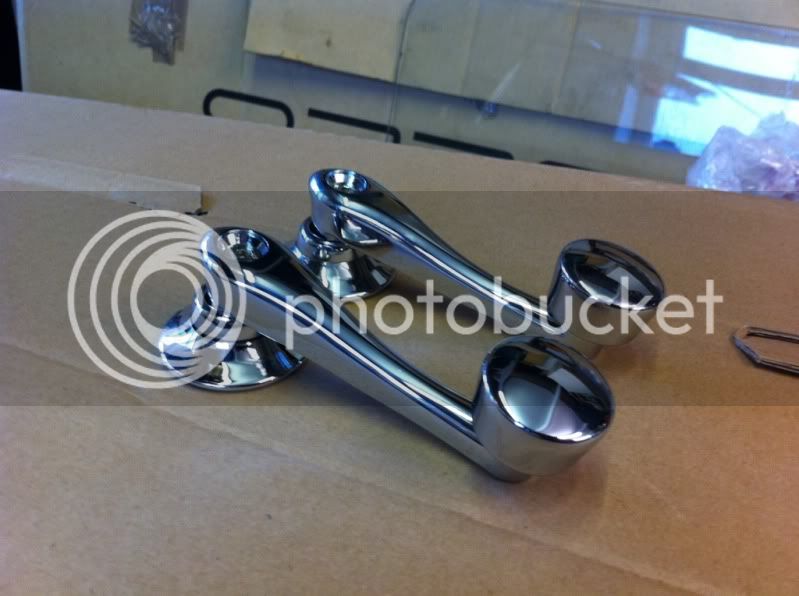
Here is my new window winders, how cool are these puppies?
Having a nightmare shimming up my link pins as the ones that were supplied are worn and dont fit in the recess on the flipped spindles, will sort this another day......
Here is my new window winders, how cool are these puppies?
Having a nightmare shimming up my link pins as the ones that were supplied are worn and dont fit in the recess on the flipped spindles, will sort this another day......
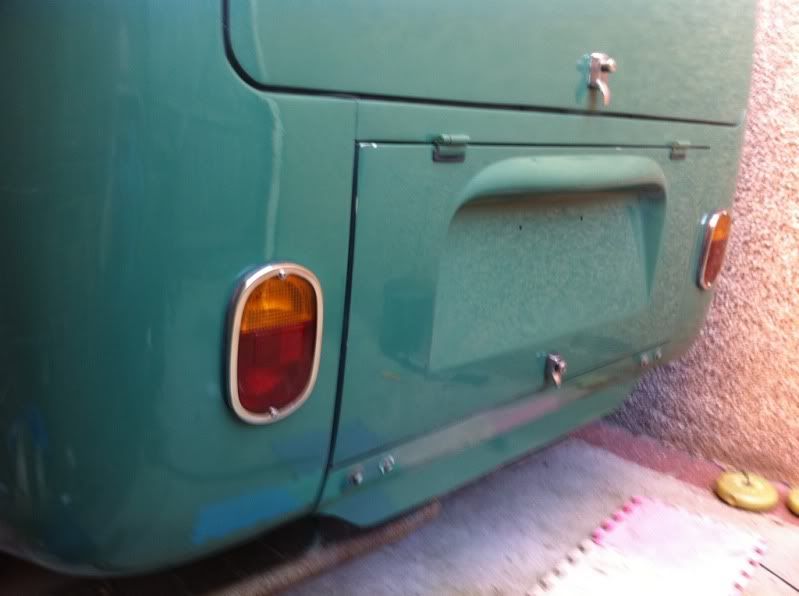
Got pissed off poncing about with the front beam so decided to start bolting stuff on........
Back lights in, cant believe how tricky it is to get them sitting in the rubbers right....
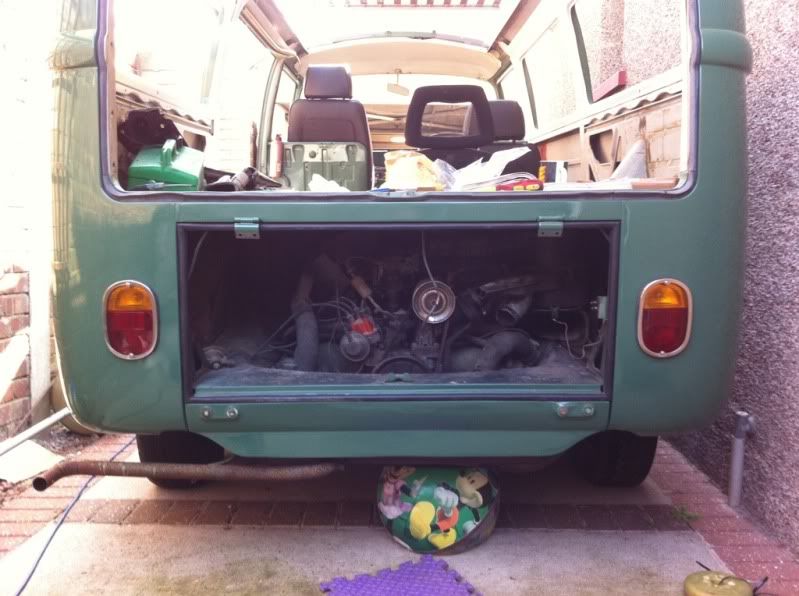
Engine lid fitted, again, the rubbers round the hinges are a pain in the ass
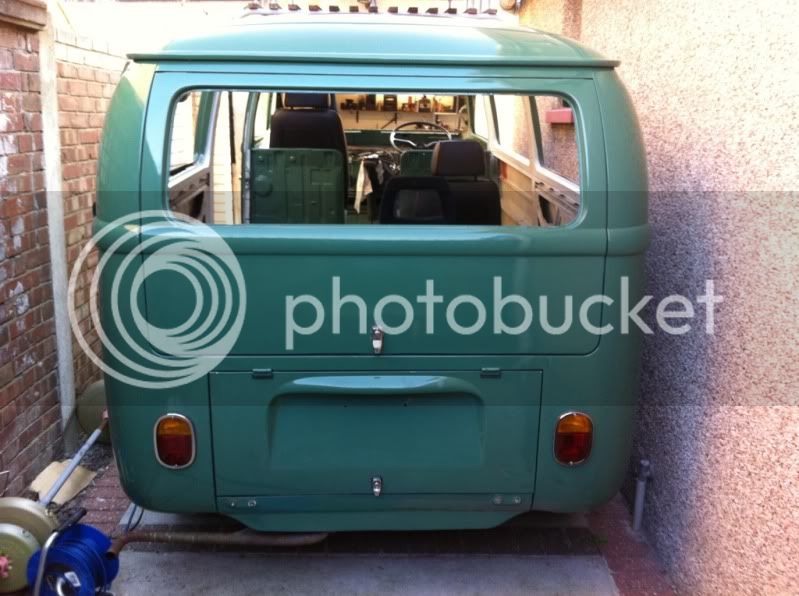
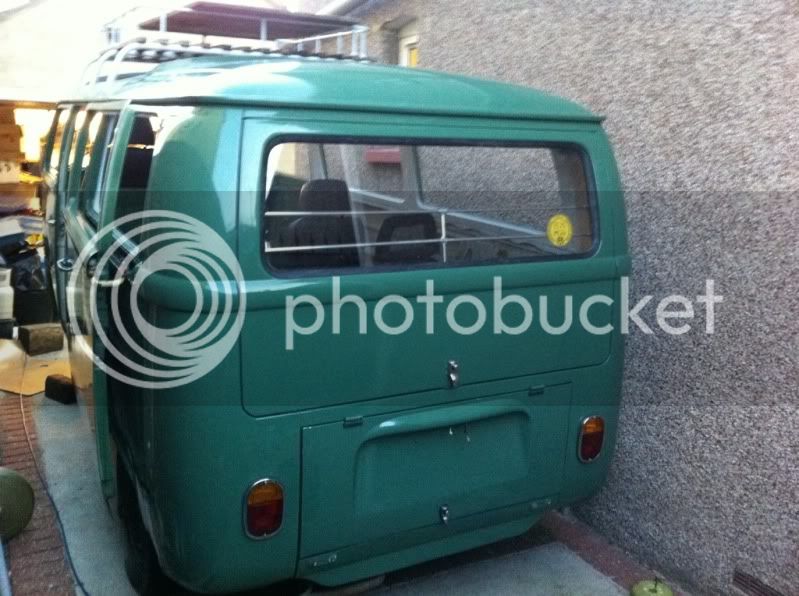
Im on a roll, first window fitted..
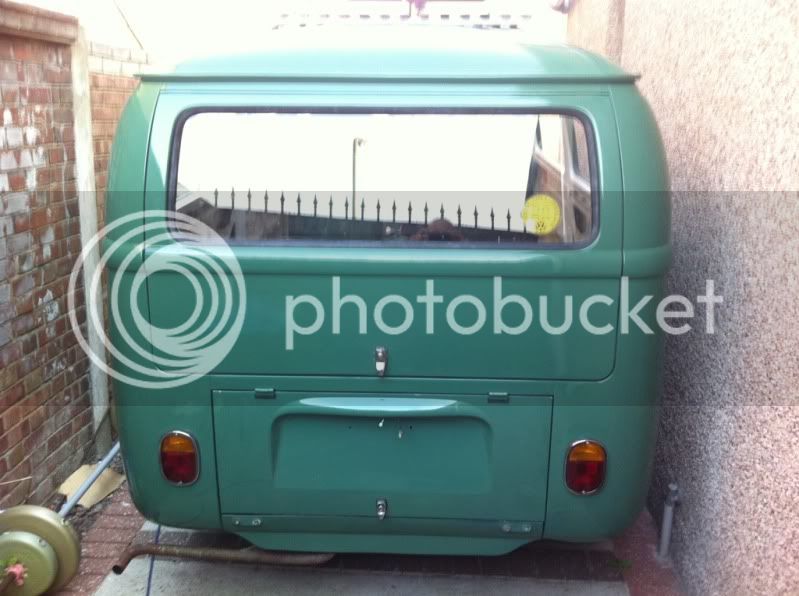
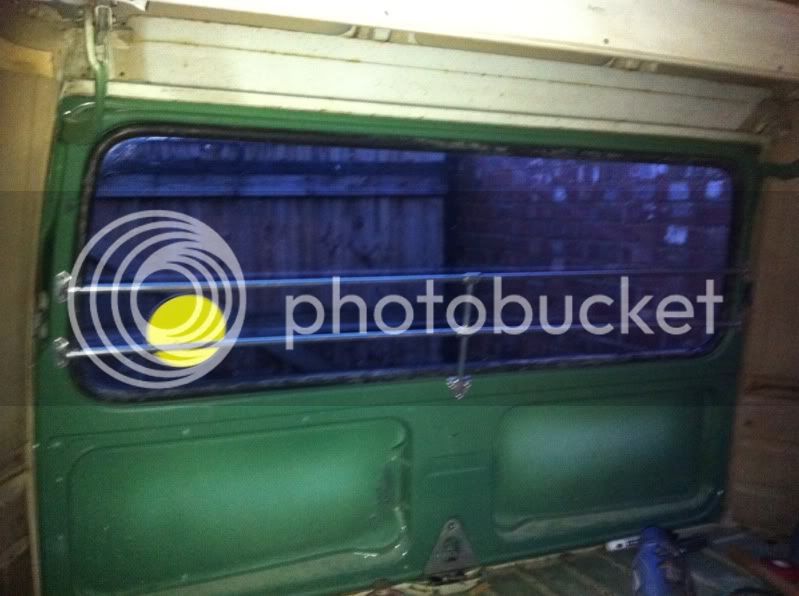
Polished up my genuine VW jail bars and fitted the mofo's
Also been going round replacing bolts with new shiny stainless bad boys
Back lights in, cant believe how tricky it is to get them sitting in the rubbers right....
Engine lid fitted, again, the rubbers round the hinges are a pain in the ass
Im on a roll, first window fitted..
Polished up my genuine VW jail bars and fitted the mofo's
Also been going round replacing bolts with new shiny stainless bad boys
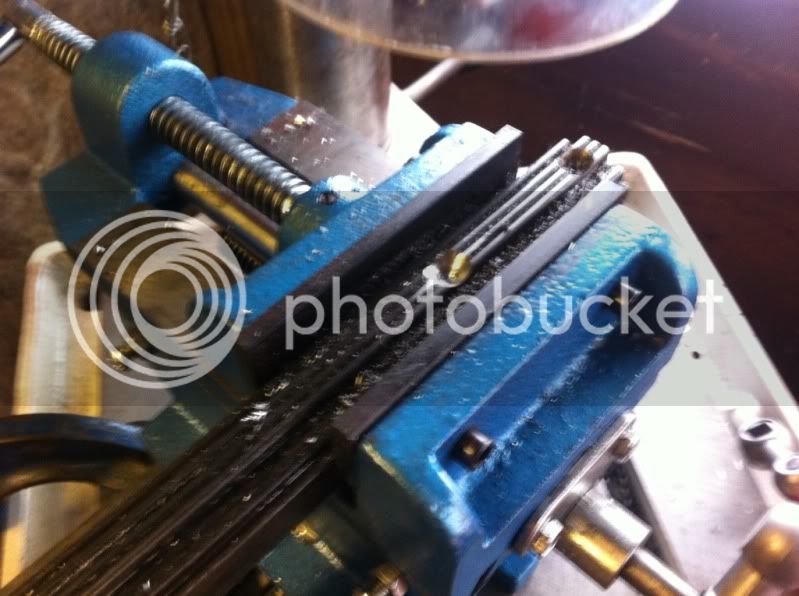
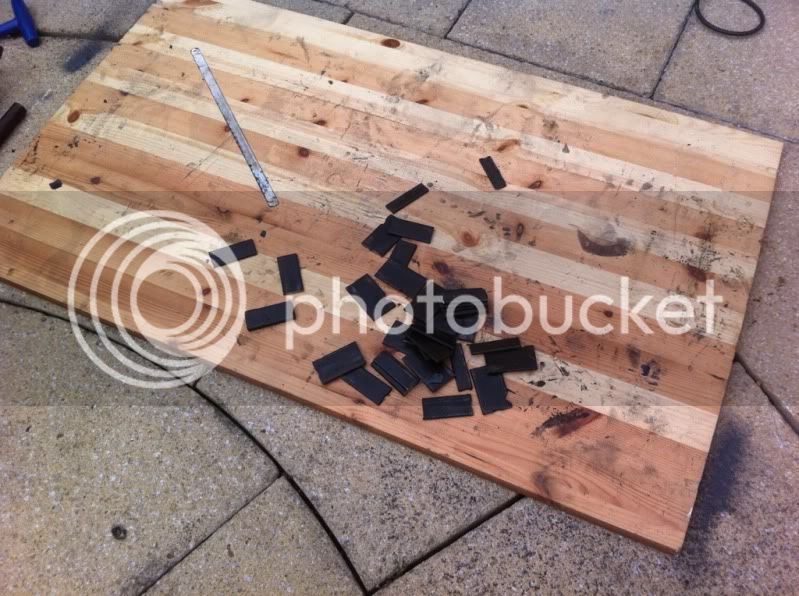
Managed to get round my mates shed to use his bench drill to re dimple the torsion leaves on the beam.
The first one took ages but worked out that if you go slow you heat up the metal and it instantly goes hard, was more brutal with the drill on the next 3 and they took all of 10 seconds each to drill.
Not much by way of photos but you can see how narrow this badboy is going to be
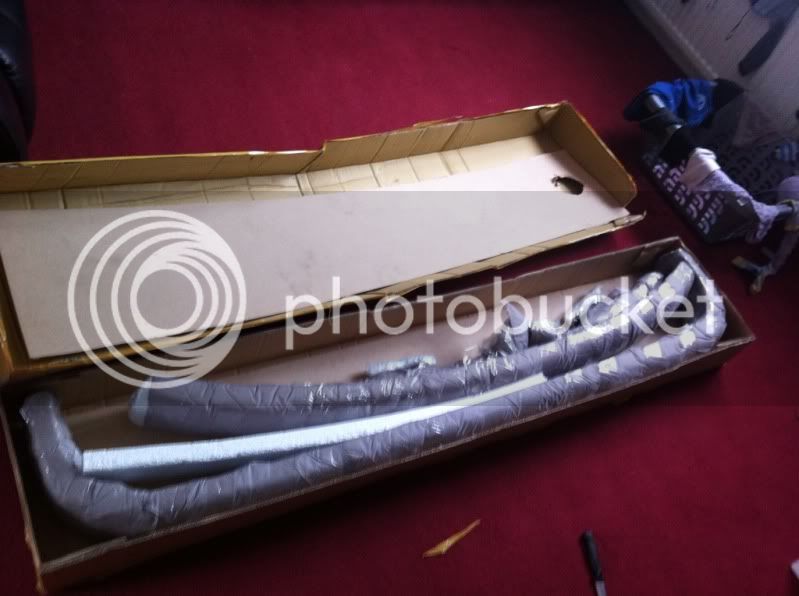
Also i treated myself to a set of brand new stainless bumpers from harrington, after working how much it would cost to get mine sorted and painted i thought it was a good option, the missus took some convincing though.
Will post up some snaps when they arrive in the next few weeks.
Still having problems fitting the beam up but im sure Slamwerks will sort me when they get back to work on monday
The first one took ages but worked out that if you go slow you heat up the metal and it instantly goes hard, was more brutal with the drill on the next 3 and they took all of 10 seconds each to drill.
Not much by way of photos but you can see how narrow this badboy is going to be
Also i treated myself to a set of brand new stainless bumpers from harrington, after working how much it would cost to get mine sorted and painted i thought it was a good option, the missus took some convincing though.
Will post up some snaps when they arrive in the next few weeks.
Still having problems fitting the beam up but im sure Slamwerks will sort me when they get back to work on monday
Oh, look what just arrived BLING BLING
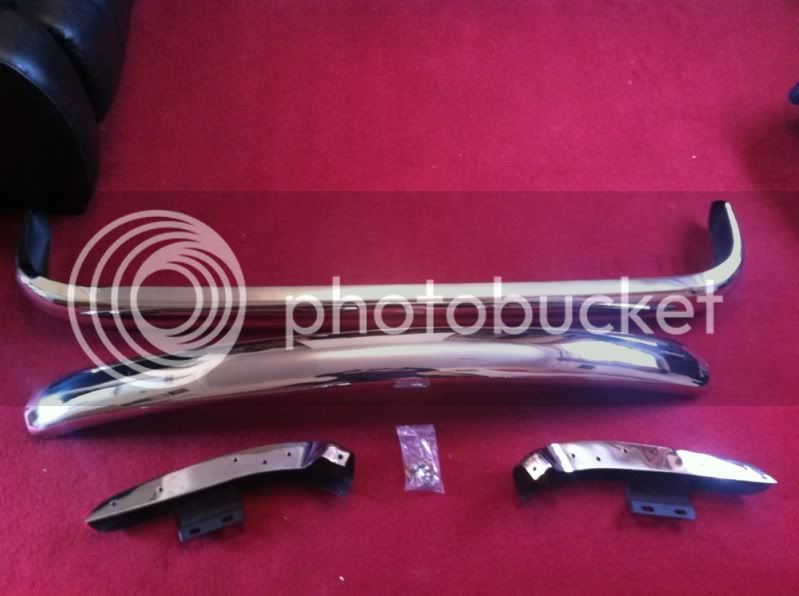
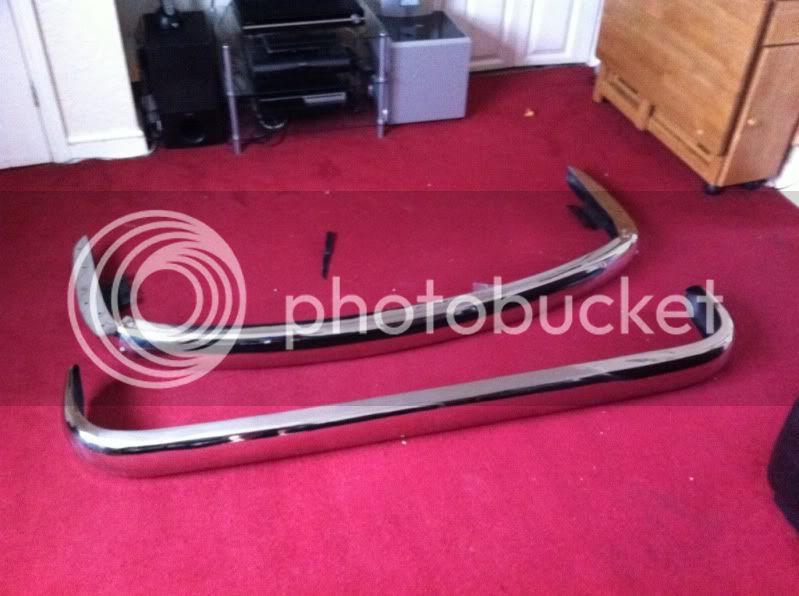
little bit ropey round the join
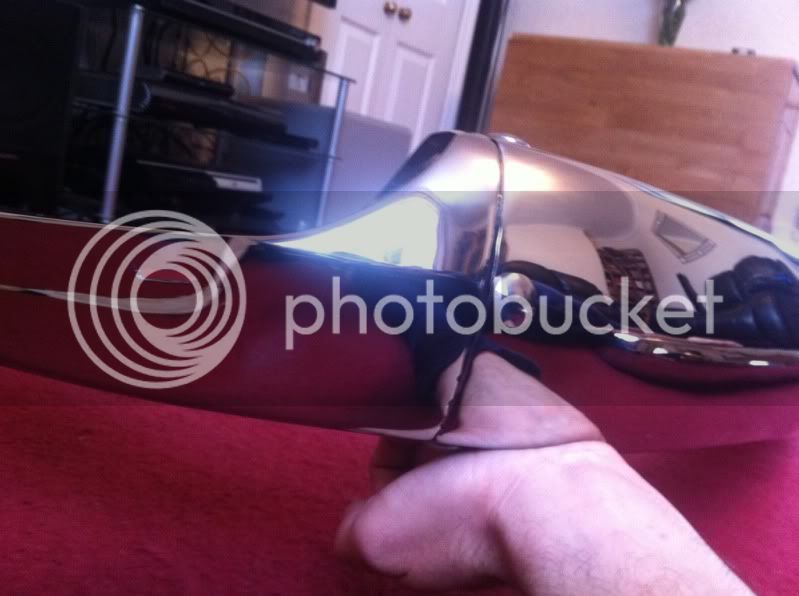
With the rubber strip (not supplied) much better but think the bolts are a little too close to the edge. I don't care !!!
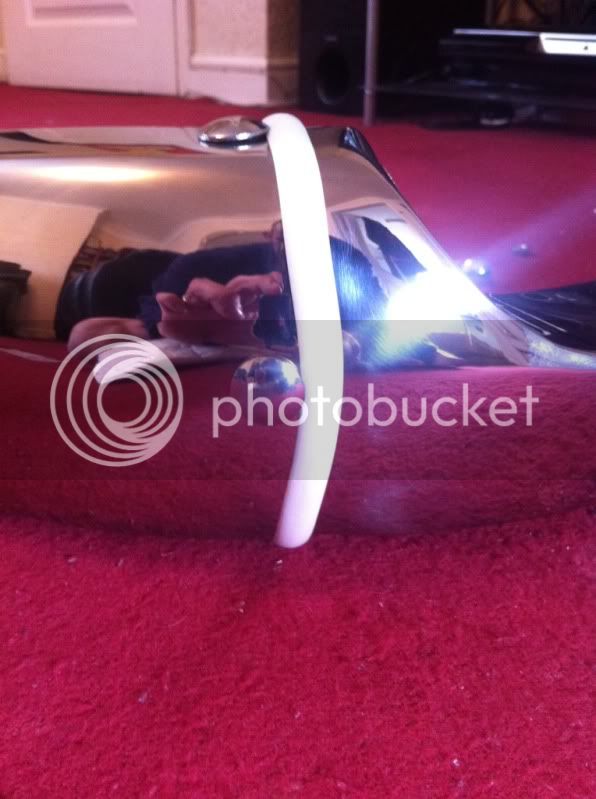
These came from HARRINTON and do not come pre drilled for the bumper irons so fingers crossed i don't screw it up when i drill them
Next up i think i will buy that lovely looking steering wheel from fiftysisdelux !!!!
little bit ropey round the join
With the rubber strip (not supplied) much better but think the bolts are a little too close to the edge. I don't care !!!
These came from HARRINTON and do not come pre drilled for the bumper irons so fingers crossed i don't screw it up when i drill them
Next up i think i will buy that lovely looking steering wheel from fiftysisdelux !!!!
creationblue
Well-known member
Love it 8)
Had a go at fitting the front lights and indicators, not very happy with the end result
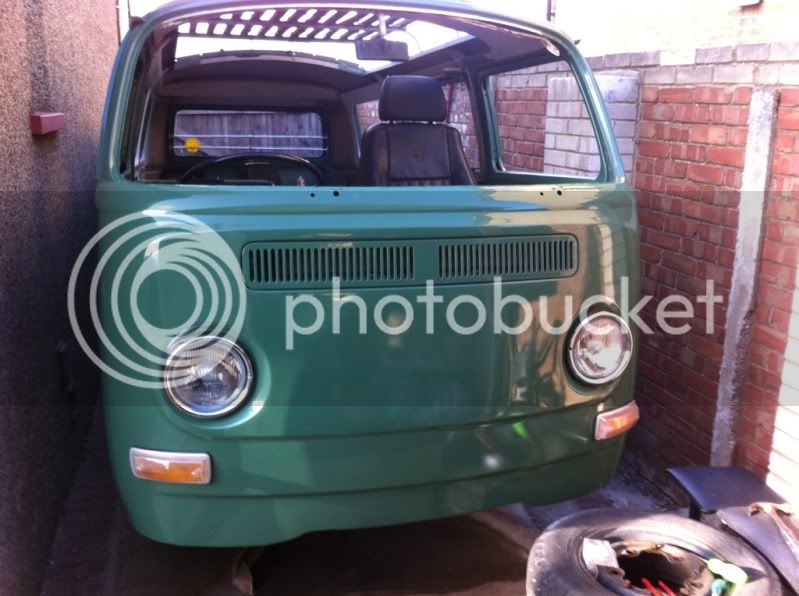
The head lights sit a little off to one side so the gap round the inside of the rim is not even, also the tabs inside the headlight bowls are absolutely crap, the screws just turn and i didnt hardly tighten them, will have to use slightly bigger screws now.
With the rims fitted they also sit off to one side and when you tighten the screw the near side one pops off, the little tab/hook is crap.
This is a schofield panel, wish i had used my original headlight bowls now as i think they have to be welded in so would ruin the paint
So not sure what to do with them now, at least the front end looks a little more together now
Todays efforts
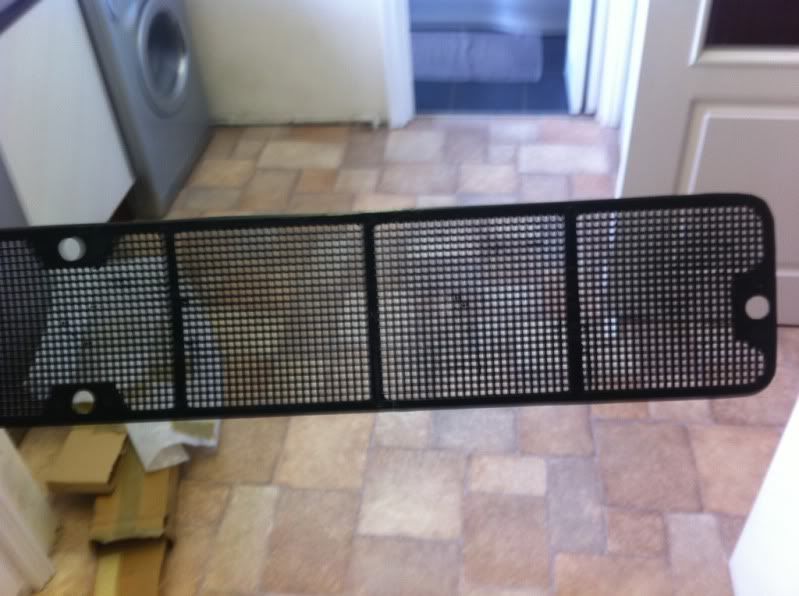
Fitted this mesh behind the grill to keep the bee's out
Broke every single brake pipe getting this off
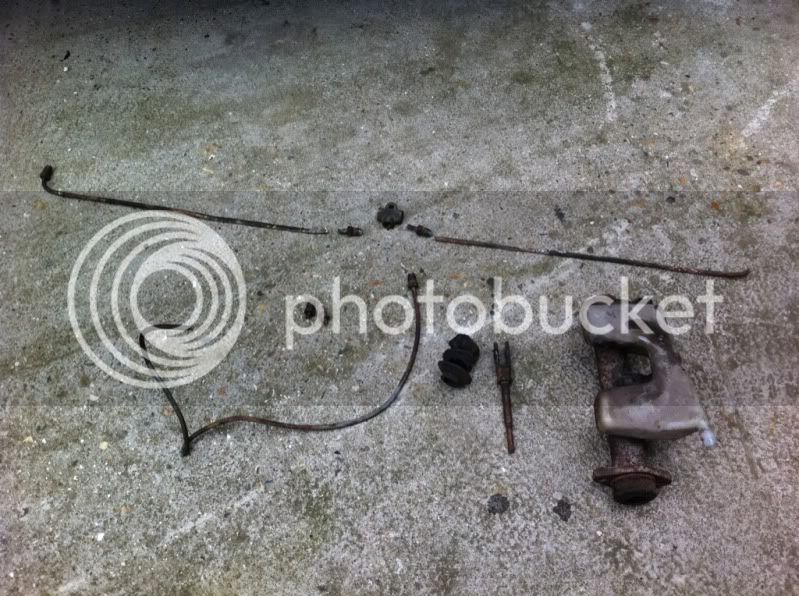
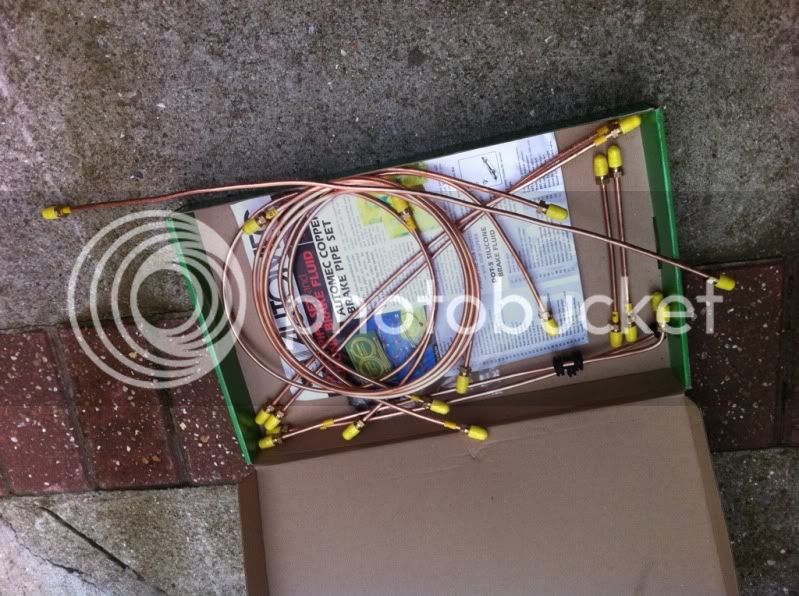
No problem as i have new ones
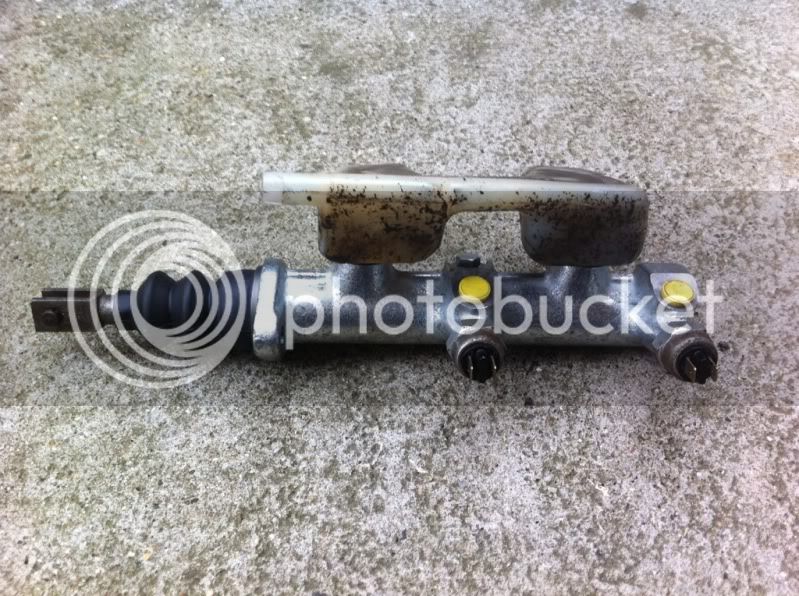
New master cylinder, im told its the right one but the old one had some spring loaded ball valve things in them, they do not fit in the new one so i guess i will find out if the van doesnt stop..........
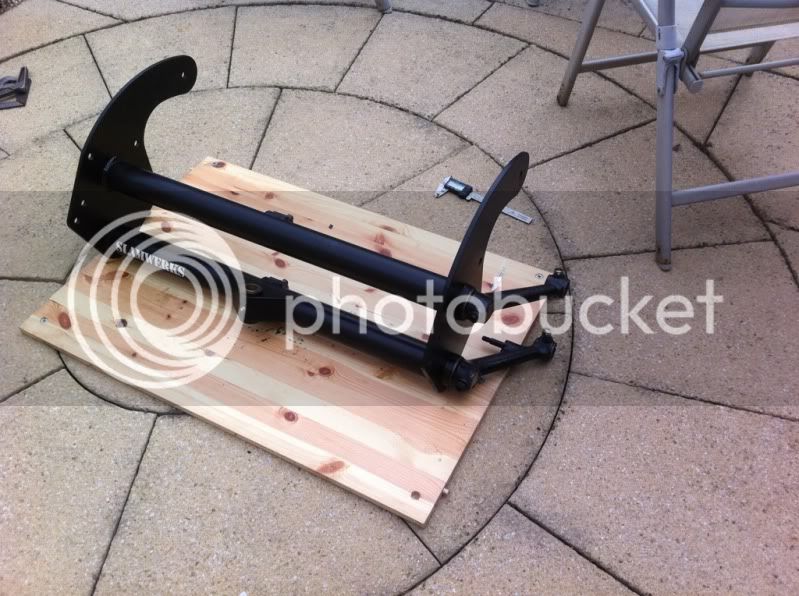
Then i dragged this out the shed and bolted it on....
Had some major problems with the track rods hitting the chassis, put adjusters on their highest setting and there still wasn't much clearance, will ring slamwerks on monday as it looks like i may need to notch the front of the chassis after all
Fitted this mesh behind the grill to keep the bee's out
Broke every single brake pipe getting this off
No problem as i have new ones
New master cylinder, im told its the right one but the old one had some spring loaded ball valve things in them, they do not fit in the new one so i guess i will find out if the van doesnt stop..........
Then i dragged this out the shed and bolted it on....
Had some major problems with the track rods hitting the chassis, put adjusters on their highest setting and there still wasn't much clearance, will ring slamwerks on monday as it looks like i may need to notch the front of the chassis after all
Doris
Well-known member
Would spire clips work on the headlight bowl tabs? I know what you mean, the repo bowls are atrocious !
Doris said:Would spire clips work on the headlight bowl tabs? I know what you mean, the repo bowls are atrocious !
Na, dont think there is enough meat on the tabs mate, was thinking of nut-serts.
I gave them a pinch with the pliers and they seem to be holding for now. The rims dont like the crappy headlight bowls though !!!
tomedwar72
Well-known member
Rexer said:New master cylinder, im told its the right one but the old one had some spring loaded ball valve things in them, they do not fit in the new one so i guess i will find out if the van doesnt stop..........
Looking good, you won't need the residual pressure valves on the MC as you've changed from drums up front. Should be fine.
tomedwar72 said:Rexer said:New master cylinder, im told its the right one but the old one had some spring loaded ball valve things in them, they do not fit in the new one so i guess i will find out if the van doesnt stop..........
Looking good, you won't need the residual pressure valves on the MC as you've changed from drums up front. Should be fine.
Yeah thats what I thought they were, so even though I have drums on the rear will I still be good without them? The master cylinder is late bay for non servo
tomedwar72
Well-known member
Rexer said:tomedwar72 said:Rexer said:New master cylinder, im told its the right one but the old one had some spring loaded ball valve things in them, they do not fit in the new one so i guess i will find out if the van doesnt stop..........
Looking good, you won't need the residual pressure valves on the MC as you've changed from drums up front. Should be fine.
Yeah thats what I thought they were, so even though I have drums on the rear will I still be good without them? The master cylinder is late bay for non servo
Not sure about the rear, the 1968-69 master had a residual pressure valve on the rear as well by the looks of things:

The later disc brake bays had a brake pressure regulator (211 612 501) on the rear drum circuit which won't be on the early 68-69 circuit so, I'm a bit in the dark myself about this.
Not sure about the rear, the 1968-69 master had a residual pressure valve on the rear as well by the looks of things:
The later disc brake bays had a brake pressure regulator (211 612 501) on the rear drum circuit which won't be on the early 68-69 circuit so, I'm a bit in the dark myself about this.[/quote]
That's not quite the same as the one i took off, looks like it has 3 regulators in it, one for the back and two for the front., Machine7 recommended fitting the 73-79 master cylinder (no regulators) and they said this would work fine so time will tell, i have much bigger fish to fry at the moment so the brakes can wait until its back on its wheels.
Got rubber
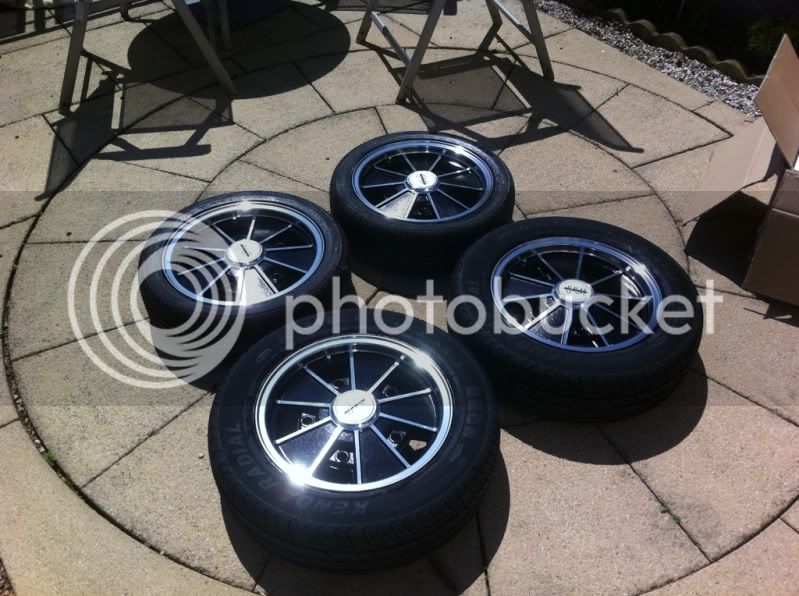
Rear - 185/65/16
Front - 165/50/15
Plan is now to take the van up to Slamwerks on a trailer so they can work their notching magic on it so watch this space for what the stance will be like when it comes home
You may even see it at the open day
Rear - 185/65/16
Front - 165/50/15
Plan is now to take the van up to Slamwerks on a trailer so they can work their notching magic on it so watch this space for what the stance will be like when it comes home
You may even see it at the open day
Similar threads
- Replies
- 0
- Views
- 127