Daverob73
Well-known member
- Joined
- Jun 19, 2012
- Messages
- 123
- Reaction score
- 7
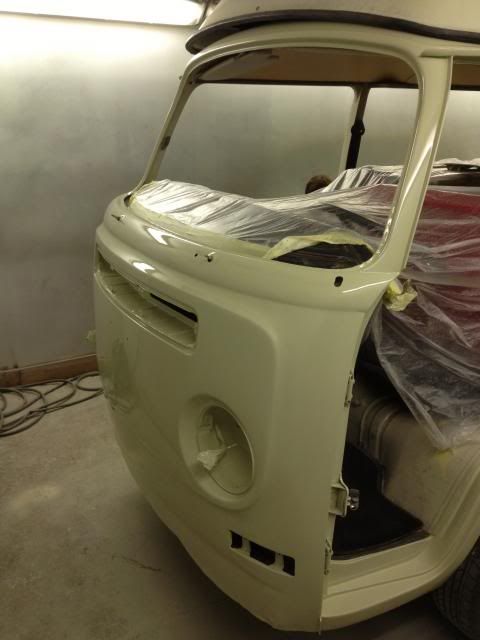
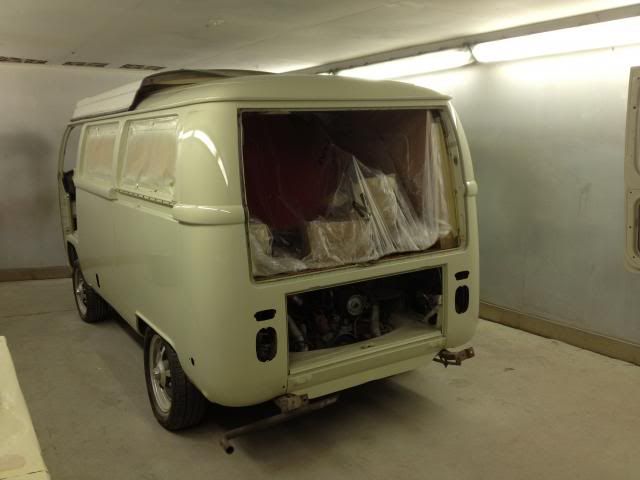
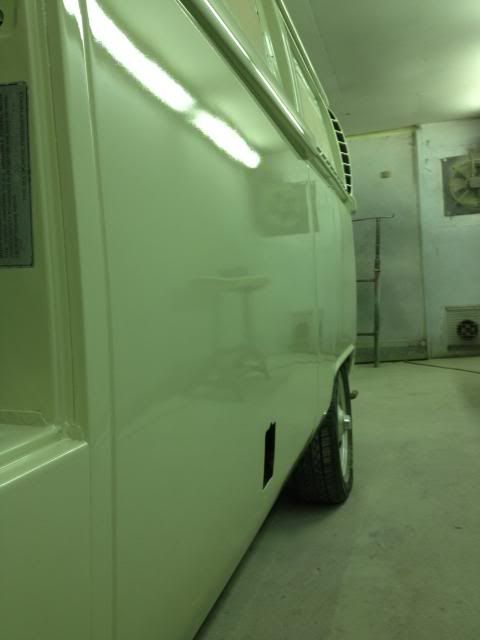
Paint is on! 
Doors are still off though!
It's a wierd feeling looking at it In the original paint colour, it looks new but old at the same time.
Amazing what they've done with the front, to get a smooth shape from what they started with.
Doors are still off though!
It's a wierd feeling looking at it In the original paint colour, it looks new but old at the same time.
Amazing what they've done with the front, to get a smooth shape from what they started with.