1972 Crossover Dormobile - Full Restoration Work In Progress

Early Bay Forum

Help Support Early Bay Forum:

This site may earn a commission from merchant affiliate links, including eBay, Amazon, and others.
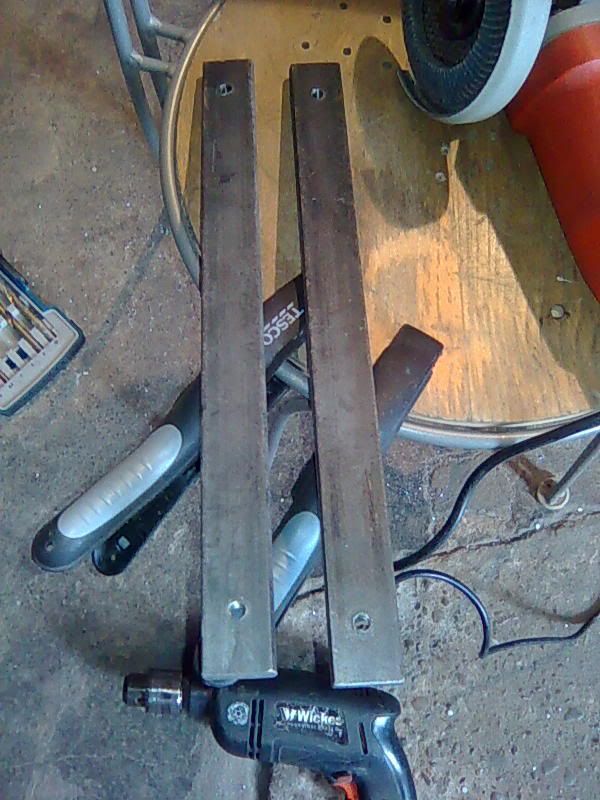
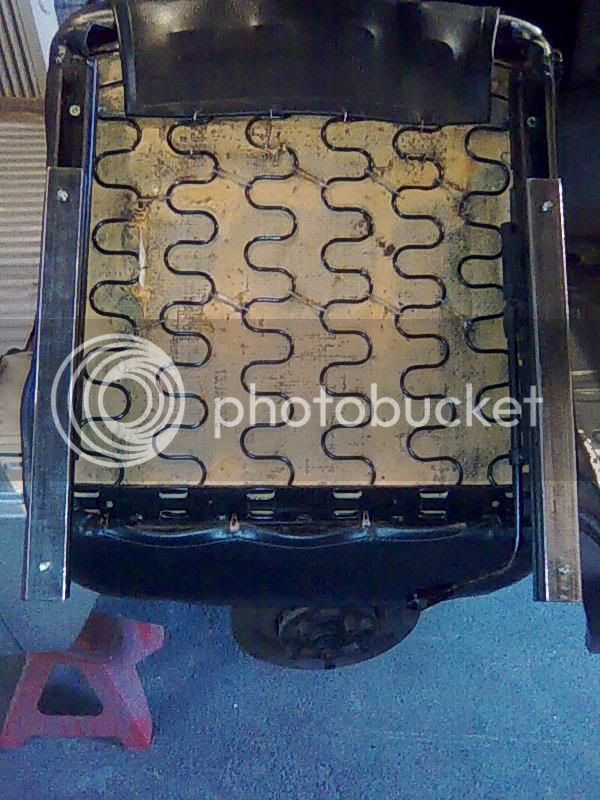
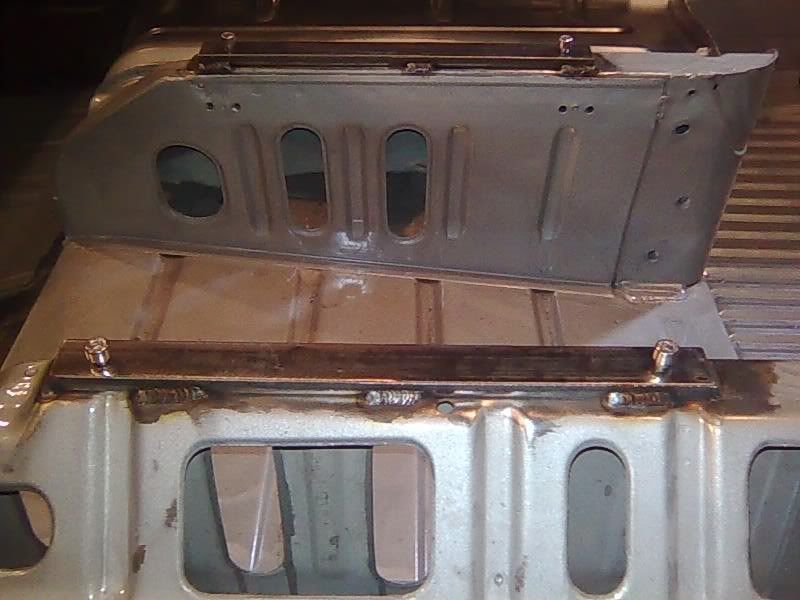
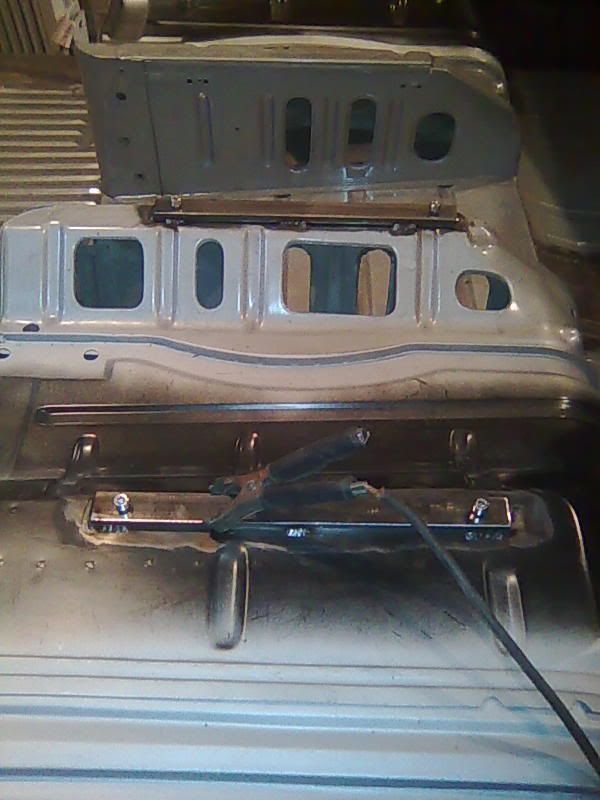
some progress yes. nothing to really show though. i've been cracking on with re-wiring the whole bus!

have a few pics but not on me at the moment to upload - plus its a bit boring. hoping to get the whole bus rewired in the next couple of weeks and i mayu be able to fire it up in my own bus :)
 
progress is so slow at the moment. i am struggling with both motivation and direction. i am constantly looking forward to getting down the barn but when i am there i just donno where to start. its like, why am i attempting to do this massive project which is way bigger than i am!!! think i need to get my arse to a show and see and feel some mint vans.

anyway, wiring has been taking up most of my time when i have been down the abrn, but i have managed to do a couple of small things. first off i had to mount the ignition unit. decided to mount it the the N/S pillar inside the engine bay:
25062009606.jpg


25062009607.jpg


then found a suitable place on the underneath for the mocal oil cooler:
04082009614.jpg


braketry made to weld to the underside of the floor with a flange to allow me to remove oil cooler
04082009615.jpg


27072009612.jpg


fuel acc and filter
03072009608.jpg


pump
03072009609.jpg


clearance over gearbox
03072009610.jpg
 
Great progress bet your chuffed to have her back at the barn, slowly but surely is key, she'll come together and before you know it you be back on the road......
 
Haveacamper said:
i just wantto be putting it back together and of had it painted etc. I JUST WANT TO USE IT AGAIN lol

thanks for the encouragement mate

I might let you drive mine again - if you ask nicely :lol: - but remember what you got into last time you did ;)
 
surfbus said:
Wow, just found your story! Awesome engine going in!! :mrgreen:

thanks mate. i feel like i've cheated a bit though as this was the one that used to be in Nelly's / nellyybus' camper. actually its his front suspension, rear brakes, and dash :) and i'm thinking of painting it blue like his - although a different shade and white roof hehe
 
ok made a little progress on the camper. first off i have now got two plaugs to be able to drop the engine. one going to the ignition control unit and another to connect to all the engine wires that go up to the cab.

to do this i remounted the engine with a bit of help from loxy. when i offered the engine up the tinwear fell a bit lower than i expected:

08092009642.jpg


i thiought the tinwear would come up to the lip on the chassis. however, this is not a problem. i am going to put a strip of angle with rubber beading on to gve the clean sleak look:
08092009641.jpg

this should finish it off nicely i think.

after that some attention was paid to the3 cab area and i have now fitted the porsche seats:)
driver:
08092009636.jpg

passengers/liz's:
08092009638.jpg


i couldnt help but temporarily fit the old steering column and wheel:
08092009640j.jpg


i know that some people have talked about the difficulty of fitting these without manfacturing some tabs. the way i am doing it is to put the bolt through the runners and tack the hed in place. this means that i will fit the nut from in the wheel arch and wont have to hold the head of the bolt.

wahoo i have some enthusiasm again.

NaFe
 
i fitted the same seats mate. pics somewhere on my thread. tapped out some runners and welded them in place. i used m8 stainless cap heads to screw them into the mounts. now hole to drill in arch tub, no rust trap, nothing to rip your tyre up when you rub.
 
found the pics. 10 x 25mm solid bar.


seat4.jpg


seat5.jpg


bolted them in place. then put the seta in the bus and tacked them in place


seat1.jpg


seat8.jpg


seat6.jpg


also after fitting them. the other day i was leveling my bus up with a spirit level (to fit bulkheads) and noticed that the outer seat mount sit about 10mm lower than the inners as i had a long level across the van. so i will make two more 10mm thick strips to fit on the outers. i have seen a few bays with after market seats fitted and a lot have tilted away from each other.

you cant be too carefull fitting a seat. when youve got that awsome engine doing the pushing. :D
 
Most seats are connected via 2 bolts either side.

Just make sure they are high tensile - the shearing effect could easily snap them......(just a thought)

Looking good though 8)
 
ok so the bits of angle have been made for the engine to tidy up how the engine tinwear comes up to the chassis rails
it was like this
08092009642.jpg


strip of 1.5mm with a height taper was made, snipped and offered in place.
15092009645.jpg


with a bit of beading:
15092009646.jpg


and the other side:
15092009647.jpg


the front and back of the pieces of angle are going to be blanked off to tidy it up, but i think it really cleans it up nicely
 
ok, the bus went back to the body shop last week to have the sliding door sills sorted after they fitted it incorrectly. hoping this time around they have done it right.

its home this evening so looking forward to getting back on it. i now have a return to tank for the fuel so SHOULD be able to refit engine and fire her up for the first time... maybe.

exciting times
 
Am that excited, I could crush a grape....... ;)

Looking forward to the engine turning over too...........fingers crossed 8)
 
So bus is back, the sliding door is sorted - i think.

the fuel tank now has a return to tank.

the drivers door had dropped and when further investigation by the bodyshop it was a PO patch in the chassis leg that was done with body panel think material = 1.5mm. where the chassis leg forks out towards the clip a patch had been put in and this was causing the whole thing to twist. this is now sorted.

my bike jack has arrived, so i am hoping that i can get the engine back in, fill up with oil. fill up with fuel and potentially fire her up. work will have to start next week as i am busy over the weekend catching up with a mate of mine.

i WILL keep you all informed.

NaFe
 
Haveacamper said:
So bus is back, the sliding door is sorted - i think.

the fuel tank now has a return to tank.

the drivers door had dropped and when further investigation by the bodyshop it was a PO patch in the chassis leg that was done with body panel think material = 1.5mm. where the chassis leg forks out towards the clip a patch had been put in and this was causing the whole thing to twist. this is now sorted.

my bike jack has arrived, so i am hoping that i can get the engine back in, fill up with oil. fill up with fuel and potentially fire her up. work will have to start next week as i am busy over the weekend catching up with a mate of mine.

i WILL keep you all informed.

NaFe

:shock: Good luck and I have my fingers crossed :)
 
well,

managed to get a couple of hours down the barn last night and what an exciting time i had. i started testing my wiring. the engine wasnt and the lights at the fronts arent connected, but i tested and found to be working:

the rear hazard
right and left indicator
rear lights
windscreen wipers
dash back lights when lights are on

its a good start :)

hopefully i'll get the head light connectors and fit front indicators and test brake lights on friday amongst other wonderful thing

its pretty much the first thing to work in 2 years hehehehehe
 

Latest posts

Top