'69 Crewcab resto

Early Bay Forum

Help Support Early Bay Forum:

This site may earn a commission from merchant affiliate links, including eBay, Amazon, and others.
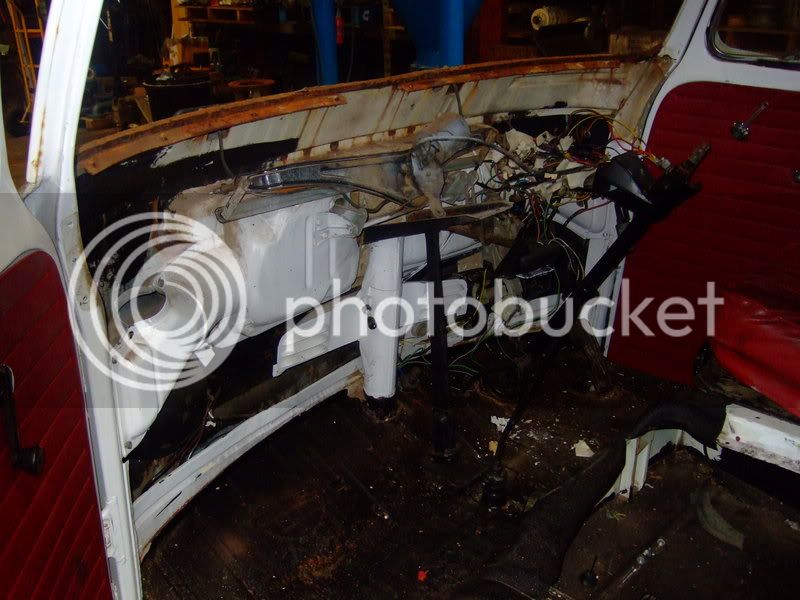
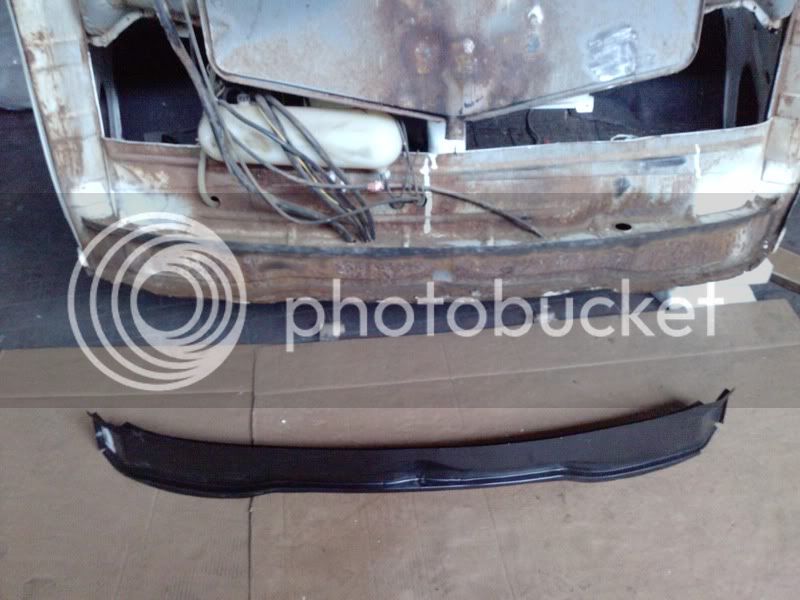
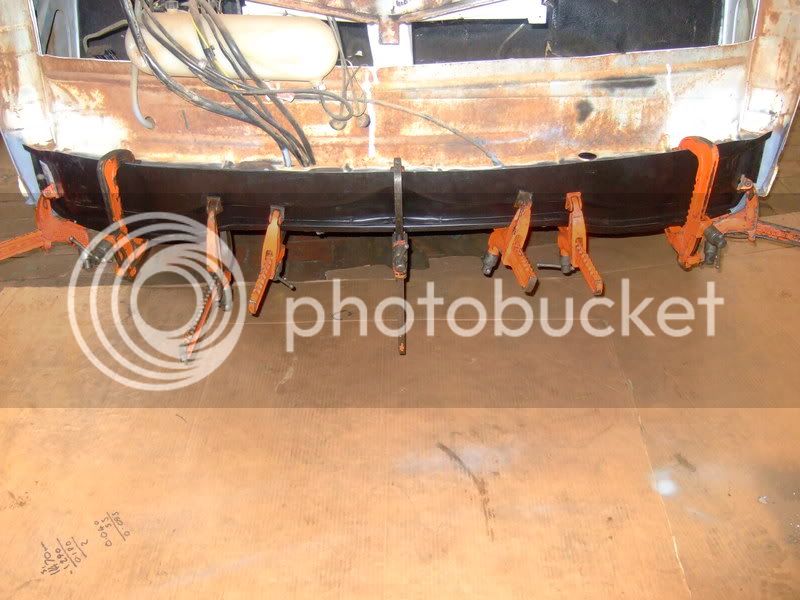
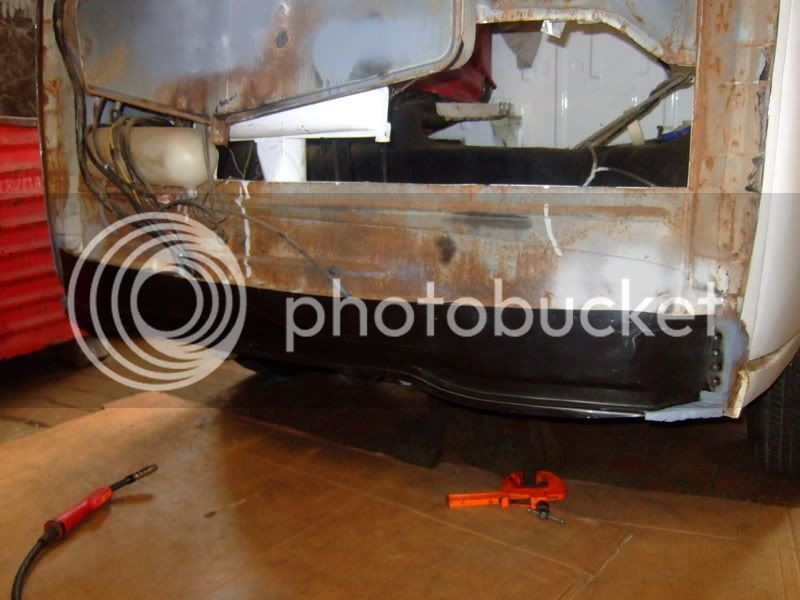
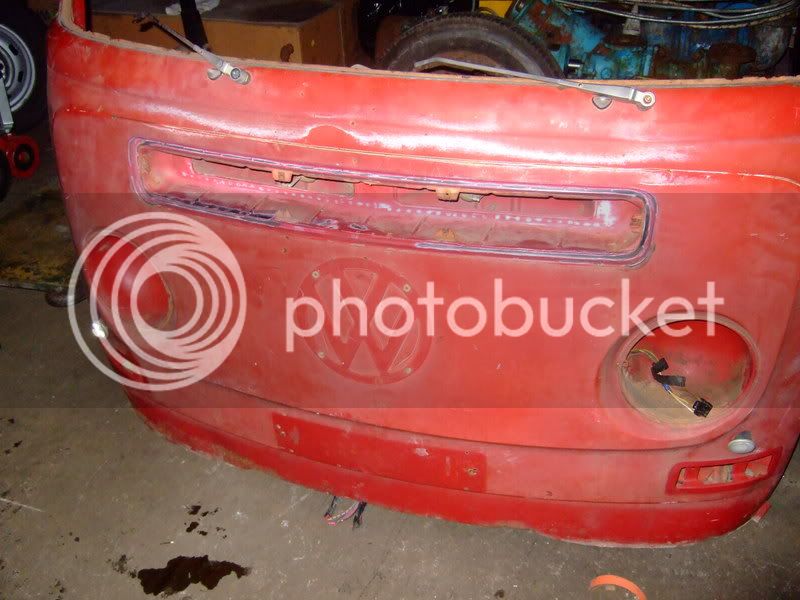
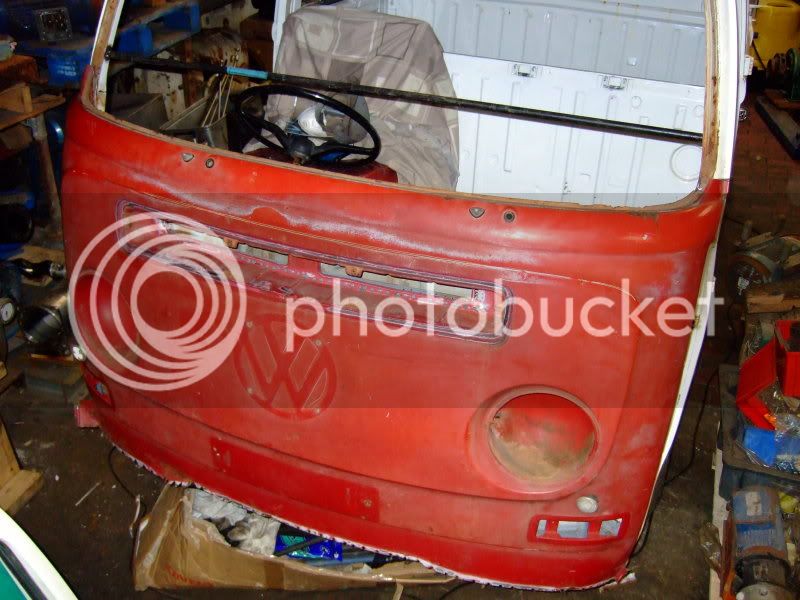
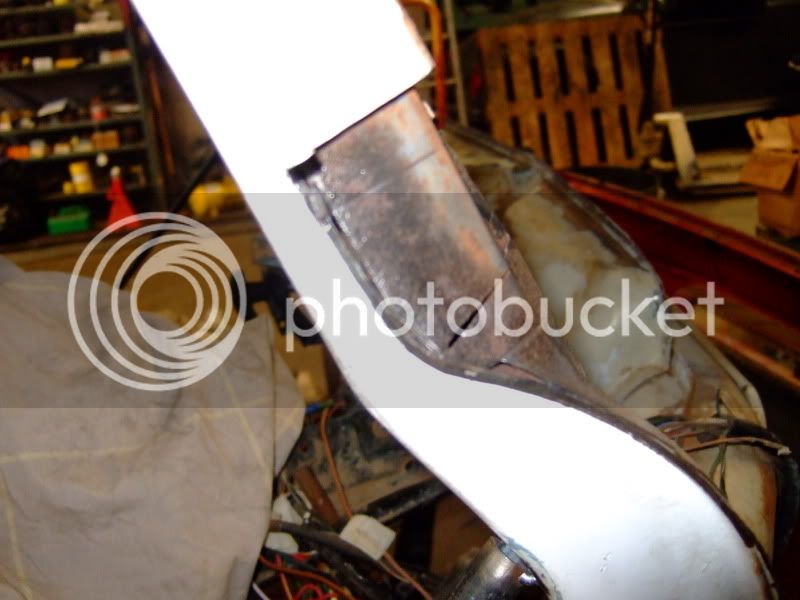
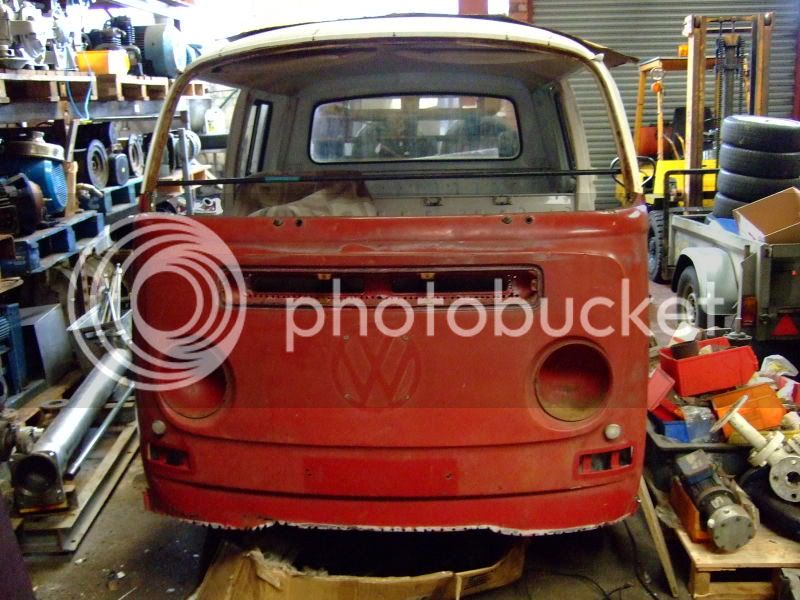
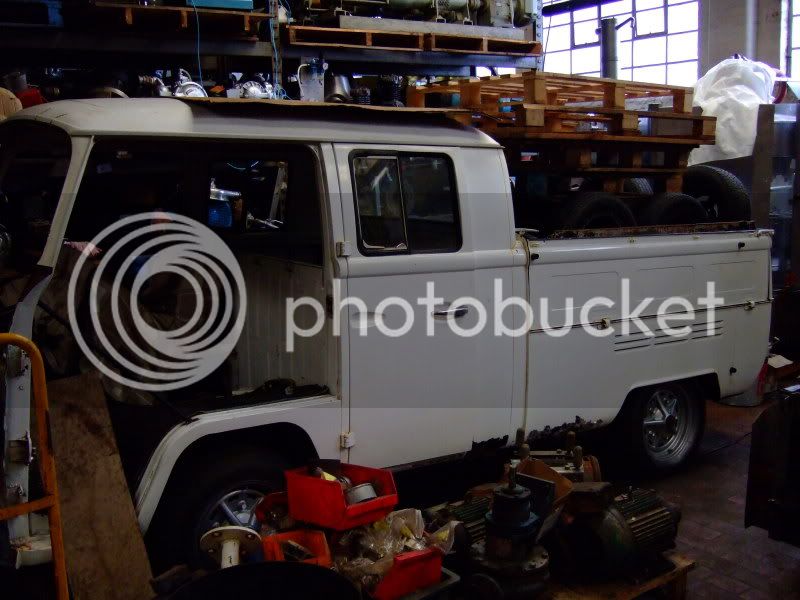
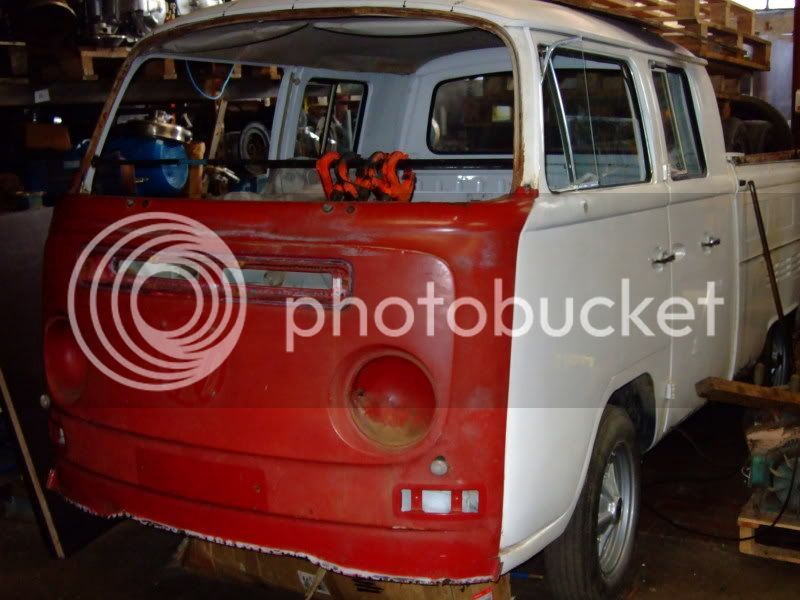
got sweet F A done today due to rusty screw on the window side of the dash but tommorow should hopefully see me on the right track. doing my head in! im only gettin half and hour first thing and half an hour at dinner time because we are so busy! :( roll on weekend! got the seats out and some of the panelling. did find this though

001-1.jpg


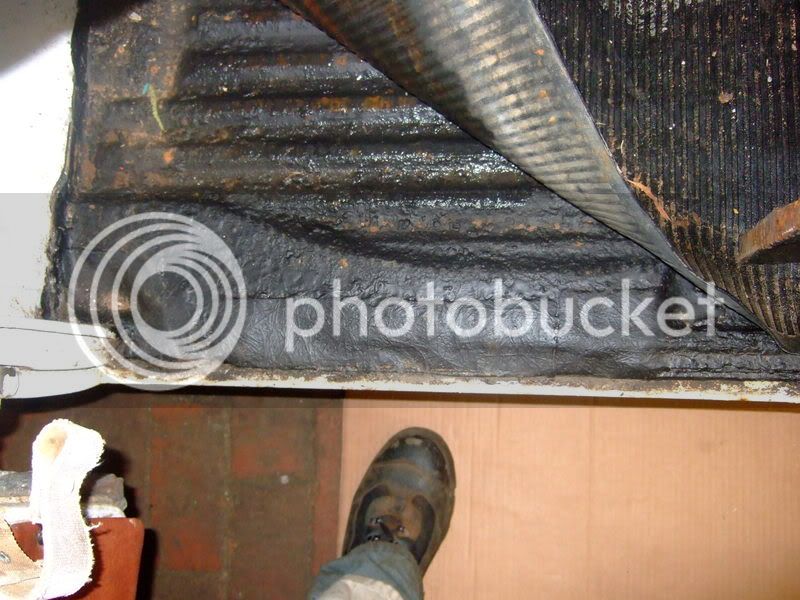
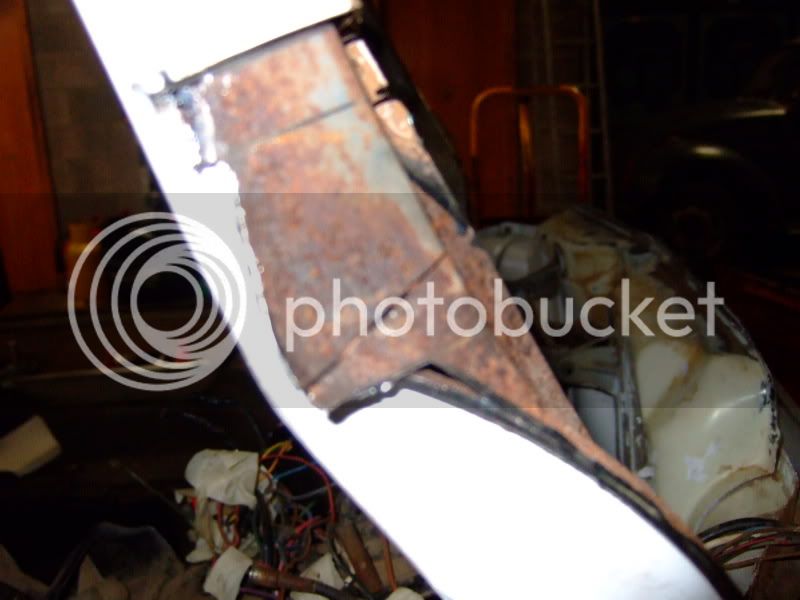
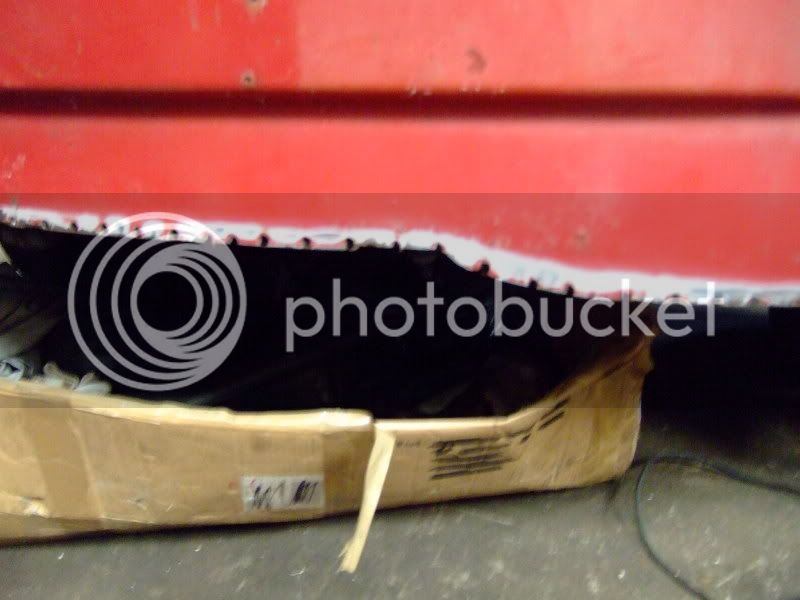
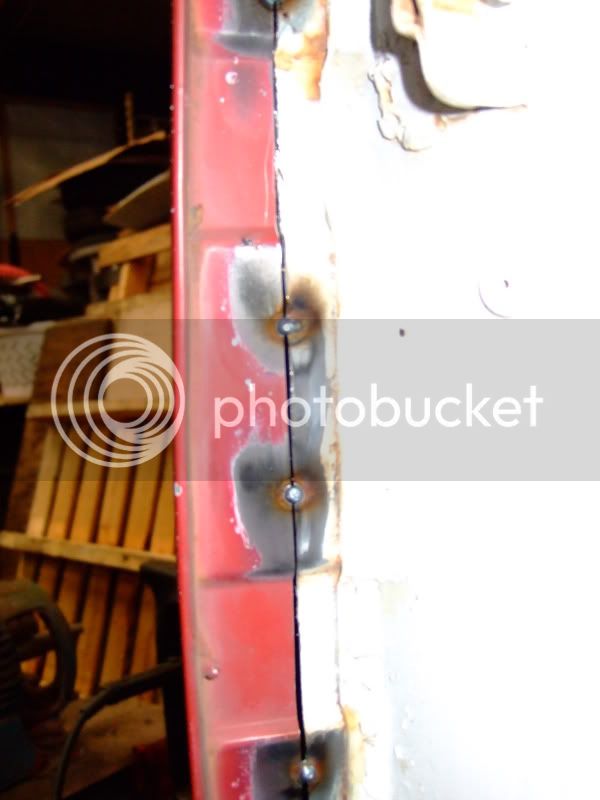
glad they havent hatched yet! :shock: took picture to freak my GF out and thought you lot might as well see. havent even had chance to remove it yet but i doubt they will be going anywhere anytime soon. its colder in our unit than it is outside :lol:
 
don`t worry ash they only really hurt when they bite.....unless you are allergic, really old or really young.Been bitten a few times now and am quite blase about the whole thing. I reccomend brake cleaning fluid and a lighter!Theres a thread in here somewhere about earlybay import spiders with lots of links about these suckers :wink:
 
Got the dash out today and decided not to go any further with it until i had the repair panel from scott has arrived.
001-2.jpg


Had a proper look under the van today and am seriously chuffed with how solid the chassis is!! :mrgreen: couple of litttle holes on the cargo floor area under the load bed but thats to be expected. had good look at the sills aswell. the filler man has played with the N/S sill too but Scott had mentioned this so it wasnt much of a shock. look good though dont they!

008.jpg


after a slight bit of proding with a hammer and chisel this was revealed.
012.jpg


the other N/S sill section in need of tlc
005.jpg

picking the repair panels up from Alan Scohfields on saturday.

starting on the drivers cab floor tommorow as i already have a repair panel for this. the fibre-glass man has also been playing here.

004-1.jpg


hopefully have some real work done tommorow rather than just recking it :lol:
 
RIGHT! had about 3/4 of an hour on it since thursday :roll: and ive managed to get the front panel off and make a start on the inner valance. sorry for the crap phone photos.

doesnt look bad at all under the clip. the airbox has been pushed in abit but nothing drastic.
025.jpg


Schofield inner valance looks realy good! bit of creasing on the back side which i might cut out and replace with smmoooth metal :lol: but apart from that it looks good. just hope it fits :roll: :lol:
029.jpg


Havent done one before so decided to take it slow. i made cuts up the outer-inner :lol: panel about ever 6 inches and this allowed me to twist the spot welds off rather than spending hours drilling them or bending them off, i then found out that the vertical panel is part of the inner-inner valance :roll: which ill remove anyway.

nearly just repaired the lower edge of the inner valance but when i took the outer skin off all this came out. its baout 3" deep :lol: when scott told me to clen the sills out i didnt think it was this bad!! :shock: :lol:
034.jpg


so this is how she stands at the minute!
035.jpg


If all has gone well for Scott today ill be picking the panels up from schofields tommorow. Scott has been up that way today and the nice folks a schofields kindly agreed to hold it for me. So i can crack on weds morning getting the clip to fit :mrgreen:

Hopefully more updates tommorow. :mrgreen: :mrgreen: cant wait now!
 
picked the clip and my repair panels up from schofields on tuesday and i look miles better than the one it had on before. kinda wis the rest of the bus had this patina :mrgreen:
009-1.jpg


Managed to get about an hour or so on the bus in the last couple of days and got the innner valance off! the spot welds where fun :roll:
014.jpg


also got the new valance ready and it fits like a glove! :mrgreen:
001-3.jpg


so this should (touch wood) be inplace tommrow! :mrgreen:

so hopefully saturday can be spent getting the clip to fit. :mrgreen:
 
bit of an update. Got the the area around the valance cleaned up and clamped in place on friday.
001-4.jpg


then tacked it in so i can move it if needs be when the clip goes on.
002-1.jpg

chuffed with that. started on removing the air intake vent on the front as it also had been bodged after the bump.
009.jpg

137 Spot welds later!! :shock: :shock:
018.jpg

made worse by the fact that i now have to do the same thing with the replacement :lol: As you an see ive removed the inner winscreen panel as well after bracing the front pillars just to be on the safe side :lol:

started to strip and pop mark the replacement clip tonight aswell.
021.jpg


if i get the clip ready for welding by weekend ill be a happy boy!! :mrgreen:

found this while cleaning the spot welds up, the original coul0our. think ill be respraying the bus this colour :mrgreen:
011.jpg
 
it spots onto the opossite side of the door pillers so it wold have been fiddly as buggery to fit plus im an anal git and want to keep as much of the original bus as possible :lol: :lol:
 
THE WOMANmade me shave it off for her mates 21st the other night. never mind though, im sure ill be looking like NaFe in a few weeks. but stragly and un trimmed! lol. got the spot welds oout of the clip and started to mark the sides up for the cuts today :shock: nearly the point of no return! post pics later, off for a chinese :lol:
 
got the engine running properly today cos im sick off pushing it in and out. so i had my first drive :mrgreen: which was a mistake cos now i dnt want to wrk on it i just want to drive it around :evilgrin0010: bit of a pain seeing as the steering wheels isnt attatched to anyhting. the accelerator cable sticks so you have to set the throttle and drive with the brakes :lol: back on the front clip tommorow. cnt wait now!!
 
c`mon ash you letting yourself down get on with it ;) You must look like grizzly adams by now if your sheila hadn`t made you take it off...we want results :sign0009:
 
:lol:

had a tidy up at work over the last few days meaning she has her own corner now so i can stop dragging her in and out meaning hopefully ill have more time on it!! :mrgreen: hope to have more updates tommorow.
 
and then?....you can hassle me the same in about six weeks as my avatar is my new toy and it needs more work than yours! but its a doka and i love em..planning on motin first then sorting as necessary 8)
 
:mrgreen: :mrgreen: :mrgreen: :mrgreen: :mrgreen: GOOD MAN!!!!

take it SA was a good trip for you this time???? Get some pics up!! :mrgreen:

FINALLY got the clip off the panel yesterday, so today ive started fitting it. post piccys later.
 
HA HA PROGRESS!! been in wales for a week so not touched the bus til yesterday so im stoked to get going again!! finally got the clip off and offered it up
lous21st014.jpg


first problem was fowling on the middle skin,
lous21st010.jpg


after much deliberation i decided the only way to keep the strength of the middle skin was to weld it into the inner skin so ive trimmed it and beaten it in, ill have to seam weld it and the dress it before i fit the panel.
lous21st016.jpg


then i roughly trimmed the a pillars outer skin to match the new panel, accuracy wasnt a priority as im going to need to repair these anyway.
lous21st013.jpg


before id cut anything i used a thin metal rule and scribed a line the width of it up the closing panel behing the a pillars so that (touch wood) they would be exactly the same when i cut them and it looks to have worked, so then i cut the excess metal away to get a better fit to the bus.
lous21st024.jpg


bottom lines up ok so as long as the doors fit i shouldnt have to move the inner valance.
lous21st030.jpg


so this is how she stands now, now used as storgae much like our other buses:lol:
lous21st031.jpg

lous21st021.jpg


hopefully tommorow i can tack the panel in place and measure everything up then try the doors on, after ive moved the support bars cos some idiot put them where the door closes :roll:

more tommorow hopefully. :mrgreen:
 
Got abit more done today :mrgreen: Tacked the front clip on today so i could try and line the doors up.
bus543006.jpg


then at dinner i got the door down and fitted it up
bus543007.jpg


the swage line lines up perfect, just chuffin MAHOOSIVE gap at the front of the door, checked our other van today and it looks far nicer than this :roll: ill get it sorted. not sure how but i will.
bus543015.jpg


next job is change the wheels over and sort the bits out for Scott.
 
what a couple of weeks. with easter holidays and boss's (dad and grandad :lol: ) having holidays i havent touched the bus :oops: :( . im gona get my finger outa my arse tommorow and crack on. photo evidence will be slow as this job is mind numbing!! hopefully update soon. :roll:
 

Latest posts

Top