'69 Crewcab resto

Early Bay Forum

Help Support Early Bay Forum:

This site may earn a commission from merchant affiliate links, including eBay, Amazon, and others.
Spot on job, really looking forward to seeing this completed, especially with you being local to me ;)
Andy
 
Grazy said:
How is this going mate , any more pictures / progress ?? :D

Not as yet ive mainly been picking up bits at the minute, we have just taken our splitty home for a slight ( :lol: ) resto and this has fallen by the way side unfortunatley. im still adament it will be a piece of cake once the clips fully welded in but just not got round to lining the doors up yet :roll: Ive planned a tidy up at work (My dads bought loads of stock and the only way to get to the van involves informing mountain rescue!!) this week as i want to get cracking now!!

Ive also bought a front chassis section to use as a jig for the narrowed beam, plan to get that moving soon then i can sort the notching out while the van is built up. Also purchased some late bay brakes, dont know if these will be fitted straight away but ill be taking measurements to make the adapters to fit them to the L&P spindles :mrgreen: :mrgreen: Also been looking into servos etc (basically anything to stop me doing the van :roll:

Cunningplan and gninnam: Cheers dudes!! :D

Ands1: ME TOO!!! Also have a look at the N.D.A Swapmeet on the events list you may want to pop along!! :D
 
Tad more progress but no pics cos i cant get them off my phone. :evil:

The progress with the clip hasnt happend because im a tad bored of messing with it now. So to keep interested ive decided to tune the 1600 with a set of 36 dell's and a cam along with a fully merged zaust.

As i plan to lower the bus a fair amount a tuckaway is the best option but the prices are HOOGE to say the least. After looking around at our works ive decided, im gona make my own :mrgreen:

Long story short, when i offered the stainless can up (for the muffler) i noticed the engine support bar is off a late bay. either way it needs sorting.

As i may have mentioned the engine bay area was heavily modified to accept the diesel toyota engine the south african owner fitted, when the VW engine was put back in the supports for the engine bar had been removed and a late bay one fitted instead. trouble is its about and inch either way out of sque and is proper pants!!! So im gona to shorten it so the exhaust will fit easier ad it will look more earlybay. as it isnt origial anyway im going to modify the bar itself to sit further out so a CB maxi oil pump will fit for the full flow system:D. Something id never consider if it was original.

Hopefully have some pics of progress so far tommorow :mrgreen:
 
Heres a piccy of the engine and bar to show just how cock eyed it is :roll:
sambacrewcab049.jpg


Ill be turning this into a slightly more earlybay look this will let me bring the exhaust further back and stop it warming the running gear.

As you can see here its a but close and this is shorter than a turbo thomas muffler by about 4"
sambacrewcab057.jpg


would prefer it to sit about here
sambacrewcab058.jpg


So i decided to remove the engine bar so i could modify it slightly. you can see how its been fitted incorrectly. nearly 40 washer over the three bolts
sambacrewcab054.jpg


Unfortunatley trying to do one job (exhaust) has leads to about three others (engine bar mounts, engine bar modification and now)


These
sambacrewcab060.jpg

sambacrewcab061.jpg


So now i have to jack it up to get better access, but because ive removed the engine bar the engine is supported on blocks so i have to remove the motor and then the box if i can find a way of keeing that up. But before i can do that i have to get all the crap off the back :roll: . Then weld everything up so im still a mile of doing anything inspiring :lol: .

Never mind.
 
Got all the crap off the back yesterday which seemed to take ages! then remembered that the previous owner had left this for me.
crewcab015.jpg


literally 1 minute later (4 wires 3 bolts and a pallet truck.)
crewcab022.jpg


strapped the gearbox up and Jacked the back up today then supported it slightly better.
crewcab035.jpg


so now she looks like this.
crewcab050.jpg


Good news is i feel like im back in the groove, decided today im sick of the front clip as im not seeing any progress so im just gona do it back to front instead and do abot on the clip every now and again :lol:

Hopefully have the plates made for these in the next day or so so ill update then. :mrgreen:
 
windsurfer said:
Looking sweet, I'd love a pick up but the Mrs says I can't have one :cry:

Good wheel choice too :mrgreen:

My other half said that if we were getting anything it should be a camper but the choice was mine so this came first. she loves it now! She keeps asking me when its gona be on the road so we can go camping in it. :lol:
 
:mrgreen: No progress on the van itself as work is kicking my arse at the minute! :shock:

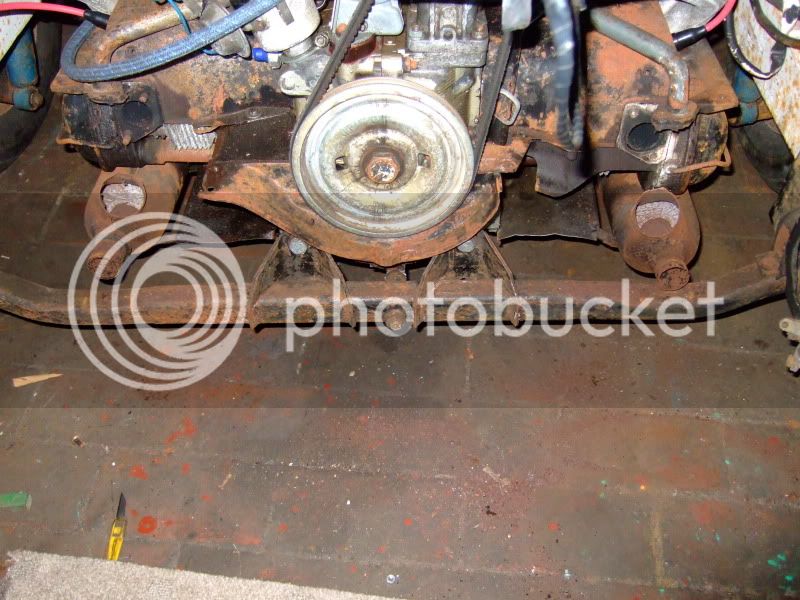
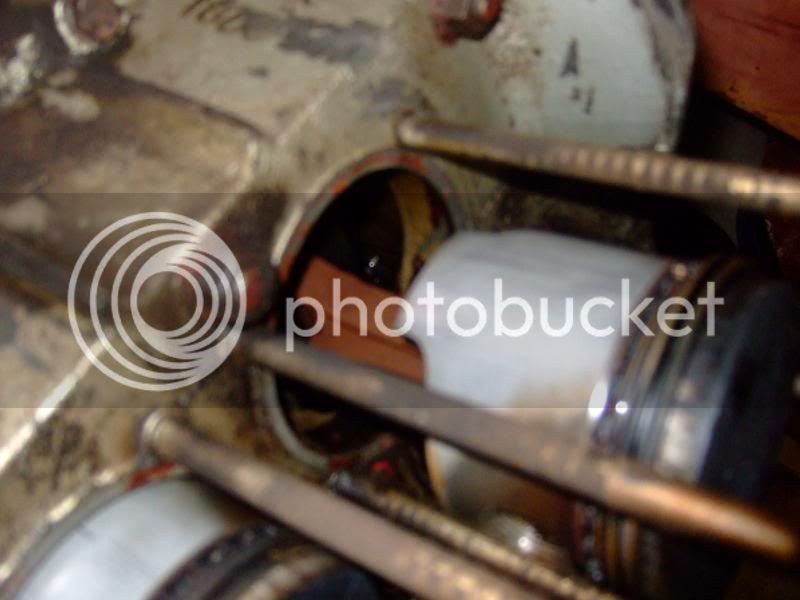
Managed to grab an hour this weekend to start stripping the motor. The plan was to just check it over but man am i glad i tore it down :shock: The decision was made when i noticed the pully was loose but the nut tight, then when taking the flywheel of to get it on the engine stand, the gland nut was about as tight as a $2 hooker!

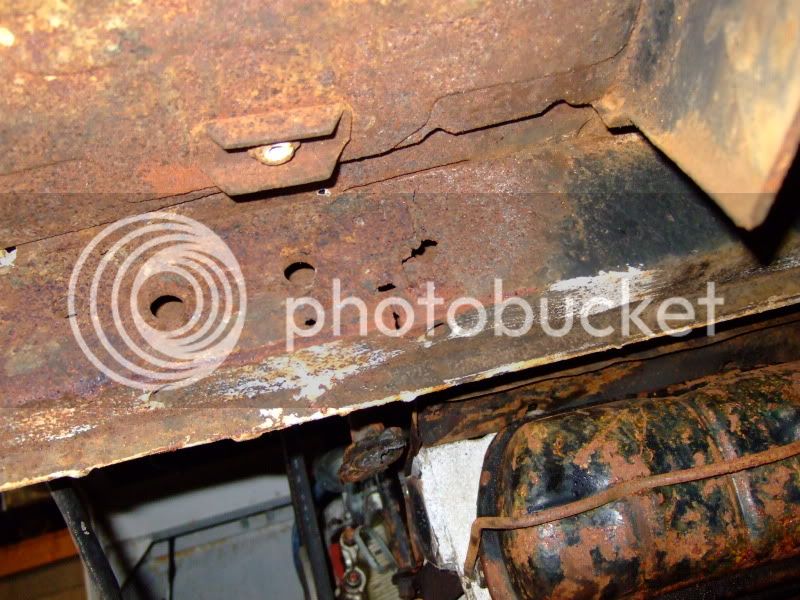
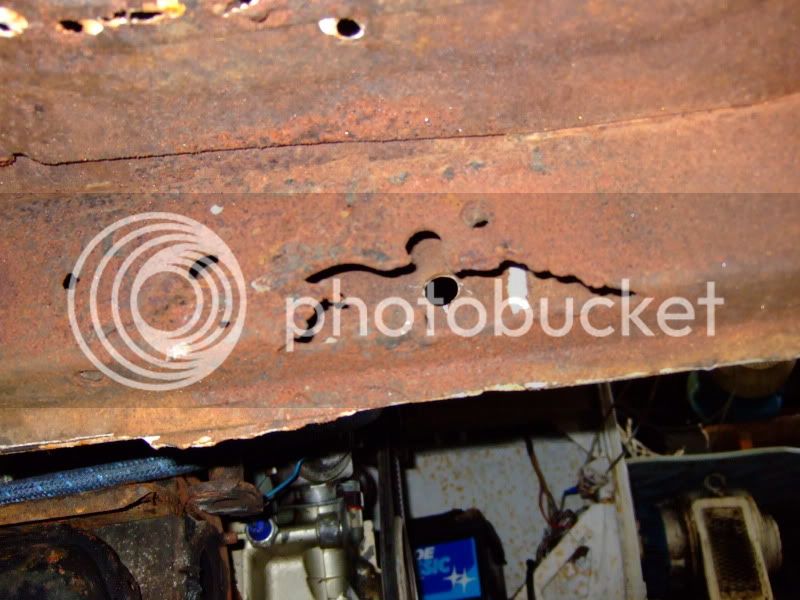
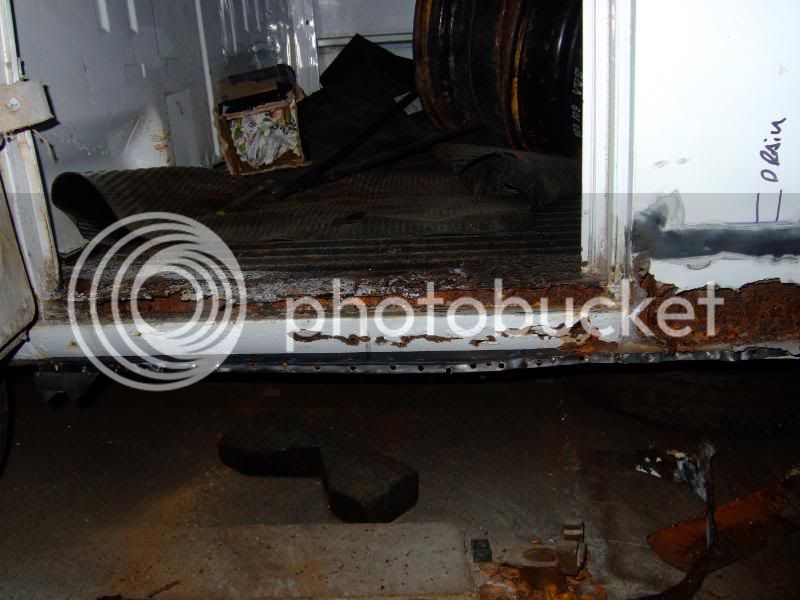
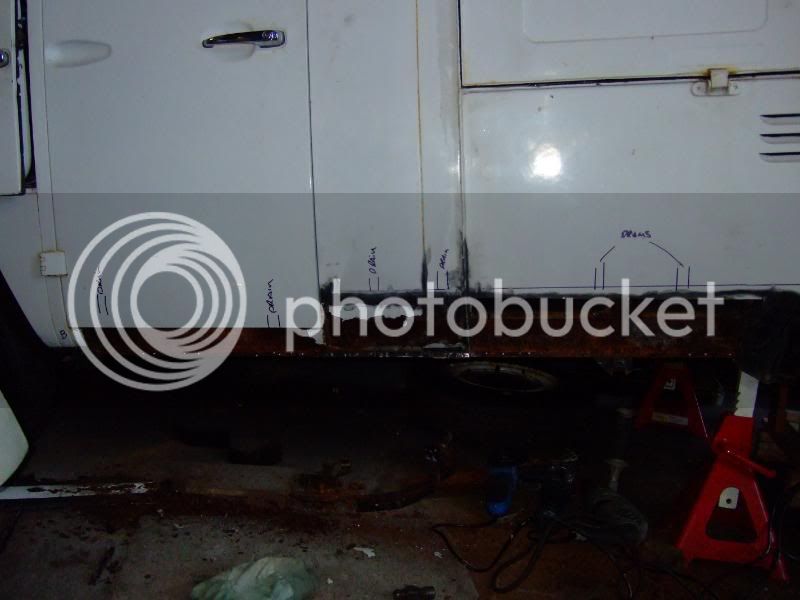
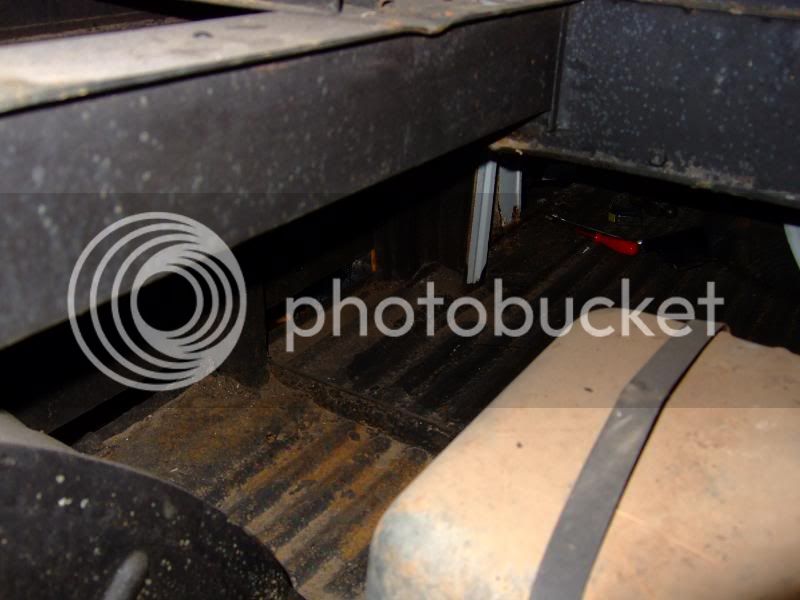
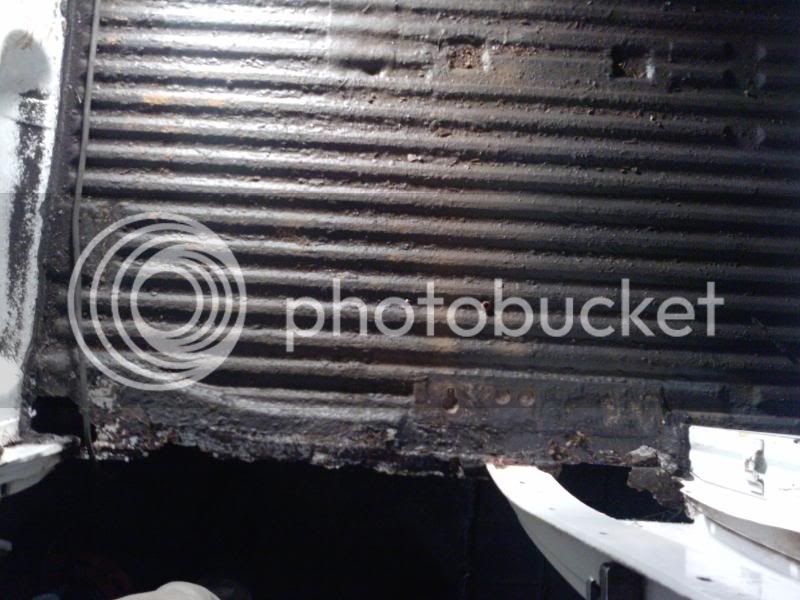
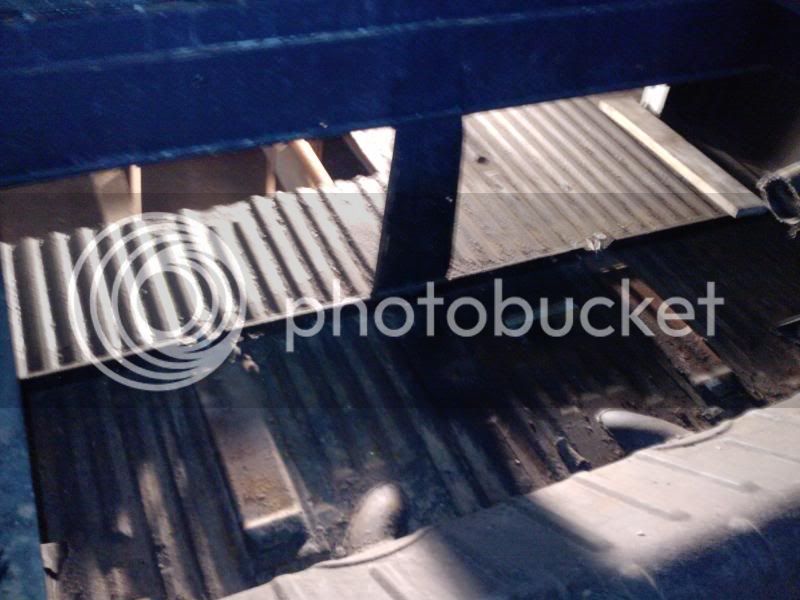
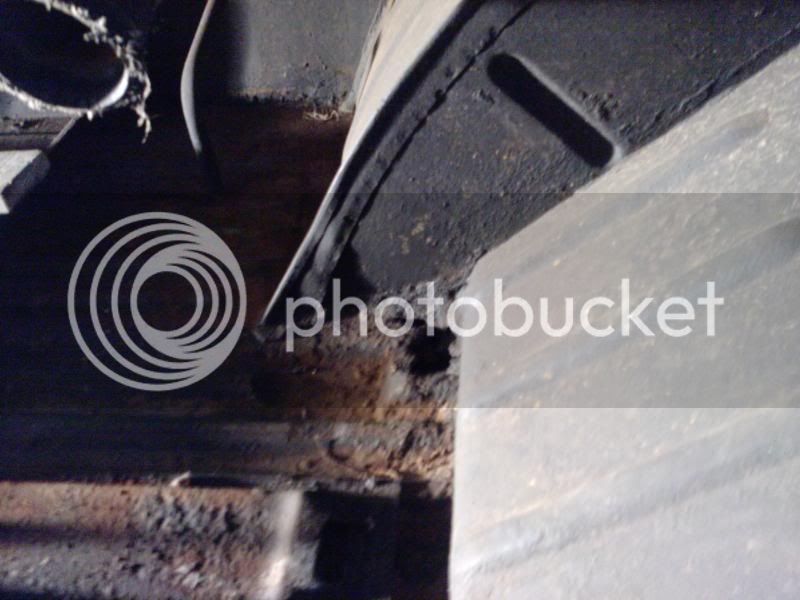
once stripped it look rough, Not in bad condition just obviously been stood. Scott had told me about this when i bought it.

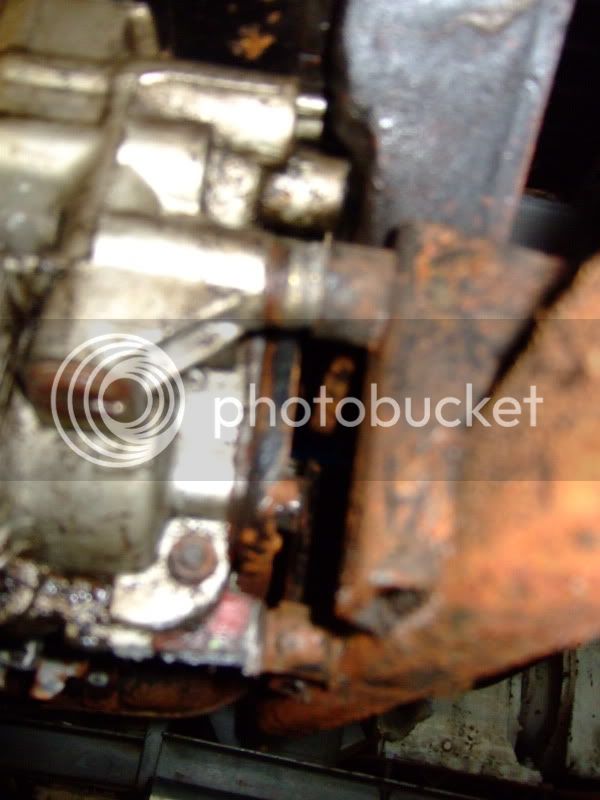
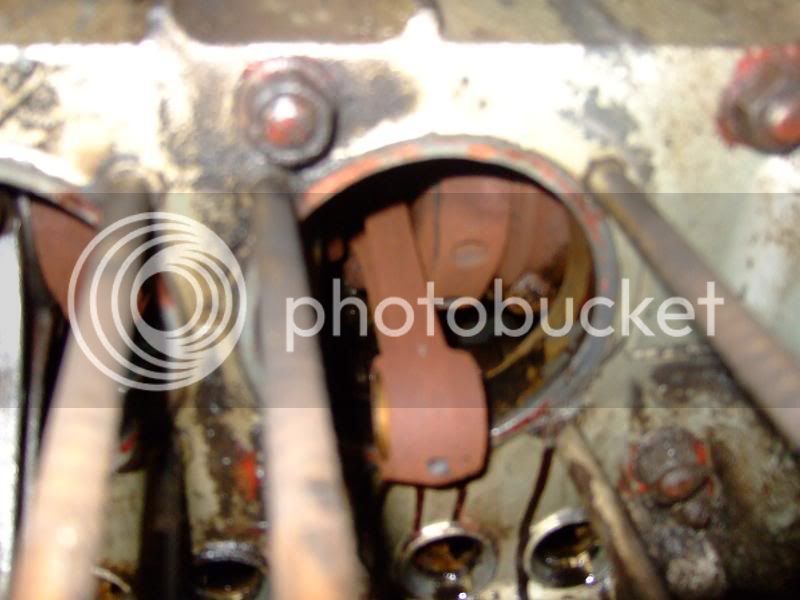
B&P's look newish but one of the fins had been broken when they where fitted but apart from that and some coking up all look ok. May be changing these anyway but need to see if i can afford a bug bore doo.
henginrebuild017.jpg

henginrebuild018.jpg


As you can see the rods are fairly rusty so a strip down seems to be the right choice so far.
henginrebuild027.jpg


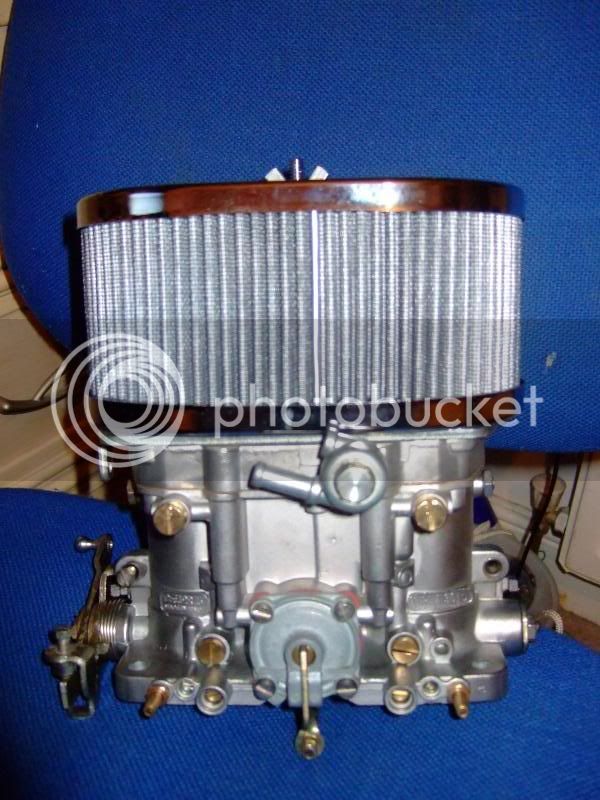
Also bought these from Alfa1750 on fleabay! the man is ace!!

carbage001.jpg


And after askin around about velocity stacks for drla 36's and not finding anything but 40's i though id make my own.

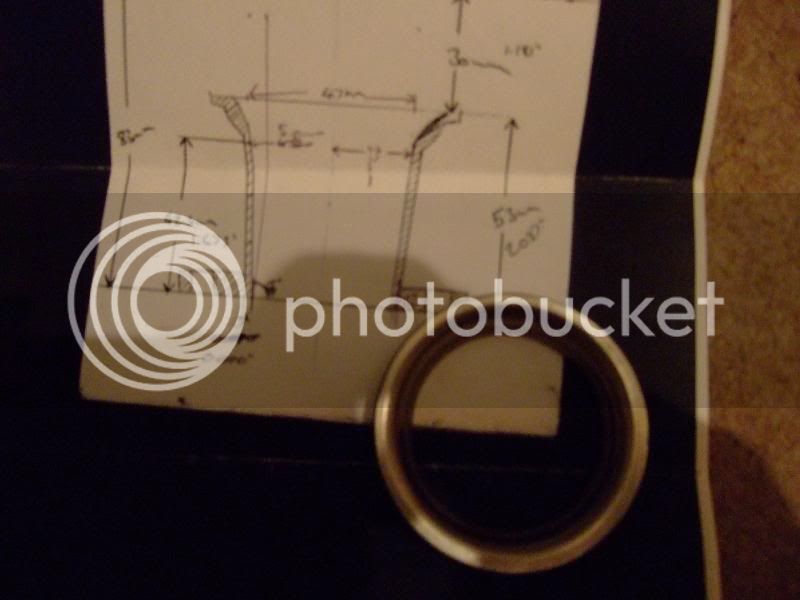
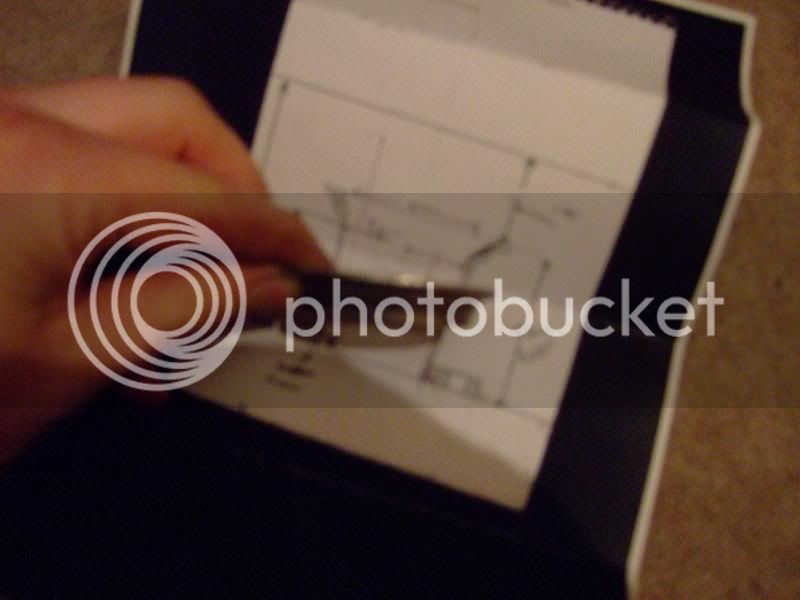
These pics show my first rough drawing and the rings ill be using to create the smooth lip (If you fancy copying these the rings can be bought from a stainlesss fitting stockest and reside under the name 2" female RJT flange. if the price seems abit steep they have quoted for the nut aswell, but thats not needed obviously :mrgreen: )

henginrebuild003.jpg

henginrebuild004.jpg


You get the idea :lol:

Im hoping my design will be a tad more efficent than the standard design which just sits on the top of the carb,filters, linkage plate and gaskets as these will go al the way to the carb eliminating the gap caused by the parts previouly mentioned when using the types that just sit on top.

Hopefully start on these on the moro.
 
What with the weather this week making early starts impossible due to needing a lift my deadline is getting closer and closer.

I have how ever made a start on the N/S sills.
Crewcabsill001.jpg


No rust at all on the arch end so ive left it in to make it abit easier
Crewcabsill007.jpg


Again ive never done a sill before so im kinda peeling the layers rather than hacking in a desperate attempt to know how it all goes back together:lol:
Crewcabsill029.jpg

Crewcabsill035.jpg

Crewcabsill039.jpg


Got in this morning it was about -9 here so i was well up for sitting in the shop with a heater on prepping the inner sill :lol:
Crewcabsill043.jpg


This isnt my nicest looking welding but after trying it with TIG (like a tit i didnt strip it and weld it i just tryed cleaning it up so the transit primer made little tiny bomb noises as it squandered away my metal! :roll: ) it was the only way i could get metal on fast enough.
Crewcabsill044.jpg
 
Also got the rest of the sill away today so i can start on the inner. Havent got an inner strengthening panel so im going to have make one. :roll: But hay ho

Crewcabsill062.jpg


Also removed the the other section of cargo floor that was held with rivets to aid access to the spot welds holding the inner sills in place.

Crewcabsill064.jpg

Crewcabsill066.jpg


Crewcabsill068.jpg


Hopefully get most of tommorow on it, hope to get the fuel tank out and the inner sill then make way for the new ones.

Not banking on it though as a friend of mine mentioned today the bolton has been forcast up to 15" of snow tonight! :shock: :roll: We can but hope! :mrgreen:
 
Also given myself a deadline!! This one i AM sticking too!!


The bus will be drivable, taxed tested and registered and be driven to DEVA dubs and rods 2010!!

Encouragment need enquire within!!! :lol:
 
Another small but VERY significant update is ive order all the slam parts for this :mrgreen: Kinky linkpin beam up front and adjustable springplates on the back :mrgreen: :mrgreen: :mrgreen: O yeah!
 
Hey Youngster,

I'm in Bolton too so If you need a spare set of hands give us a shout, I'm no whizz with mechanics but a spare set of hands come in handy at times :D

. I've just put a link pin beam on mine and i'm waiting for the adjustable spring plates to come back from the supplier as they sent me the wrong ones.

Chris. :D
 
Cheers for the offer dude!! :mrgreen: You should get yourself down to a bugnutz meet!! Theres one on wednesday night at the ainsworth arms on bury road 8pm onwards!

Always good to see another EB! Im in a BRIGHT green bug at the mo so gizza wave if you see me! :mrgreen:
 
Nice to see some more progress Dooder , ill keep checking this thread cos it will be ope when finished , 8)

Keep it up fella
 
Cheers dude! and i one yours!! Good luck with it dude. Hoping to see yours at a show cos its frikkin ACE!

Ash
 
Got in this morning and with view to removing the inner sill etc. I was looking at this section trying to clean it up and get back to metal to see where the spot welds were.

I thought the black stuff was horrible bitumin paint all thick and ugly. Turns out its infact a rather thin layer of black paint and the texture is the metal below :lol:
Crewbarcab327.jpg


also got the fuel tank out
Crewbarcab334.jpg


and found this
Crewbarcab333.jpg


After a closer look the whole of the load floor is fairly fubar and the only way ill be happy with it is to replace it :(
I checked the floor over and they look like they are modified from standard bus floors so thats good as heritage sell genuine VW ones :D

The closing panel for fuel tank access is also a little ropey so im going to make one of these while i have it out.
Crewbarcab332.jpg

Crewbarcab339.jpg


So i did abit of measuring and hacking of the floor and came home
Crewbarcab331.jpg


Back in tommorow maybe to finish removing the closing panel and more of the floor.

Its not as bad as it seems because with the floor out i have access to the strengtheners for better welding. :D
 
Nice thread bud. I'm glad it's nt just my bus that uncovers more jobs as you are halfway through the first!! I also had the same problem with my front valance with an inch thick of filler and sculpting. When I cut mine off the PO had bodged a rear valance with all kinds of shite and the heap of rust and stuff was also about the same as mine. It's amazing what collects in that space over 30 odd years!! Keep up the good work mate.
 

Latest posts

Top