You are using an out of date browser. It may not display this or other websites correctly.
You should upgrade or use an alternative browser.
You should upgrade or use an alternative browser.
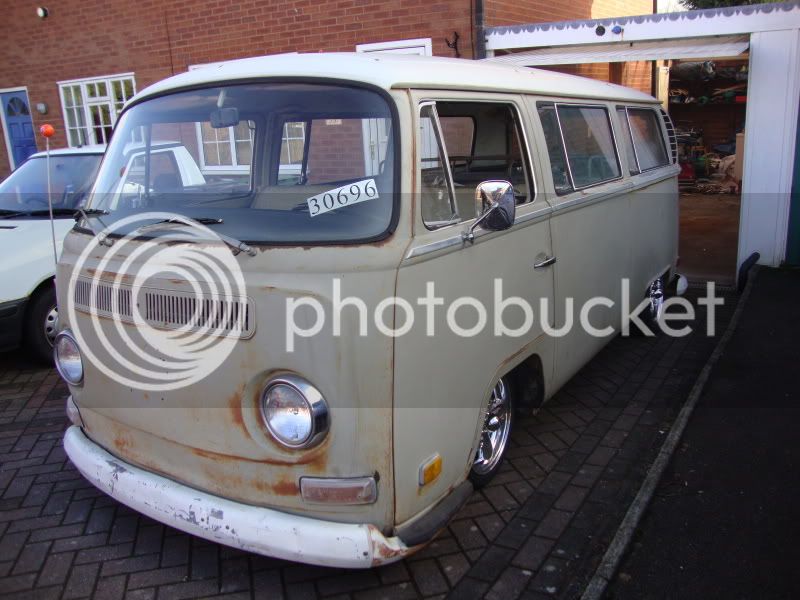
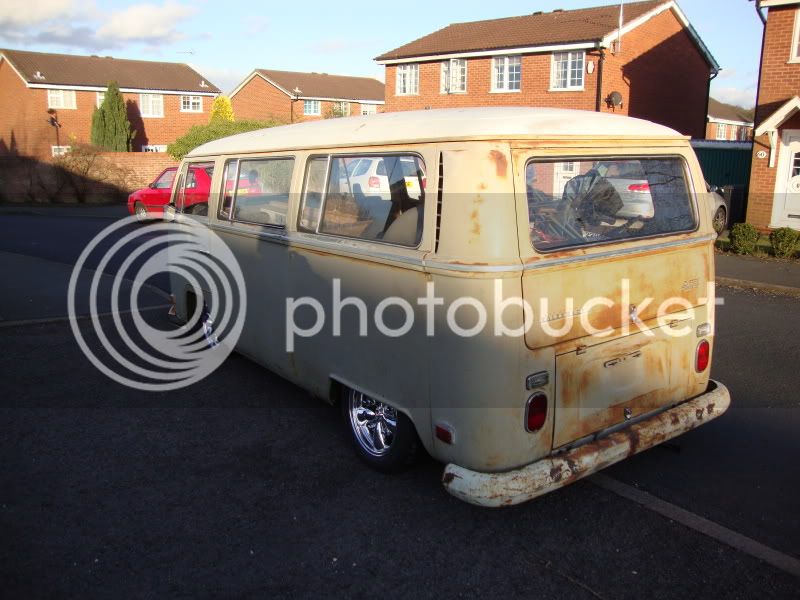
70 savannah beige deluxe (the 'baygel' bus)
- Thread starter resto73
- Start date


Help Support Early Bay Forum:
This site may earn a commission from merchant affiliate
links, including eBay, Amazon, and others.
resto73
Well-known member
ground hugger said:Very nice,loving the Patina 8)
You must have good roads in Redditch if your going an inch lower :shock:
the roads arent too bad to be fair and theres only one road with speed bumps and it avoidable
luckily for me redditch is mainly duel carridgeways, my drive is the only issue, might have to pay to get the kerb dropped as its a right steep angle to get on and off
AxlFoley said:Looking verry nice, is it me or does there seemto be a lot of light getting in to your garage!
thanks for pointing that out :roll: :lol:
yeah it a converted car port and the roof is corrigated perspex
going to put a propper roof on it this summer though, long overdue as it leaks like a seive
thanks for the comments guys, Paul 8)
resto73
Well-known member
Another mini update
This week I finished the engine bay wiring (converting it from dynamo to alternator)
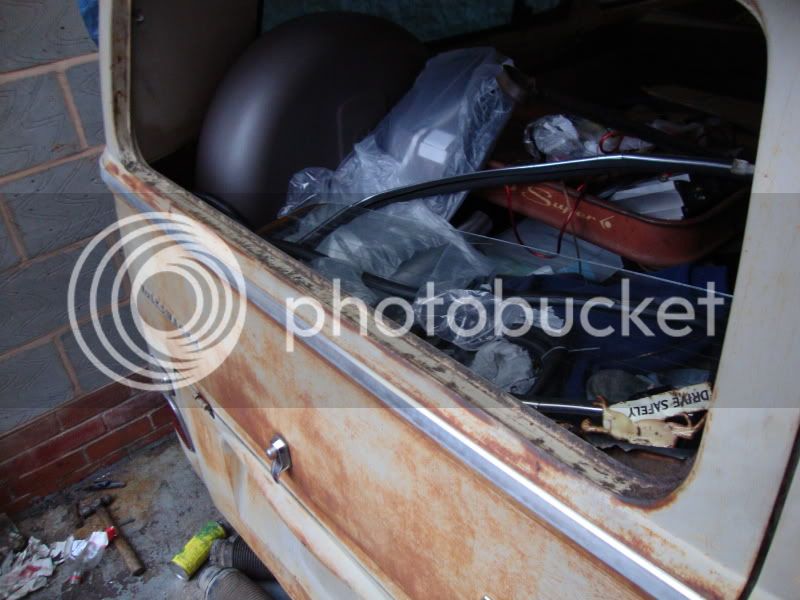
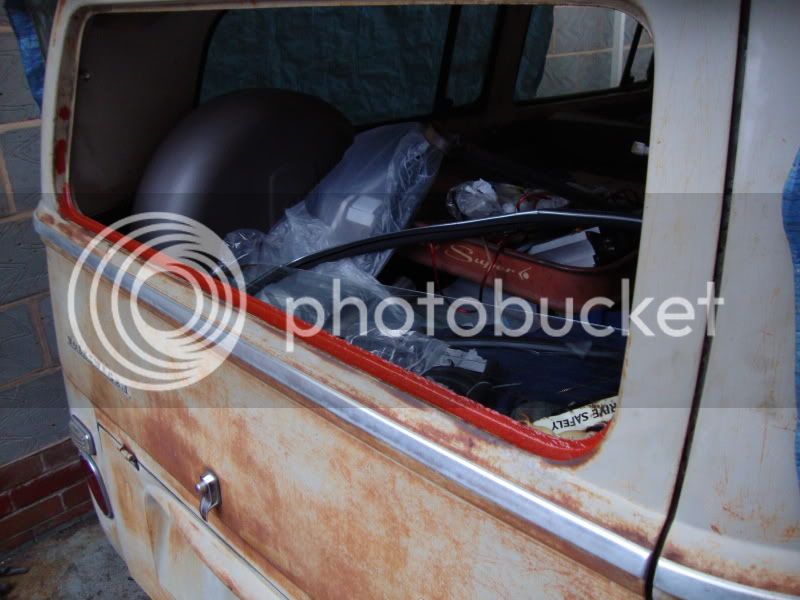
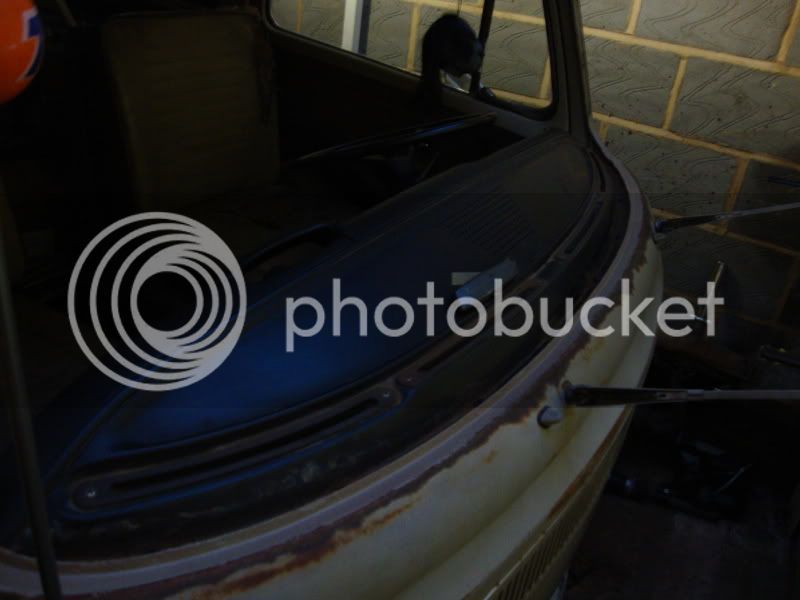
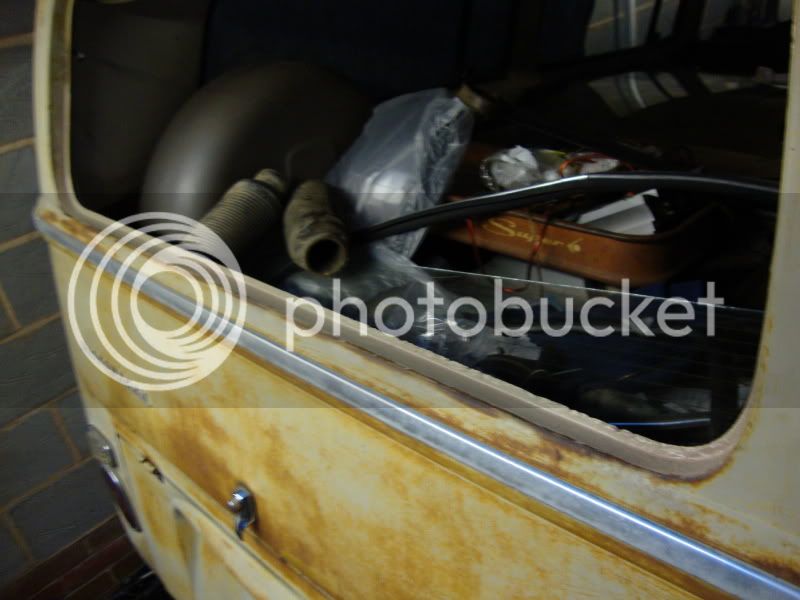
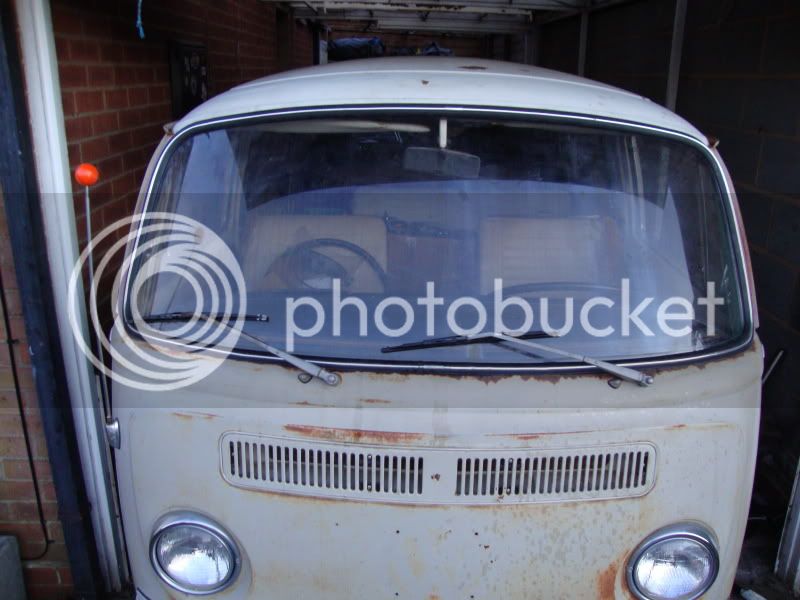
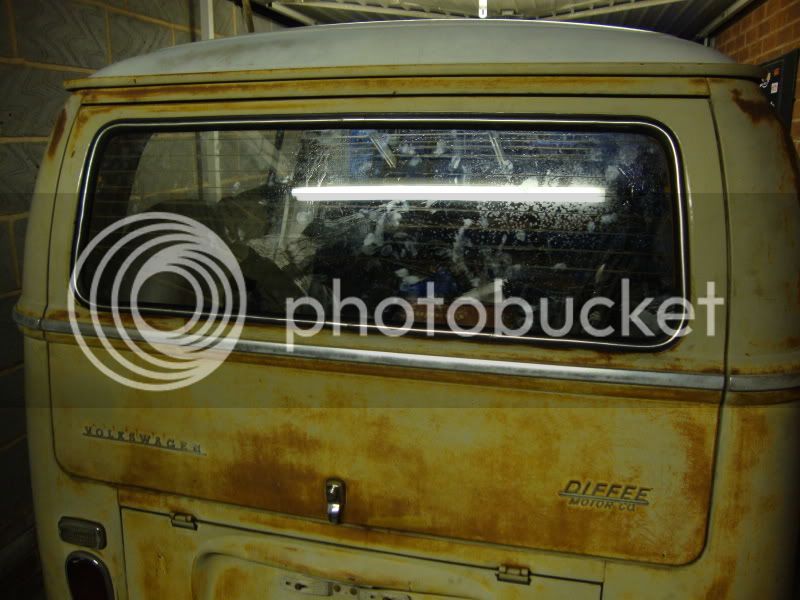
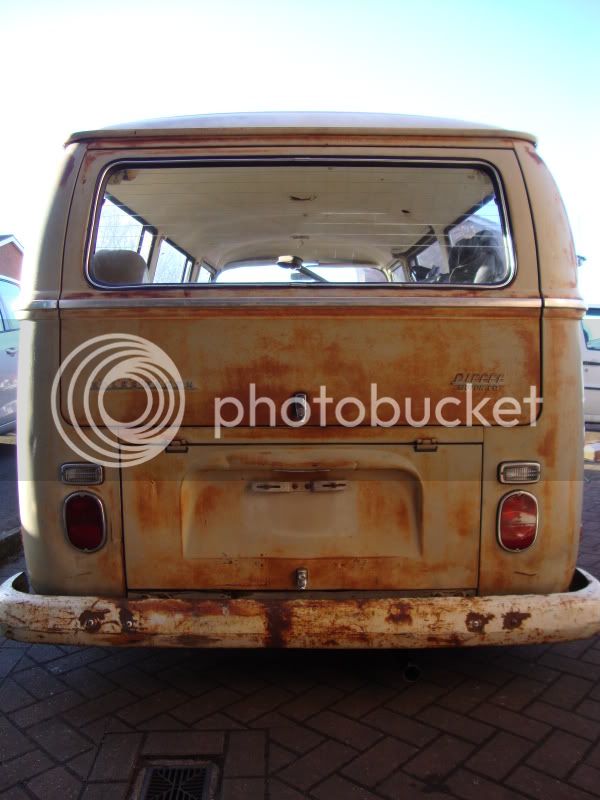
Took both the front and rear screen out to change the rubbers and check for rot
im very supprised that the front screen recess isnt rotten as it looked like it was going to be, they were both really solid
just two tiny pin holes that i'll just metal glue as they really are too small to bother trying to weld
Before...
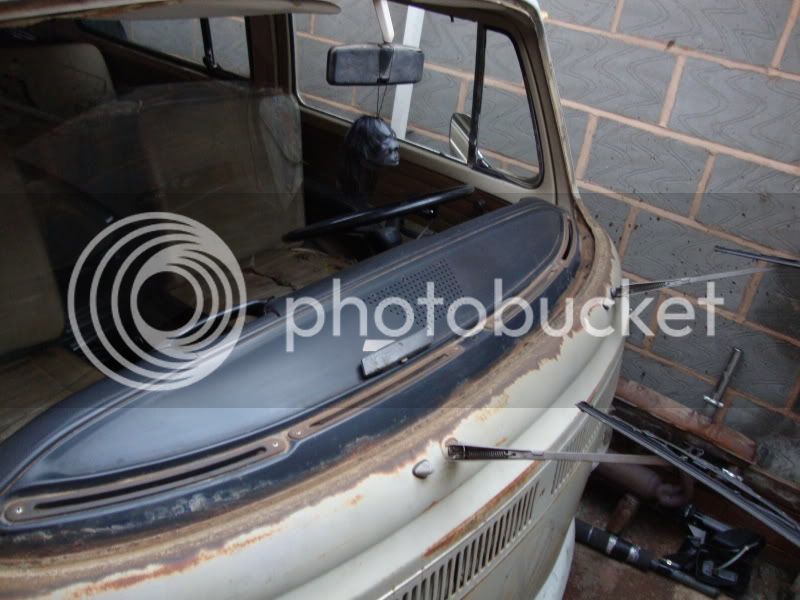
After i gave the surface rust a bit of a rub down, painted it in red oxide primer
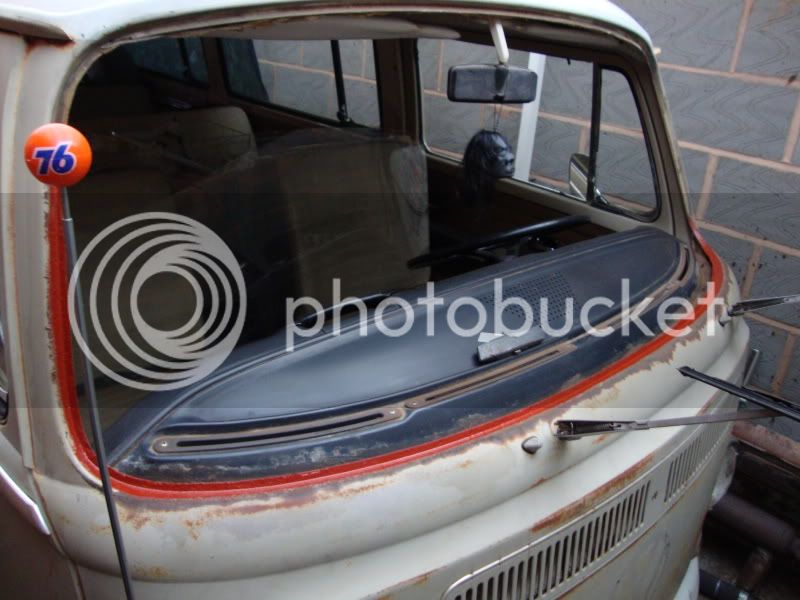
then a thick coat of savannah beige 8)
Should hopefully get the front & rear screens in over the weekend, with the front screen i got off ozzy67, the front chrome trim I got from Graham at FBI 8) and the the rear one I got from Crewcab
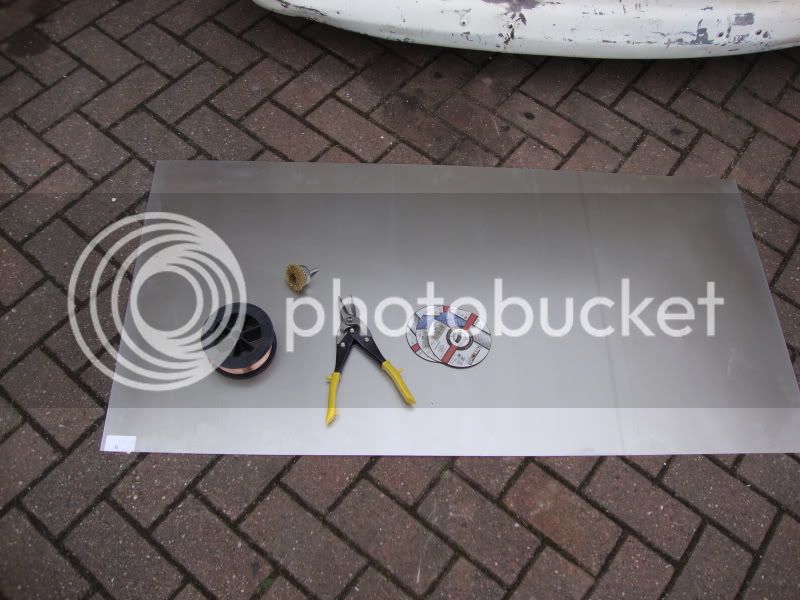
I also bought some supplies this week so I can start on the few small rust repairs that need doing
I got some welding wire, sheet steel, tin snips, wire linishing wheel for my drill & some thin cutting discs
i'll update my progress after Saturdays work, wish me luck :lol:
Paul
This week I finished the engine bay wiring (converting it from dynamo to alternator)
Took both the front and rear screen out to change the rubbers and check for rot
im very supprised that the front screen recess isnt rotten as it looked like it was going to be, they were both really solid
just two tiny pin holes that i'll just metal glue as they really are too small to bother trying to weld
Before...
After i gave the surface rust a bit of a rub down, painted it in red oxide primer
then a thick coat of savannah beige 8)
Should hopefully get the front & rear screens in over the weekend, with the front screen i got off ozzy67, the front chrome trim I got from Graham at FBI 8) and the the rear one I got from Crewcab
I also bought some supplies this week so I can start on the few small rust repairs that need doing
I got some welding wire, sheet steel, tin snips, wire linishing wheel for my drill & some thin cutting discs
i'll update my progress after Saturdays work, wish me luck :lol:
Paul


$27.95 ($13.98 / Count)
Marketplace Auto Parts Window Crank Handle Set of 2 - Chrome with Black Knob - Compatible with 1968-1978 Volkswagen Beetle
Parts Geek LLC

G
Guest
Guest
i like fresh painted buses but the patina on this is amazing, really subtle but dead solid 8)
resto73
Well-known member
Another update, I have been a busy boy
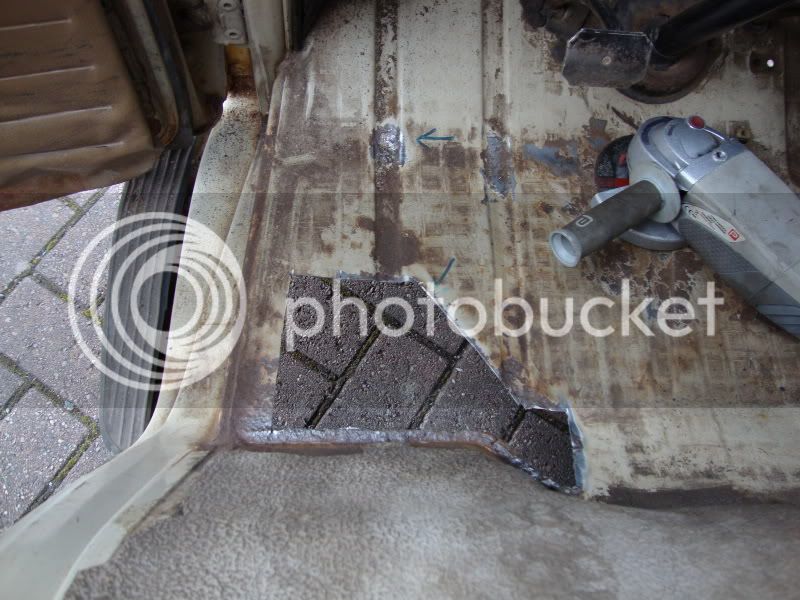
On Saturday the few small rust repairs got sorted ...drivers side cab floor, drivers side outer sill, battery tray and the drivers side inner arch(although i forgot to take photos of that weld :roll: )
I can't take any credit for the welding as it was all done by my brother. I cut the rot out, cleaned up the areas, cut the repair panels then went on fire watch whilst he welded the fresh metal in. Once the welding was done I then ground off some of the proud welds & seam sealed them top and botom, just needs some primer and some savannah beige 8)
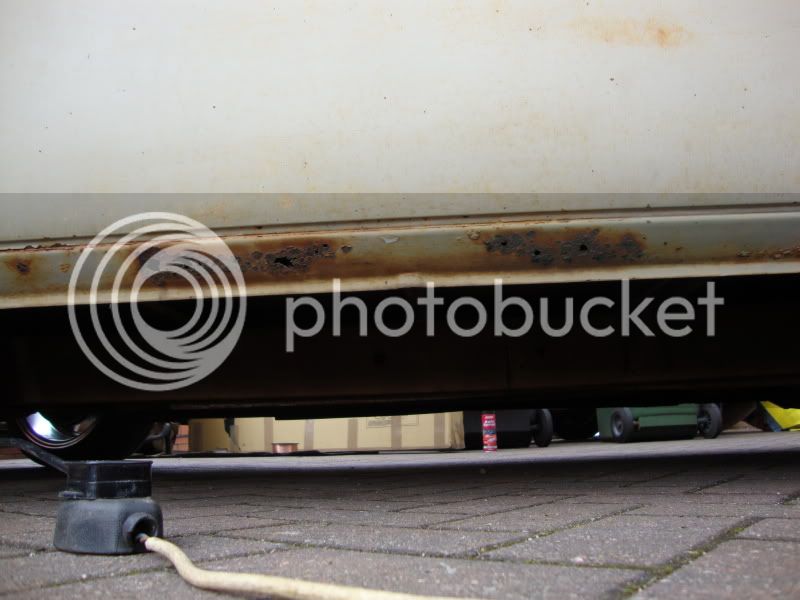
cab floor before
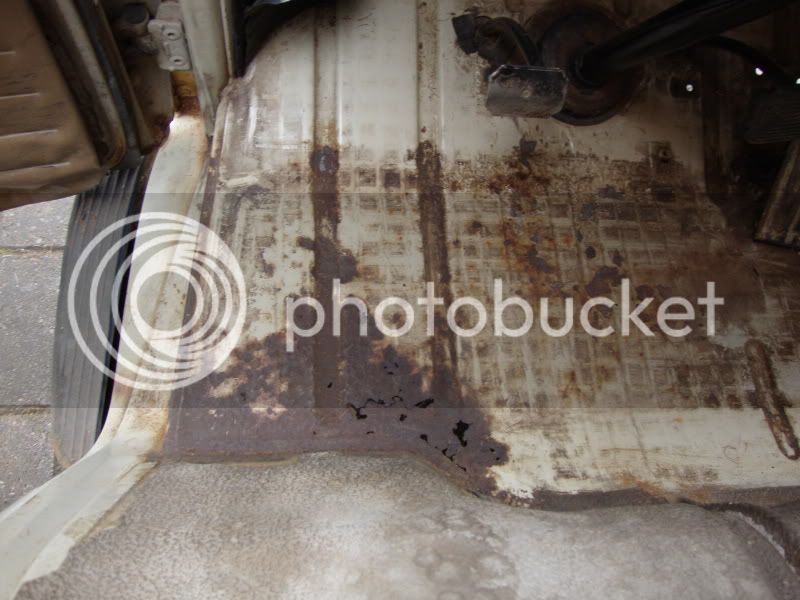
rot cut out
welded in
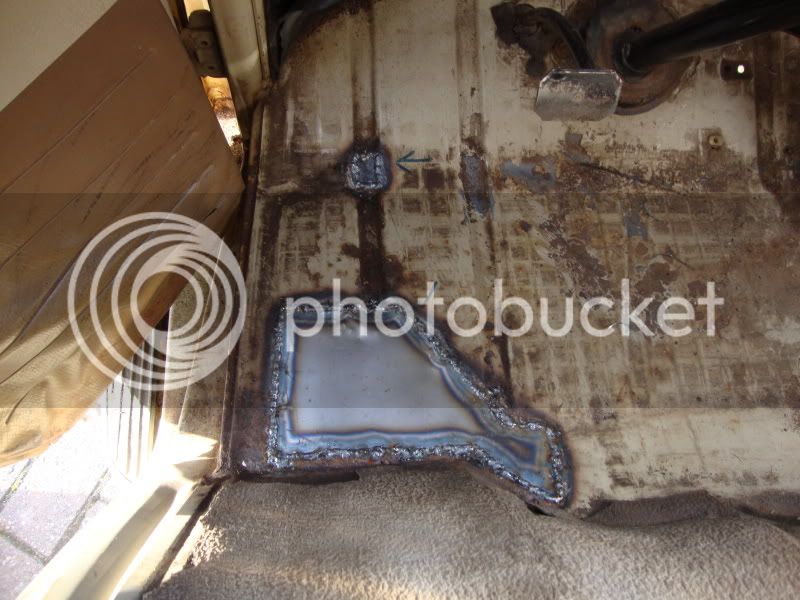
welds ground
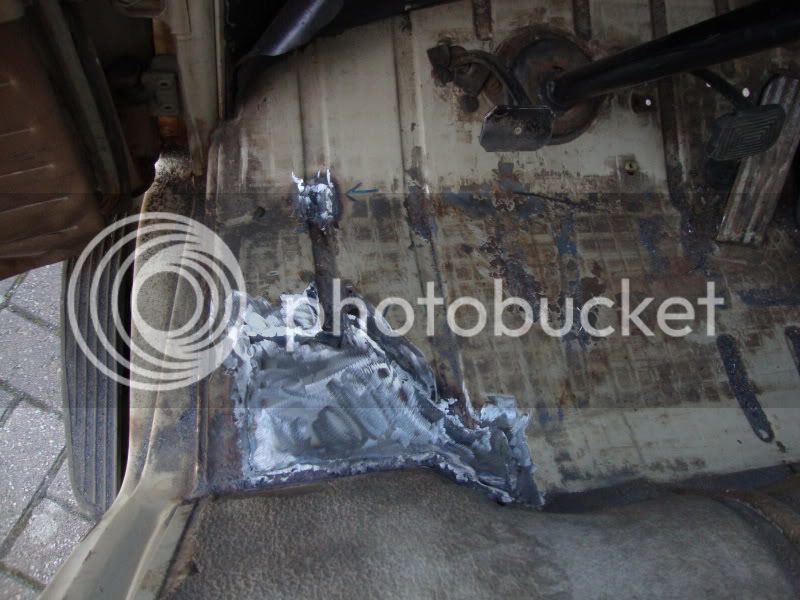
seam sealed
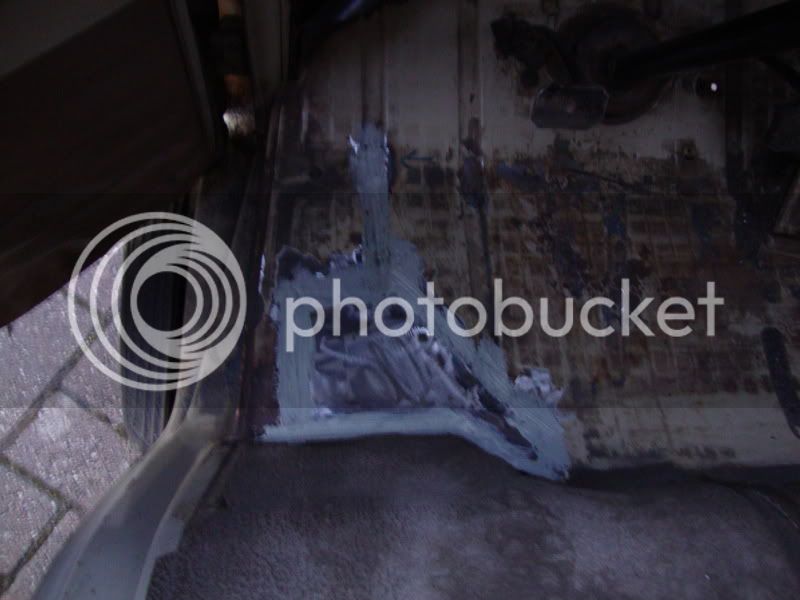
seam sealed below
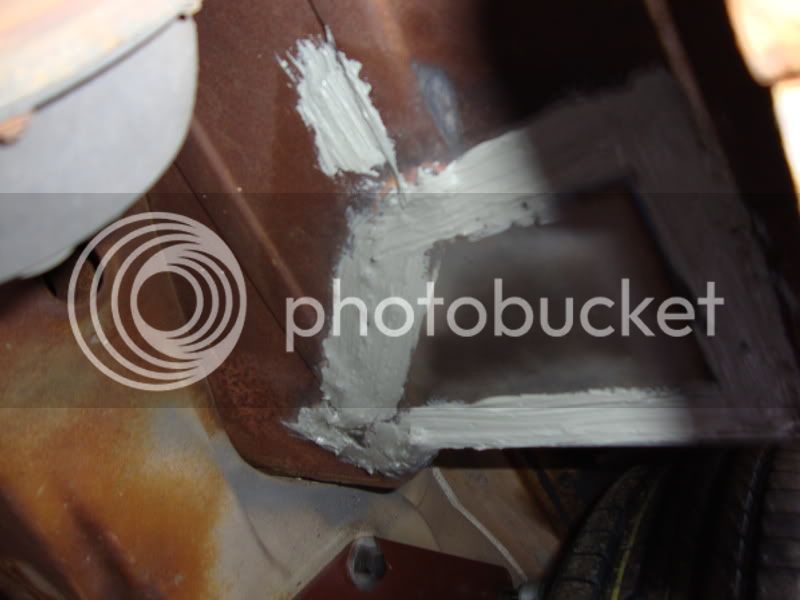
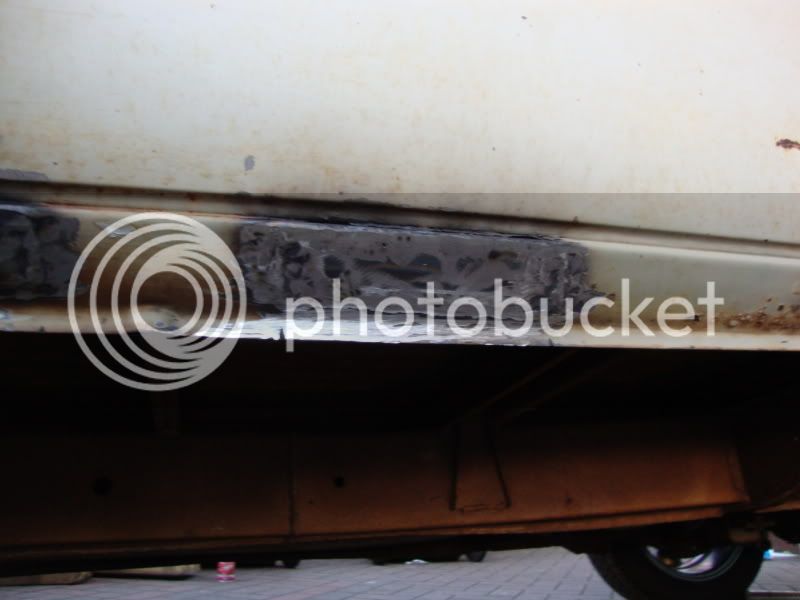
same with the sill
and the battery tray
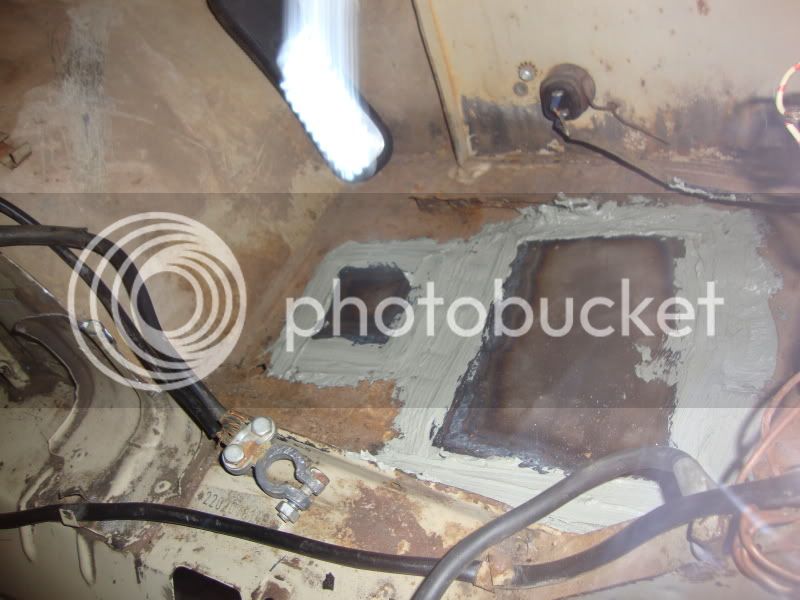
and below
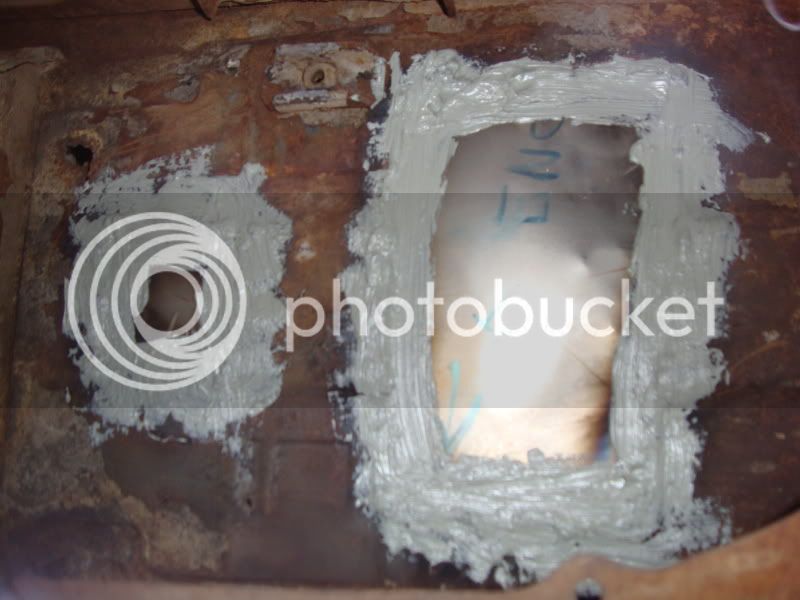
I know i went a bit overboard with the seam sealer but i wanted to use it as a bit of a water seal.
Then today after I got back from the ditch dubbers annual cruise, it was still light and not too cold so i got the front and rear screens in. My brother and my best mate were eager to help. I think they felt sorry for me as i had to ride shotgun on the cruise instead of being in my bus. The job was made easy as there was 3 of us.
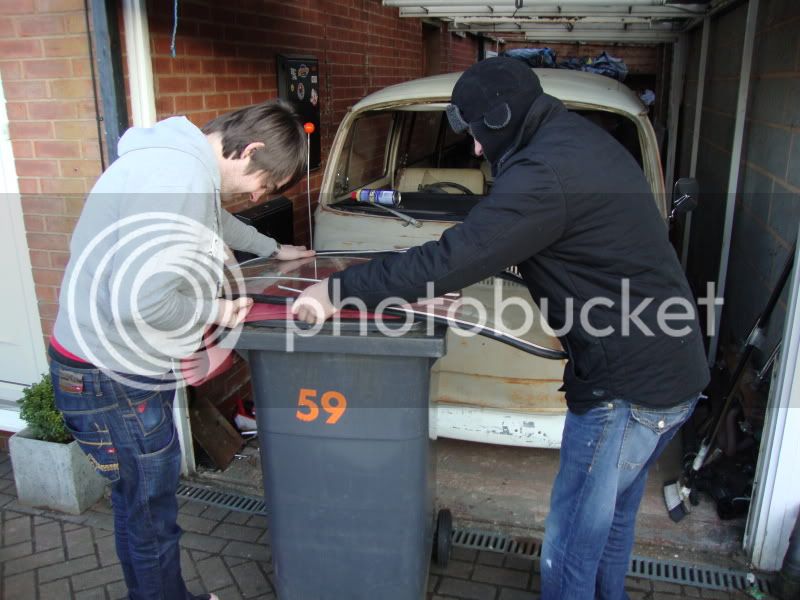
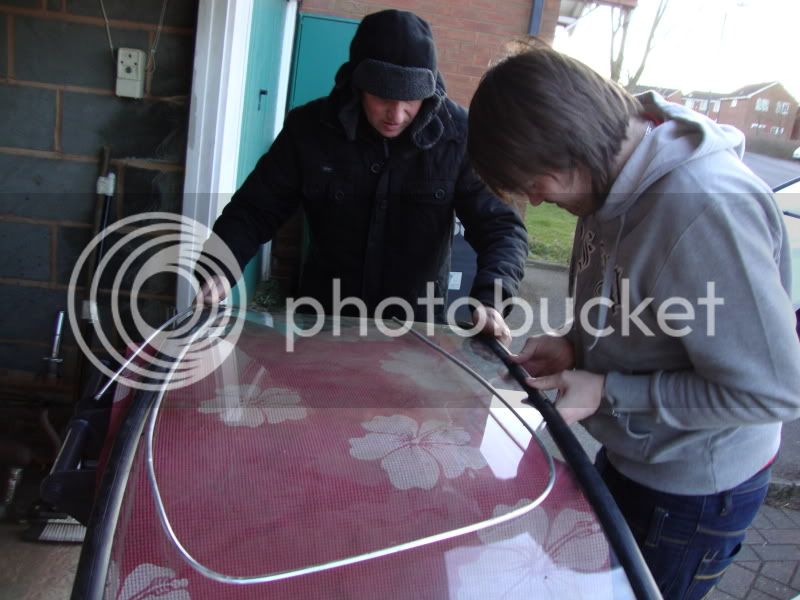
and fitted
Need to give them a bit of a clean i think :lol:
This week im going to cut down the engine support bar an inch or so and weld it back up
Cheers, Paul 8)
On Saturday the few small rust repairs got sorted ...drivers side cab floor, drivers side outer sill, battery tray and the drivers side inner arch(although i forgot to take photos of that weld :roll: )
I can't take any credit for the welding as it was all done by my brother. I cut the rot out, cleaned up the areas, cut the repair panels then went on fire watch whilst he welded the fresh metal in. Once the welding was done I then ground off some of the proud welds & seam sealed them top and botom, just needs some primer and some savannah beige 8)
cab floor before
rot cut out
welded in
welds ground
seam sealed
seam sealed below
same with the sill
and the battery tray
and below
I know i went a bit overboard with the seam sealer but i wanted to use it as a bit of a water seal.
Then today after I got back from the ditch dubbers annual cruise, it was still light and not too cold so i got the front and rear screens in. My brother and my best mate were eager to help. I think they felt sorry for me as i had to ride shotgun on the cruise instead of being in my bus. The job was made easy as there was 3 of us.
and fitted
Need to give them a bit of a clean i think :lol:
This week im going to cut down the engine support bar an inch or so and weld it back up
Cheers, Paul 8)
71dormy said:8) just gets better ,good work dude
Agree :mrgreen:
Airtime
Well-known member
Great work! 8)
resto73
Well-known member
Another update from last weekend
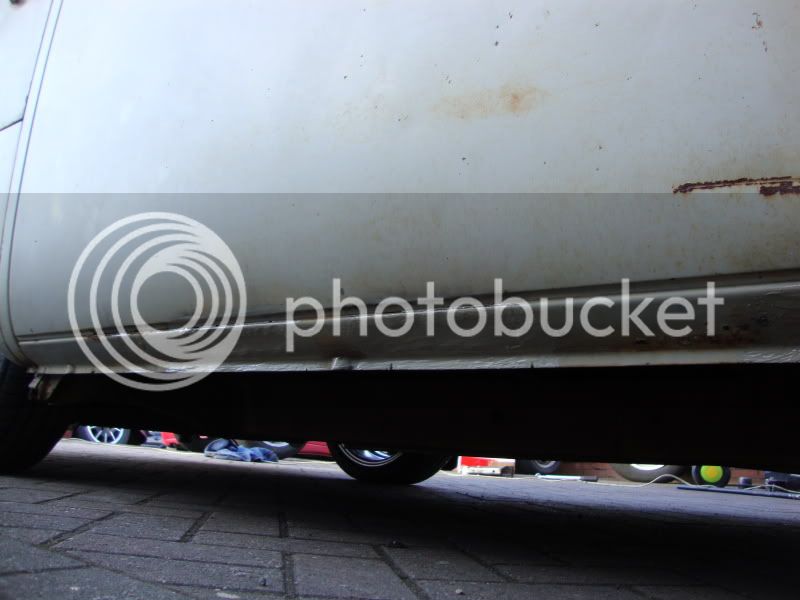
Suturday i modified my engine support bar as it was very close to the floor and it would stop me going lower
before
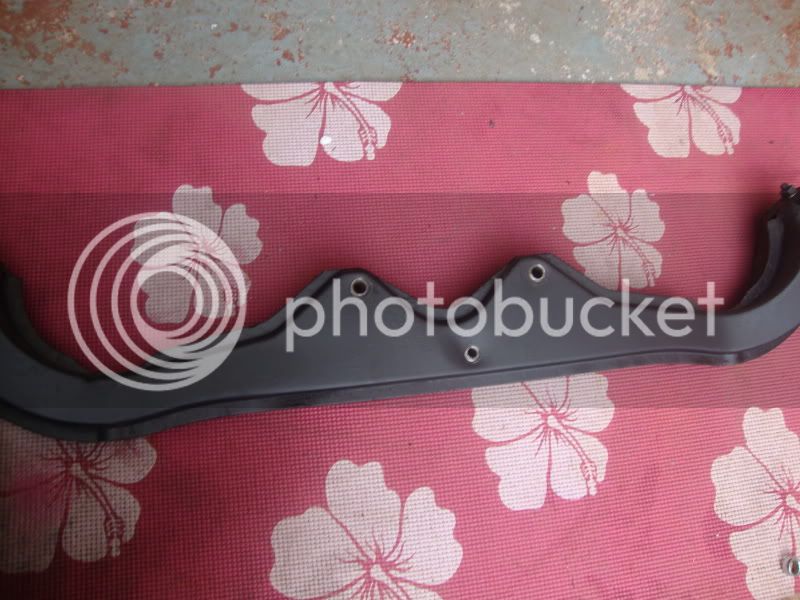
cut
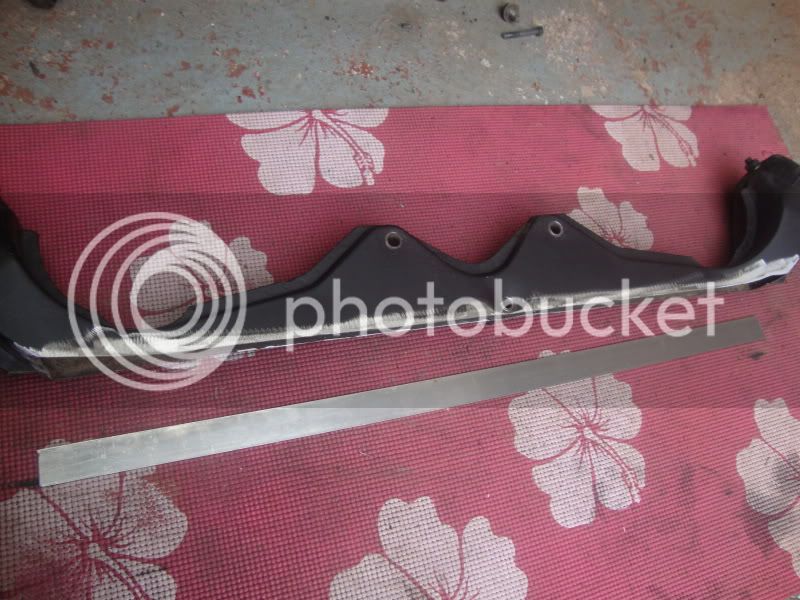
welded, welds ground and painted
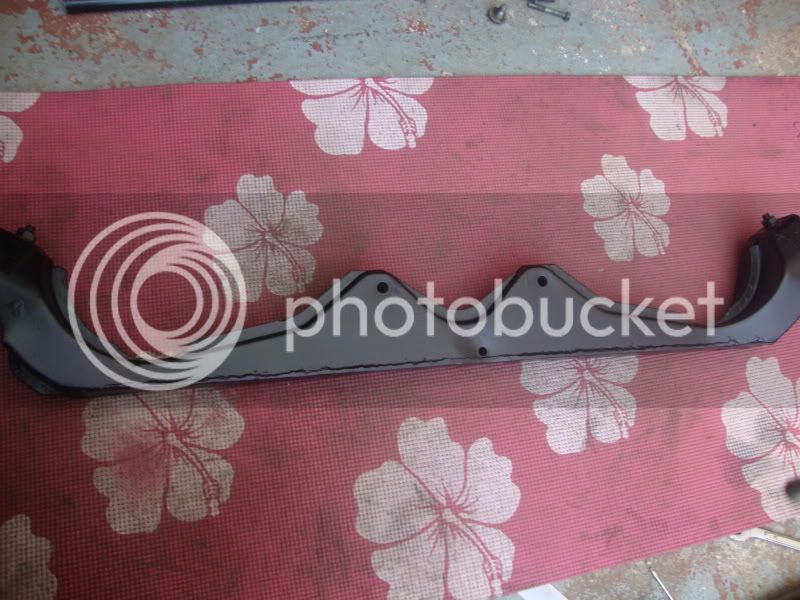
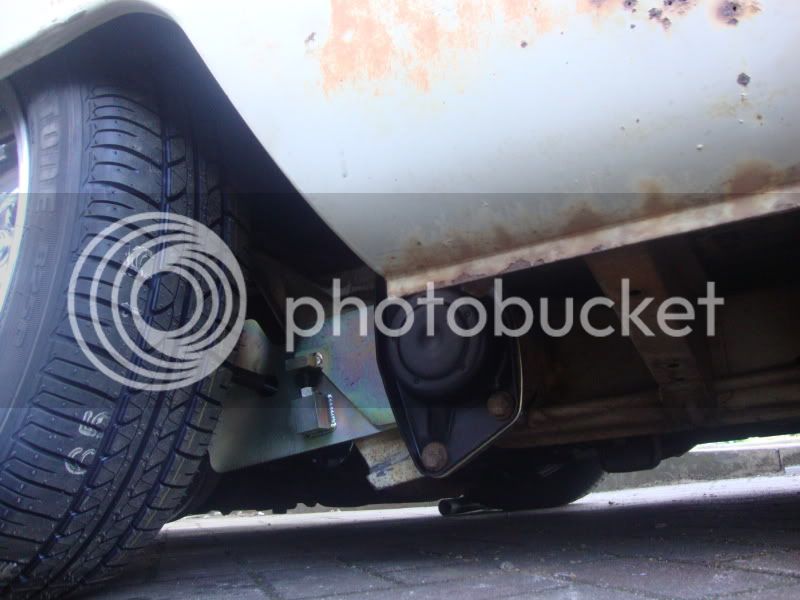
fitted...more clearance
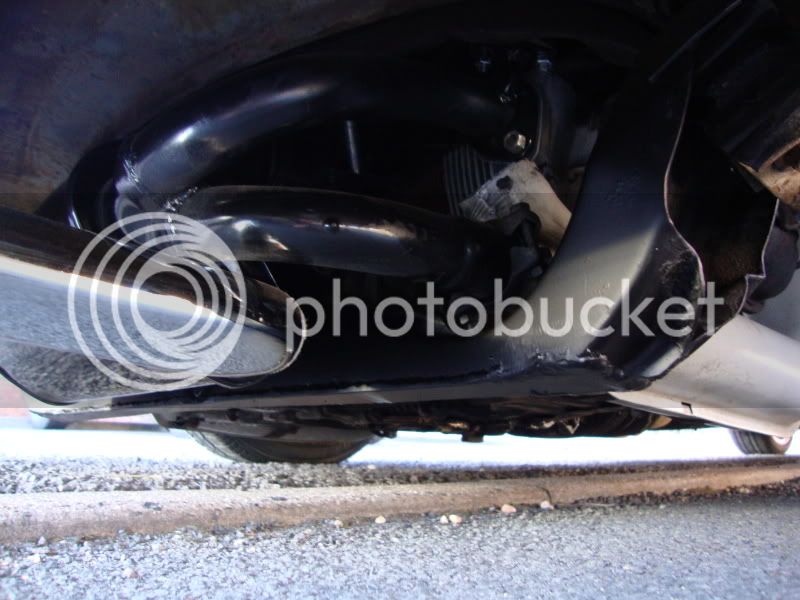
Then fitted my new bumper
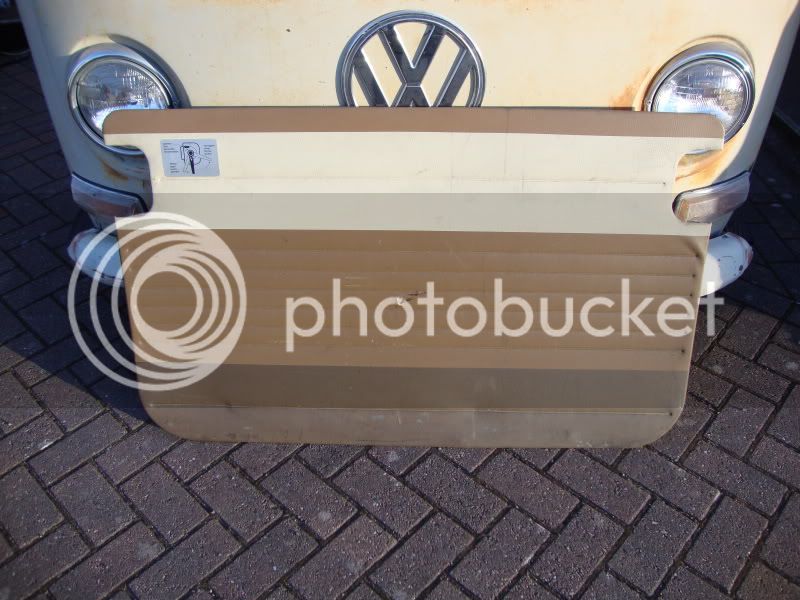
My sliding door panel and front badge also arived (after having to pay a further £25 :roll: )
the panel has a bit of a rip in the centre but it will be repaired
I need to get some clips to fit the badge
Sunday i painted the few welded bits

not 100% straight but i didnt want to use filler
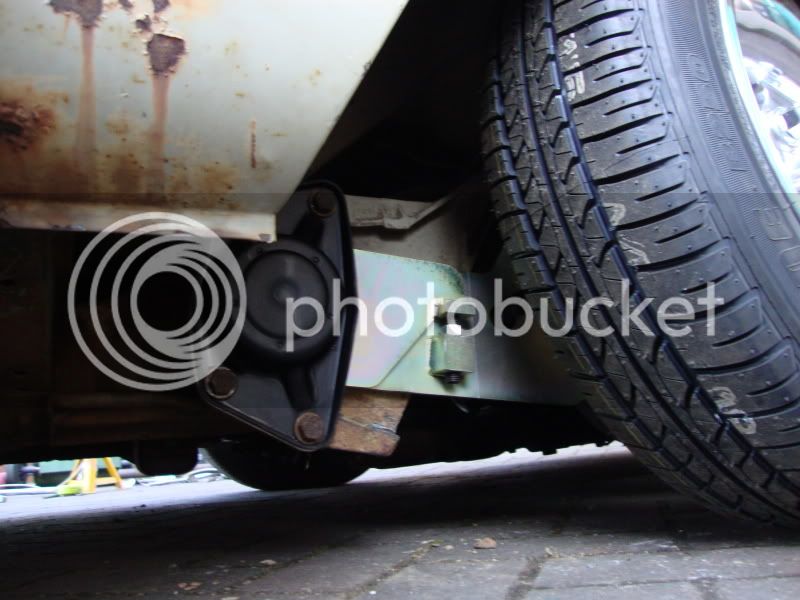
And fitted my new t2d adjustable springplates, i decided to use them aswell as the widefive step up brackets for the time being, until its mot'd then i can notch the rear chassis more
I also ground a little off the bottom of the casting so the arms can drop that little bit extra so i can get the wheels on and off
Then filled her with petrol and fired her up, she purred like a dream
Then took her for a spin around my close to see how shes sitting
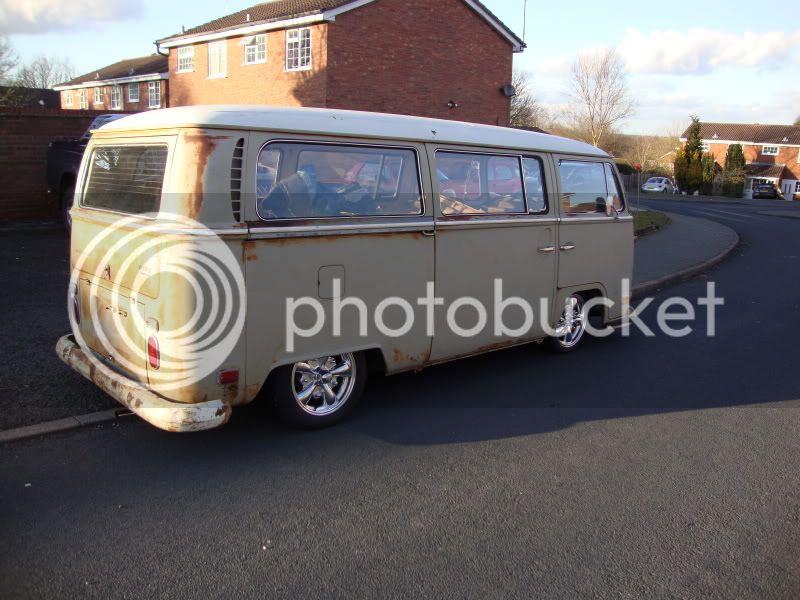
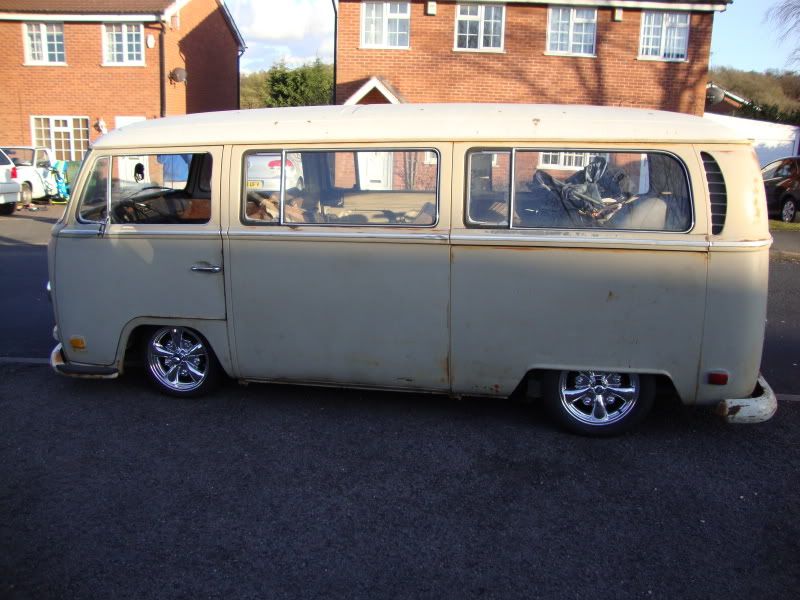
Needs to go lower but it has more chance of going on the MOT'ers ramp at this height
exhaust and heat exchangers bottomed out at this height getting on the drive though :shock:

j-tubes are needed i think
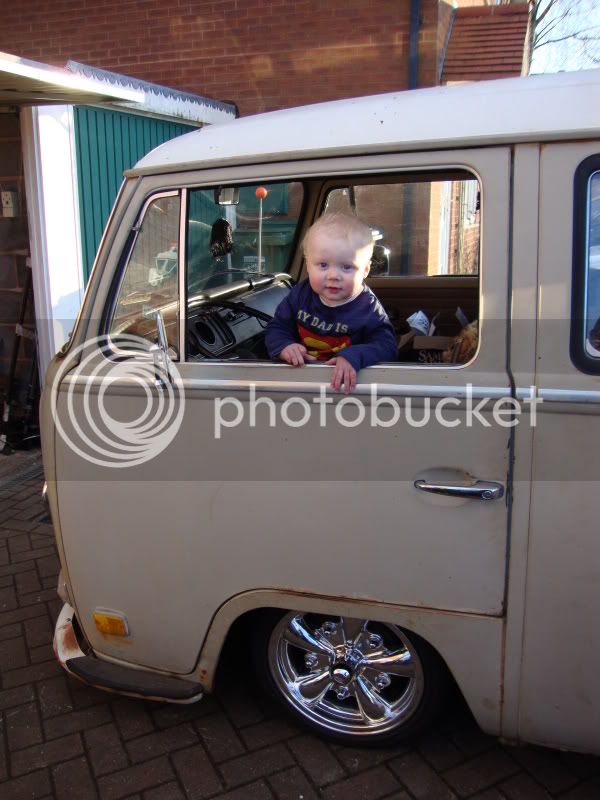
I think my son likes it
I haven't got a great deal to do for the MOT now, next few jobs are...
wire rear indicators through the reverse lights
adjust the brakes
see why the horn isnt working
Cheers, Paul 8)
Suturday i modified my engine support bar as it was very close to the floor and it would stop me going lower
before
cut
welded, welds ground and painted
fitted...more clearance
Then fitted my new bumper
My sliding door panel and front badge also arived (after having to pay a further £25 :roll: )
the panel has a bit of a rip in the centre but it will be repaired
I need to get some clips to fit the badge
Sunday i painted the few welded bits
not 100% straight but i didnt want to use filler
And fitted my new t2d adjustable springplates, i decided to use them aswell as the widefive step up brackets for the time being, until its mot'd then i can notch the rear chassis more
I also ground a little off the bottom of the casting so the arms can drop that little bit extra so i can get the wheels on and off
Then filled her with petrol and fired her up, she purred like a dream
Then took her for a spin around my close to see how shes sitting
Needs to go lower but it has more chance of going on the MOT'ers ramp at this height
exhaust and heat exchangers bottomed out at this height getting on the drive though :shock:
j-tubes are needed i think
I think my son likes it
I haven't got a great deal to do for the MOT now, next few jobs are...
wire rear indicators through the reverse lights
adjust the brakes
see why the horn isnt working
Cheers, Paul 8)
dubscum
Well-known member
looking really good 8)
resto73
Well-known member
Thanks for the comments guys, im really looking forward to the summer in the beast 8)
Andyo11, Yeah it was notched in the US by the last owner
He makes the bolt on lowering brackets similar to the ones for sale on here from crewcab
With those on you'd have to go pretty low to need to notch it for the arm
My rear chassis is only notched for the driveshafts, its not enough for them to run in just to stop them hitting the chassis on bug bumps etc
If you look at the photos of when i first got it you can judge the height you can go with just a small notch and the drop plates
but it did have pretty low profile 14's on and the top end was crap to say the least
Im going to have to notch the rear for the driveshafts to run in and for the arms to not hit on big bumps as i want to go lower, but it'll be after the MOT so i can drive it somewhere with better tools than in my garage to do the work
I havent taken any photos of the chassis notches but heres the link to his build album
http://rides.webshots.com/album/568293223AIHEHX?start=36" onclick="window.open(this.href);return false;
Hope that helps, Paul 8)
Airtime
Well-known member
Oh wow! :shock: This is really a sick bus! 8) 8) 8)
Similar threads
Vehicle For Sale
1971 westy weekender
- Replies
- 0
- Views
- 434
Vehicle For Sale
Early Bay Deluxe 1971
- Replies
- 5
- Views
- 2K
Vehicle For Sale
LHD Westy
- Replies
- 0
- Views
- 816