You are using an out of date browser. It may not display this or other websites correctly.
You should upgrade or use an alternative browser.
You should upgrade or use an alternative browser.
'71 Deluxe oh Patina!
- Thread starter Barkafer
- Start date

Help Support Early Bay Forum:
This site may earn a commission from merchant affiliate
links, including eBay, Amazon, and others.
 I was very impressed with their enthusiasm for the Bus. Will be surprised if they keep up with the old man tho as I'm on fire! :lol:
 Here's my little boy Louis (the 4th!) helping out. I can't keep him away from the Bus at the mo, makes welding a tad difficult! :roll:
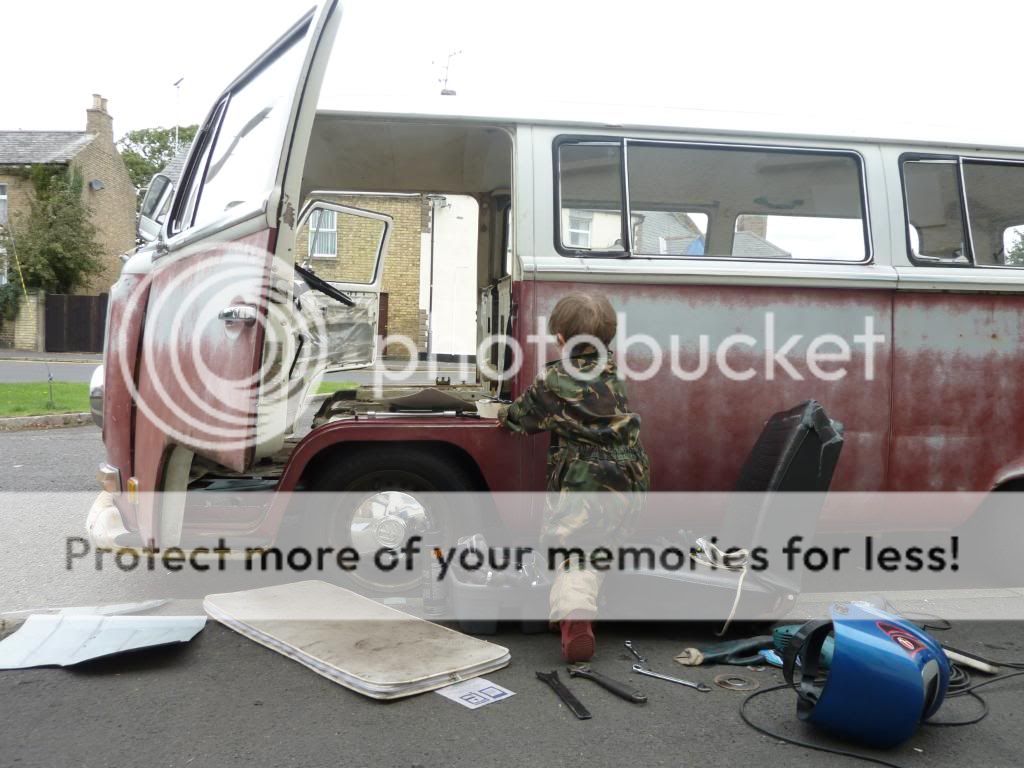
I can't say no to this little chap tho, so I have to find something else more 'Lou friendly' to do. We gave the Bus a little wash and the paint just keeps comin off!

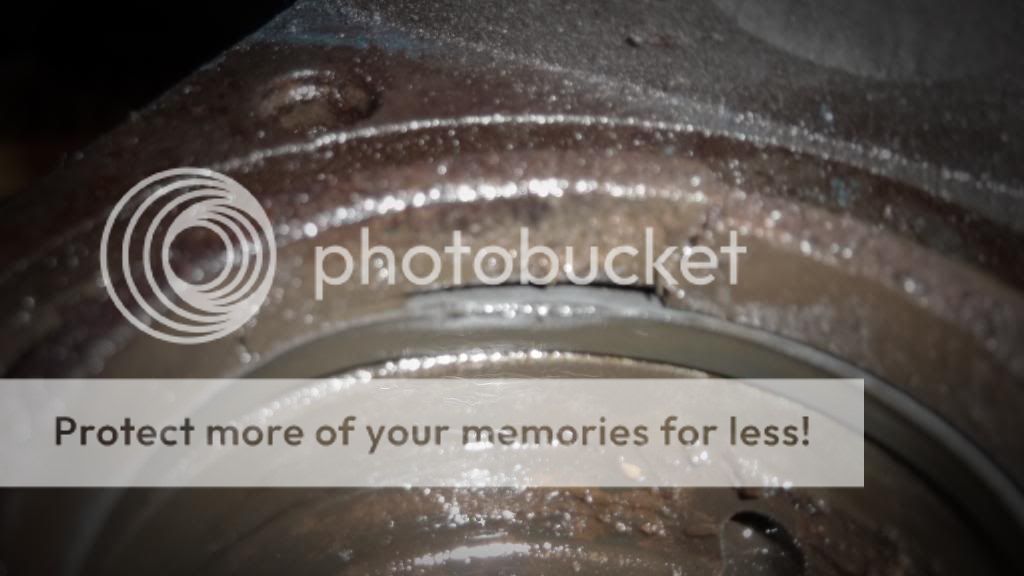
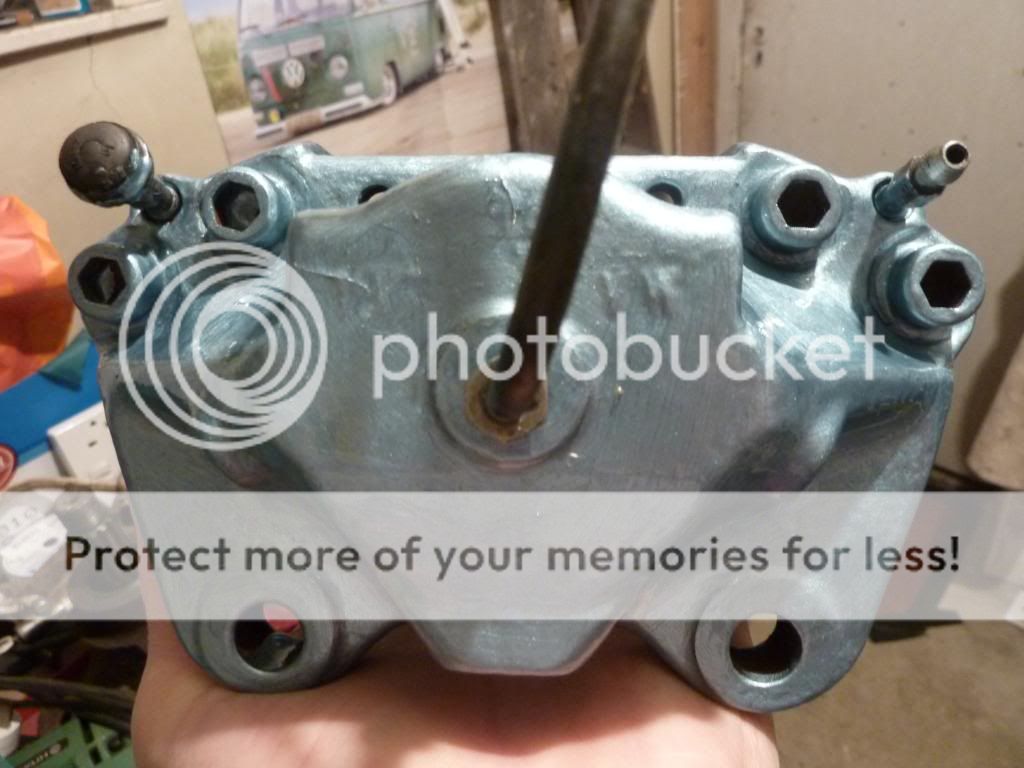
Here's what I found when I took the caliper apart :shock:
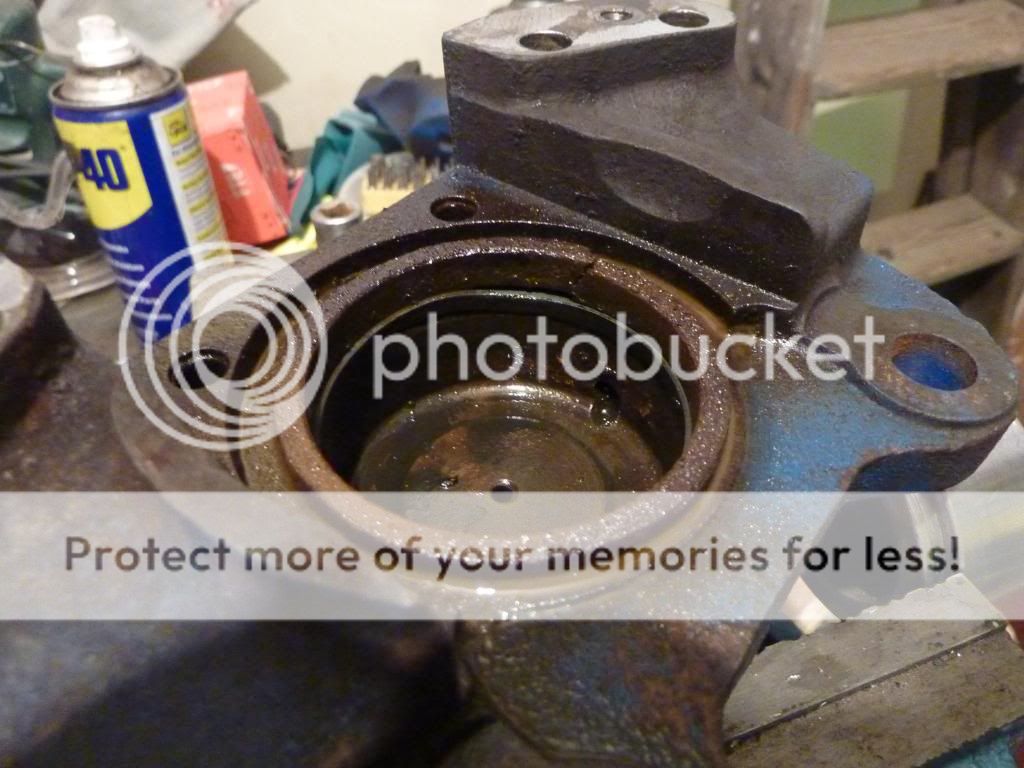
A bit cracked huh? No wonder she dumped all her fluid!
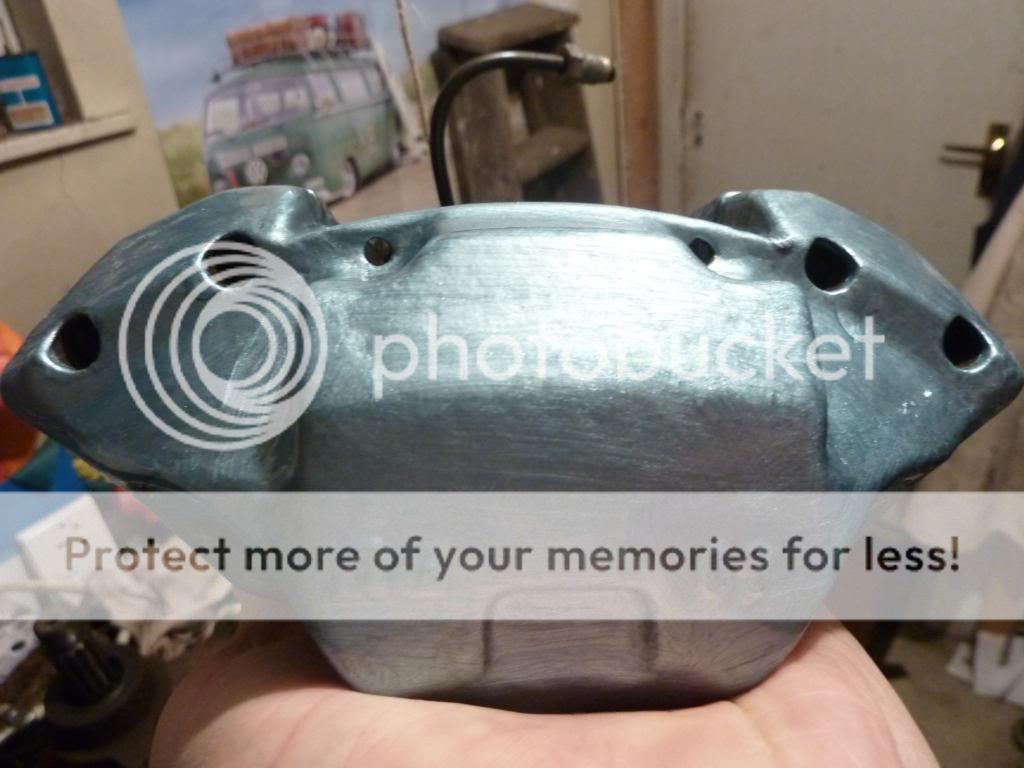
I cleaned up one of the others I have and put a seal kit on. (Love that Southcoastkustoms Bus!)

Gave it a lick of Hammerite.
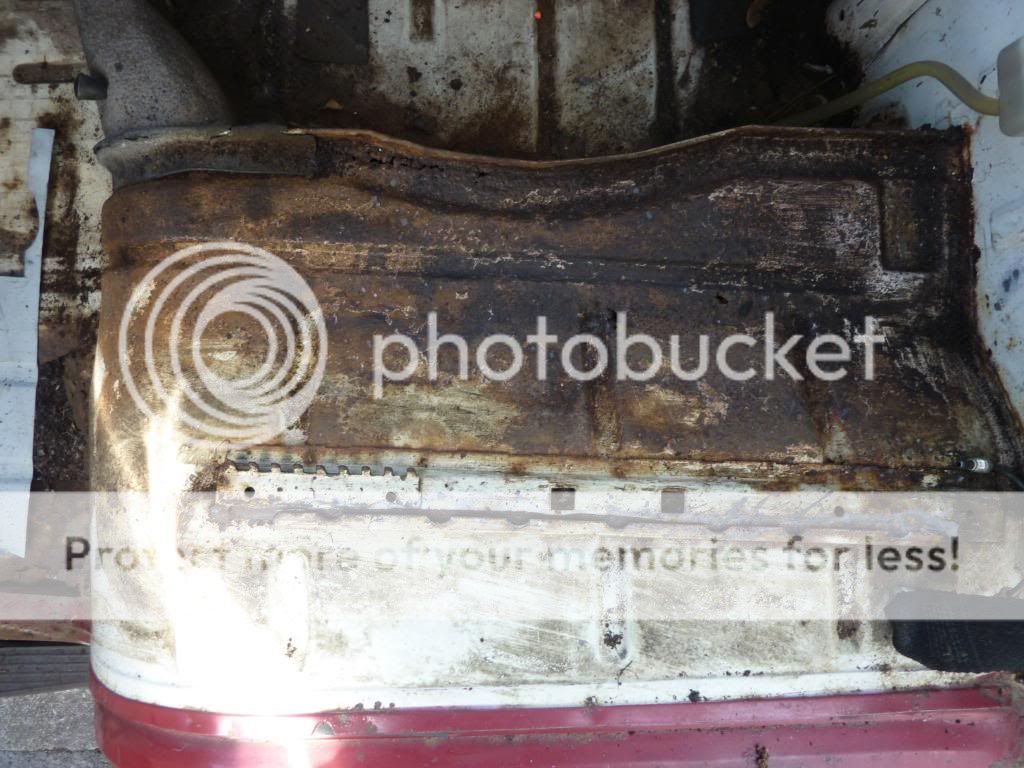
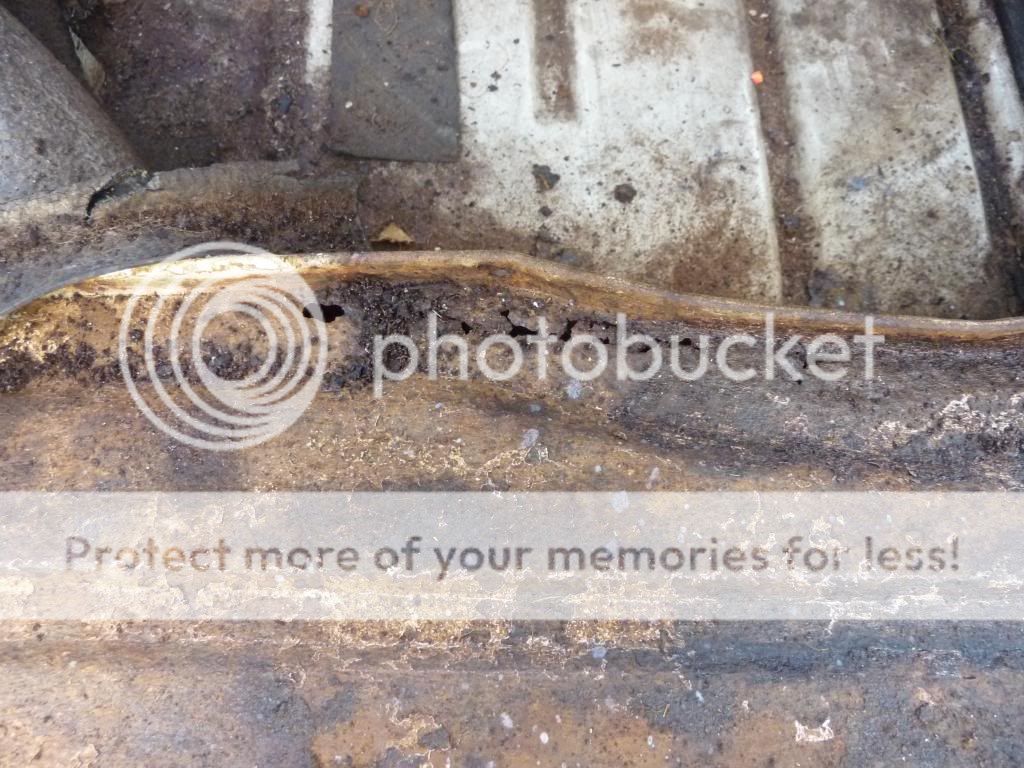
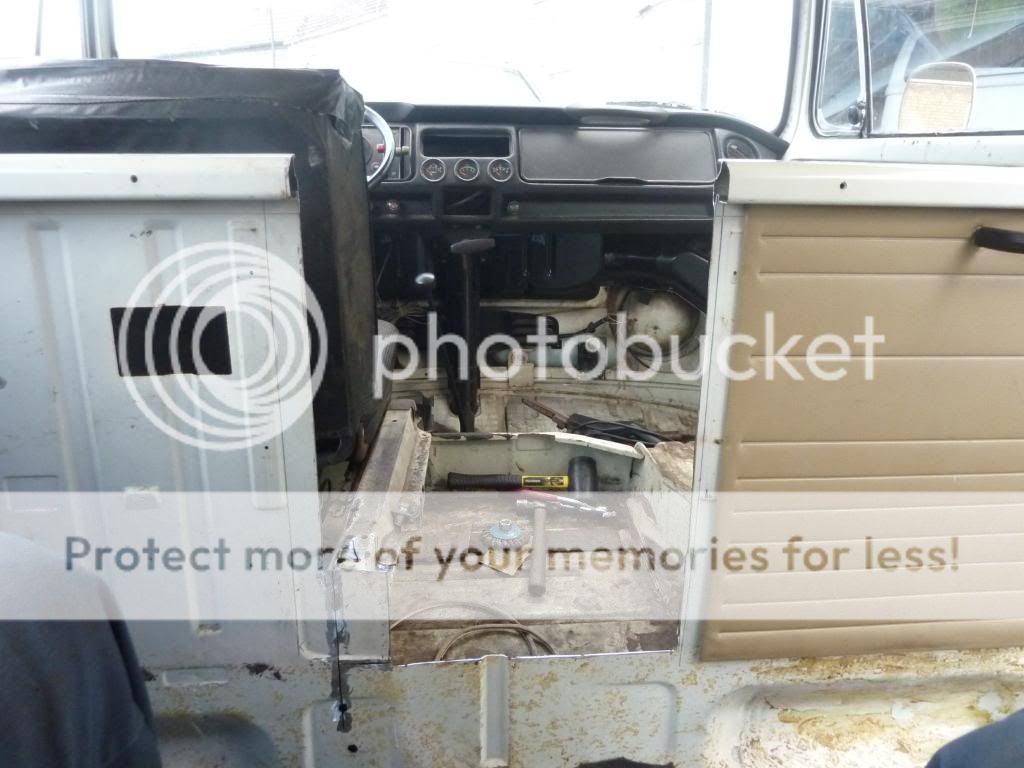
Back to the Bus, and I cut out the rot on the drivers side floor.
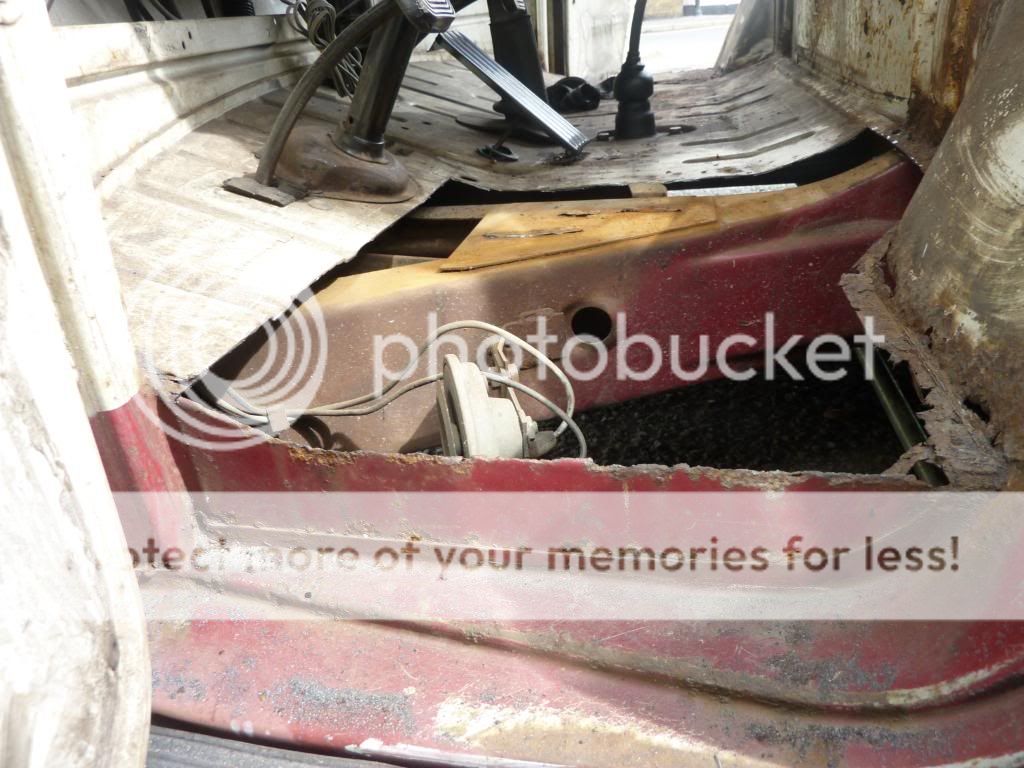
This is what I found under the seized drivers seat. It's the only nasty surprise I have found on the Bus. She is a beaut otherwise.
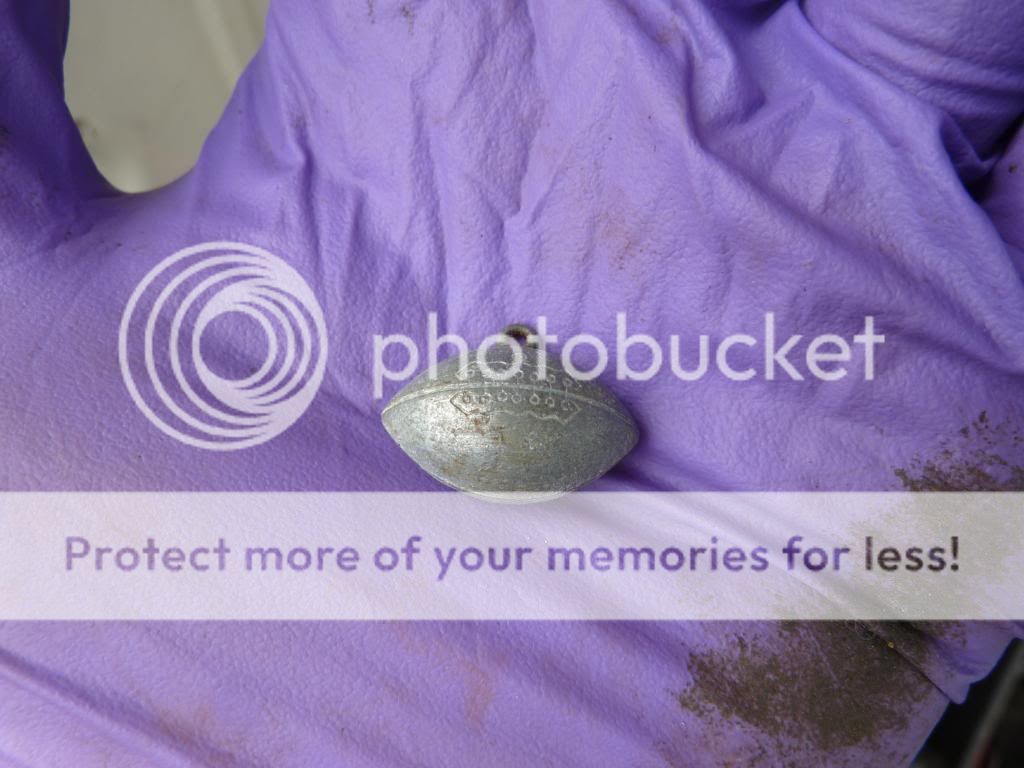
Also found this little football pendant thingy! What do you think G? Not yours I guess, is it Gene's?
This is where I found it amongst alot of crud n brake fluid. The resevior has been leaking and stripped the paint off. No holes tho.
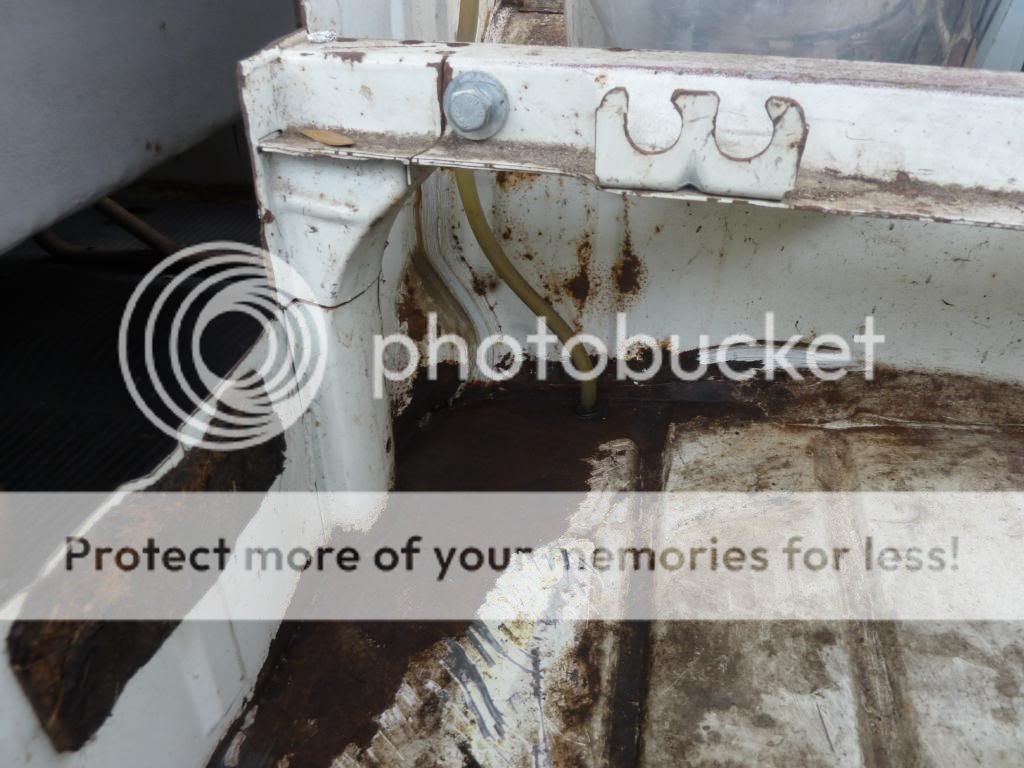
Solid under the passenger side.

And she is all tucked up for the night!

dubpower83
Well-known member
- Joined
- Jul 22, 2010
- Messages
- 78
- Reaction score
- 0
Very nice looking Bus - can't beat a bit of patina! Looking forward to seeing this rolling into an ADK meet in the future (me being a fellow member of ADK!)
Cheers, and enjoy!
Cheers, and enjoy!
Nice to see you on the forum and I love your new DC.
I am lookin forward to getting the Bus Mot'd and rollin for the next meet.
I am lookin forward to getting the Bus Mot'd and rollin for the next meet.
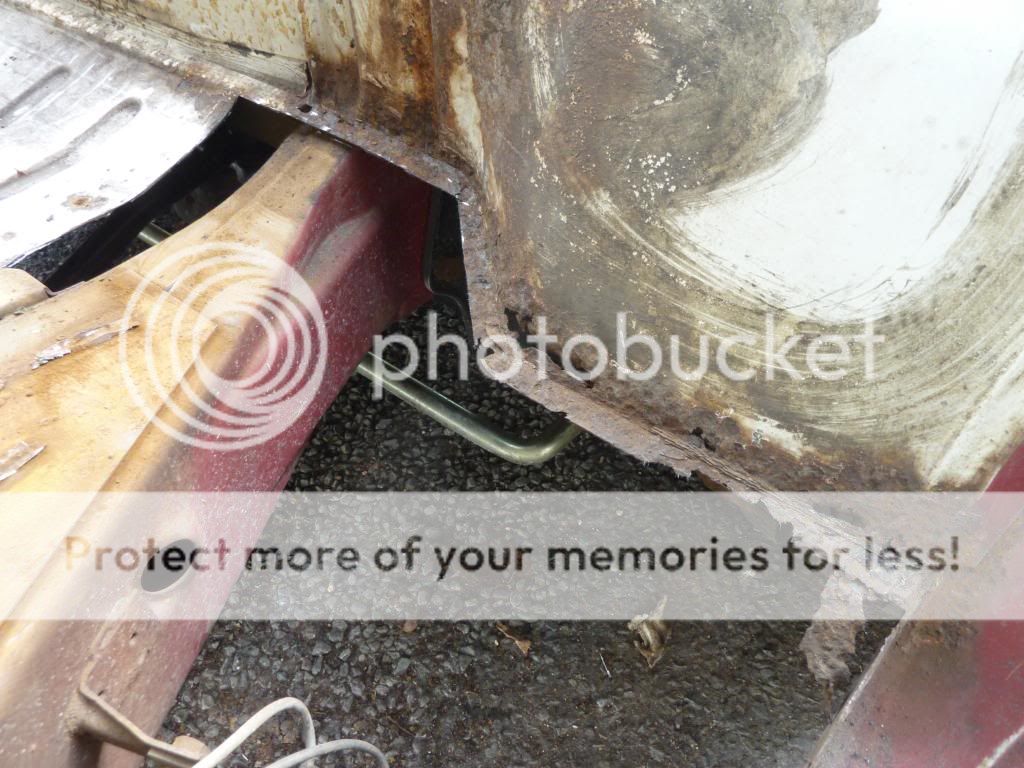
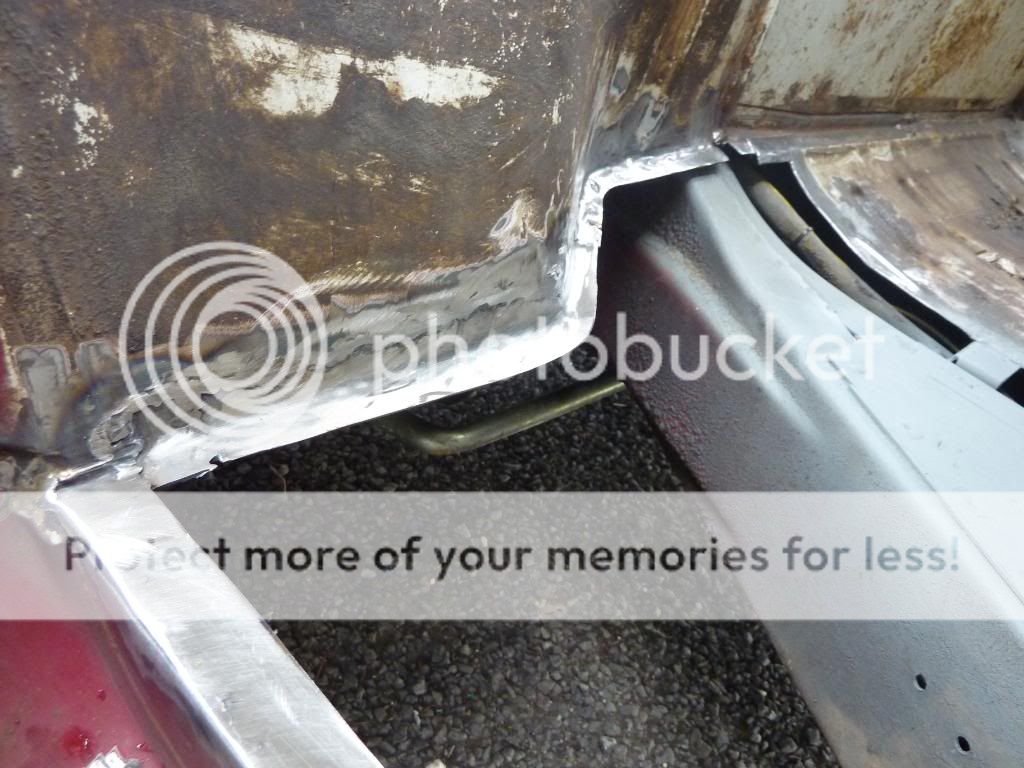
Got some welding done today.
Treated the area with some anti-corrotion zinc paint first.

Reaired the top of the step.
Patched the arch.
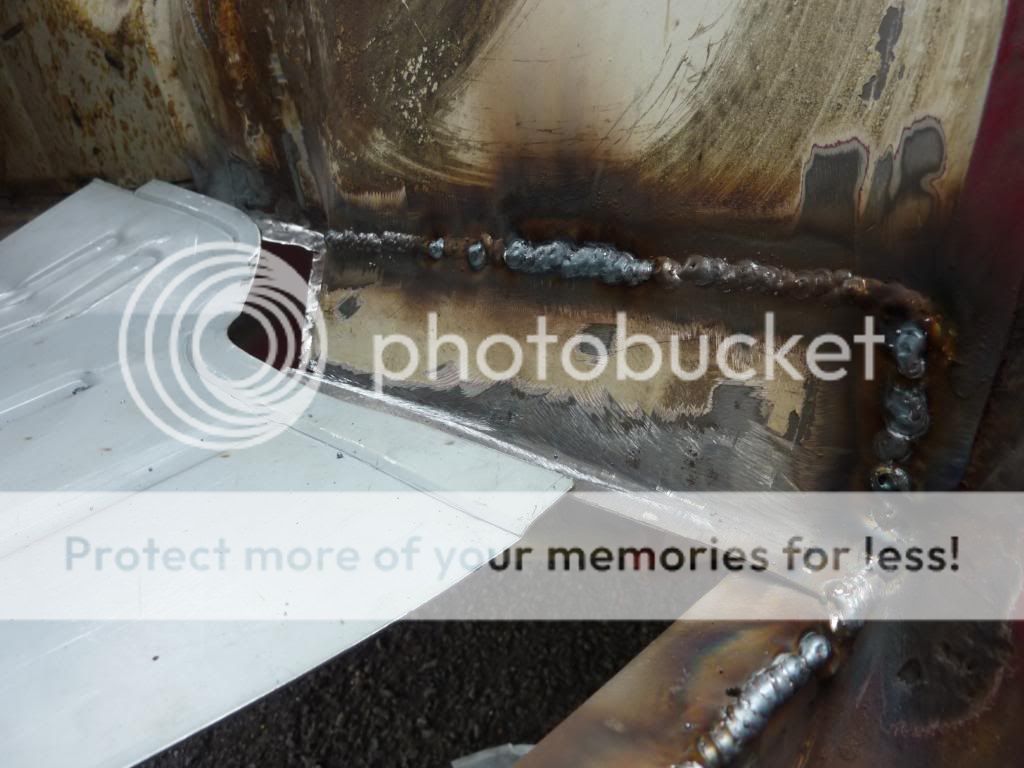
Tacked the repair section.
Seem welded it in. Qite pleased with result :mrgreen:
The front part was in good nick so I trimmed it and seemed welded.
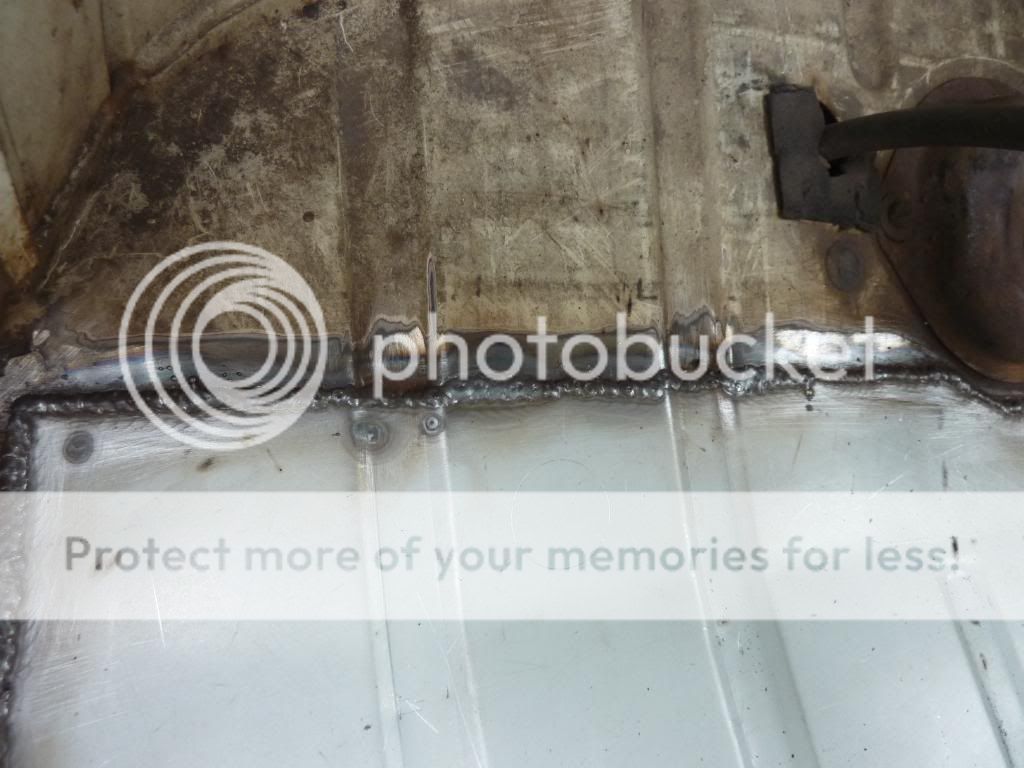
No more 'Hold on to your cell phone' journies Gregg! :lol:
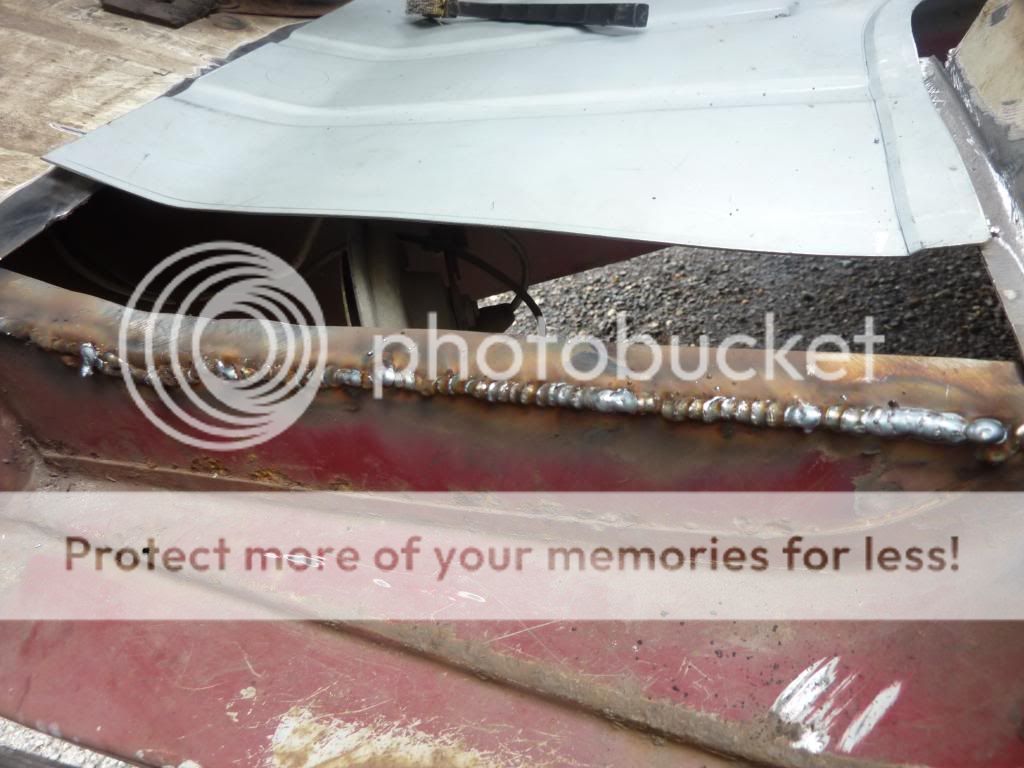
And finally, temporary patched the top of the tub.
Doing the passenger side tomorrow, weather permitting :roll:
Treated the area with some anti-corrotion zinc paint first.
Reaired the top of the step.
Patched the arch.
Tacked the repair section.
Seem welded it in. Qite pleased with result :mrgreen:
The front part was in good nick so I trimmed it and seemed welded.
No more 'Hold on to your cell phone' journies Gregg! :lol:
And finally, temporary patched the top of the tub.
Doing the passenger side tomorrow, weather permitting :roll:
allthewayalive
Member
This is insane. This bus could not have found a better home.
I'm sure the pendant was Gene's. He was kind of stuck in high school, and football was one of his things.
Good job Chris!! Get that bulkhead in there!
I'm sure the pendant was Gene's. He was kind of stuck in high school, and football was one of his things.
Good job Chris!! Get that bulkhead in there!


$9.94
$10.95
Empi 00-4428-B VW Bug, Beetle, Sun Visor Clips, Type 1, 68-79, Black, Pair
MOORE PARTS SOURCE


$24.97
Airfix Quickbuild Volkswagen Camper Van Red Brick Building Plastic Model Kit J6017, Multicolour
Amazon Global Store UK


$76.30
SpoilerKing Rear Window Roof Spoiler Compatible with Volkswagen VW Jetta VI 2011-2018 (284R)
Spoiler King LLC


$7.75
Window Crank Cover, for Beetle, Bus & Ghia 68-79, Black, Ea, Compatible with Dune Buggy
Appletree Automotive


allthewayalive
Member
I'm pretty sure I have the windshield trim, I'll see if I can dig it up. I have a bunch of the deluxe window trim, it's all yours if you want it. Just have to figure how to get it to you.
dubscum
Well-known member
And she is all tucked up for the night!
can you guess what it is yet :lol:
can you guess what it is yet :lol:
allthewayalive said:This is insane. This bus could not have found a better home.
I'm sure the pendant was Gene's. He was kind of stuck in high school, and football was one of his things.
Good job Chris!! Get that bulkhead in there!
Flatery will get you everywhere! :lol: Kind words indeed Gregg, Thanks for that. I will post it back (the pendant) if you like or just hang it from the rear view mirror (that'll annoy the missus :lol: ) as a memento.
That trim would be awesome if you could find it. Maybe you could hold on to it and put it in the next bus I buy from you! :lol:
Or we could get it shipped out here, cost permitting.
Cheers, Chris.
dubscum said:And she is all tucked up for the night!
can you guess what it is yet :lol:
:lol:
Well, the plan was to get the bus ready for Vanfest, but she is not ready for Mot yet. Work has got in the way of the resto so not done anything for a week.
That said, she aint far off. I have sorted the lights by fitting the rear cluster from my '71 swiss bus and runing a new wire from the wire off the hazard switch. I also fitted a pair of the Machine7 clear head lights that were on offer and rewired the side lights. Very useful sticky on the Tech forum.
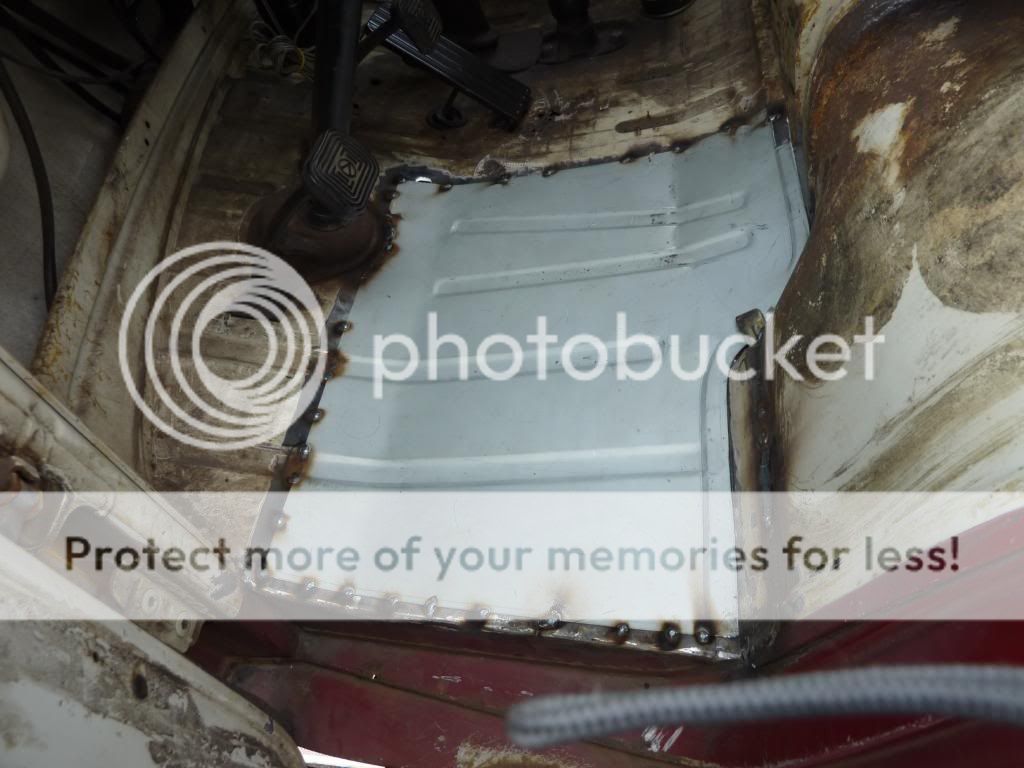
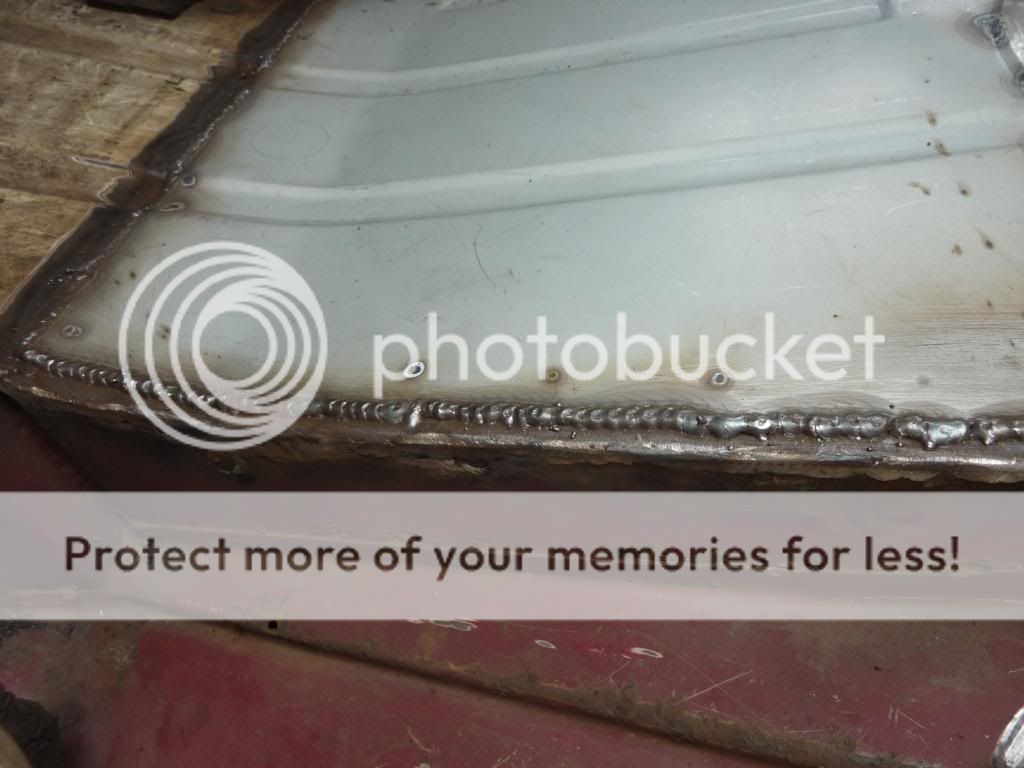
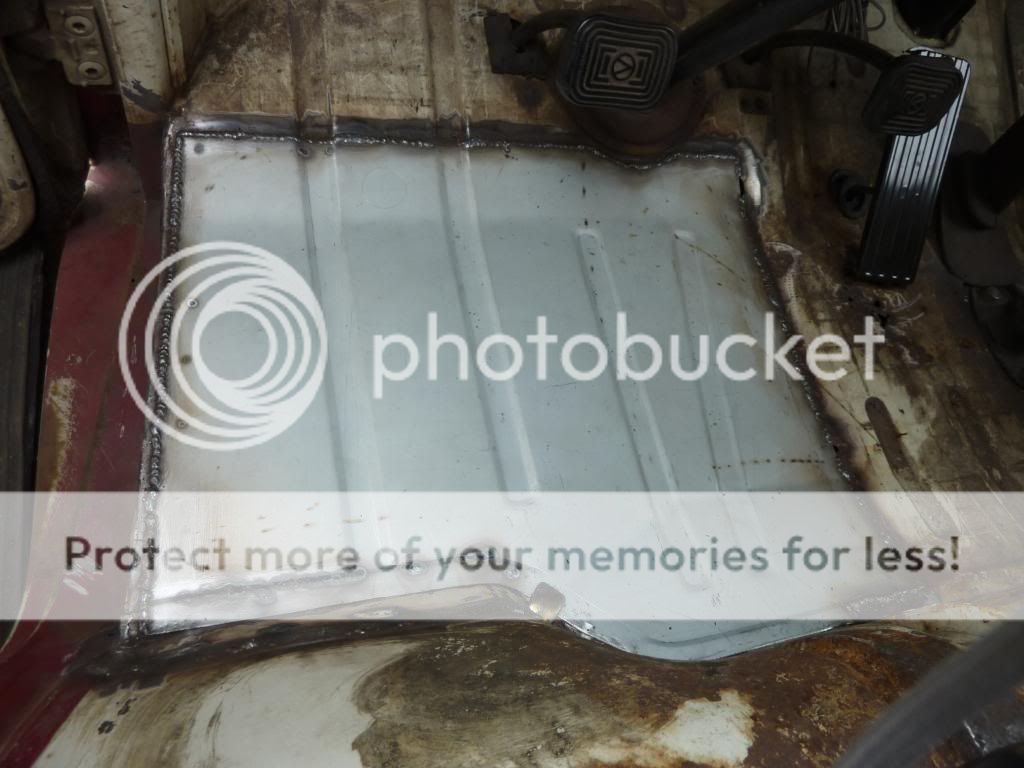
Got the passenger side cab floor repaired and the battery tray in.
Had more re-construction work to do on the cab step and lower arch front before I could tack the badly fitting repair panel in.
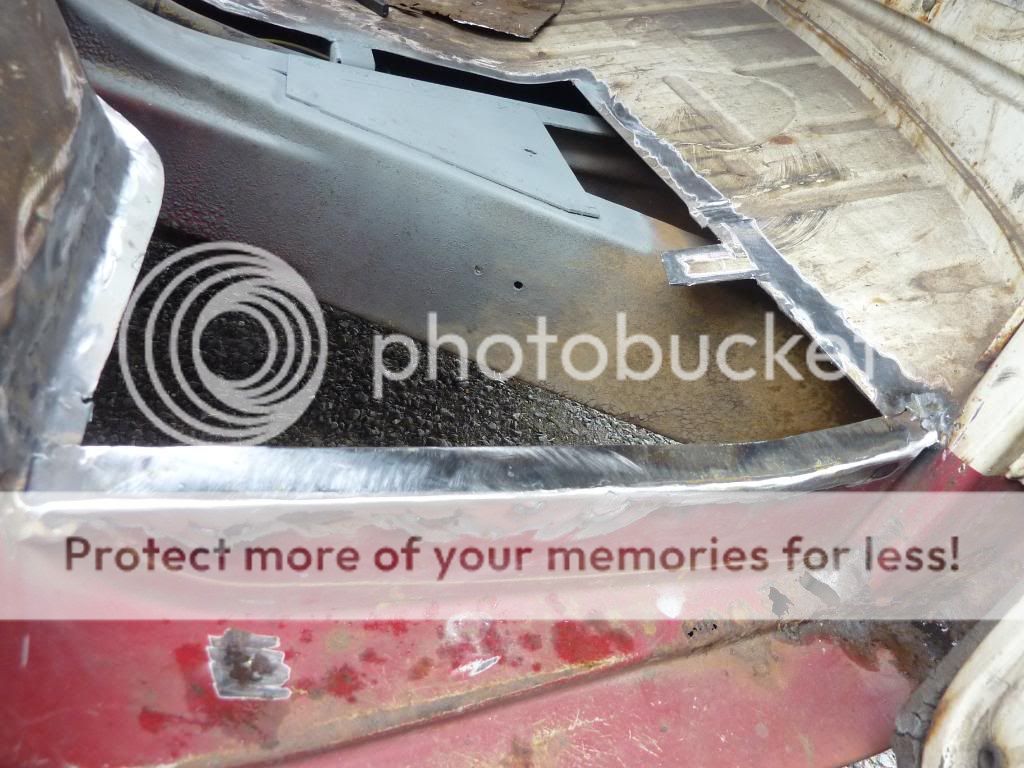
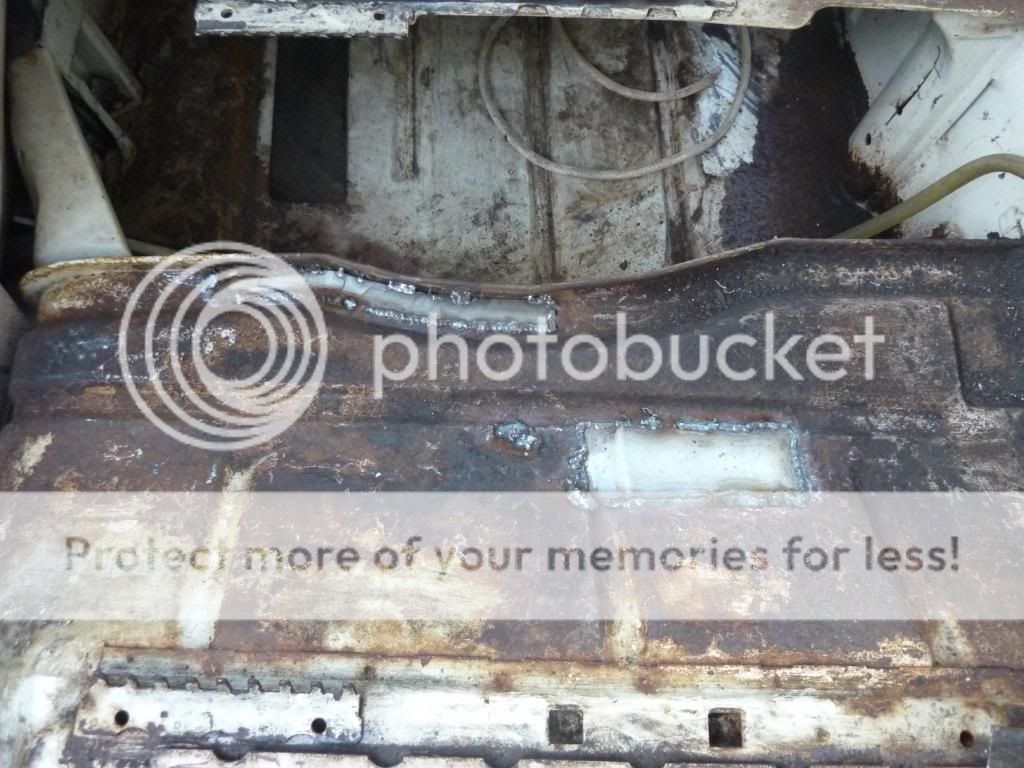
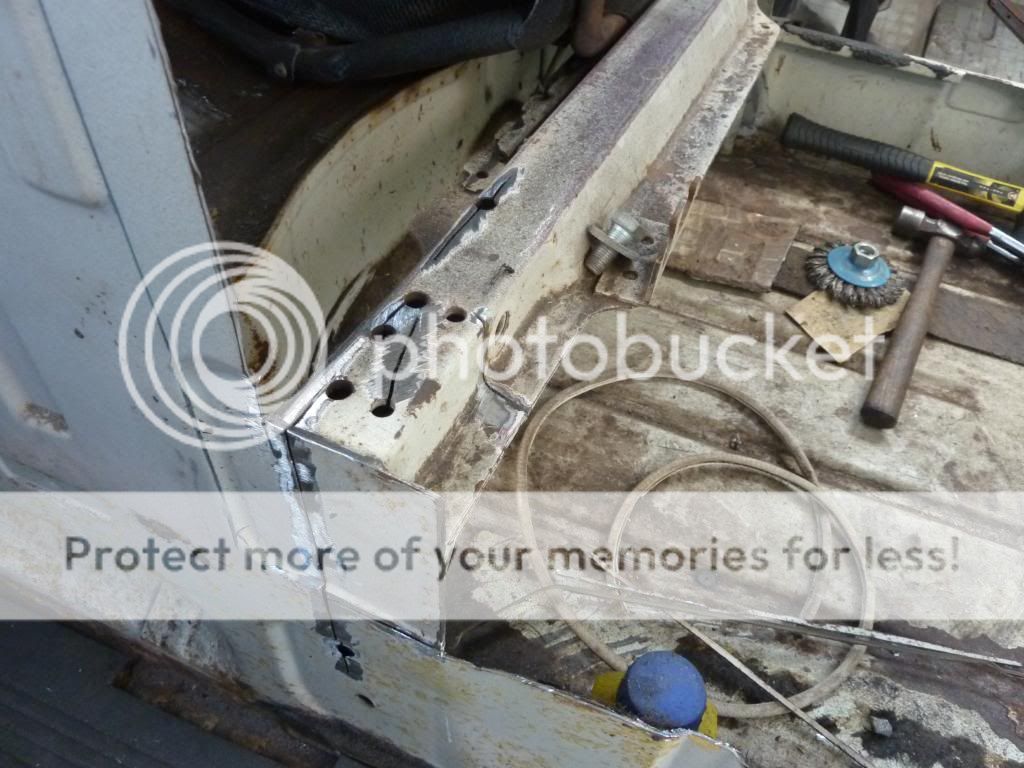
Drilled out the spot welds on the top part of the rear closing panel.
The tray came out really easily
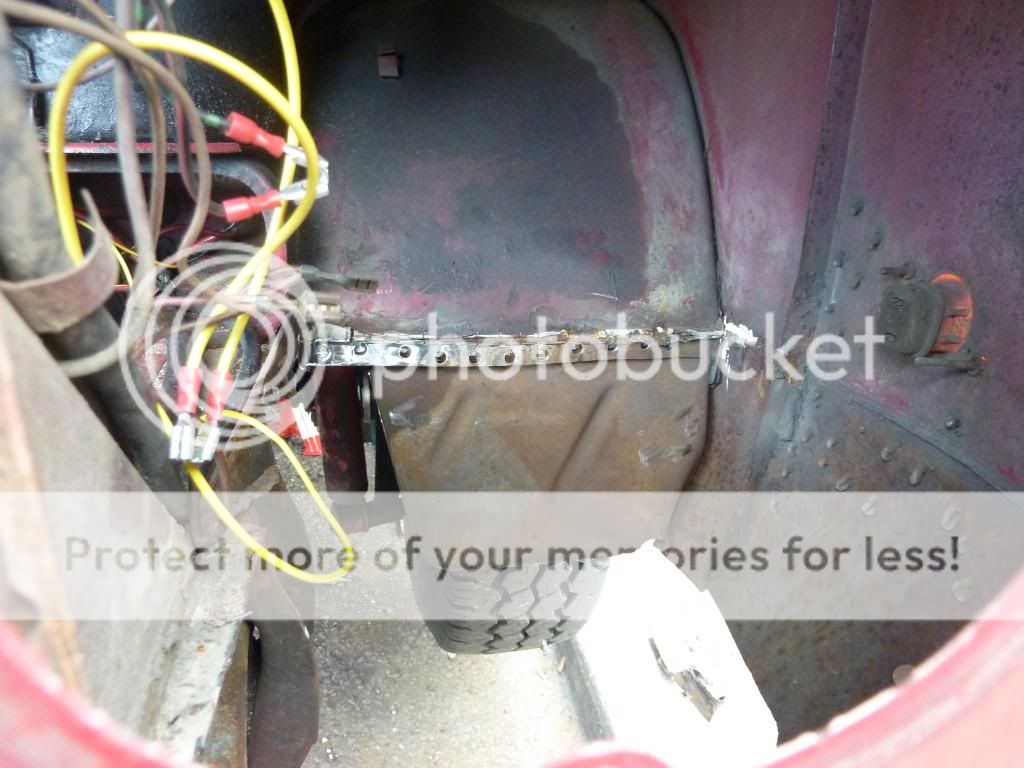
Got to tackle this area next and then a few patches in the cargo floor, oh and the bulkhead of course.
It was nice and dry on the inside.

Little bit of rust up top, which is ground off and treated now. Will be fabricating a new piece tomorrow from the replacement bulkhead as there is spare metal there.
Cleaned the surface rust off the discs (rotors, as the US boys call them!) and took her for a spin up the road. She bottoms out on the arches at the slightest bump, so I have no choice but to raise her up as I have no funds for a couple of lower profile tyres at the mo
I also fitted the four CV boots and cleaned the joints. I think I will be needing some new CV's soon too, as there was a bit of wear on the bearings. Drive shafts are rubbing on the chassis at the rear as there is only about 1" of clearance between shaft and chassis. That gonna be a problem when I got a full payload of 5 sprogs and the Missus. Short term I will raise her at the back a couple of slpines.
Plenty to do before Mot then!
Work has got in the way of the resto so not done anything for a week.That said, she aint far off. I have sorted the lights by fitting the rear cluster from my '71 swiss bus and runing a new wire from the wire off the hazard switch. I also fitted a pair of the Machine7 clear head lights that were on offer and rewired the side lights. Very useful sticky on the Tech forum.
Got the passenger side cab floor repaired and the battery tray in.
Had more re-construction work to do on the cab step and lower arch front before I could tack the badly fitting repair panel in.
Drilled out the spot welds on the top part of the rear closing panel.
The tray came out really easily
Got to tackle this area next and then a few patches in the cargo floor, oh and the bulkhead of course.
It was nice and dry on the inside.
Little bit of rust up top, which is ground off and treated now. Will be fabricating a new piece tomorrow from the replacement bulkhead as there is spare metal there.
Cleaned the surface rust off the discs (rotors, as the US boys call them!) and took her for a spin up the road. She bottoms out on the arches at the slightest bump, so I have no choice but to raise her up as I have no funds for a couple of lower profile tyres at the mo
I also fitted the four CV boots and cleaned the joints. I think I will be needing some new CV's soon too, as there was a bit of wear on the bearings. Drive shafts are rubbing on the chassis at the rear as there is only about 1" of clearance between shaft and chassis. That gonna be a problem when I got a full payload of 5 sprogs and the Missus. Short term I will raise her at the back a couple of slpines.
Plenty to do before Mot then!
Got a bit more done today in between playing Lego with the boys and taxi driving to and from a party!
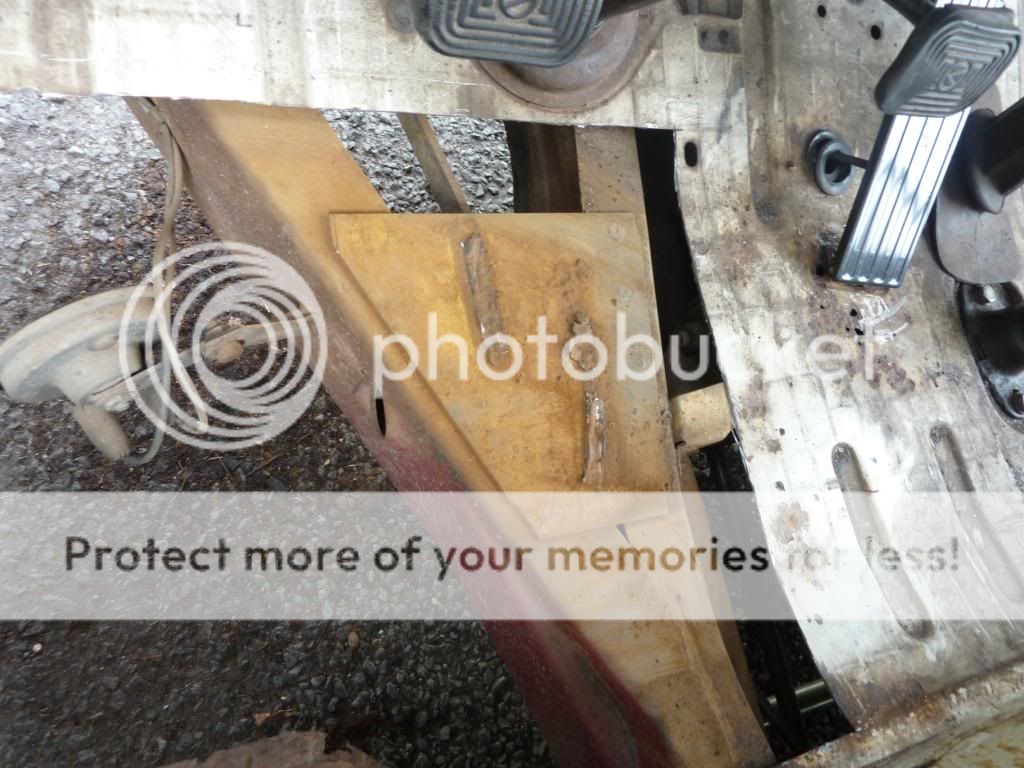
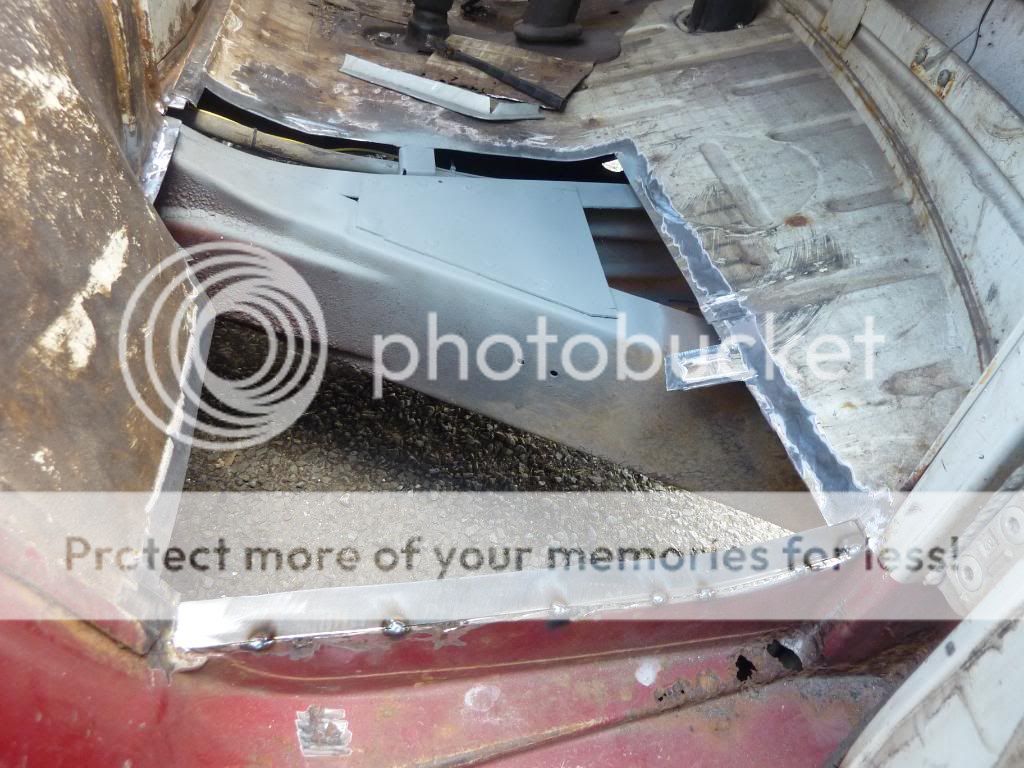
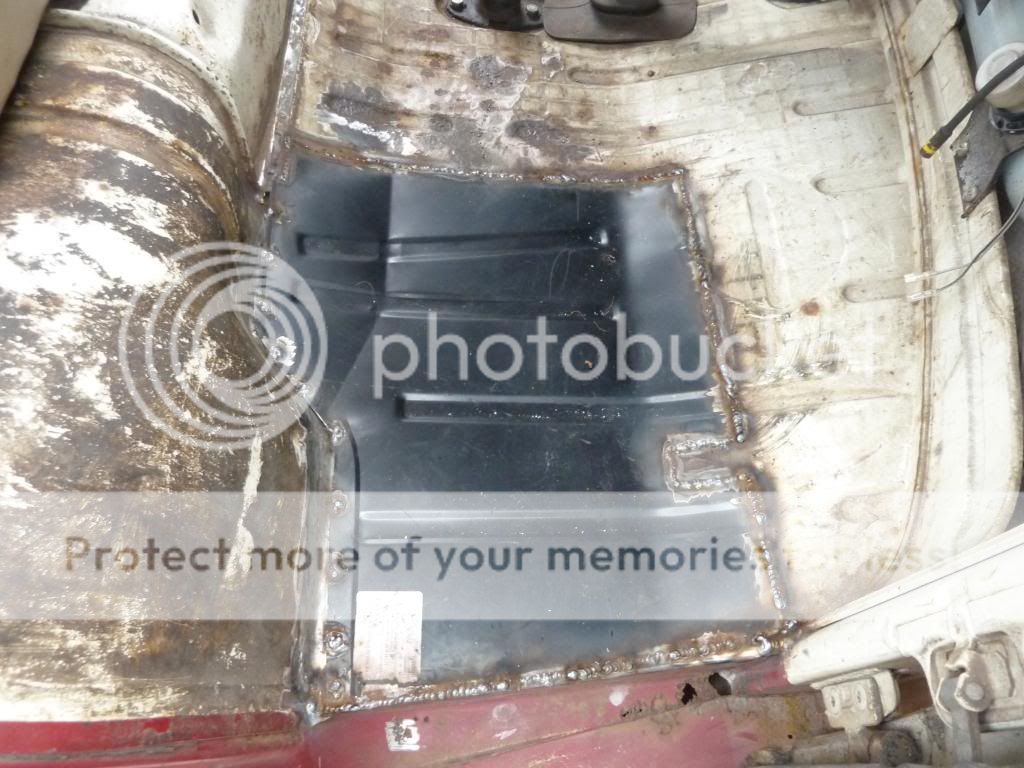
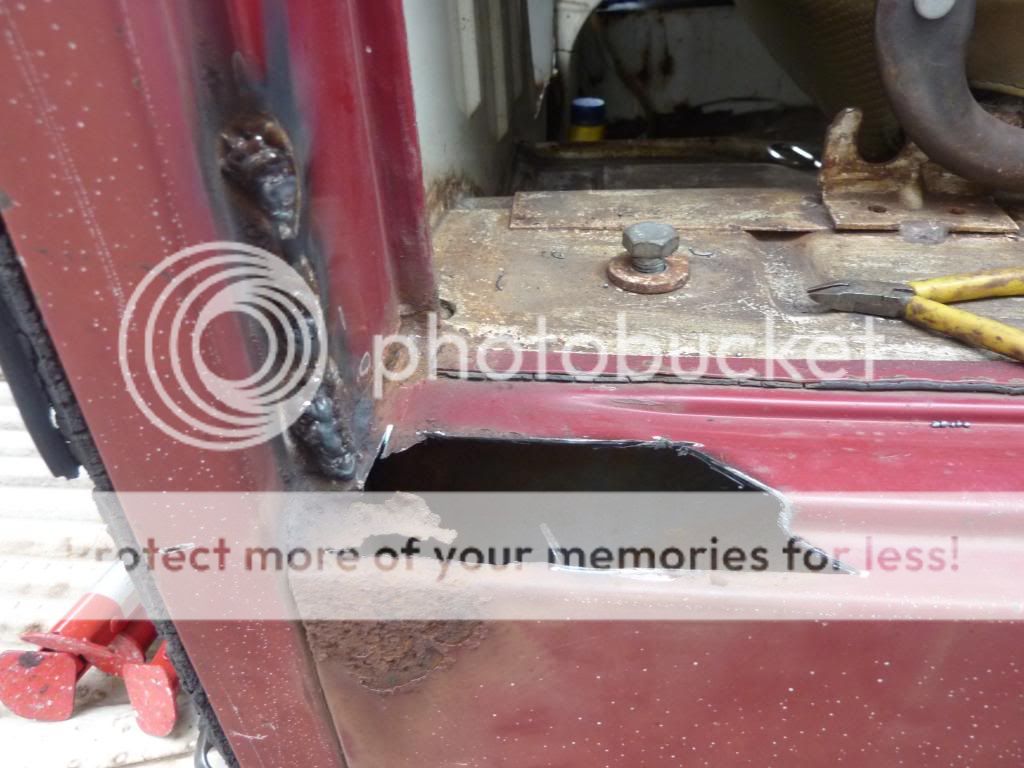
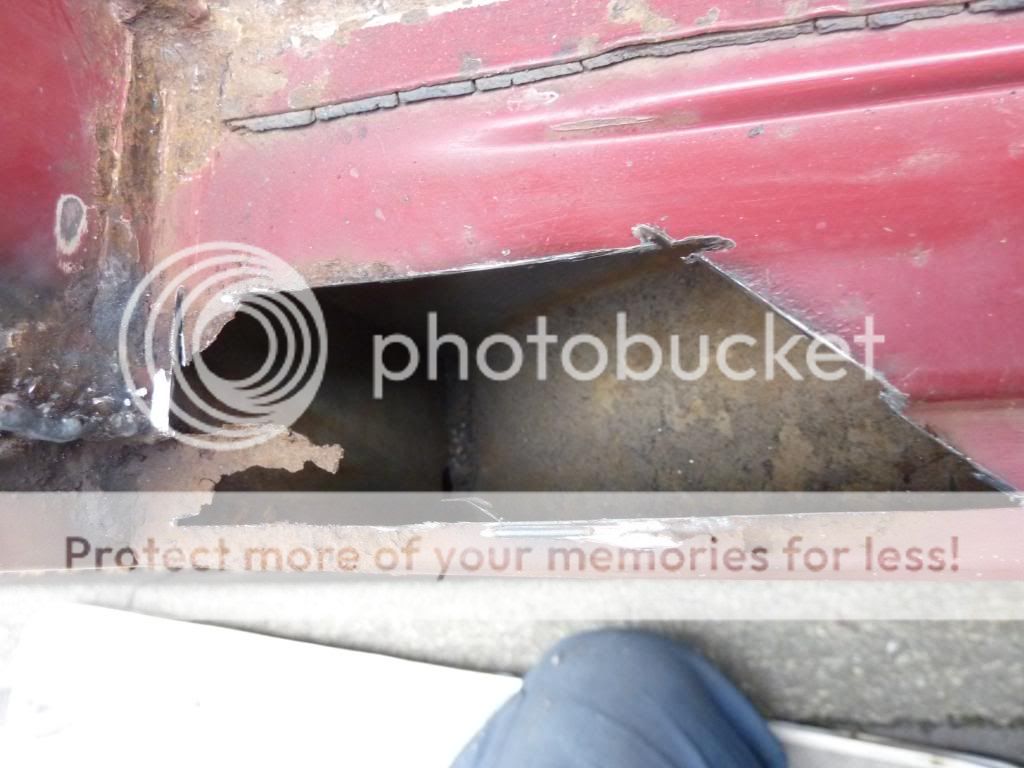
Gregg, you got your wish :lol: I got cracking on the bulkhead.
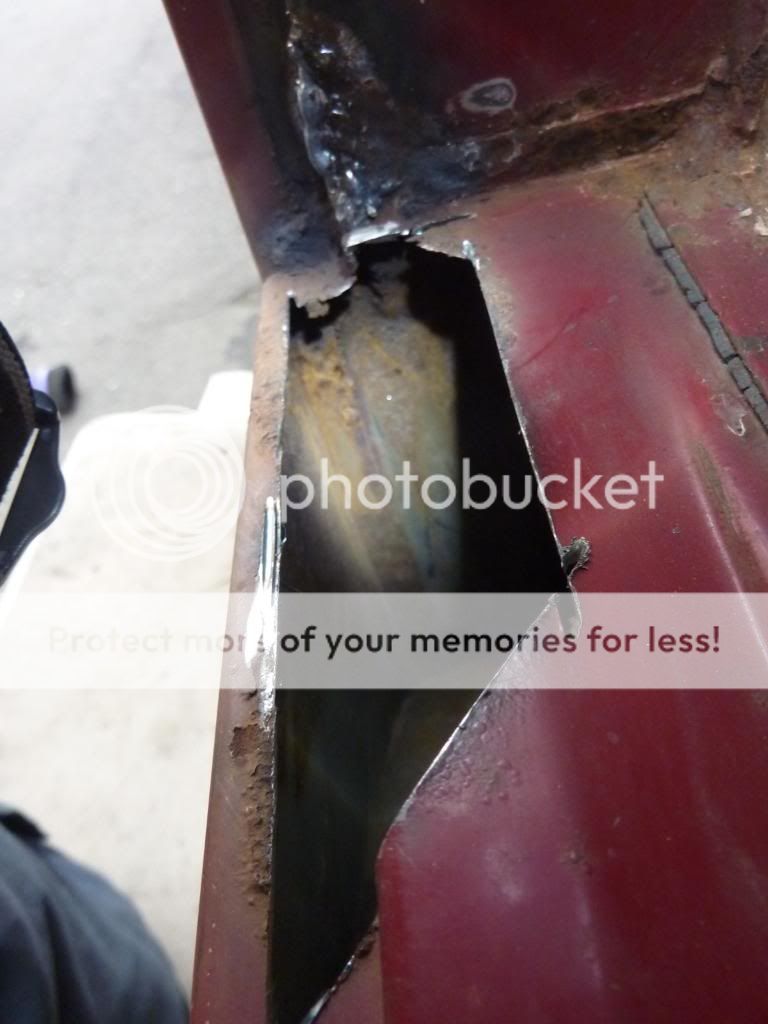
Before.
Dunno what had been going on here! I welded the cuts up.
Chopped the panel supplied by PO Gregg.

Trial fit before taxi ride :roll:

Cleaned back and tacked in at the top, then the welder went on the blink! :x


Gonna have a look at the welder now, so I can finish the job tomorrow. Think it's a dodgy connection in the torch.
Gregg, you got your wish :lol: I got cracking on the bulkhead.
Before.
Dunno what had been going on here! I welded the cuts up.
Chopped the panel supplied by PO Gregg.
Trial fit before taxi ride :roll:
Cleaned back and tacked in at the top, then the welder went on the blink! :x
Gonna have a look at the welder now, so I can finish the job tomorrow. Think it's a dodgy connection in the torch.
Thanks mate, I can't wait to get her on the road and cruise to a show. The bulkhead is fully tacked in now. I'll finish it off in the morning before I go back to work.
I spent all morning farting around with the exhaust trying to stop it from blowing, but failed Anybody else have similar problems with their exhaust systems?
Fitted a new engine bay seal and some missing tinwhare. Also fitted a new brake resevior seal and door pulls.
Not much more to do now.
I spent all morning farting around with the exhaust trying to stop it from blowing, but failed
Anybody else have similar problems with their exhaust systems?Fitted a new engine bay seal and some missing tinwhare. Also fitted a new brake resevior seal and door pulls.
Not much more to do now.
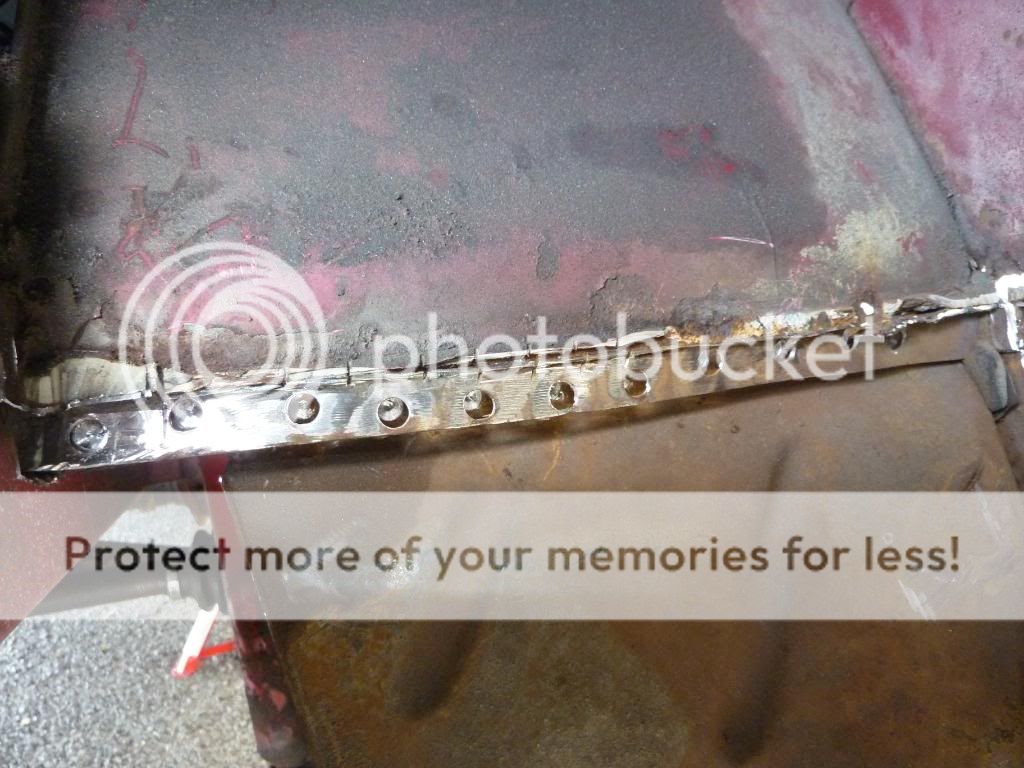
Been doing loads as and when I can (work gets in the way!)
I have been welding lots of small and not so small holes in the cargo floor, which has put the MOT back a bit :? Running out of gas now :roll:
Just gonna patch it for now and will look to replace the complete rear floor section at some stage next year. I hadn't banked on that, but WTF, the rest of the bus is solid enough.
The exhaust problem was caused by an incorrect clamp :roll: now fixed, I hope.
Engine is running sweet, now the timing is correct.
Adjusted the steering box, not perfect but alot better than it was.
All new fuel pipes and clips.
Damaged the indicator stalk and fixed it, but the bloody horn comes on every time you put the indicators on :lol:
Still got four holes in the cargo floor to patch up and the Battery to move over to the other side.
Oh, and a small hole to repair on the passenger side front dog leg.
I'll post some pics at the weekend.
Later!
I booked Mot for today (monday) so with any luck I will be rollin later. I just need to bed the brakes in a little as she hasn't been driven for while. The front discs were very rusty and are still a little suspect. Wish me luck!
Bad news...Failed! Good news...mostly electrical stuff, bad earth on rear indicators, flashing too fast, headlights too high and horn stopped working (fuse blown) and one leaky shock.
The bad earth was self inflicted as I knocked the earth wire off the rear cluster when moving the battery to it's new home :roll:
Need a new indicator relay and a pair off new rear shocks.
The bad earth was self inflicted as I knocked the earth wire off the rear cluster when moving the battery to it's new home :roll:
Need a new indicator relay and a pair off new rear shocks.
Similar threads
Vehicle For Sale
71 Tintop Delux LHD
- Replies
- 2
- Views
- 1K
- Replies
- 2
- Views
- 1K
- Replies
- 2
- Views
- 961
- Locked
- Replies
- 1
- Views
- 2K
- Locked
- Replies
- 2
- Views
- 2K