71 Westy tintop Update 29th October Going to Auction

Early Bay Forum

Help Support Early Bay Forum:

This site may earn a commission from merchant affiliate links, including eBay, Amazon, and others.
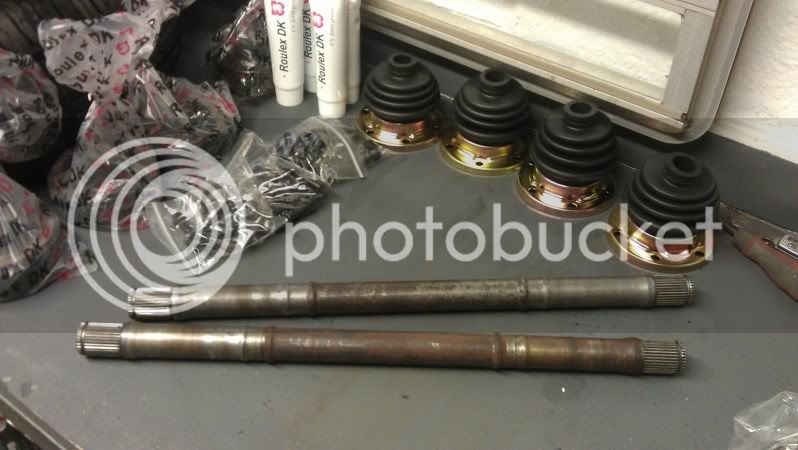
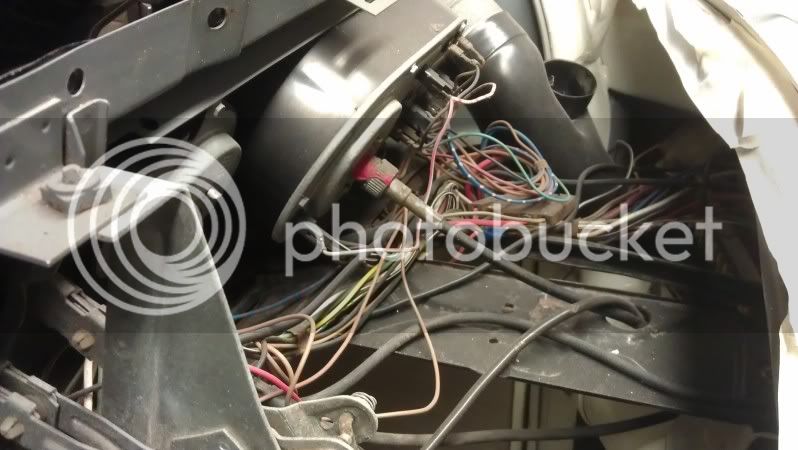
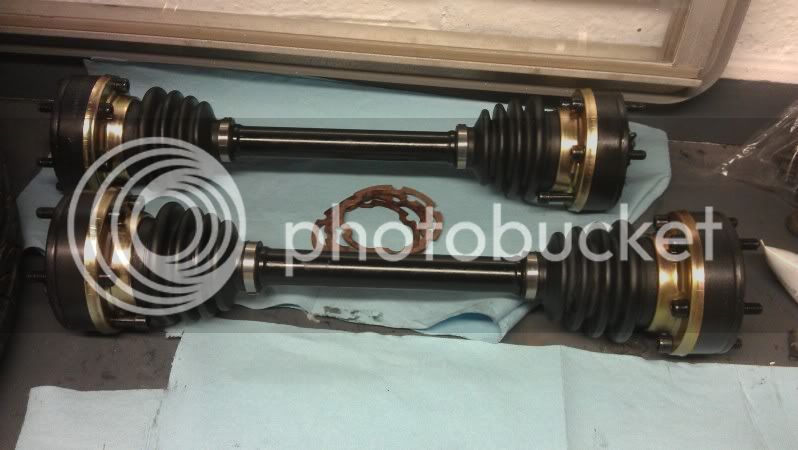
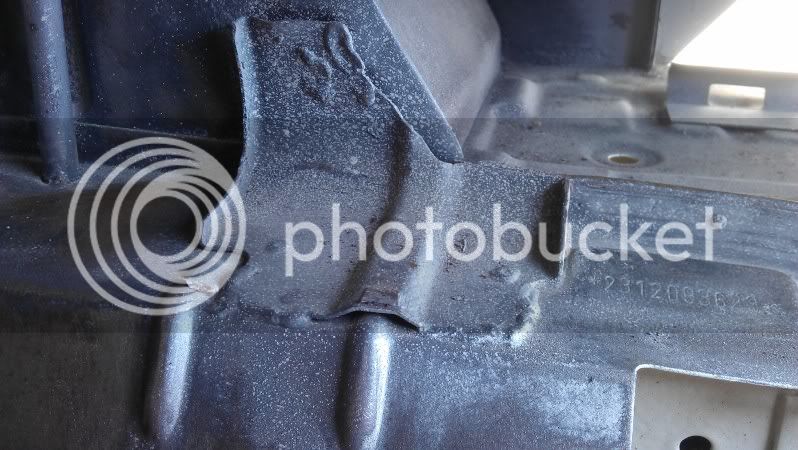
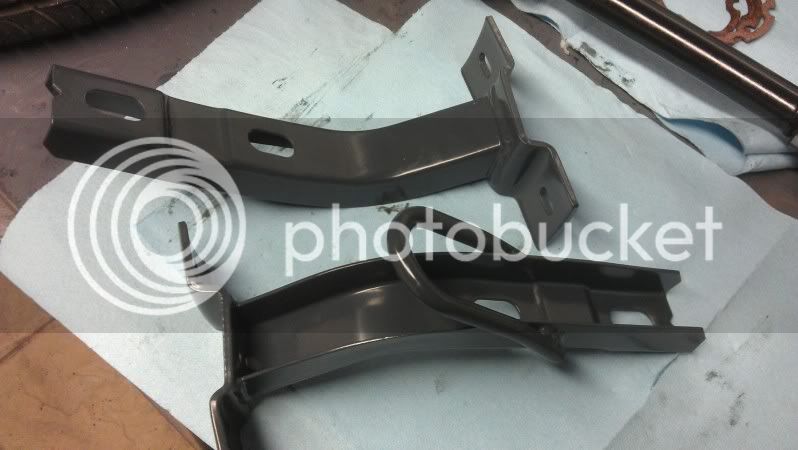
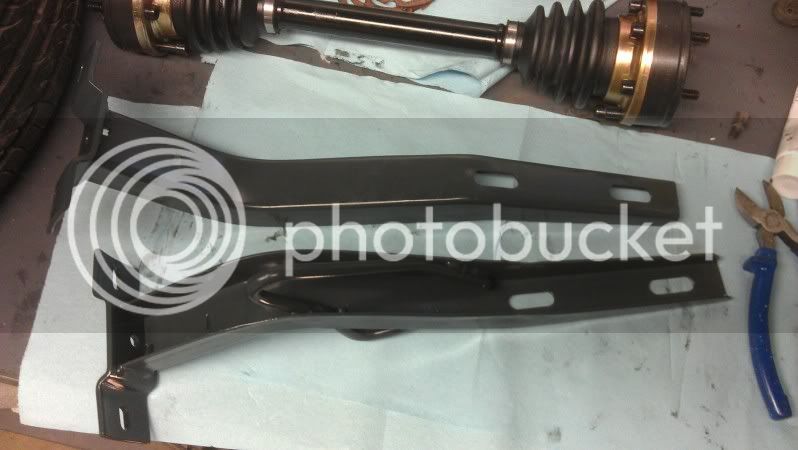
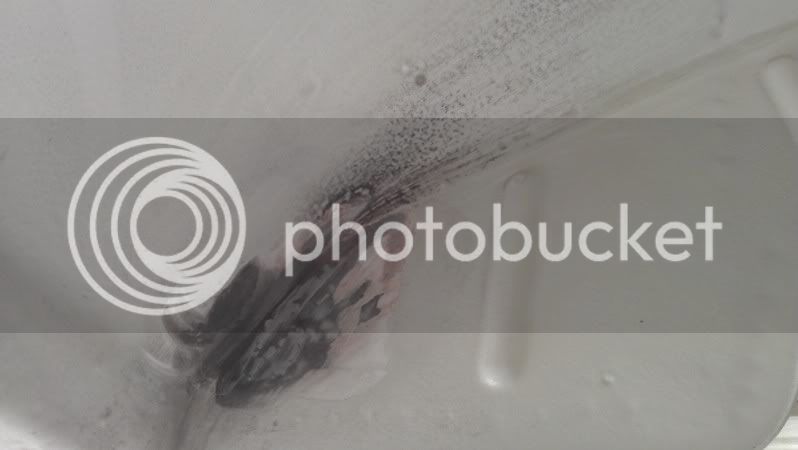
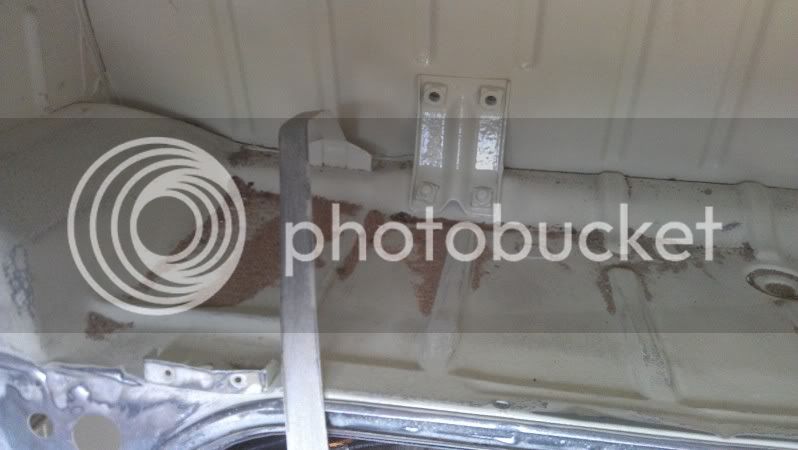
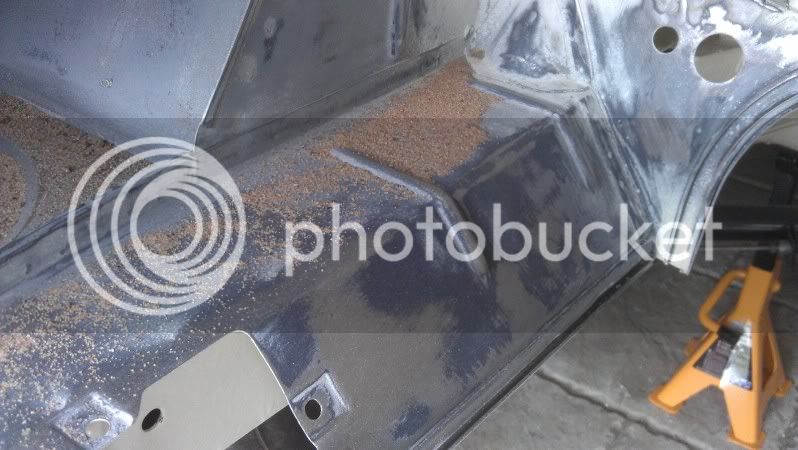
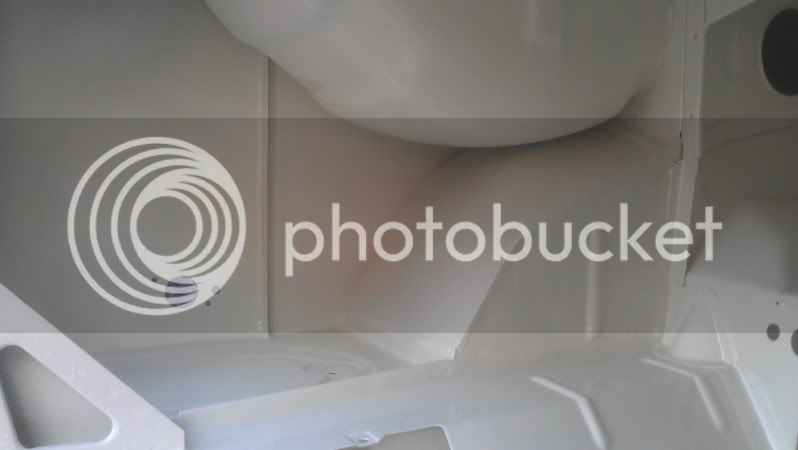
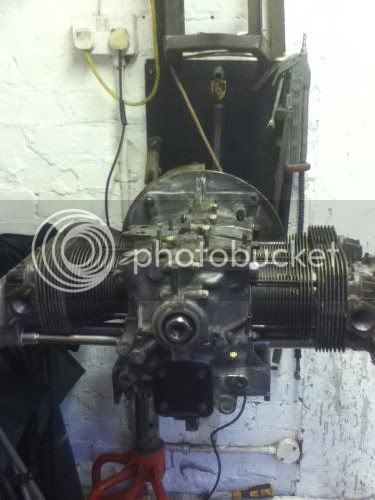
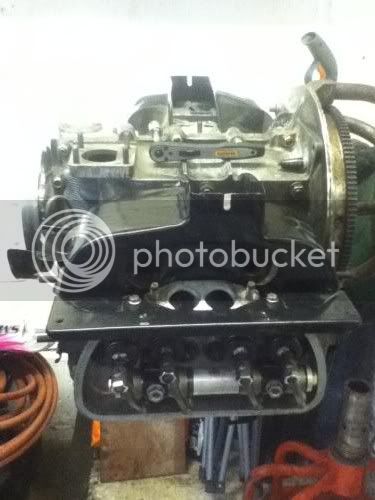
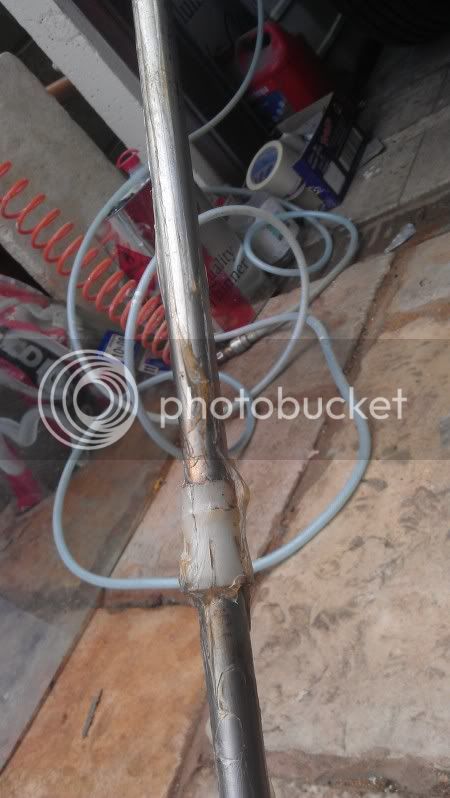
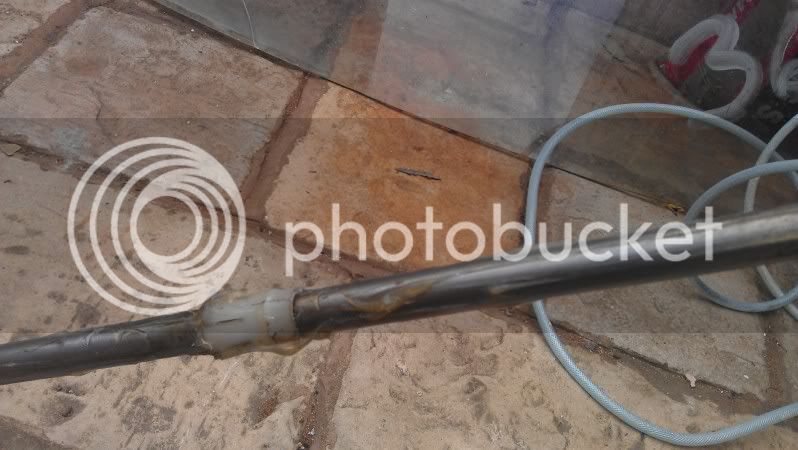
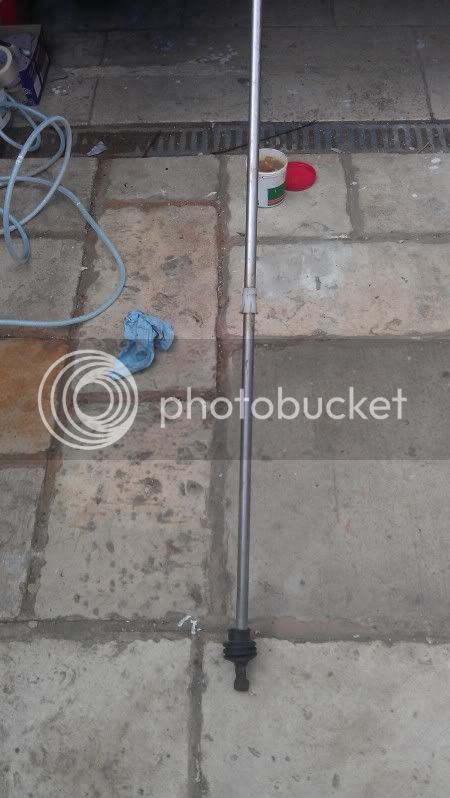
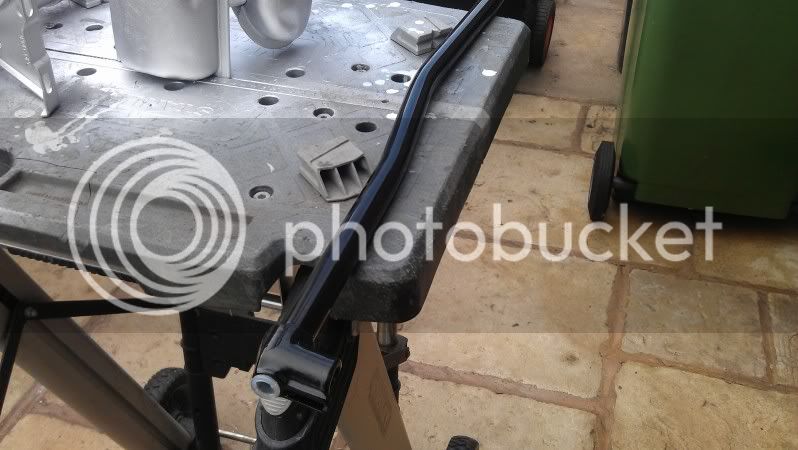
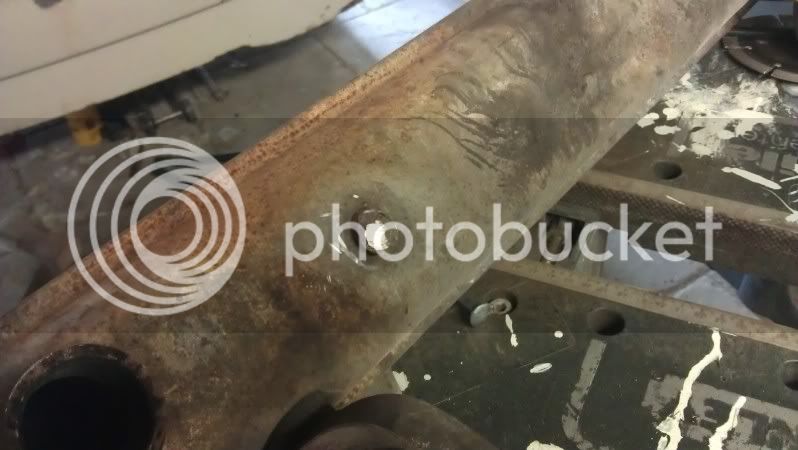
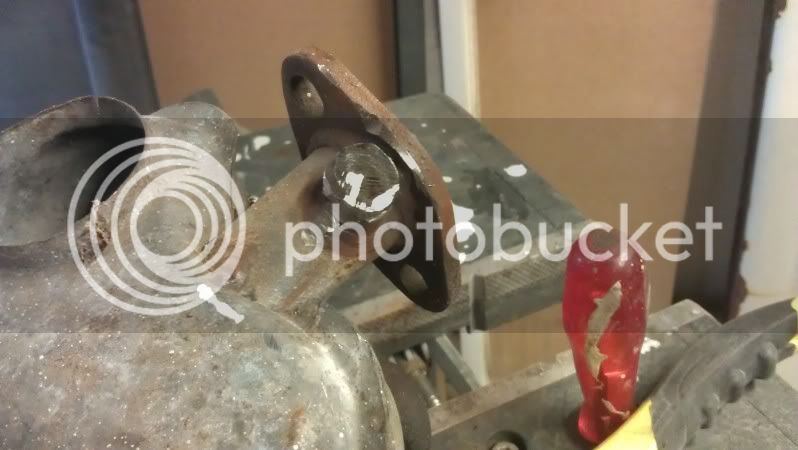
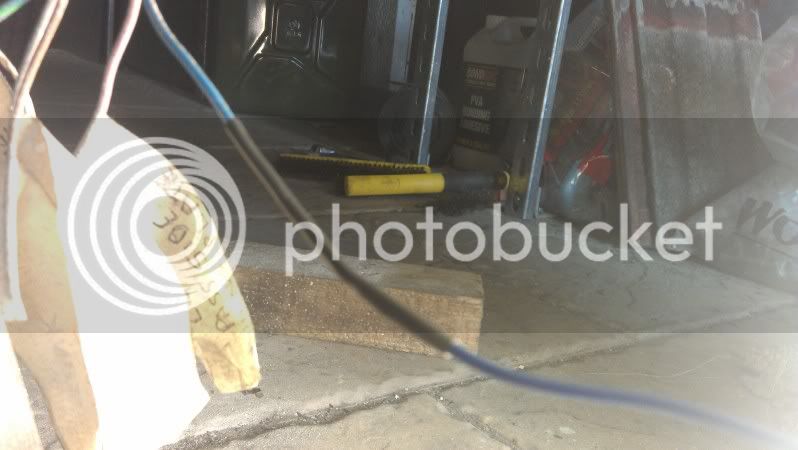
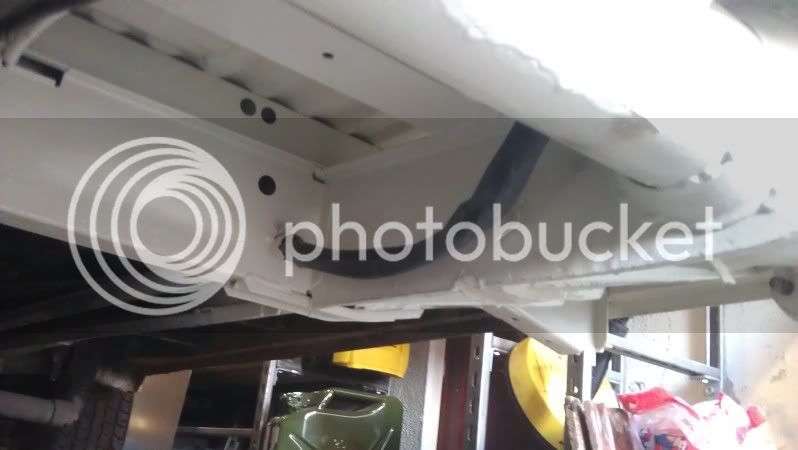
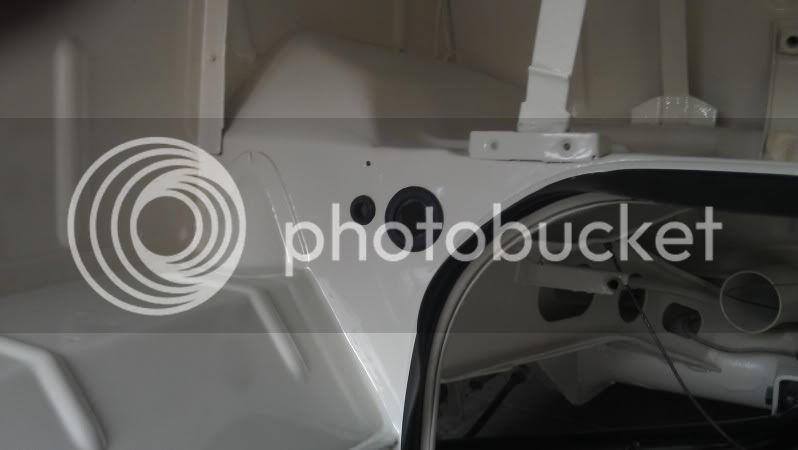
Cheers , the problem is when you do one thing it makes the next bit look shit ! and on it goes

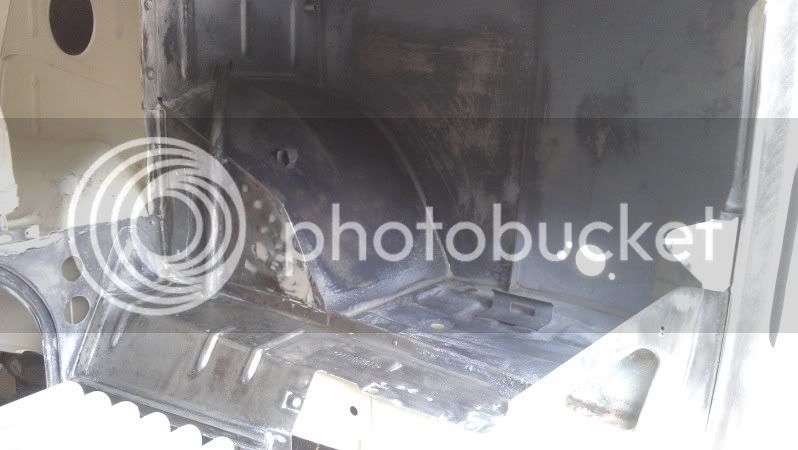
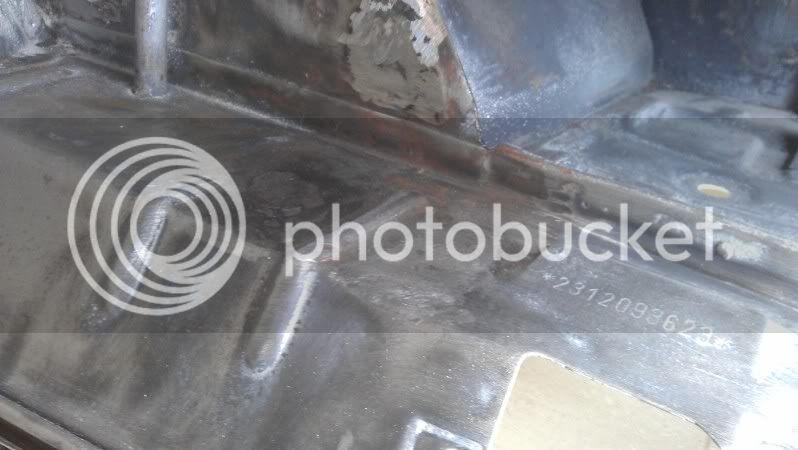
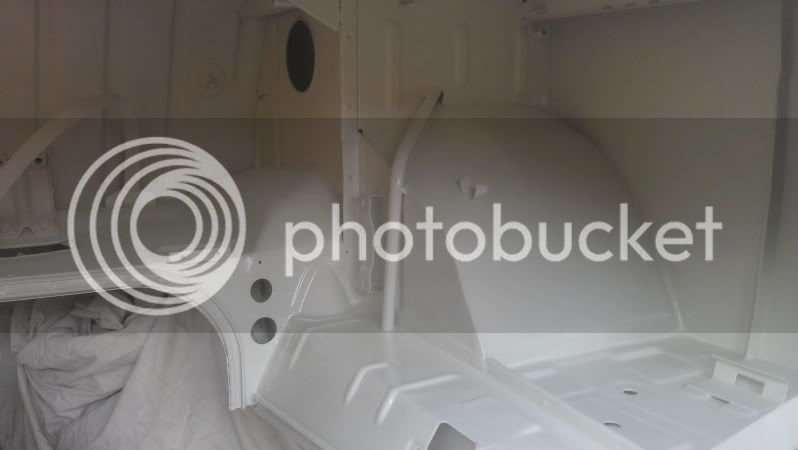
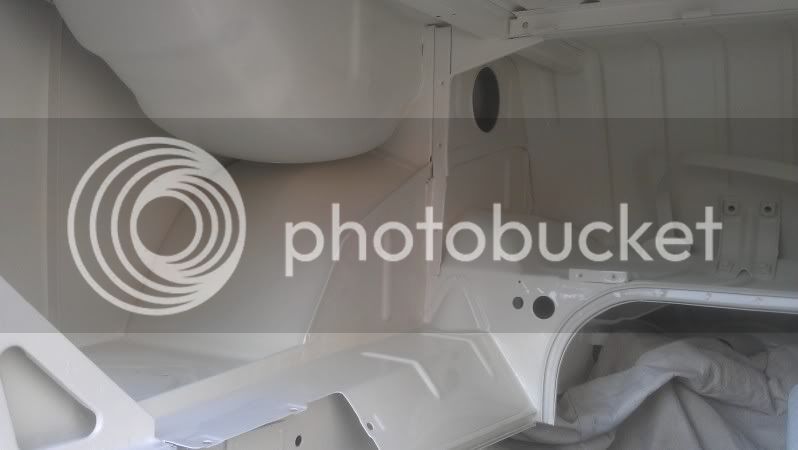
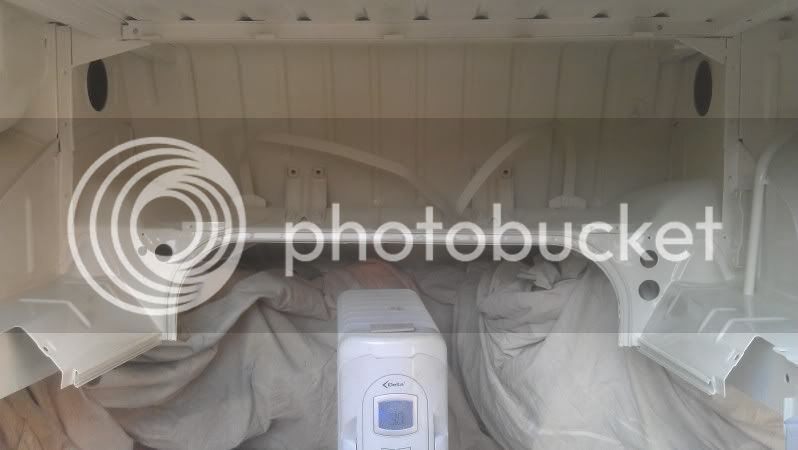
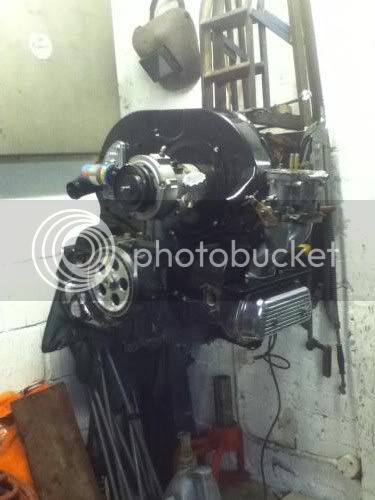
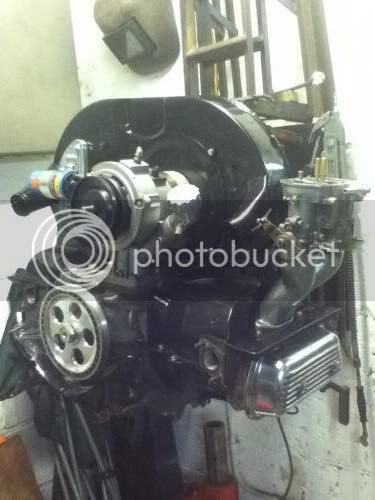
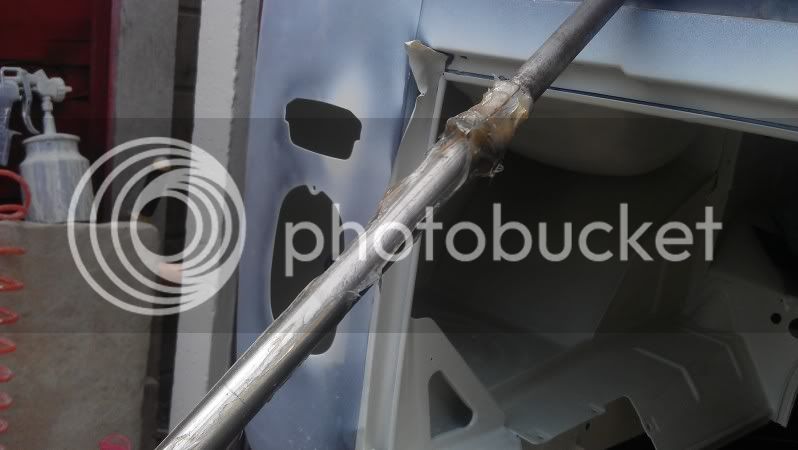
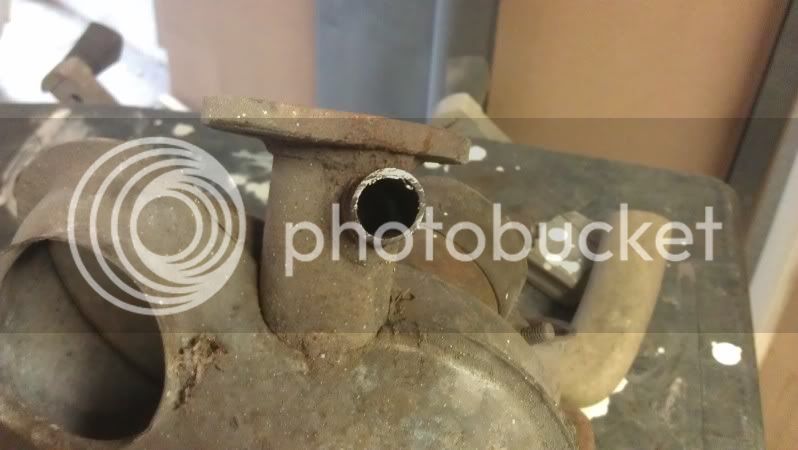
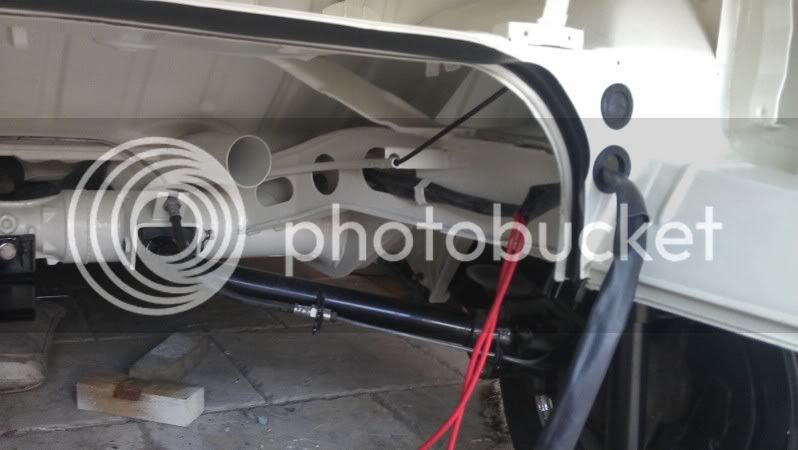
Need to start looking at getting the bodywork professionally painted now

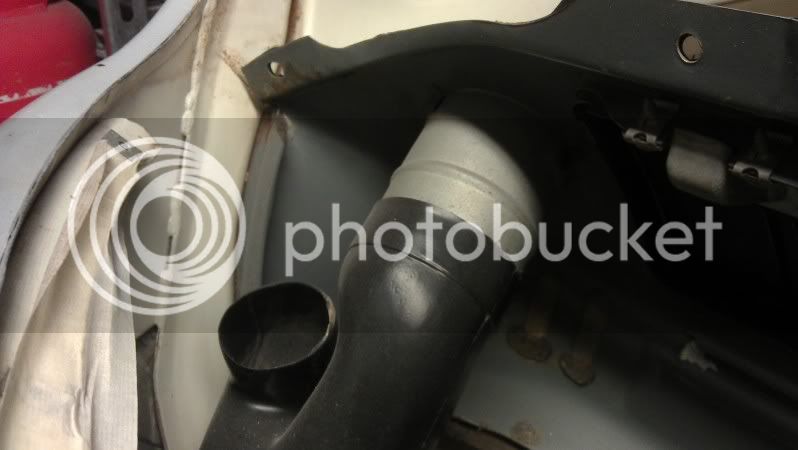
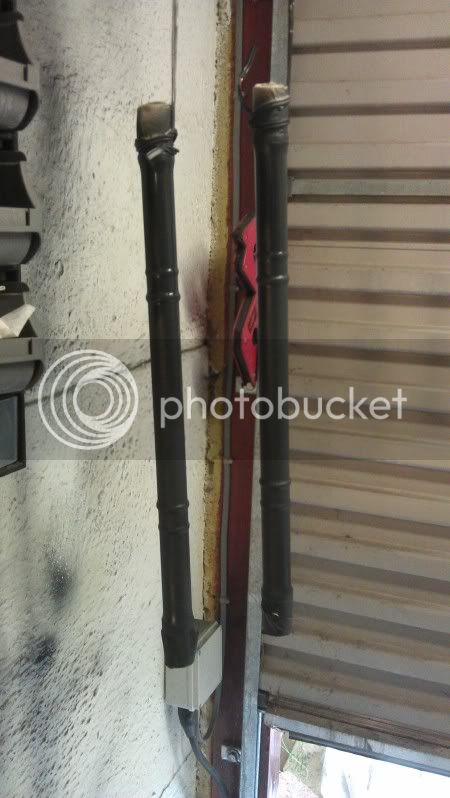
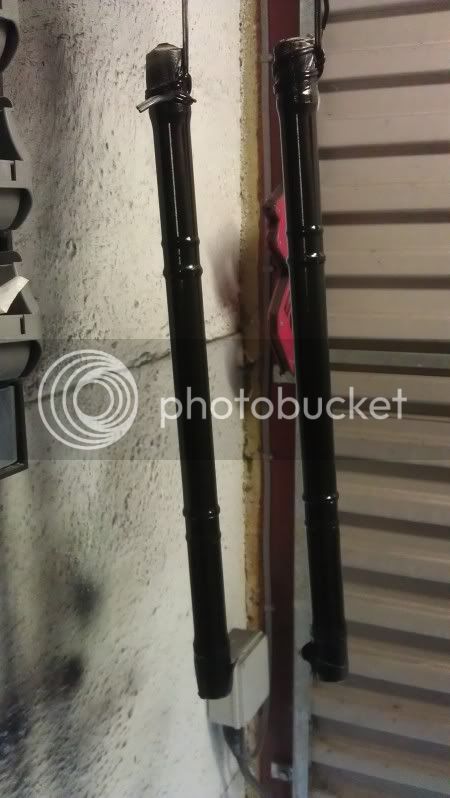
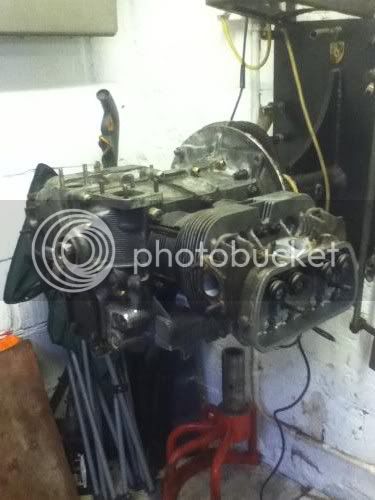
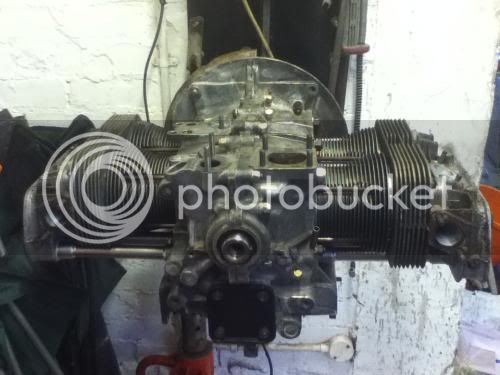
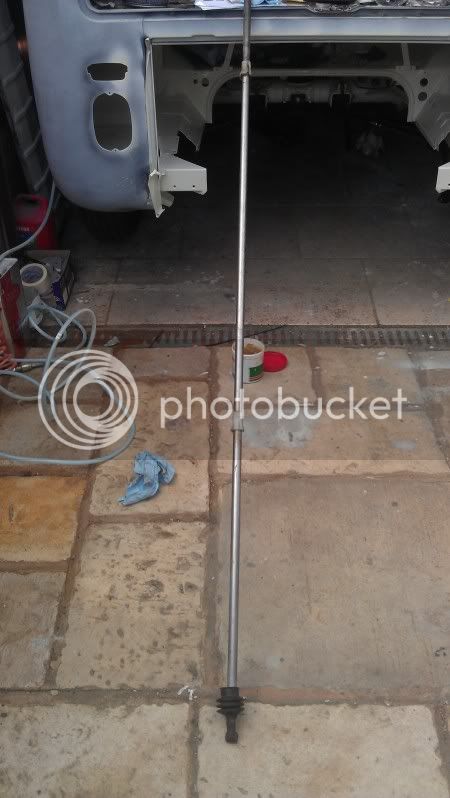
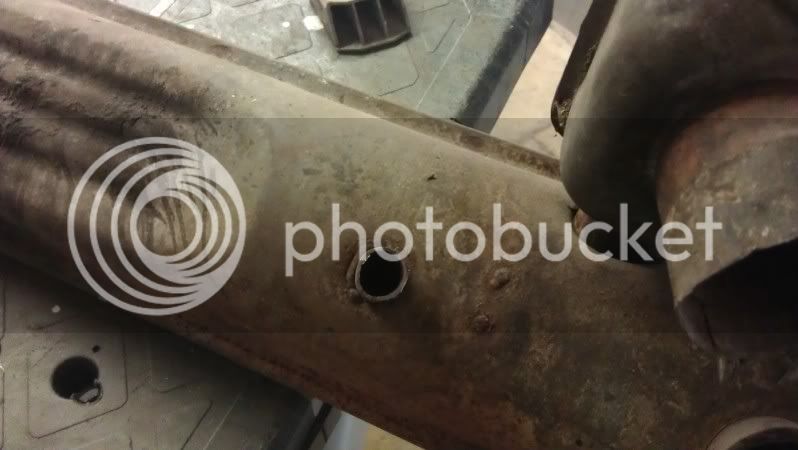
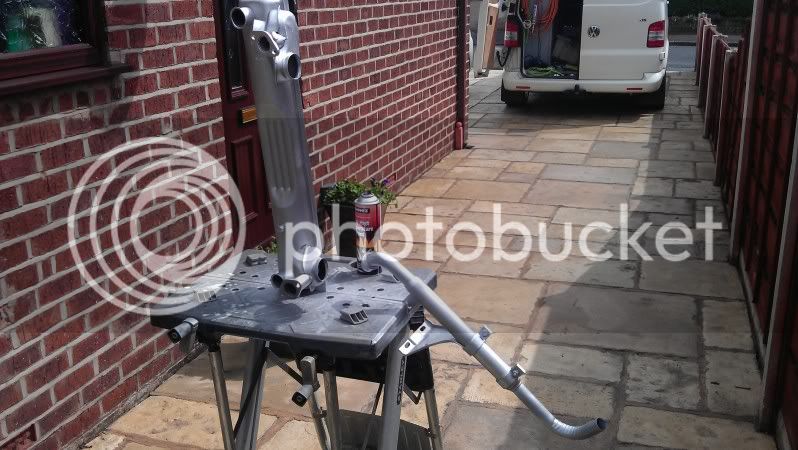
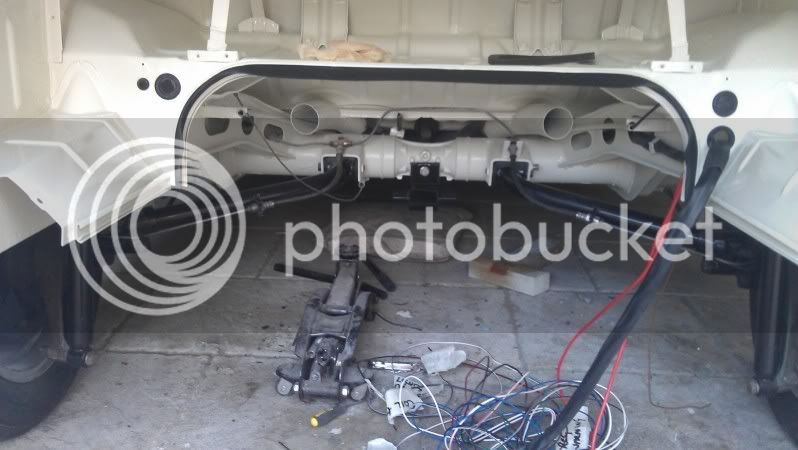
And i need one of them vintage speed exhausts :D
 
This is the next job, will get the shafts painted tomorrow, kept hold of the old spreader plates off the old cv's, think they were og vw, opened the boxes of the new ones and seen that the new ones dont come with them, so thought happy days, put the old ones back on, but no the raised bits on the boots wont let them sit flat :cry: , not happy about not using them but might end up trying to make them fit yet :)

IMAG0422.jpg


Done a bit of cleaning behind the dash with a few cans of oven cleaner , some bloody sharp bits of metal behind there :eek: and the oven cleaner stings like.... :!: in cuts


IMAG0423.jpg


IMAG0424.jpg


IMAG0425.jpg


IMAG0426.jpg
 
Looking good dude,

Never heard about using over cleaner, nice trick but is that not a little harsh on the electrics etc back there.

I've just done my cv's, the boots look the same as yours and I must admit I didnt check mine so it will be first job in the morning.
 
Painted the drive shafts


IMAG0431.jpg


IMAG0432.jpg


I then started to renew heater cables, pulled the passenger side one out no probs, then drivers side, pulled it about an inch then it got stuck :x , ended up rocking the bus and wrapping the cable round me work bench to pull it out, took ages ,but it came out eventually
Only problem was when i went to put the new one in, it only goes in about 2 foot and get stuck, something but have got stuck in there
Left that and put a new accelerator cable in then ready for the new carbs
 
Not tacked the heater cable yet !

Built the drive shafts up


IMAG0437.jpg


Couldnt leave the air filter stand in so starting to remove this next


IMAG0436.jpg


Got some more bits powder coated

Bumper brackets


IMAG0439.jpg


IMAG0440.jpg


Battery clamp and thermostat bracket


IMAG0438.jpg
 
Had a bit of a nightmare with the air filter stand :evil:


IMAG0462.jpg


Could'nt get it off wthout tearing the metal , made a mess of the arch, had to weld it up :cry: , but its all done now except for painting the arch


IMAG0469.jpg


IMAG0461.jpg


While blowing all the muck out the engine bay i thought i would stick the air line down the hole to the left of the fuel tank, got half a beach out of there :shock:


IMAG0465.jpg


IMAG0466.jpg


IMAG0467.jpg


All ready for painting now


IMAG0470.jpg
 
I hate bodywork and painting :evil:


I painted the area with etch primer from an aerossol but didnt quite have enough so decided to buy some for the gun , i then painted it with the new etch primer and it went tits up, it reacted badly in most places so had to strip it all back off :roll:

Took me ages to get it all back smooth again

Anyway its mostly done now in colour, still hate painting though :(


IMAG0021.jpg


IMAG0022.jpg


IMAG0023.jpg


IMAG0024.jpg


IMAG0025.jpg


IMAG0026-1.jpg


Its not perfect a the minute, a few little runs but its a nightmare to get into the sides, i'll get there
 
Getting there with the paint now, nearly done :evil:


Anyway a few engine pics :D

1641 Mahle b & p's
Scat C25 Cam
Scat ratio rockers 1.25 : 1
Std heads with a bit of porting
Twin 36 Dellorto's
Facet fuel pump,pressure regulator
CB performance inlets, air filters and linkage kit
Bosch blue coil
Bosch plug leads
Pertronix elec ignition
Schadek oil pump 30mm gears


engine4.jpg


engine5.jpg


engine6.jpg


engine7.jpg


engine8.jpg


engine9.jpg
 
Due to vintage speed group buy disaster :cry: , going to re use the original exhaust which was a nos one, cut the pre heats off, put a bolt in and welded em up , dont need em now due to twin dells :)


IMAG0565.jpg


IMAG0566.jpg


IMAG0567.jpg


IMAG0568.jpg


Painted it with some vht paint


IMAG0569.jpg


It will do for now until i get a vs one
 
Started repairing the wiring from where it had be repaired from before, they only used about 3 differant coloured wires

soldered together and heat shrinked, only took the two pics, phone battery died then :roll:


IMAG0530.jpg


IMAG0531.jpg


Then sleeved the lot to the same as og


IMAG0581.jpg


IMAG0580.jpg


IMAG0579.jpg


Got the over gearbox rubber in and all the grommets through the bulkhead

IMAG0582.jpg
 

Latest posts

Top