71 Westy tintop Update 29th October Going to Auction

Early Bay Forum

Help Support Early Bay Forum:

This site may earn a commission from merchant affiliate links, including eBay, Amazon, and others.
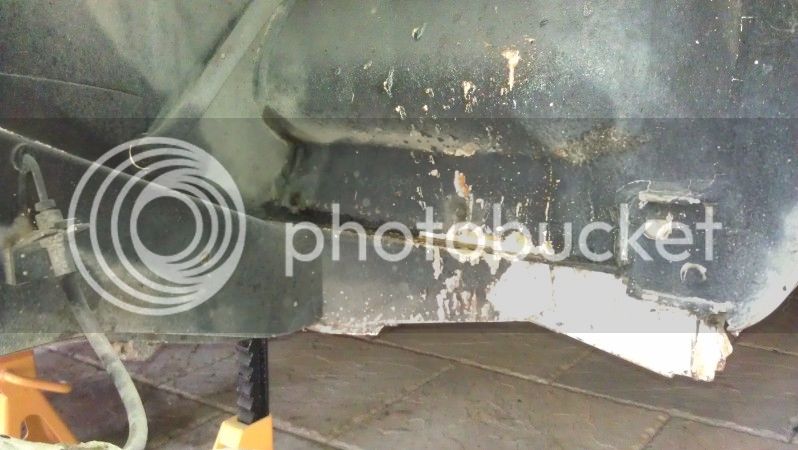
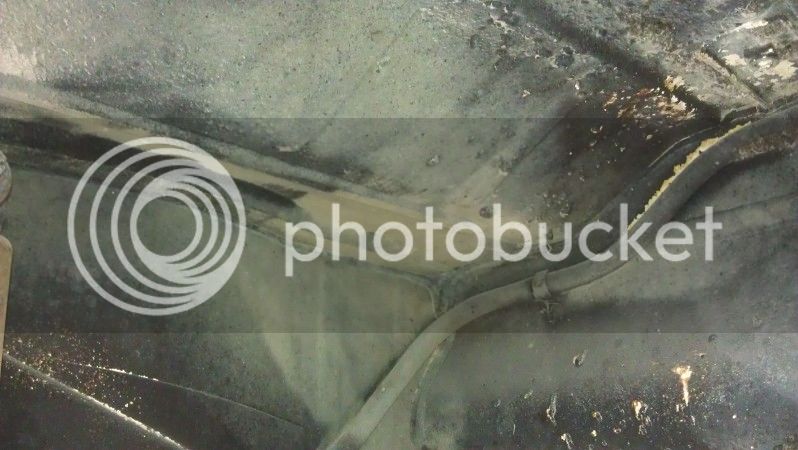
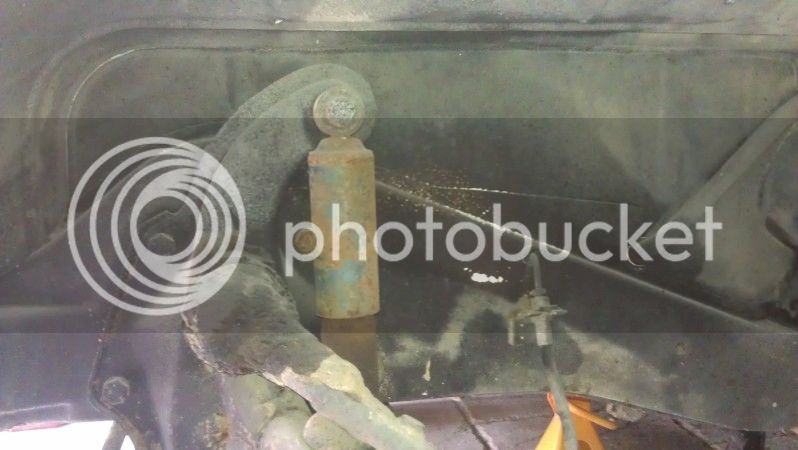
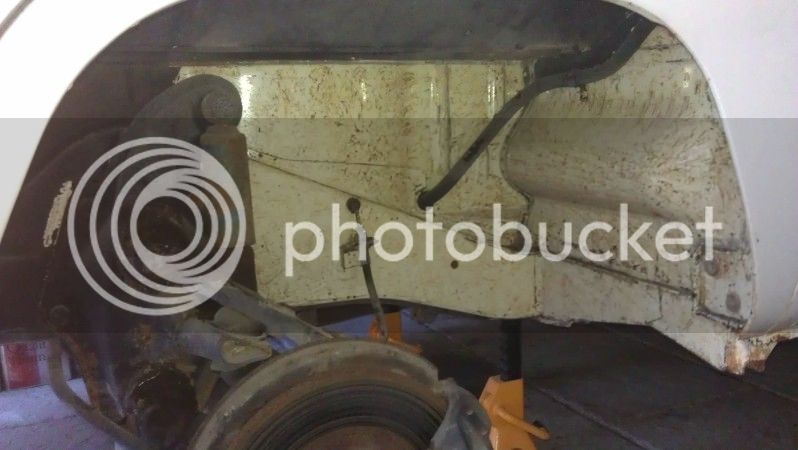
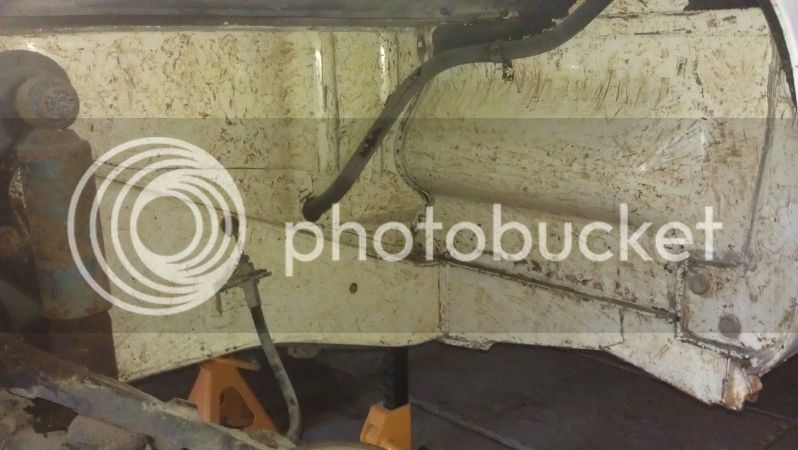
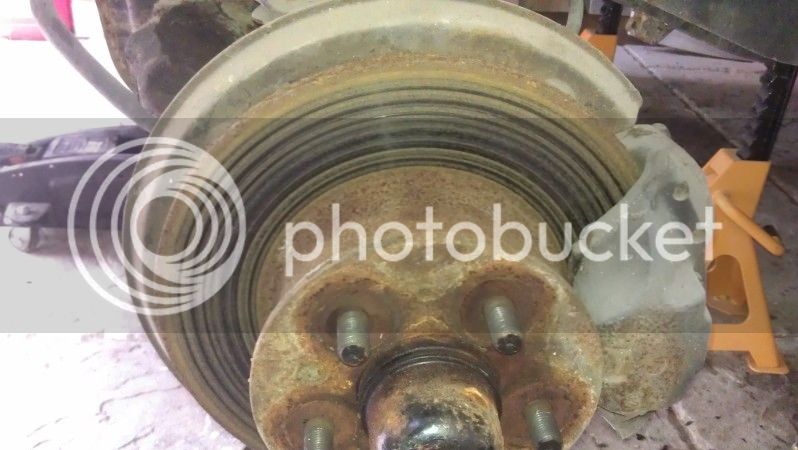
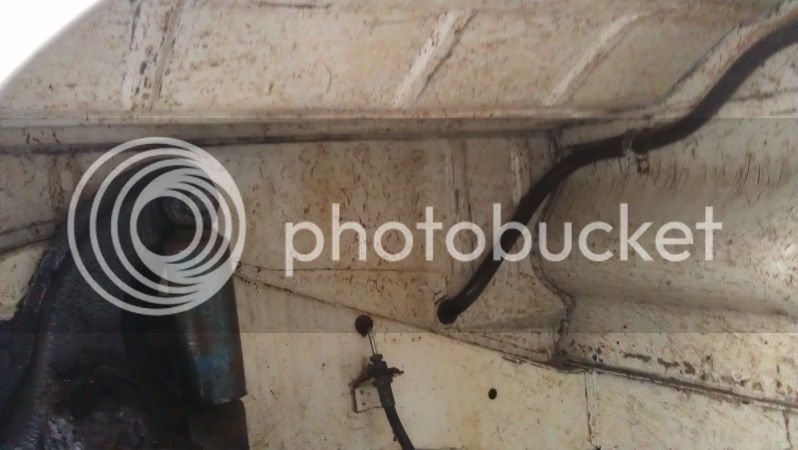
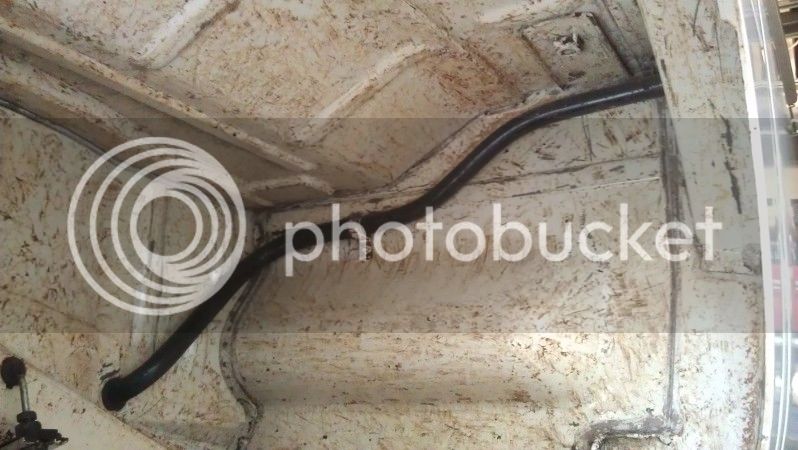
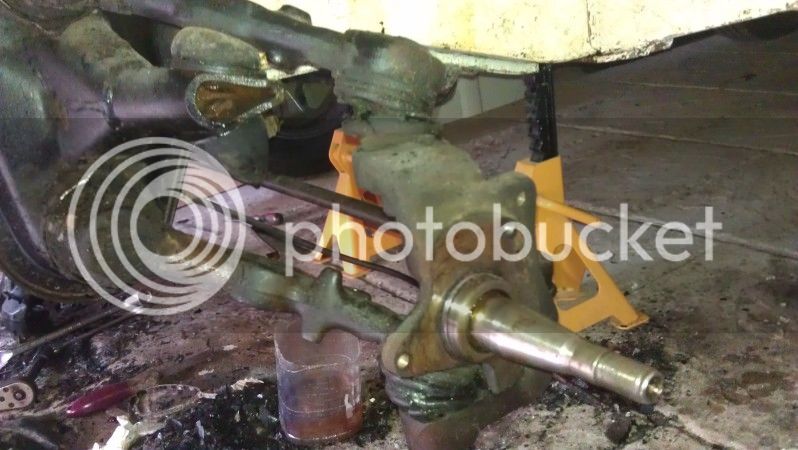
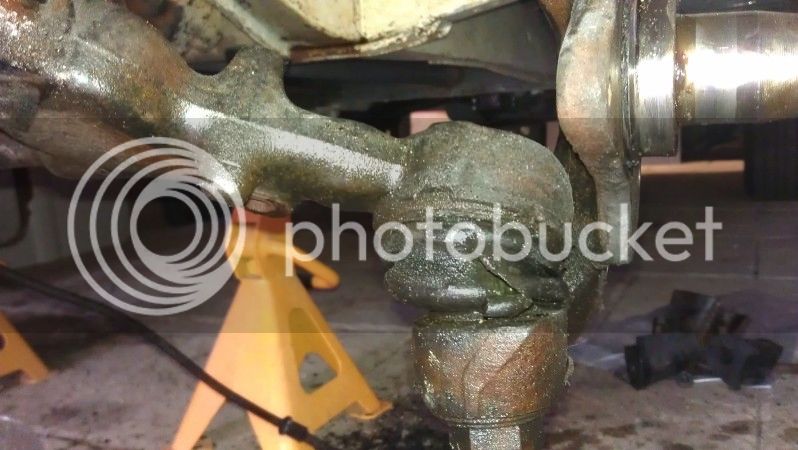
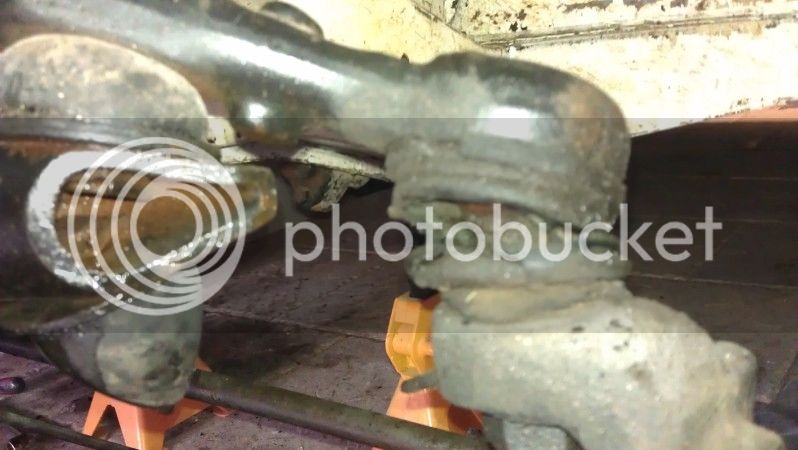
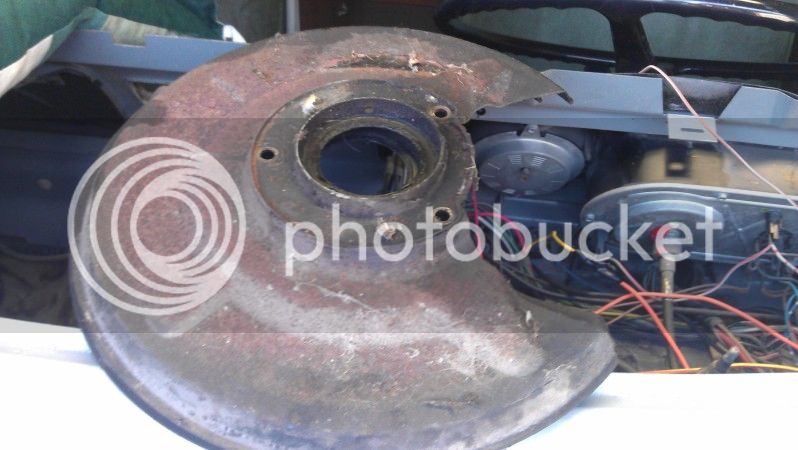
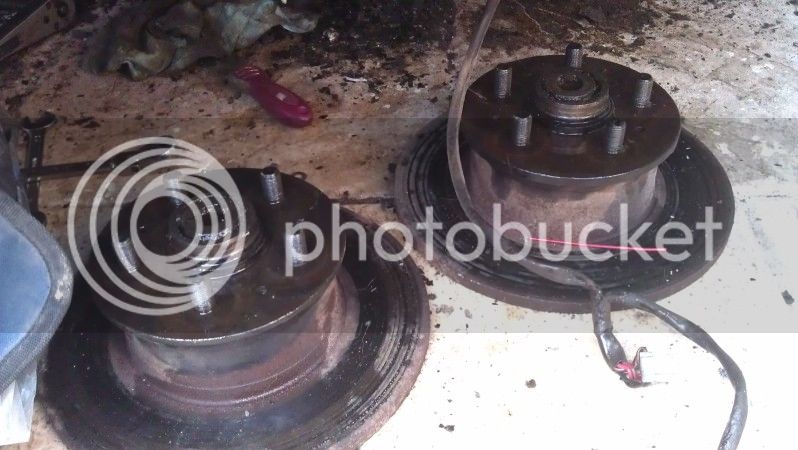
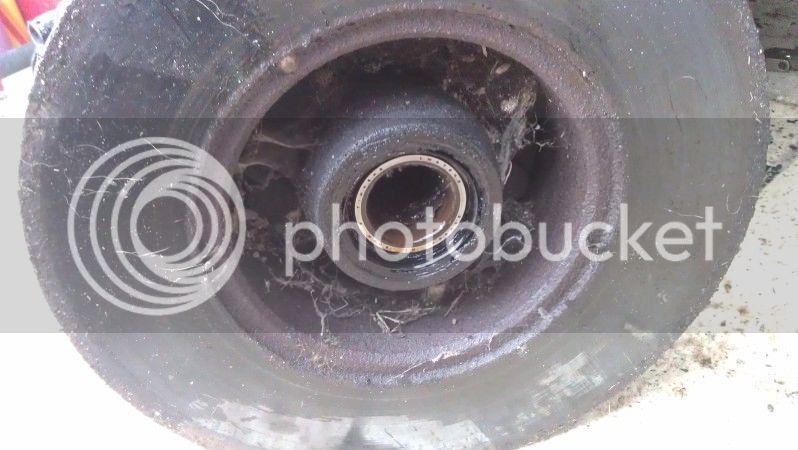
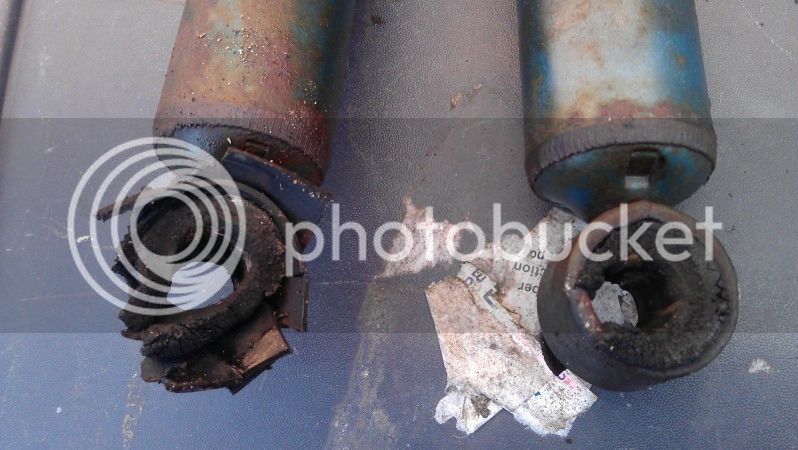
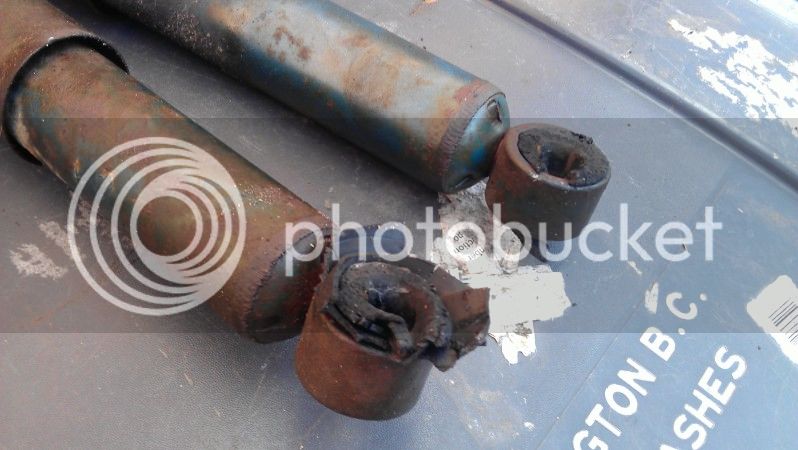
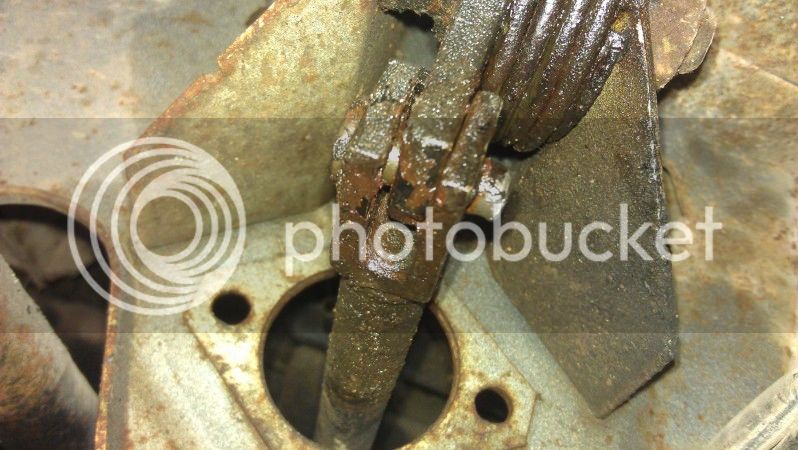
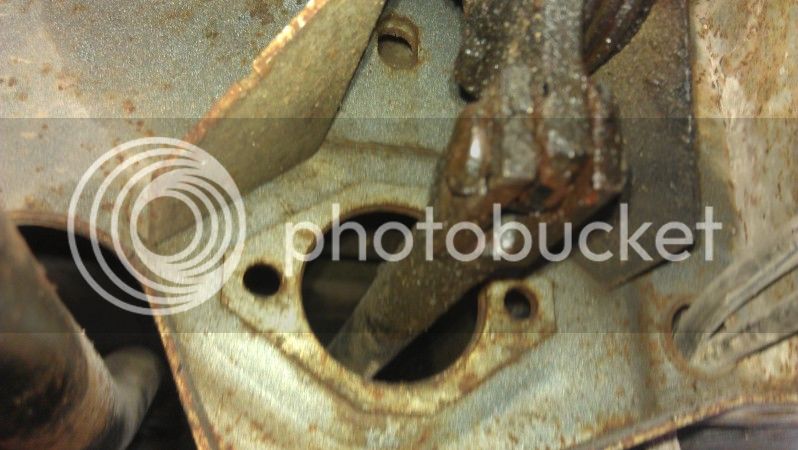
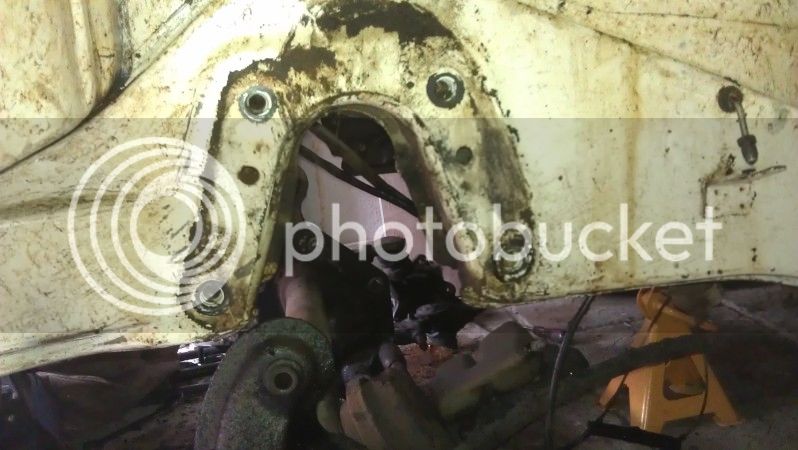
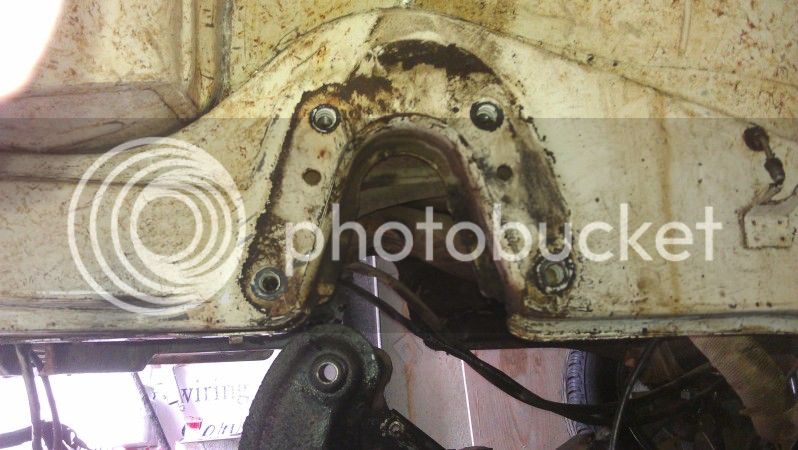
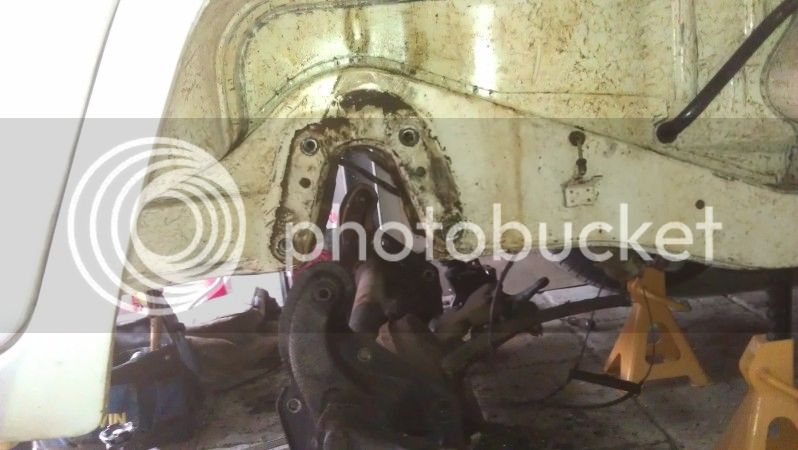
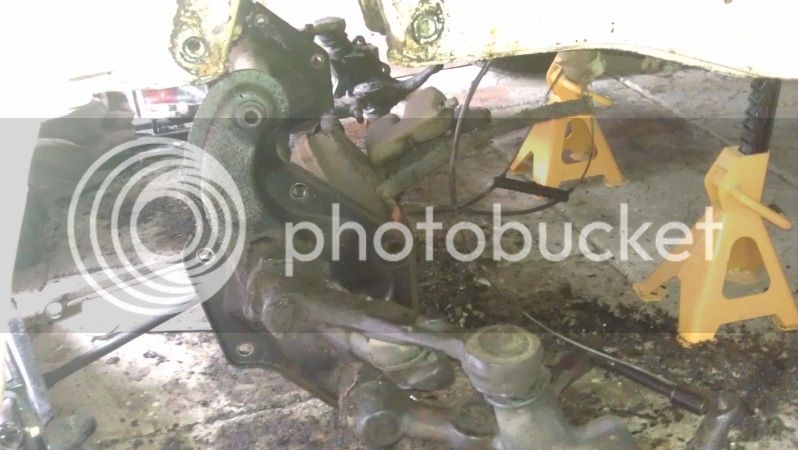
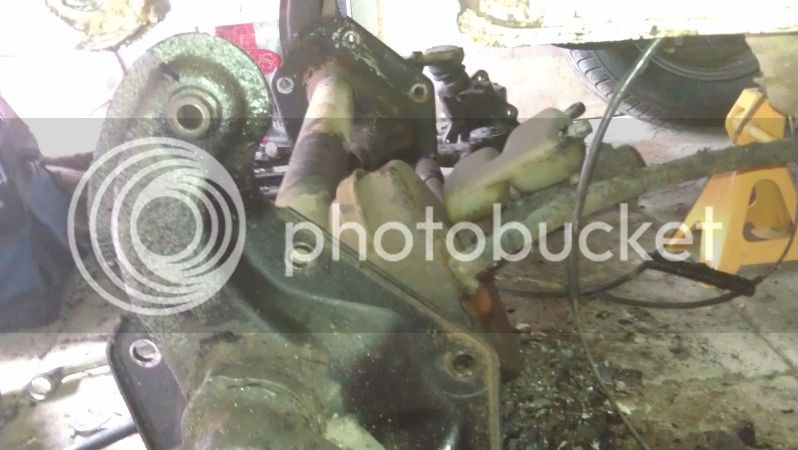
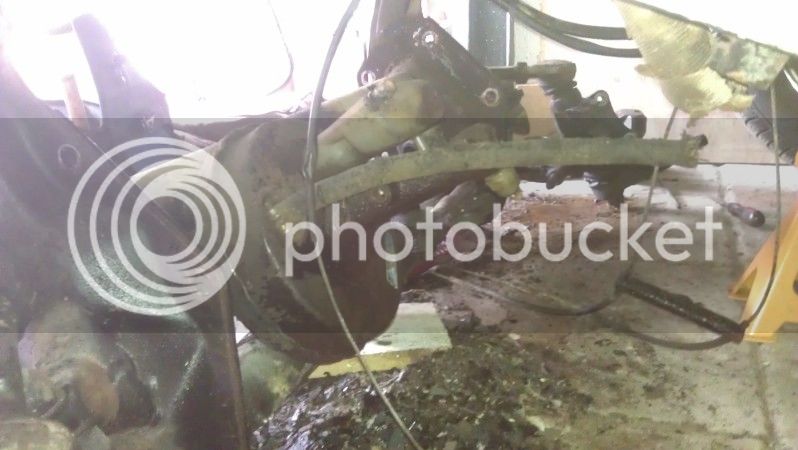
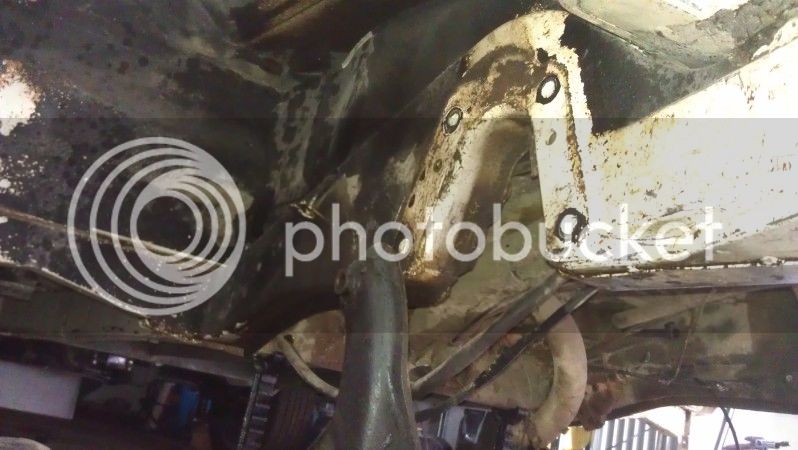
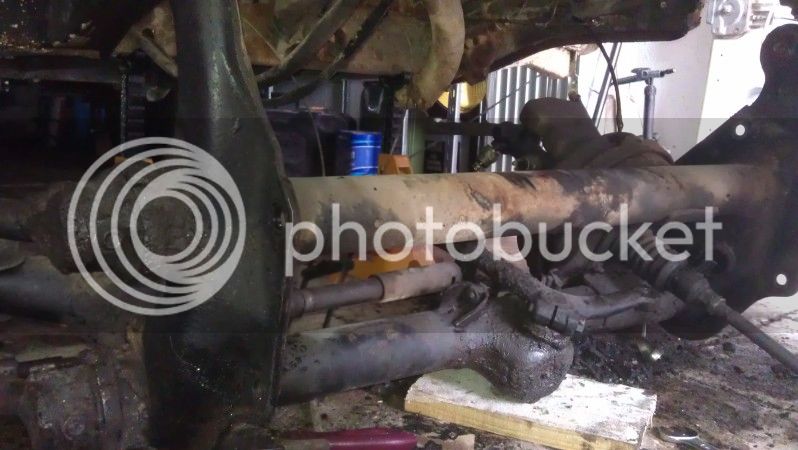
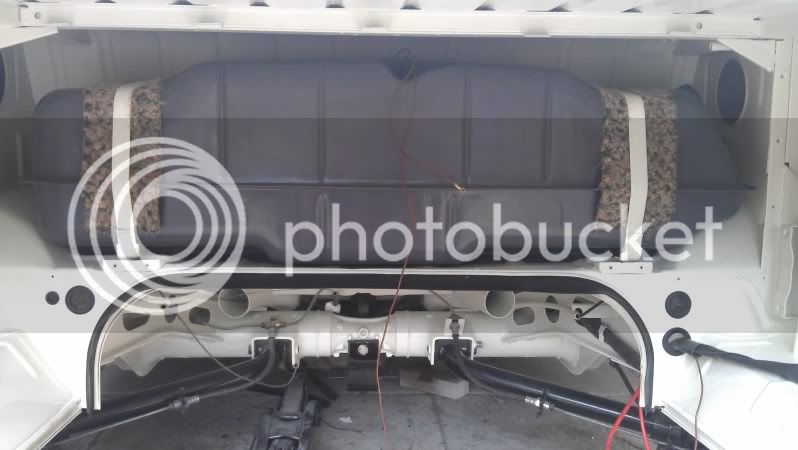
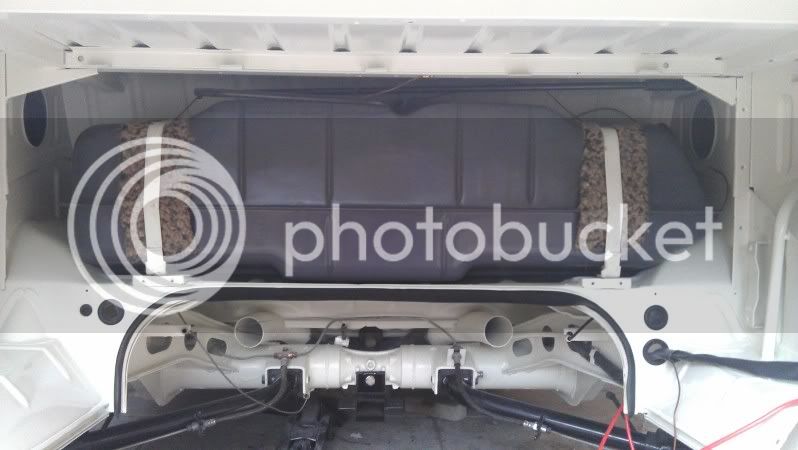
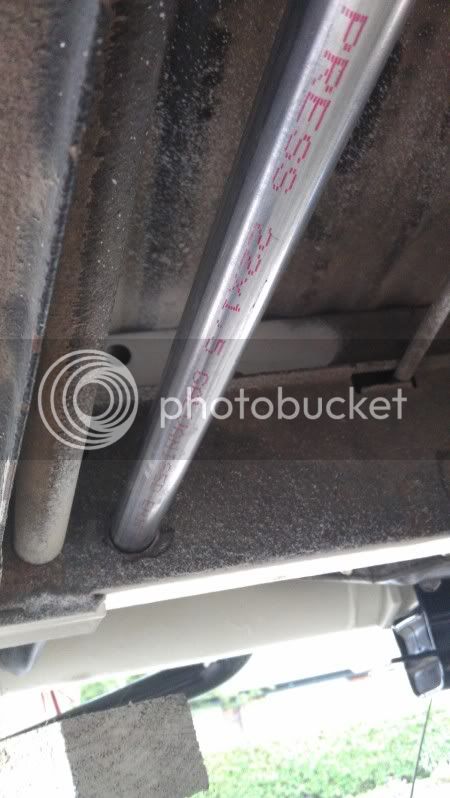
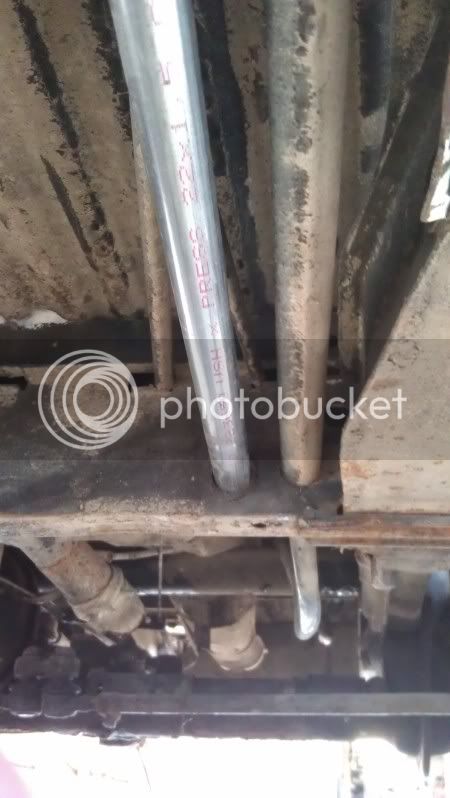
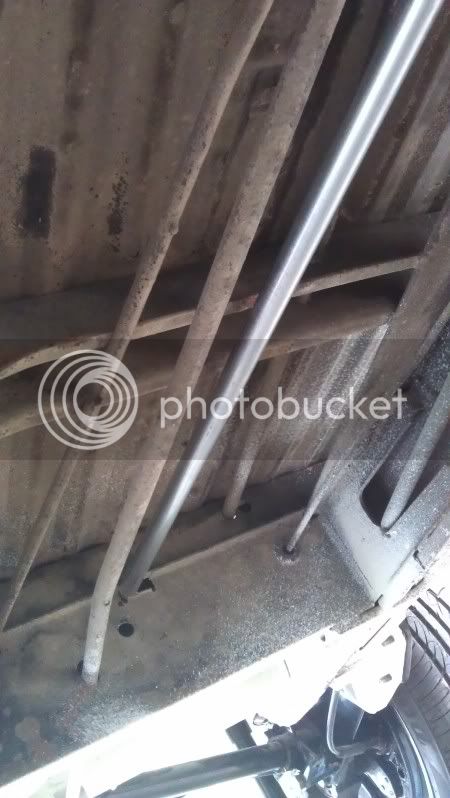
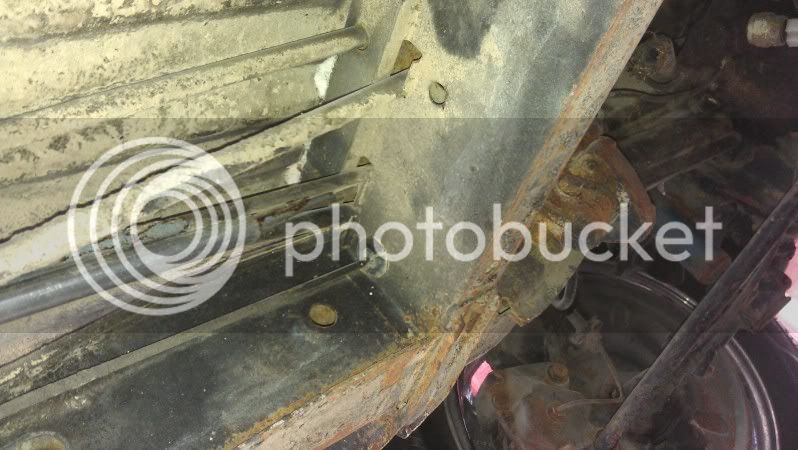
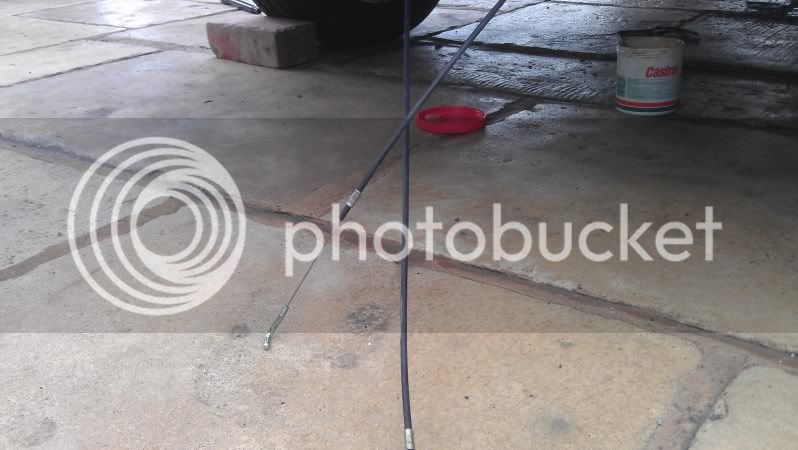
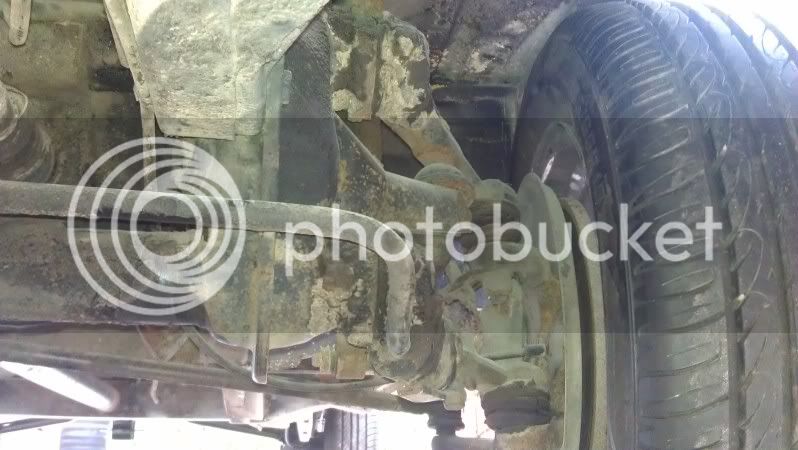
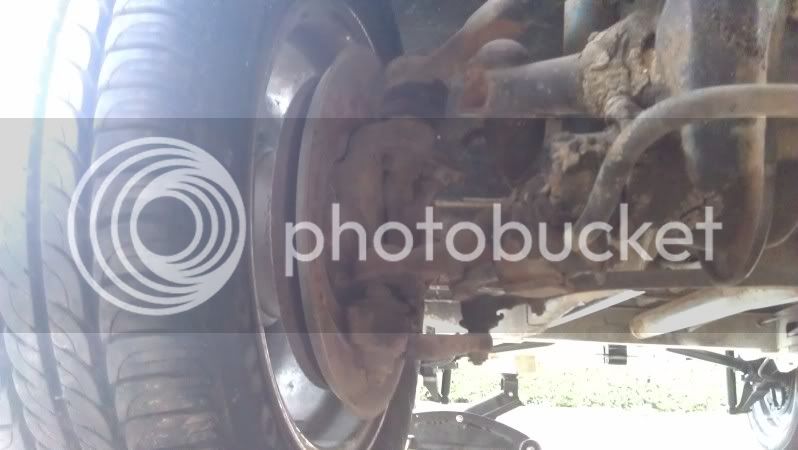
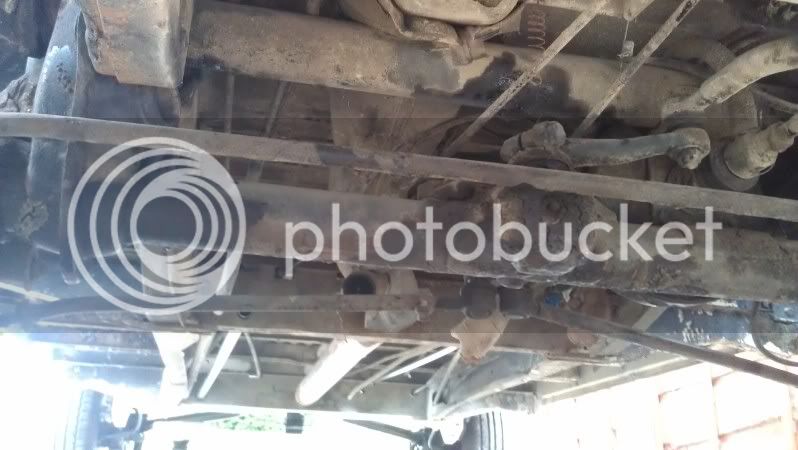
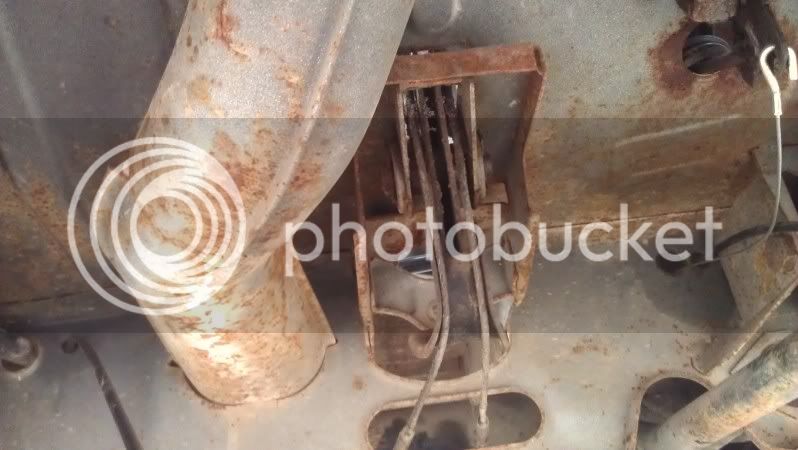
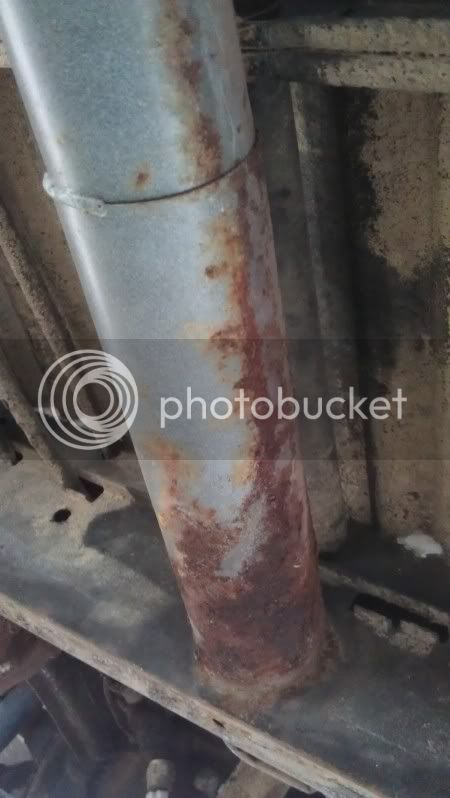
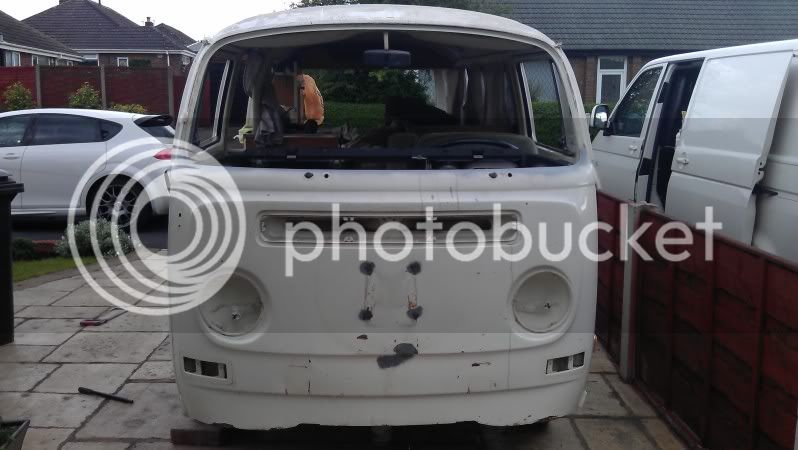
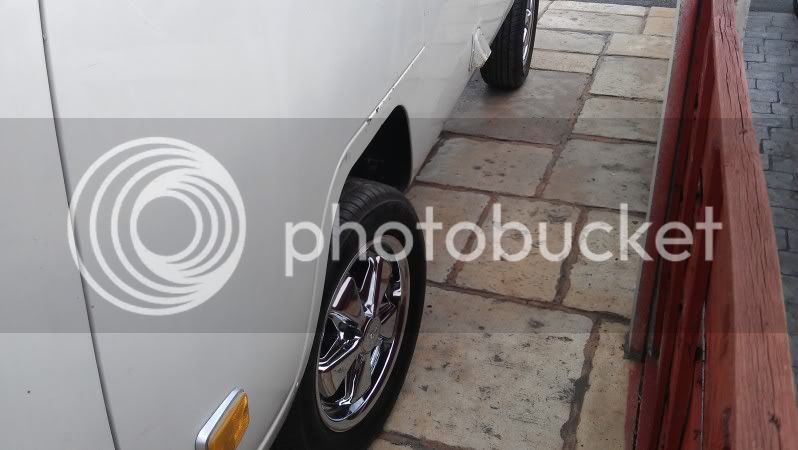
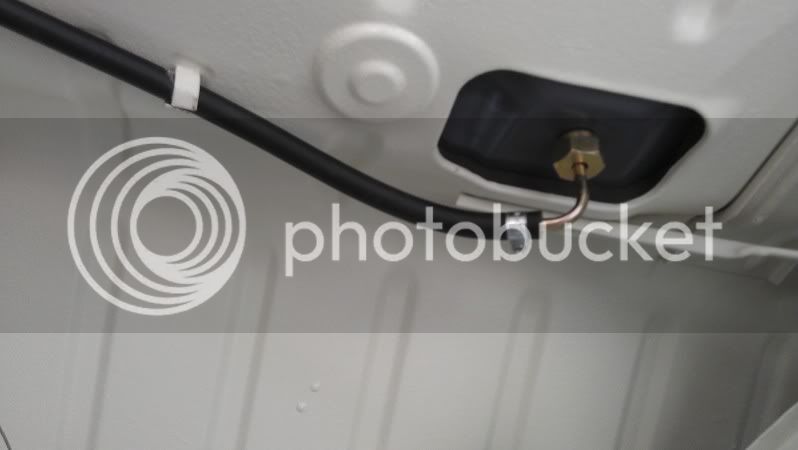
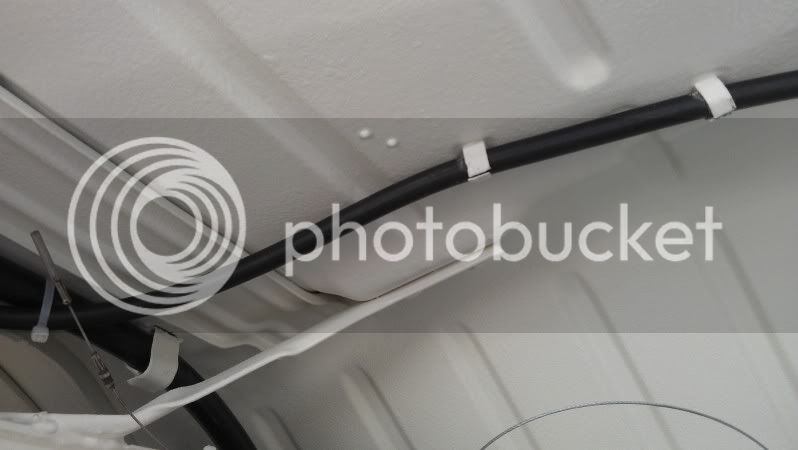
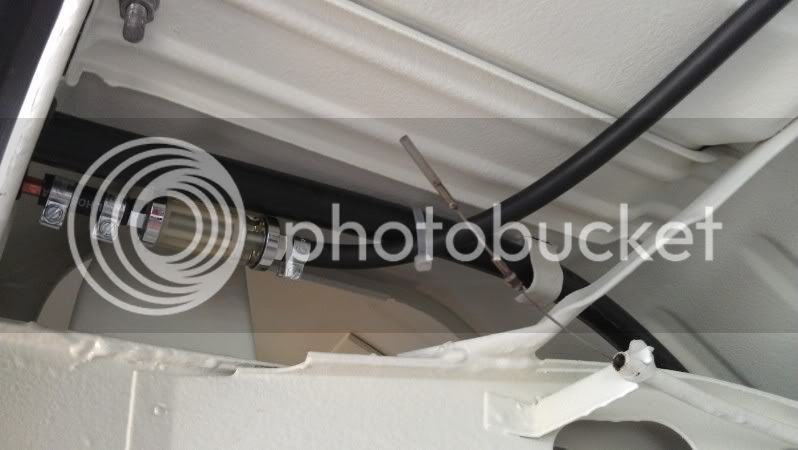
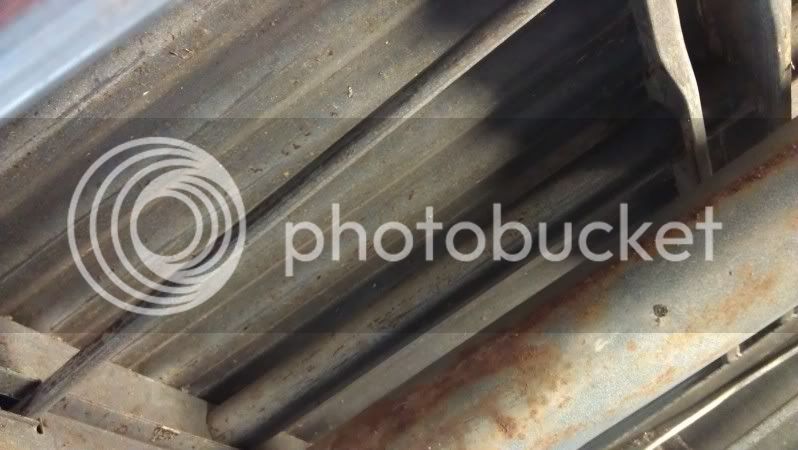
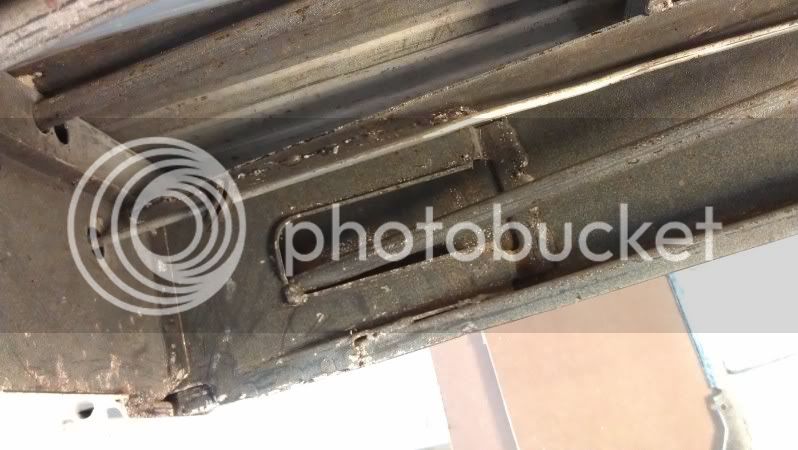
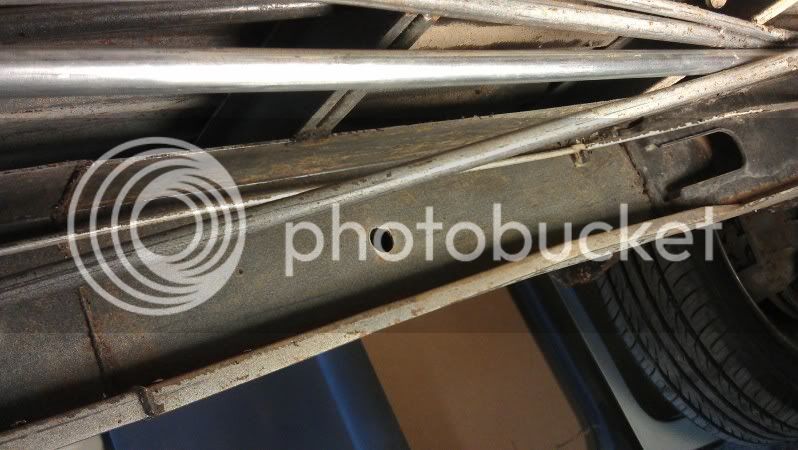
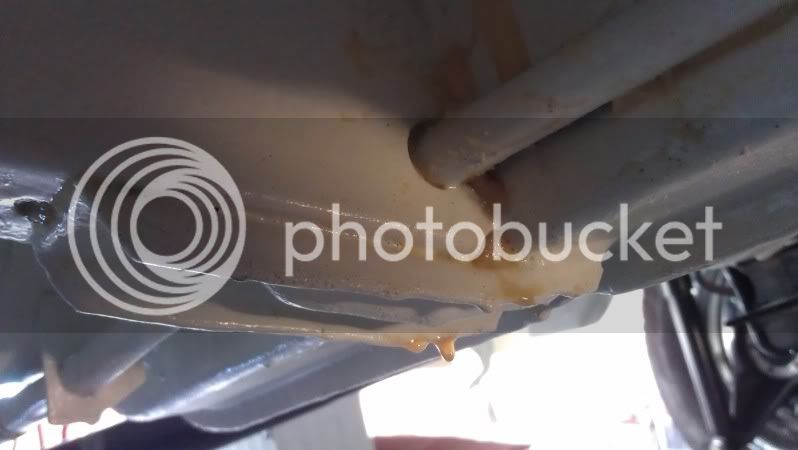
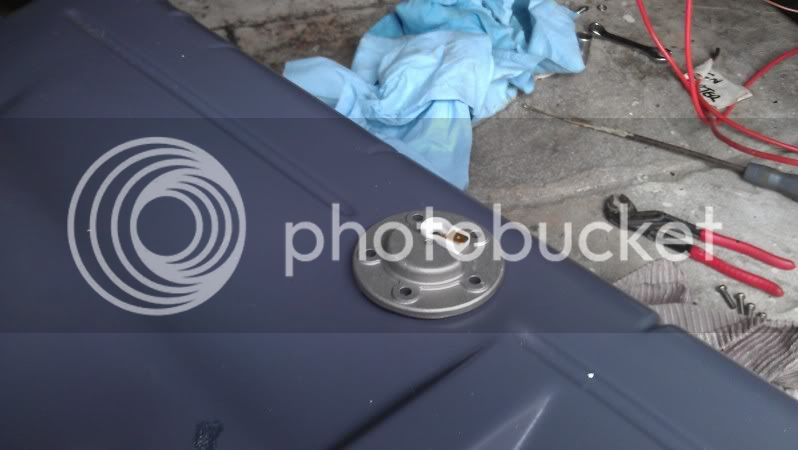
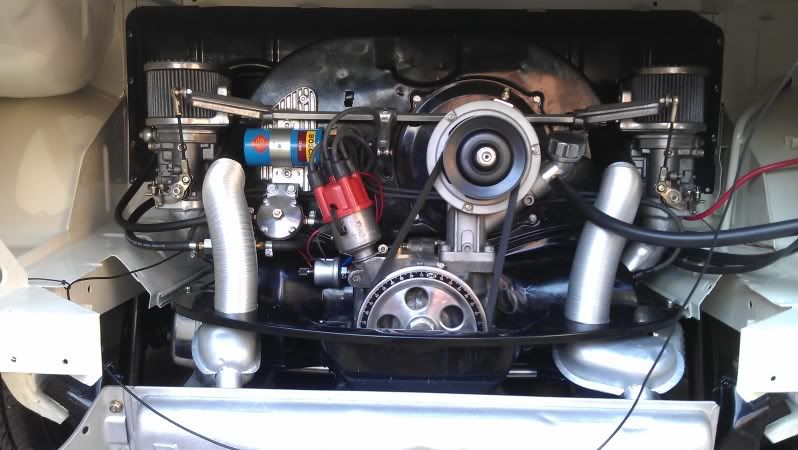
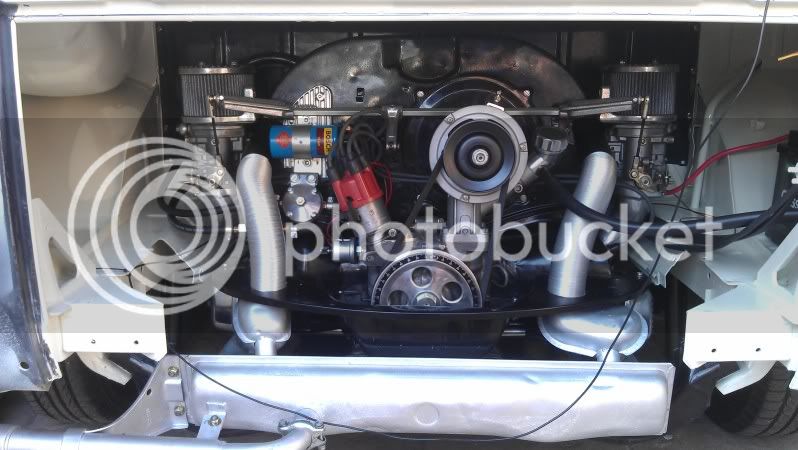
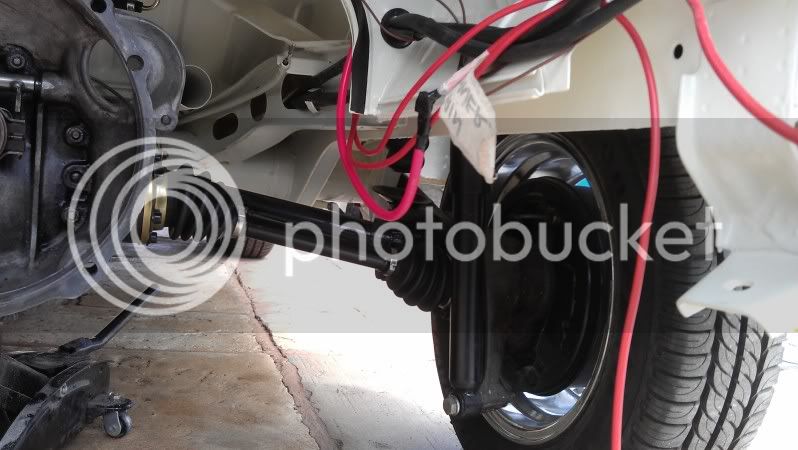
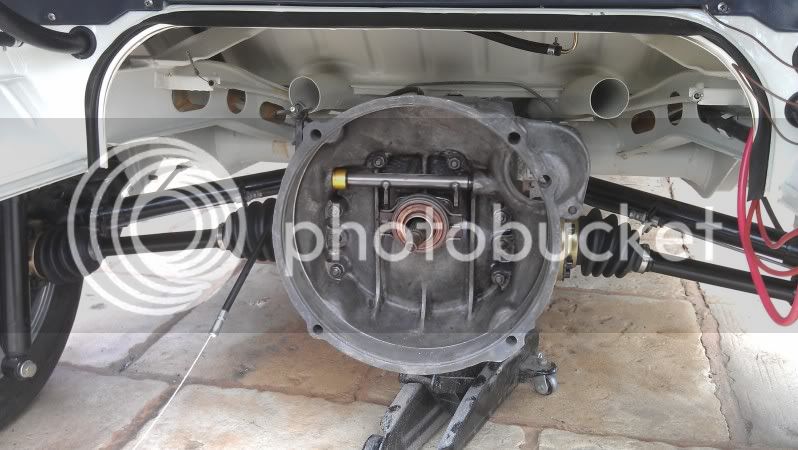
Some more engine pics, nearly all done now
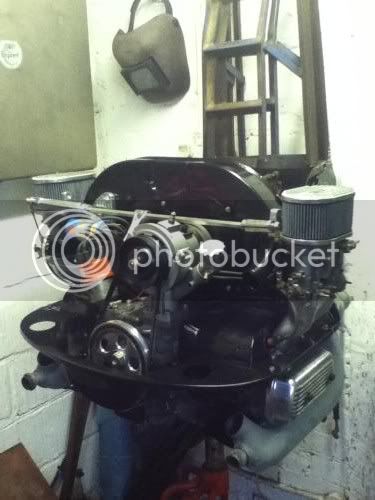
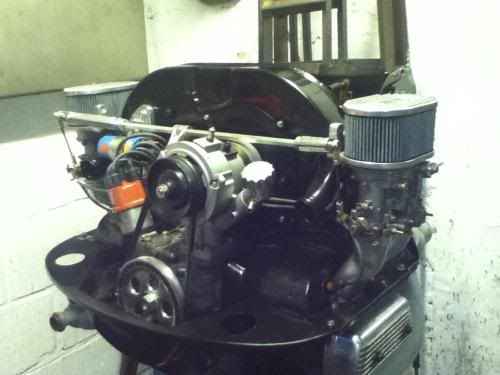
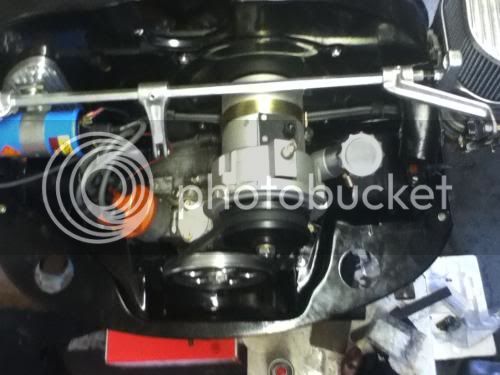
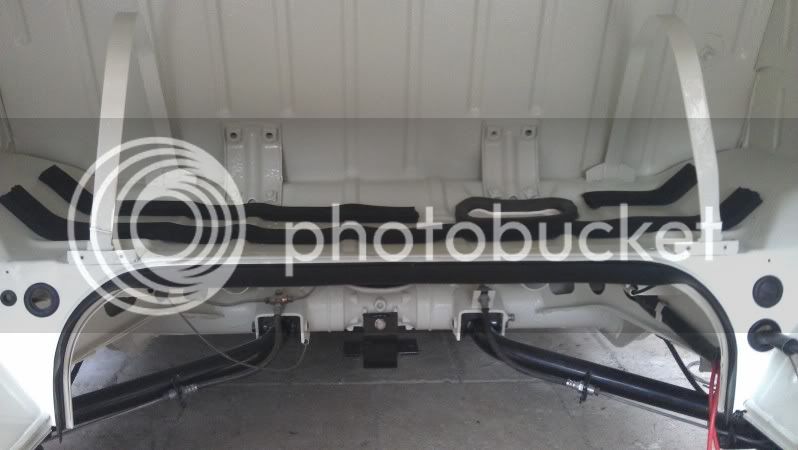
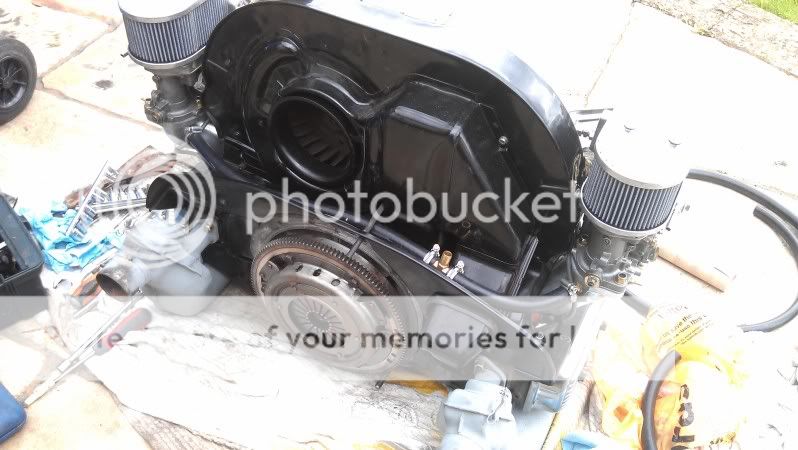
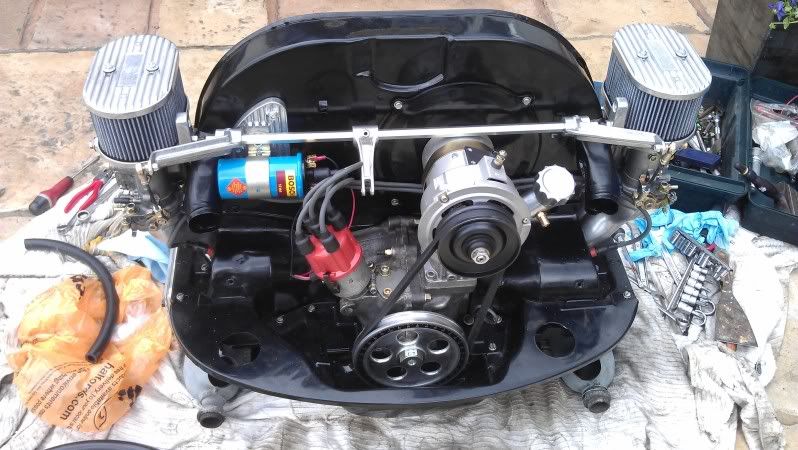
engine11.jpg


engine12.jpg


engine14.jpg
 
Petrol tank back in :)


IMAG0584.jpg


IMAG0585.jpg


IMAG0593.jpg


IMAG0592.jpg


Bought a new bottom connection, came with a plastic filter, decided to bin this and reuse the og one as i couldnt see how the new one would seal against the tank, the og one goes inside the hole and the plastic ones supposed to sit against the face :?

IMAG0590.jpg


IMAG0589.jpg
 
Bit more done

Put a new conduit in to run more cables for gauges and rev counter


IMAG0631.jpg


IMAG0632.jpg


Then where i had to chop a section out of the heater cable conduit , i put a 15mm one over the top


IMAG0633.jpg


IMAG0634.jpg


Then put the heater cable in at last


IMAG0638.jpg


The front is the next to be started after the engines back in, beam will be of paint underneath like the back and powdercoat everything in sight!


IMAG0644.jpg


IMAG0643.jpg


IMAG0642.jpg


IMAG0641.jpg


IMAG0640.jpg
 
Then after that will get on with stripping the centre section of underseal and crap where the conduits are and paint, took the lagging jacket off the heater tube, looks pretty good, slight bit of rust on the front bit


IMAG0636.jpg


IMAG0635.jpg


Front at the minute :roll:


IMAG0637.jpg


I like white by the way :lol:


Put me wheels on the front


IMAG0629.jpg


IMAG0630.jpg
 
Got the fuel pipe and filter done and pipe through to the engine bay

IMAG0666.jpg


IMAG0667.jpg


IMAG0668.jpg


Started stripping the old underseal on the centre section, got about half done at the minute


IMAG0670.jpg


IMAG0671.jpg


IMAG0672.jpg


IMAG0673.jpg


IMAG0674.jpg


Got some waxoyl down the section thats been done at the rear


IMAG0675.jpg
 
Finished stripping the underseal :roll:

Wired the battery up and connected up the fuel tank sender, put about 15 litres of fuel in it, turned the ignition on, nothing on the gauge,then a bit of a little bounce of the needle, so checked the earth, was ok, so went and got some more fuel, 20 litres more in, still nothing on the gauge

Checked all the wiring and everything was fine

Did a search on here and found if i earthed the sender out and if the gauge then reads full , then the senders fucked, yep thats what i've got :evil:

So just ordered a new sender from Heritage and got to drain and remove the tank again :cry: :cry:
 
Heres the pile of underseal not including the stuff that went in me eyes :msn4:


IMAG0693.jpg


Repalced the sender, tank out :cry:


IMAG0686-1.jpg


On a slightly happier note , the engines in :D


IMAG0692.jpg


IMAG0691.jpg


IMAG0695.jpg


IMAG0694.jpg


On the downside i had the starter reconned when i took the old engine out, it worked fine before but i thought while its out may aswell get it done :!:

What a waste of time that was as it now dont work at all :shock:

So never got chance to start it :cry:


A few more shots

IMAG0690.jpg


IMAG0687.jpg


IMAG0689.jpg


Next job is to do the wiring for the Alternator, coil , oil press switch and guage, and the fuel pump, prob will wire this through a relay

Also got the breather box to do :roll:
 
Heebee_GB said:
Stunning work dale. :D
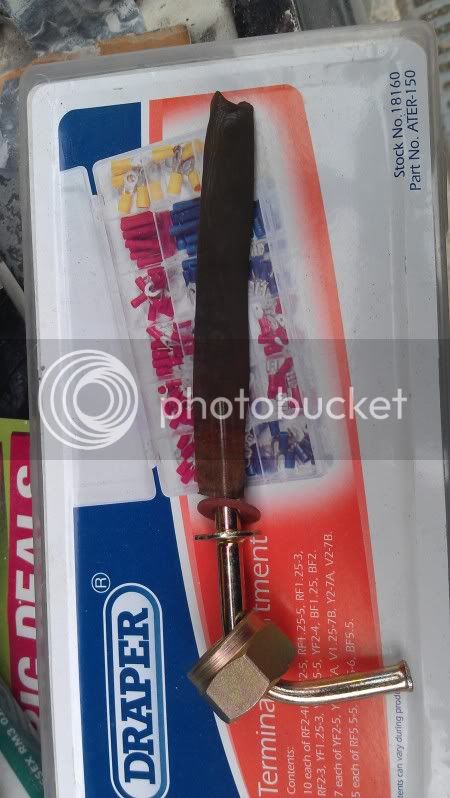
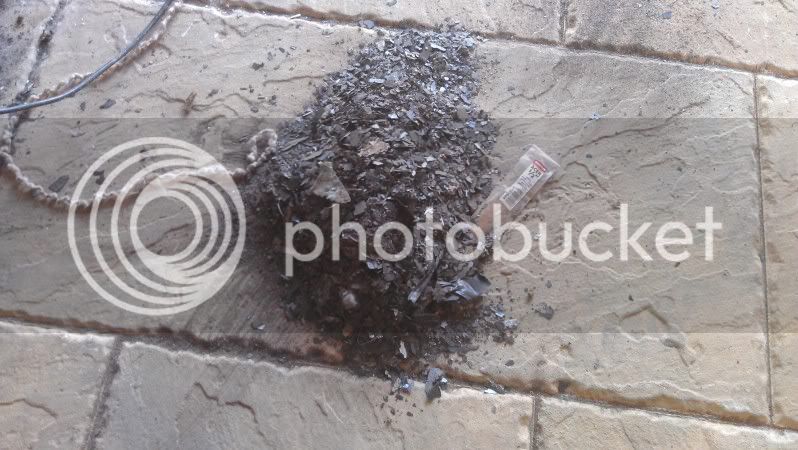
What did you use to get the underseal off?


Cheers Gary

Metal decorators scrapers from aldi, its hard going in places lying on your back, hard plastic ones may work but just be careful not scrape the metal through the paint
 
Superb effort. Your hard work is paying off. A wise move sorting out the fuel tank and replacing all connections. I can never understand new bus owners that never do this when a bus is 40 years old! :shock:

You must be well chuffed.
8)

LV
 
http://www.youtube.com/watch?v=hQFTroh1OqE&feature=g-upl" onclick="window.open(this.href);return false;


Here's a link til i sort how i want it to be like in the post :?
 

Latest posts

Top