'72 Danbury project

Early Bay Forum

Help Support Early Bay Forum:

This site may earn a commission from merchant affiliate links, including eBay, Amazon, and others.

rustpolisher

Member
Joined
Jan 12, 2007
Messages
11
Reaction score
0
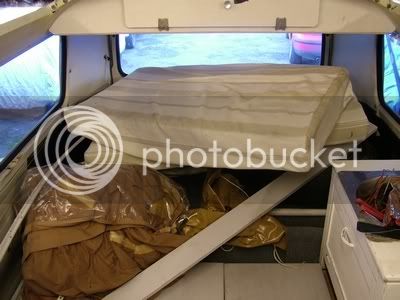
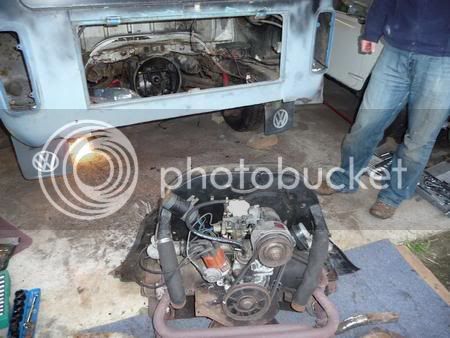
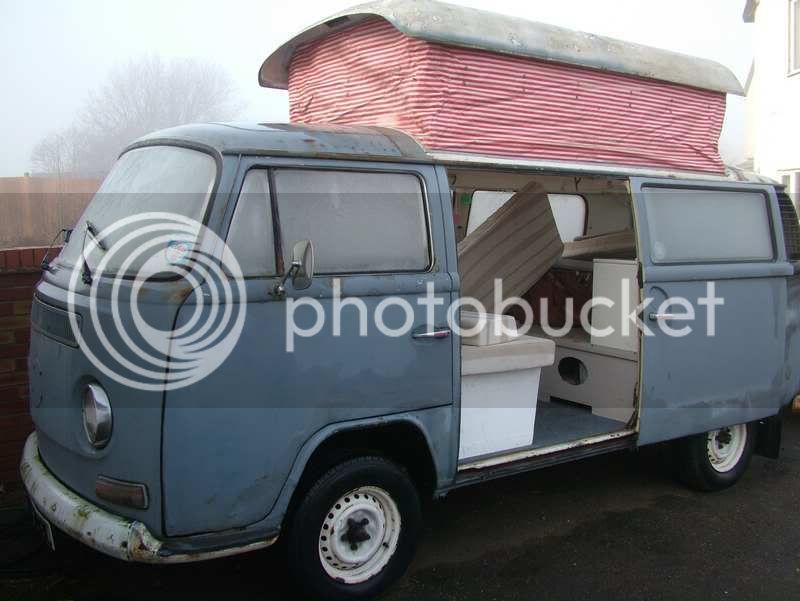
Hello earlybayers, This is my '72 bay originally a danbury conversion. I brought it mot'd in 2006 with the hope to tidy it up. paint it and use it but I was busy doing another car and it got shelved.
bus0013.jpg

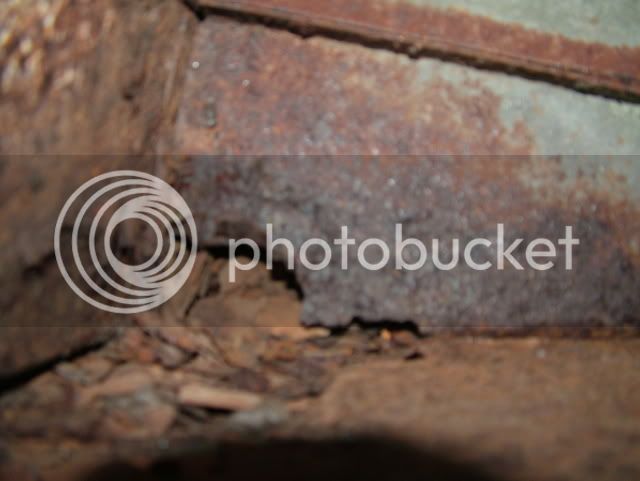
But i've now got it in the garage and made a start, it's already had quite allot of work done by previous owners/garages, some is ok and some are complete bodges as usual.

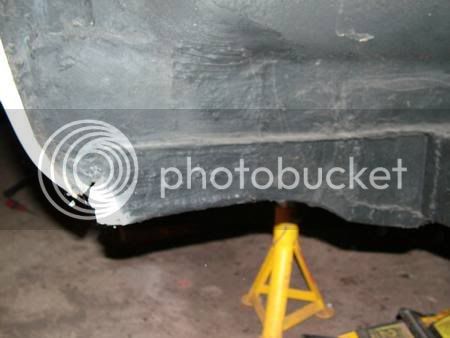
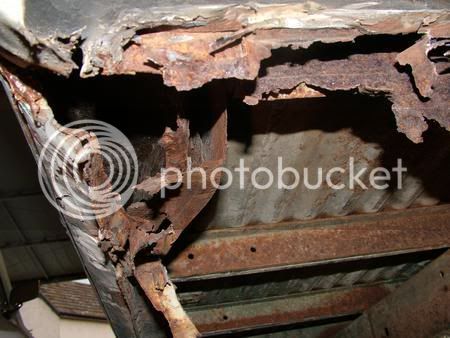
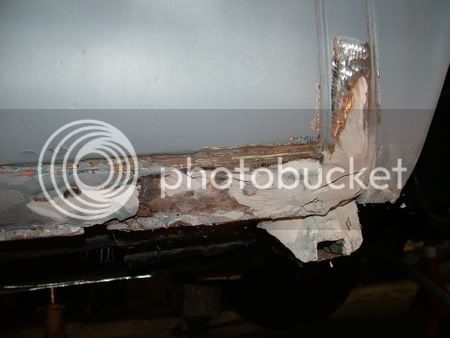
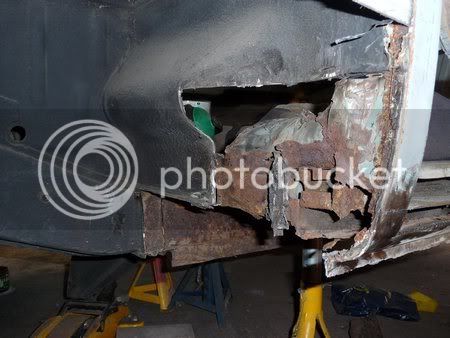
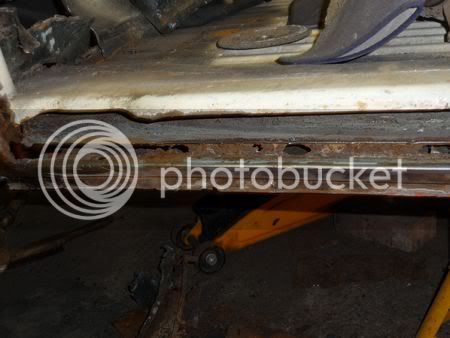
I could hear lots of bits rattling around under the belly pans so took the plunge and cut them off, after sweeping up a great pile of rust found that most of it had come from the belly pans and the chassis rails, inner sills and floor looked ok. But the front outriggers are shot so that's the next job...
2008_0106bus0080.jpg
 
Hi There and welcome!

72 Danburys rock in my book so good luck with the resto and make sure you keep us all updated with the progress!

:wink:
 
Welcome rustpolisher! :D

Looking forward to seeing/hearing more in due course! :D

It is a crossover, Halfpint_fighter, but I admit I had to look twice, as the sliding door slightly obscures the vent! :D

I hope you and your fine Danbury are well. :D
 
Having gone and had a look at the early vents i can see that is defo a crossover! I didn't realise the larger vents had that much curve on them.
 
Good work fella, nice to see another danbury on the road to recovery miles of smiles :D yahoo
 
Just remembered I hadn't updated this in ages :oops: but then I work pretty slow!

Anyway, i've stripped all the interior out
2008_0106bus0063.jpg

It's all in pretty poor condition and so hacked about it'll have to be replaced.

Front out rigger first, doesn't look too bad at first
2008_0209cars0004.jpg


But under the layer of underseal reveals the extent of the problem
2008_0209cars0013.jpg


Front of the o/s sill was also a mix of ally plate, rivets, gauze and filler
2008_0209cars0001.jpg

The rest of the sills look ok, seem to be full of some goop so maybe waxoyl'd sometime in the past?

n/s not quite as bad but outrigger more patches on patches so needed replacing.
2008_0921various0003.jpg


Sliding door seal channel a holey mess and was a fiddly repair
2008_0921various0002.jpg


Also started on the mechanicals, engine and gearbox out. I can now repair and clean up all the engine bay much easier.
2008_1116bus0267.jpg


Nothing wrong with the old engine, but i've a more powerful one to go in.
2008_0921various0036.jpg


Still loads to do so better crack on...
 
I'll try any remember to take some more photos. I will be getting on with the engine install once i've tidied the engine bay, various welding jobs including both battery trays (one seemed to be a bit of formica table-top?) and some bits of the rear valence.
 
Good luck with it all, great to see another Danbury being looked after!

My battery tray was a piece of wood for the first 2 years we had it :roll:
 
It's a 1600 TP, afaik in standard trim bar the exhaust. I will be getting rid as it's taking up precious garage space :)
 

Latest posts

Top