72 Dormobile(Work in progress)

Early Bay Forum

Help Support Early Bay Forum:

This site may earn a commission from merchant affiliate links, including eBay, Amazon, and others.
Picture051.jpg
 
As i said she is a work in progress and havent actually driven her yet(well only onto and off the trailer)But things are starting to come together, allbeit slowly :D

Picture048.jpg


Picture049.jpg


Have recently fitted re-buit beam as old one was completely totalled and was main cause of mot failure.managed to source a second hand one fromgood old ebay and had a good friend locate leaves and arms for me 8)
 
Beam that came out
Picture054.jpg


Picture052.jpg


Picture009.jpg


Sorry the pics are a bit vague but unfortunatly camera is bost so will sortout some more soon as a lot of welding bodywork etc etc has been done since these.

Thanks for looking

Cheers :)
 
TBH i am so desperate to get her out for this summer she is staying stock.But i will definatly be hitting her with a lowering stick. I mean she is a bit rough around the edges but after i have had some miles out of her she`ll go back into hiding for a makeover but for the min i just want to show her off :wink: :wink: :wink:

Im sorry about the front indicators they were added by prvious owner :oops: :oops: :oops: :)
 
I agree matey its definetly a good idea to have some fun with the bus, it will motivate you to do a bit more when the weather is pants in the winter. I'm not worried about lowering or cosmetics at the moment, just want to use the bus and have a laugh. Some people spend ages restoring a vehicle use it once then sell it, no way dude!! :lol:
 
Alzy - welcome and yet another wonderfull Dormy - what's the interior
like :?:
8)
 
Hello!! Erm its a bit grimy at the moment and immissing both buddy seats. Idealy it needs to be ripped out to replace floor, foam, fabric etc etc which hopefully will be done soon.i`ll get some pics of interior once i tidy it up :oops: :wink:
 
Just an update of whats been going on.

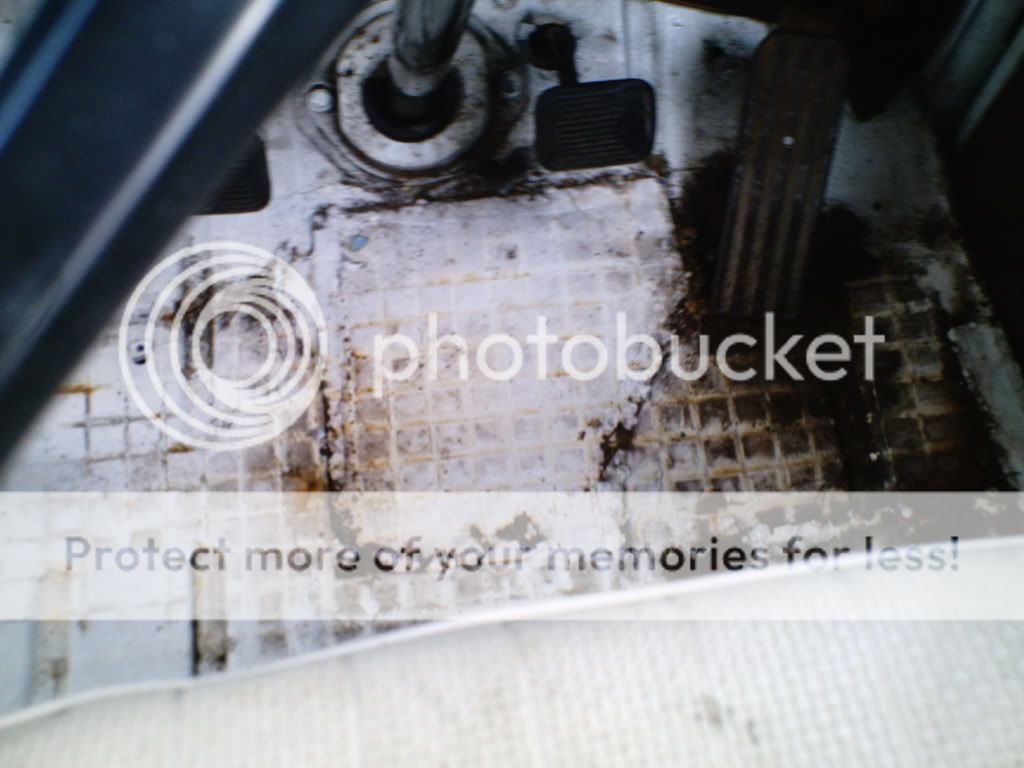
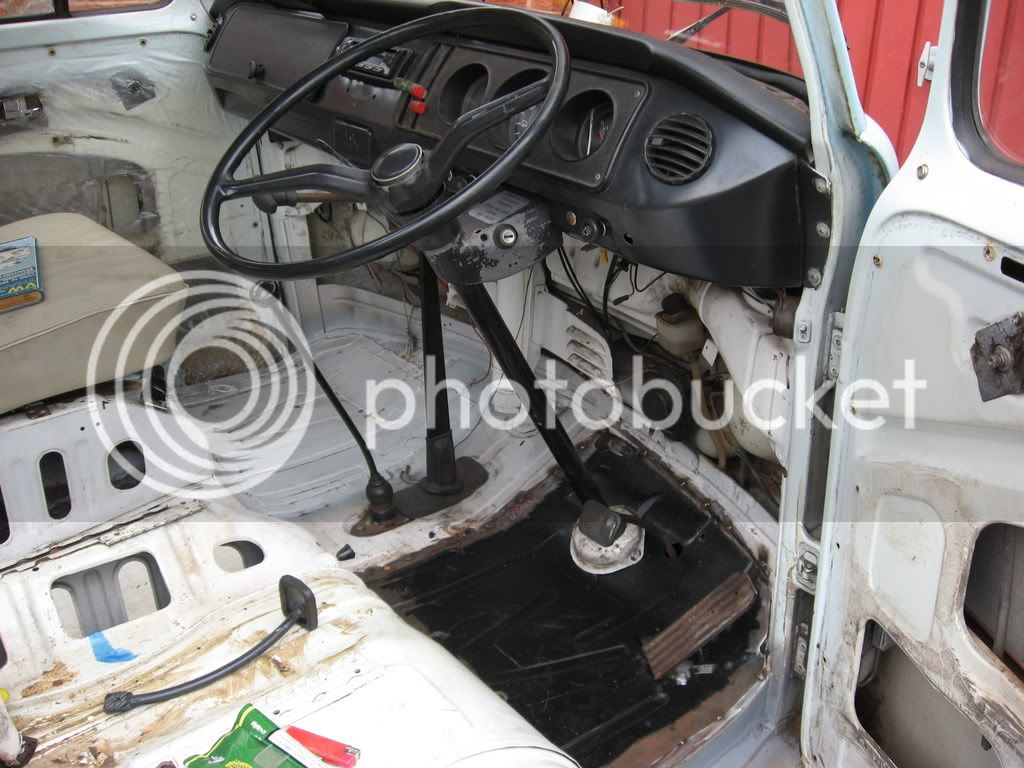
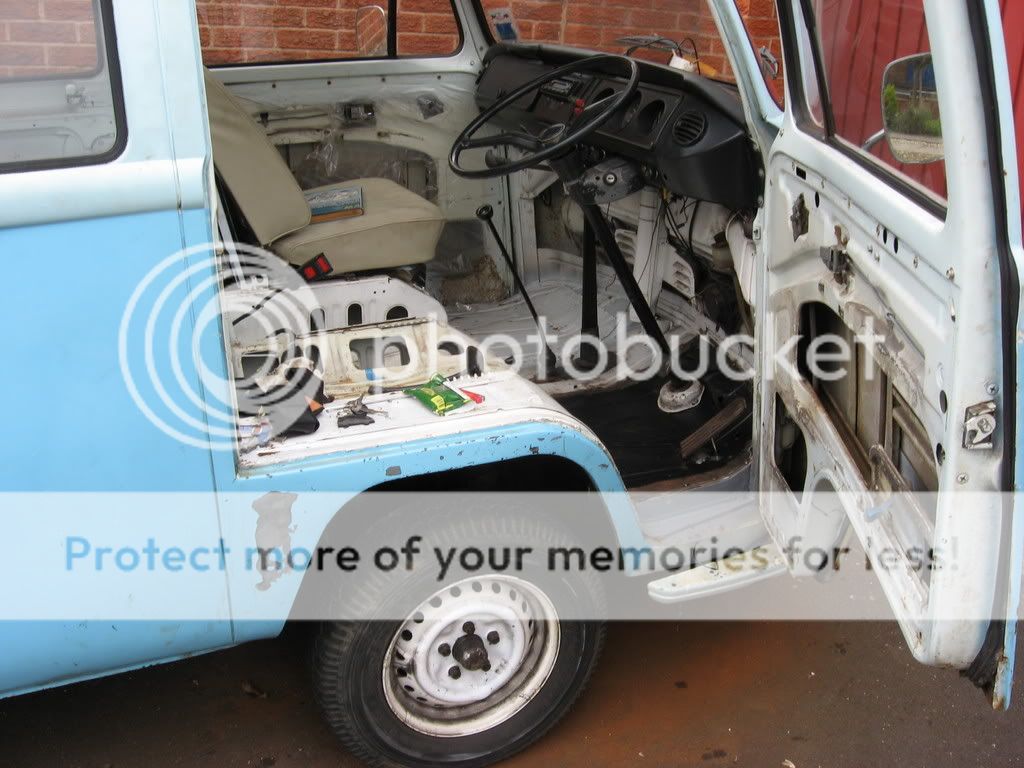
Both sides of the floor are now in which became a complete headache due to the complete cab floor not fitting and me having to chop it up.

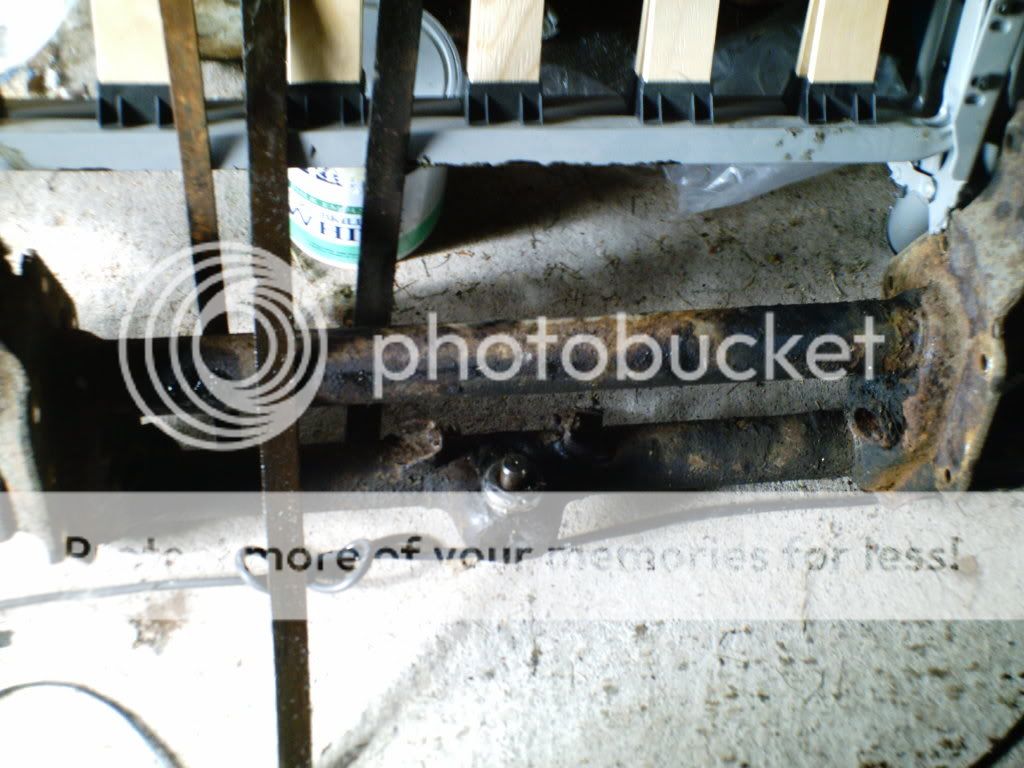
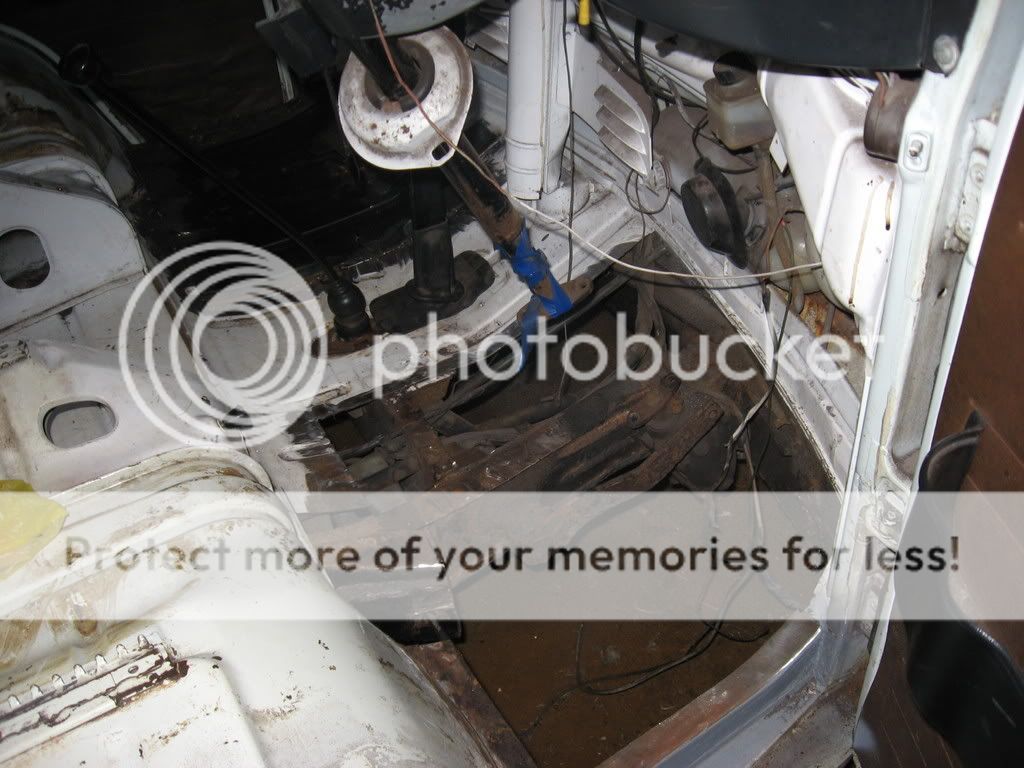
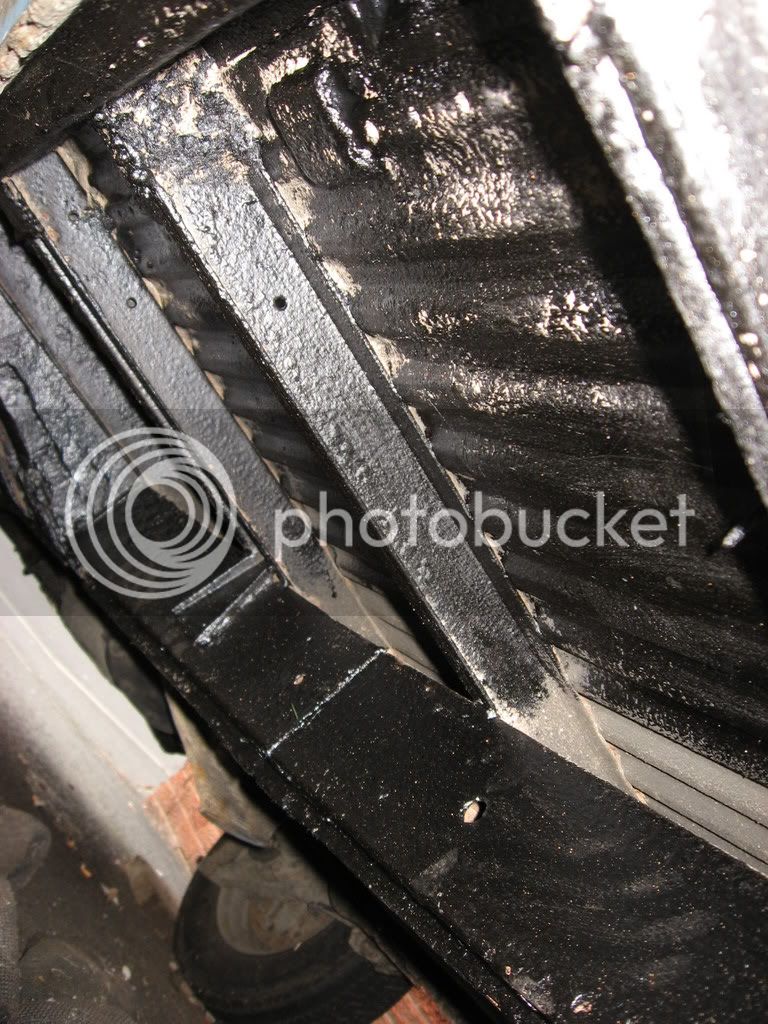
The beam is also in greased and undersealed so it should last until I start to tickle it with a lowering stick.

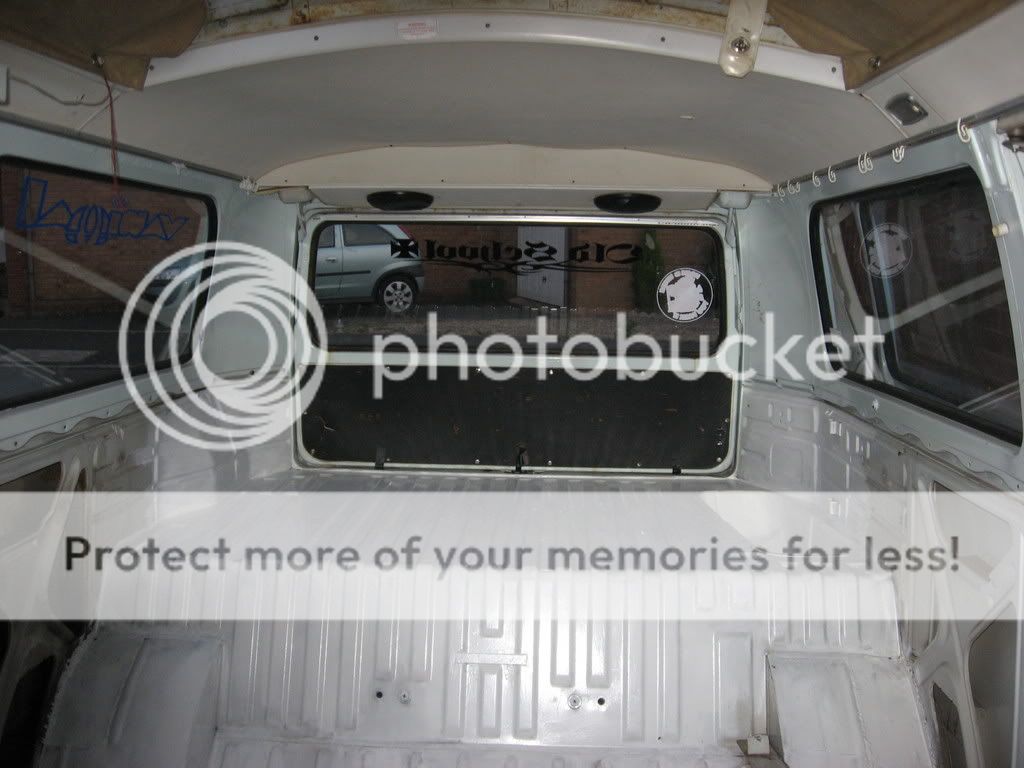
I stripped the interior out to reveal what nasties i assumed were there but fortunatly all was relatively sound, so a lick of paint was all that was needed to tidy it up!!!

IMG_0178.jpg


IMG_0186.jpg


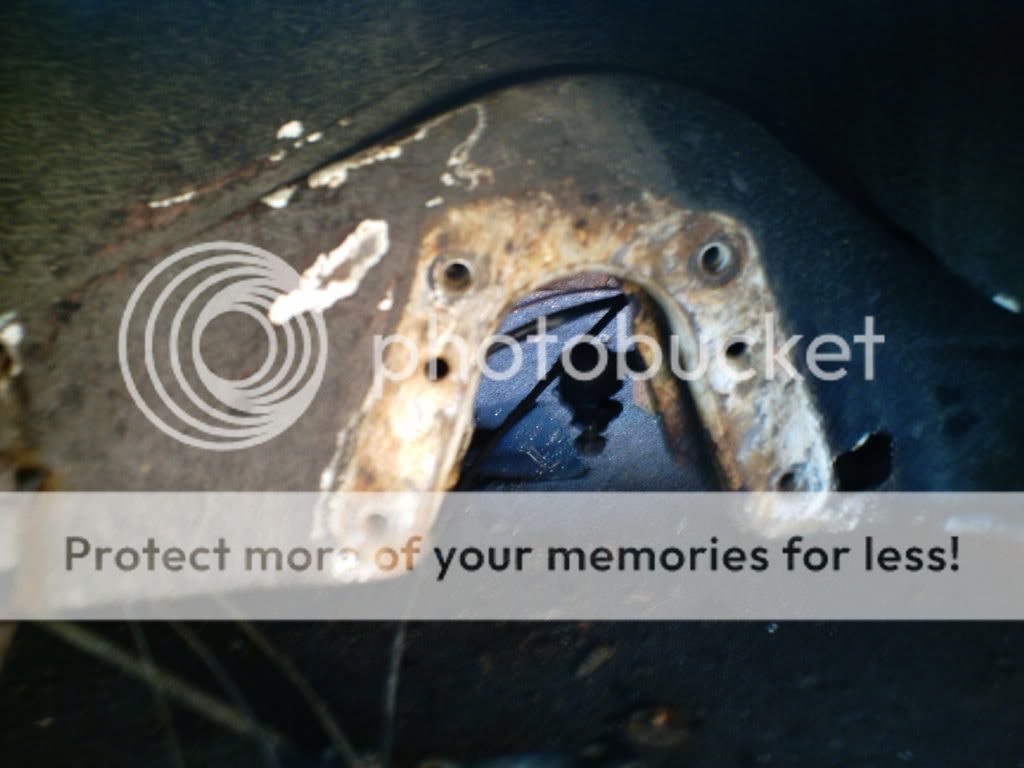
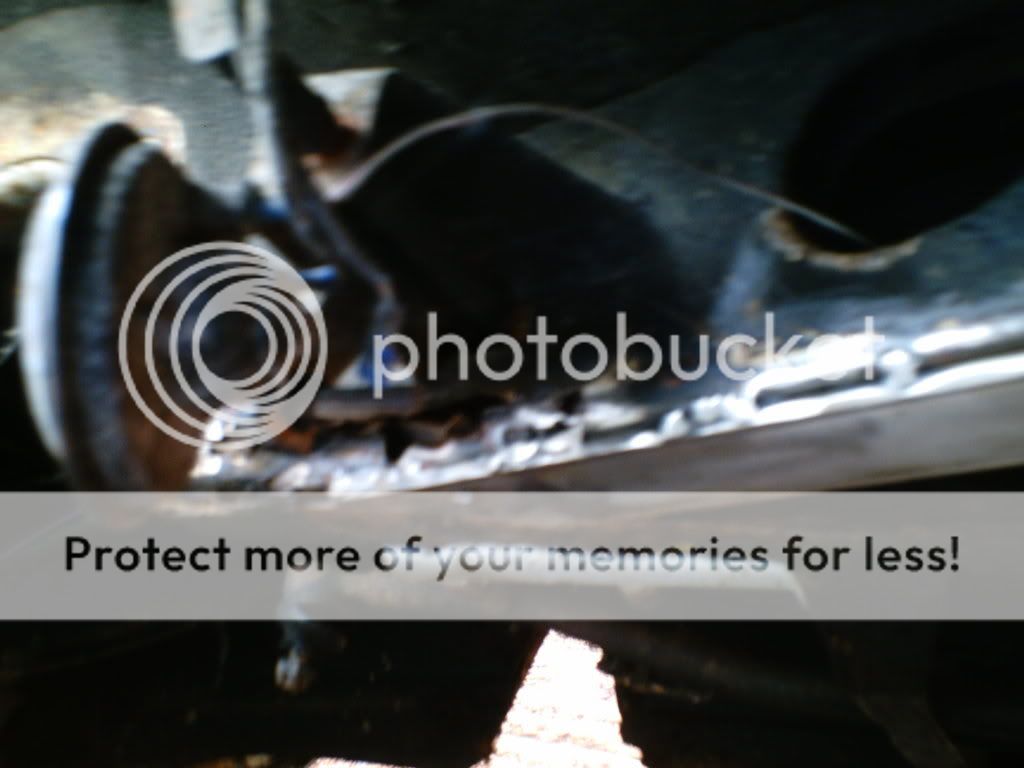
Also welded in a new chassis rail on o/s aswell as new 6mm strength plates on bothe sides.

IMG_0176.jpg


The front end has also had four new ball joints, four new bump stops, new dampers, and steering rubber coupling.


IMG_0284.jpg


IMG_0285.jpg

[/img]

I have undersealed all the way from the front upto the rear torsion arms which i spruced the underside up a treat

IMG_0286.jpg


All that is left to do now is sort out a feed to the bulb on the dash for the main beam warning light, get the horn working again and a new n/s headlight and its off to the garage for a new ticket :wink:


I hope :!:
 
When I adjusted the handbrake on mine I found that if you adjusted it to the max with the wheels in the air then let it down ,the handbrake came on! So after reading haynes manual it says to pull the handbrake on 6 clicks and adjust it till it just starts grabbing.After doing it this way it was ok.
Did you have trouble like that?
 
I fitted the new shoes and adjusted until there was a slight drag on each turn of the hub(due to the fact they aren`t perfectly round) Then adjusted the handbrake cables until they held. Although they need some more adjustment to reduce the amount of clicks in the handbrake lever.

It didnt help that each side was different? :?: It didnt make sense as one side had a pins through the middle bar and the other side had a fork type thing. I`ll get pics us asap!

Cheers

Alex
 
Here she is in all her glory!!! :lol: :lol:

IMG_0368.jpg
[/img]

IMG_0373.jpg
[/img]

IMG_0381.jpg
[/img]


Still a lot body work to be done but that`ll start next year with a new front panel, two rear corners, repair two cab doors and bottom repair on slider and a o/s rear arch!! 8) 8)


So far she has had:


Rust free front beam with new leaves
2 x new dampers
1x new steering dampner
1x o/s front chassis rail
2x 6mm stregnthening plates over front chassis rails
4x new ball joints
1x o/s rear back plate
Some renewed barke pipes
Brake shoes
Extensive welding
Clutch cable
Accelerator cable


Next job is to get the interior liveable with some new carpet and flooring and foam with new covers for the rnr bed!! 8)

MOT will be happening in the next 10 days or so as this gives me enough time to juggle work and other stuff so i can just check final bits and bobs!! :idea:


At last the end is NEARLY nigh :wink:
 

Latest posts

Top