

Araon
Well-known member
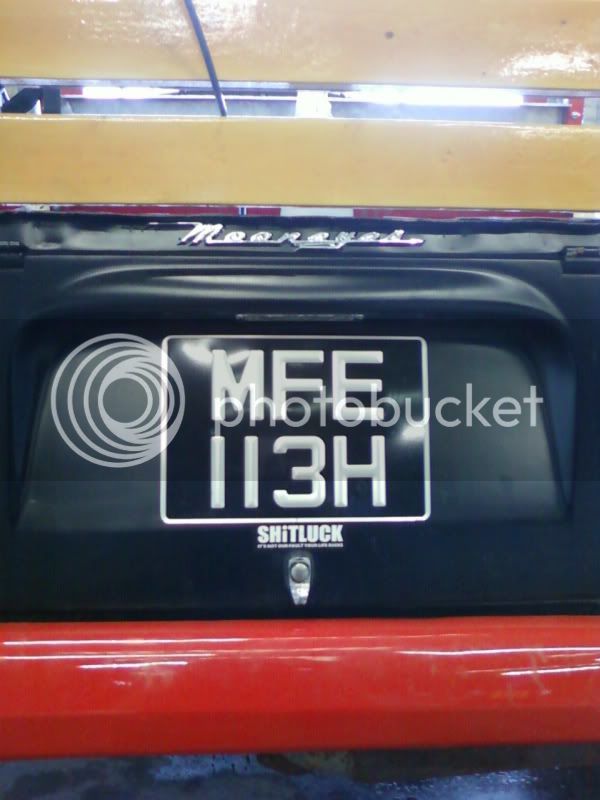
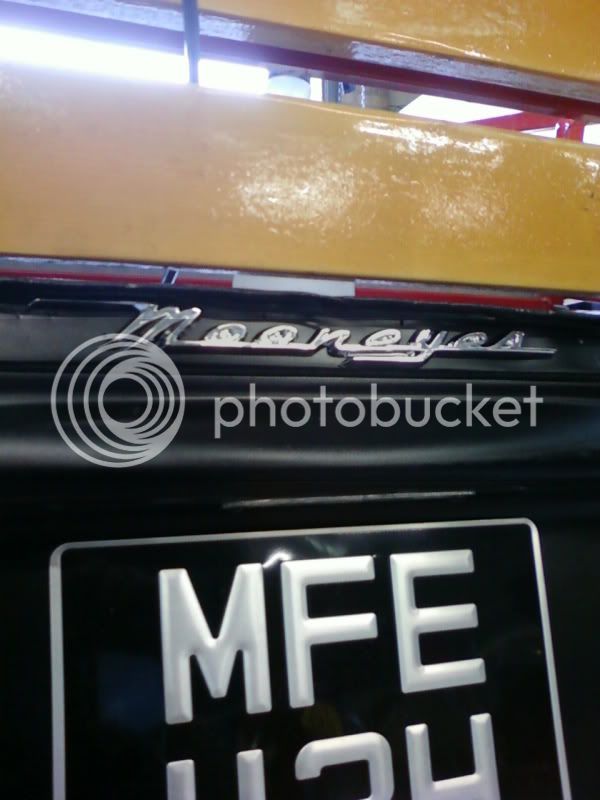
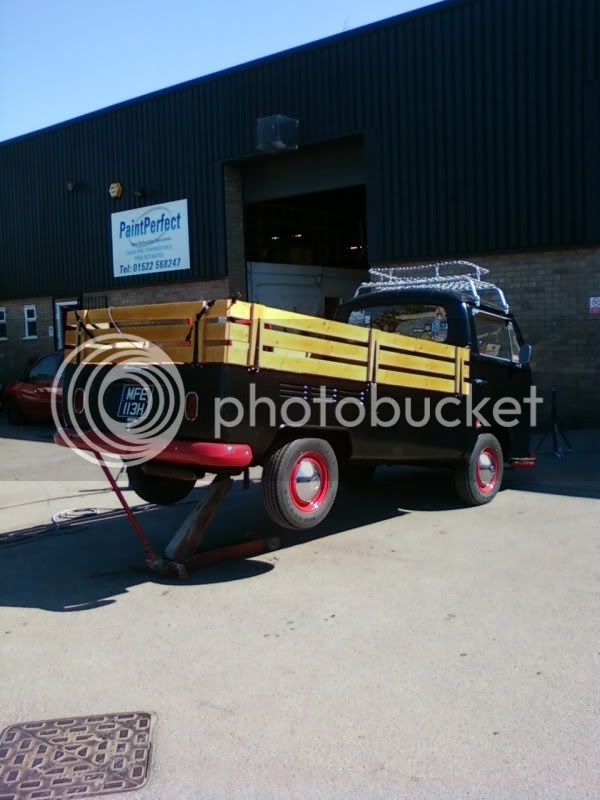
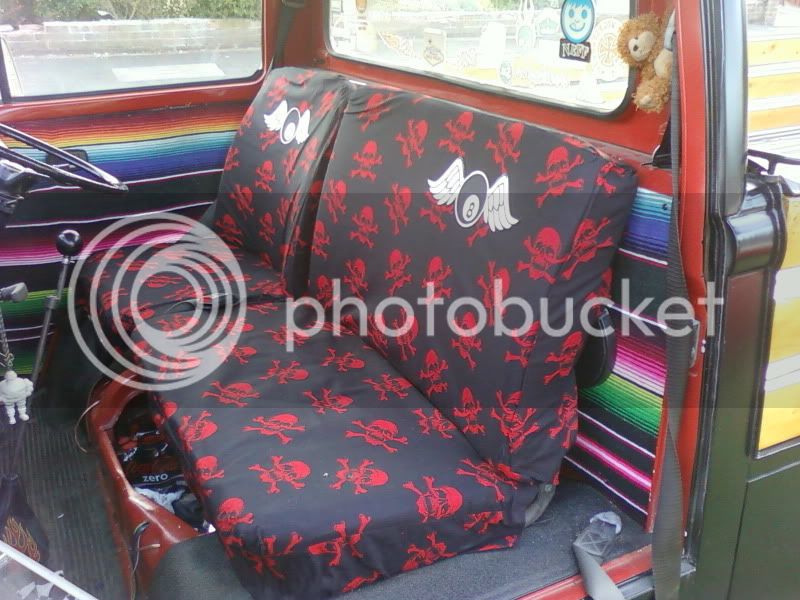
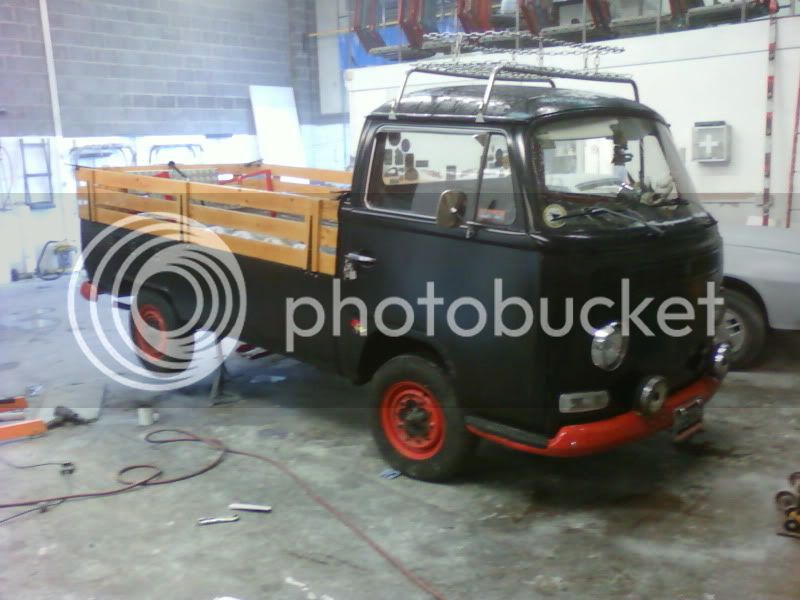
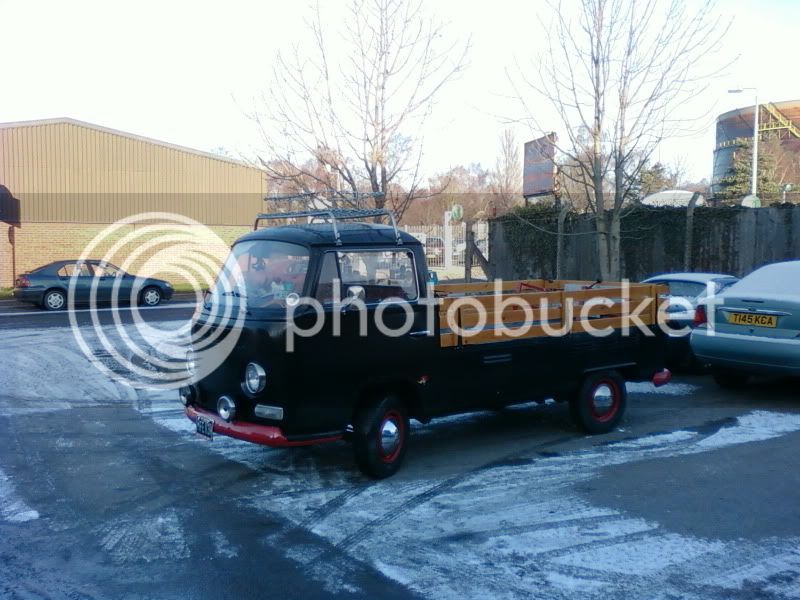
I wasnt too sure on this van, the colour or something never really dragged me into it, but having seen it at Stanford Hall I kinda like it, very individual 8)
")


 )
) 


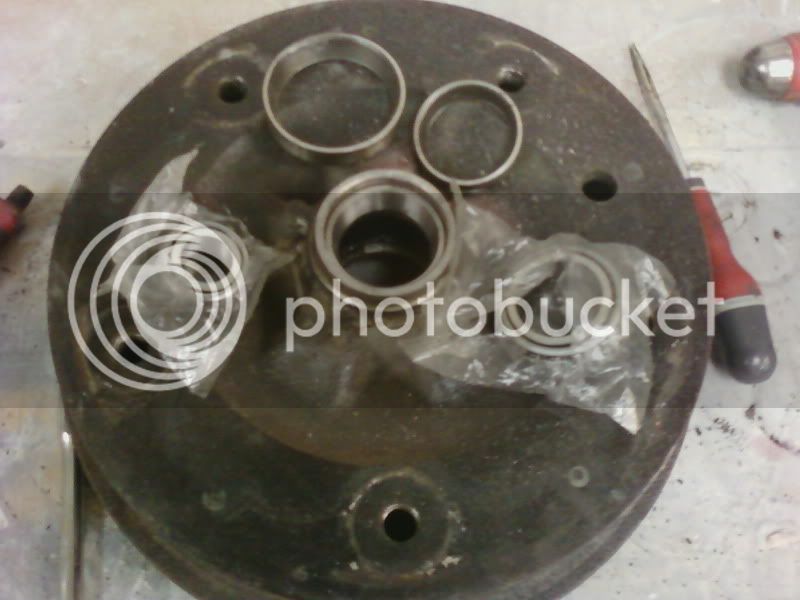


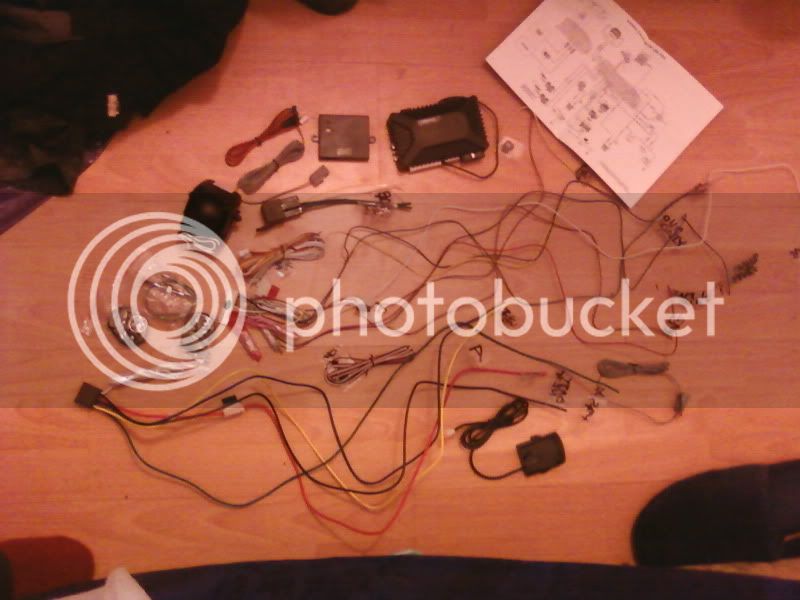
ProfessorWheeto said:Well the alarm arrived and I started to go over the wiring diagram and label the wires to speed up the installation process...
Good job I like doing wiring :lol:


