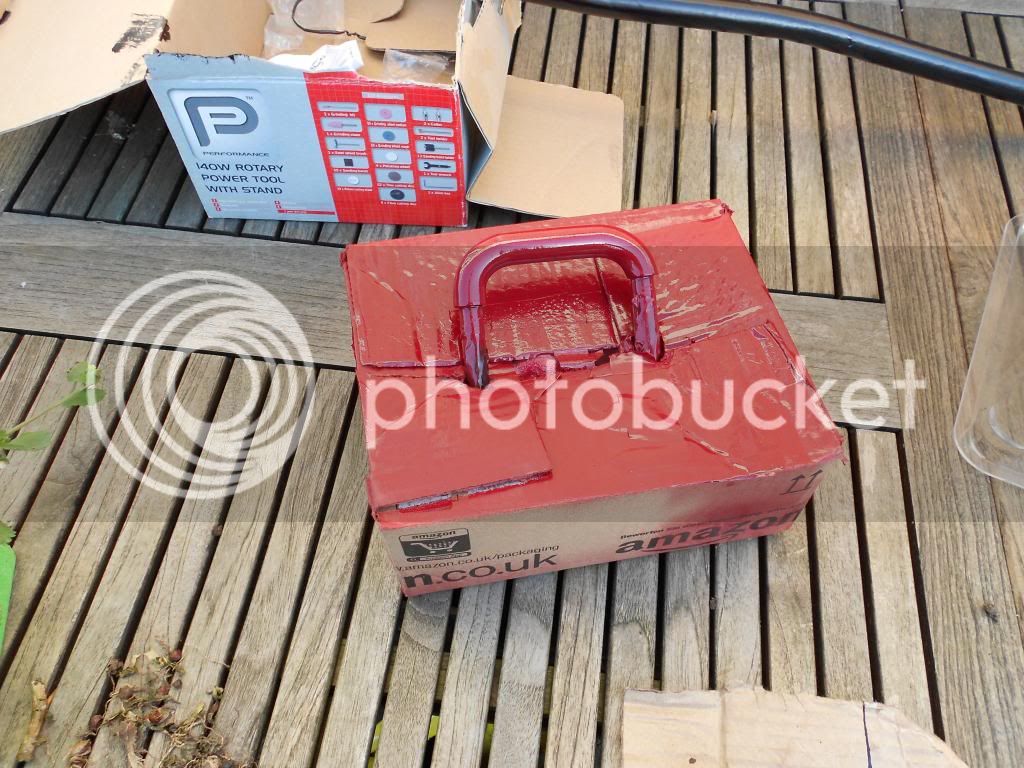
Humphrey 1972 Dormobile Crossover - Getting stuck in

Early Bay Forum

Help Support Early Bay Forum:

This site may earn a commission from merchant affiliate links, including eBay, Amazon, and others.
The back of the passenger seat looks interesting.....
BB0D07B1-98F3-4B98-87E7-306958D2A047.jpg
 
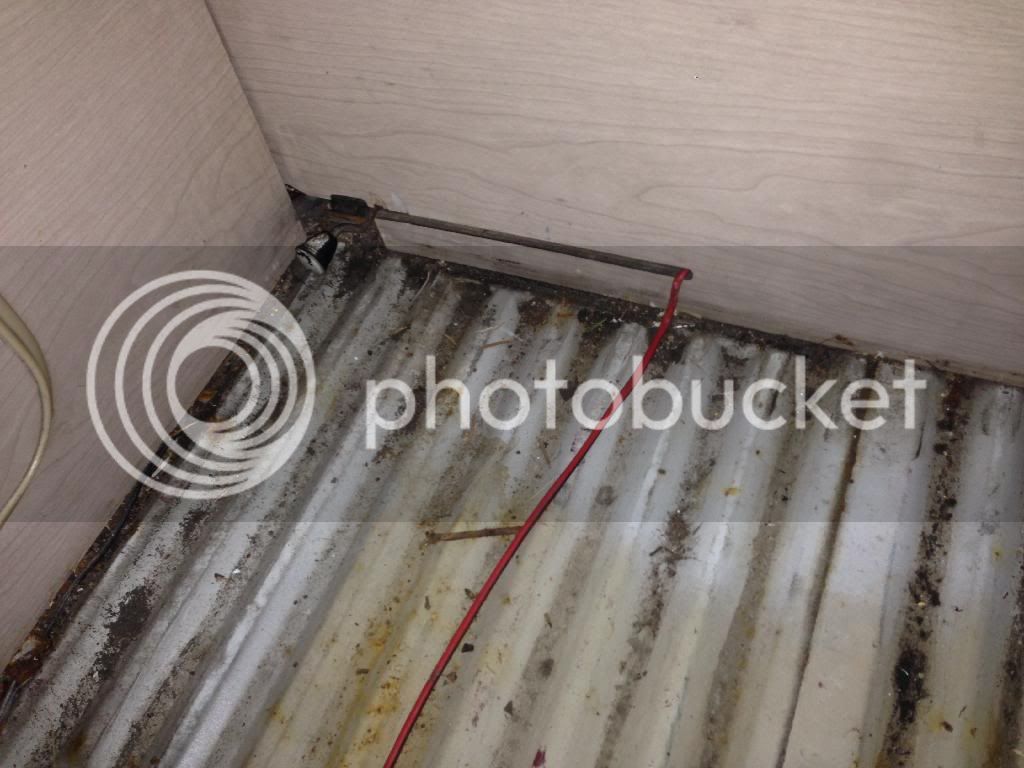
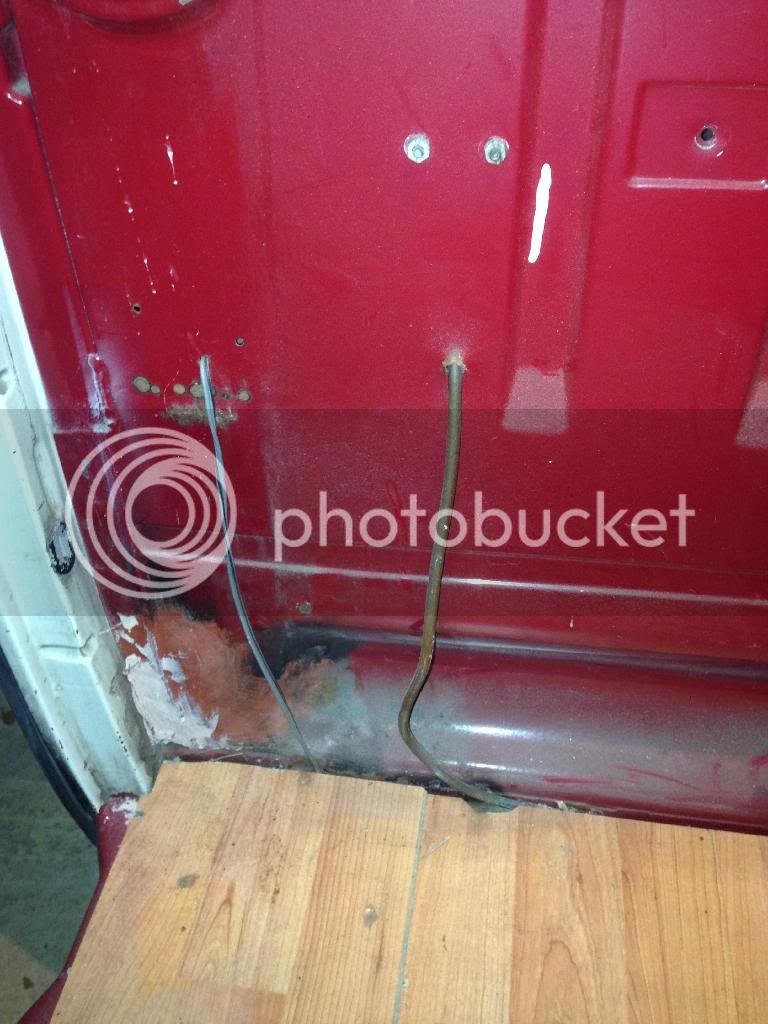
The large wire here is a feed from the ignition to the starter. I'm thinking I'll try and find the original and use a hot start relay if the issue was high resistance....
0DADC8C6-3CC1-46CA-A11B-780B22BB184A.jpg
 
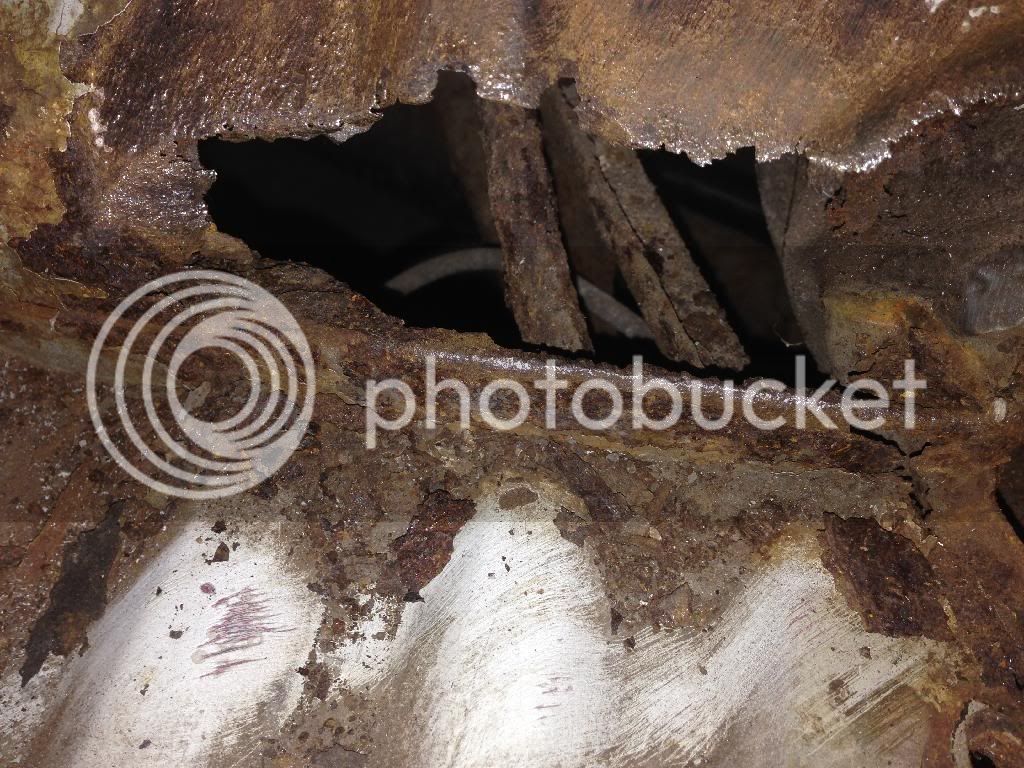
Bed and heater vents out. found a half penny piece edged below heater vents - Obviously nothing has moved here in 40 years from the muck etc.. Anyway a quick wire wheel and the hole got bigger!

1B4129AD-540C-48B0-9B26-F20E0744F2A1.jpg
 
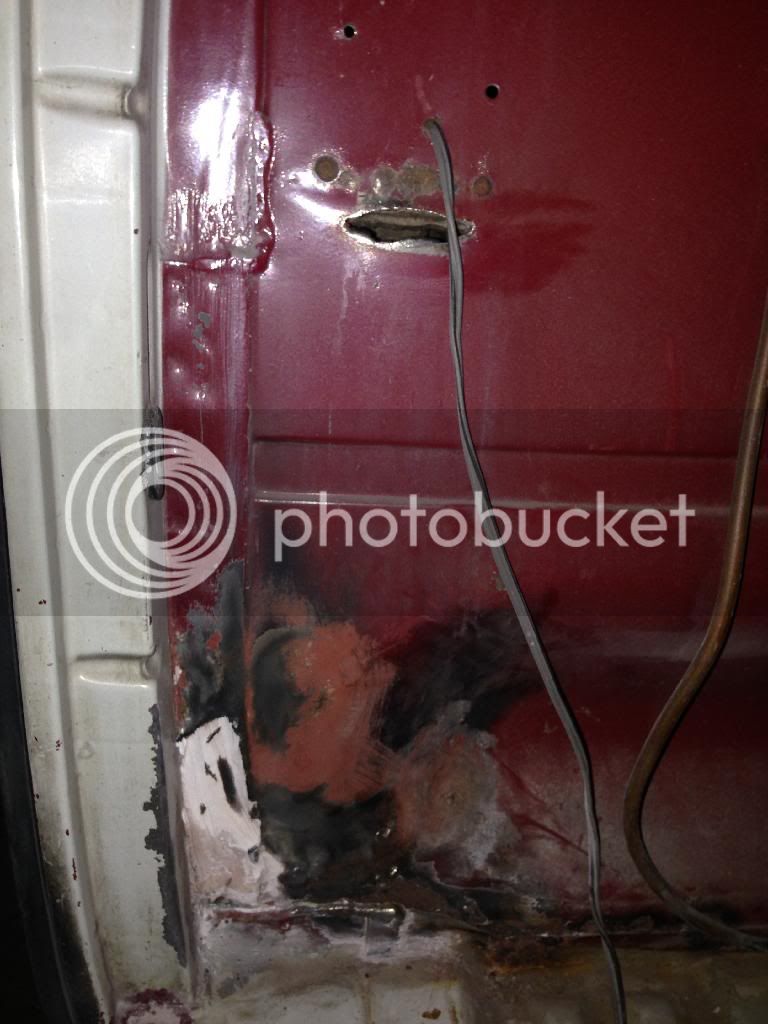
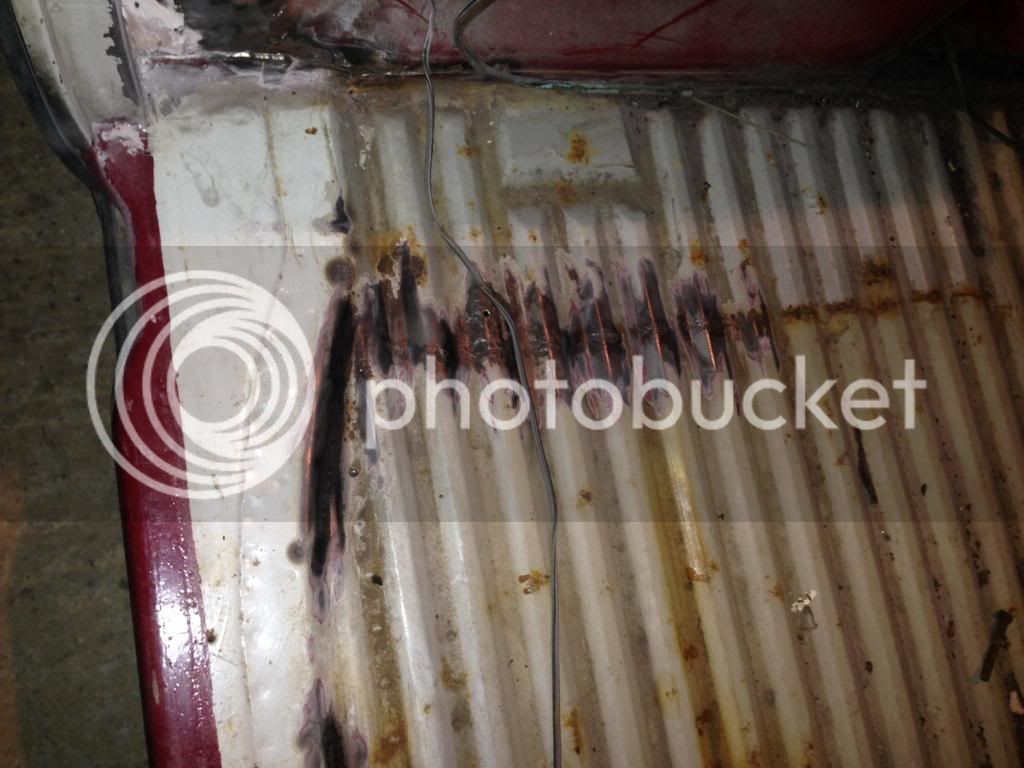
I attacjed the bubbling paintwork on the bulkhead behindh the passenger seat and two new holes appeared. One at the height of the arch/seatbelt mount and one at base of b pillar where it meets the floor.....

4B5FC8BC-3D06-4FD9-AA5F-72E618F504F3.jpg
 
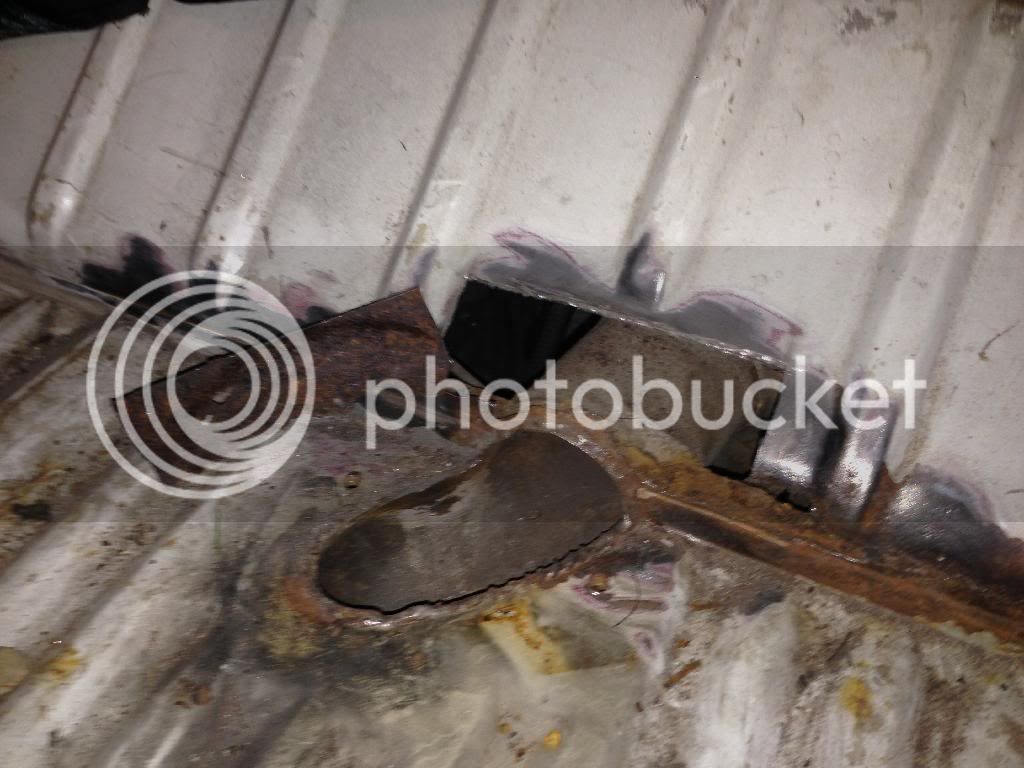
Had a go at the floor where there was a bit of brown, but solid, just a bit of pitting where the dormobile wardrobe sits...
19B1B74A-A0AD-4F6F-9474-85C21697C90A.jpg
 
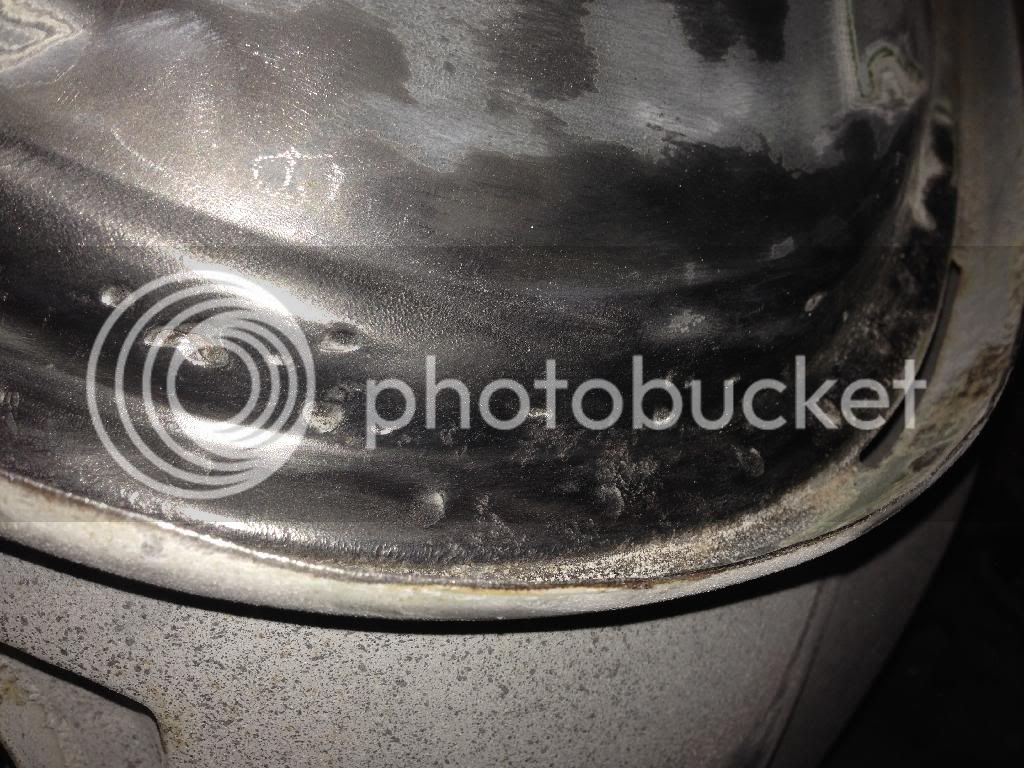
I bought a rear roof cut about 5/6 months ago...Just hit it with the wire wheel, and am gutted as there are holes here and there...

Not sure what to do..Perhaps drill out all the spotwelds dismantle and then try and piece where the holes are..
The gutter is also shot in places so would have to graft a bit of gutter in..

All sounds feasible, bit I've never welded before!
928709DD-B494-469F-A97B-AF8B80934B76.jpg
 
So I have been busy at work and had little time on the van, which makes me nervous as I need it for Glastonbury :shock:
I bought a few offcuts of steel to try my hand at cutting them to size and practicing welding...

But I couldn't cut it with the snips. I think it was too thick, so have ordered some more. I'm going to have to get someone to do some work for me, as I need the flor and window franmes doing to get the interior back in and ready for end of June.
Meanwhile I have tinkered...

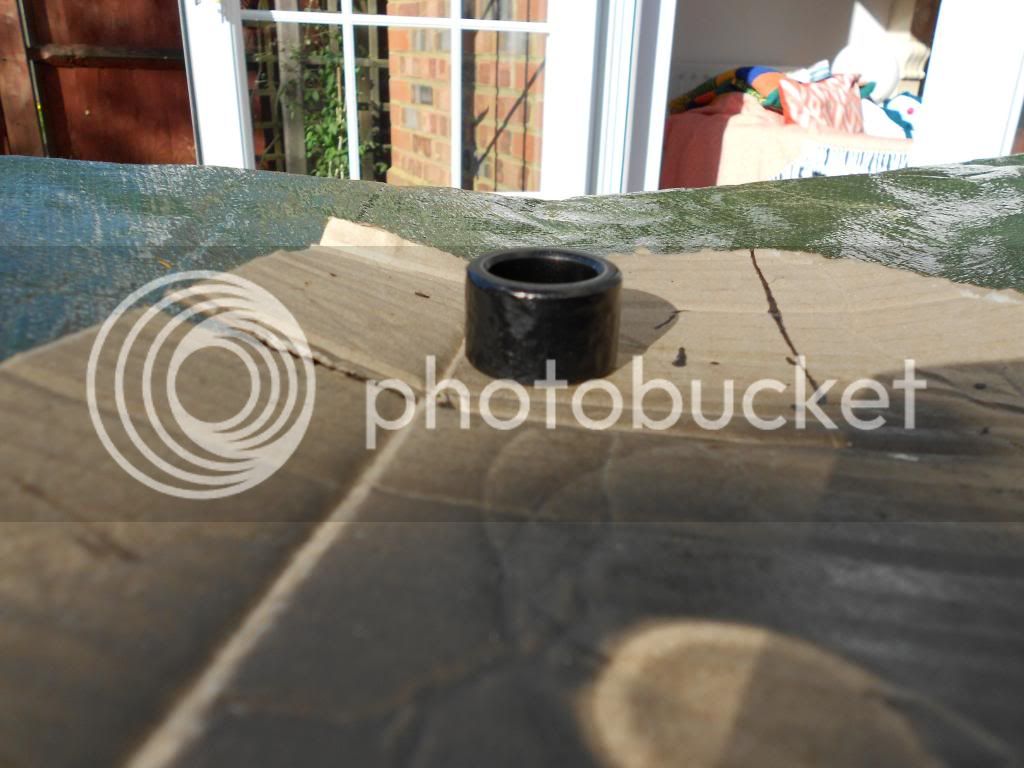
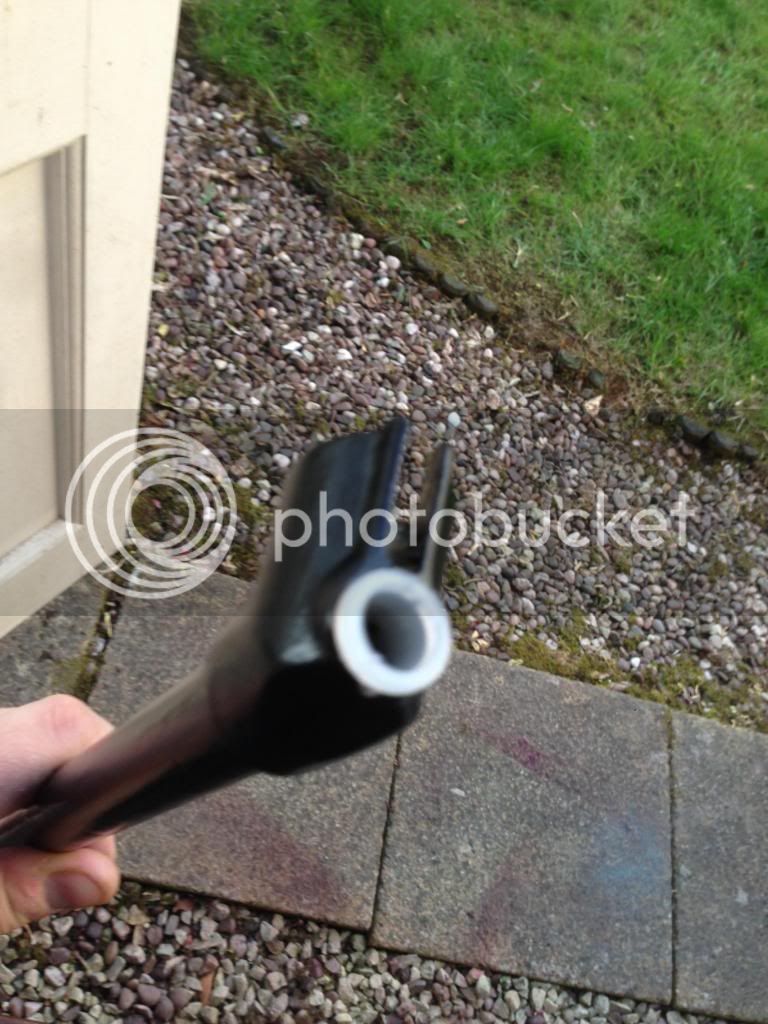
Replaced the front gear-rod bush, but whilst at it cleaned off all the visible sections of rod, rust treated and painted. The cicular joint piece was really pitted....
DSCN0082-1.jpg

DSCN0083-1.jpg

IMG_0986.jpg
 
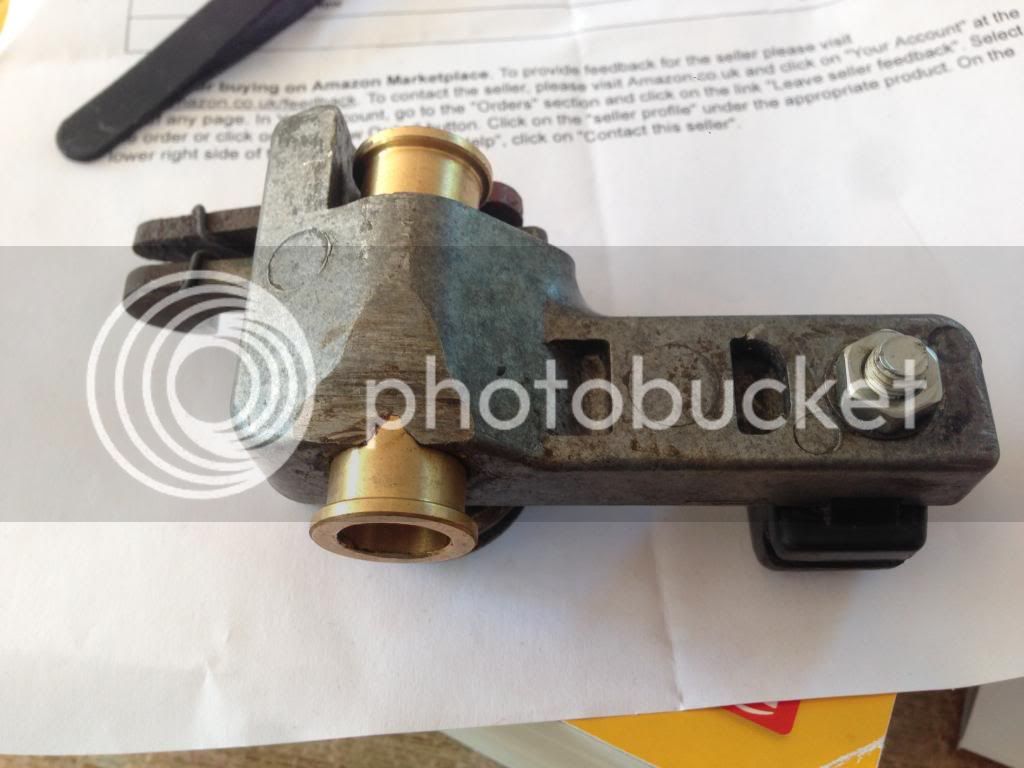
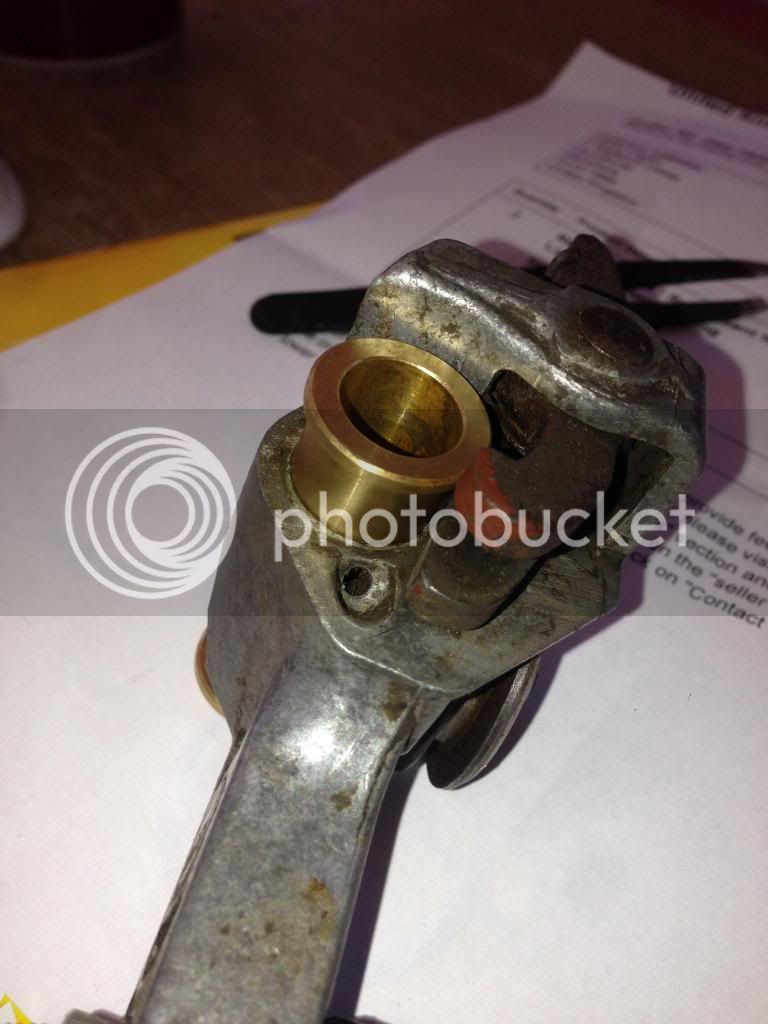
Next tinkering was replacing the sliding door hinge bushes. I had replaced the nylon block a while ago, but it had loads of play.
The hinge body had worn through to the brass bush, so something wasn't right...
IMG_0984.jpg
[/URL]
 
Drilled the hole back in the bush through the lube port, but widened it to 3mm....

IMG_0985.jpg
 
Whilst at it I though I would make it look a bit nicer so a clean, rust proof and paint of the hinge......
DSCN0081-1.jpg


Don't you love Chianti Red
 
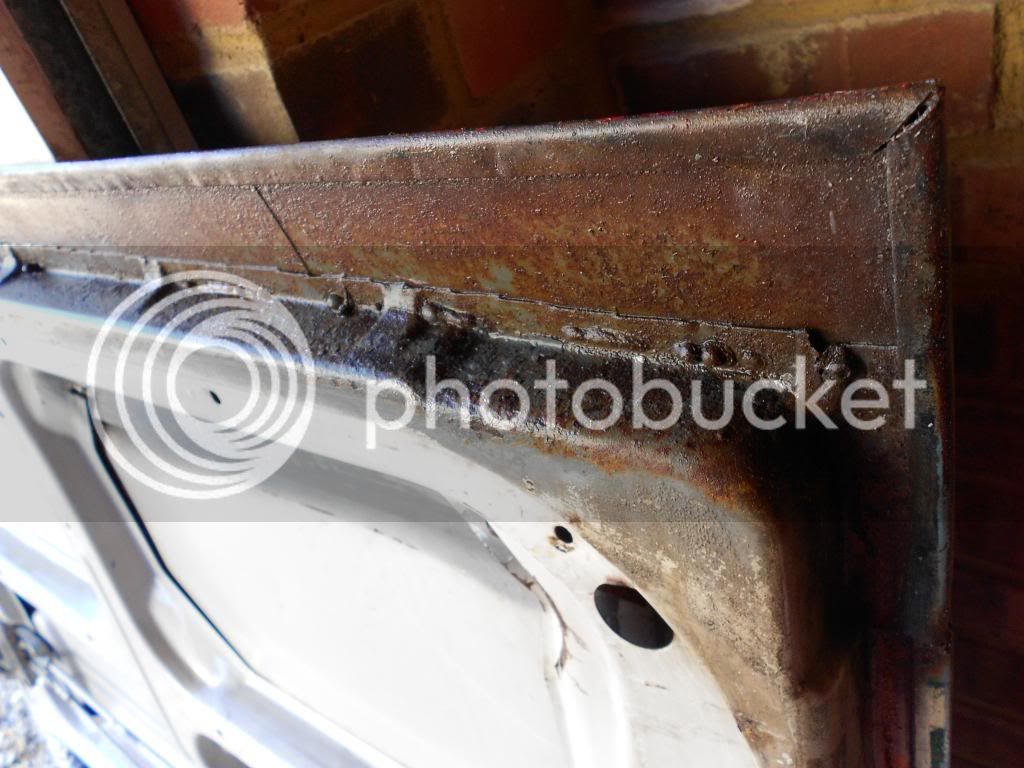
Anyways, one thing always leads to another and a simple hinge refurb has turned into a door overhaul as I dicoverd the bottom of the slider looked like this, where someone has fitted a repair section and not painted properly...
DSCN0114.jpg
 
So now to grind off all the rust, treat and spray up. I don't know what paint Dormobile used inside, and dont fancy Light Beige everywhere, so I am going to do inside in Chainti too. This means cleaning the whole door up and treating, so I may as well strip the outside and look at the bubbling where the new panel is, and fix the dent in the door.

This means I can then have a go at spraying epoxy primer through the Earlex HVLP I bought and then a go at celly top-coat.
Mind you as I will be mixing some up, I need something else to paint, so have started to take the Nitromors to the rear shelf area as it was covered in nasty carpet glue.

None of this mind you is helping me fix the almighty holes in my rear roof, or my passenger seat belt mount, or the holes in the flooe or rear bulkhead...hey ho.
 
davechorlton said:
Next tinkering was replacing the sliding door hinge bushes. I had replaced the nylon block a while ago, but it had loads of play.
The hinge body had worn through to the brass bush, so something wasn't right...
IMG_0984.jpg
[/URL]

Hi,

I have the nylon block and the brass bushes sat in my ash, something i need to get around to fitting, do you have any ip for taking the bits off/on?

Keep up the good wok!

Alistair
 
It was pretty straughtforward. Just four bolts to remove lock from door, one circlip to 'u' bit, one nut and it all comes to bits. The instructions to remove bushes work well on one side as one bush smaller diameter internally. For the other side, I used a vice to hold the hinge body, and then used a screwdriver and mallet to knock out these bushes, and then pressed the new bushes in with the vice.
 
davechorlton said:
It was pretty straughtforward. Just four bolts to remove lock from door, one circlip to 'u' bit, one nut and it all comes to bits. The instructions to remove bushes work well on one side as one bush smaller diameter internally. For the other side, I used a vice to hold the hinge body, and then used a screwdriver and mallet to knock out these bushes, and then pressed the new bushes in with the vice.

Thanks, seems like a straight forward thing to do, thanks for the tips!

Cheers,

Alistair
 
In my usual manner of starting 100 jobs and finishing none I have now: Started fitting a new rev counter, incuding running a multicore feed back to front, a new +12v supply feed, and running a new starter wire front to back, to replace the PO cable through the walkthrough and rusty bulkhead. Also removed all paint from above engine bay and am trying to get in the rear wheel well. I have decided original paint is tough to remove. Nitromors is rubbish, heat guns barely dent it. Strip disc works, but angle grinder hard to get in wheel well.

The bit above engine bay had carpet glue stuck to it and my attempts to shift it damaged the paintwork. Just debating the colour for the interior - Chianti and cream panels or light beige and two tone red/cream. The grey colour it was is a dormobile colour over the beige and I dont have the codes.

Anyone have a Red interior paint?

Dave
 

Latest posts

Top