
davechorlton
Well-known member
- Joined
- Jan 9, 2010
- Messages
- 333
- Reaction score
- 1
The back of the passenger seat looks interesting.....
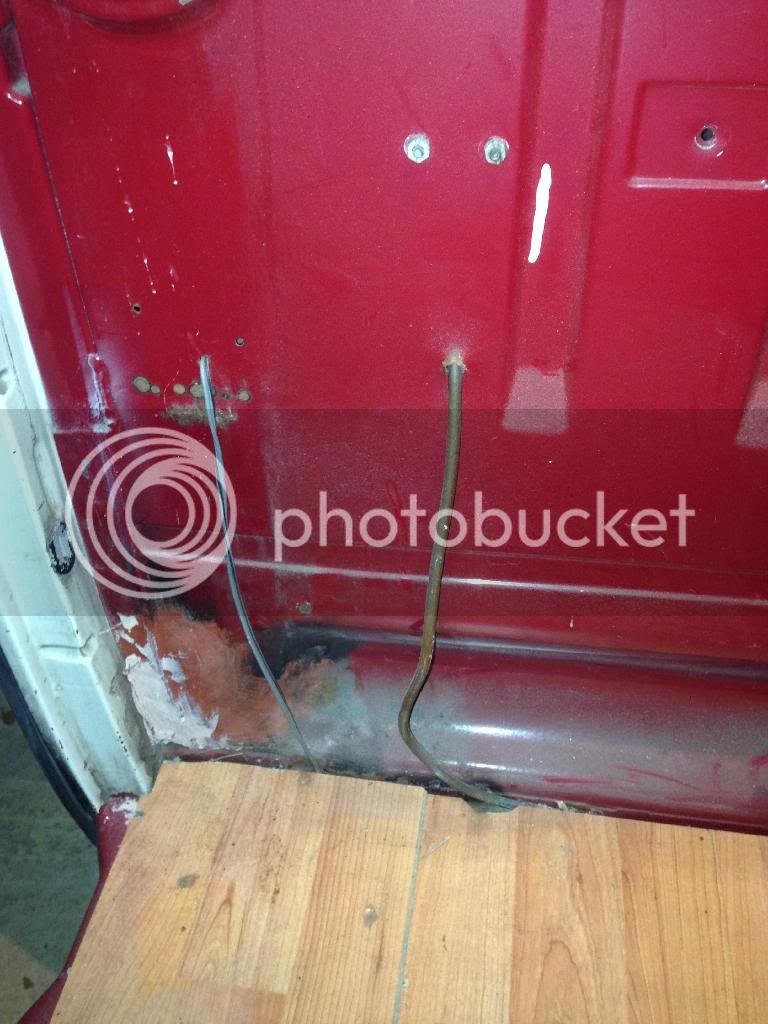
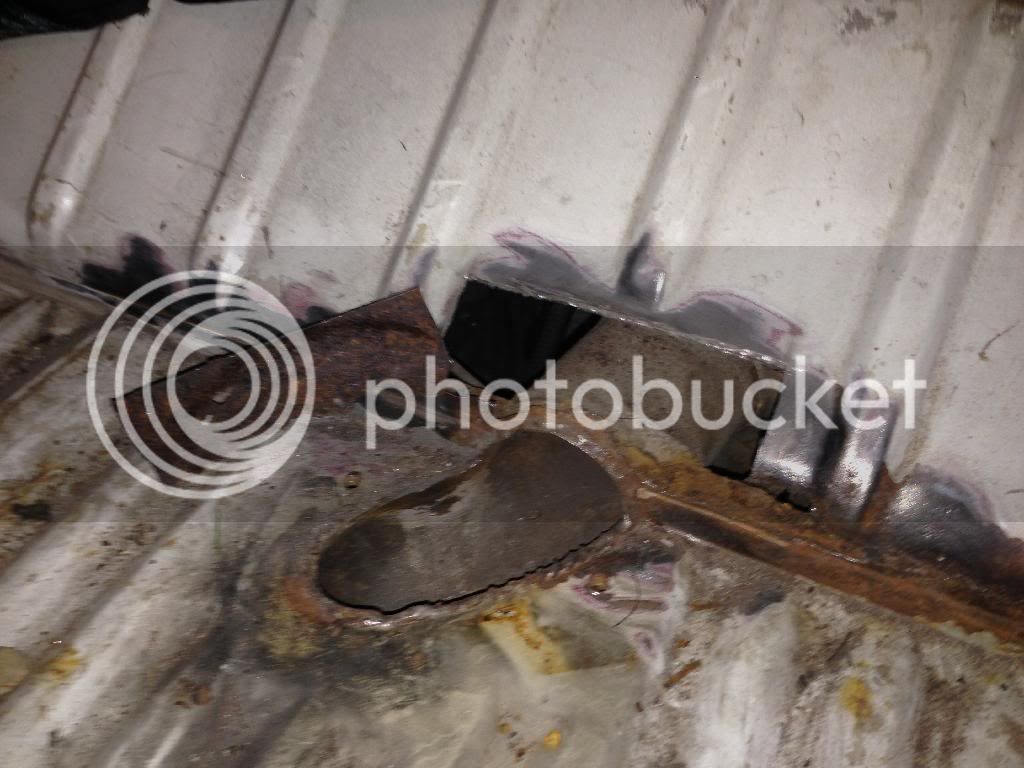

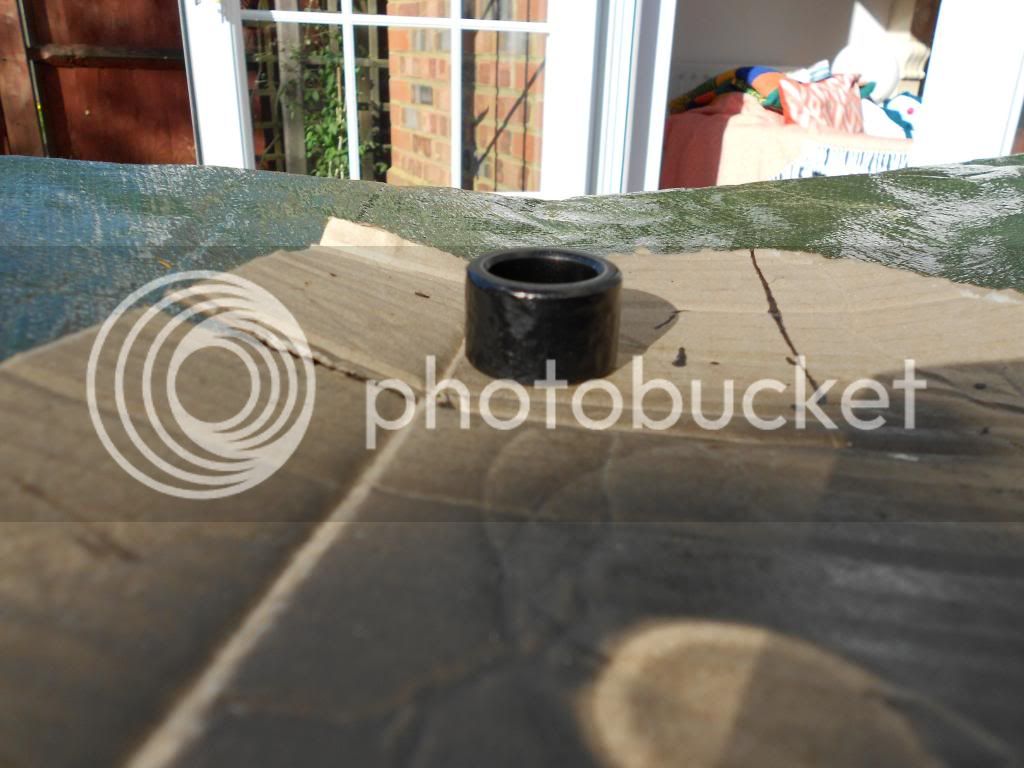

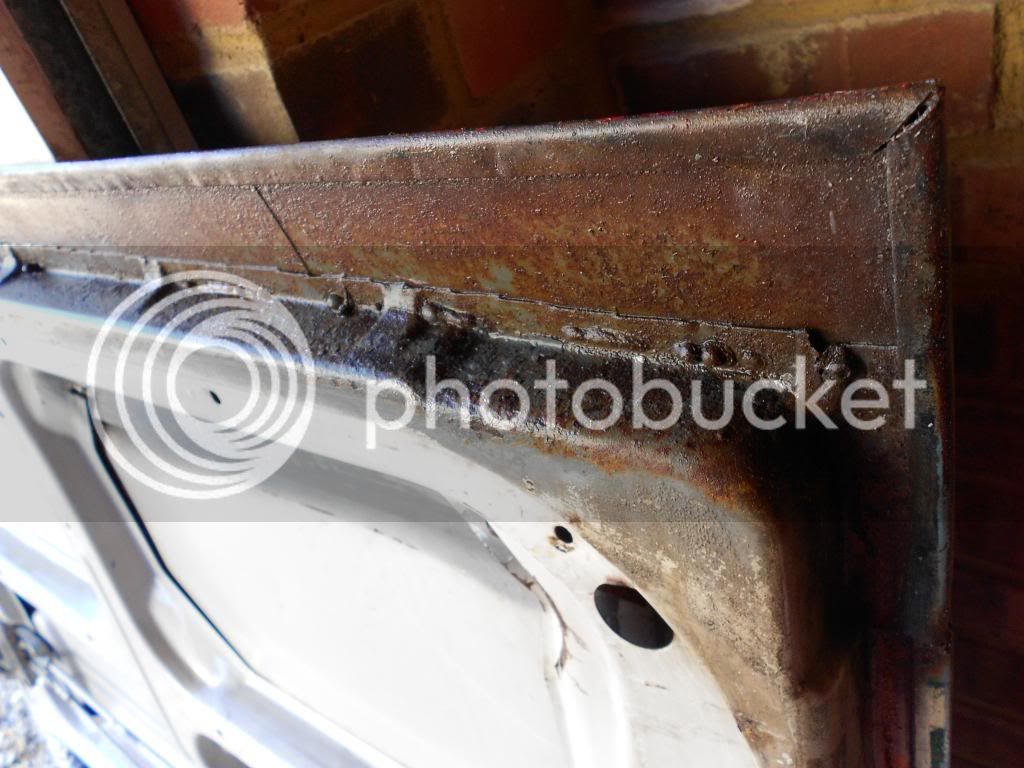
davechorlton said:Next tinkering was replacing the sliding door hinge bushes. I had replaced the nylon block a while ago, but it had loads of play.
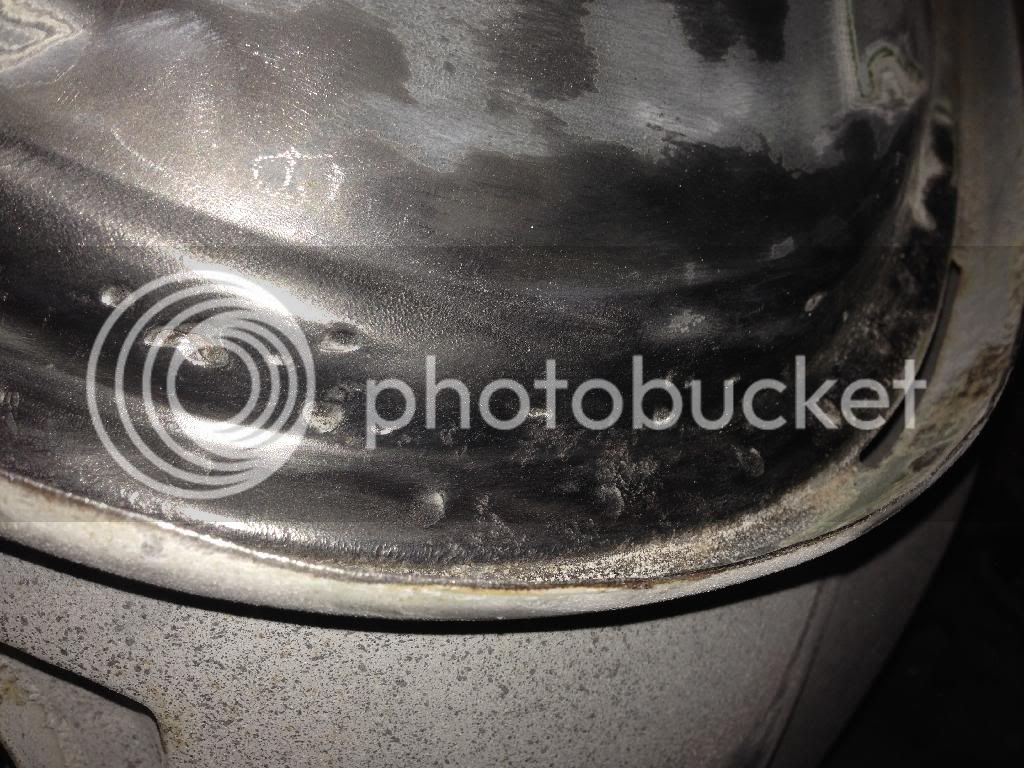
The hinge body had worn through to the brass bush, so something wasn't right...
[/URL]
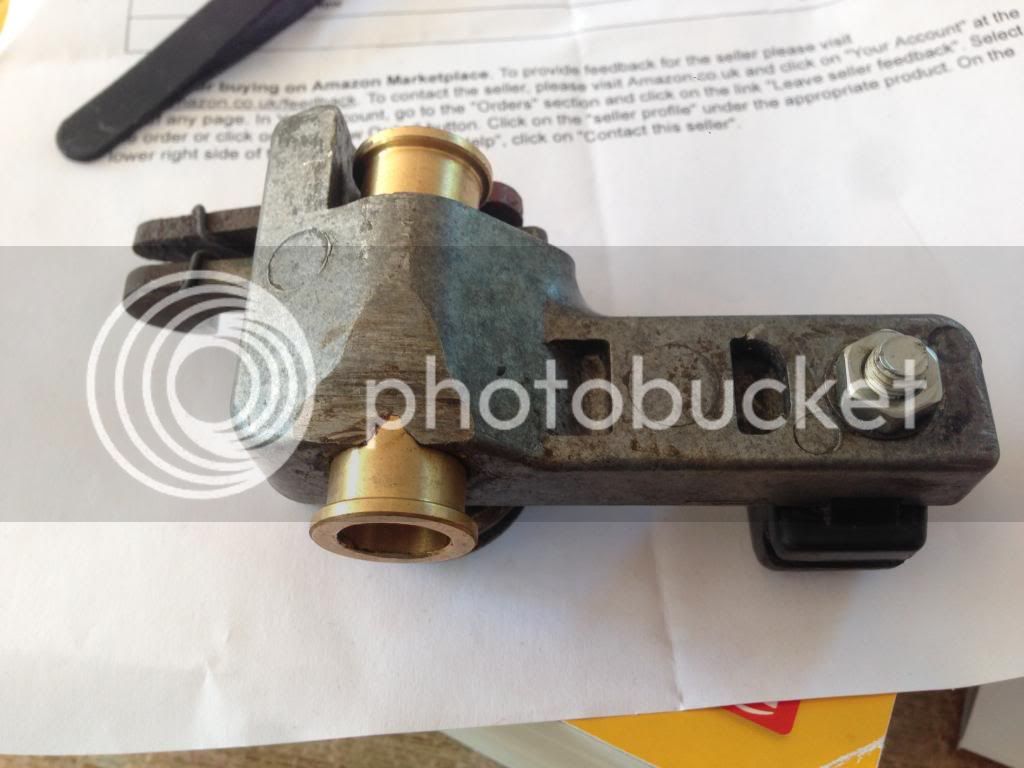
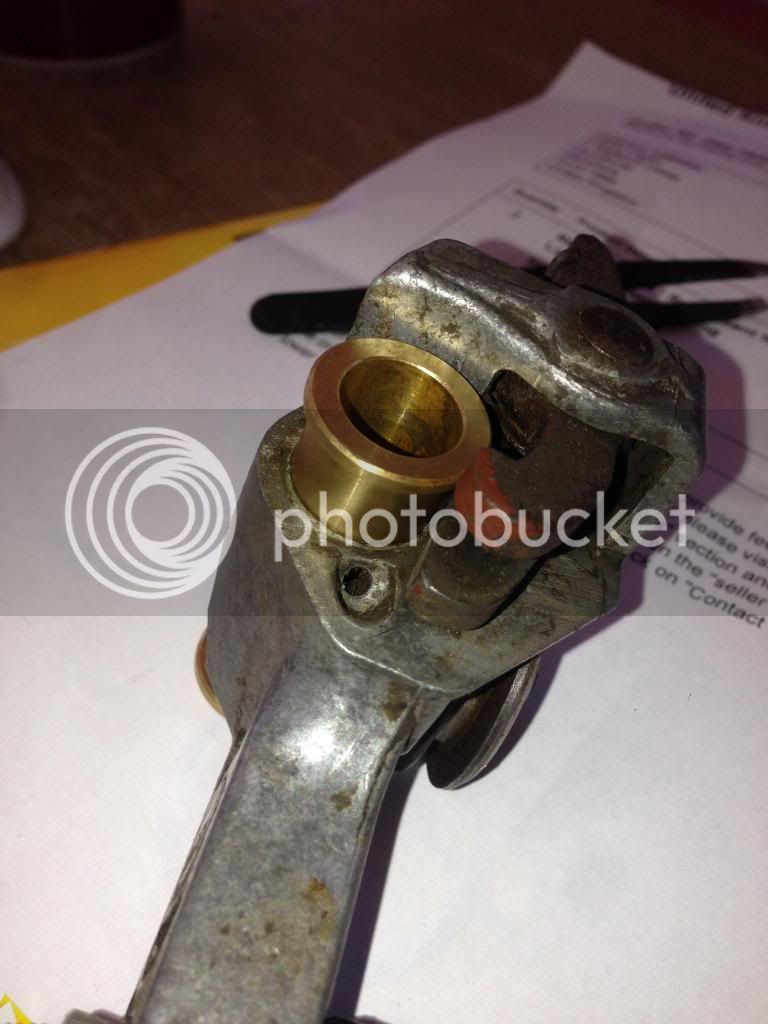
davechorlton said:It was pretty straughtforward. Just four bolts to remove lock from door, one circlip to 'u' bit, one nut and it all comes to bits. The instructions to remove bushes work well on one side as one bush smaller diameter internally. For the other side, I used a vice to hold the hinge body, and then used a screwdriver and mallet to knock out these bushes, and then pressed the new bushes in with the vice.
Enter your email address to join: