You are using an out of date browser. It may not display this or other websites correctly.
You should upgrade or use an alternative browser.
You should upgrade or use an alternative browser.
My 69 Deluxe - Lady Novice Attempt Amateur Mechanics!
- Thread starter Merlydog
- Start date


Help Support Early Bay Forum:
This site may earn a commission from merchant affiliate
links, including eBay, Amazon, and others.
jacks906 said:sweet loooking van :mrgreen:
who did your head liner also did the pillers get done too? got alot of work to do in mine and if i can take the head liner and piller trim out knowing i can get it re done ill be happy
Hi, I had it done by Chris at Retro Retrims in Birmingham. Yes all the pillers were also redone. It's a windows out job if your going to do it properly. I considered giving it a bash myself but having seen the skill and work involved I'm glad I didn't!
jacks906
Well-known member
Merlydog said:jacks906 said:sweet loooking van :mrgreen:
who did your head liner also did the pillers get done too? got alot of work to do in mine and if i can take the head liner and piller trim out knowing i can get it re done ill be happy
Hi, I had it done by Chris at Retro Retrims in Birmingham. Yes all the pillers were also redone. It's a windows out job if your going to do it properly. I considered giving it a bash myself but having seen the skill and work involved I'm glad I didn't!
Sweet ta dude
Time get the Stanley knife out :-D
jacks906
Well-known member
That's why i have two beetles ;-) ones the daily ones my resto ohhhhh an told a mate ill do a resto on her bug this winter too :-S


$28.56
$32.43
Airfix Quickbuild Volkswagen Light Blue Camper Van Brick Building Model Kit, Multicolor
Amazon Global Store UK


$124.78
Revell 07009 Volkswagen T1 Samba Bus Model Kit, 1:16 Scale 27.2 cm, Multi-Color, 223
Outstanding Outlet USA


$27.95 ($13.98 / Count)
Marketplace Auto Parts Window Crank Handle Set of 2 - Chrome with Black Knob - Compatible with 1968-1978 Volkswagen Beetle
Parts Geek LLC


ZedBed said:Did you loosen the case bolts a bit? I think you'll have to to get it back in...
Yes I did Zed.. Both of them, or at least I loosened a bolt top right and bottom left assuming they're the ones? Couldn't see any others!
It's all back in and running..
I've put it bk together minus the tinware and and rear valance so I can watch it. Question; would it hurt to do a say 20 mile round trip without the tinware?I had to still use some gentle persuasion in the form of a hammer to get it bk in! Not the best job in this weather on the drive. I now have frost nip on my toes! But also have a little sense of achievement that I managed it alone.
Another job done! :mrgreen: Oh yes, thankyou gadget too for the heads up on the rtv malarky. All done so fingers crossed its that. :shock:
I'll be looking to fit my ICE system next. Who's the forums expert on wiring and all that jazz folks?!!
Don't you have to put on the tin before the pulley? Then it's just the valance. I'd put them on because if I say it'll be fine then it blows up it would be my fault :lol: Also if it still leaks, you can just put it away complete and open a bottle of vino.
jacks906
Well-known member
As Im miles away I'll say you should be fine but not too far just a few miles
Drop the hatch tho so you have a No plate or Mr plod may kick off :-(
Drop the hatch tho so you have a No plate or Mr plod may kick off :-(
ZedBed said:Don't you have to put on the tin before the pulley? Then it's just the valance. I'd put them on because if I say it'll be fine then it blows up it would be my fault :lol: Also if it still leaks, you can just put it away complete and open a bottle of vino.
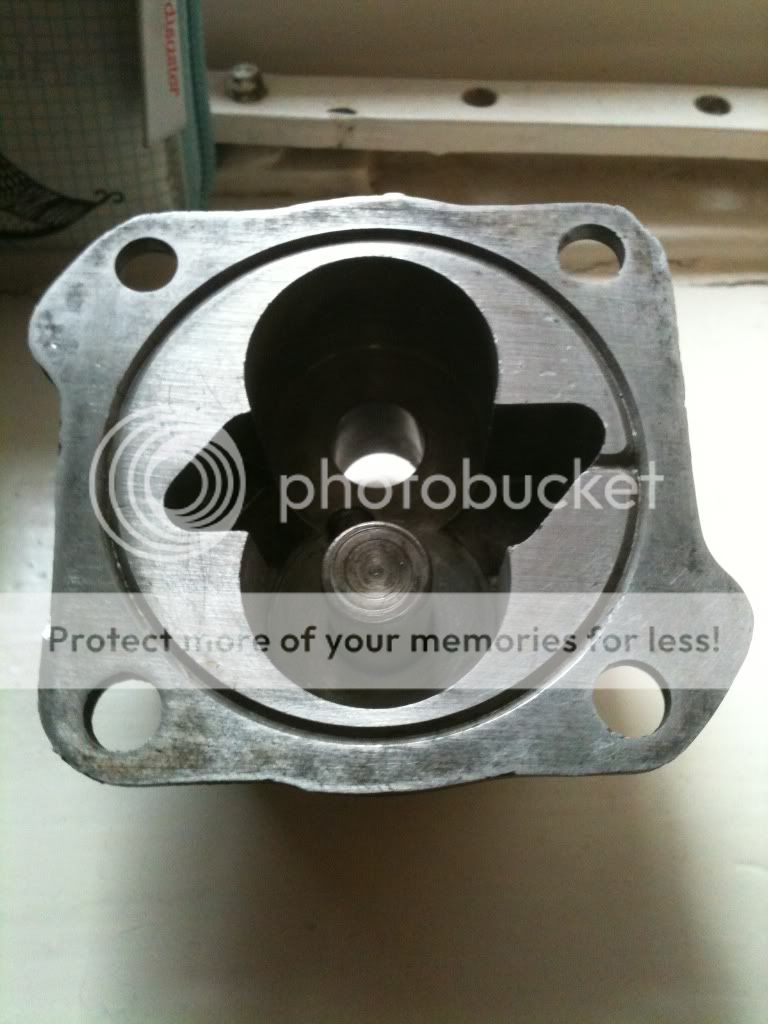
Yes zed, the tin certainly is first, but I've had that pulley off so many bloody times now it matters not! Ok I'll ram it all back together to be sure. Now, talk to me about shredded pulley pedestal threads! How the hell do I get that badger out?!!
jacks906 said:As Im miles away I'll say you should be fine but not too far just a few miles
Drop the hatch tho so you have a No plate or Mr plod may kick off :-(
:lol: I'm just being lazy jacks, probably best I make the effort. I just hope it works!
It should just unscrew with molegrips.Merlydog said:ZedBed said:Don't you have to put on the tin before the pulley? Then it's just the valance. I'd put them on because if I say it'll be fine then it blows up it would be my fault :lol: Also if it still leaks, you can just put it away complete and open a bottle of vino.
Yes zed, the tin certainly is first, but I've had that pulley off so many bloody times now it matters not! Ok I'll ram it all back together to be sure. Now, talk to me about shredded pulley pedestal threads! How the hell do I get that badger out?!!
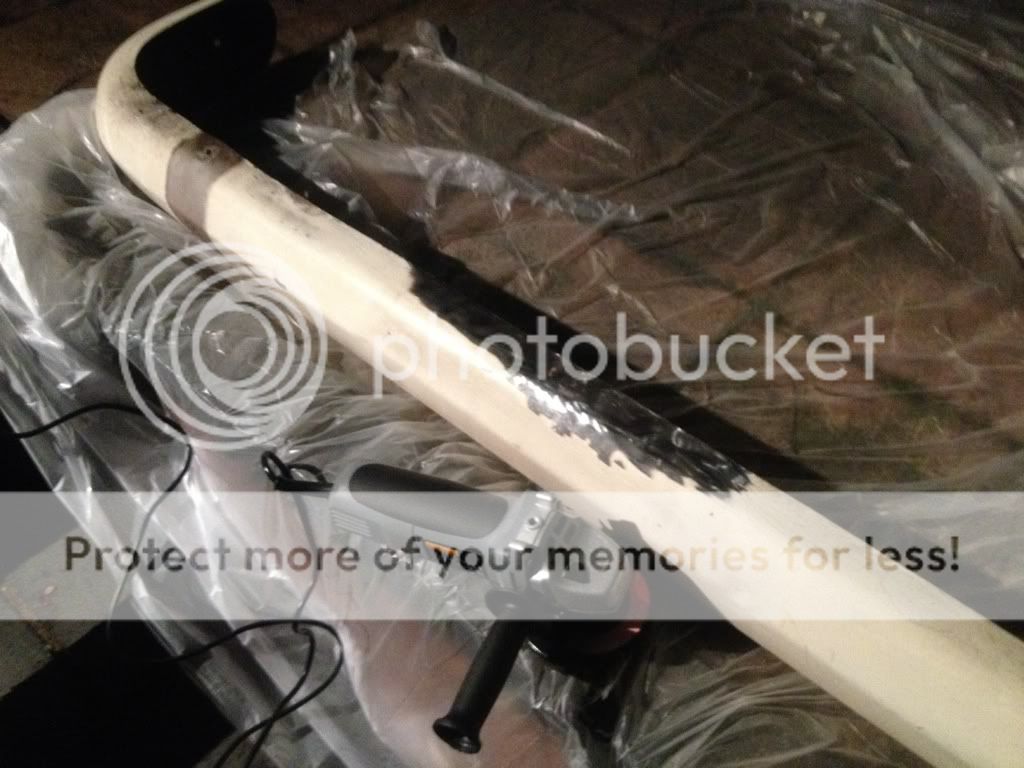
I've decided to give my horribly brush painted bumpers a face lift. First time I've used an angle grinder! :mrgreen:
Couldn't wait to get started so tore the new packaging off the angle grinder, plugged it in and.... Frikkin flames everywhere, it blew up! So off to the shop to get it exchanged then onwards with the grinding. It's actually quite easy I found.. Then suddenly realised it was nearly 7pm and a wee bit noisy. Oh, and my dust sheet had got sucked up into the grinder and chewed it up. Ooppps. I'll crack on tomorrow.
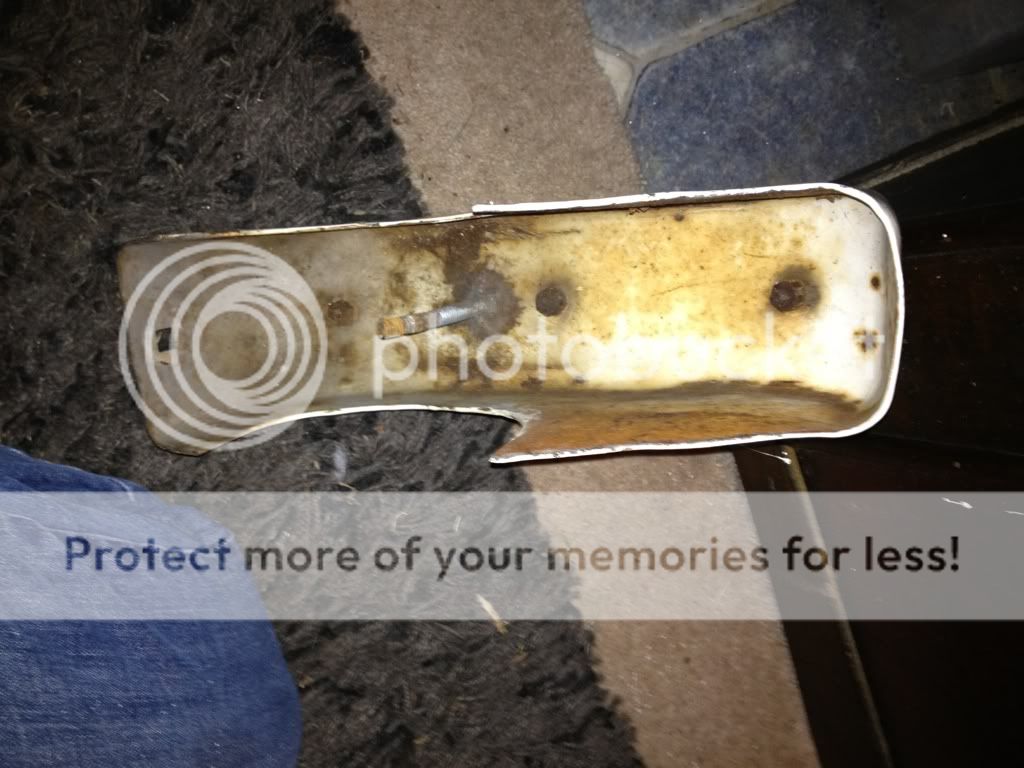
So I went back inside to strip the over riders down. That didn't go great either! I've never removed the rubbers before so didn't quite know how they fit. The three bolts had rusted on and the heads spinning underneath. So I started to prise at the edge, then it ripped, then I got my hair off and pulled it off. I've just discovered they're £65 quid for a new set. Bummer, I wouldn't mind but they're not in bad nick really!
You were right Steve, I shouldn't have started tonight. Not the best start!
Couldn't wait to get started so tore the new packaging off the angle grinder, plugged it in and.... Frikkin flames everywhere, it blew up! So off to the shop to get it exchanged then onwards with the grinding. It's actually quite easy I found.. Then suddenly realised it was nearly 7pm and a wee bit noisy. Oh, and my dust sheet had got sucked up into the grinder and chewed it up. Ooppps. I'll crack on tomorrow.
So I went back inside to strip the over riders down. That didn't go great either! I've never removed the rubbers before so didn't quite know how they fit. The three bolts had rusted on and the heads spinning underneath. So I started to prise at the edge, then it ripped, then I got my hair off and pulled it off. I've just discovered they're £65 quid for a new set. Bummer, I wouldn't mind but they're not in bad nick really!
You were right Steve, I shouldn't have started tonight. Not the best start!
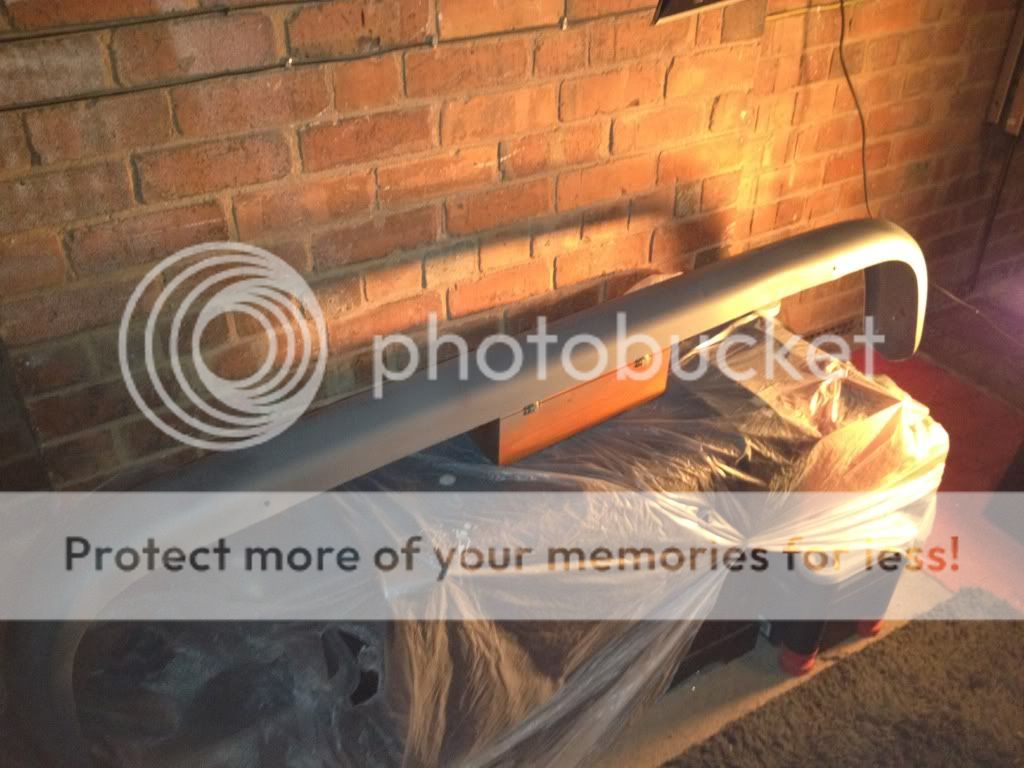
I managed to bare metal the rear bumper and get it into etch primer.. Filling and primer tomorrow! The paint removal went really well, those angle grinders certainly make life easy don't they?!
I'm still contemplating how to remove my over rider rubbers without damaging them.. Hmmmm, tomorrow's another day. Today was a good day!
ZedBed said:I find the more dangerous a tool is, the more useful it is. :lol:
Them sparks sting your thighs a bit don't they? Lol :lol:
Merlydog said:ZedBed said:I find the more dangerous a tool is, the more useful it is. :lol:
Them sparks sting your thighs a bit don't they? Lol :lol:
I have a vision of you just wearing goggles after that comment...... :lol:
sparkywig said:Merlydog said:ZedBed said:I find the more dangerous a tool is, the more useful it is. :lol:
Them sparks sting your thighs a bit don't they? Lol :lol:
I have a vision of you just wearing goggles after that comment...... :lol:
That's how Zed told me to do it Sparky! All adds to the experience he said?!! :shock: :lol:
Similar threads
- Replies
- 1
- Views
- 665
Vehicle For Sale
1971 Danbury £14,500
- Replies
- 0
- Views
- 481
Vehicle For Sale
1974 ld panel van with lowlight panel conversion and bumpers
- Replies
- 0
- Views
- 163
Vehicle For Sale
Early Bay Deluxe 1971
- Replies
- 5
- Views
- 2K
Vehicle For Sale
1971 T2a Double Cab Pick Up
- Replies
- 0
- Views
- 1K