One owner '69 Cali import with OG paint - mine :-)

Early Bay Forum

Help Support Early Bay Forum:

This site may earn a commission from merchant affiliate links, including eBay, Amazon, and others.

ruth11

Well-known member
Joined
Aug 21, 2010
Messages
130
Reaction score
0
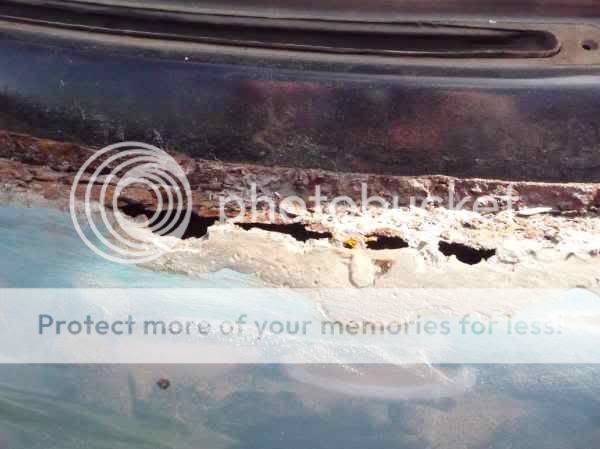
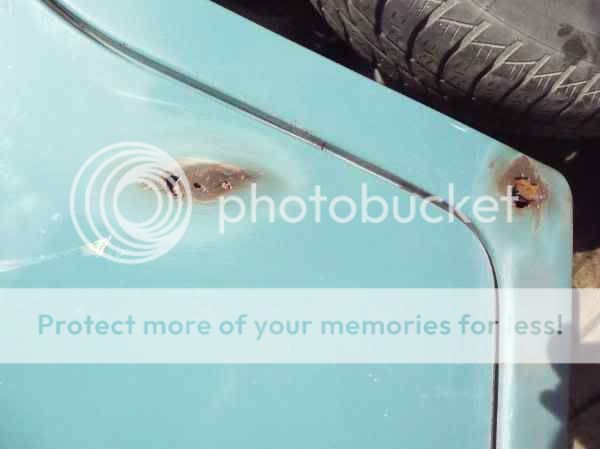
Need help with a few decisions so I thought I'd start a thread for my bus "resto".
It's not really a resto, not at this point, because it doesn't really need any massive work. I want to keep it's patina for now, maybe with the view to full respray at a later date. But I kinda like it's current old skool look :)

I know how much you all like your photos so this will be very pic heavy!

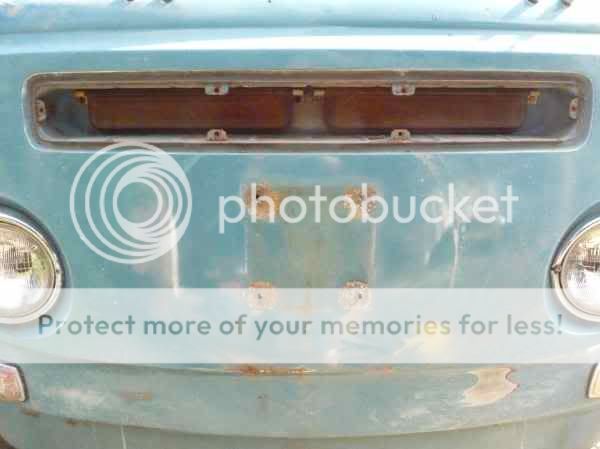
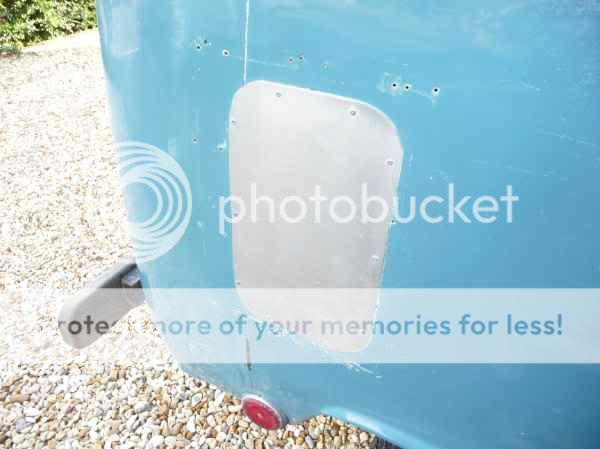
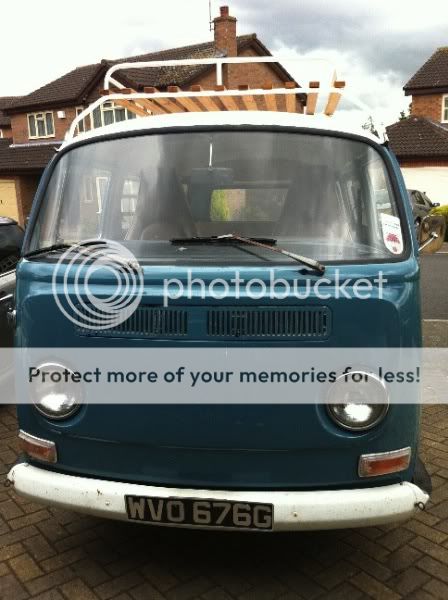
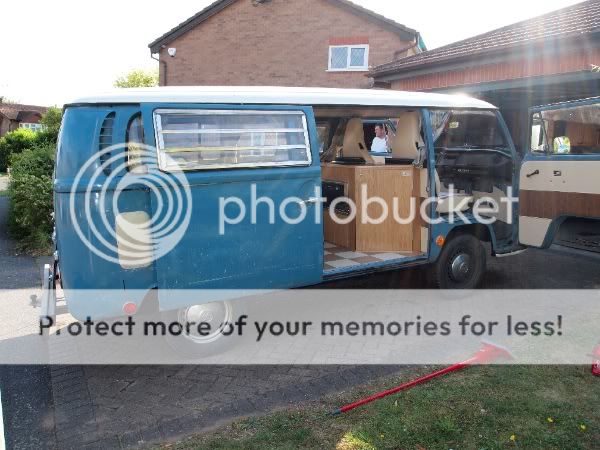
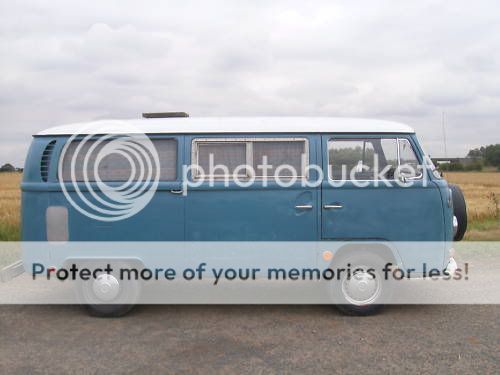
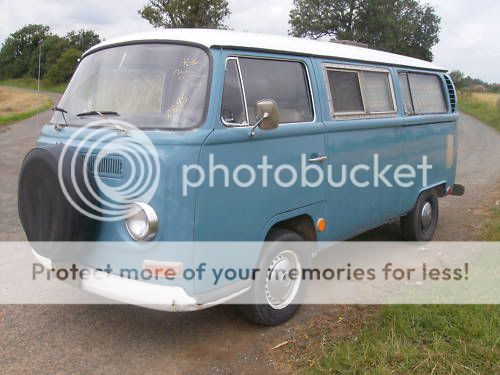
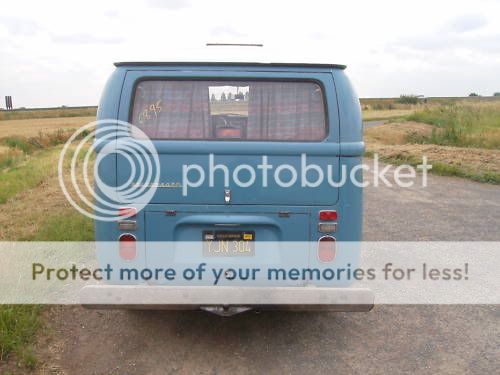
Here's a few photos from the advert (bought from Dave Clifford off here):

Camper-side.jpg

Camper-Front.jpg

Camper-Back.jpg
:shock:

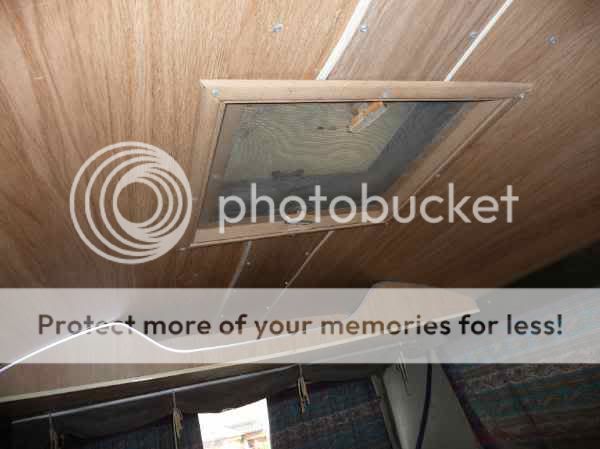
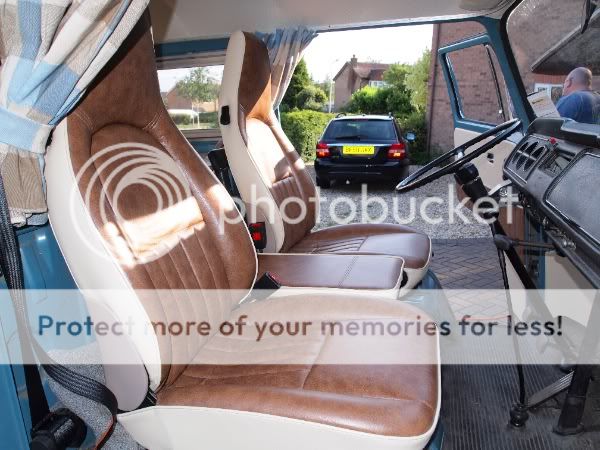
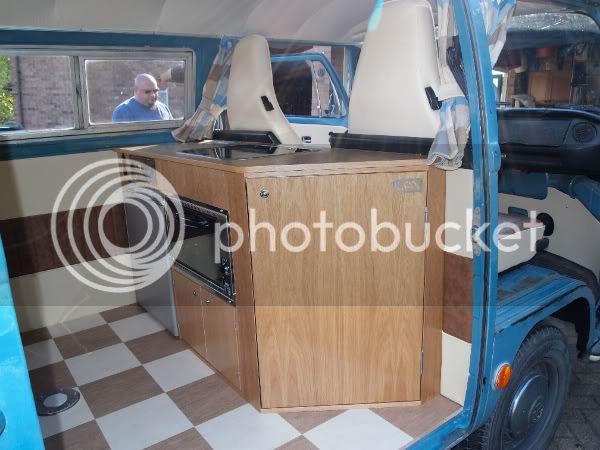
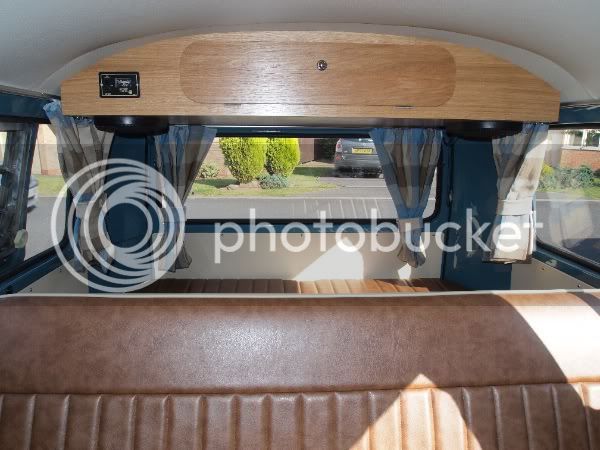
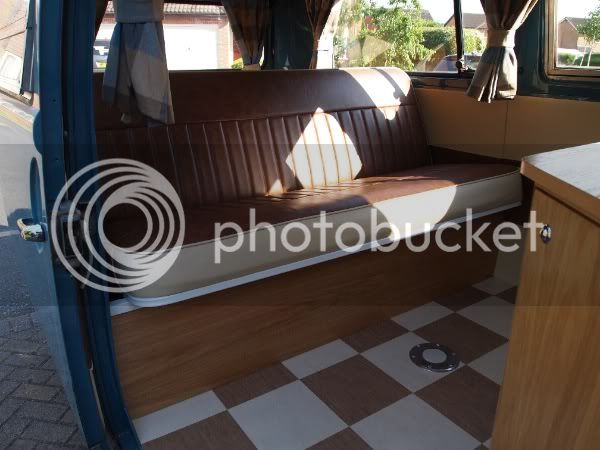
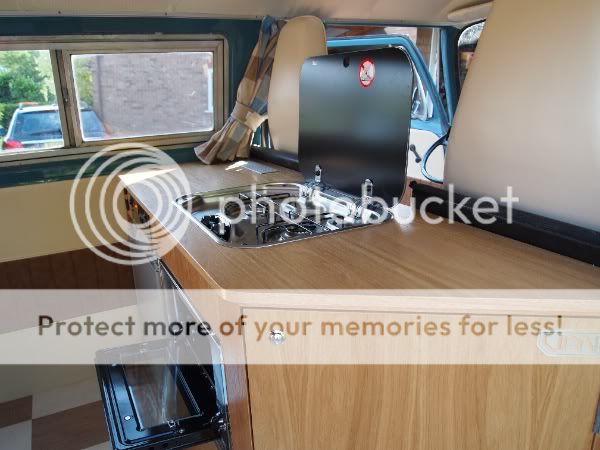
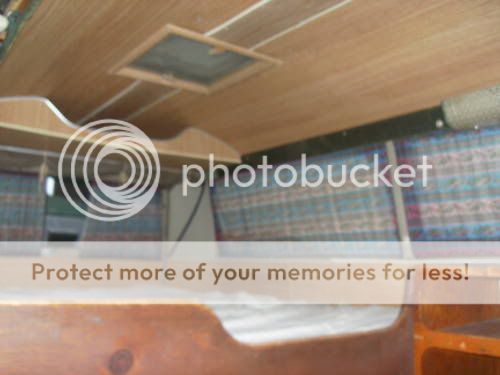
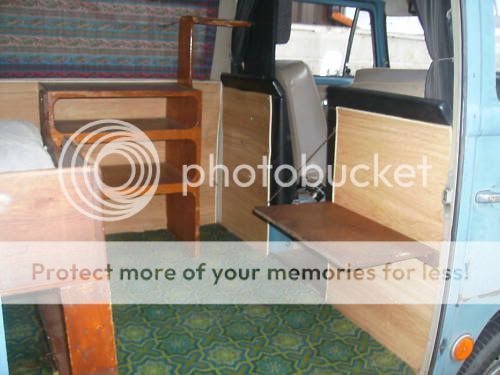
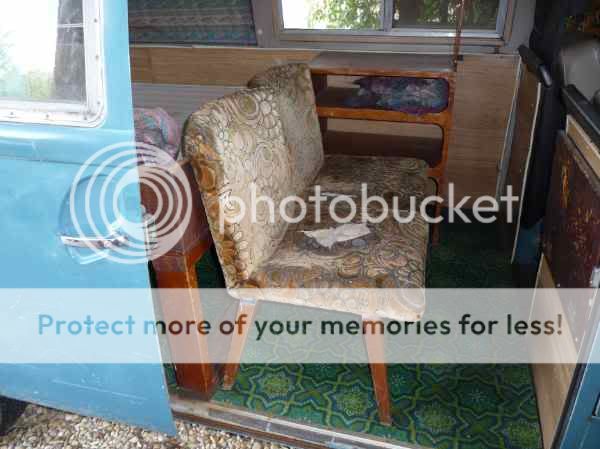
And here's some pics of the interior as it was when we picked it up. It really was like something out of a timewarp. It even came with 2 old 1960's dining chairs!

Camper-Interia3.jpg

Camper-interia1.jpg

P1010457.jpg
:shock:
 
We have now completely stripped out the interior and removed all the wood panels, every screw and bolt. We are going to replace it all with brand new stuff over the coming weeks, once the structural work is complete.

There's not a massive amount needing, with it being a Californian import. We're currently resealing the underside and all vulnerable parts. The biggest problem we've found is that we need to replace the bottom edge of the windscreen :( :

P1010506.jpg


There's a few minor rust holes:
P1010510.jpg


And the front end is rather dented underneath the spare wheel, with holes from the bracket that need to go. Hopefully will get this all sorted when we get the windscreen bottom fixed. Desperately trying not to replace this front panel with a new one!

P1010515.jpg
 
It has a very strange skylight thing, about 14"x14". Really not sure what to do with this! If you look at the pics of the bus in the first post, you can see the wooden frame that was on the top of the roof! Hubby is currently considering getting a plastic caravan skylight to fit in it's place, so we have some sort of ventilation if we need it, but I'm not sure if we should just weld it up somehow. What do you think? Remember the wooden panelling is no longer there and we are planning a proper vinyl headliner to replace it...

P1010464.jpg
 
The other thing I'm undecided on is wheels. We need to get 4 that match for a start!

I can't decide whether to keep it on steelies (white ones with a slim white wall, which I like) or whether to go with alloys of some sort. Really like the look of the black and silver Flat 4 Fuchs but no idea where or how to find any. Maybe a white set of empi's would be ok? What would you guys go for?
 
I will post more photos when I get chance, some with it all stripped bare and then when the interior is in. When we have decided exactly what we're doing with the interior that is!
 
looks like a nice base for an easy resto/refresh.
diggin them chairs in the back :D
 
Get some underneath pics please as we always like to know what they are like in that area :D

Van looks like a good canvas and regarding the hole in the roof - get it plated is my opinion ;)

The wheels - only you can decide - if you decide not to drop it, then original always looks best IMHO :mrgreen:
 
gninnam said:
Get some underneath pics please as we always like to know what they are like in that area :D

Van looks like a good canvas and regarding the hole in the roof - get it plated is my opinion ;)

The wheels - only you can decide - if you decide not to drop it, then original always looks best IMHO :mrgreen:

Underside you say? You mean like these? :mrgreen:

Camper-underside2.jpg

Camper-underside1.jpg


P1010479.jpg
P1010478.jpg
 
We have receipts from the US from March 2010 for a newly reconditioned engine:

P1010487.jpg

P1010483.jpg


Complete with oil cooler (which I think we're removing):
P1010482.jpg


It also already has disk brakes, so no conversion needed there.
P1010724.jpg


These things are little weird I have to say:
P1010480.jpg

Looks like he had extra air scoops in there at some point, had them removed and just riveted these aluminium plates on top - there's one each side of the bus.

This kind of thing is why we're not looking at getting it resprayed at the moment. With all these quirks needing sorting out before it can happen it will make it too late I expect. We want to be out there using this van by June!
 
Thats a really solid looking bus you got,i looked over it at Dave's and the solidness was superb,i bought the green one off him he had at the same time(i think it was still with him ehen you bought yours)
i guess the owner in the states didn't want their new engine to overheat and had the vents fitted,i also was really curious about the wooden bumper and roof vent!!! you really have got a piece of 70's history and i hope it comes together how you want it to.
Mine is currently stripped down to a bare shell,for a few small rust repairs then a full respray,and hoping to be back on the road by vanfest. :D
 
meldy said:
Thats a really solid looking bus you got,i looked over it at Dave's and the solidness was superb,i bought the green one off him he had at the same time(i think it was still with him ehen you bought yours)
i guess the owner in the states didn't want their new engine to overheat and had the vents fitted,i also was really curious about the wooden bumper and roof vent!!! you really have got a piece of 70's history and i hope it comes together how you want it to.
Mine is currently stripped down to a bare shell,for a few small rust repairs then a full respray,and hoping to be back on the road by vanfest. :D

Thanks meldy
We did indeed see your green bus while we were picking ours up. I think we would have chosen that one too but still happy with the one we got :)
Definitely has some character!
Good luck with your resto :)
 
Looks like a really solid base. The underside looks in amazing shape :D Love the quirkyness of it. Think that bumper could do with a bit or ronseal though! ;) Dig the extra set of rear lights too. What are your plans for the interior? As for the wheels, as Andy said if you keep standard height then I would keep the standard wheels. Alloys don't look good on standard height busus imo. Lowered on Fuchs would look cool though.
 
WOW :shock: THe underside looks mint.

Love the rear bumper also - very unusual 8)

Keep us posted as to how you progress with :D
 
Yes, the underside is very solid, thankfully :)

The interior is going to be a custom job - not 100% sure who we're going to get to do it yet, but it's a design that my husband has come up with. We'll have to see how it works out. We have decided that we will have a full width rock and roll, with a 3 way 60 litre fridge and gas hob, cooker and grill. No sink required, we can't see the point. The unit configuration is a bit different to the norm, if it works out, so will put pics up when it's done. I'm keeping it close to my chest in the meantime!

As for the rear bumper, it's definitely another bit of character! However, we've already got a replacement for it that we picked up from Vanfest, but we're not entirely sure how we're going to fix it to the van! It probably won't get done before we use the van for the first time, it's really not top of the priority list! ;)

The extra set of rear lights have just yesterday been removed and I don't think they are going back on.

Ride height - that's something for the future! I think my hubby has some ideas on this already, to go with his engine upgrade plans. :) I agree with what you say re stock ride height staying on steel wheels, so for now we may have to stick with unmatched steel wheels and just get some new tyres for now! Doesn't seem much point in buying new ones just to change them for alloys next year.

Thanks for your nice comments all, I will keep this thread updated with pics and plans as they happen :)
 
Well, the van is just about ready to roll! First trip on Wednesday - to Download Festival :)

Here is the finished article. I'm really chuffed with how it all turned out. Thanks to Duncan @ VanMotion for the cabinets, floor and bed, thanks also to Keith Reynolds upholstery (he does the upholstery for Absolute VW in Castle Donington) for doing the porsche seats, bed cushions, headlining and door cards. Brilliant job guys!

Only part that got resprayed (exterior at least, had the interior sprayed a bit just to tidy it up and change colour to blue around the windows), only the windscreen scuttle needed welding (although we had the skylight removed and a LOT of screw holes sorted out all over the place!) :)
IMG_0010Resized_.jpg


With roof rack (love this!)
IMG_0008Resized.jpg


With louvred window now:
P6041381Resized.jpg


Interior
P6041378Resized.jpg


P6041377Resized.jpg


P6041375Resized.jpg


P6041370Resized.jpg


P6041371Resized.jpg
 

Latest posts

Top