You are using an out of date browser. It may not display this or other websites correctly.
You should upgrade or use an alternative browser.
You should upgrade or use an alternative browser.
Our Camper - Dorothy, 1970 RHD Devon
- Thread starter Whistler
- Start date

Help Support Early Bay Forum:
This site may earn a commission from merchant affiliate
links, including eBay, Amazon, and others.
madjack
Well-known member
Hi Mark looks like you have been having fun ,just wondering which rear arches you have used?
Jeff
Jeff
- Joined
- Nov 13, 2012
- Messages
- 261
- Reaction score
- 0
Great work :!: nice now you are nearly finished on the welding 
- Joined
- Nov 28, 2012
- Messages
- 926
- Reaction score
- 51
- Location
- Herne Bay, Kent
- Year of Your Van(s)
- 1970
- Van Type
- Devon
Gwar72 said:Loads of hard work, well done..!!
Out of curiosity. Once you flipped her over outside, how did you get her into the garage?? :?:
Thanks
I call them dolly's. Flat square bits of wood with shopping trolley type wheels on the bottom. Used 3 of those ratchet strapped up and just rolled her in
madjack said:Hi Mark looks like you have been having fun ,just wondering which rear arches you have used?
Jeff
Hiya Jeff,
Hows it going? Fun could be one word I guess :lol: I used Schofields ones, the drivers side was fine, but the passenger side needs work as it pops out where the pressing for the front of the lip is. I will get a photo later to show you what I mean. Ronnie used Autocraft ones and said his didn't have this problem. I will check with him today. And considering Autocraft ones are only £4 more they may be the much better option.
woz said:Great work :!: nice now you are nearly finished on the welding
Thanks
madjack
Well-known member
Hi Mark not doing to bad the new addition to our family has arrived and is a little girl called Sophie. Bluebell has had a few little changes like rear spring plates changed for 2" drop red nine ,propex up front on the screen ,Bug-Tech shifter and a rose wood MJL steering wheel .Jobs for the winter will be a to sort roof out and new rear arch then a reprint if all goes well.

$7.99
Window Crank Cover, for Beetle, Bus & Ghia 68-79, Black, Ea, Compatible with Dune Buggy
MidAmericaMotorworks

$18.94
$22.95
Empi 11-4521-B VW Bug, Beetle, Window Cranks, 68 & Later, Pair
No Name Parts, INC

$9.37
Empi 4429 Ivory Sun Visor Clips For Vw Bug 1965-1967/ Vw Bus 1968-1979, Pair
MOORE PARTS SOURCE

$53.56
$69.99
Revell 07674 VW T1 Camper 1:24 Scale Unbuilt/Unpainted Plastic Model Kit
Amazon.com

$29.85
Airfix Quickbuild Volkswagen Camper Van Red Brick Building Plastic Model Kit J6017, Multicolour
Amazon Global Store UK

$7.99
$11.51
Dorman 76920 Window Crank Handle Compatible with Select Volkswagen Models, Black
Amazon.com
- Joined
- Nov 28, 2012
- Messages
- 926
- Reaction score
- 51
- Location
- Herne Bay, Kent
- Year of Your Van(s)
- 1970
- Van Type
- Devon
madjack said:Hi Mark not doing to bad the new addition to our family has arrived and is a little girl called Sophie. Bluebell has had a few little changes like rear spring plates changed for 2" drop red nine ,propex up front on the screen ,Bug-Tech shifter and a rose wood MJL steering wheel .Jobs for the winter will be a to sort roof out and new rear arch then a reprint if all goes well.
Awesome
You've been busy then! Is the Propex the new one that goes outside the bus? I asked Ronnie on Saturday if the autrocraft have the same bumps due to pressing and they don't so I would go for the Autocraft ones. They are only £4 more each I think, and will obviously require less work.
madjack
Well-known member
Hi Mark
Went for the one that goes inside .
Went for the one that goes inside .
Foz
Well-known member
Amazing thread, really enjoyed the read up of your work progress so far mate. Its slowly coming together now. Ronnie has been a miracle worker it seems, fair play to him! Everyone needs a friend like Ronnie in their lives!
Keep the updates coming.
**Subscribed** :mrgreen:
-------------------------------
Own a Bay?.....Feel the love!!
Keep the updates coming.
**Subscribed** :mrgreen:
-------------------------------
Own a Bay?.....Feel the love!!
superfunkyfresh
Well-known member
I'm with Foz on this one, what an amazing thread!! Pure brilliance!! Well done all..
68_early_bay
Well-known member
Wow some real good progress going on there 8) the chassis is looking awesome 8)
- Joined
- Nov 28, 2012
- Messages
- 926
- Reaction score
- 51
- Location
- Herne Bay, Kent
- Year of Your Van(s)
- 1970
- Van Type
- Devon
Thanks too all the positive comments! Means a lot, also shows people are reading all the work that's going in to it 
I appreciate I have no idea really how much longer there is to go, and and all the little bits that need doing will take forever but hopefully the time I have in my head won't be far off! It just always seems to be that when we think we are about there something comes up and it's occasionally 2 steps forward and one back. Next post will sum that up...
I appreciate I have no idea really how much longer there is to go, and and all the little bits that need doing will take forever but hopefully the time I have in my head won't be far off! It just always seems to be that when we think we are about there something comes up and it's occasionally 2 steps forward and one back. Next post will sum that up...
- Joined
- Nov 28, 2012
- Messages
- 926
- Reaction score
- 51
- Location
- Herne Bay, Kent
- Year of Your Van(s)
- 1970
- Van Type
- Devon
As it's been just over a month since the last update, hopefully I've remembered the order in which we did things!
After getting the bus back out the garage and tipped back over on her wheels (which surprisingly was a lot easier than the reverse the week before!), and a tidy up of the garage Ronnie came over at the weekend. Filler in tow this is what he got up to.
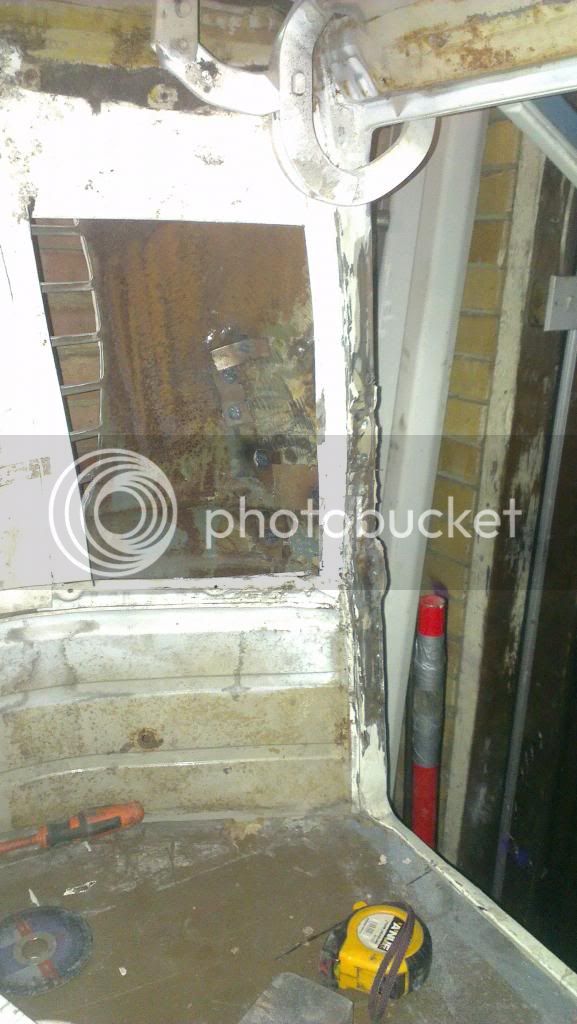
The inside was cut out so we could access the inside of the corner piece to patch up various holes. Not sure if they were the result of accident damage or the result of a previous owner/garage making them to pull the corner out.
Once patched up it was loaded up with filler.
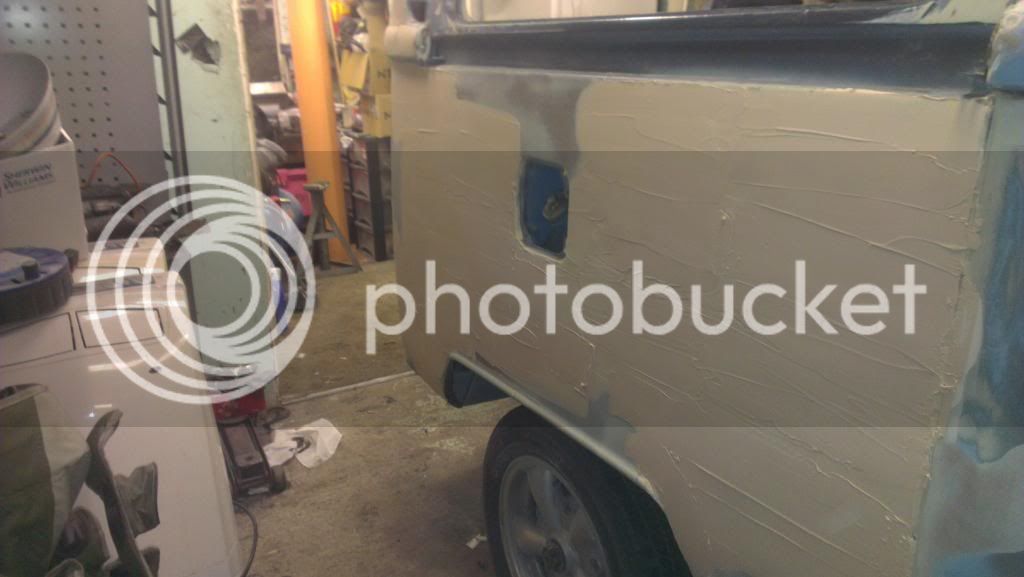
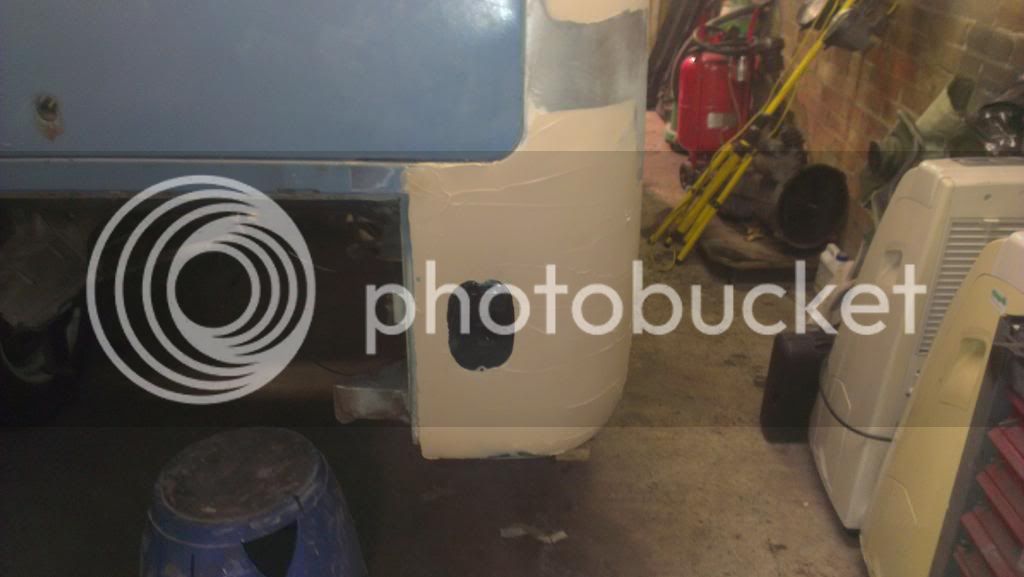
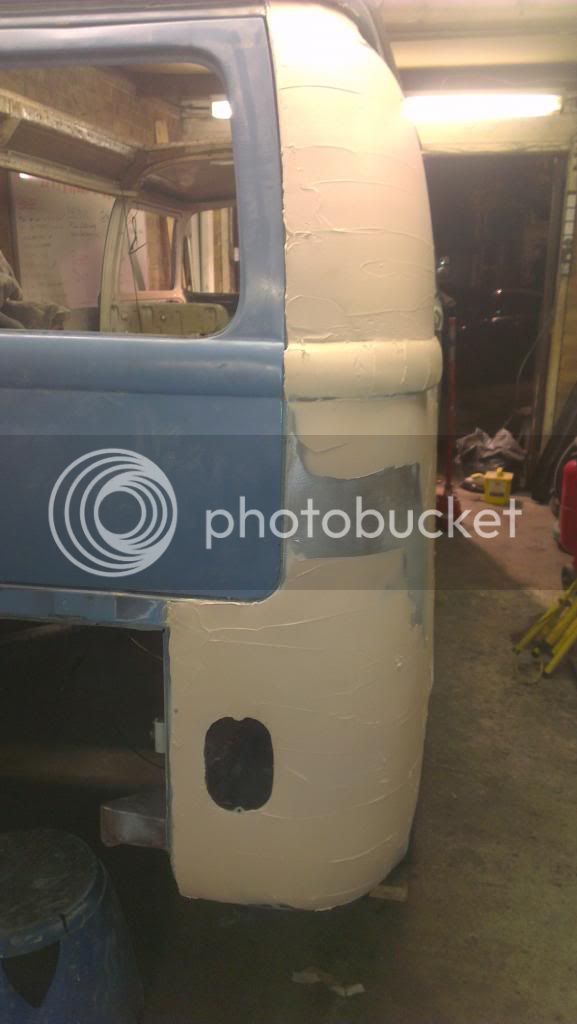
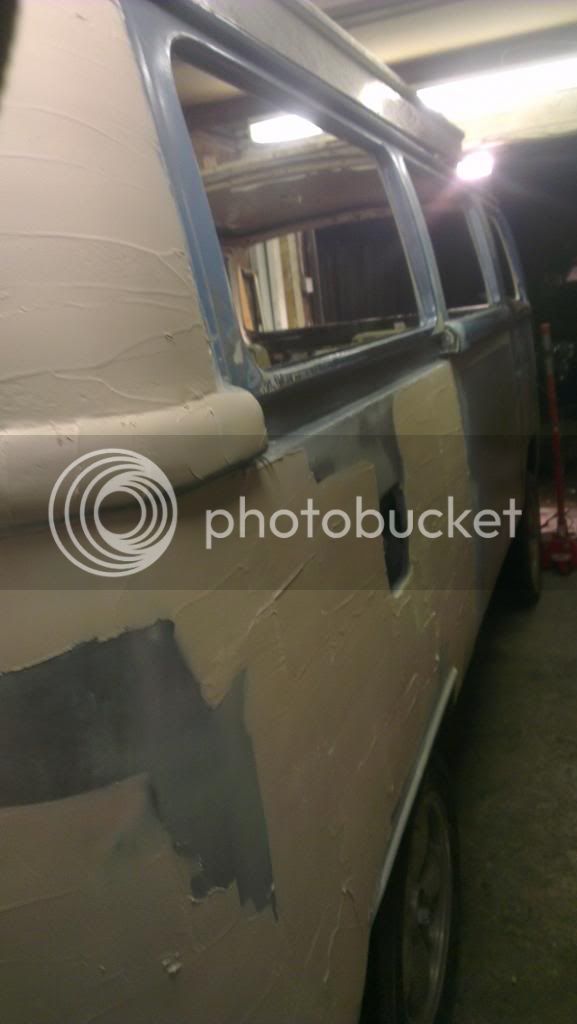
Not sure what happened, but most of that was all taken back off again. No idea why I didn't take any pictures :roll:
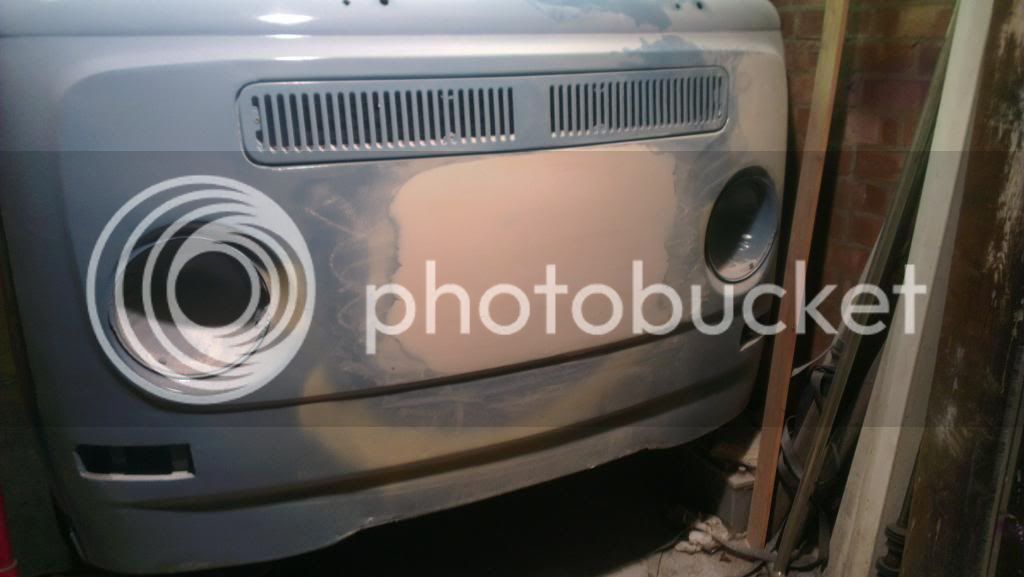
One bit I do have a picture of is the front. I think this was once Ronnie tapped the bump in as much as possible, then a skim of fibreglass over the top, then a skim of filler. This isn't exactly where it needs to be, but it isn't far off! More on that later.
However, once the rear corner was pretty much there, needed another going over then it was done we spotted this on EBay...
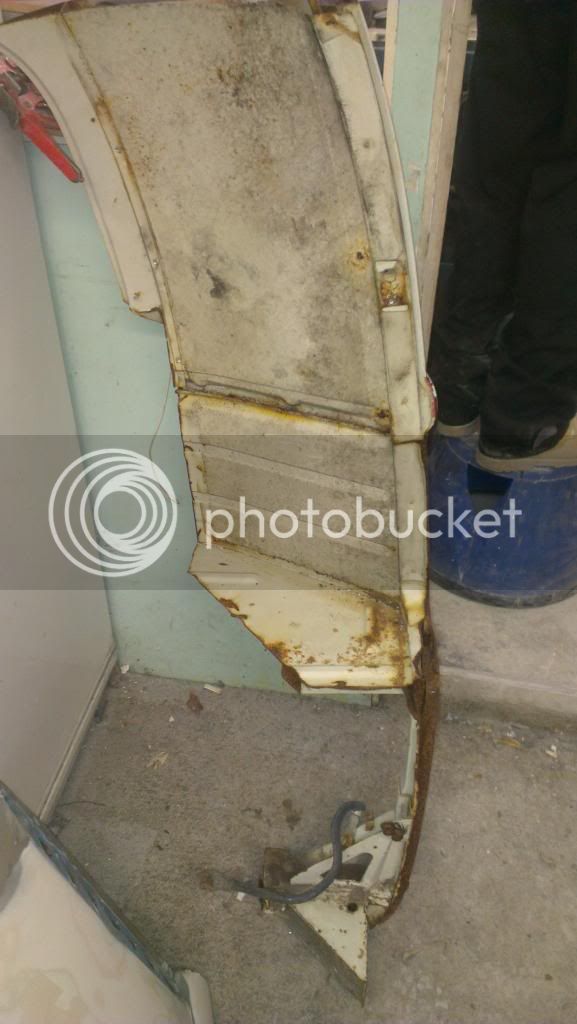
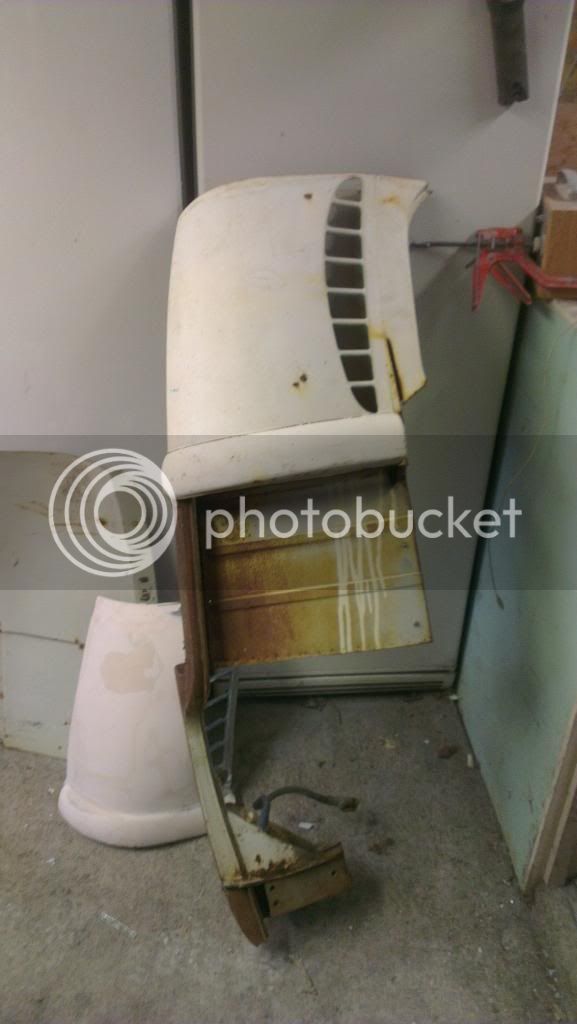
It just so happened that this cut that popped up had pretty much everything we needed to make my corner (which had been patched from the inside) perfect. It also included the strip with the striker plates that I was so desperately after. So I contacted the seller on Ebay, a deal was made and I set off on my 5 or so hour round trip one Friday. Not only did we use the whole corner (inside and out), but also the triangle bit the valance bolts to, the part of the chassis attached to it (not yet - more on that later), but Ronnie also wanted to use the return down the side of the engine lid on his bus. Not bad for £60!! (Plus fuel).
So this is what happened with the corner.
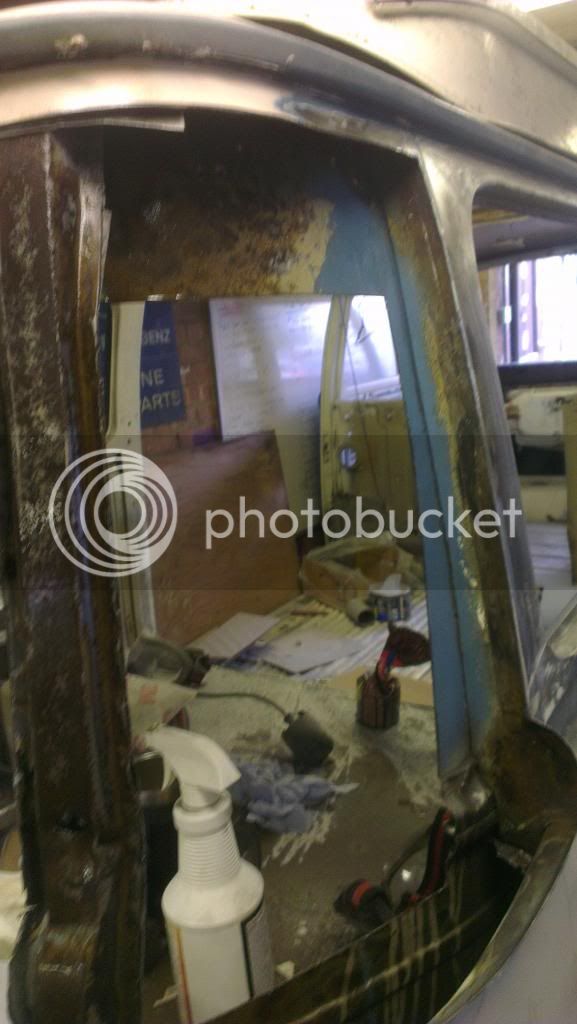
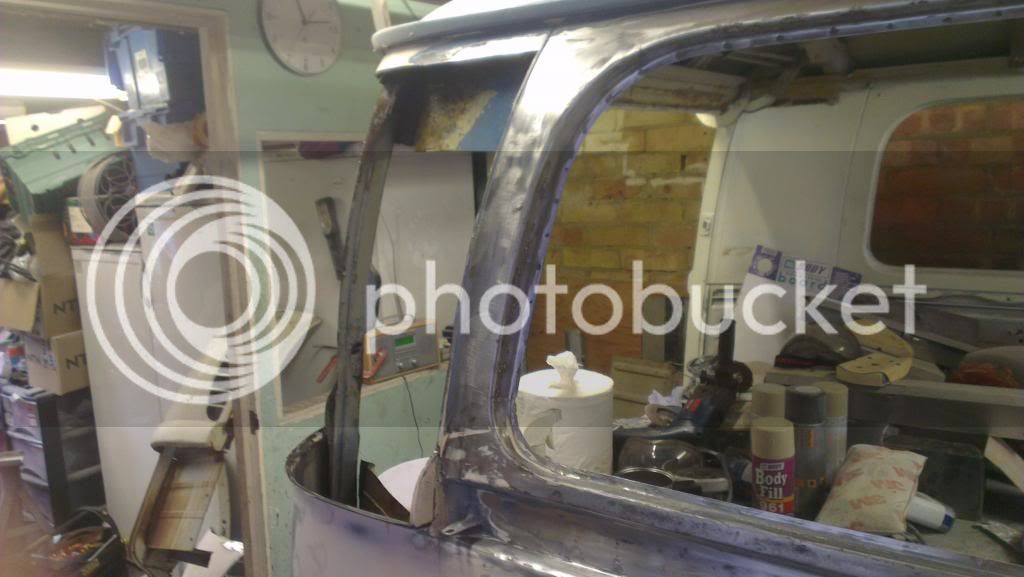
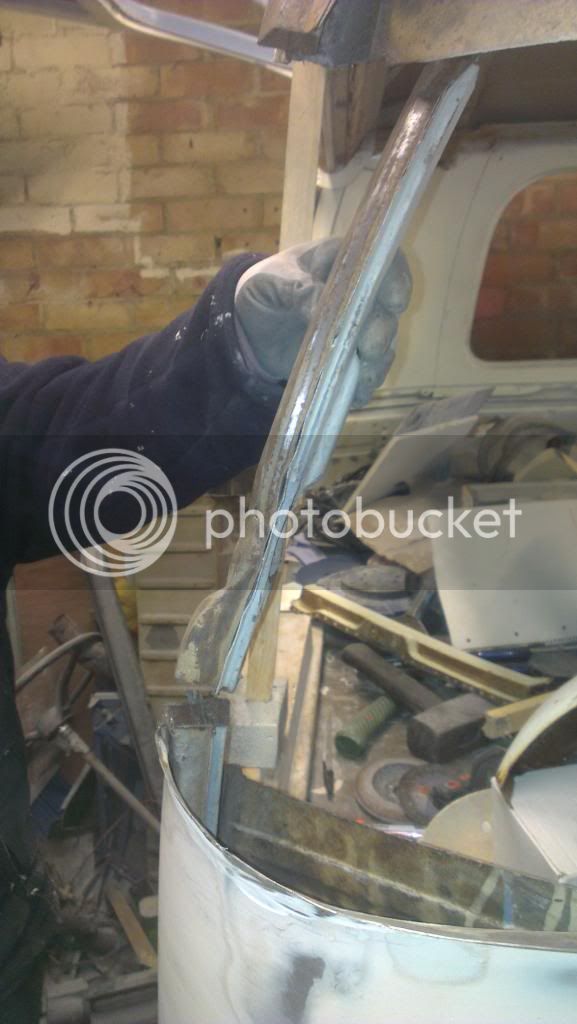
And Photobucket has broken :x I'll pick this up once it's not being an arse.
After getting the bus back out the garage and tipped back over on her wheels (which surprisingly was a lot easier than the reverse the week before!), and a tidy up of the garage Ronnie came over at the weekend. Filler in tow this is what he got up to.
The inside was cut out so we could access the inside of the corner piece to patch up various holes. Not sure if they were the result of accident damage or the result of a previous owner/garage making them to pull the corner out.
Once patched up it was loaded up with filler.


Not sure what happened, but most of that was all taken back off again. No idea why I didn't take any pictures :roll:
One bit I do have a picture of is the front. I think this was once Ronnie tapped the bump in as much as possible, then a skim of fibreglass over the top, then a skim of filler. This isn't exactly where it needs to be, but it isn't far off! More on that later.

However, once the rear corner was pretty much there, needed another going over then it was done we spotted this on EBay...


It just so happened that this cut that popped up had pretty much everything we needed to make my corner (which had been patched from the inside) perfect. It also included the strip with the striker plates that I was so desperately after. So I contacted the seller on Ebay, a deal was made and I set off on my 5 or so hour round trip one Friday. Not only did we use the whole corner (inside and out), but also the triangle bit the valance bolts to, the part of the chassis attached to it (not yet - more on that later), but Ronnie also wanted to use the return down the side of the engine lid on his bus. Not bad for £60!! (Plus fuel).
So this is what happened with the corner.


And Photobucket has broken :x I'll pick this up once it's not being an arse.
- Joined
- Nov 28, 2012
- Messages
- 926
- Reaction score
- 51
- Location
- Herne Bay, Kent
- Year of Your Van(s)
- 1970
- Van Type
- Devon
Right it's back, let me continue.
The 2nd to last picture maybe the new bit in. My photos don't seem to be in any order for some reason.
Once that was stuck in, the outer corner was welded in. The inside was rust treated and etch primed. I still need to seal it up and get some paint on it before the inner part is stuck back in.
At this point we had a couple weeks off. Work was getting chaotic for me and Ronnie had to start organising for Christmas.
The Saturday before Christmas Ronnie was back, also the following Monday.
Here are some pictures!
----Photobucket is playing up again, getting some weird download link. Never had a virus/malware as such so what crap timing! First one in 20 odd years and it has to be now. Oh well, time to clean the PC up. Which is f**king annoying as it's only a couple months old!!
- Joined
- Nov 28, 2012
- Messages
- 926
- Reaction score
- 51
- Location
- Herne Bay, Kent
- Year of Your Van(s)
- 1970
- Van Type
- Devon
After Norton Scan and AVG scan nothing found, maybe it's photobucket? :?
Oh well, I shall continue.
I started working on removing the firewall and taking a look at the fuel tank. Pretty worried here, as far as I know it hasn't been looked at since 69/70. Screws were all pretty knackered but got it off.
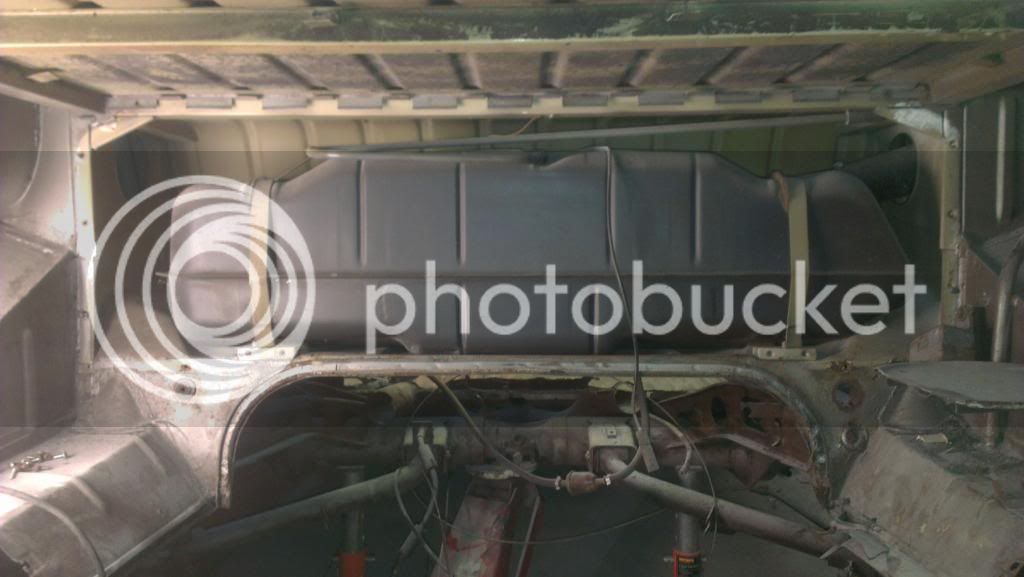
Tank out
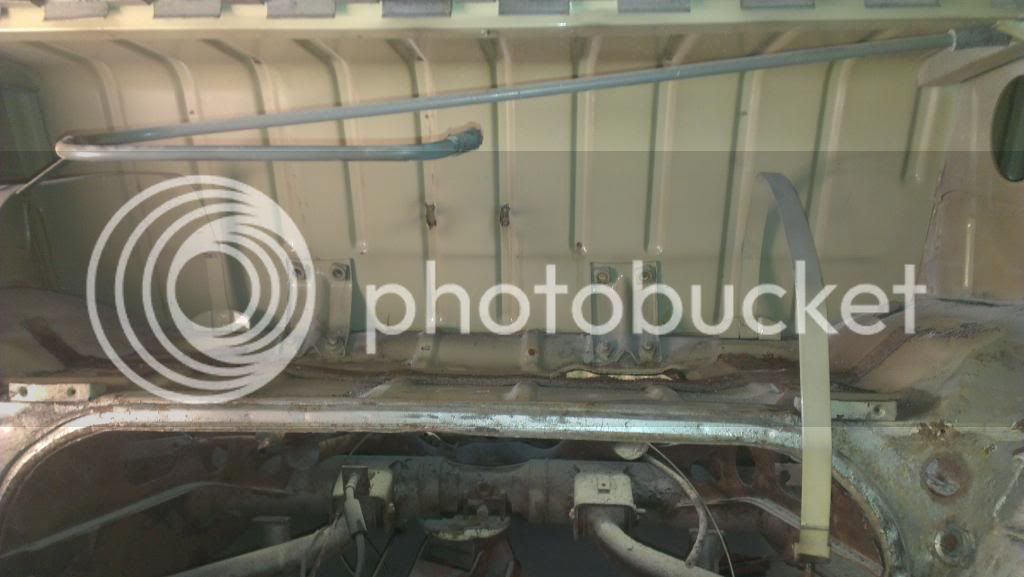
Good news! The tank seems to be in top condition. I will still treat it as it's out and inside was a bit of relief! Only one small section that had rotten through, weird how one side rotted but the other is spotless?
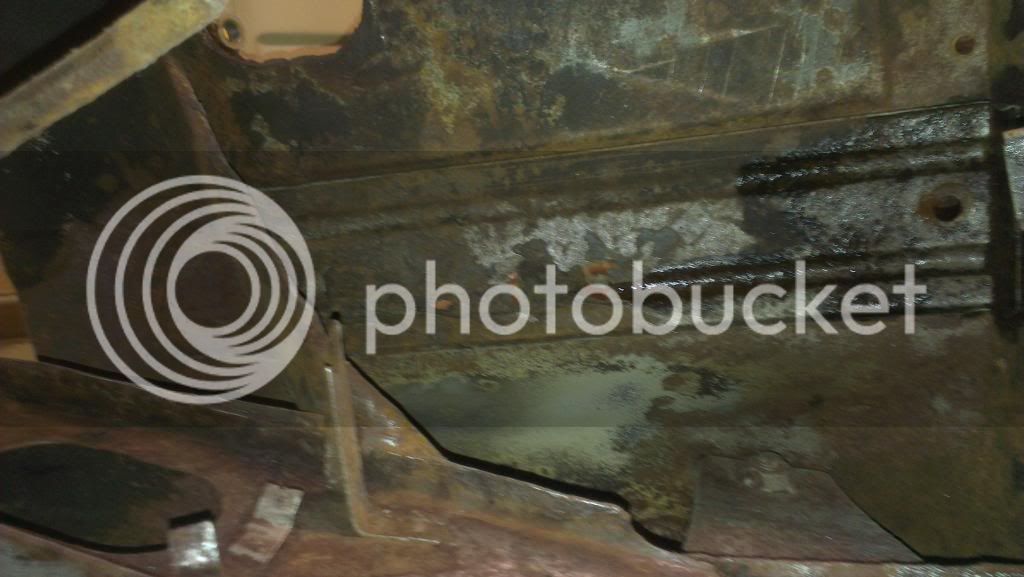
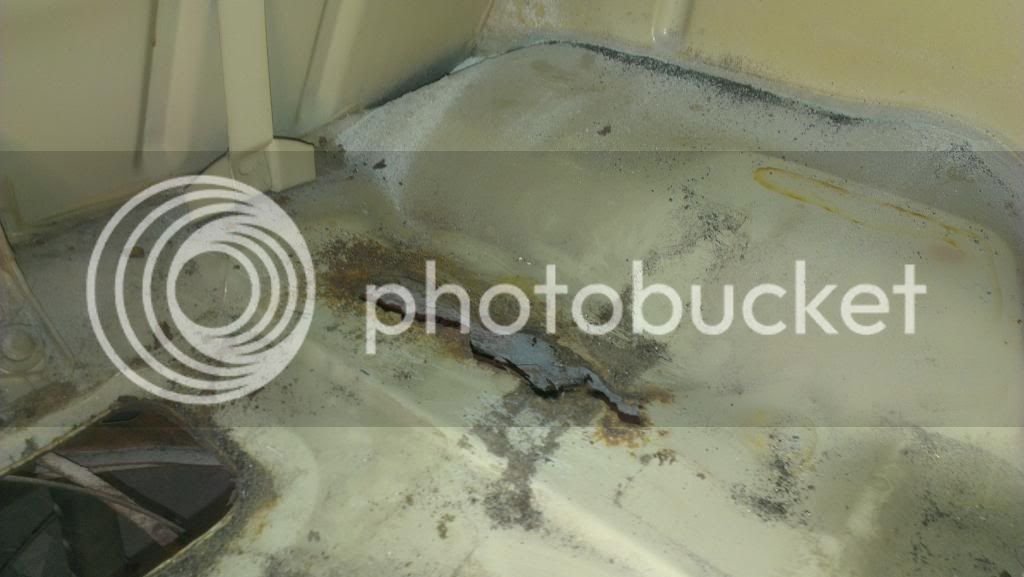
This it a little rotten as well and will need patching up. Also the channel the seal sits in needs fixing. I noticed on Autocraft they sell this channel but it's to 67 only. Going to give them a call tomorrow to see the differences.
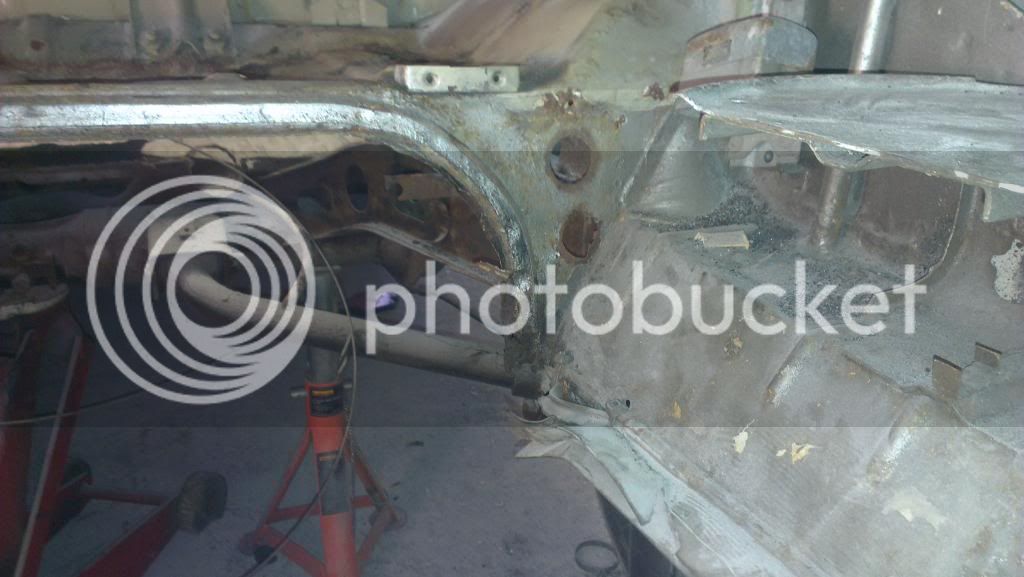
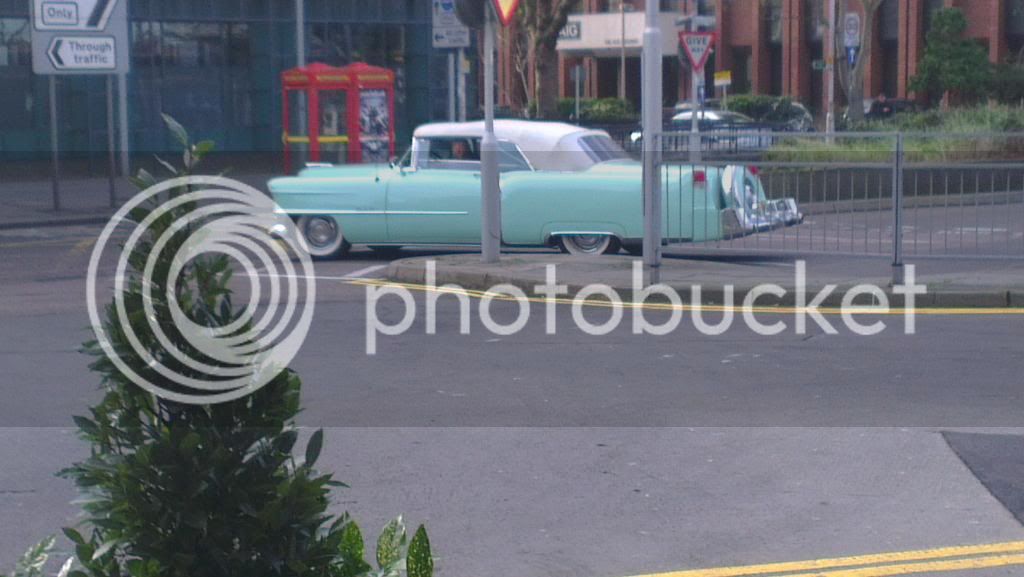
In between I had to work and out getting some fresh air I saw this driving past. Not sure what it is but it was MASSIVE...but was truly stunning. Worked there for 8 years nearly and never seen this at the station before, hope to see it again! Wished I'd stopped him and had a proper look.
After that fun I had a new tailgate arrive from Sussex Kampers as the mine was bashed and bent back into shape and filled over (no surprises there then...), and I got 25% off for Christmas It's a beautiful colour as well, shame I will we covering it up.
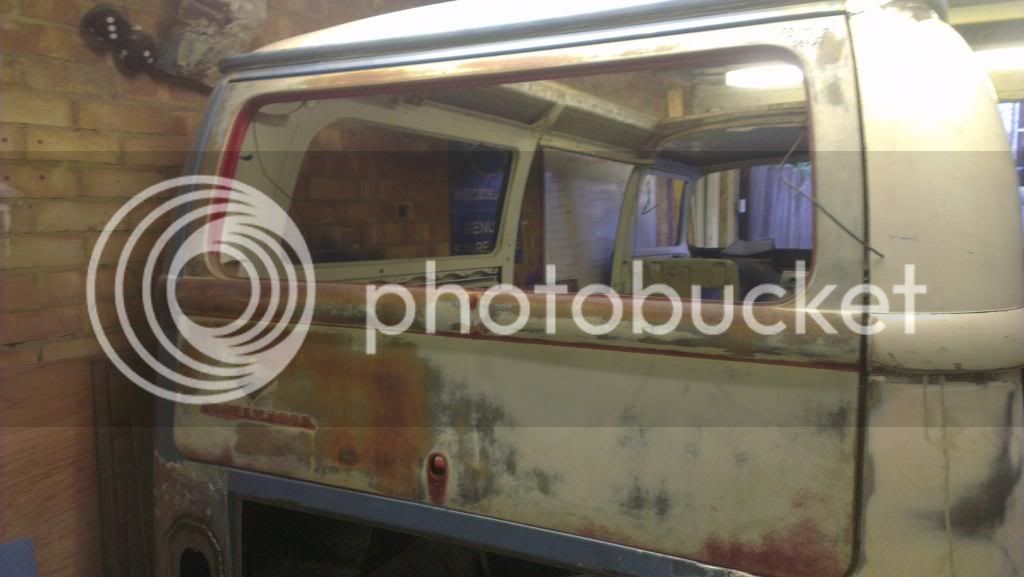
Some may notice that the top right corner has a tight gap to the corner (more on that in a sec). The valance I bought on EBay (as mine was surprisingly all bent and buckled), is straight but it has some rotten bits underneath (so I'll be selling it on to a Rat bus owner hopefully) and getting a new one.
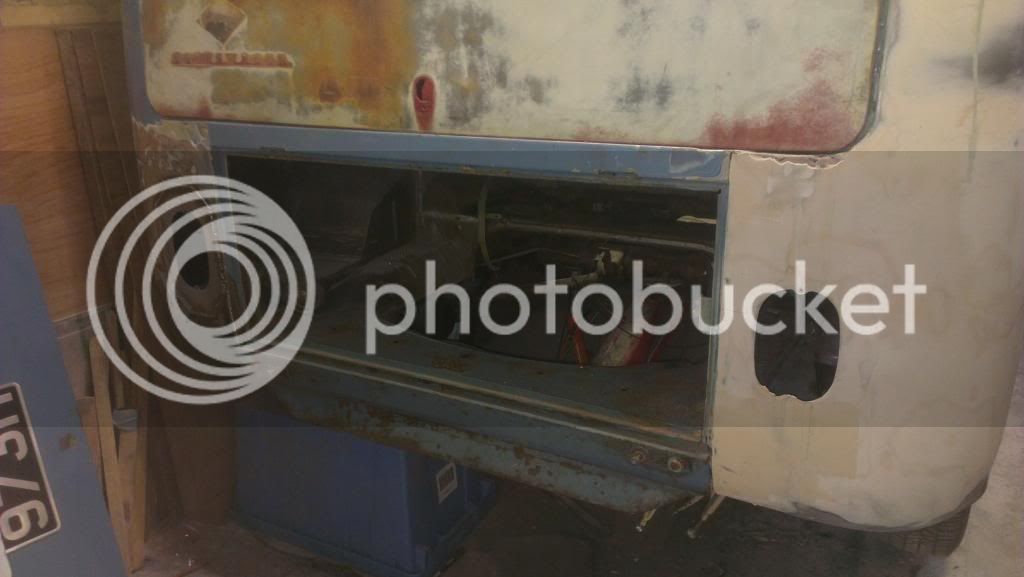
This is where the tailgate gap comes in. When we reset the corner we did so with my bent and buckled tailgate, so when we stuck the nice straight one in we realised what we missed. So after doing that corner twice now we have come up with a plan for the third and final time! What we are going to do (with the tailgate in place), is cut under the swage line and lift the top of the corner up a couple of milimetre's and then reweld it. That will get the top nice and straight again. As well as doing this, I need to get a new hinge repair panel, new valance and new tailgate. Offer it all up and weld it up! Hopefully I will be able to source all of that tomorrow for delivery on Friday and that is the the task for Saturday.
In the meantime, once Ronnie decided he was wasting time trying to repair that section with the bits we had, he went back to filling and flattening down.
Some pictures of where it's up to now.
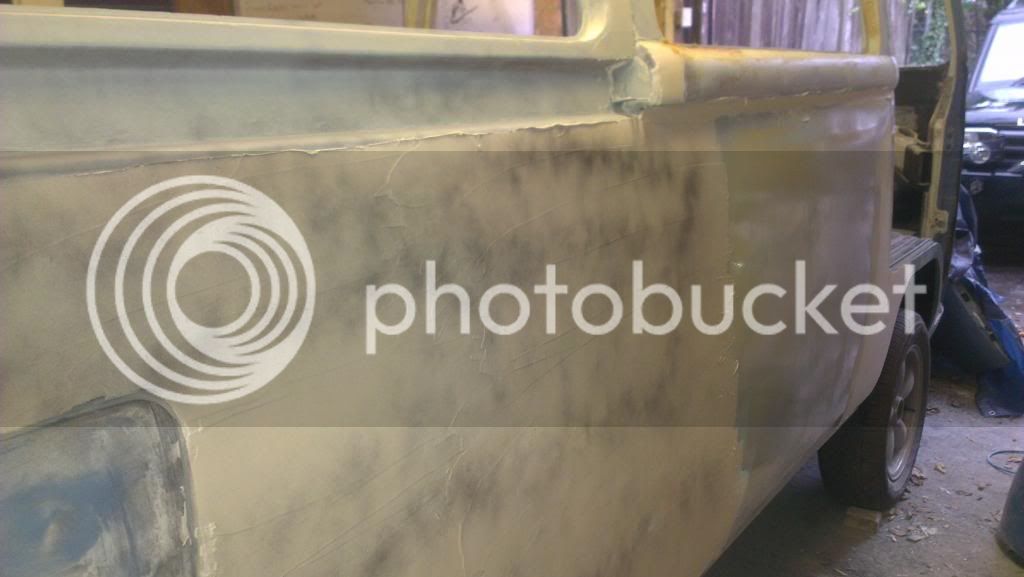
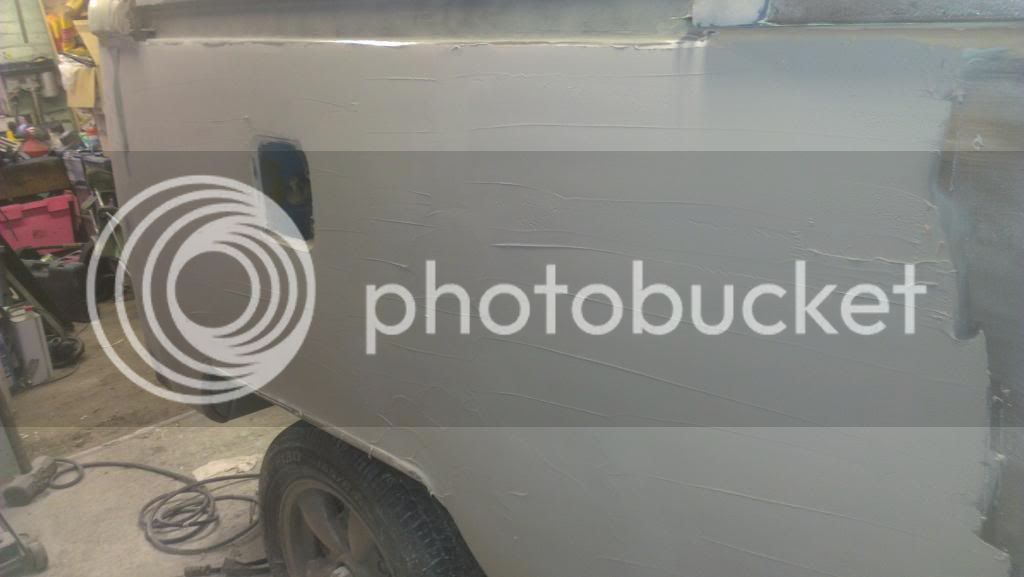
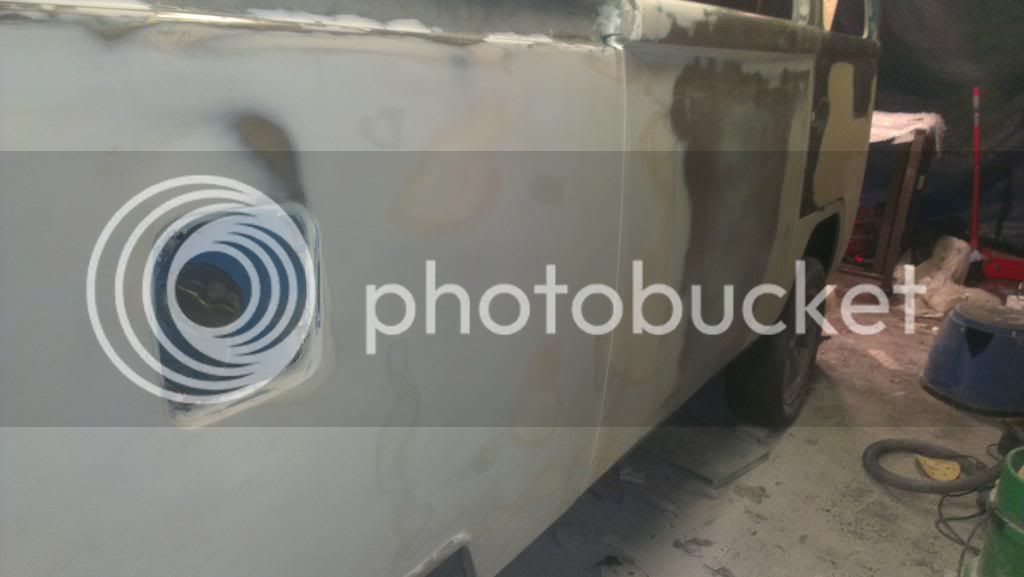
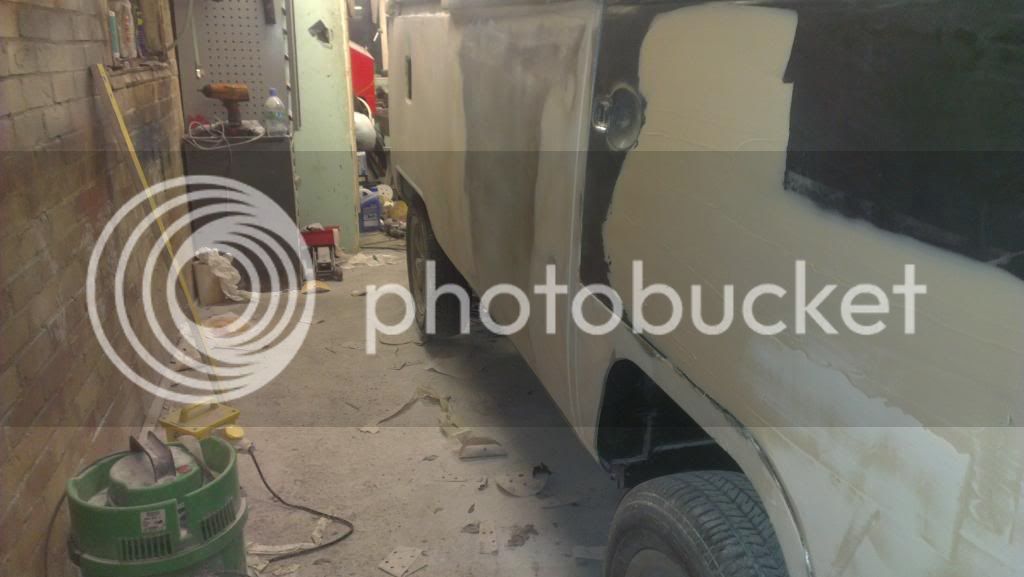
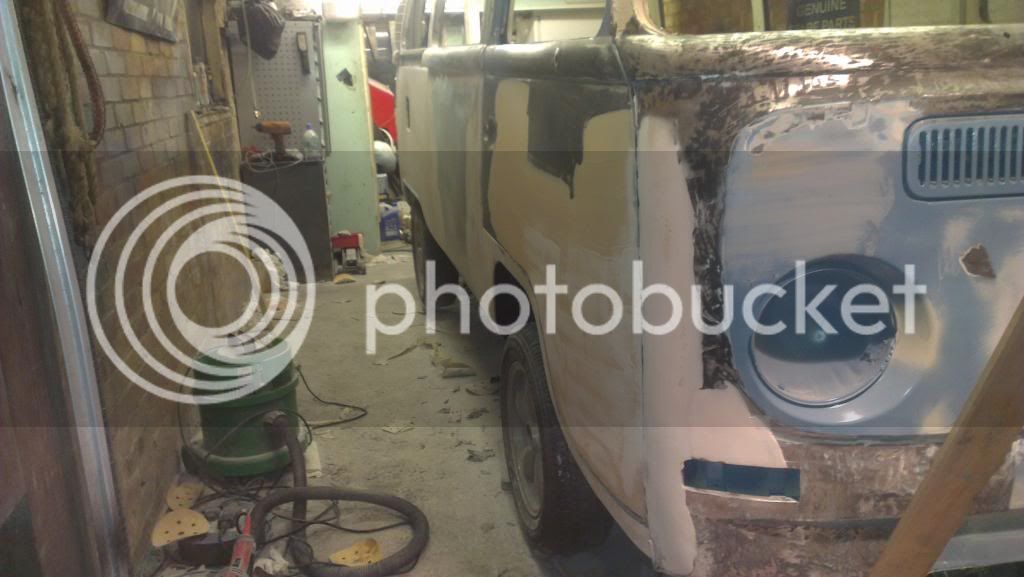
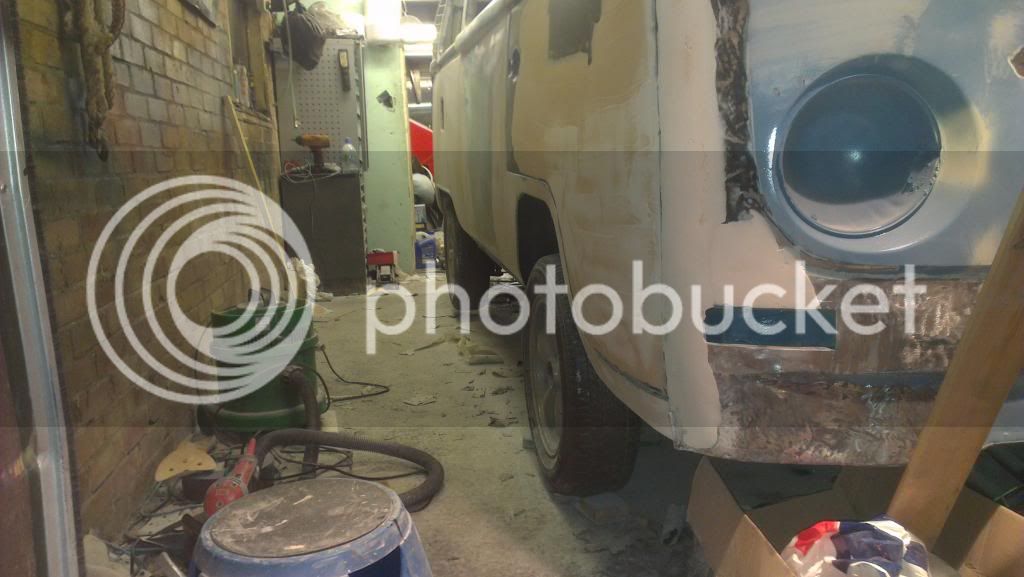
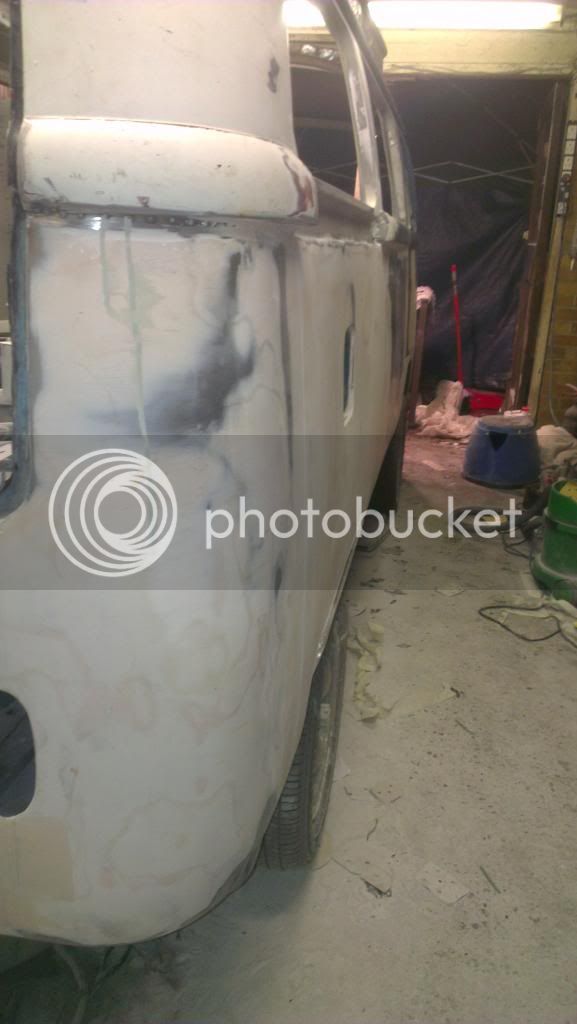
We were hoping the door would get done as well, then some of the front so we can turn the bus around and do the other side but the frame in the door needed sealing up as the outer panel was rather flexible! So we had to stop there. The rear corner will need doing again once the rear end is finally sorted out. But from the rear wheel arch to the front is all done That was the hardest part because of the C Post being out of shape, Ronnie has done a stunning job so far and we are really really chuffed! Hopefully the near side will be a lot easier as it should structurally be in the correct position!
I've been attacking the hole in the fuel tank area which is now welded up and sealed - didn't take any pictures for some reason. I had to re-make the strenghener bit and I was rather happy with how it turned out!
Then I turned my hand to the hole where the rear heater vents come up.
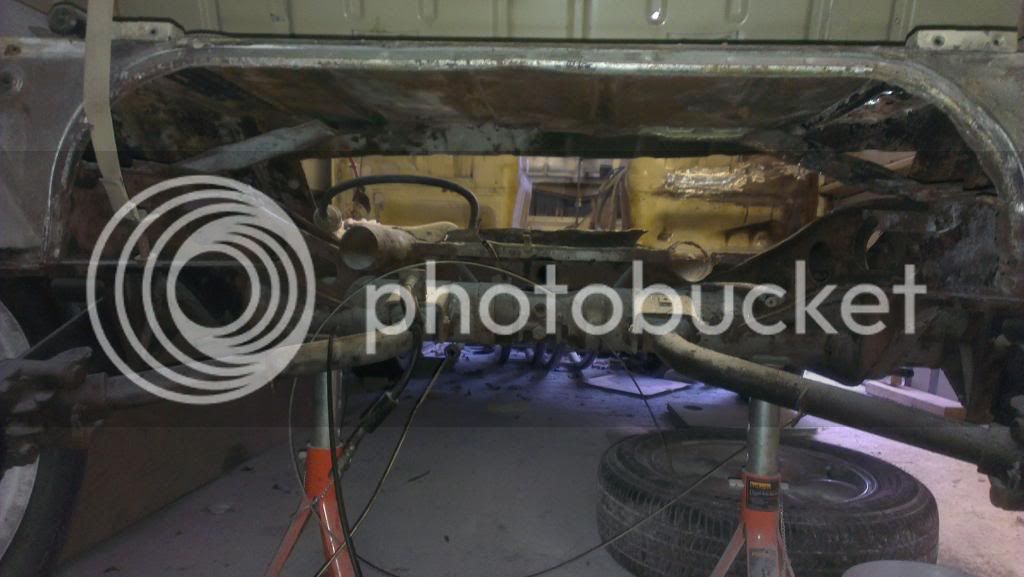
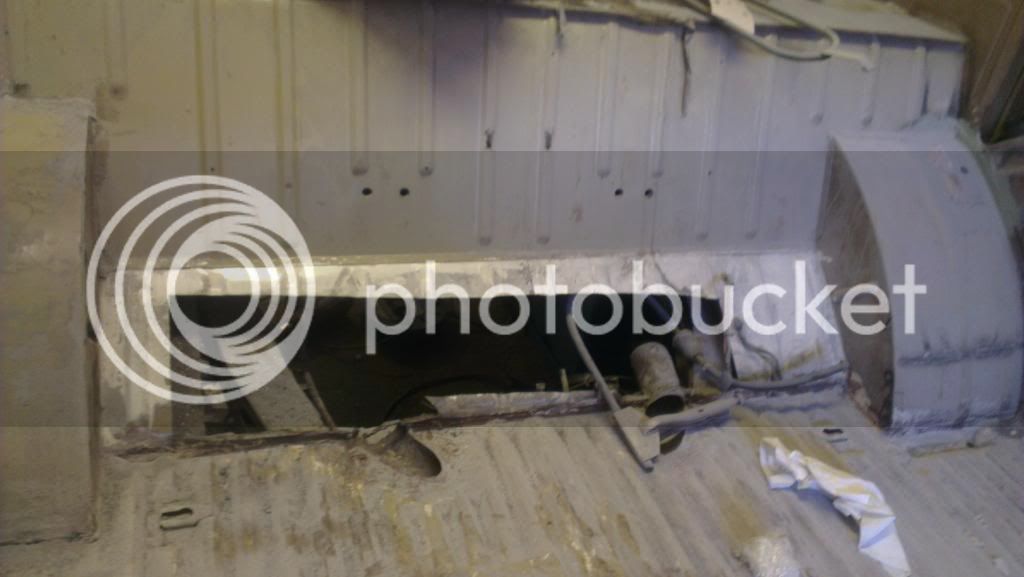
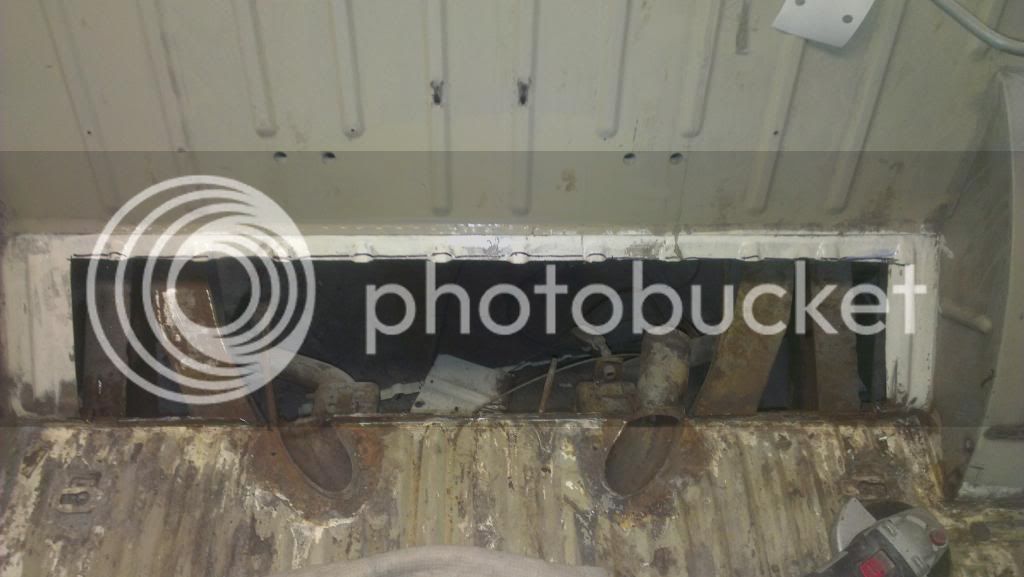
One of the pipes litterally fell off when I touched it, the other is mostly solid accept for a small hole. The reason for doing all this is that we don't want the rear heating vents. So I am going to close it up so the heat goes to the front. Mainly for storage reasons, with the vents there, and then needing to be encased we are losing a lot of room under the seat. So as it's mainly going to be us two heat up the front is fine.
There is a lip that is on the reverse side (in the engine bay area) where the floor and the panel I am replacing is welded. I guess for strength. Well that is non-existent. Rotted away many years a go no doubt. So I've had to tack a lip back on the inside which I will tap down to make the lip on in the engine bay. The panel that I have to replace this one is also rotten along that bit as well, so I've cut it off. My plan is to weld the lip back on the replacement panel then tack it to the lip on the bus. Then as I bend over the replacement panel in to place it should bend the lips where I need them to go as it will be impossible to weld from inside the engine bay. If it needs straightening out then hopefully that should be easy. Then weld the panel in place.
That is my plan today so fingers crossed for me!
Oh well, I shall continue.
I started working on removing the firewall and taking a look at the fuel tank. Pretty worried here, as far as I know it hasn't been looked at since 69/70. Screws were all pretty knackered but got it off.

Tank out

Good news! The tank seems to be in top condition. I will still treat it as it's out and inside was a bit of relief! Only one small section that had rotten through, weird how one side rotted but the other is spotless?


This it a little rotten as well and will need patching up. Also the channel the seal sits in needs fixing. I noticed on Autocraft they sell this channel but it's to 67 only. Going to give them a call tomorrow to see the differences.

In between I had to work and out getting some fresh air I saw this driving past. Not sure what it is but it was MASSIVE...but was truly stunning. Worked there for 8 years nearly and never seen this at the station before, hope to see it again! Wished I'd stopped him and had a proper look.

After that fun I had a new tailgate arrive from Sussex Kampers as the mine was bashed and bent back into shape and filled over (no surprises there then...), and I got 25% off for Christmas

Some may notice that the top right corner has a tight gap to the corner (more on that in a sec). The valance I bought on EBay (as mine was surprisingly all bent and buckled), is straight but it has some rotten bits underneath (so I'll be selling it on to a Rat bus owner hopefully) and getting a new one.

This is where the tailgate gap comes in. When we reset the corner we did so with my bent and buckled tailgate, so when we stuck the nice straight one in we realised what we missed. So after doing that corner twice now we have come up with a plan for the third and final time! What we are going to do (with the tailgate in place), is cut under the swage line and lift the top of the corner up a couple of milimetre's and then reweld it. That will get the top nice and straight again. As well as doing this, I need to get a new hinge repair panel, new valance and new tailgate. Offer it all up and weld it up! Hopefully I will be able to source all of that tomorrow for delivery on Friday and that is the the task for Saturday.
In the meantime, once Ronnie decided he was wasting time trying to repair that section with the bits we had, he went back to filling and flattening down.
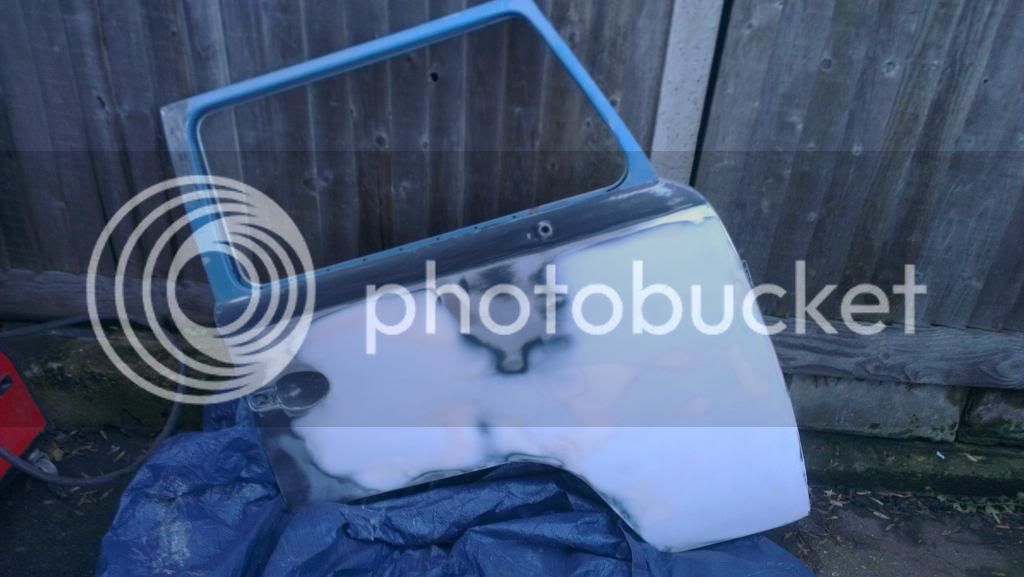
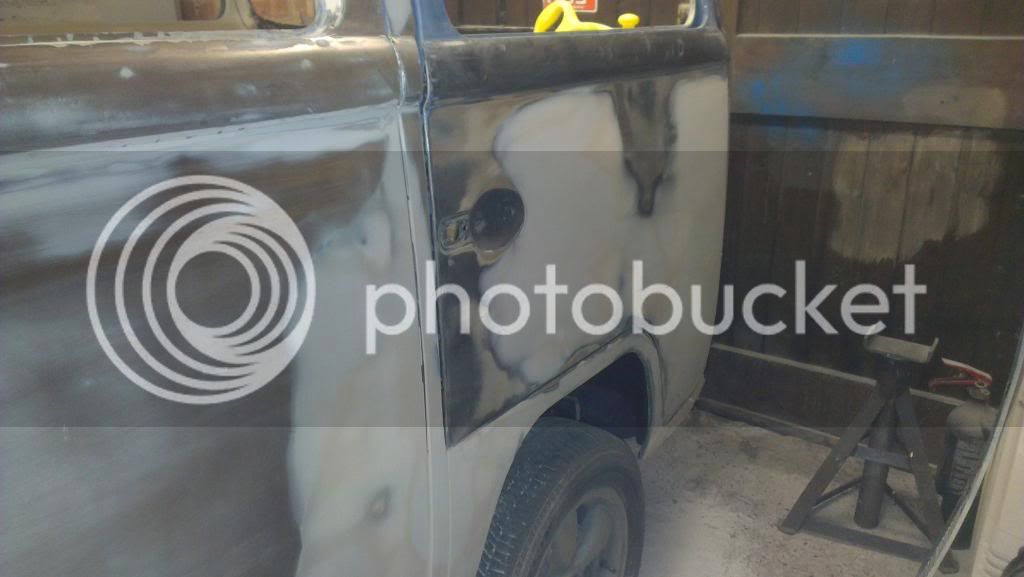
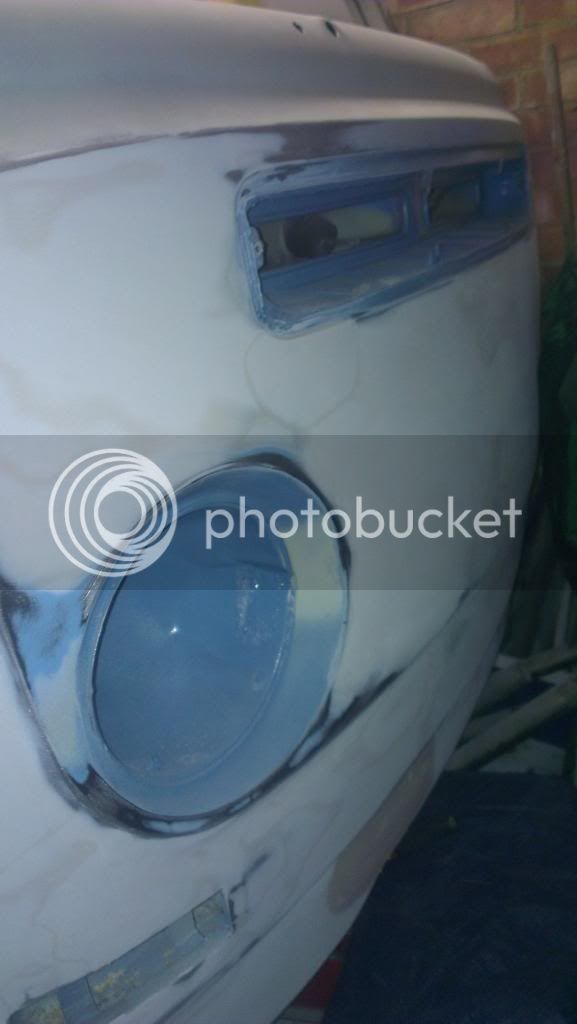
Some pictures of where it's up to now.


We were hoping the door would get done as well, then some of the front so we can turn the bus around and do the other side but the frame in the door needed sealing up as the outer panel was rather flexible! So we had to stop there. The rear corner will need doing again once the rear end is finally sorted out. But from the rear wheel arch to the front is all done
I've been attacking the hole in the fuel tank area which is now welded up and sealed - didn't take any pictures for some reason. I had to re-make the strenghener bit and I was rather happy with how it turned out!
Then I turned my hand to the hole where the rear heater vents come up.


One of the pipes litterally fell off when I touched it, the other is mostly solid accept for a small hole. The reason for doing all this is that we don't want the rear heating vents. So I am going to close it up so the heat goes to the front. Mainly for storage reasons, with the vents there, and then needing to be encased we are losing a lot of room under the seat. So as it's mainly going to be us two heat up the front is fine.
There is a lip that is on the reverse side (in the engine bay area) where the floor and the panel I am replacing is welded. I guess for strength. Well that is non-existent. Rotted away many years a go no doubt. So I've had to tack a lip back on the inside which I will tap down to make the lip on in the engine bay. The panel that I have to replace this one is also rotten along that bit as well, so I've cut it off. My plan is to weld the lip back on the replacement panel then tack it to the lip on the bus. Then as I bend over the replacement panel in to place it should bend the lips where I need them to go as it will be impossible to weld from inside the engine bay. If it needs straightening out then hopefully that should be easy. Then weld the panel in place.
That is my plan today so fingers crossed for me!
rallye dale
Well-known member
Wow 8)
Its great when you can look back at the pictures to see how far you have come
Keep it updated arty0047:
Its great when you can look back at the pictures to see how far you have come
Keep it updated
- Joined
- Nov 28, 2012
- Messages
- 926
- Reaction score
- 51
- Location
- Herne Bay, Kent
- Year of Your Van(s)
- 1970
- Van Type
- Devon
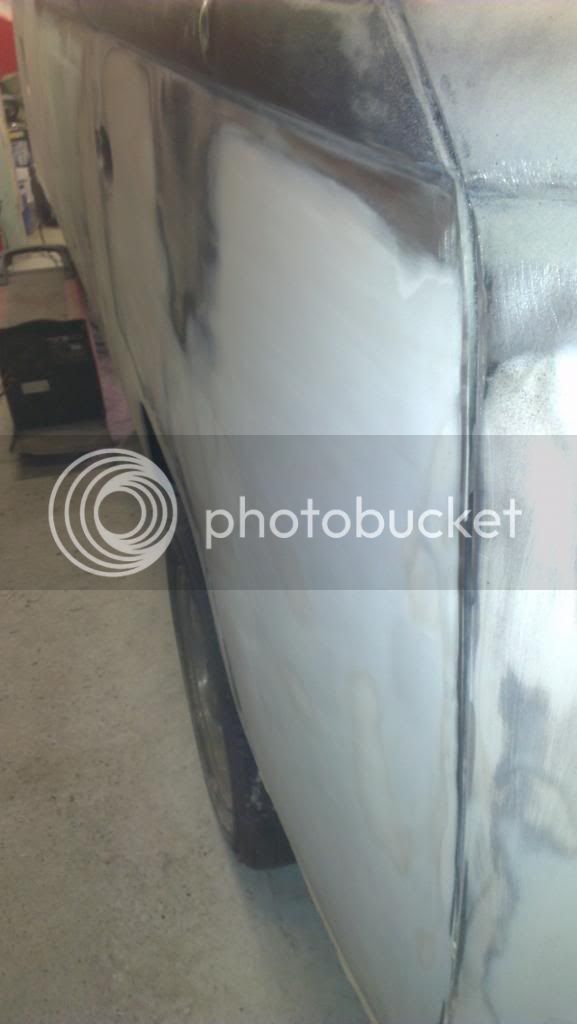
Ronnie was back round Saturday just gone to continue the filling as I am still short a valance and engine lid. He continued with the front door, wheel arch, step and front panel. I didn't realise I didn't take any pictures so took some last night. Not the best of angles...
I've also been doing stuff Finishing off the rear heater bit (don't know what it's called :?: ). I had to put that lip back in, so welded a plate along the front and then tapped over the top. I couldn't use the return on the bit I was putting in so I had to weld right along the front. It crossed my mind to attach a new lip, weld that up and then fold the whole bit into place but decided that would be rather tricky for me. I had to make some patch repairs to the bit I was putting in where rot had taken place and also cover up the wholes in the floor.
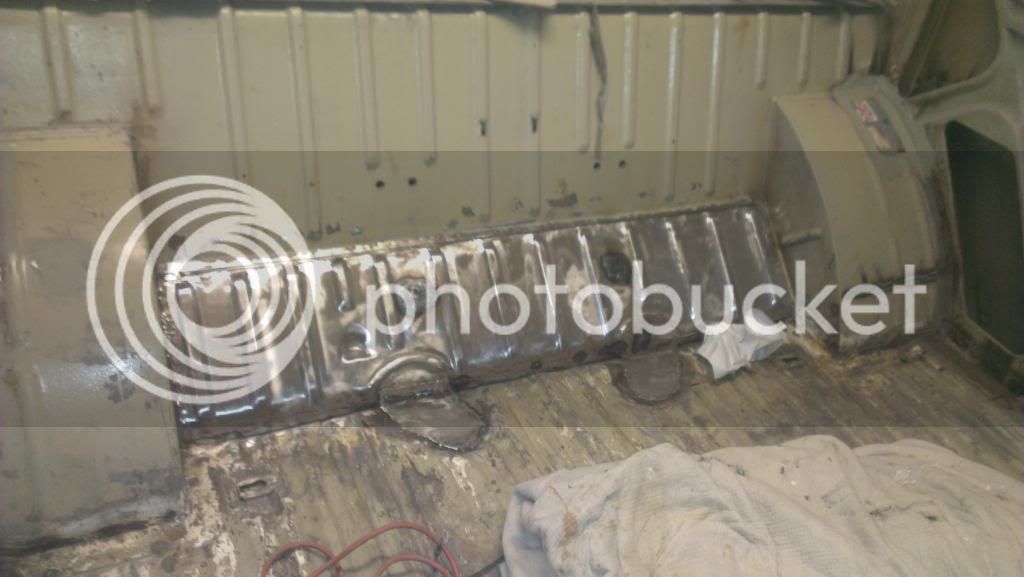
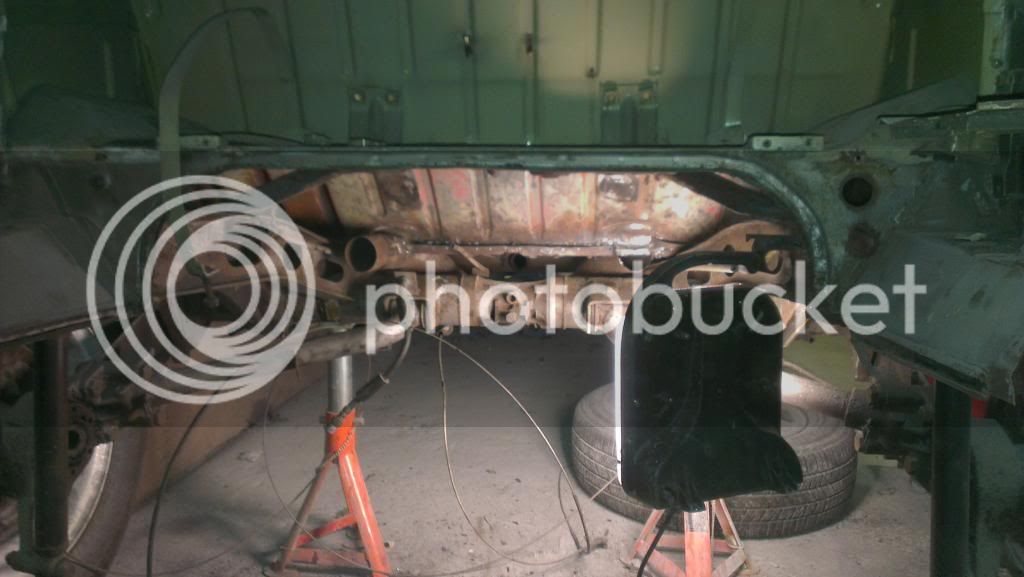
Still a tad cleaning up to do after I plated a couple of holes, then to rust proof and paint and done.
I also need to attach a pipe to the body that goes to the heater tube. I used what was left of the main heater tube, split it and re-welded it up. The rubbers all fit fine, whilst not being completley round it seems to be OK for the job! Just need to get the angle correct and weld in.
That is all for now!


I've also been doing stuff


Still a tad cleaning up to do after I plated a couple of holes, then to rust proof and paint and done.
I also need to attach a pipe to the body that goes to the heater tube. I used what was left of the main heater tube, split it and re-welded it up. The rubbers all fit fine, whilst not being completley round it seems to be OK for the job! Just need to get the angle correct and weld in.
That is all for now!
mattp
Well-known member
Nice work, glad the Y piece and plate came in useful. You know your bus is closer to use than either of mine :sad0049:
- Joined
- Nov 28, 2012
- Messages
- 926
- Reaction score
- 51
- Location
- Herne Bay, Kent
- Year of Your Van(s)
- 1970
- Van Type
- Devon
The plate I used, the Y piece I didn't need 
There are many reasons why I am ahead of you!
There are many reasons why I am ahead of you!
Similar threads
Vehicle For Sale
'72 "Betty Blue", RHD Modernised Devon Moonraker Campervan
- Replies
- 0
- Views
- 222
Vehicle For Sale
1971 westy weekender
- Replies
- 0
- Views
- 252


