Progress Pics - Dormobile X-Over

Early Bay Forum

Help Support Early Bay Forum:

This site may earn a commission from merchant affiliate links, including eBay, Amazon, and others.
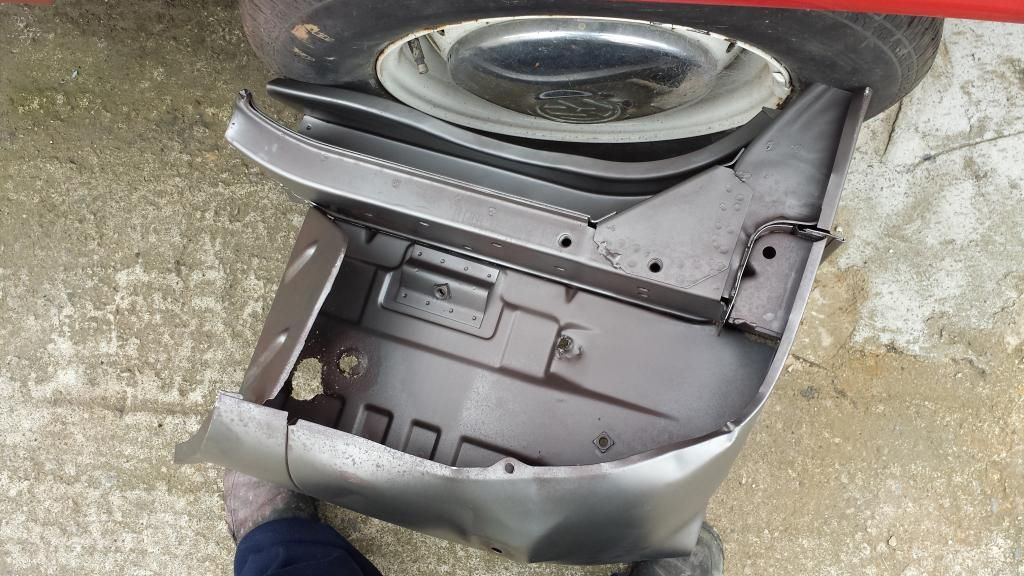
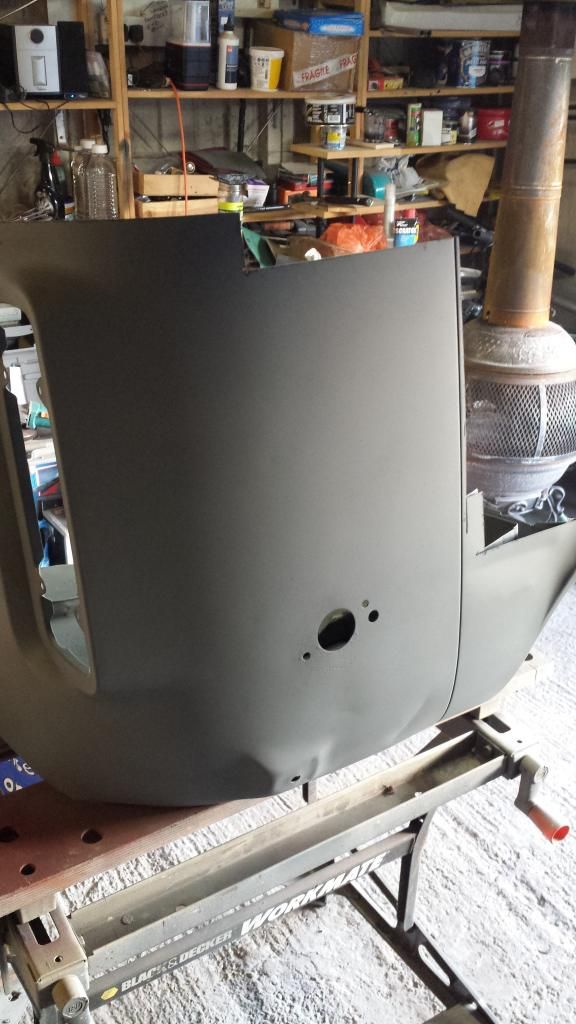
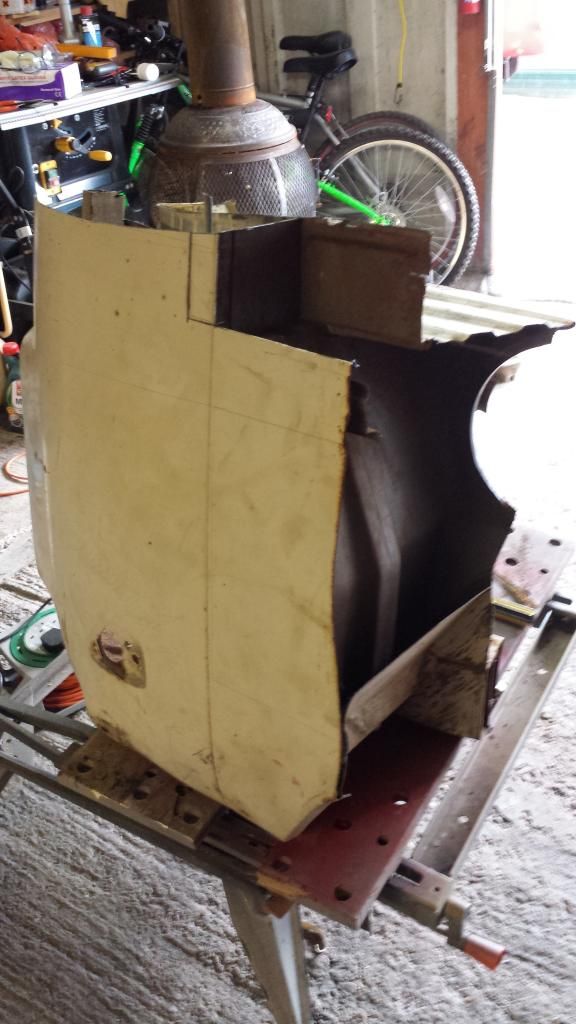
Started hacking the rear quarter cut tonight as I now know what is needed to be removed.

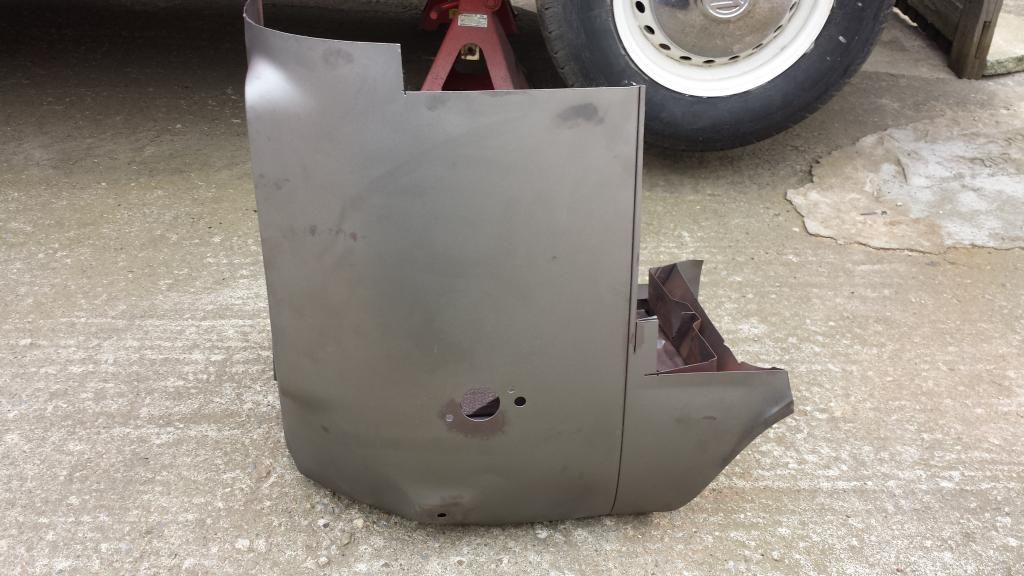
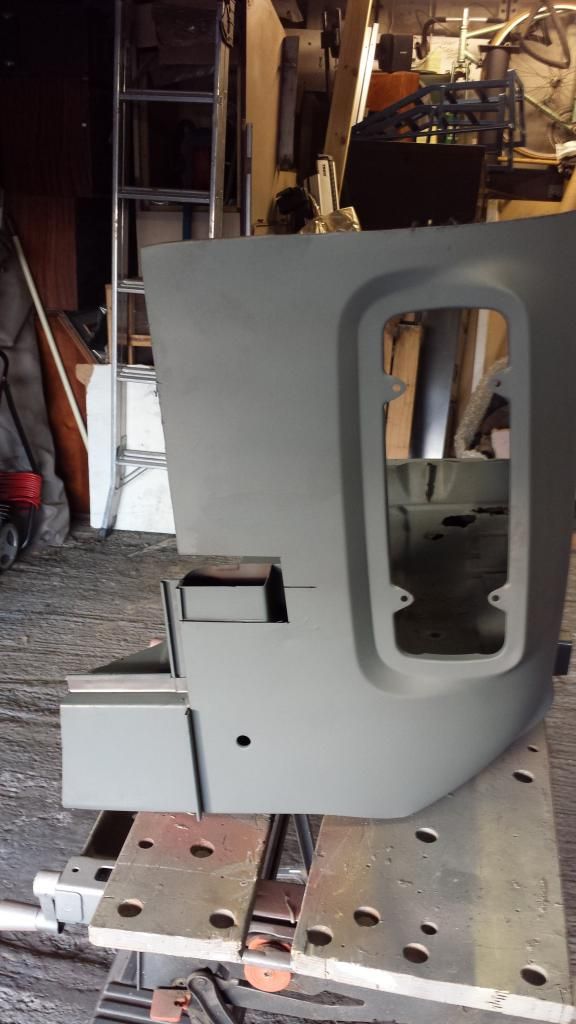
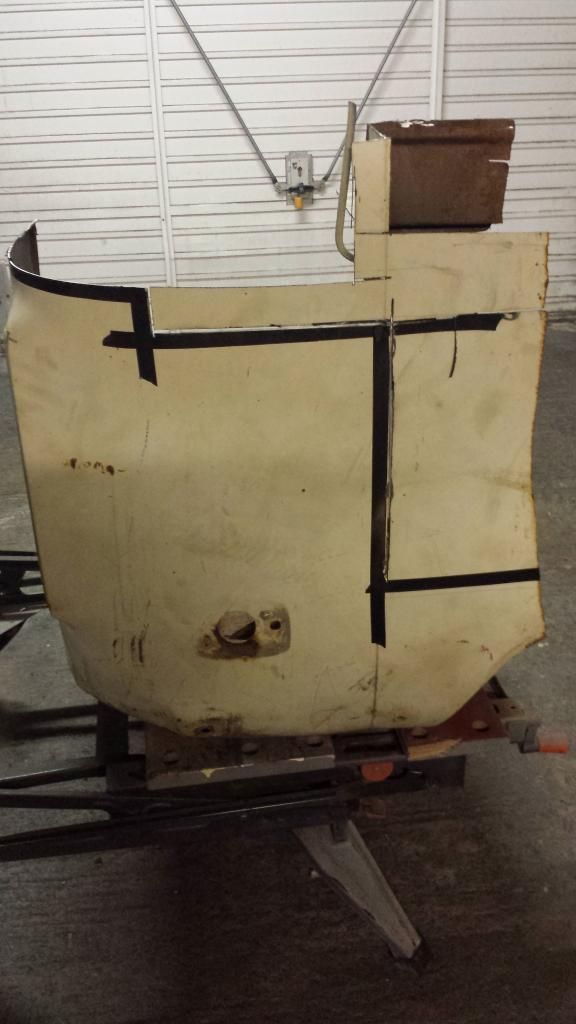
Split it in half then started to chop up into closer to the shape needed - a few pics (nothing exciting I'm afraid)

20140704_193703_zps7dd60294.jpg


20140704_193741_zpse9240c3a.jpg


20140704_193752_zps992948dc.jpg


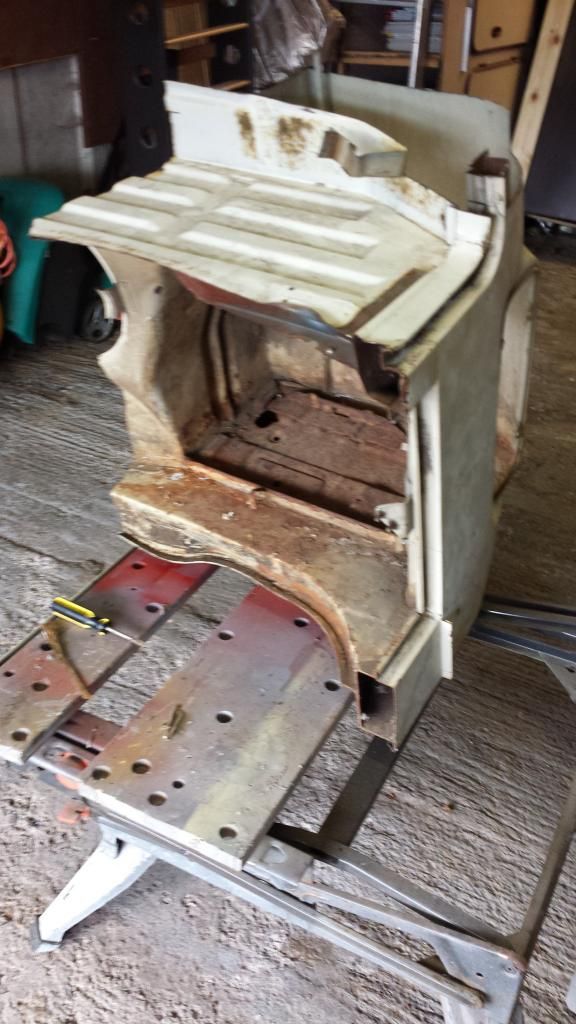
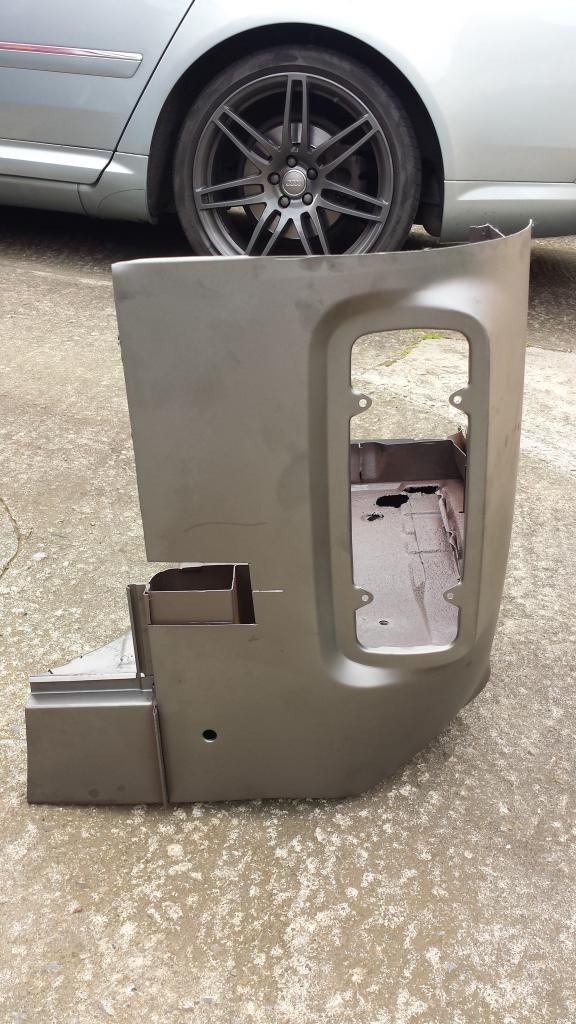
Then the area above the battery tray:

20140704_200206_zps73c9a019.jpg


20140704_200227_zpse5f2a86c.jpg


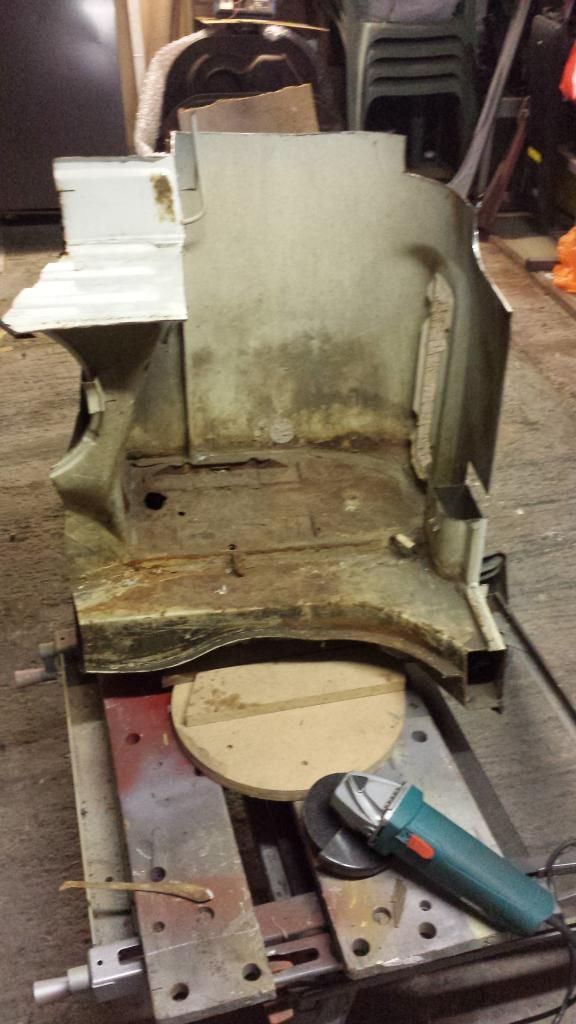
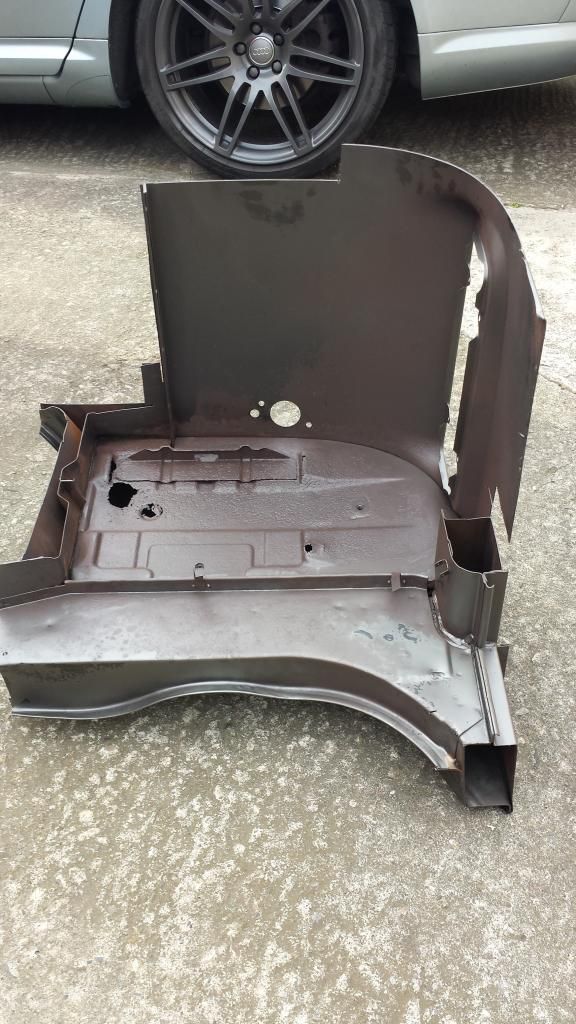
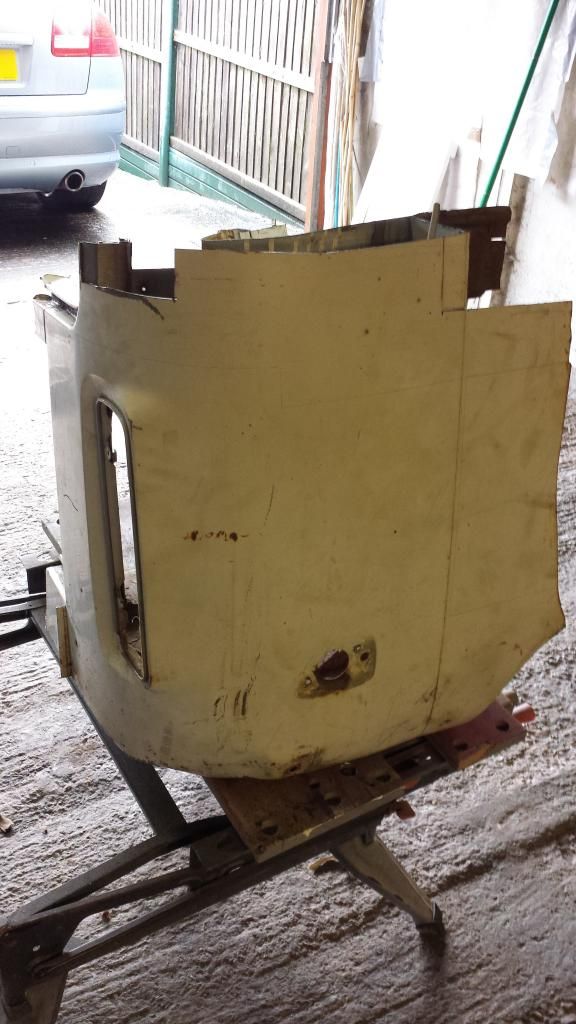
Started to cut it closer to the shape then ran out of cutting disks - plus it was getting dark

20140704_202337_zps4b39df98.jpg


That's it for now

Cheers
 
Ah well - had big plans for today :(

Step 1.
Grass and weeds a bit rife in the garden so thought I would weed then cut the grass.

Step 2.
Decided to address the front of the van (will be taking the rear quarter cut to work and see if I can get it sandblasted as quicker than doing by hand and better to see if the battery tray needs replacing) so was planning to sand the red oxide off then blend in the lower panel repair with a skim of filler then spray to match the rest of the van.

How it actually went.

Went in the garage and got a bucket and small garden fork.
Shut the garage door then started to pull out all the weeds.
Job done, went back to the garage to get the mower out and the door was locked.....................the keys are in the garage :oops:
Wife had gone out early this morning to visit family and she has the only other garage key :x

So - no further garden or van work today.............. :(

DOH
 
A couple of hours tonight.
Didn't get the rear quarter cut sandblasted so thought I would start on the front and get it blended in and a bit of paint:

I thought I would do one half and see how it goes so started to strip it back:

20140707_184844_zpsb5eed223.jpg


Once I got it sorted I put a skim of filler, but I tried to touch it up and made a mess of it so will be pulling it off and start again :(

So - decided to address the arch with some sanding then rust preventative primer:

20140707_195602_zps85ce9fea.jpg


Then some red primer:

20140707_200227_zpsdec76acd.jpg


Weather started to close in so instead of sanding decided to put on a few top coats:

20140707_200947_zps013de3bf.jpg


Will eventually get it sanded and finished properly (not after a perfect job just yet, just something to protect it for the coming winter!)

Cheers
 
Looks great dude!

I think you are doing a great job of blending it in.

Mine had issues with the indicator mounts where they were corroded, then cut away, so replacements were welded in.

Keep it coming :party0021:
 
That red oxide looks like it did an alright job, eh!
Keep up the momentum Andy - good to see things ticking along :)
 
cunning plan said:
Looks great dude!

I think you are doing a great job of blending it in.

Mine had issues with the indicator mounts where they were corroded, then cut away, so replacements were welded in.

Keep it coming :party0021:
Cheers dude - hoping the weather holds out as working outside.


gvee said:
That red oxide looks like it did an alright job, eh!
Keep up the momentum Andy - good to see things ticking along :)

It did :) - Sometimes wonder why I don't do the whole van like that as it looks good on your van ;)
 
Flippin' rain - put paid to anything major tonight :(

Started to sand the filler I had put on yesterday and should be a good key to apply a proper skim and then sand back.
Removed the red oxide paint where the weld is and just as I finished - it chucked it down......

The start:
20140708_190002_zps99a2eebd.jpg


20140708_190022_zps773916c4.jpg


Here is the seam showing (oh err missus....):
20140708_192500_zps87e92426.jpg


Then I had to pack up so a pic of my work space (or lack of):
20140708_192515_zps9871d6f3.jpg


Cheers
 
A massive pain but it is what it is - your van is starting to come together now though so well done :mrgreen:
 
Got the quarter cut back today and pleased :)
A few pics:

20140710_184832_zps953ea682.jpg


20140710_184717_zpsc0443378.jpg


20140710_184657_zpsbb97ebcb.jpg


20140710_184633_zps6bc2d787.jpg


The battery tray has some holes created by rust - do I cut out the whole of it and replace with a new one or plat it up?

20140710_184604_zpse0a28aac.jpg


Cheers
 
Oh - and I removed the filler I had put on the front as some if it hadn't set (had mixing filler with the hardener...)
 
Knackered - spent 7 hours filling/sanding, filling/sanding,etc.............

20140712_110546_zps6dbd479b.jpg


20140712_175527_zps5dd4c84d.jpg


20140712_175538_zps8a5adde0.jpg


Got it to a reasonable level so, as it was getting late, shoved some primer on.
Tomorrow, if the weather is good, I will use the primer as a key to see if I can get it better and fill any pin holes etc!
A few pics of with the primer on:

20140712_190210_zpsf08df1b4.jpg


20140712_190224_zpsebe0498b.jpg


20140712_190252_zps85987eb4.jpg


Cheers
 
Another many hours sanding and filling :(
Still not 100% but 110% better then it was :lol:

Made a wind brake while I attempted to spray in the wind - worked ish....

20140713_170829_zps001f1649.jpg


The sanded all down, washed then used a tack cloth to pick bit off the a splash of zinc primer followed by more sanding, washing then another tack cloth.
Then red primer.
Then sanded, washed, tack cloth then more red primer:

20140713_170852_zpsbc3c1104.jpg


Same again then put a top coat on:

20140713_181050_zps89c7b5af.jpg


20140713_181056_zpsa1f1c2d8.jpg


Will leave for 24 hours, sand down with 1500, then give it another coat (assuming the weather holds up.

Front panel soon be done (I hope) :D

Cheers
 
If you do not get an award for completing high quality work, you should at least get an award for working on your driveway and finding a way to get tasks done! :party0047:
 
gvee said:
Good work that man!
Cheers G :)

cunning plan said:
If you do not get an award for completing high quality work, you should at least get an award for working on your driveway and finding a way to get tasks done! :party0047:
Cheers dude :)
I know - having to lift the panel up so I can work on the front with very limited space ain't fun but hay-ho
 
A few holes to fill (oh and the rear valance - going to see if I can make it detachable :))

Still in for going halves on the rotisserie as this will be the next purchase so I can get the bottom of the van done (remove old underseal and do any more patch work required plus replace all cables, pipes etc)!

Cheers
 
gninnam said:
(oh and the rear valance - going to see if I can make it detachable :))

If you don't do this, then I am afraid that we can no longer be friends. :|


DSCF4334.jpg~original

(Okay, mine's a '68, so removable from the factory, but, look at all that space!)

You need it!!! :party0021: :mrgreen:
 
cunning plan said:
gninnam said:
(oh and the rear valance - going to see if I can make it detachable :))

If you don't do this, then I am afraid that we can no longer be friends. :|
I can't afford to loose any more friends so consider it done ;)

Some more sanding with 1200 grit then another couple of coats:

20140715_202607_zps49b29298.jpg


20140715_202628_zps6668605d.jpg


20140715_202640_zps1929ff27.jpg


Another few days then will use some 2000 grit and then a polish.


Also, coated the cut with some rust prevention paint:

20140715_202959_zpsf19b643a.jpg


20140715_203042_zps55150db4.jpg


Ordering a new battery tray so will put this in before fitting the cut to the van!

Cheers
 

Latest posts

Top