Progress Pics - Dormobile X-Over

Early Bay Forum

Help Support Early Bay Forum:

This site may earn a commission from merchant affiliate links, including eBay, Amazon, and others.
Myvanway said:
You make it look like a real life lego camper van!! :lol:

Quality skills.
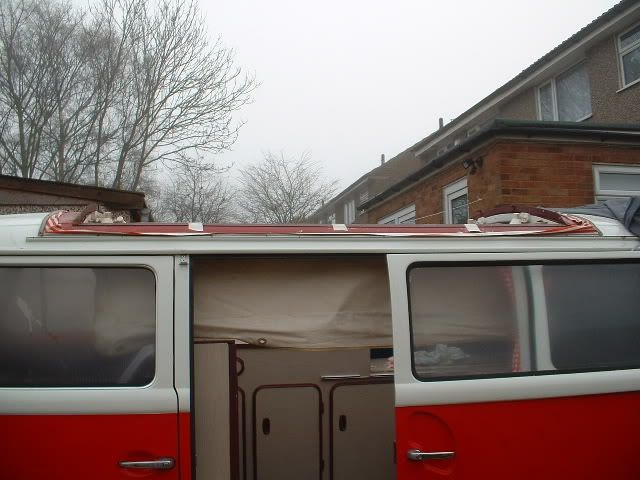
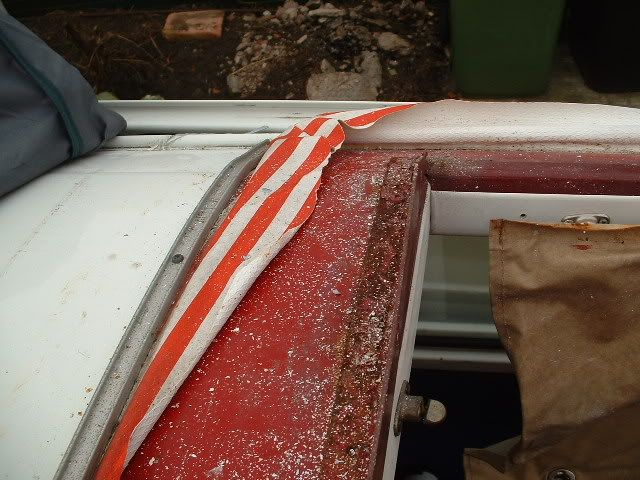
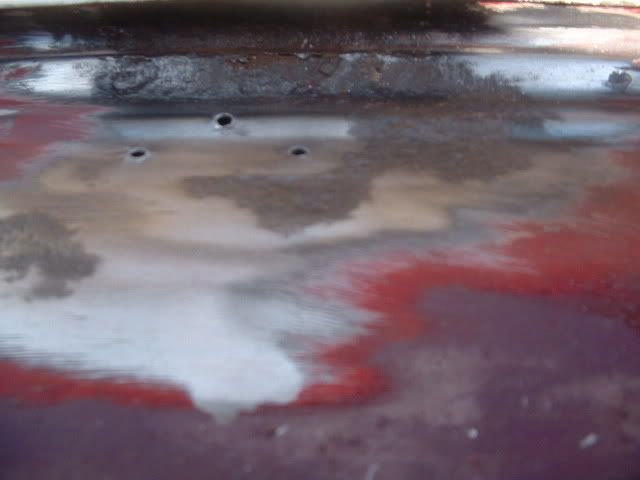
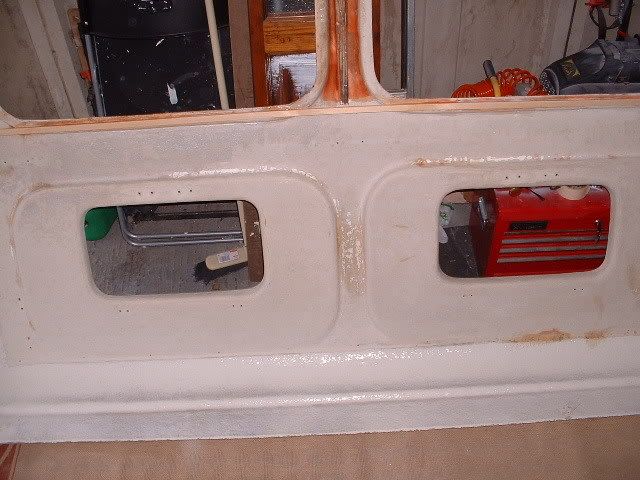
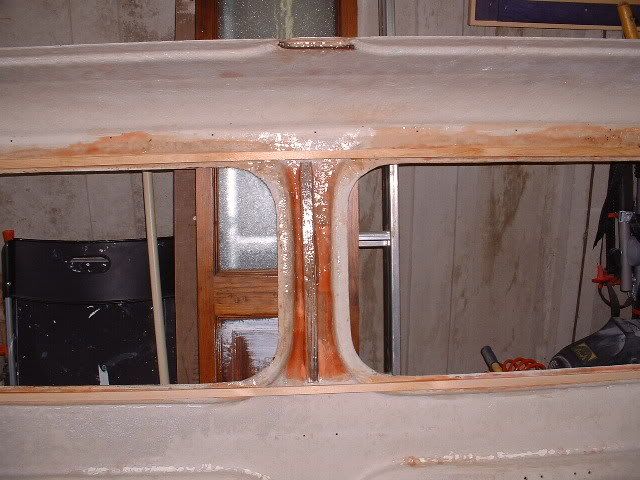
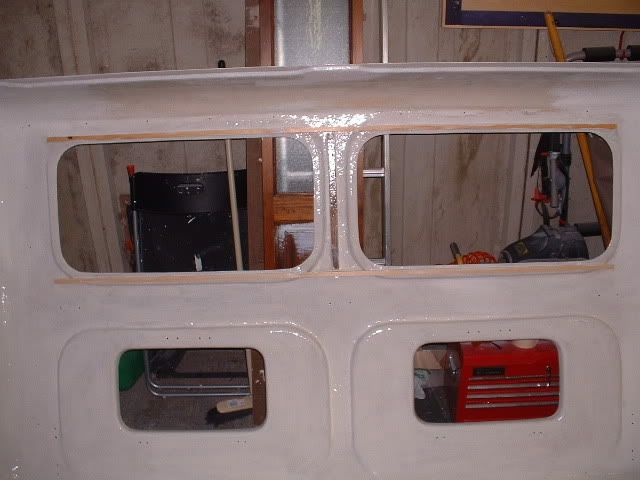
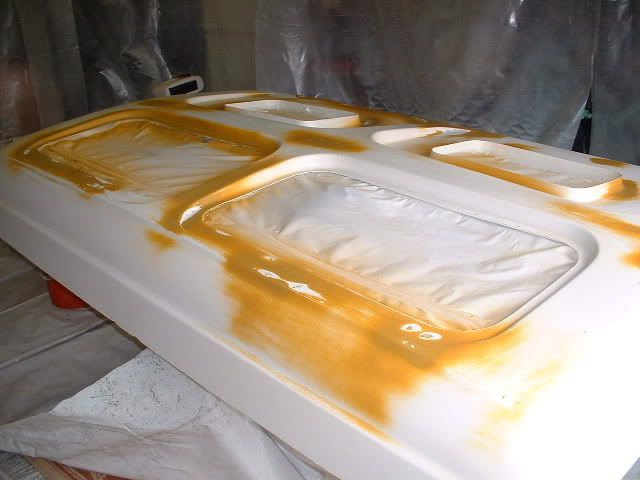
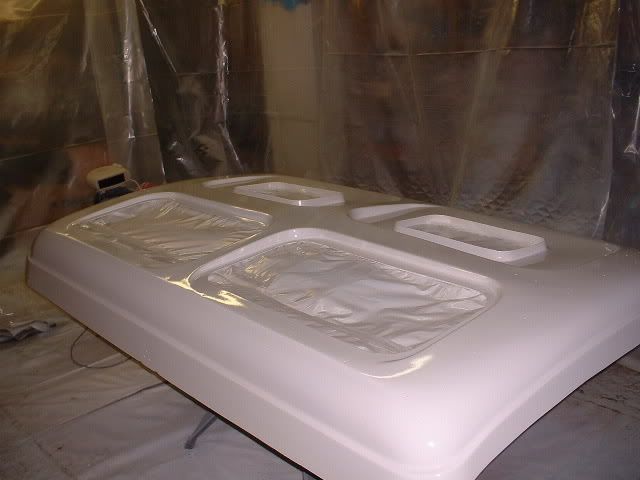
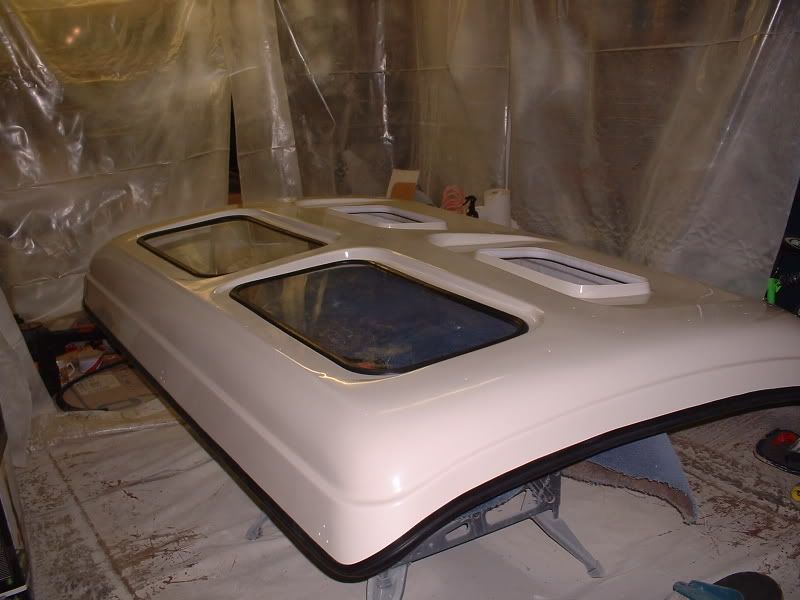
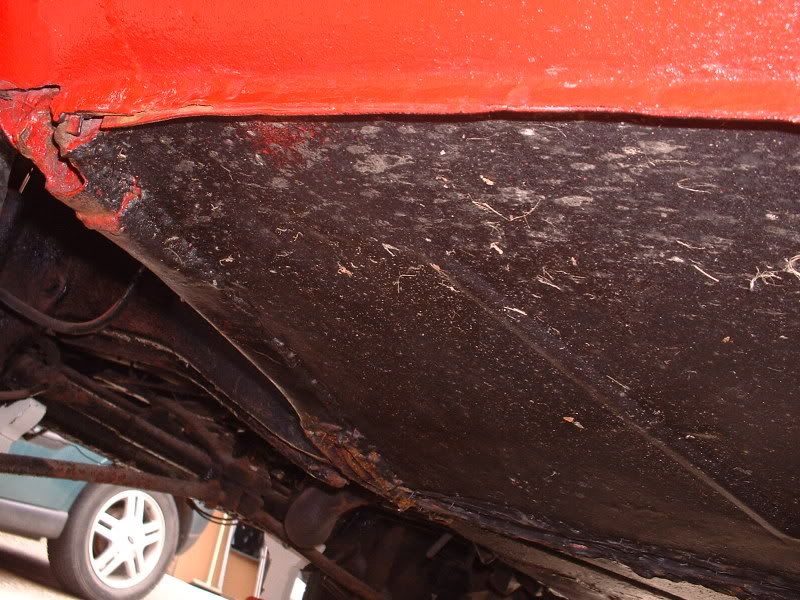
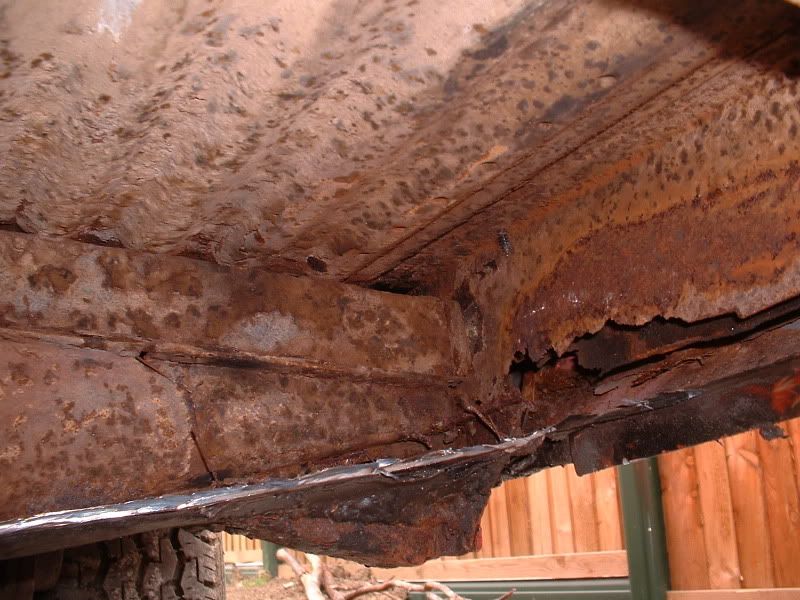
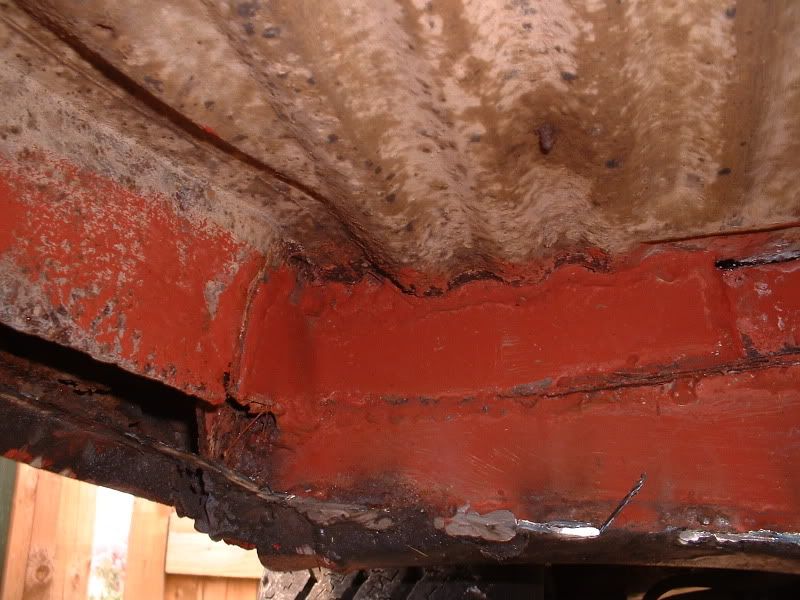
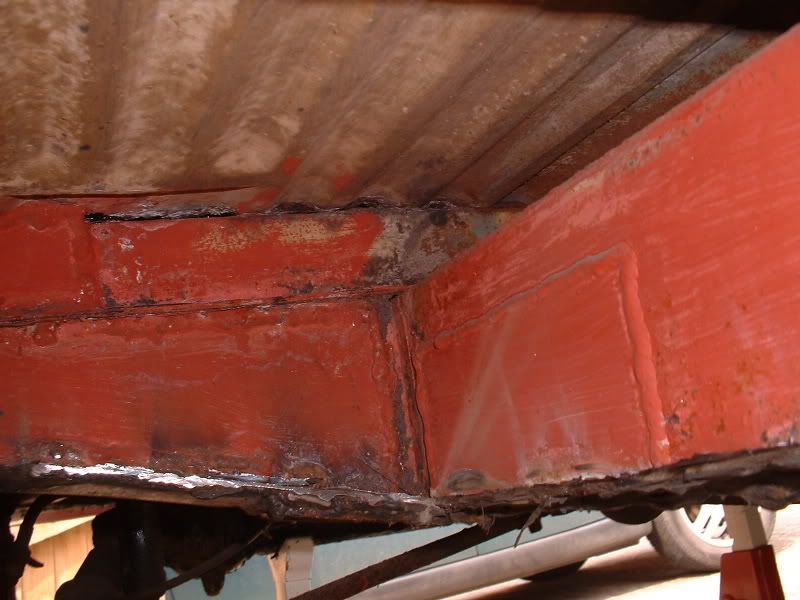
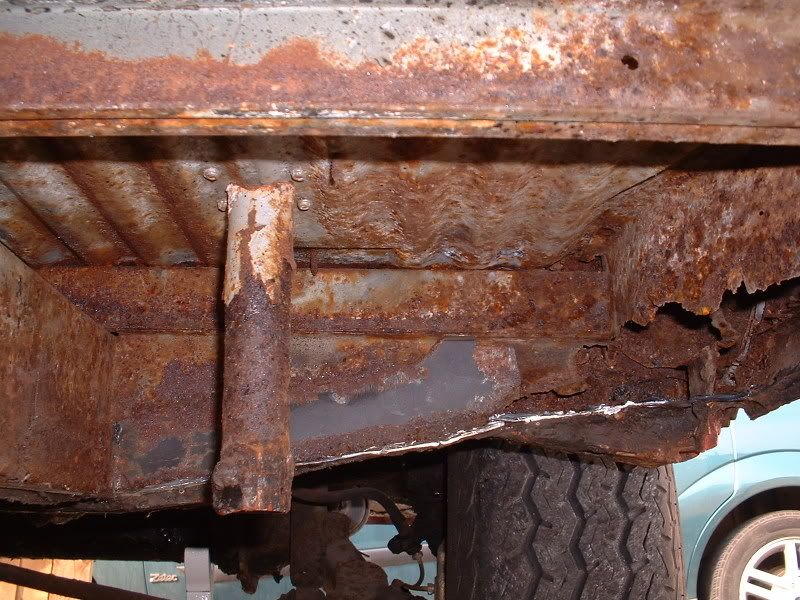
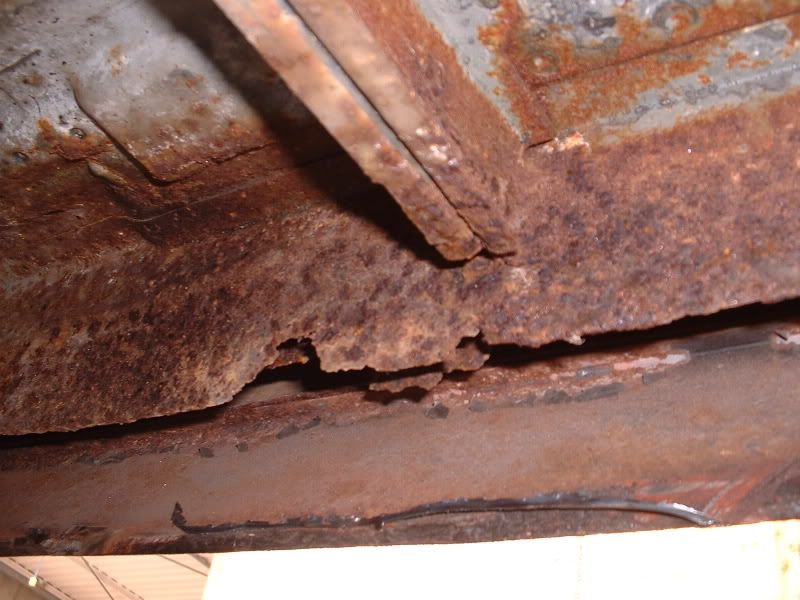
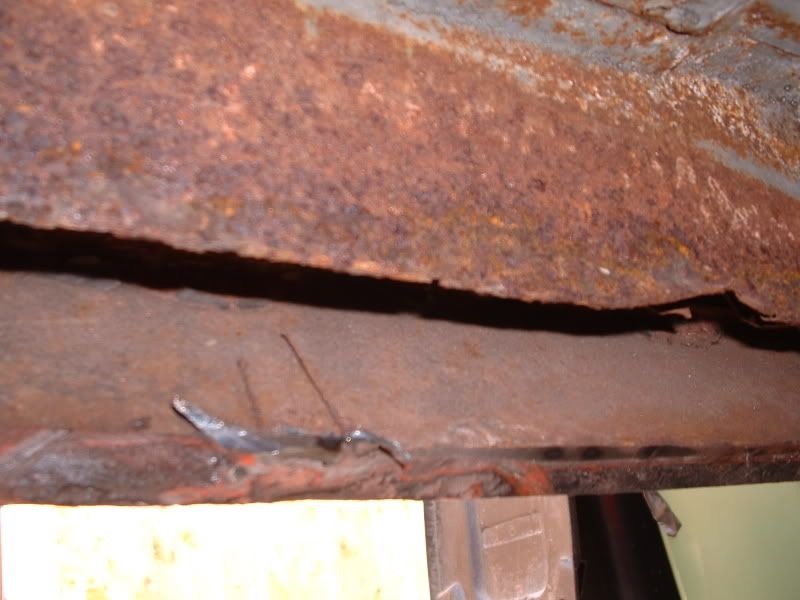
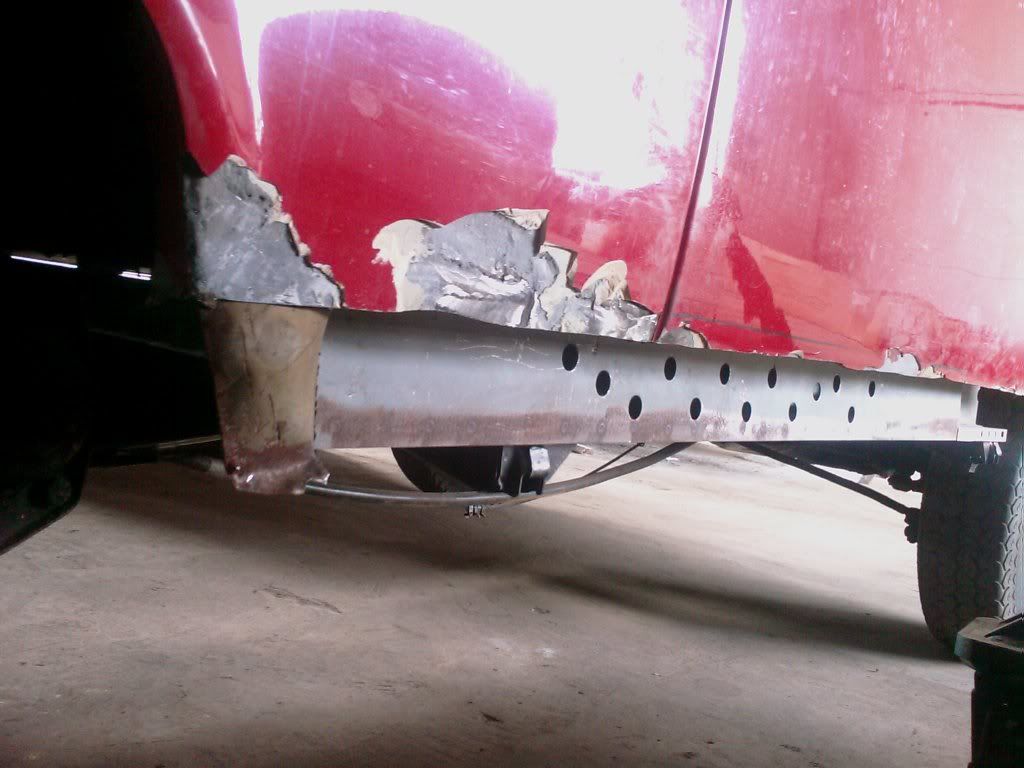
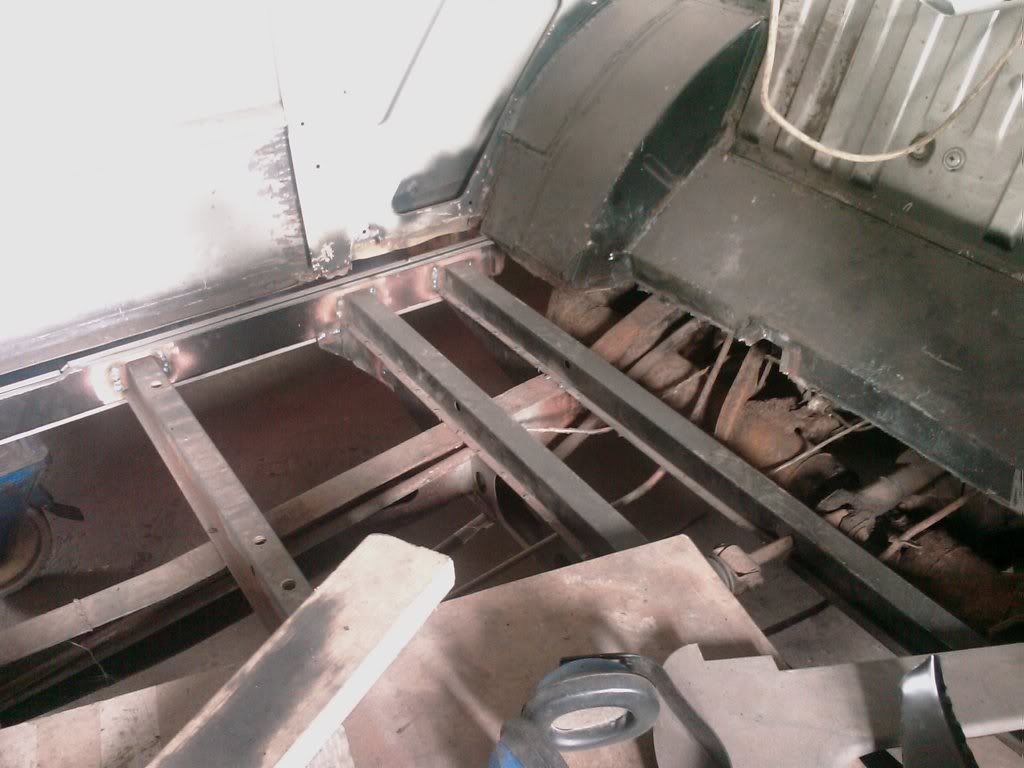
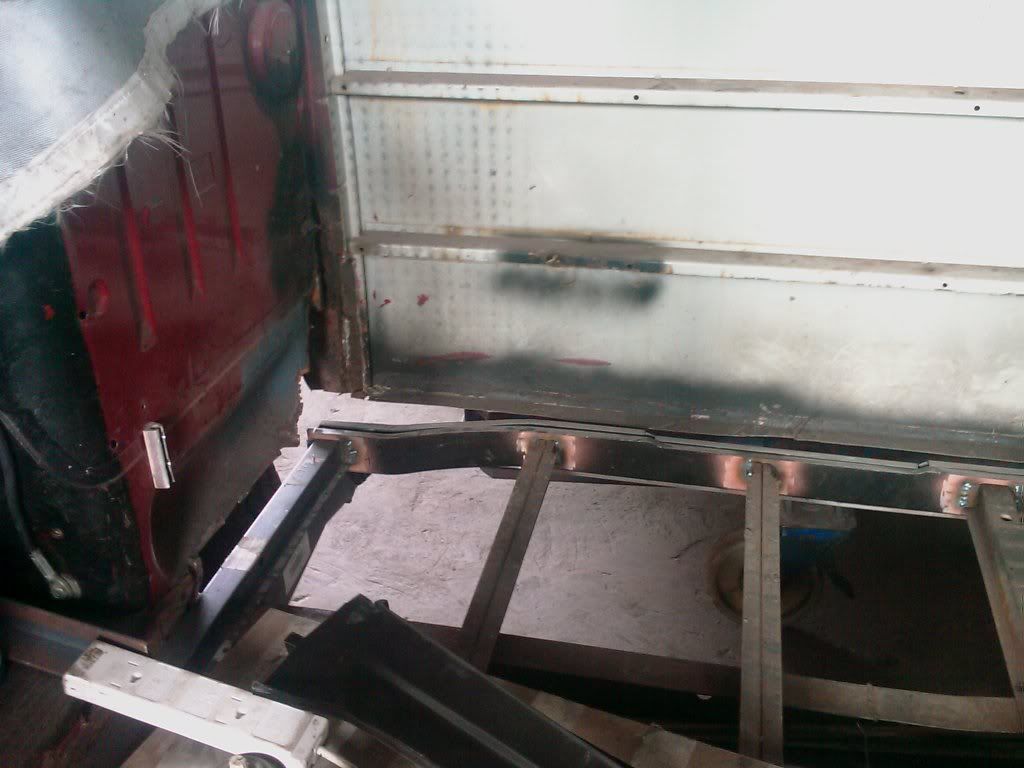
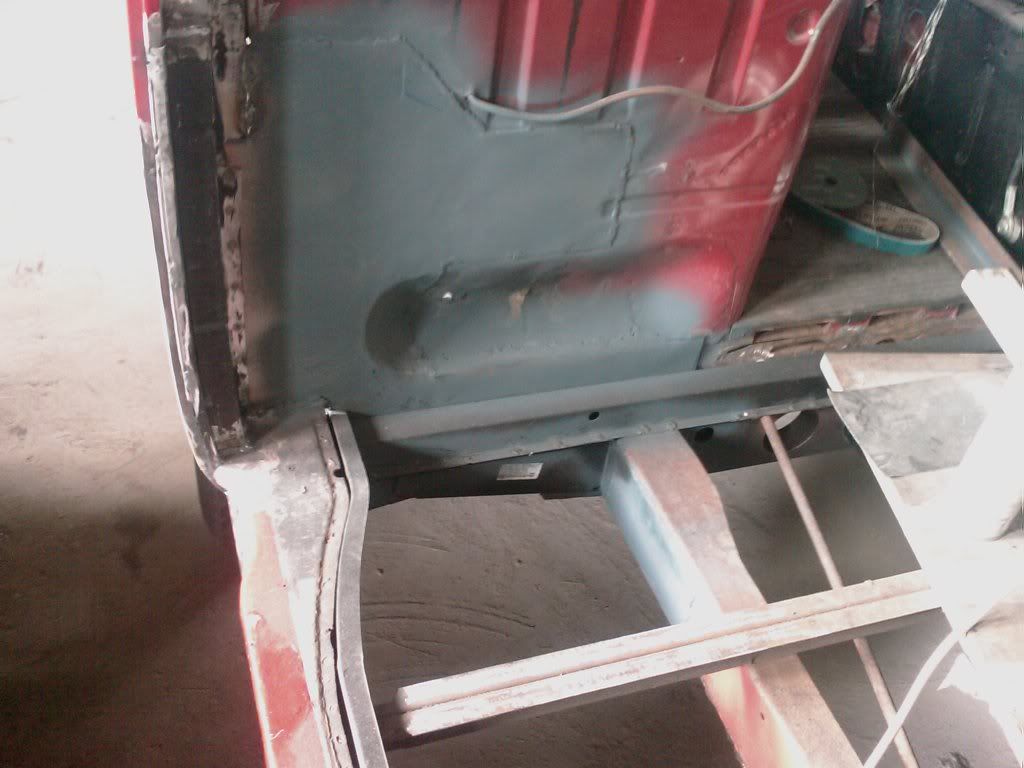
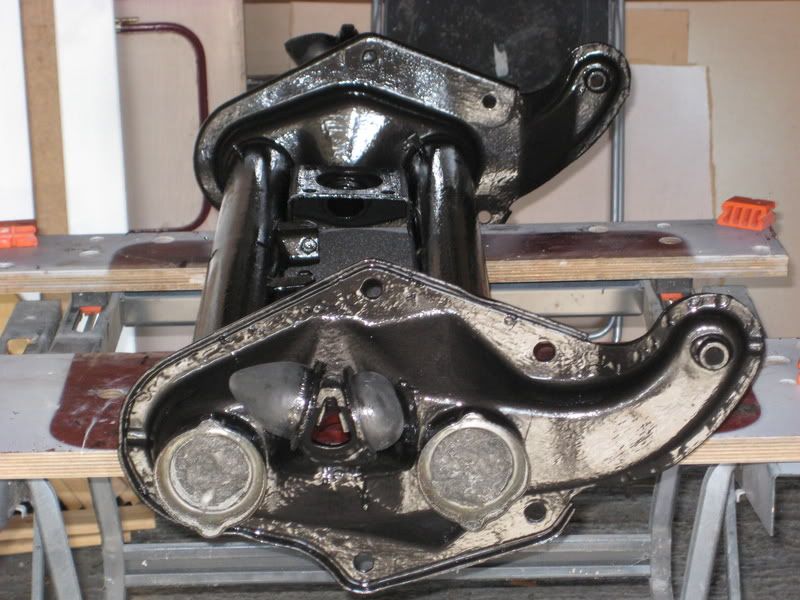
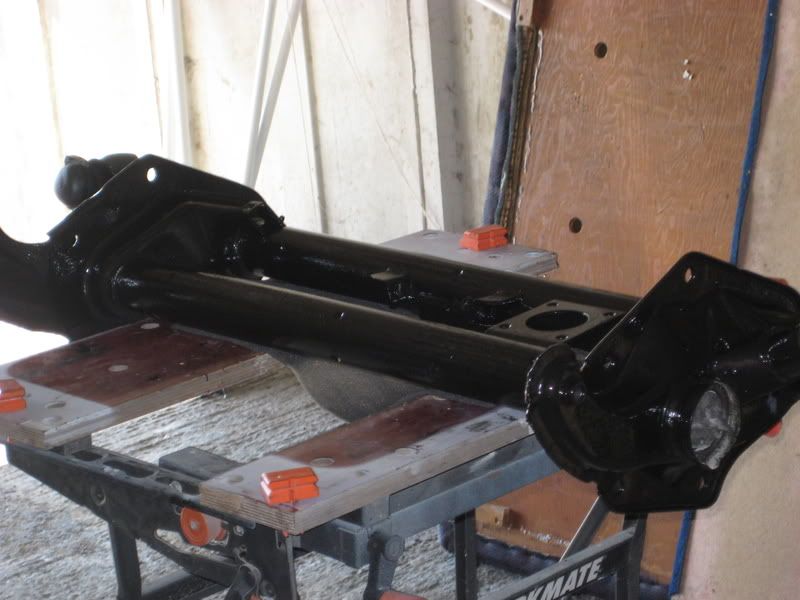
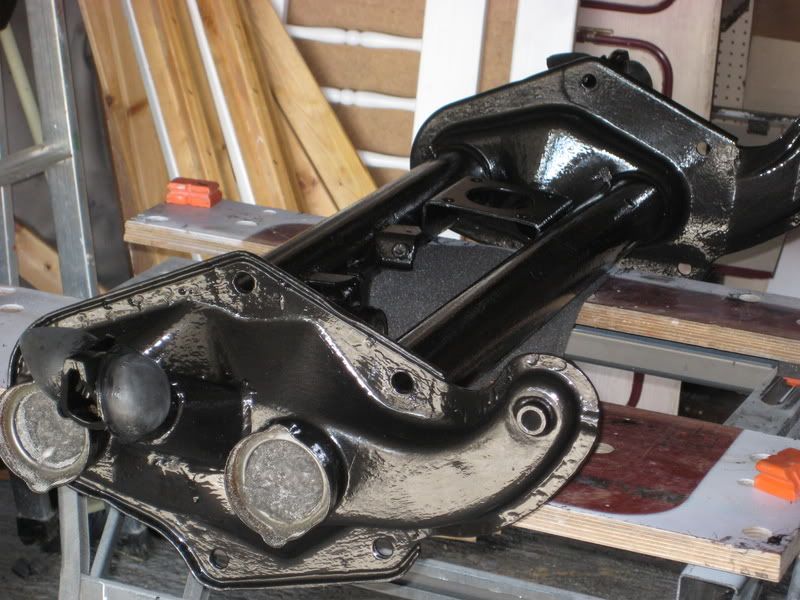
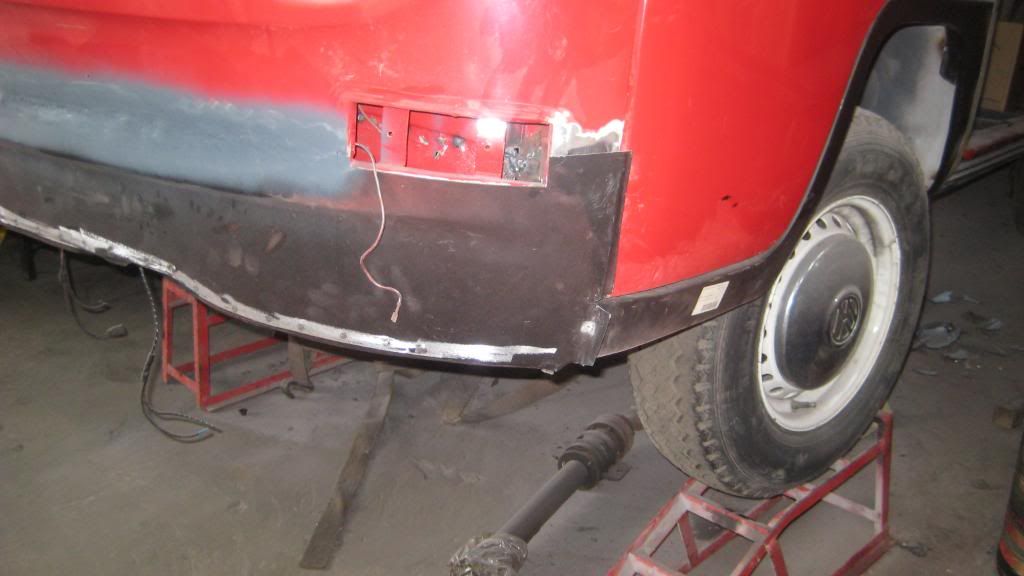
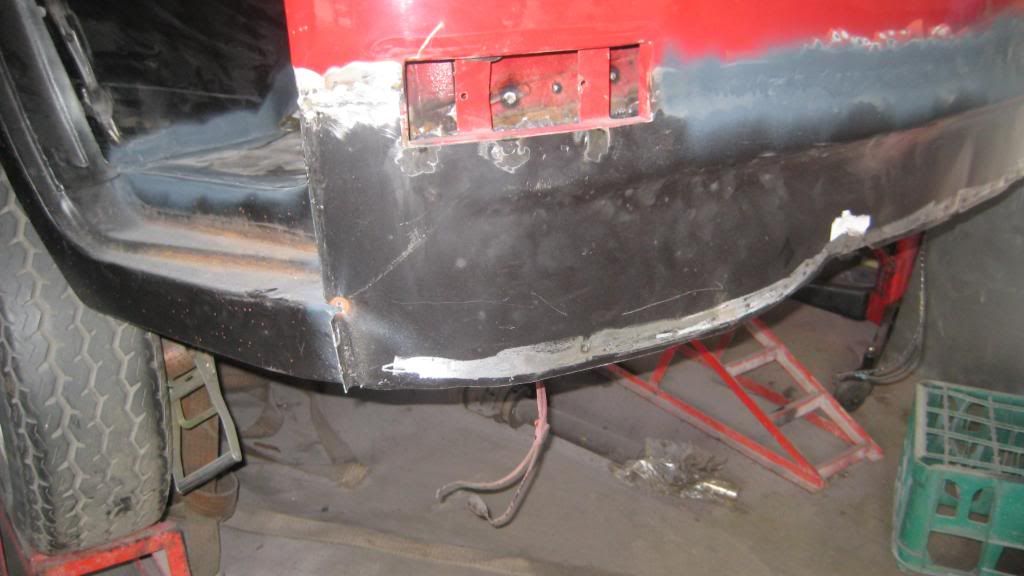
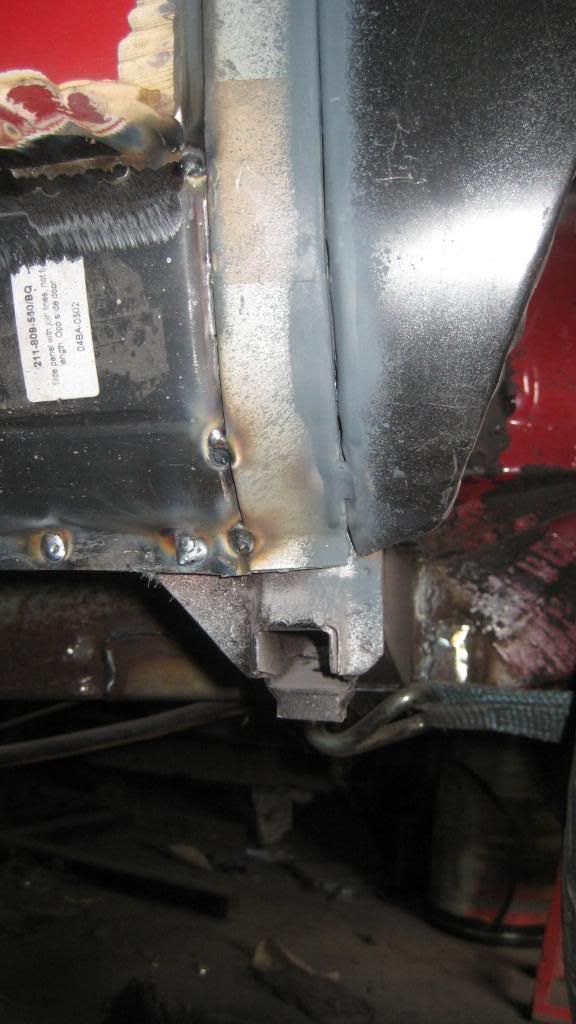
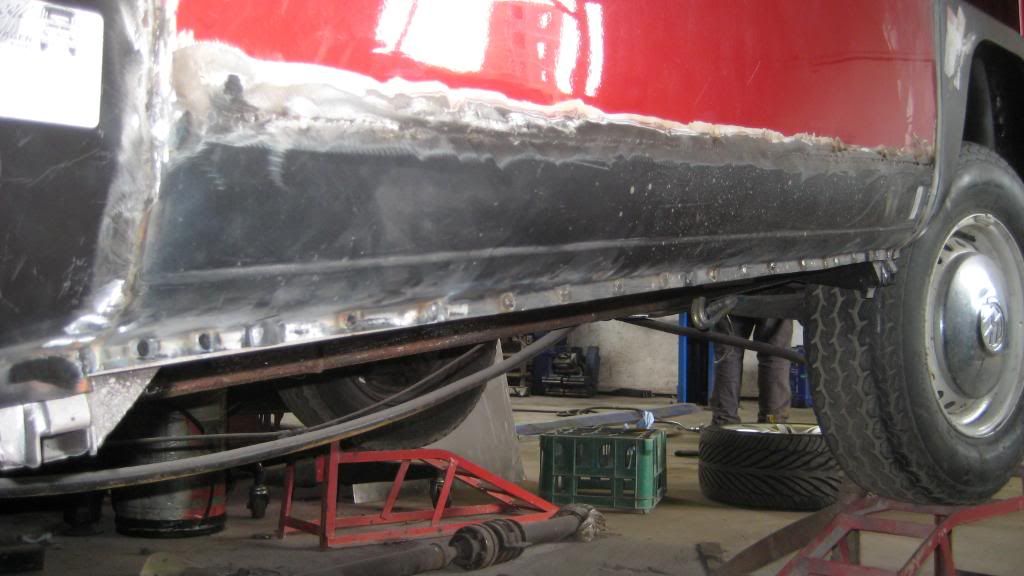
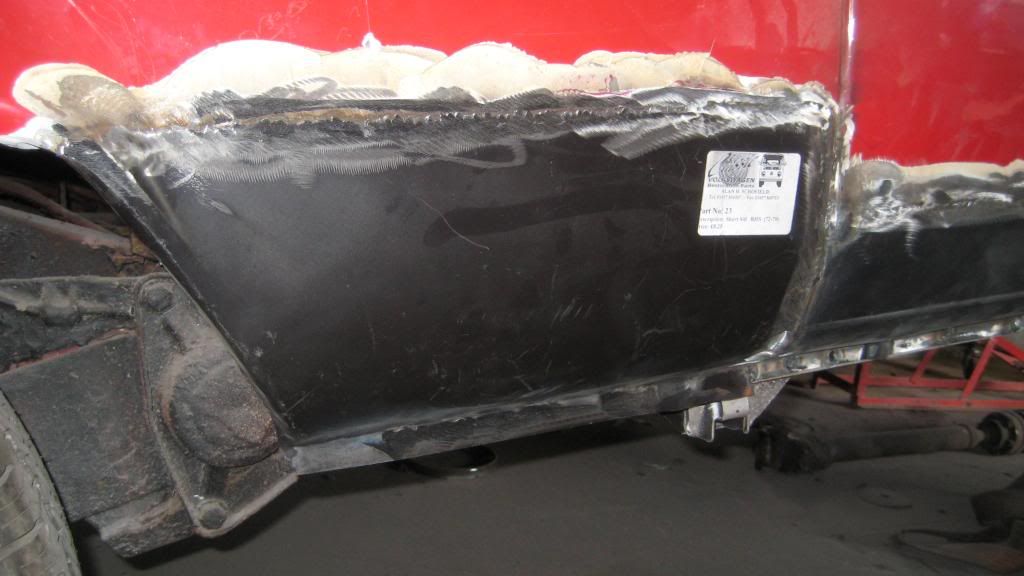
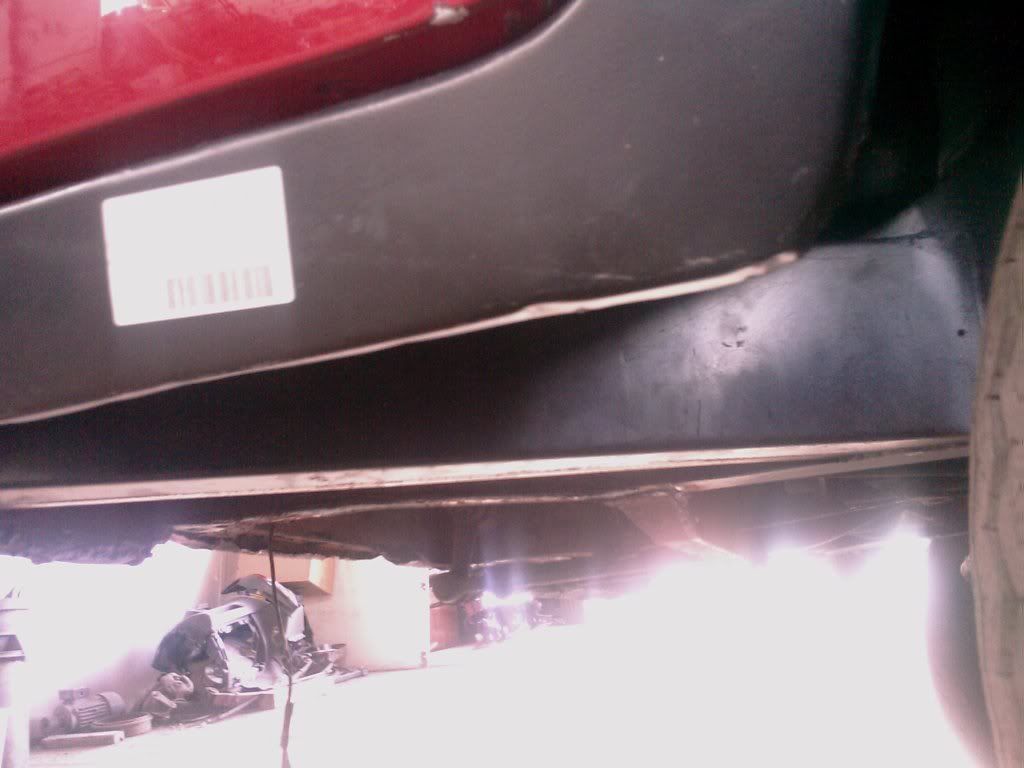
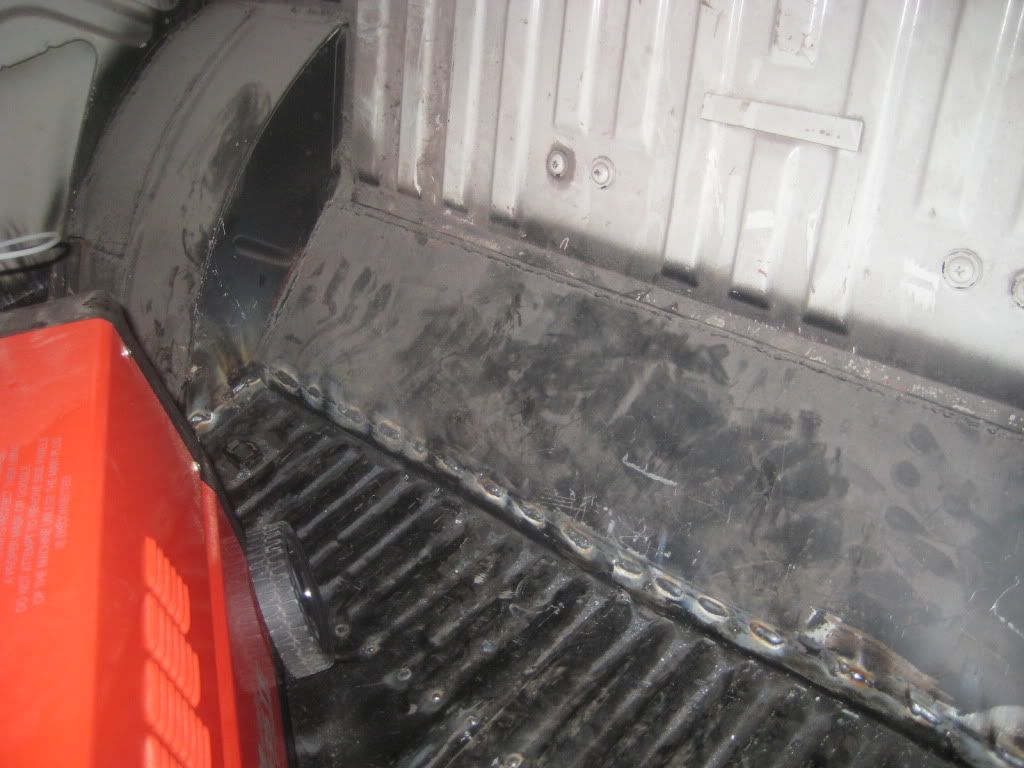
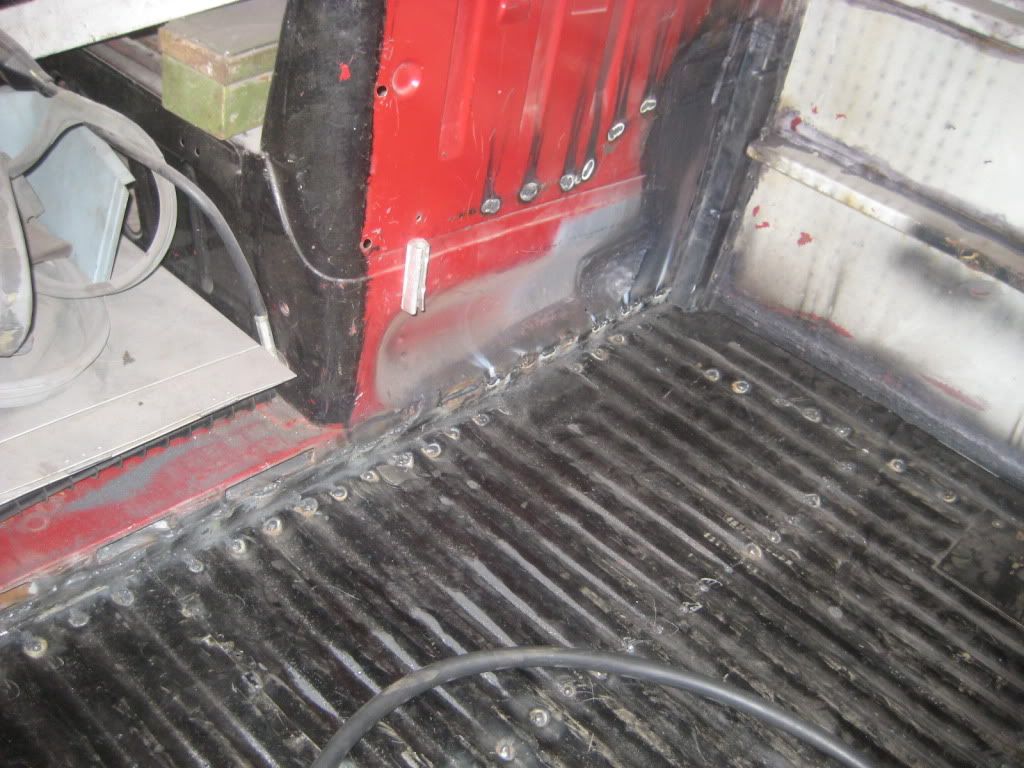
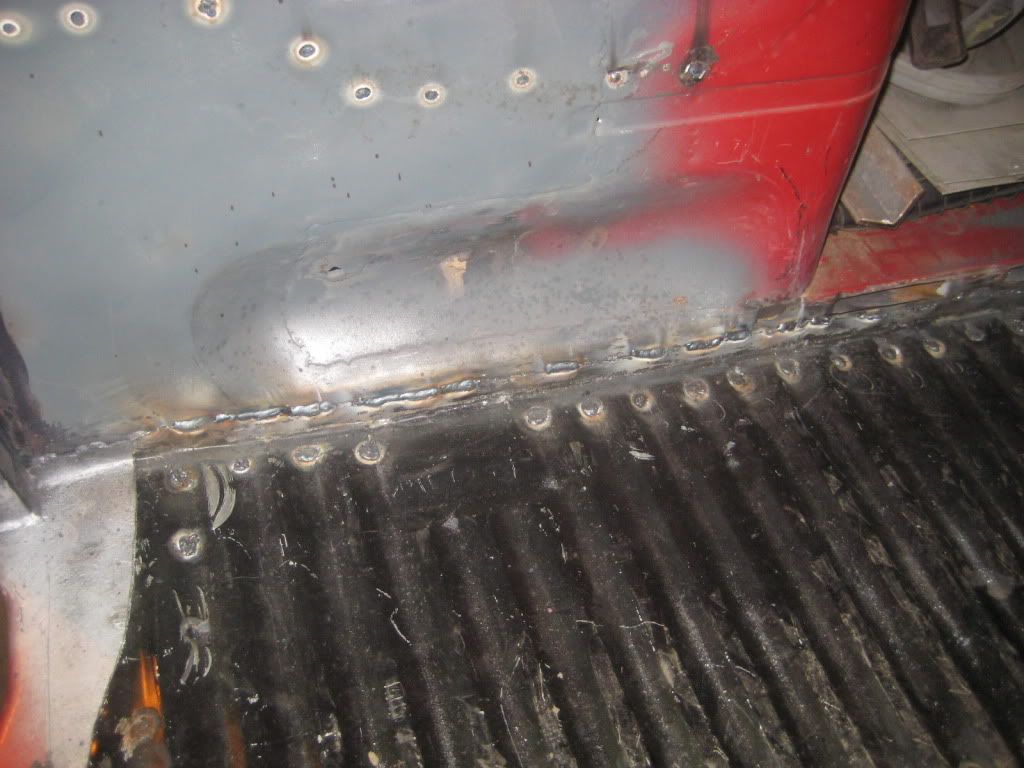
And when its finished it will be 100% solid... not a filler bus & you have an awesome thread to prove it.

8)
I wish it was a Lego camper van as it would be a lot easier to fix (although standing on the pieces will hurt a lot more!!)
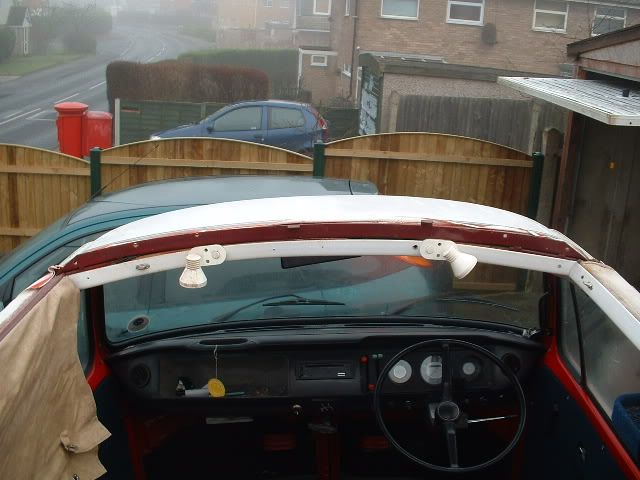
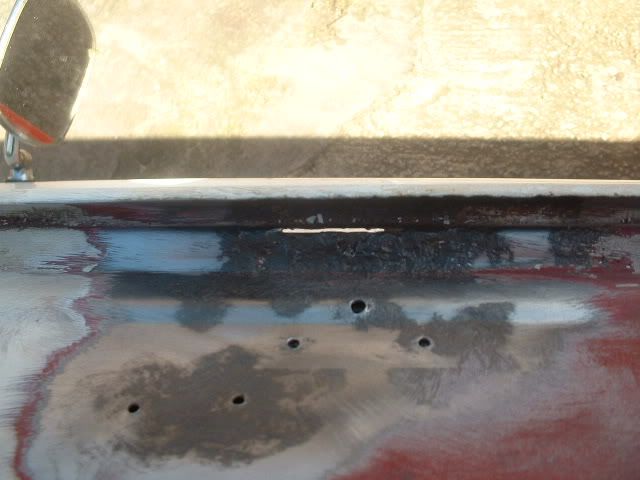
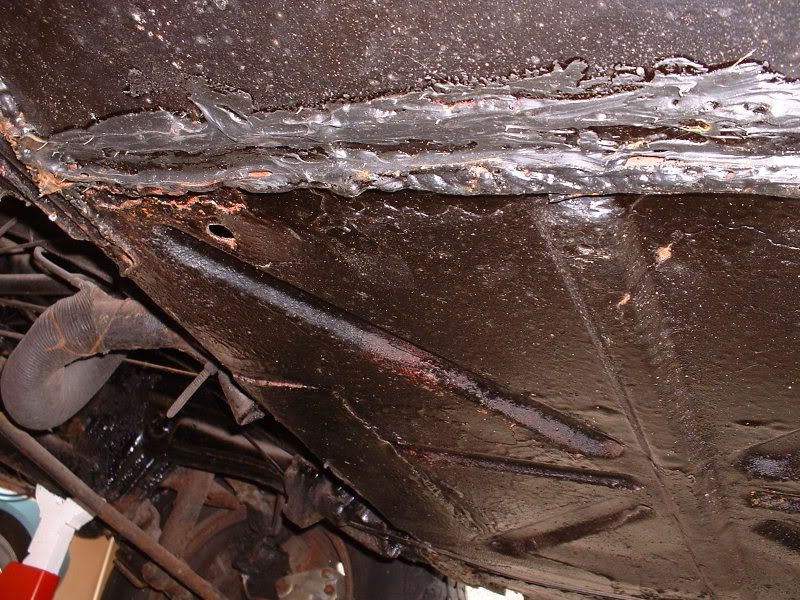
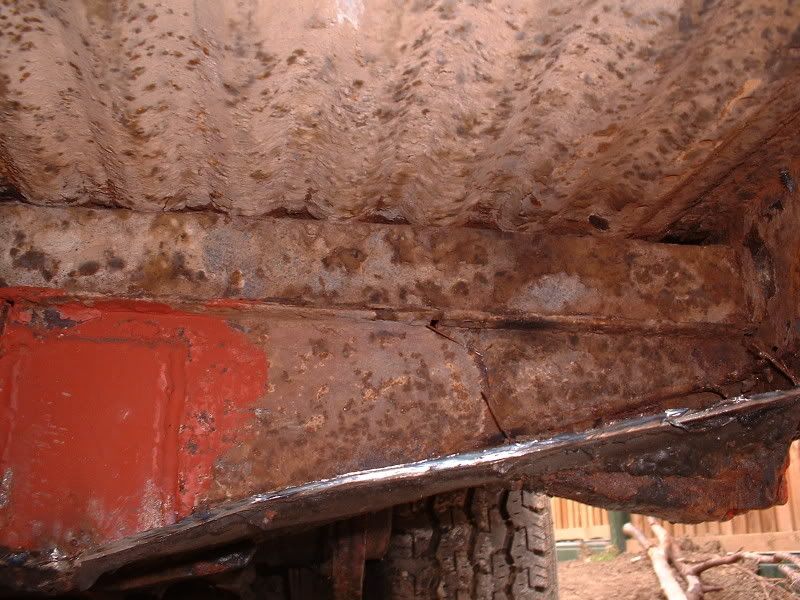
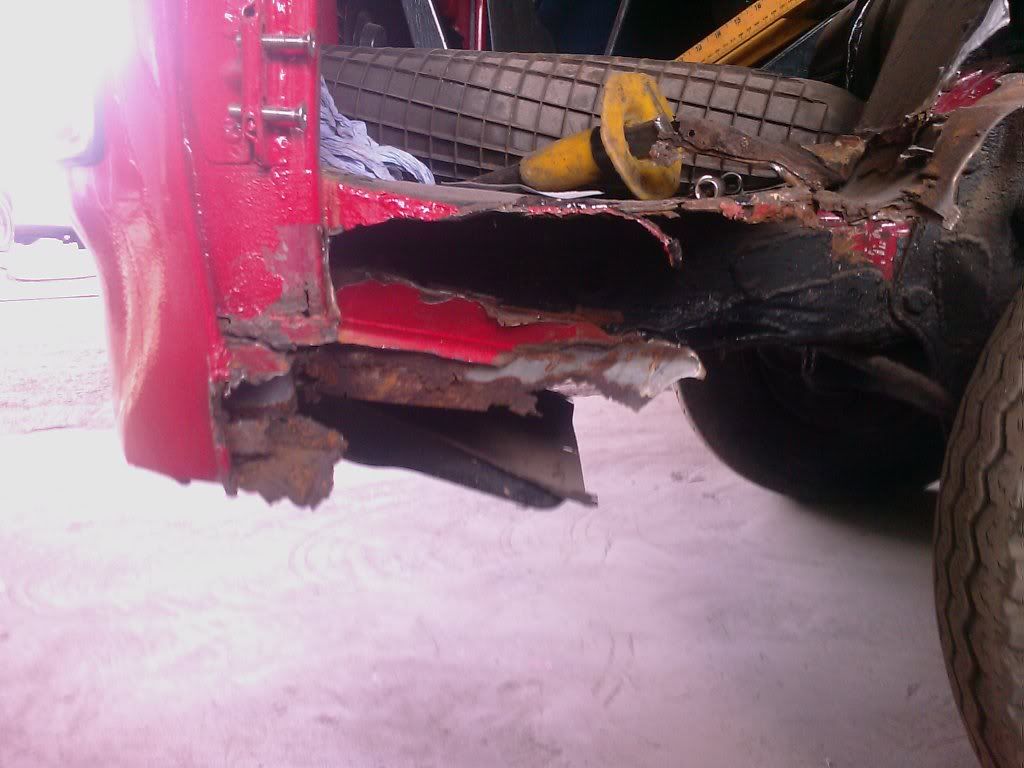
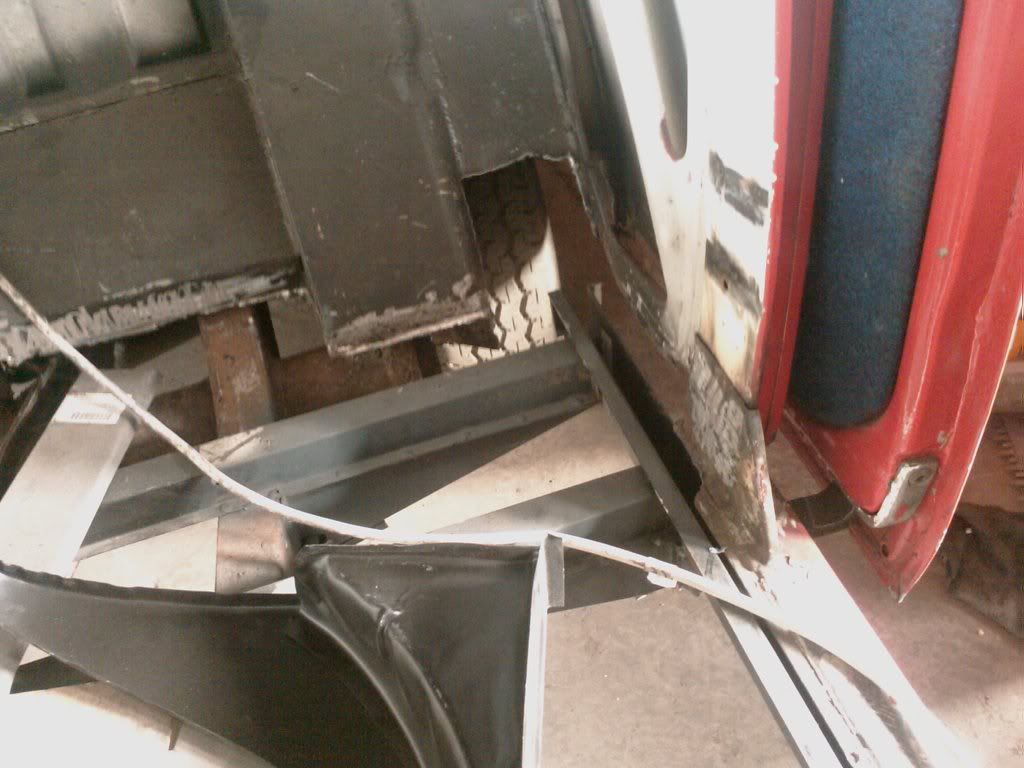
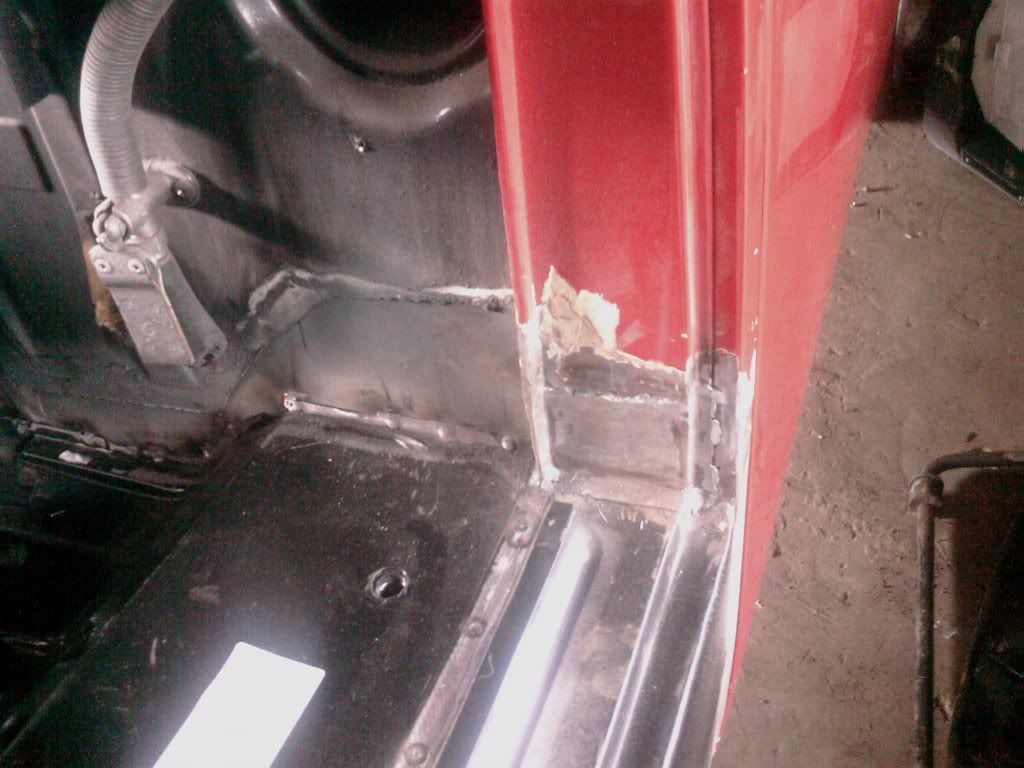
True about not being a filler bus but seems to be taking forever :(

cunning plan said:
Make sure your comfortable ;)
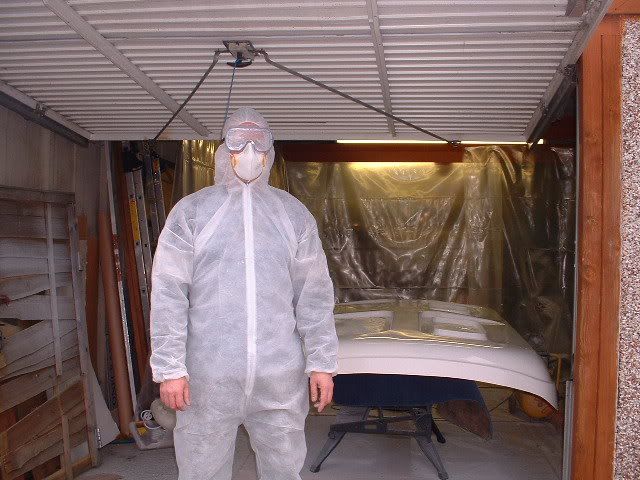
Working away some of this week so hope to be back on it on Wednesday (weather permitting)
 
So - brought the rear bumper brackets in to work today to see if our engineering department could sand blast them.
I want them usable so that when I get round to doing the offside rear quarter I can make sure that everything aligns before I start welding!

Before:
20140516_093214_zps887995cf.jpg

20140516_093256_zps9b0dc0dd.jpg

20140516_093339_zps46513f62.jpg


After:
20140516_162208_zpsac758be8.jpg

20140516_162242_zps76b916a1.jpg

20140516_162254_zpsfaddb8fd.jpg


The bracket for the offside - I had to hack it off the van as the PO had welded it on :(
I will make it good for when the van goes live - for the testing purposes I will use the home made ones (cheers George ;))
 
Just read your build from start to 'nearly finished' I admire your persistence I was tired from just reading it, It will be worth all the hard work in the end and you will get a lot of pleasure driving it around knowing you built it, I look forward to reading further exploits and meeting up in the future.
 
subheatadey said:
Just read your build from start to 'nearly finished' I admire your persistence I was tired from just reading it, It will be worth all the hard work in the end and you will get a lot of pleasure driving it around knowing you built it, I look forward to reading further exploits and meeting up in the future.
Cheers for the words of encouragement :mrgreen:
Just noticed that this thread misses the first 3 years plus of other work done which I might add sometime soon.
 
Found some details from when I first got the bus and started to work on it - for those who are interested or care here ya go:

From 2005 pictures from Ebay first (I wish I could corner the market in rose-tinted glasses.....)

44900221.jpg

(Still have the awning but well knackered - a proper VW MoTent)

abd40166.jpg

08c8d8be.jpg


Don't she look grand :)

So, after getting her home and scaring myself silly on our first trip (the van came with 9 months MOT, but the brakes were shocking - it had new calipers, but the drivers side had the original pads (when I say pads, I mean metal) and the original disks, which were basically rotten!!!!

DSCF0004.jpg


Got that sorted and noticed that the roof leaked (majorly).
Only after looking at other Dormobile roofs did I discover that the glass windows were plexi, but just pop riveted on then sealed with silicon..... Can't leave it like that so started to work on the roof....

To be continued
 
So - what next?? Are yes, the roof.................

So off came the poptop and I checked the metal part first before deciding what to do with the poptop.

7eba1ae8.jpg

SideNearside.jpg

RearTopNearside.jpg


Where one of the hinges would be:

DSCF0004.jpg


And the gutter:

DSCF0003.jpg


Inside, the top of one of the strengheners:

SurfaceRust.jpg


The roof

Outside.jpg


NoGlass2.jpg


So - worked cut out - to be continued......
 
Sorted the roof (both metal and poptop over the winter of 2005/6 but took it for it's MOT (minus the roof) which it duly failed - the MOT tester informed me that he would never like to see this van again, even if it had all the work done. Gutted.

A few pics of the roof during and after the refurb (including a spray and GRP repairs):

DSCF0001.jpg


DSCF0002.jpg


DSCF0003.jpg


Coming together now on the inside

DSCF0004.jpg


DSCF0005.jpg


Outside

PICT0001.jpg


PICT0002.jpg


PICT0004.jpg


PICT0006.jpg


To be continued...........
 
External metal repairs:

DSCF0002.jpg


DSCF0001.jpg


So - fibreglass repairs now done, so started on preparing for it's respray:

DSCF0012.jpg


DSCF0015.jpg


Ohh - and me:

DSCF0016.jpg


Paint going on:

DSCF0018.jpg


The correct glass now in:

DSCF0001.jpg


And there's more....
 
Now on the van and putting on the fabric (well, plastic):

DSCF0002.jpg


DSCF0003.jpg


DSCF0004.jpg


Looks good, but not even tackled the underneath yet (at least it's now water proof)

To be continued..........
 
Roof done now so what do I do now........
What is the chassis and exterior panels like - the pictures make it look really good.................

Belly pans:

DSCF0001.jpg


DSCF0002.jpg


DSCF0003.jpg


Cut off and..

DSCF0005.jpg


DSCF0006.jpg


DSCF0007.jpg


DSCF0009.jpg


DSCF0010.jpg


DSCF0011.jpg


DSCF0013.jpg


What a surprise.

To be continued..............
 
Panels now - lets remove the crud

Nearside wing (well was)

bus-frontwing1.jpg


New sill added:

bus-nearside3.jpg

bus-offside1.jpg


New tophats and inner

bus-nearsiderearpassenger.jpg


bus-nearsidebehinddriver.jpg


bus-offsidearpassener.jpg


bus-offsidebehindpassenger.jpg


To be continued...............
 
Anywho , where was I - oh yes, pics and things :)

So, more things started to get replaced and fixed such as a replacement beam:
Shotblasted

IMG_0087.jpg

IMG_0084.jpg


Then Painted:

IMG_0103.jpg


IMG_0102.jpg


IMG_0101.jpg


More metal going in - Cab floor

IMG_0334.jpg


Lower front panel

IMG_0333.jpg


To be continued............
 
One of the front Y chassis rails:

IMG_0331.jpg


The other one:

IMG_0329.jpg


Other cab floor halve:

IMG_0324.jpg


Front arch - offside:

IMG_0323.jpg


Nearside:

IMG_0322.jpg


Lower B post:

IMG_0319.jpg


And so it continued (around 3 or so years have passed now....)
 
Outer sill - Offside:

IMG_0318.jpg


Offside Rear arch repair panel:

IMG_0316.jpg


To be cont......
 
A few more of the arch's

ArchandChassis.jpg


Arch.jpg


Nearside tub:

Tub.jpg


Tub1.jpg


Cargo bay floor being put in:

IMG_0945.jpg


IMG_0944.jpg


IMG_0943.jpg


IMG_0942.jpg


To be continued................
 

Latest posts

Top