rusty old nail to sow's ear

Early Bay Forum

Help Support Early Bay Forum:

This site may earn a commission from merchant affiliate links, including eBay, Amazon, and others.
So tonight I thought I'd make a start on these, only been in the garage for 7 months.

Jetwashed. Don't want them shiny, just the black paint and years of dirt and oxidisation removed.


Stripped


Partially cleaned


What a pain in the ass. Wish I'd stayed in and watched Eurovision.


Not really..... :D
Flat batteries stopped play tonight.
 
creationblue said:
That's a truly dog shit of a dog!

Fuck me, you're not kidding.
Only cleaning them up enough to get rid of the paint and look fairly presentable was a pain in the ass.
Getting the old seals out and then trying to fit the new ones where the channel is crimped was a pain in the ass.
But trying to get the new seal on the glass and then fit the frame is proving to be a bastard.


Gave up before I break something or launch the fucking things into next door's garden....
Any hints or tips?
 
I'd launch the fucking things and buy some already done!!

I looked at changing the seals on mine but decided that the og ones were staying! I don't think there is an easy way

I know a good polisher, don't even attempt to do it yourself!
 
Yep truly a horrid job - did both of mine a couple of years ago - never ever again!
One of the jobs I would outsource if it ever needed doing again
Some pics and tips of my efforts 3/4 of the way down on this link

http://forum.earlybay.com/viewtopic.php?f=2&t=44243&start=300

I feel your pain mate!
 
Feel your pain! Not done Westy windows, but opening quarterlights took me over the edge! Good luck!
 
I know it's not bus related, but it's my gallery thread. Went for a spin in the square today and eventually ended up at a friend's workshop.
I say eventually.
The car completely died heading down the long hill from Failand towards Wraxall, no power, no lights.
I had no tools on board so hoped it was a quick fix, and it turned out to be quite painless in the end. The main feed to the fuseboard had disconnected itself. Managed to reconnect the spade terminal and everything came back on. I'll need to sort the connection next weekend.
Anyway, Janek's got a few cool vehicles at his shop, so as a photo opportunity is never refused, he dragged a couple of them out.


Hi Sparky,
Yes those window seals are a real PITA as you say.
I found that plenty of lubrication and a dead blow hammer got the sections together around the glass as they always wanted to spring apart.
I also used a blunt flat blade to help push the seal in before fully getting the Ali sections home on the glass, it's a bit of slow process.

Only other tip is don't mix up your screws as the frame screws from each section of glass are longer with a sharp leading edge than the ones that attach it to the hinges.
Unfortunately I found this out on the last pain of the last window when I stayed up late one night trying to get them finished.accidentally picked up the wrong screw and crack [emoji26].

They do look great when there done although I found they are tight to close due to the rubber strip that sits behind the hinges.
If you need a new gearbox I have one.

d9b249d6b00e59c2192ace76f4408ae3.jpg


a9ee6d448cd96e84657b8cb41d13cb2d.jpg


Sent from my iPhone using Tapatalk Pro
 
sparkywig said:
I'll have another attempt at fitting the glass this week. I've already noticed the difference in the screw length when I was dismantling them.

I was so annoyed, I had separated them just picked up the wrong one by mistake


Sent from my iPhone using Tapatalk Pro
 
And this is how I did it.

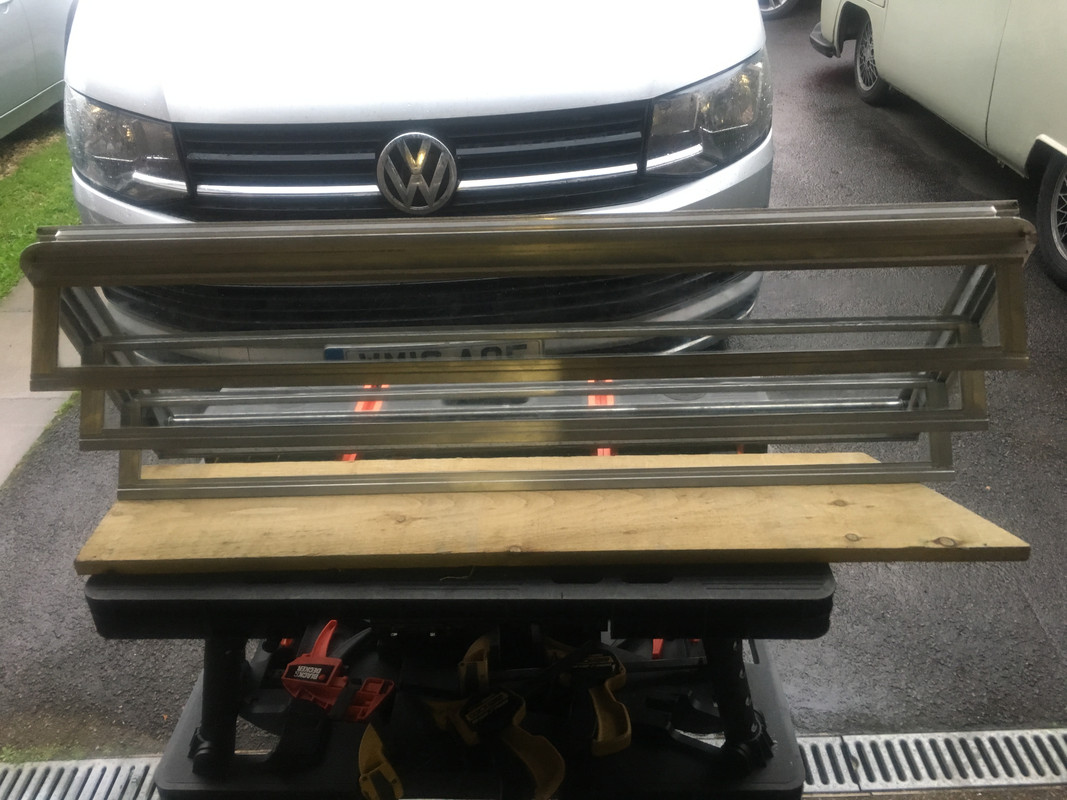
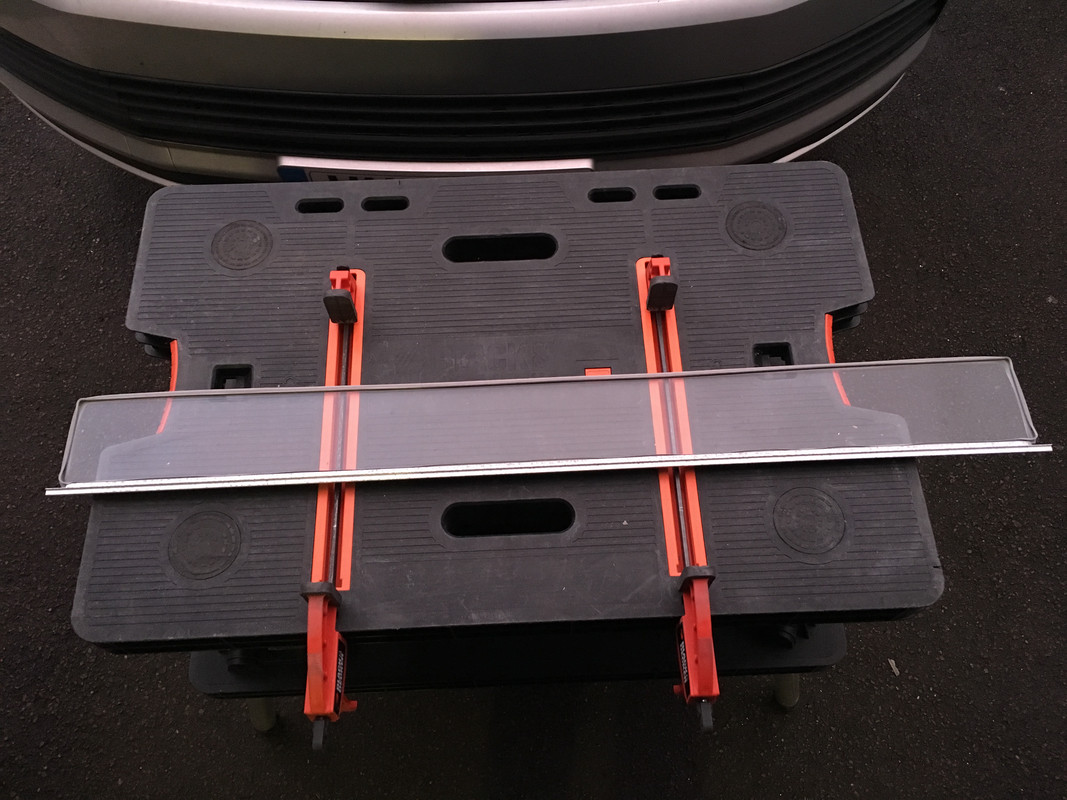
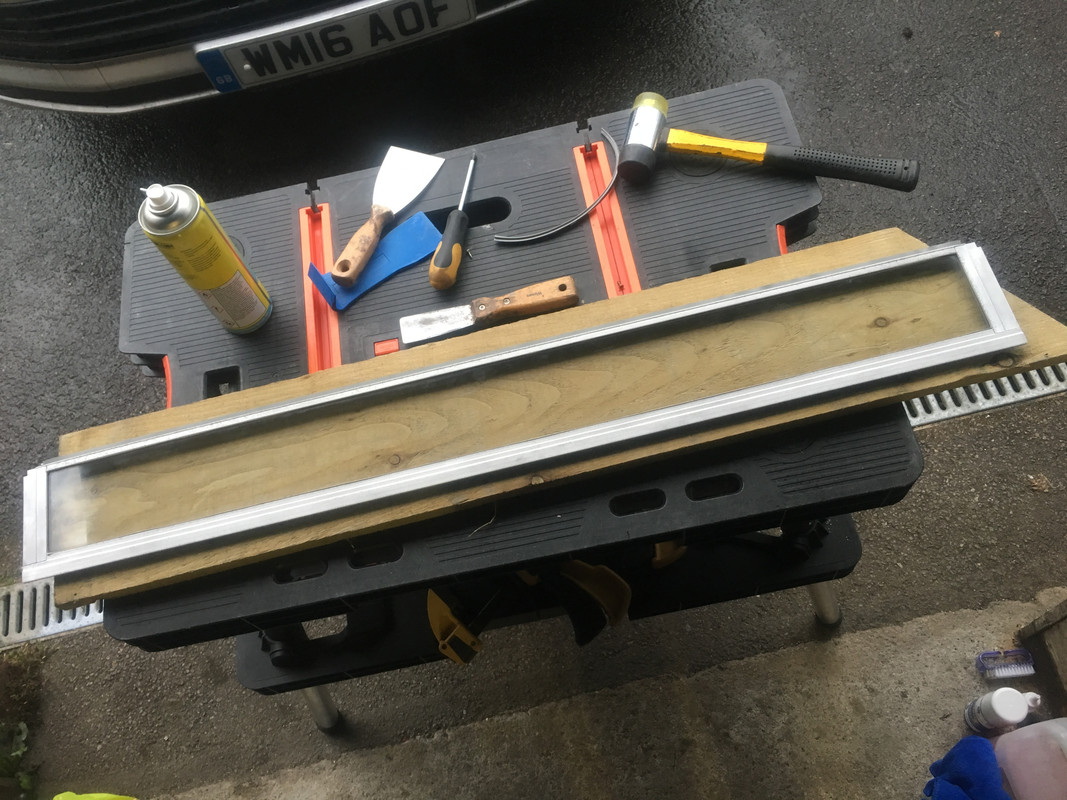
Find a piece of timber long enough so you can screw the top piece of window frame to it.


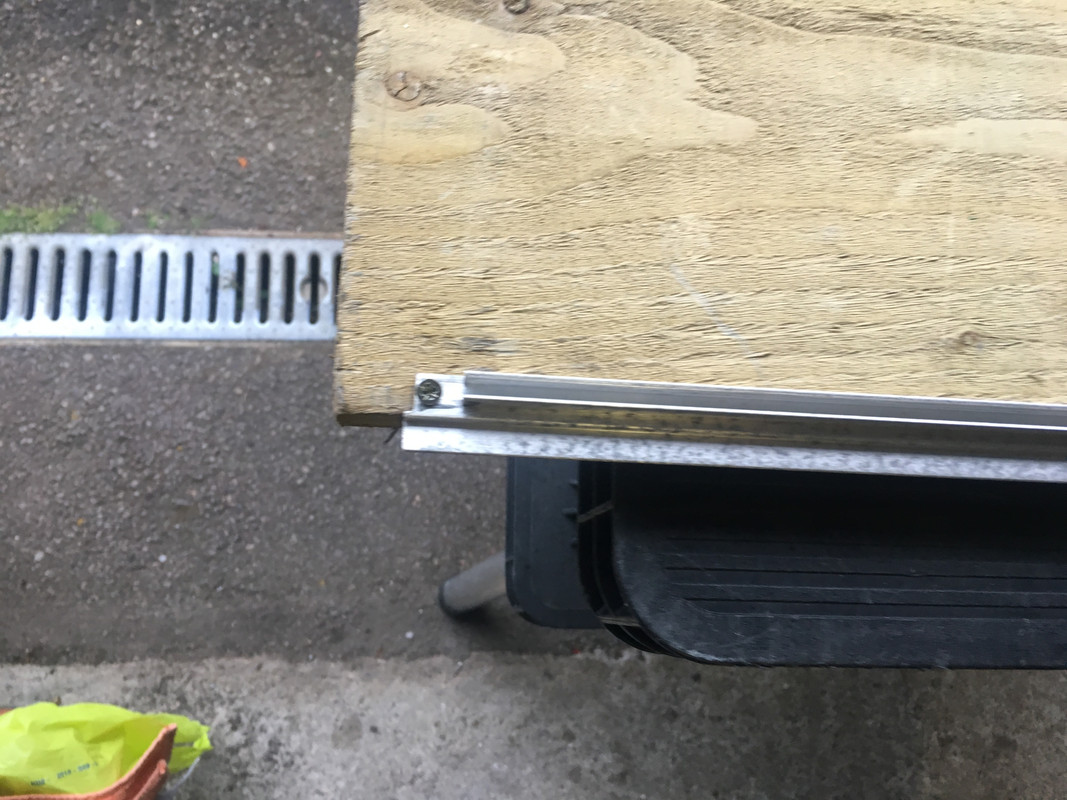
This is only to support the frame while you fit the glass/seal to it.
Get all the frame sections, frame screws, screwdriver and a soft faced mallet to hand.
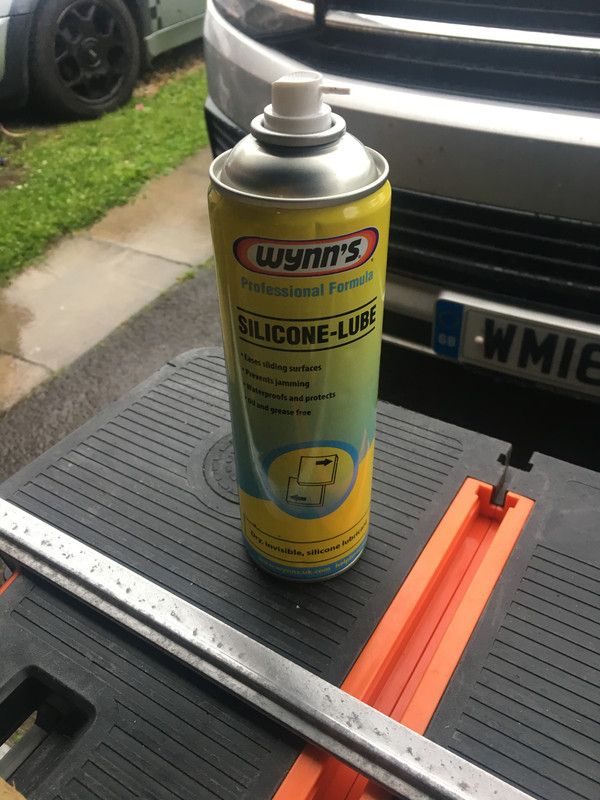
Fit the seal to the glass and spray the frame section with silicone lube.


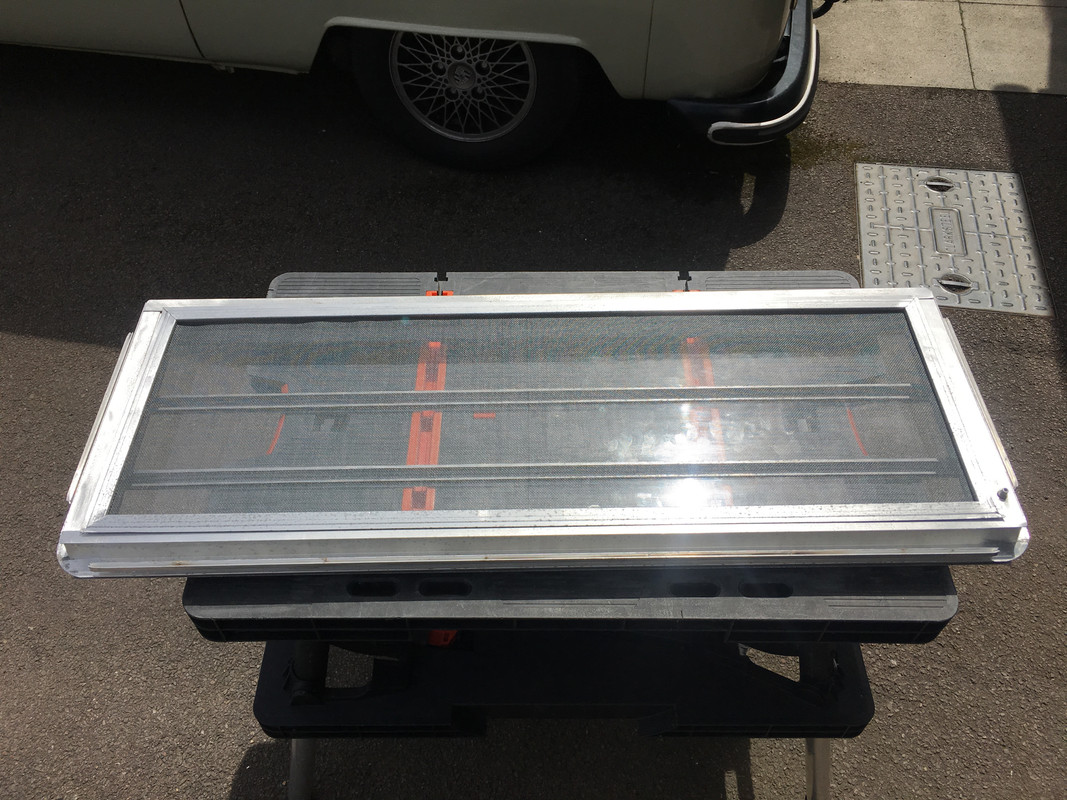
Place the glass/seal into the frame and tap one end to get it started. Don't be timid with the mallet, you can hit it fairly hard.
Work your way along hitting the top edge of the glass pane until you reach the other end, making sure the seal goes in straight and evenly.
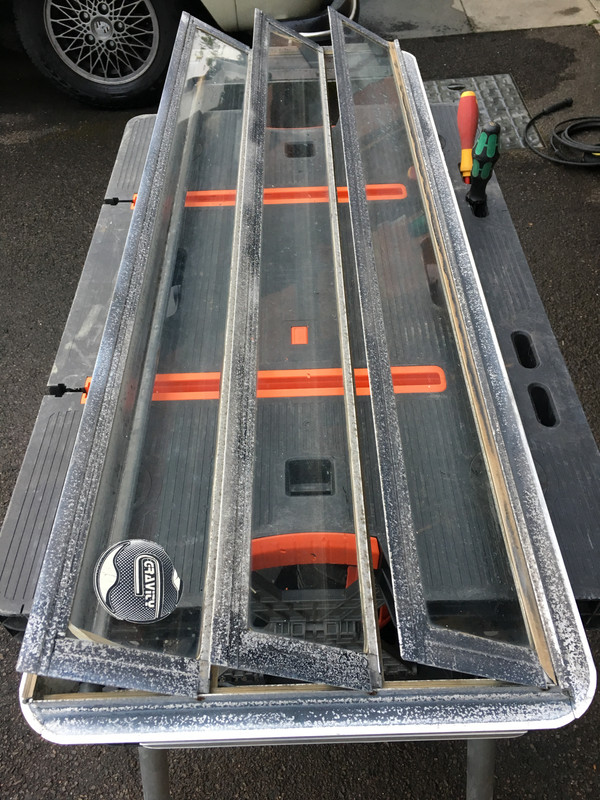
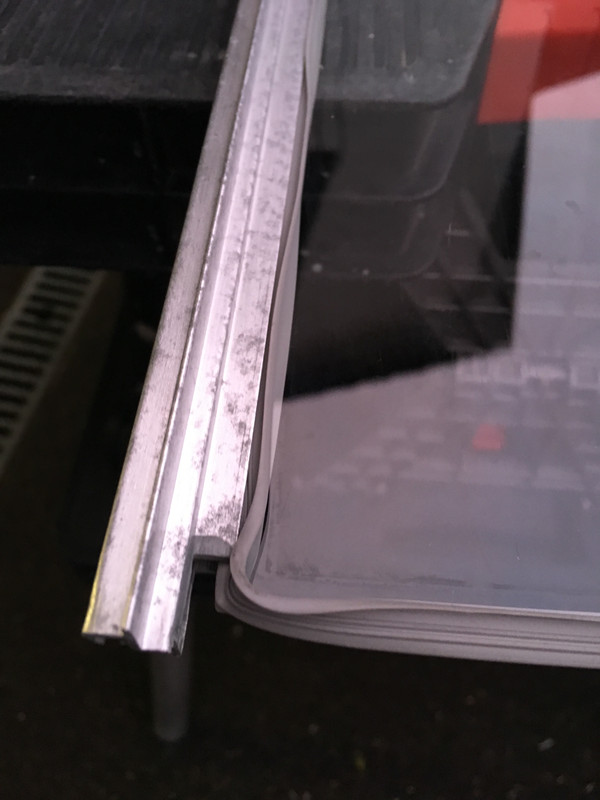
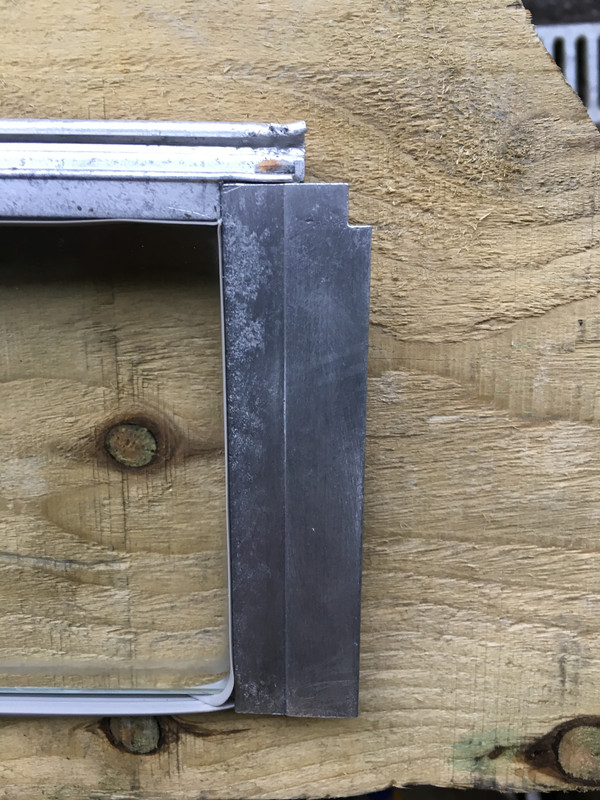
You should be at this stage.


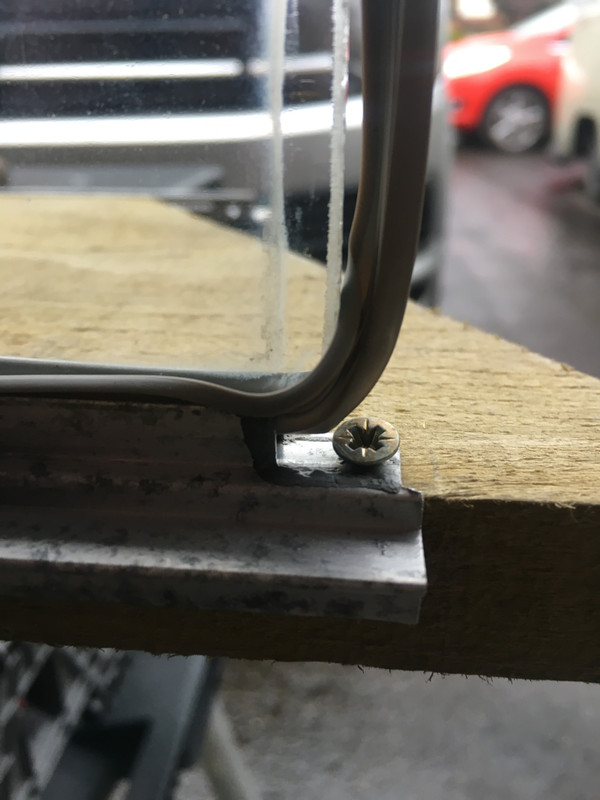
Don't go any further as you'll chip the glass on the screws and have difficulty unscrewing them, which is the next stage.
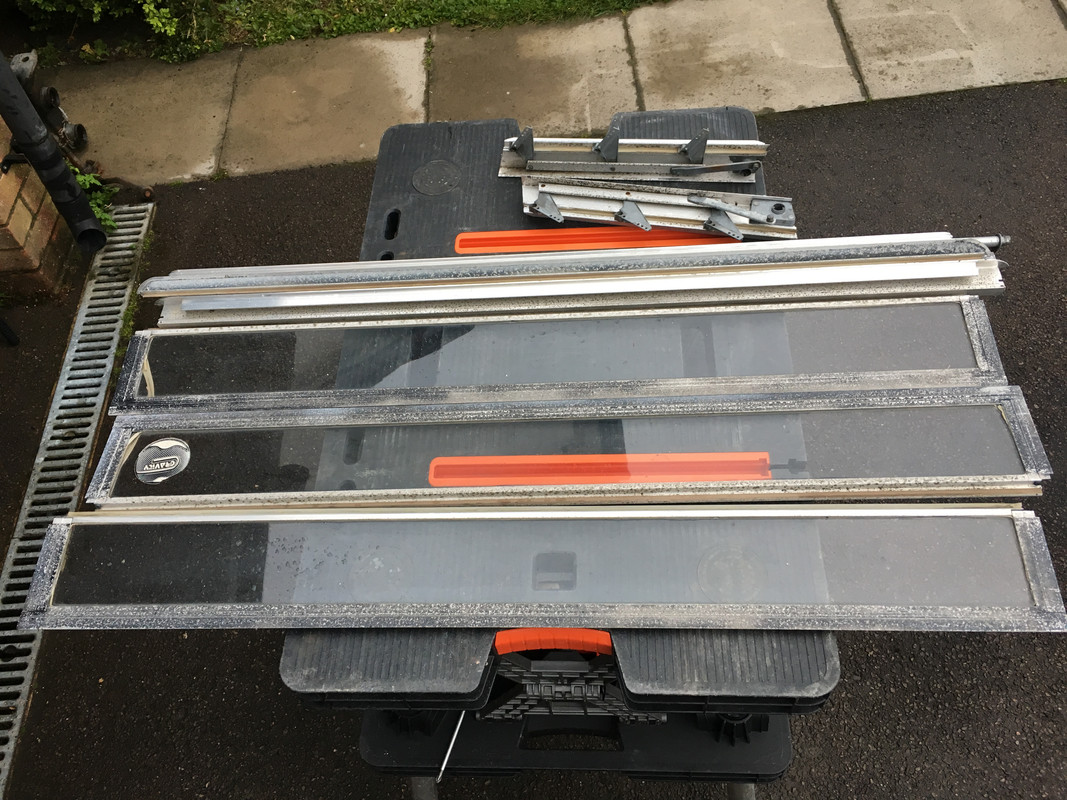
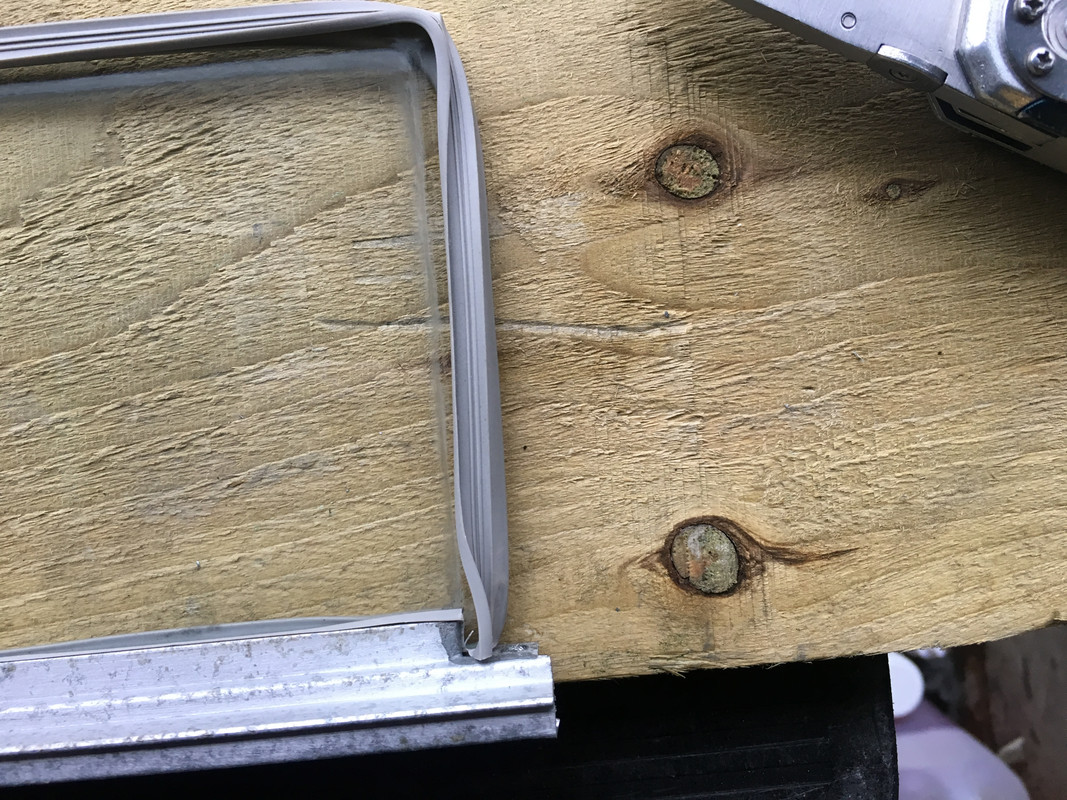
Take the screws out, and tap the glass fully into the frame section.


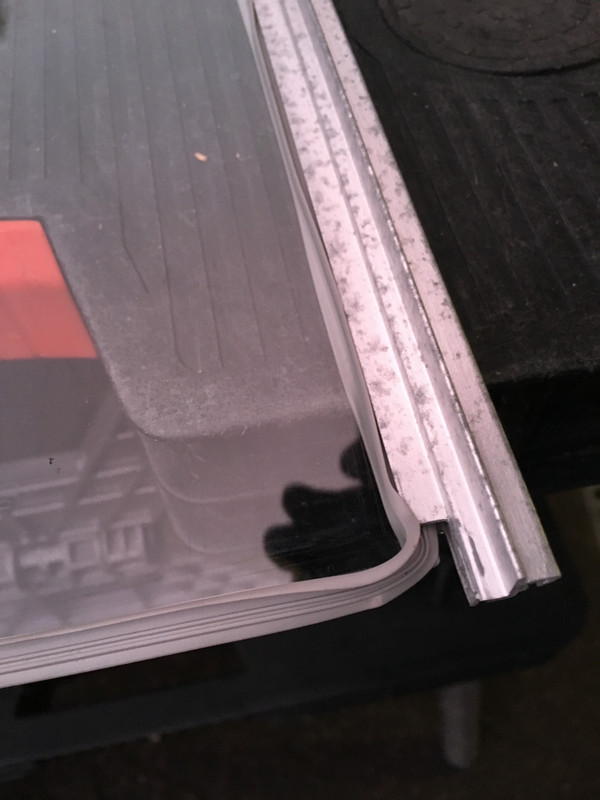
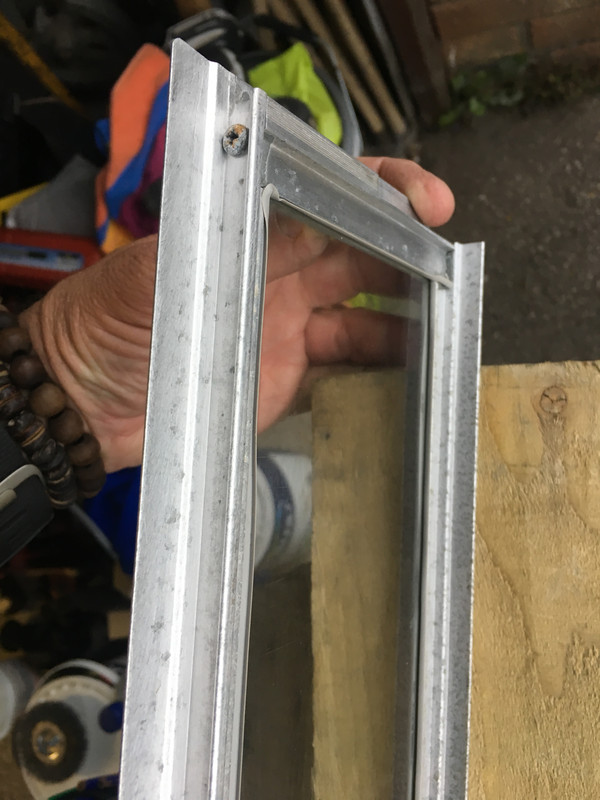
Cut the seal so you can get a tight bend with a sharp knife, spray with silicone lube and fit one end frame section (making sure it's the right way up), giving it a couple of taps with the mallet.


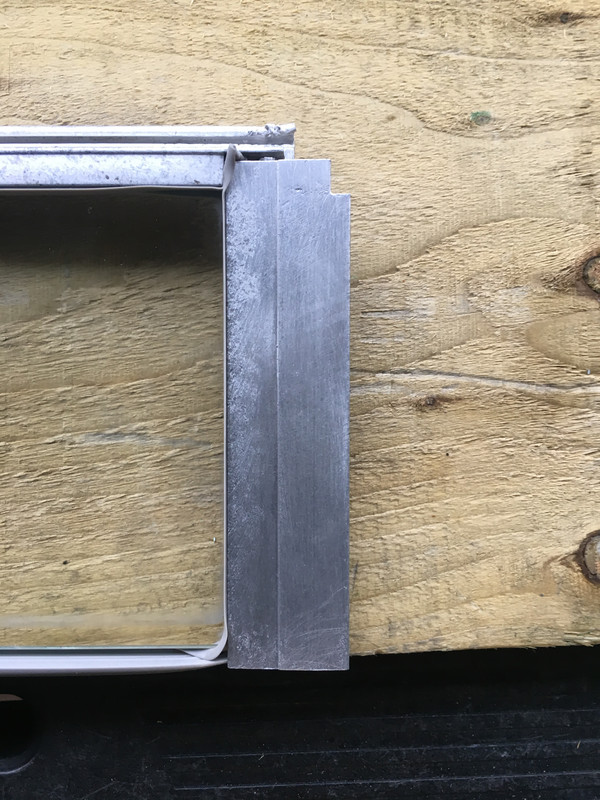
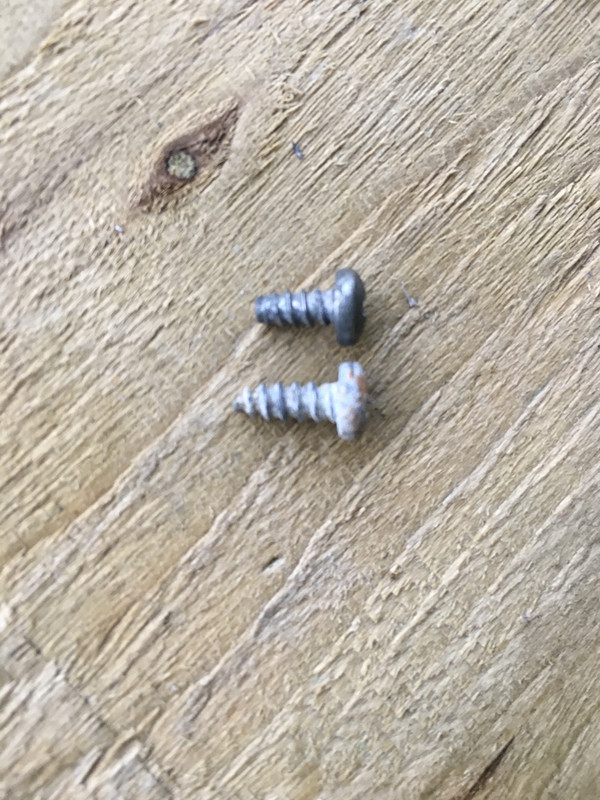
When it's fully seated fit one of the frame screws. They're the larger ones, the smaller ones are for the window fixings to the frame. Don't mix them up or you'll crack the glass when fitting the completed pane to the frame.


Do the same with other end piece. Cut the seal ready for the last piece of frame.
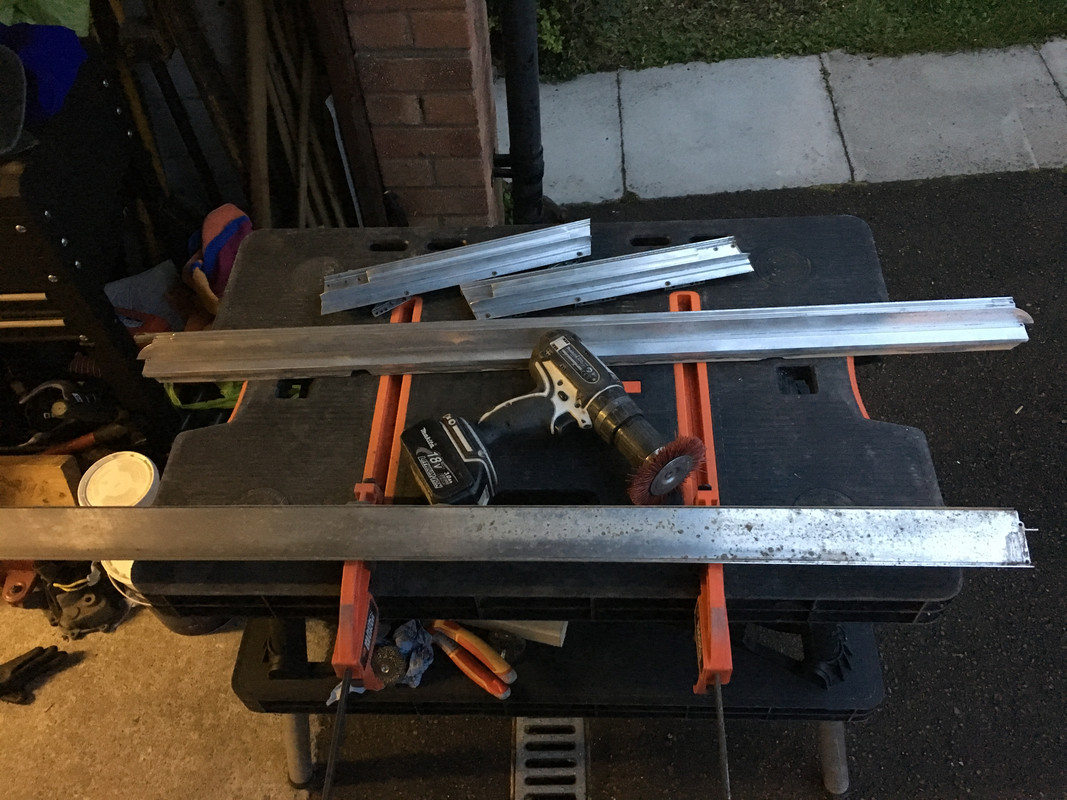
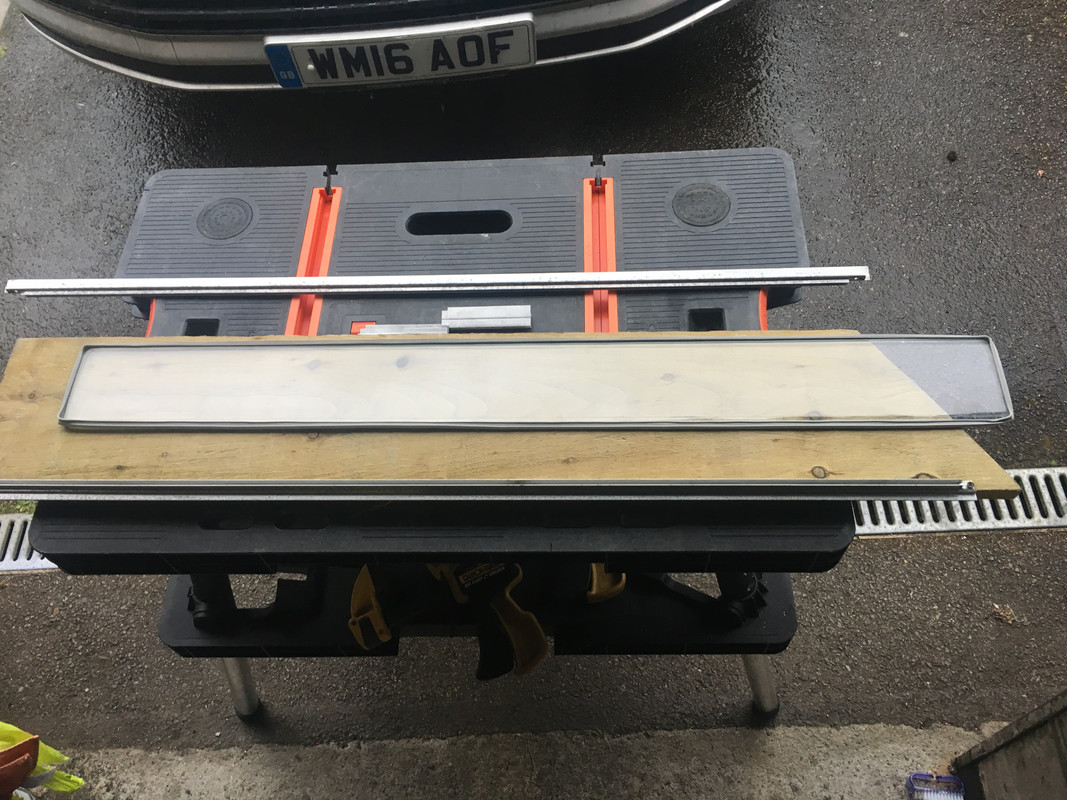
Now the slightly tricky part. Spray the bottom frame section with lube and fit to the glass making sure the seal is straight and even.
When it's almost fully on, fit a frame screw. This will help prevent the frame popping off as you fit it.


Tap the frame onto the glass and then fit the last frame screw.
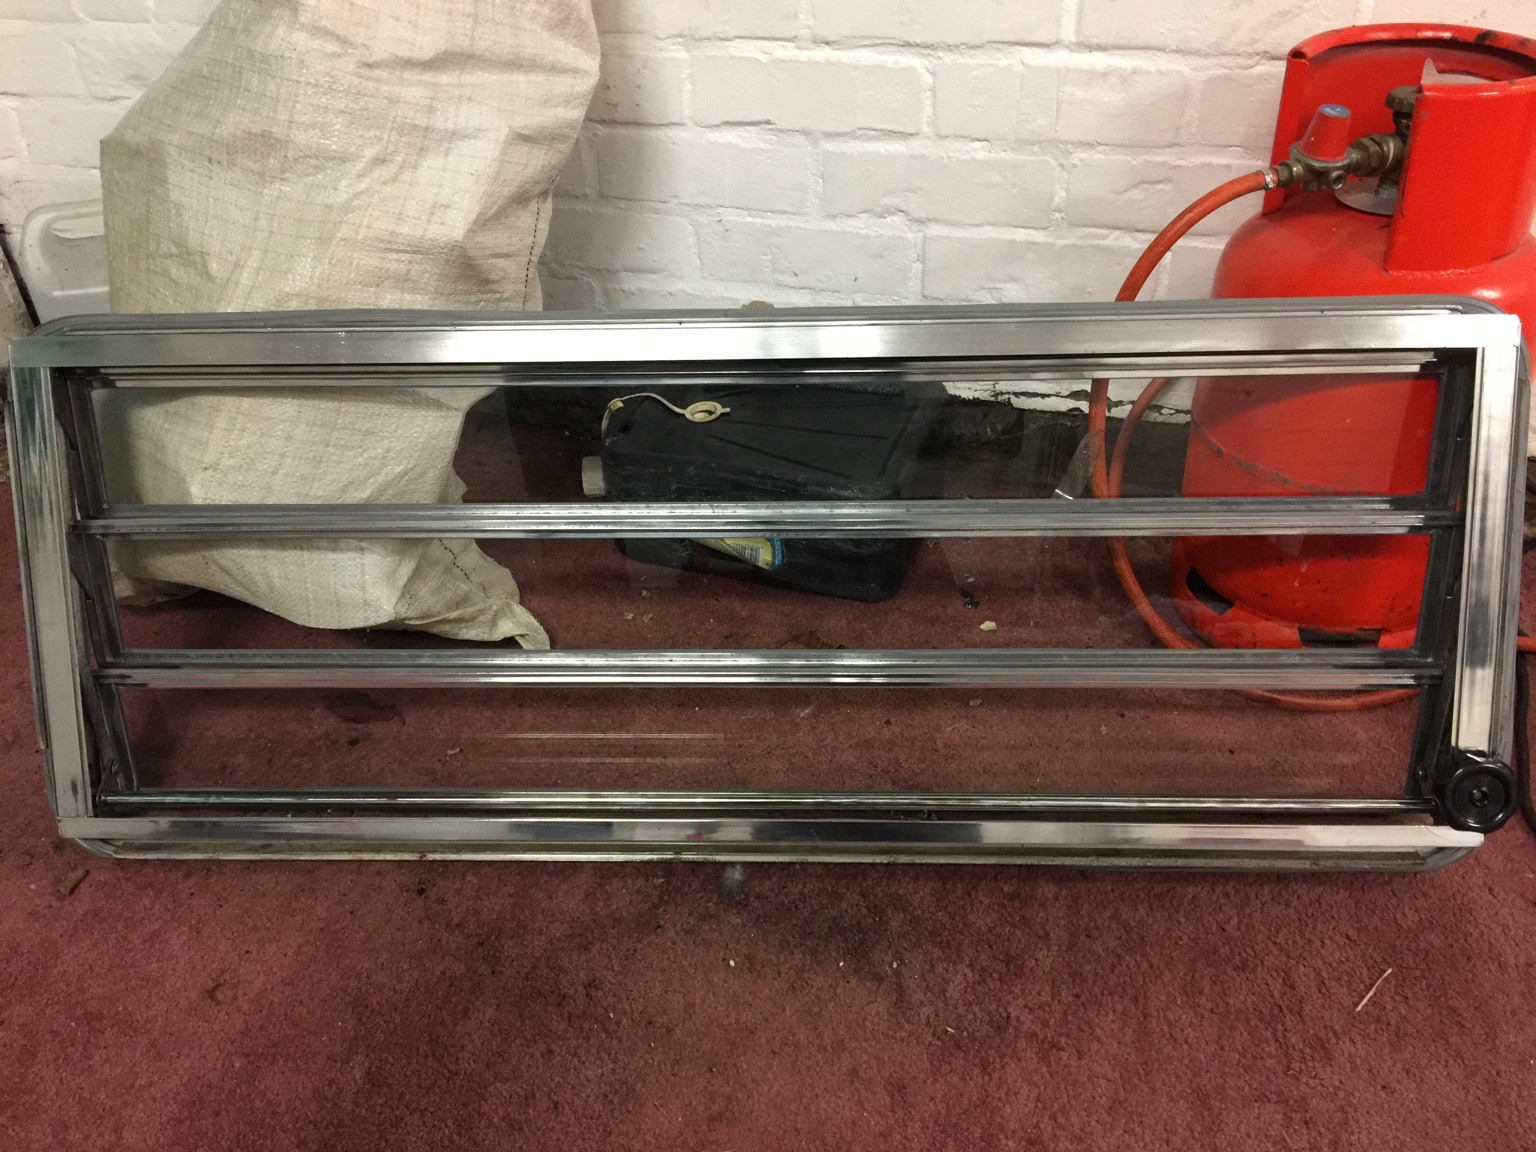
Now you can sort out the seal with a flexible filling knife and a plastic tool. I used one out of a trim tool set. Use plenty of lube to stop the seal being nicked by the filling knife. Trim off any seal sticking out between the frame sections. I will add a bit of flexible seam sealer to the frame joints when it's all back together, rather than get in a right mess during assembly.


Do the other two panes and then refit them to the frame.
It will take about as long to read this to do each one.


Looking good. I hope to see the new windows fitted when I'm down at Bristol Volksfest next weekend :D
 

Latest posts

Top