You are using an out of date browser. It may not display this or other websites correctly.
You should upgrade or use an alternative browser.
You should upgrade or use an alternative browser.
the new bus 70 dorm!
- Thread starter SkidMarkII
- Start date

Help Support Early Bay Forum:
This site may earn a commission from merchant affiliate
links, including eBay, Amazon, and others.
SkidMarkII
Well-known member
71dormy said:TINWEAR :shock:
I take it you are a matt/satin black tinware colour kind of guy

Cheers for all the comments guys. Yer the colour is hammered copper......did not want to "fit in" and do the engine the standard colour so thought I would go out on a limb and try it. I thinks it will work with the engine bay being hammered green
I will always fabricate my own stuff where I can as I can make it fit better than the repo stuff. Also the metal I use is almost as twice as thick as the repo. Even if I cant get the right curve or bend in the metal will still do it and just finish it off with filler
Starting to panic now though as the engine is still on the bench, noy quite finished the engine bay and we are suppose to be taking the bus to Cornwall at the end of April for a week away......nothing like a little pressure to get my arse into gear. Although I got a night off tonight and I am going to watch the world superbike racing from the weekend .............yayy for V+ and recording programmes.
SkidMarkII
Well-known member
71dormy said:Nah mate,I love love love your tinwear.amazing bus
ohhhhhhhhhh I see lol. Thought it would be nice to be different with the tinware. Cheers for the comments makes it all worth it
SkidMarkII
Well-known member
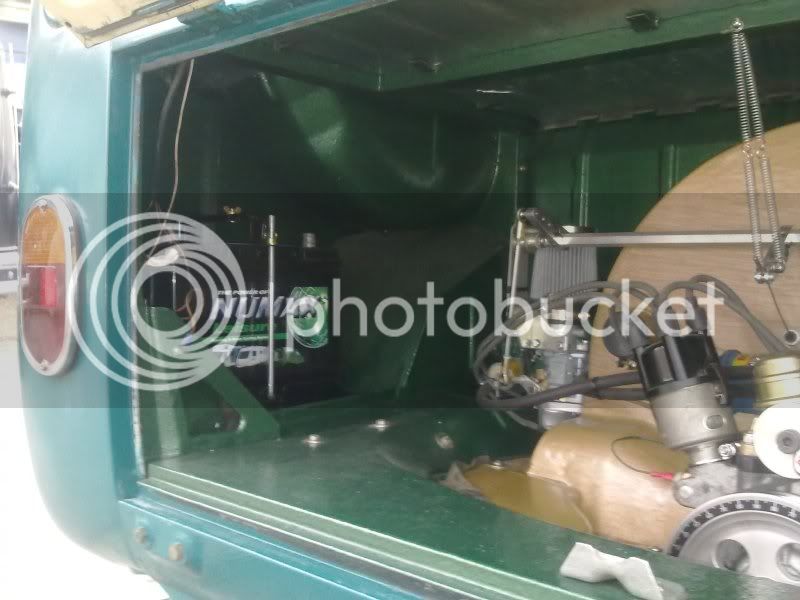
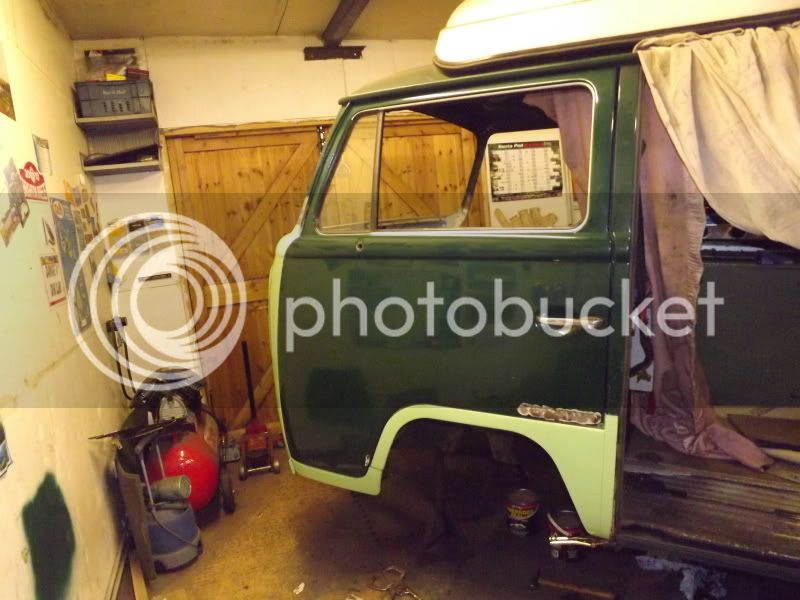
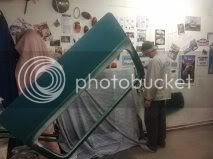
ok been a bit slack with updates and pics but here goes
Engine built and in, first stage of breaking in done and now just need to run it for 100 miles change the oil then run it for another 500 to 1000. Engine bay painted and sound deaden'd. Leisure battery fitted but not plumbed in yet as need to figure out where to put the split charger.
Keep fpr fingers crossed for us as we are running it down to Brighton tonight for its 1st run out.
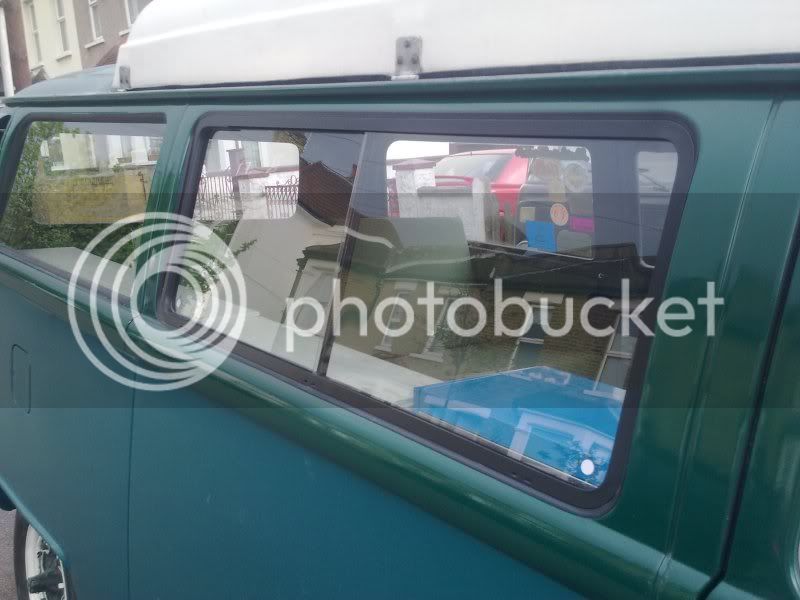
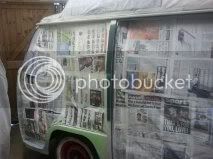
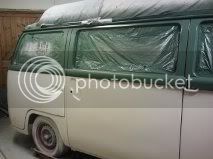
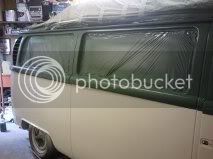
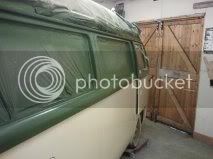
Rear and all side windows were taking out and repairs done as needed. Replaced all the rubbers and the 2 centre windows with the sliding style ones
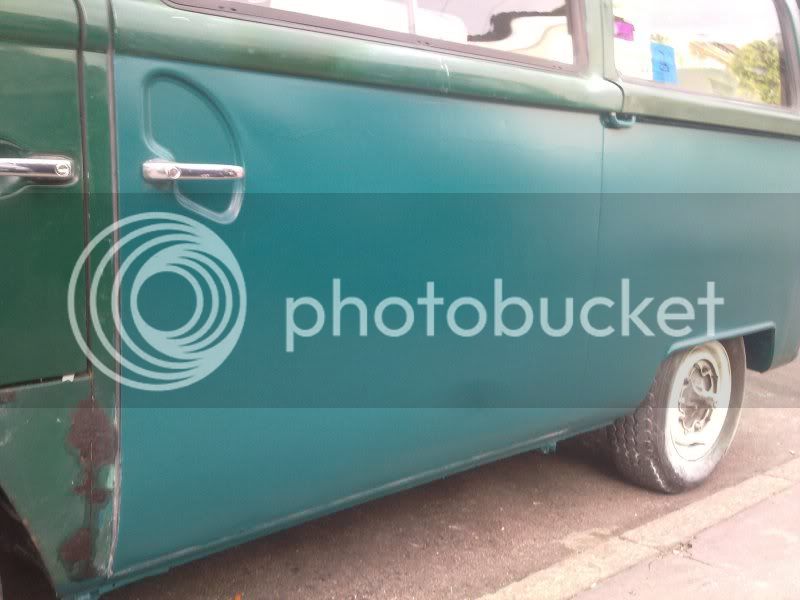
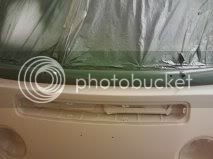
All welding upto the front arches done, filling just to tidy it all up and a quick coat of satin green (wrong shade but I can cope with that)
We have got to stop now and run him on the road as we are going to cornwall on the 22nd April to 1st May for a blast and then big bang in May. After we have done that we plan to try and get the front panel area all welded and tidy before we go on our big euro trip taking in BBT, Bad Camberg, the autostadt and Ebi.
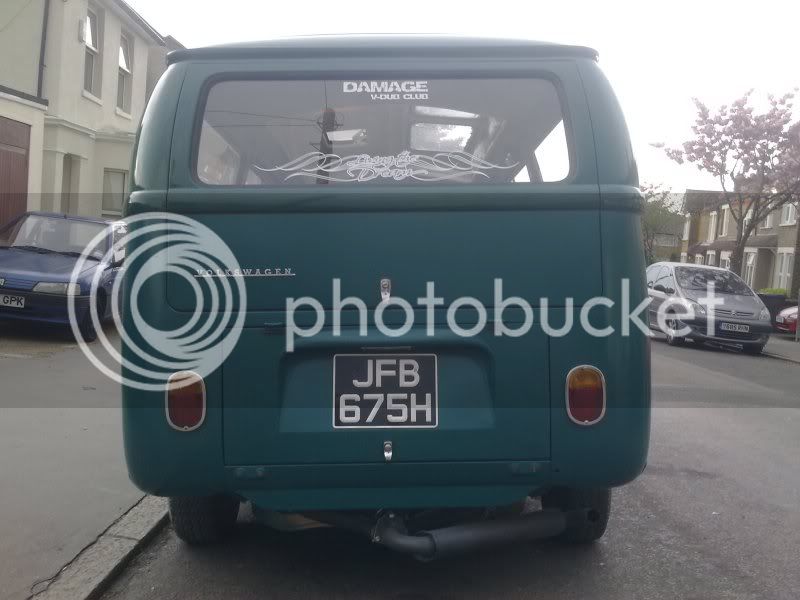
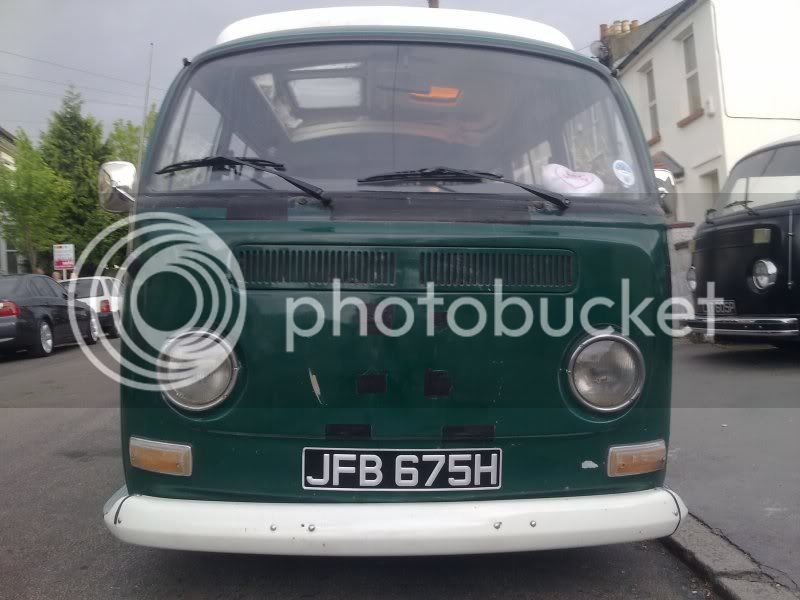
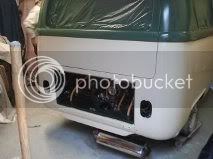
Here is the front
Engine built and in, first stage of breaking in done and now just need to run it for 100 miles change the oil then run it for another 500 to 1000. Engine bay painted and sound deaden'd. Leisure battery fitted but not plumbed in yet as need to figure out where to put the split charger.
Keep fpr fingers crossed for us as we are running it down to Brighton tonight for its 1st run out.
Rear and all side windows were taking out and repairs done as needed. Replaced all the rubbers and the 2 centre windows with the sliding style ones
All welding upto the front arches done, filling just to tidy it all up and a quick coat of satin green (wrong shade but I can cope with that)
We have got to stop now and run him on the road as we are going to cornwall on the 22nd April to 1st May for a blast and then big bang in May. After we have done that we plan to try and get the front panel area all welded and tidy before we go on our big euro trip taking in BBT, Bad Camberg, the autostadt and Ebi.
Here is the front
SkidMarkII
Well-known member
it does look like wood effect dont it lol
anyway here is an update so far......
had to take the twin carbs off as they were just not running properly and did some home work, I now have 140 main, 55 idle and f6 emulsion tubes on order from euro carb and will get them back on the engine.
With the single carb on though we have covered nearly 2000 miles on the engine we built and it runs strong and gives good MPG. We did a holiday to cornwall to run it in properly and took all the small A roads and B roads. Mind you took us 2 datys to get to Cronwall lol. Have also been to big bang in it and now its back in the garage to carry on.
We are off for a big euro trip on the 22nd June to do Bad Camberg, The Autostadt and Ebi so got my list on the garage wall of things to do and will be cracking on with them to try and get the bus as good as we can before we go.
No pics this time as I have not done any more work to it yet but will post more up when i do.
SkidMarkII
Well-known member
ok been a bit slack and really have been busy......got told off by a "special" friend for not updating it all.
So here goes. Work started at van fest and ordering this
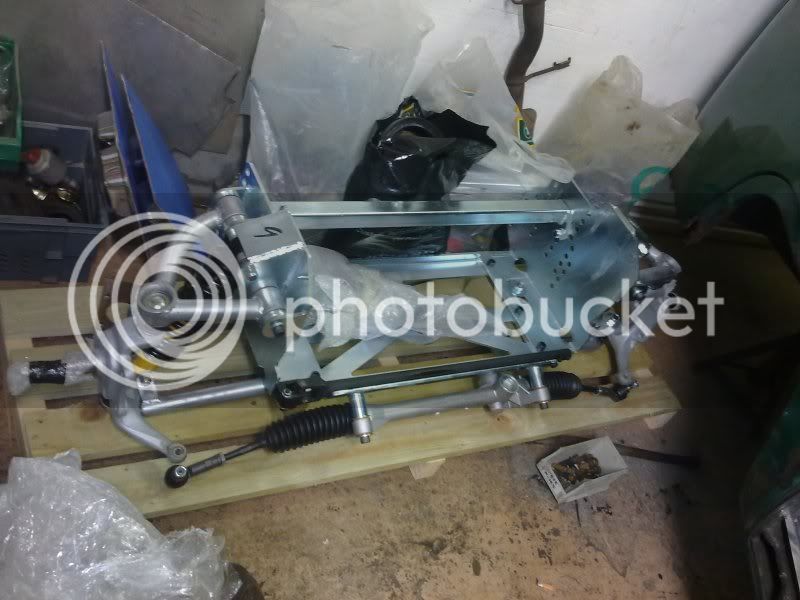
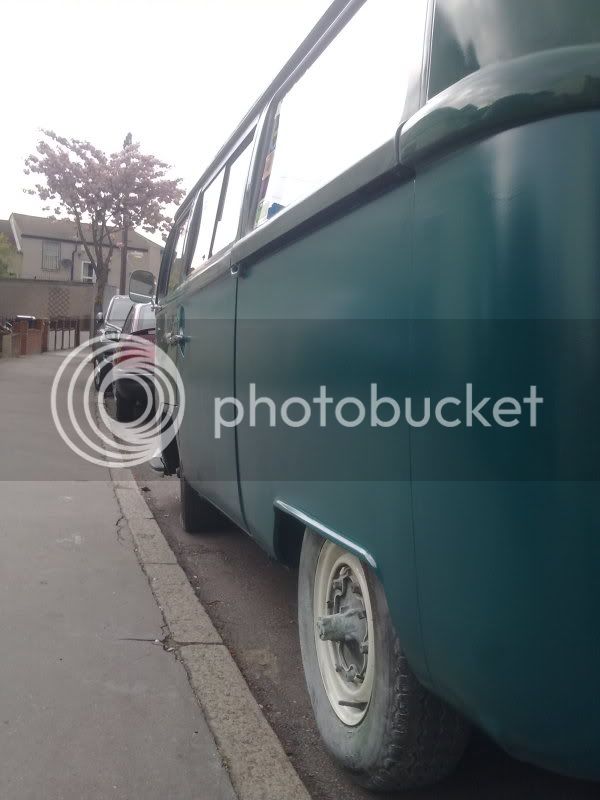
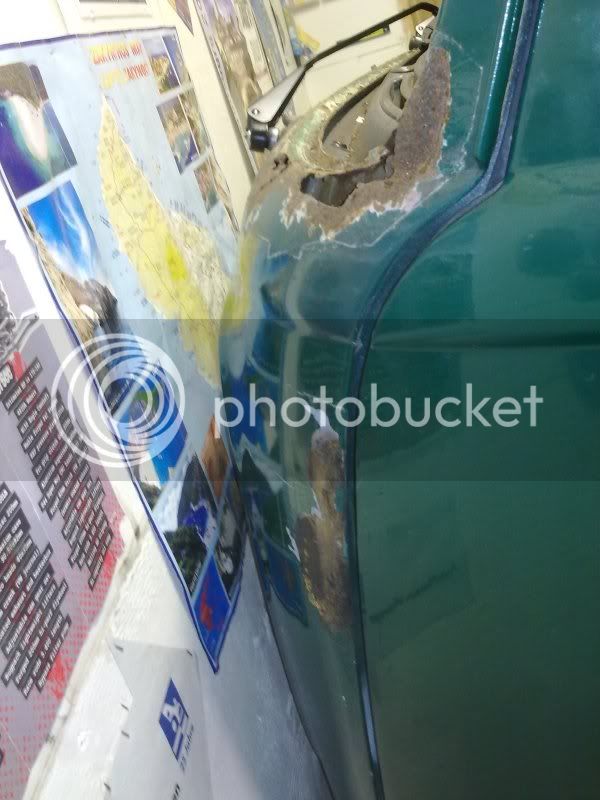
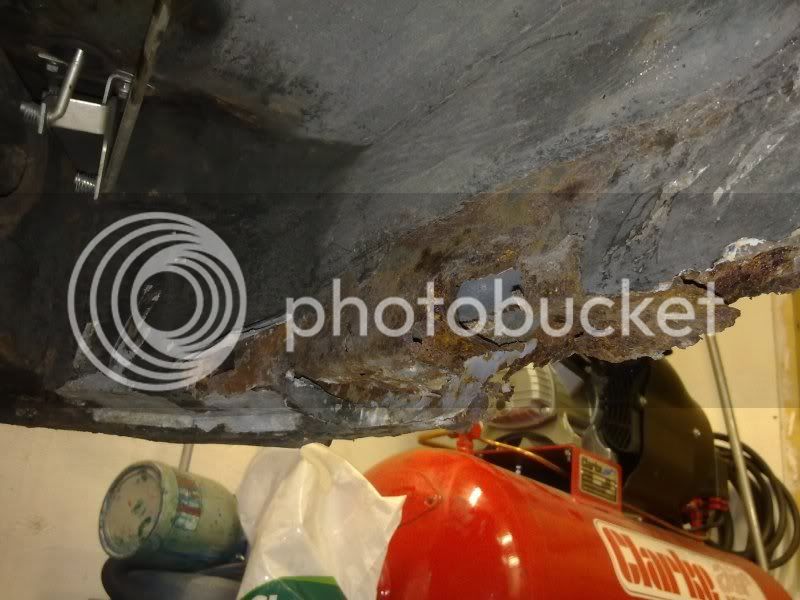
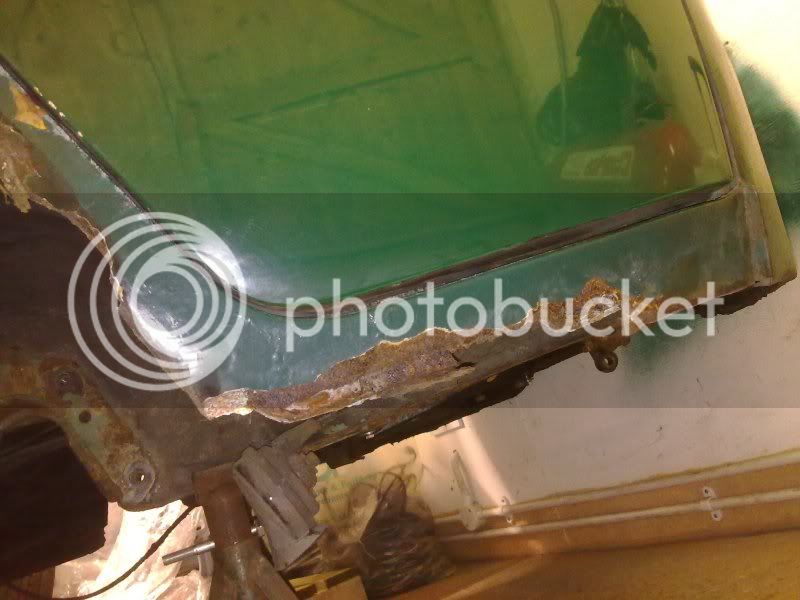
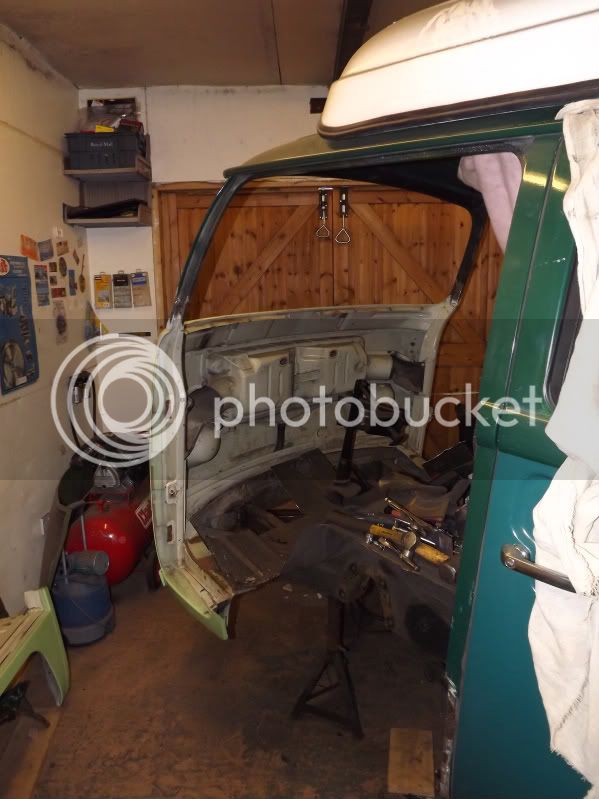
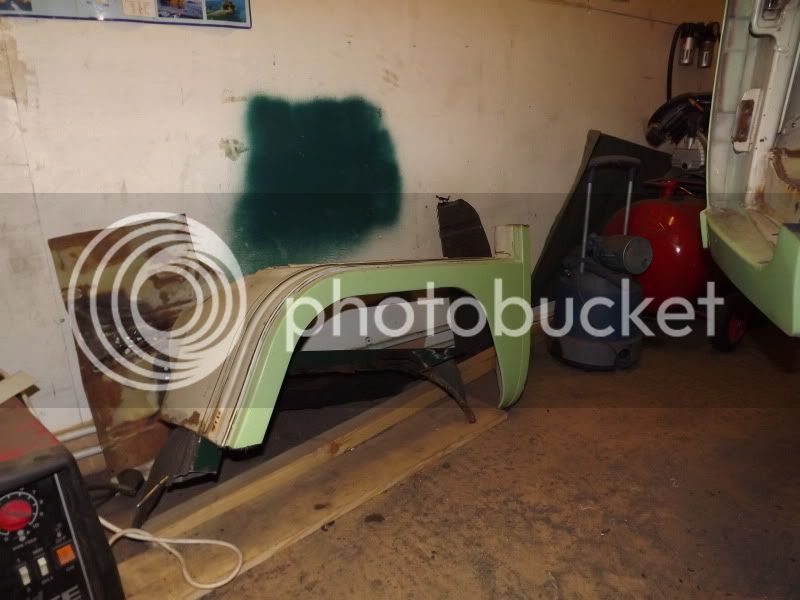
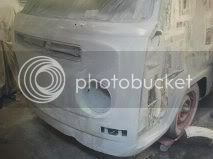
So as we are at the front we decided to have a bit of a dig about and work out what needs doing before we refitted the new beam. Found all these wonderfull holes
The front panel itself was bad. Full of filler, the bottom was plated with thin sheet and all pop riveted on and fibre glassed and fillered over. To be honest it was fecked and all the bodge jobs over the years have not helped. So we made the descion and spent some money and bought this

and then did this to it

Just to make things worse we than did this to the bus
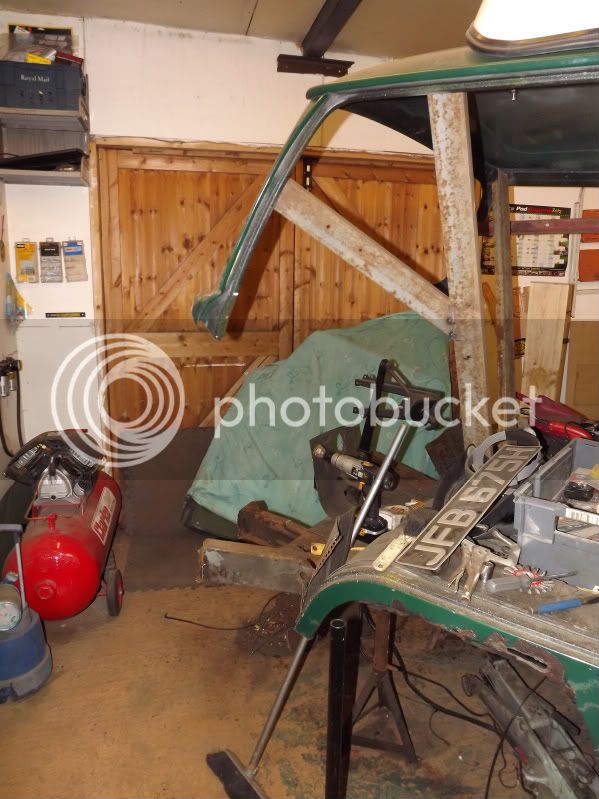
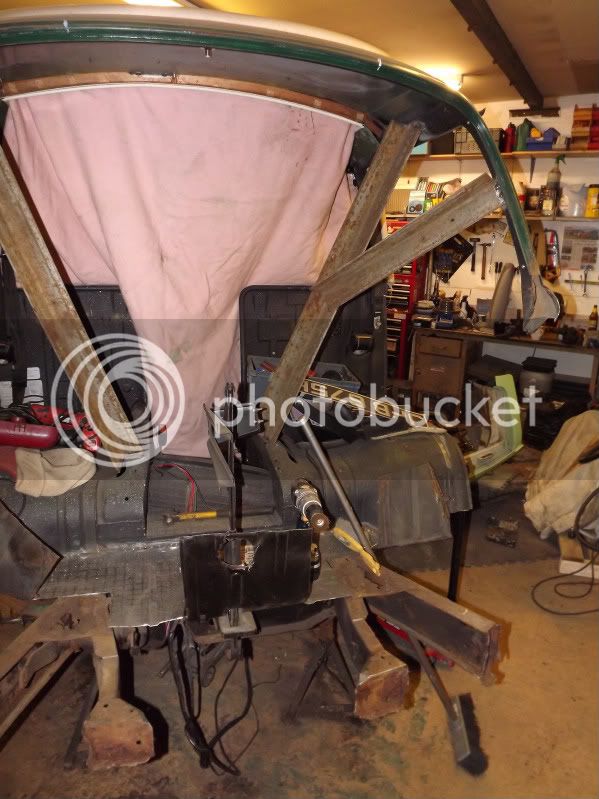
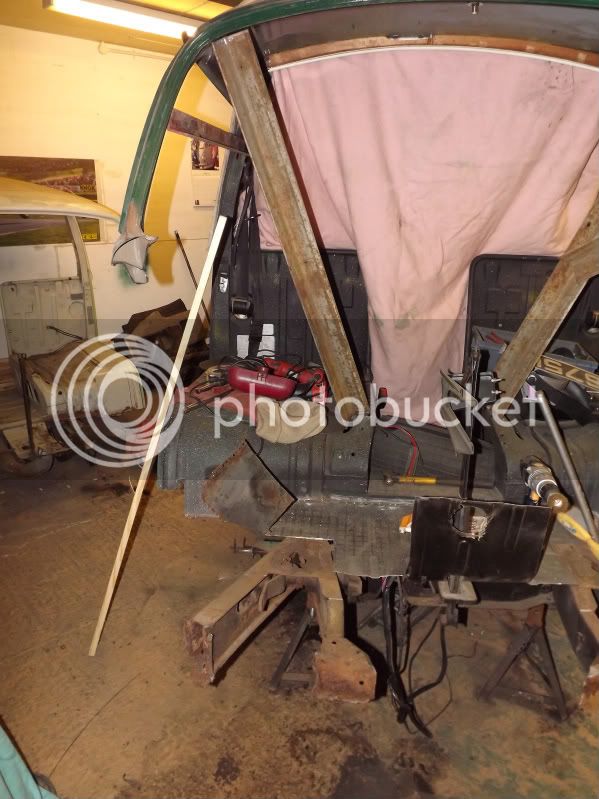
So after alot of digging and frowning we found that the arches, front panel, cab floor (some of) outside chassis rails were all rotten and the descion to buy the front clip was a very good one.
I need to take this moment and give a very big thank you to Allen, who without him I would not have been able to do this (thats probably a lie but the bus would still be in the garage next winter still with me scratching my head alot) But with Allen and his experience we got it done rather quick......so Allen thank you.
So here goes. Work started at van fest and ordering this
So as we are at the front we decided to have a bit of a dig about and work out what needs doing before we refitted the new beam. Found all these wonderfull holes
The front panel itself was bad. Full of filler, the bottom was plated with thin sheet and all pop riveted on and fibre glassed and fillered over. To be honest it was fecked and all the bodge jobs over the years have not helped. So we made the descion and spent some money and bought this
and then did this to it
Just to make things worse we than did this to the bus
So after alot of digging and frowning we found that the arches, front panel, cab floor (some of) outside chassis rails were all rotten and the descion to buy the front clip was a very good one.
I need to take this moment and give a very big thank you to Allen, who without him I would not have been able to do this (thats probably a lie but the bus would still be in the garage next winter still with me scratching my head alot) But with Allen and his experience we got it done rather quick......so Allen thank you.
SkidMarkII
Well-known member
So we got to work and did all this
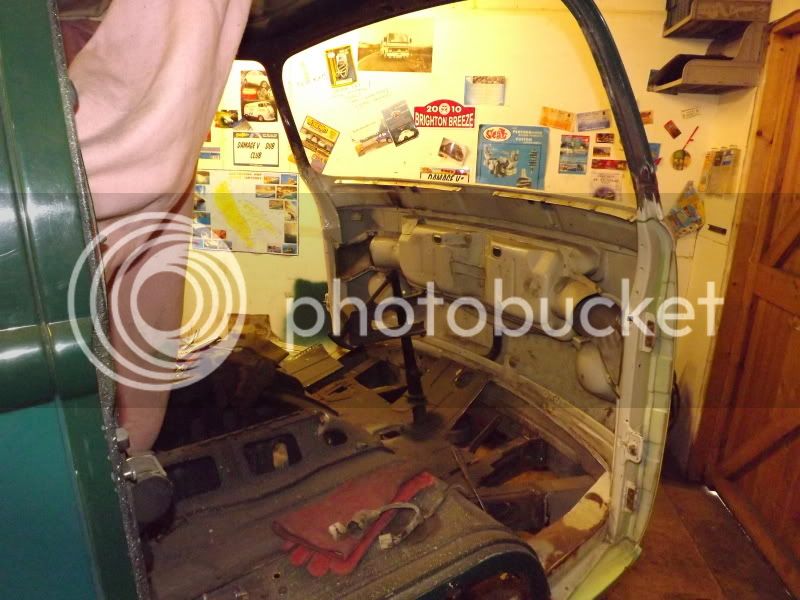
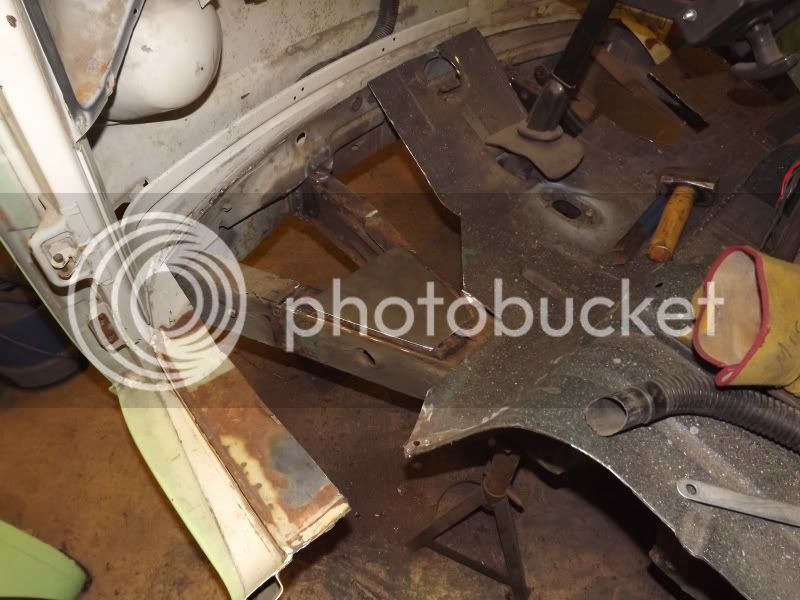
So with all the hard work and 2 weeks later of just evenings and one saturday we have a very solid bus at the front now. Just got to finish welding the floor back in now, seam sealer it all, fill the welded parts, paint the cab area and fit it all back up again and hey presto fit the red9 whihc is where this all started lol.
Need to say a big thank you to Emma (the girlfriend) and co-owner of the bus as she puts in hard work with scrapping all the old paint, shit and underseal off so it can all be welded. She is also very good at making the panels that need to be welded in and has even tried a bit of welding and did very well at it. So thanks for understanding about all the nights and time on the bus. Love ya.
SkidMarkII
Well-known member
Forgot about the other end of the bus as well...been busy on the engine.
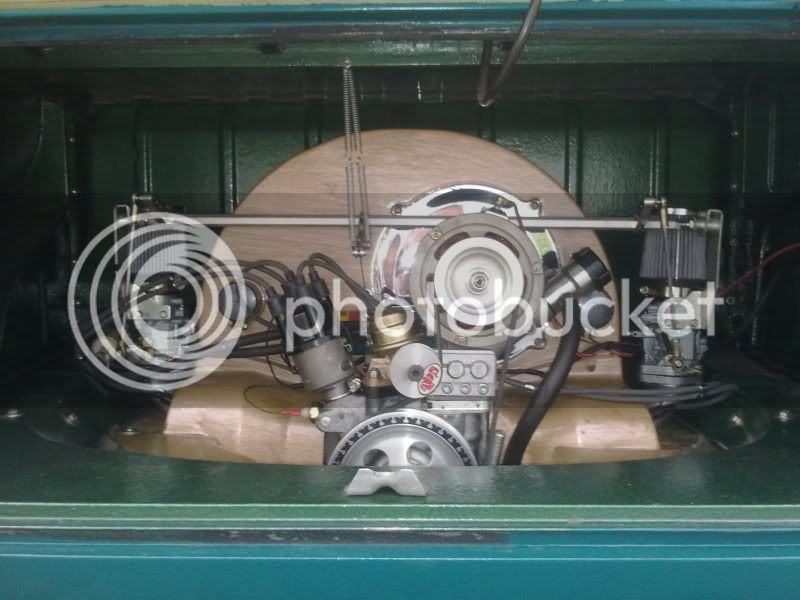
So spec here goes
1600
CB heads
1:25 rockers
twin kadrons with CSP linkage
Also done
electric facet pump with regulator
Got all funky and a bit orange
Extended all the wires of lights so they are now out of sight and run around the roof of the engine bay.
so from this
to this
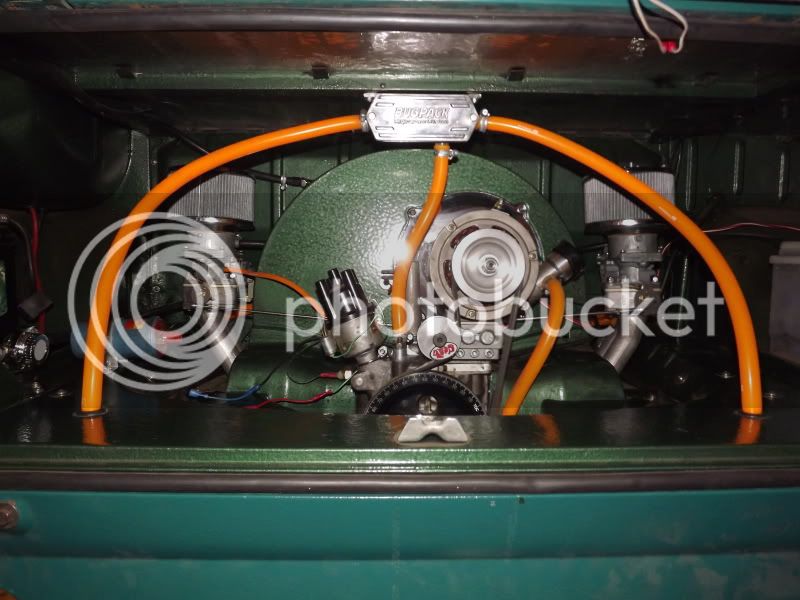
Still need to find some orange HT leads and tidy up the wiring then its all sorted...........lovin it
So spec here goes
1600
CB heads
1:25 rockers
twin kadrons with CSP linkage
Also done
electric facet pump with regulator
Got all funky and a bit orange
Extended all the wires of lights so they are now out of sight and run around the roof of the engine bay.
so from this
to this
Still need to find some orange HT leads and tidy up the wiring then its all sorted...........lovin it
creationblue
Well-known member
Lovin it too 8) Great transplant! Love the orange breathers!
Just
Just
SkidMarkII
Well-known member
ok update time..............been busy so here goes
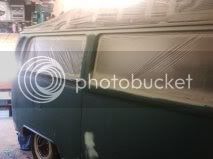
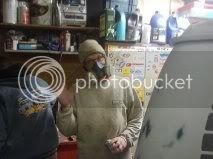
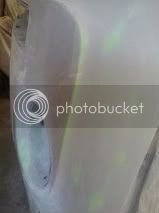
thats the prep
thats the prep
SkidMarkII
Well-known member
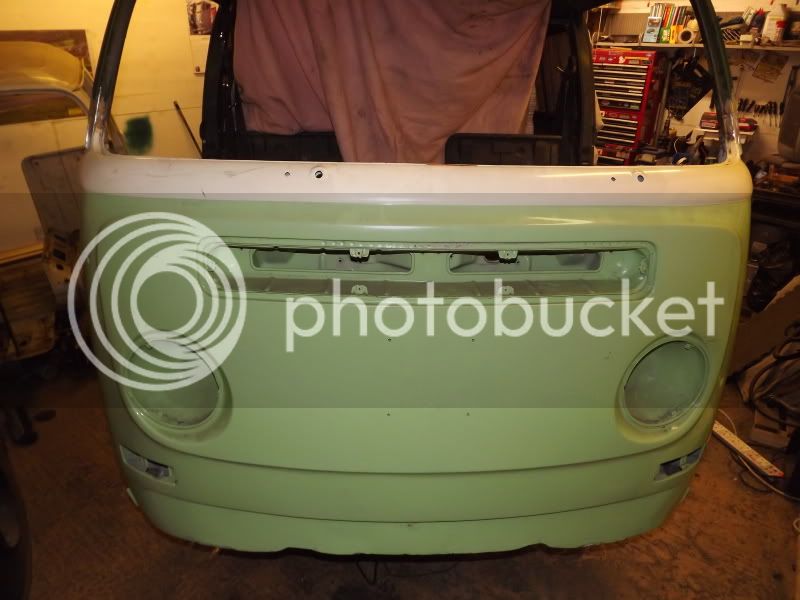
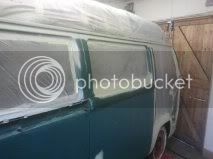
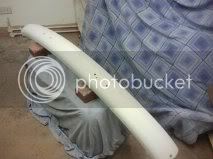
here is the painted version
just got to fit it all back up now and get it running again. which will be done in the morning. So I am hoping at the end of play we should have a running bus. Keep your fingers crossed. Will update when I have got the wheels on and it all fitted up.
just got to fit it all back up now and get it running again. which will be done in the morning. So I am hoping at the end of play we should have a running bus. Keep your fingers crossed. Will update when I have got the wheels on and it all fitted up.