Winnie - Our 1970 Bay

Early Bay Forum

Help Support Early Bay Forum:

This site may earn a commission from merchant affiliate links, including eBay, Amazon, and others.

matty74

Well-known member
Supporting Member
Joined
Feb 2, 2015
Messages
640
Reaction score
430
Location
Llanasa
Year of Your Van(s)
1970
Van Type
Early Bay
Hi all,

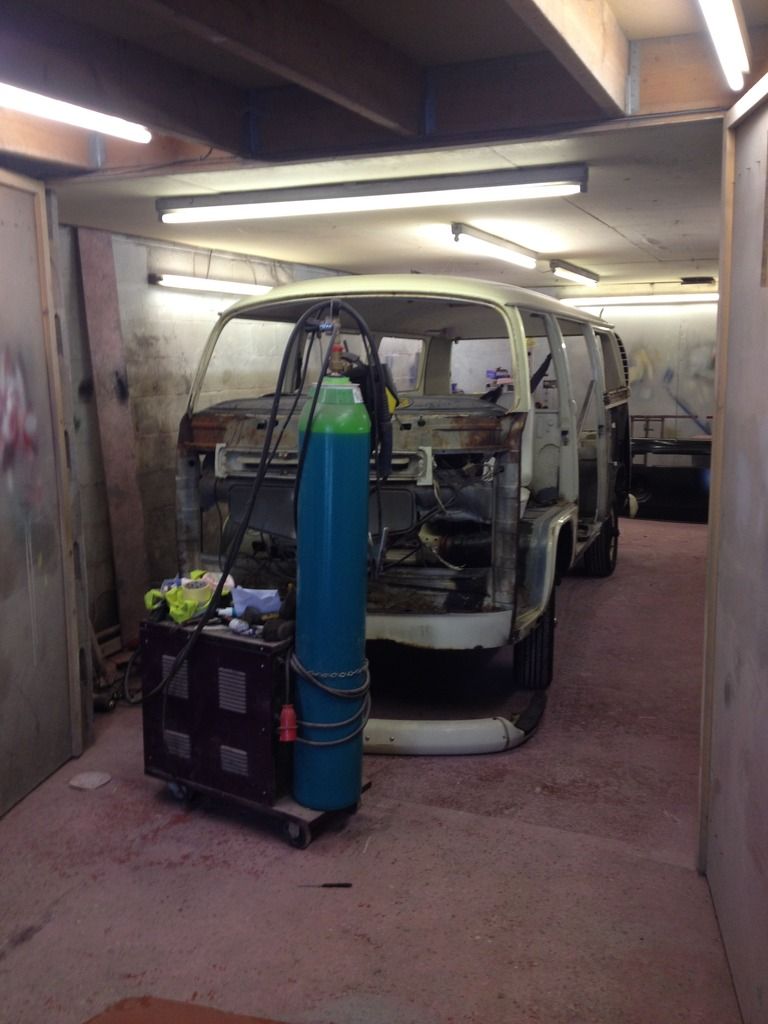
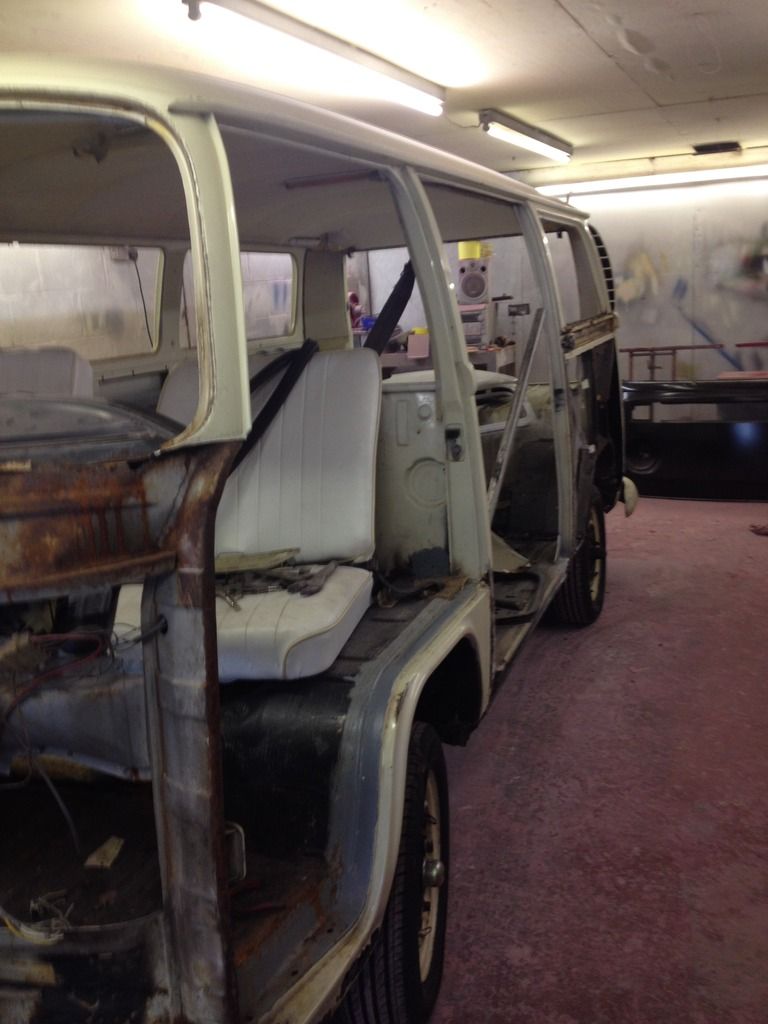
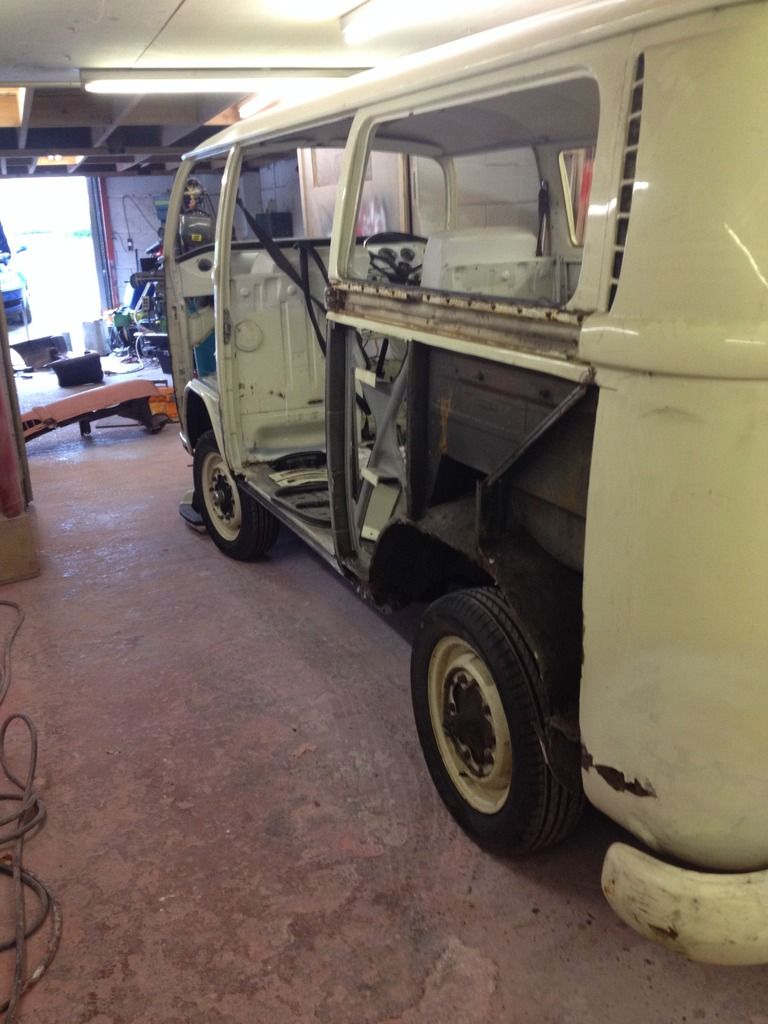
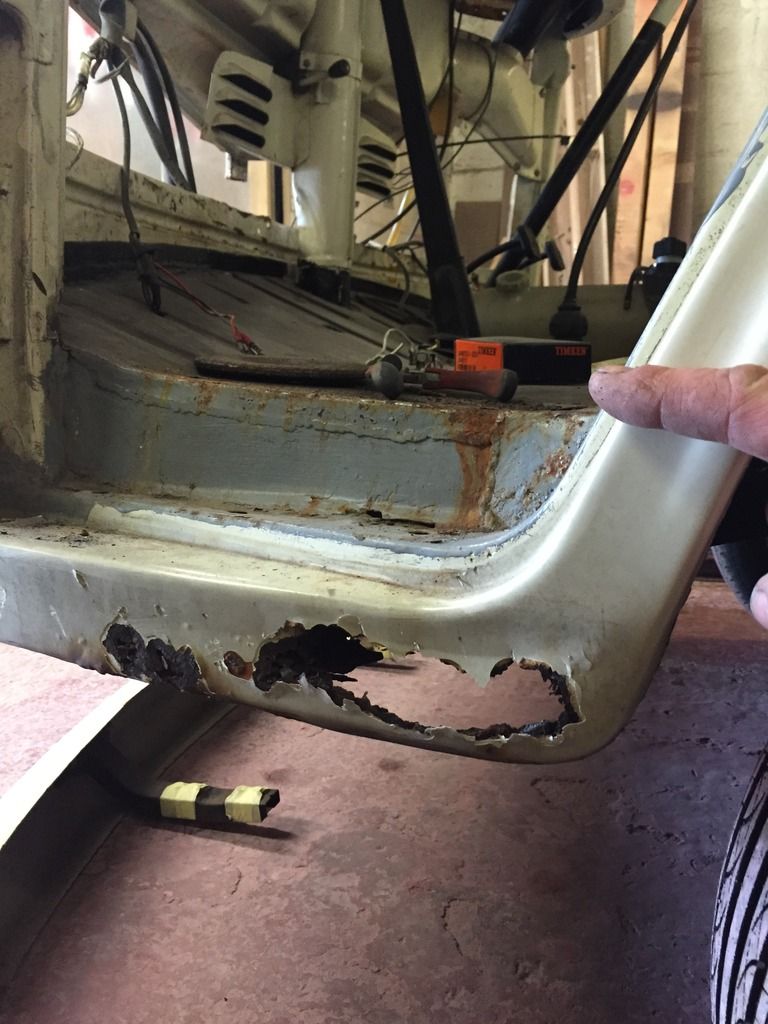
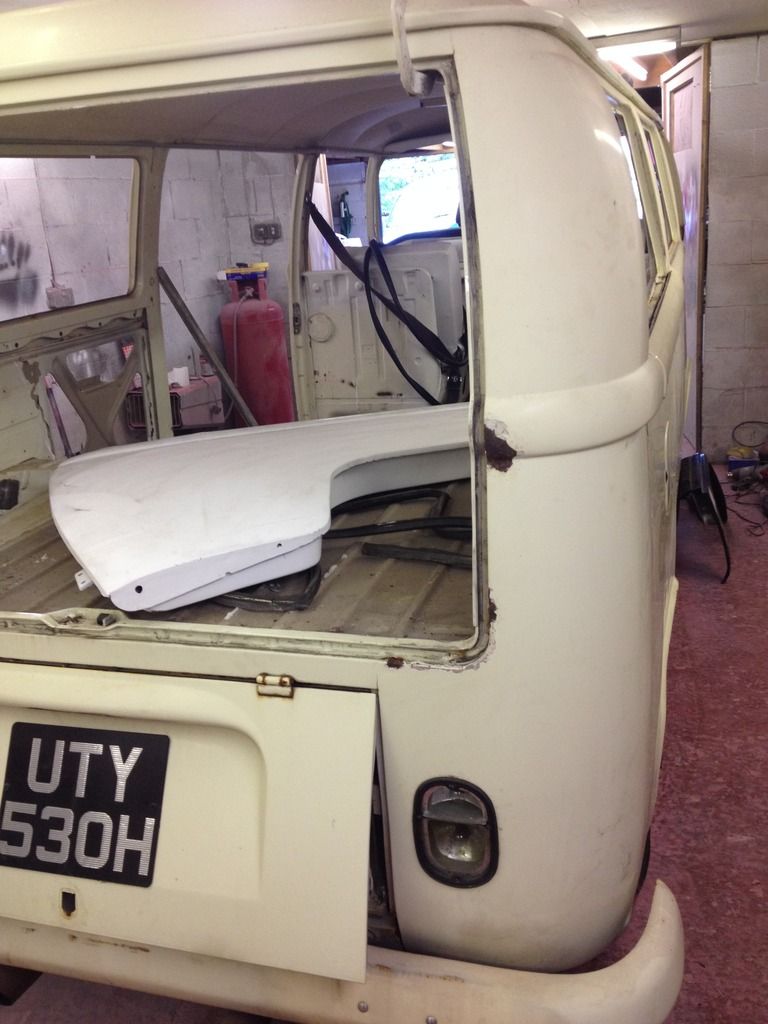
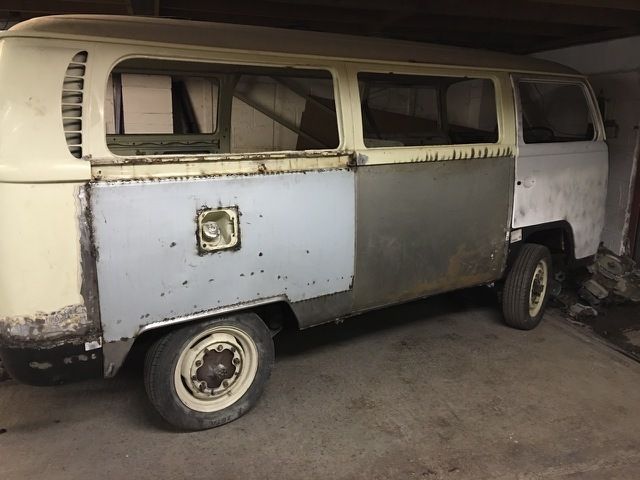
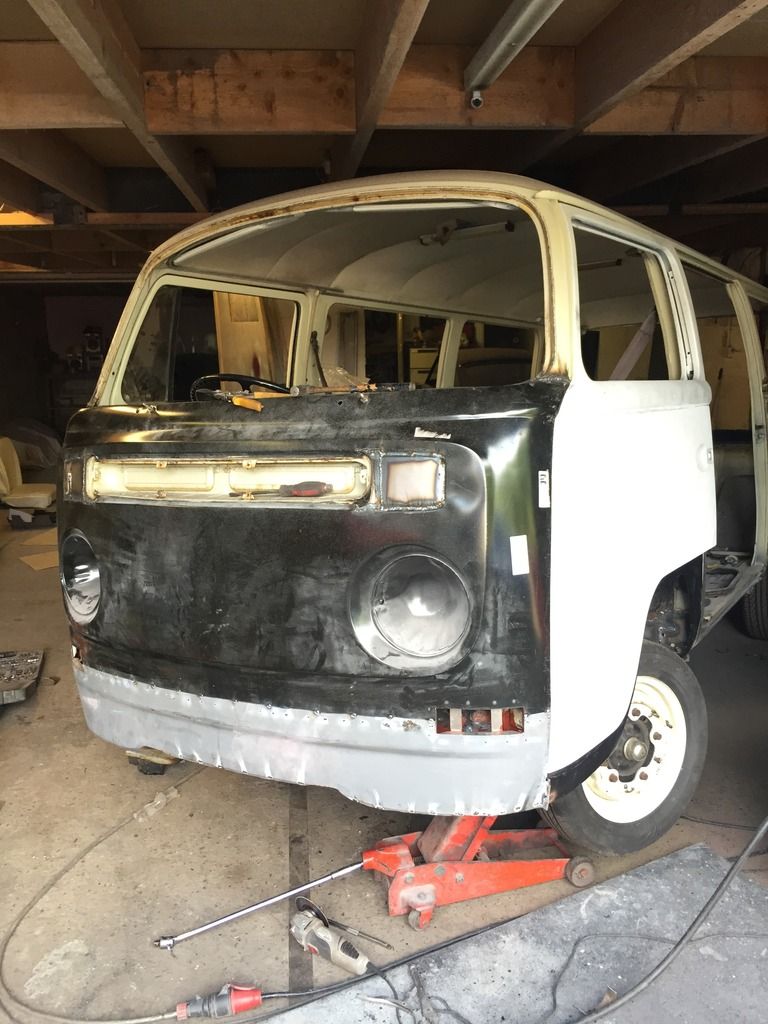
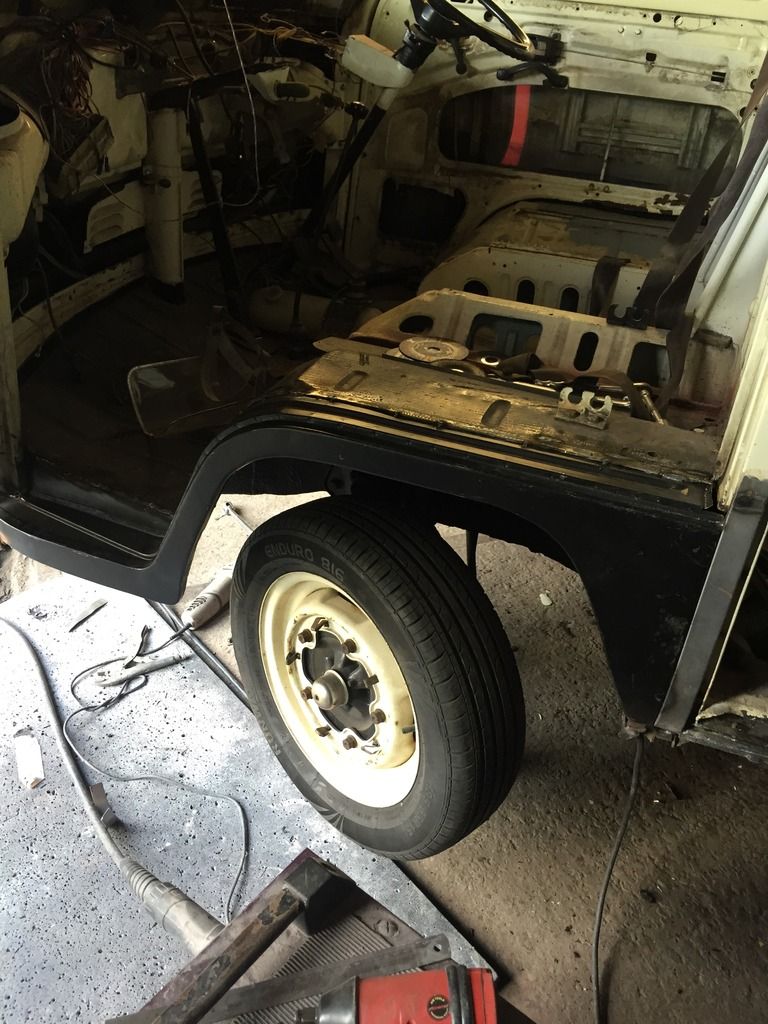
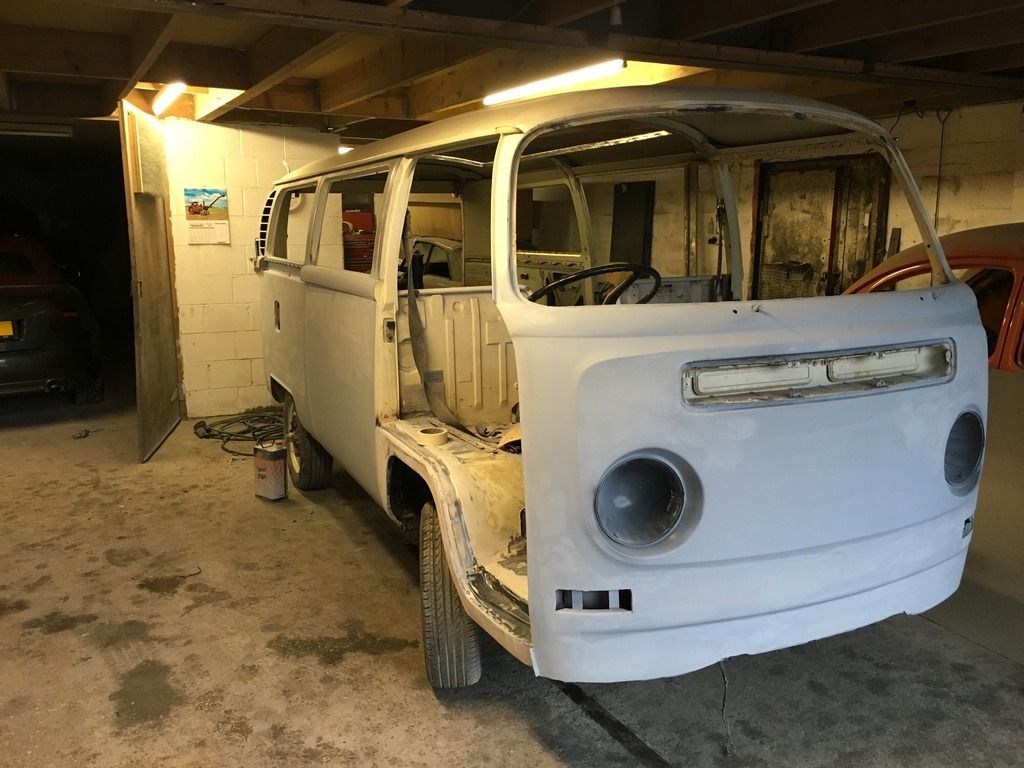
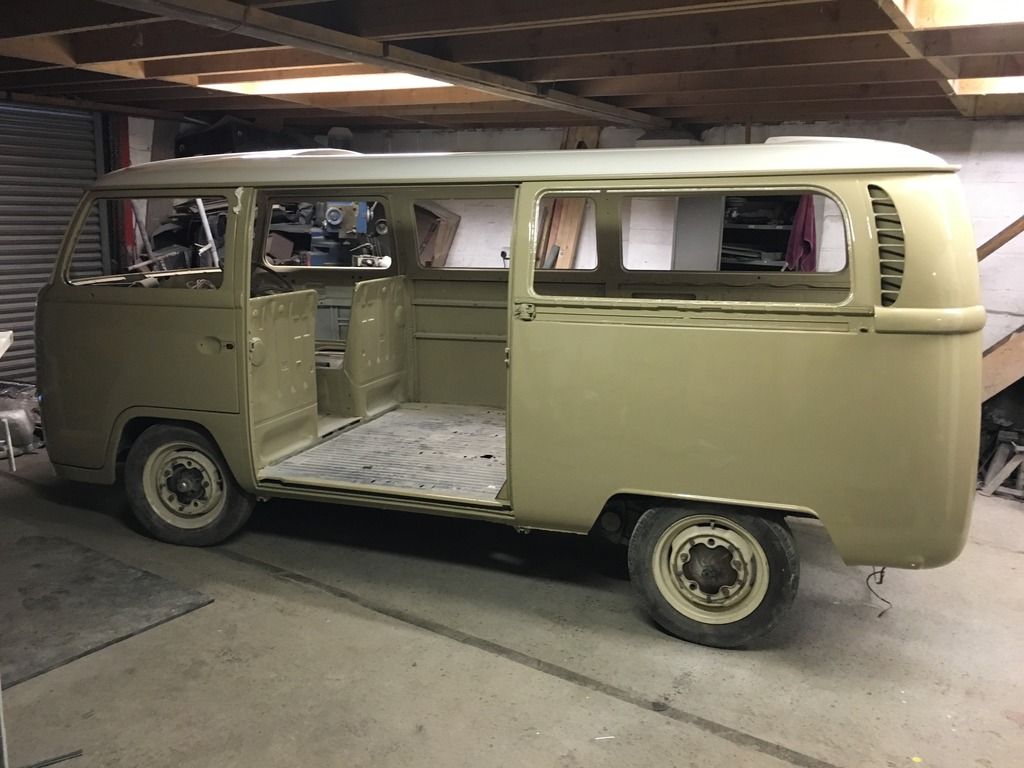
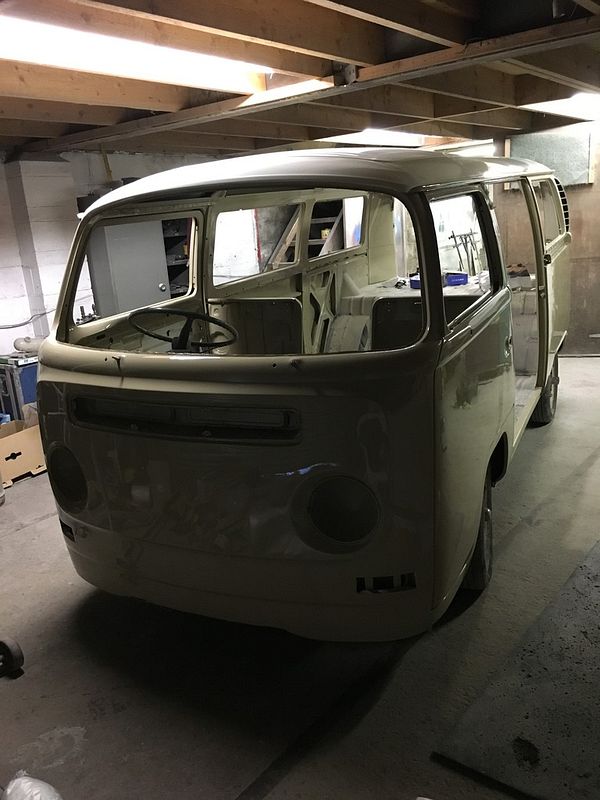
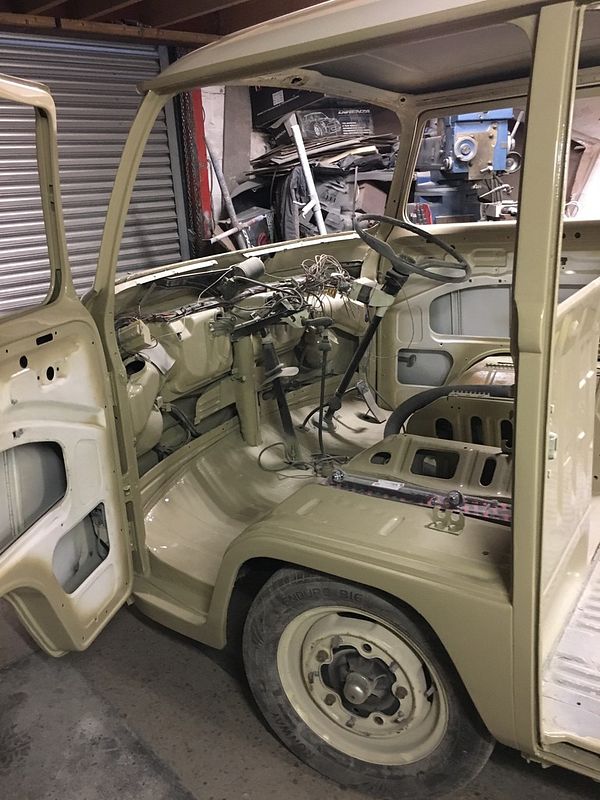
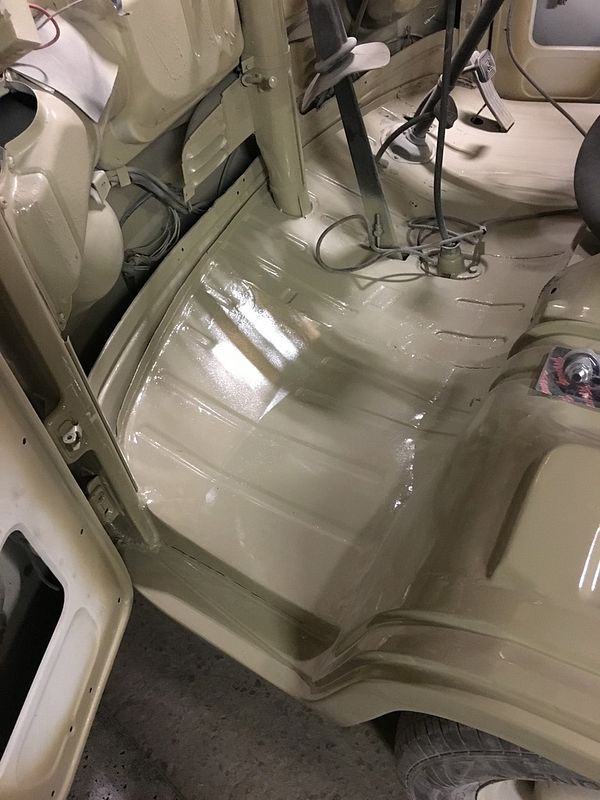
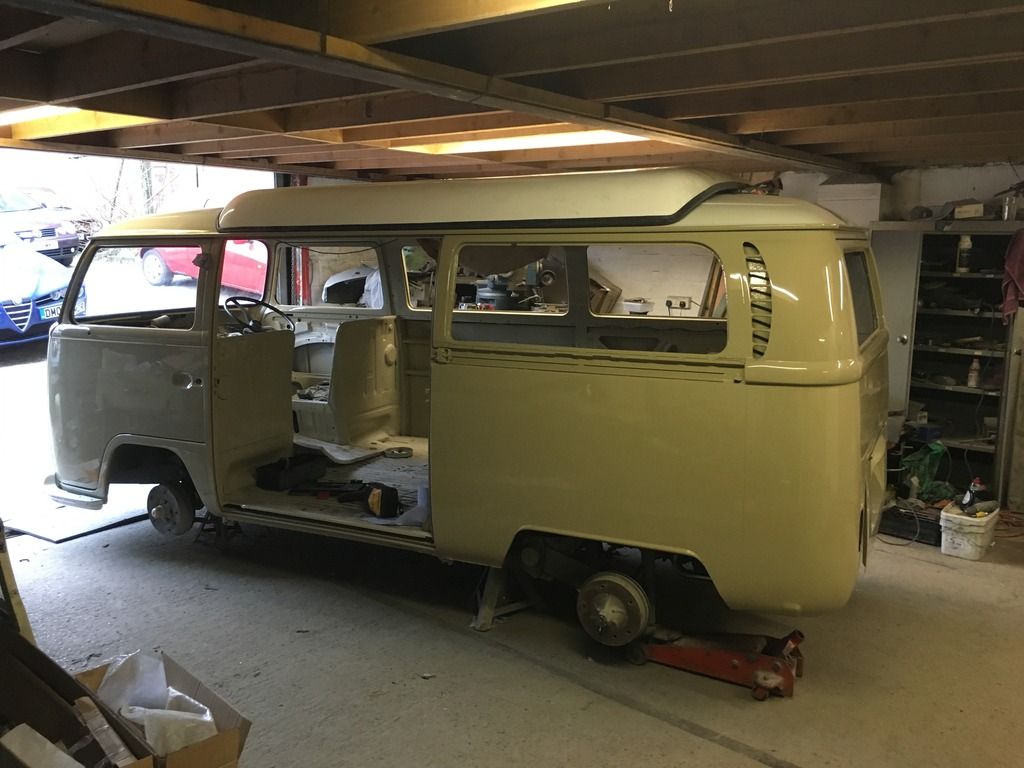
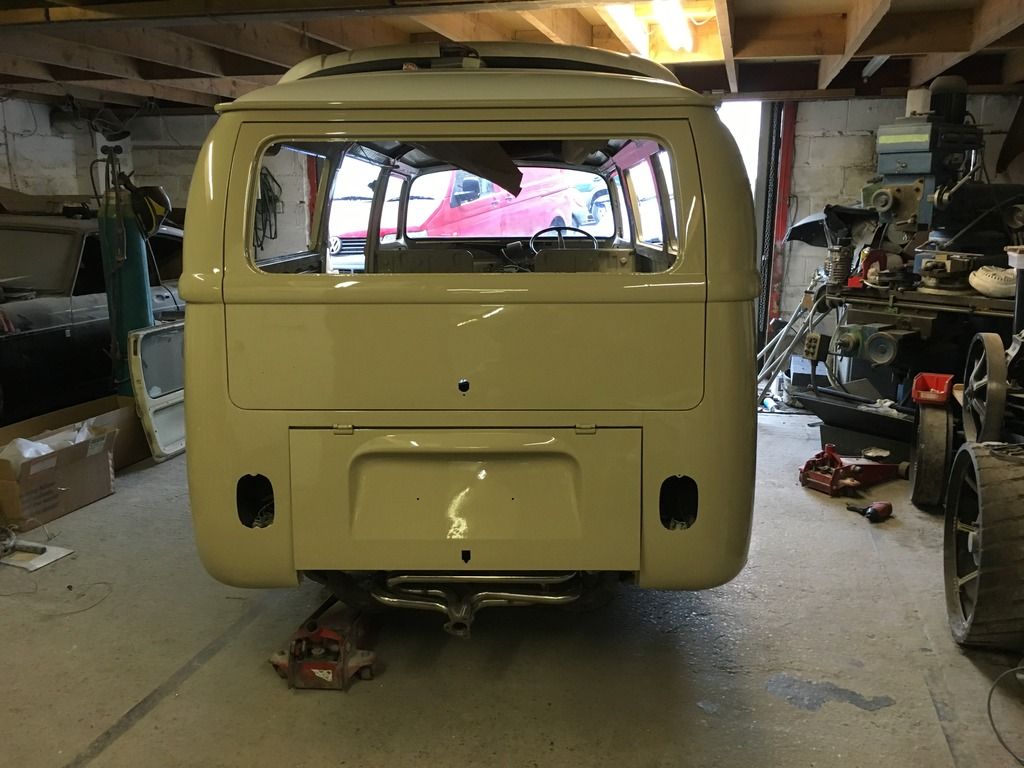
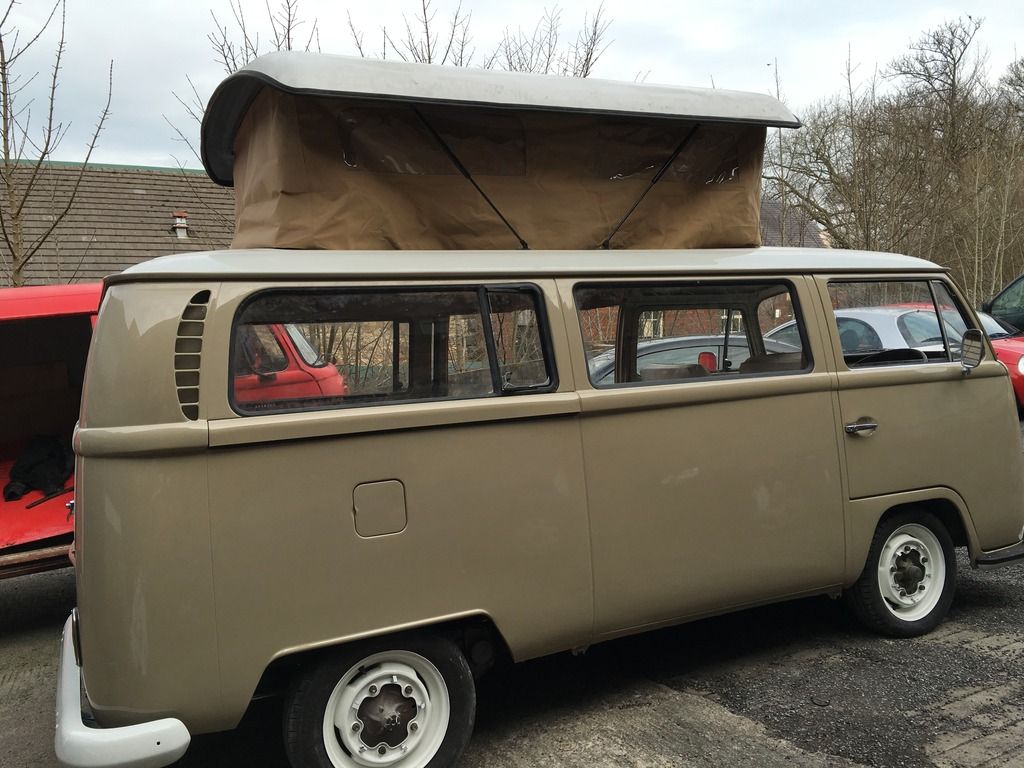
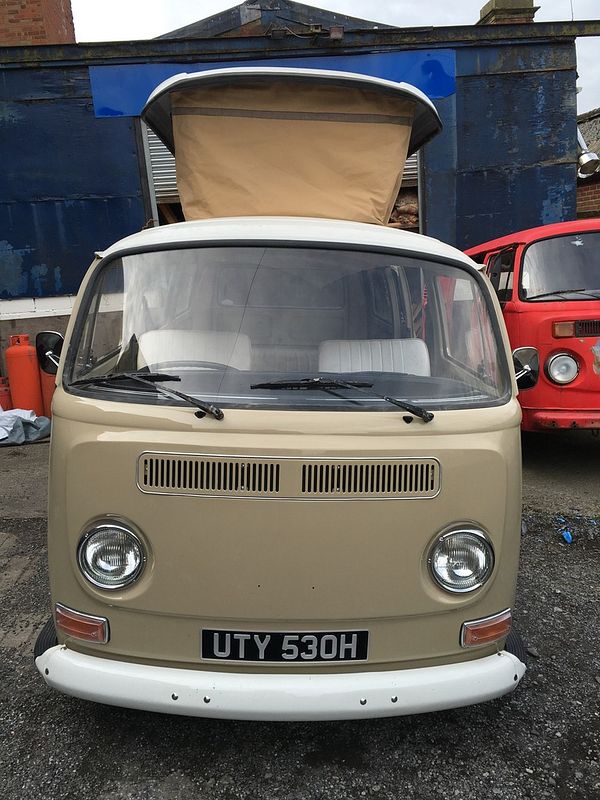
It all started for us in late January 2015, we’d been looking for ages for an early bay and saw one on Ebay that was the right price for us. We knew already that we were planning to go the whole hog on the restoration, so just needed a blank canvas that was solid enough. Winnie (previous owners naming) had been off the road since October the previous year so a few bits and pieces needed sorting prior to us collecting her from Exeter Airport in late February 2015.

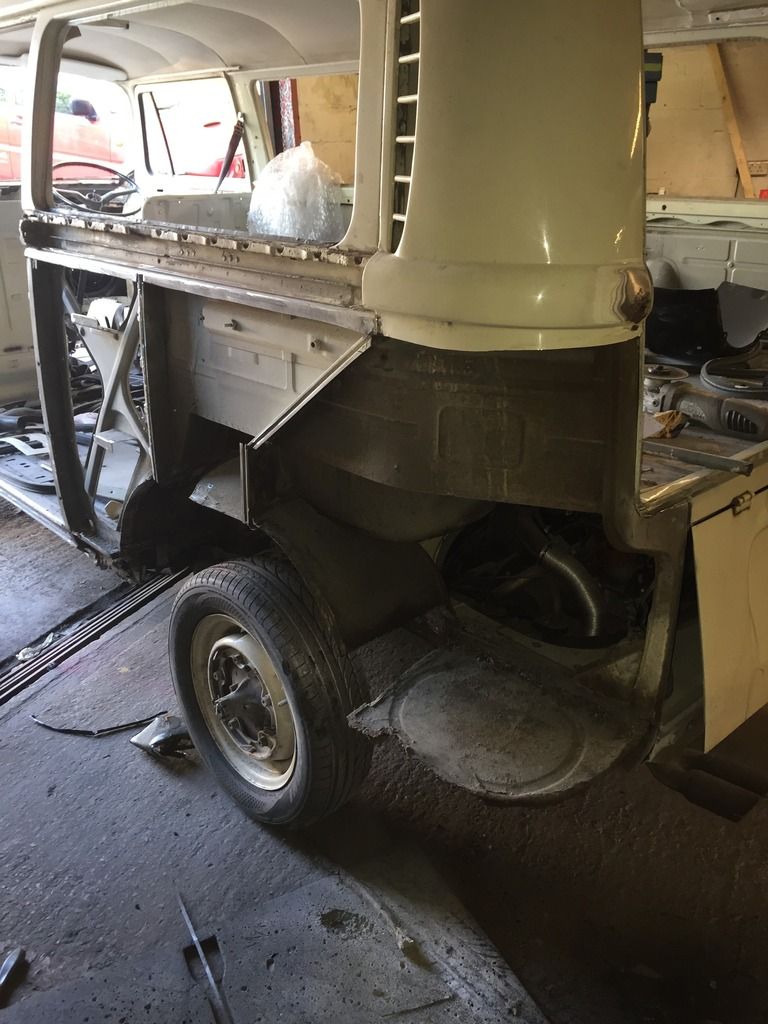
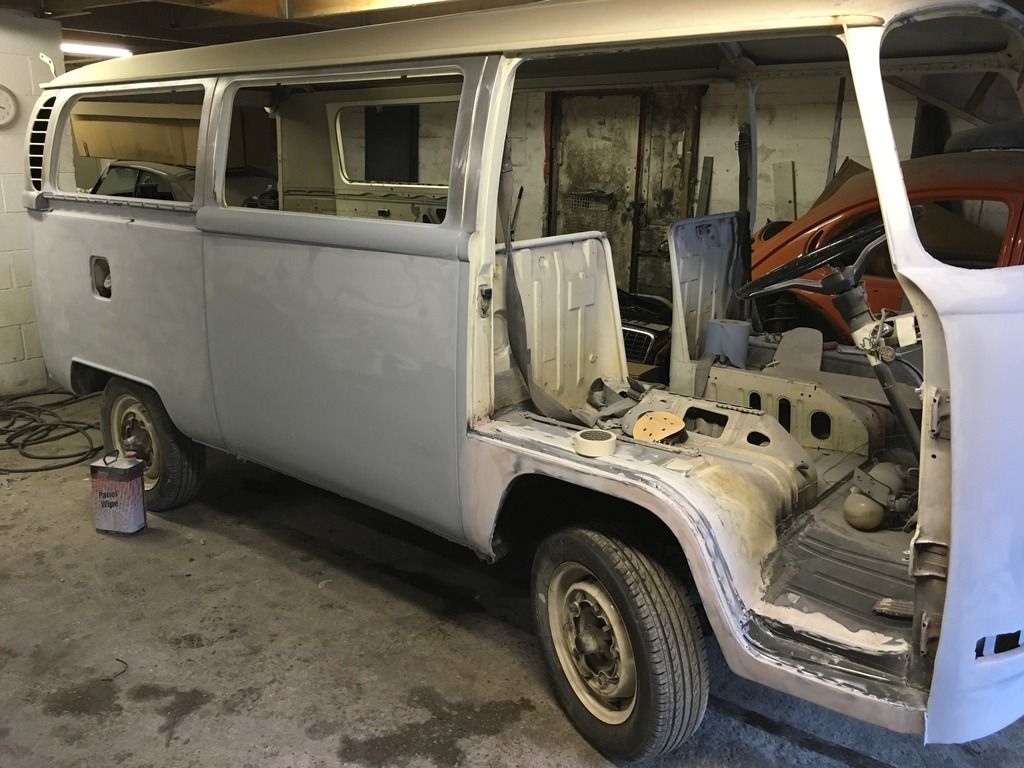
Having never driven a bus , paid our deposit and wife full of a cold ... we flew down to Exeter Airport from Manchester to go pick her up from Simon and Amanda who'd kindly driven her up from Devon. When she arrived, she was clearly in a tired state but we instantly fell in love and knew we'd done the right thing.

Tired%20Winnie%20before%20purchase_zpsu1bxjsyy.png


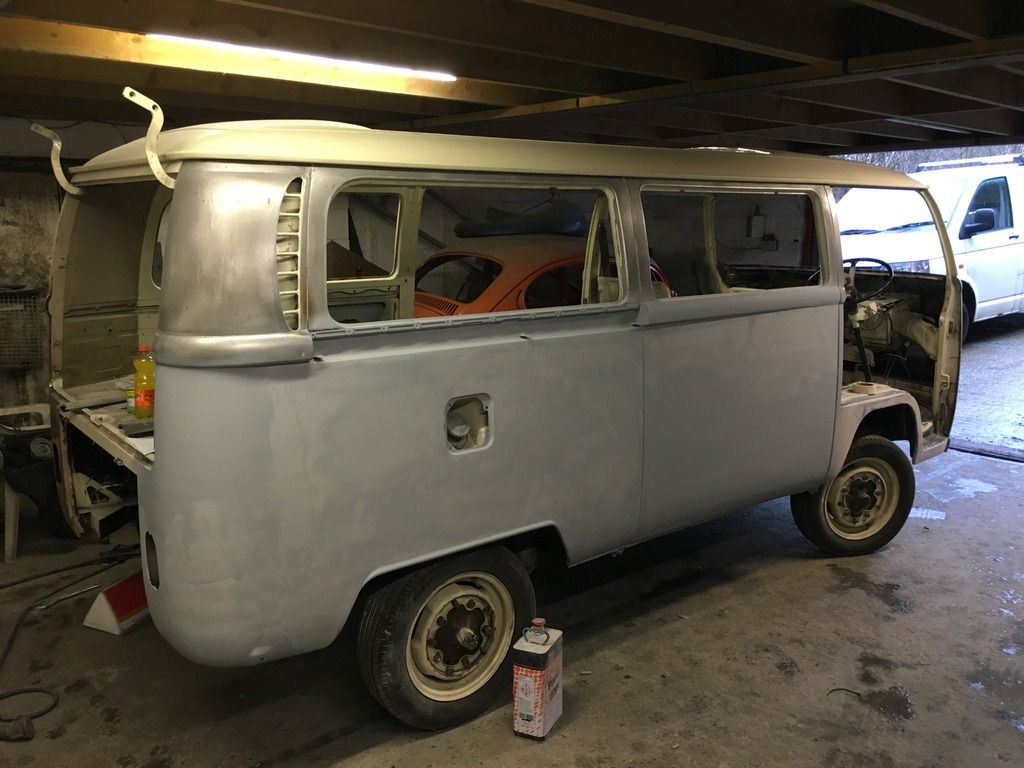
The drive home was Baltic to say the least ... with no heat exchangers we had to resort to service station blankets ... but at least the 5 hours home gave us time to make our plans to restore this old girl to her former glory.

IMG_5553_zps8fiews0j.jpg


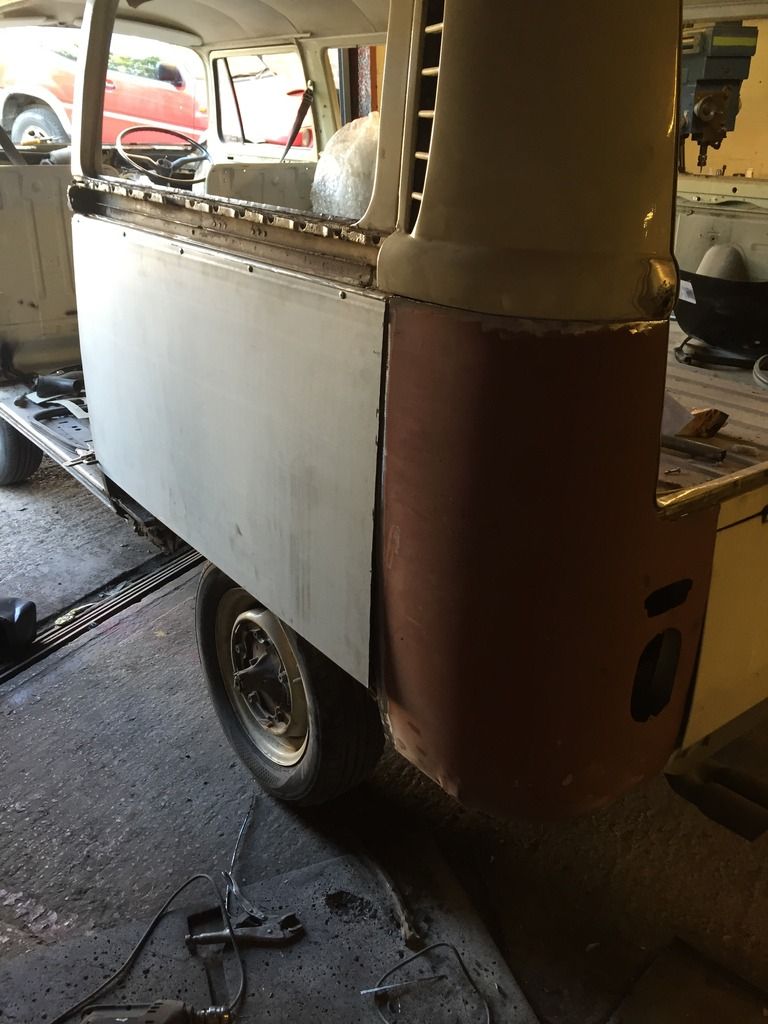
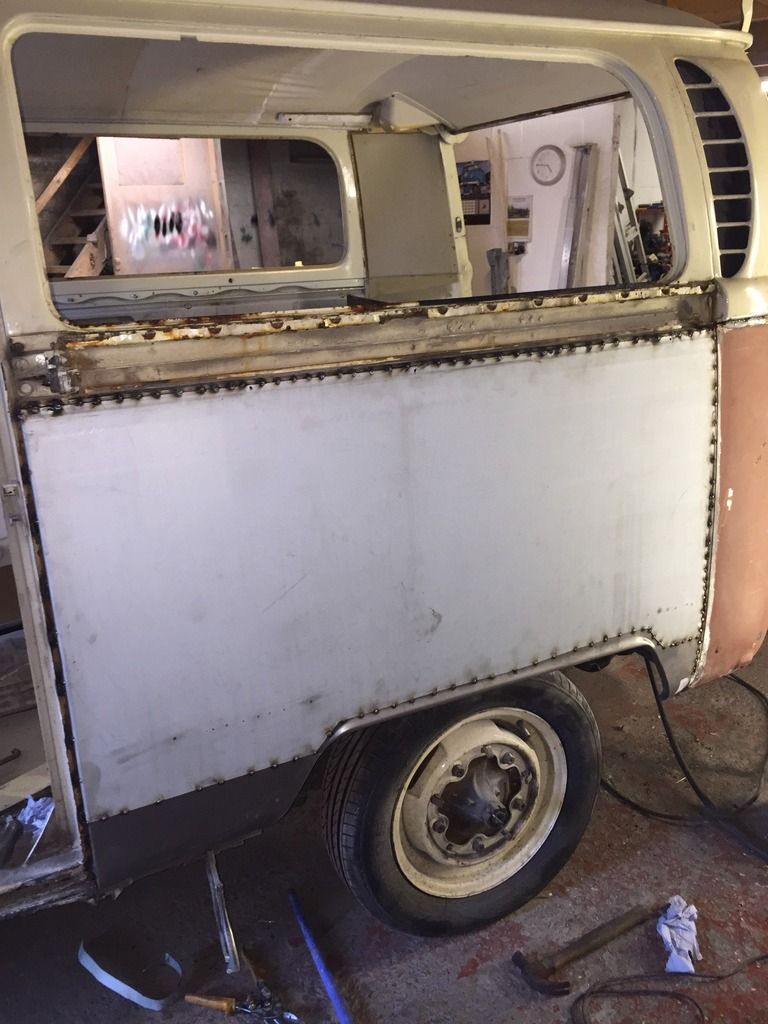
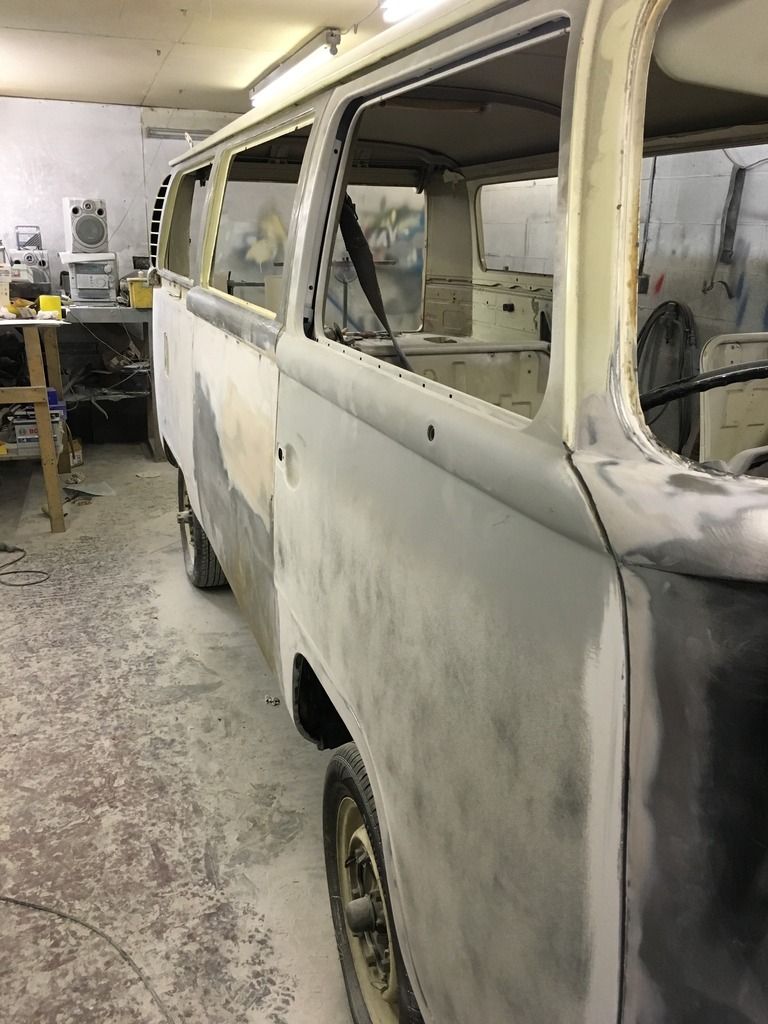
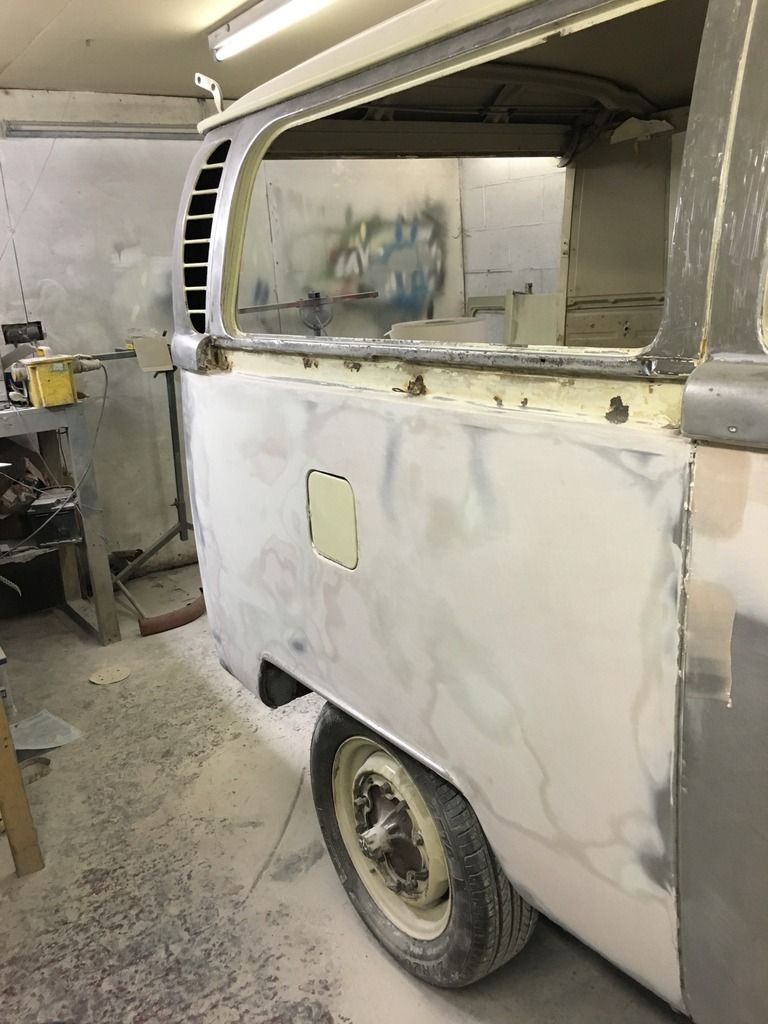
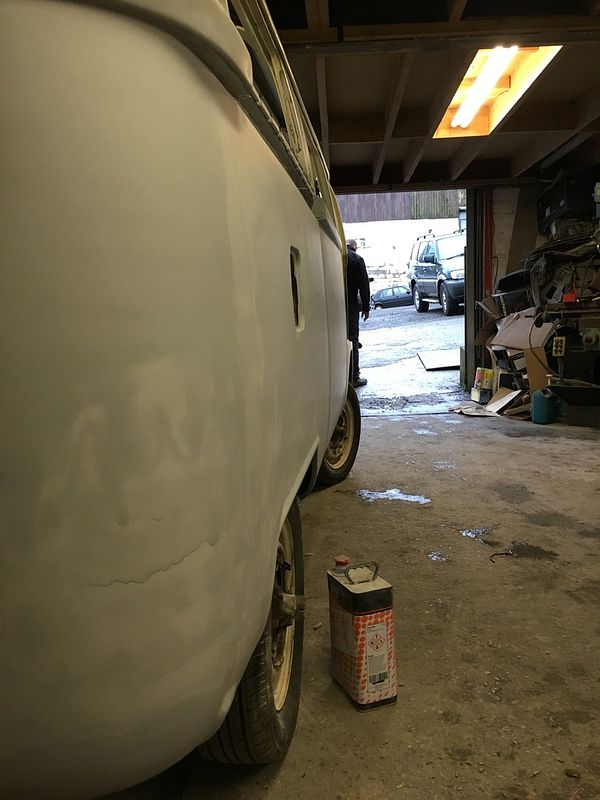
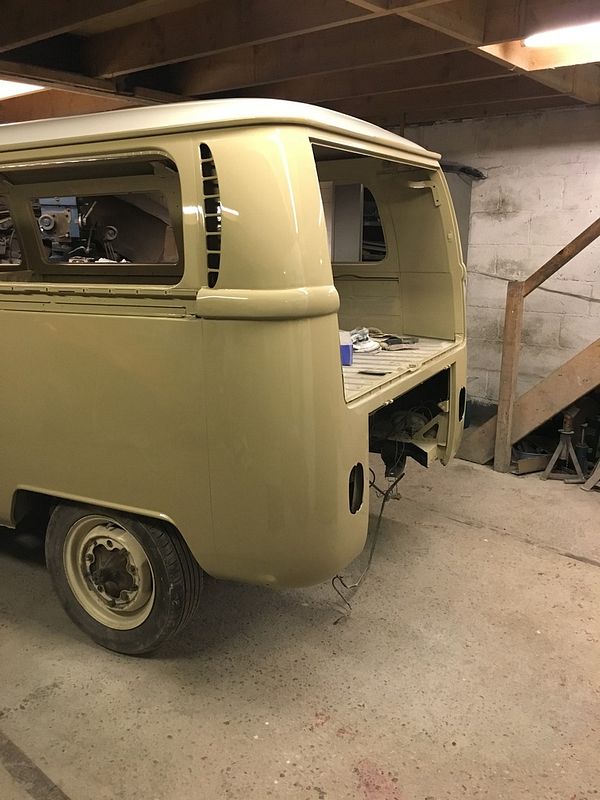
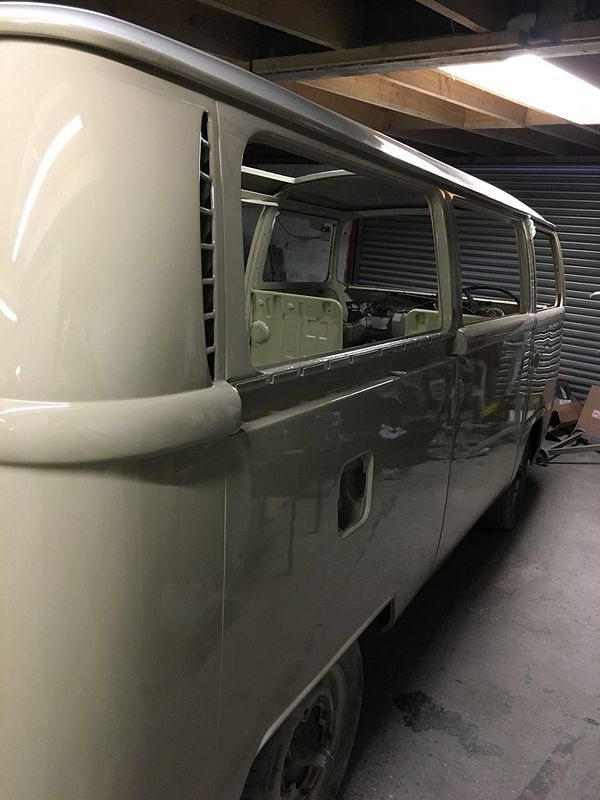
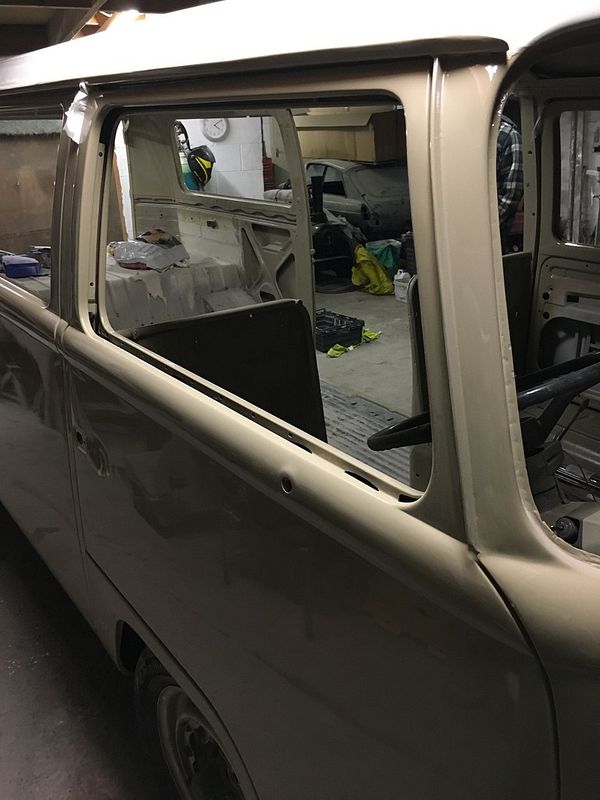
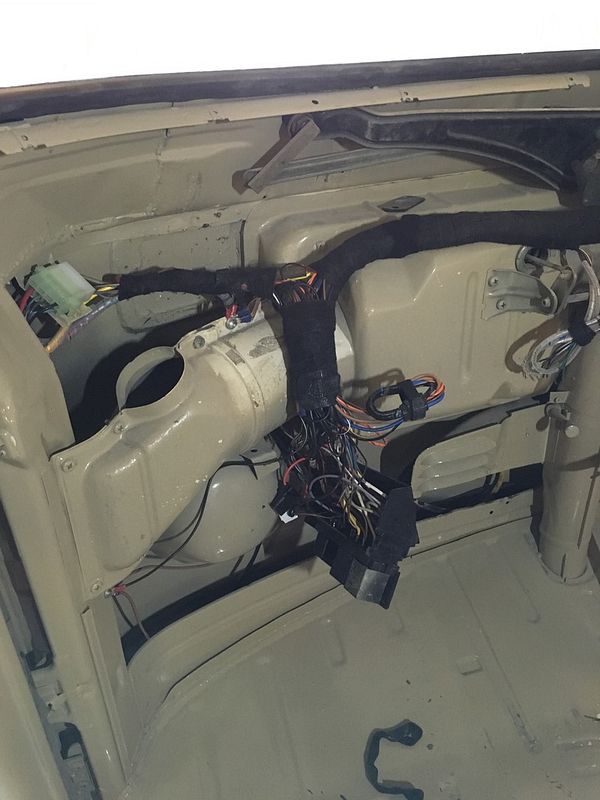
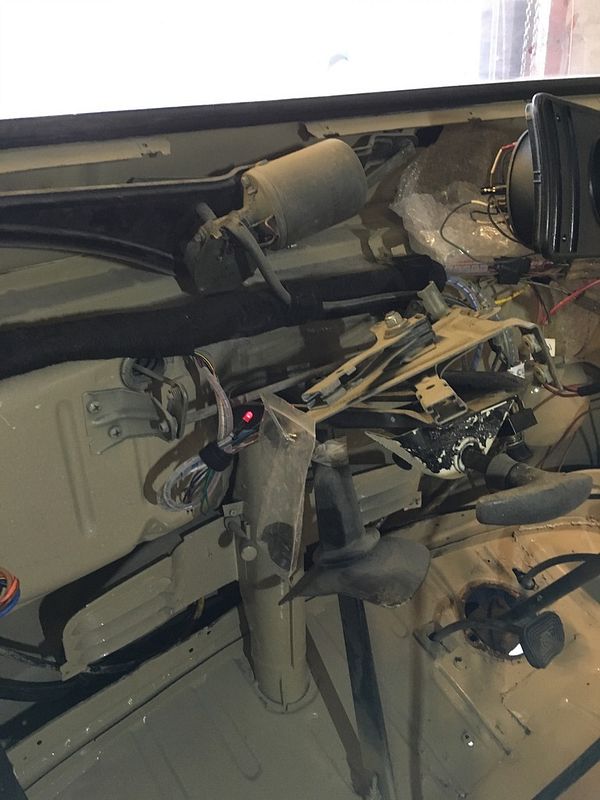
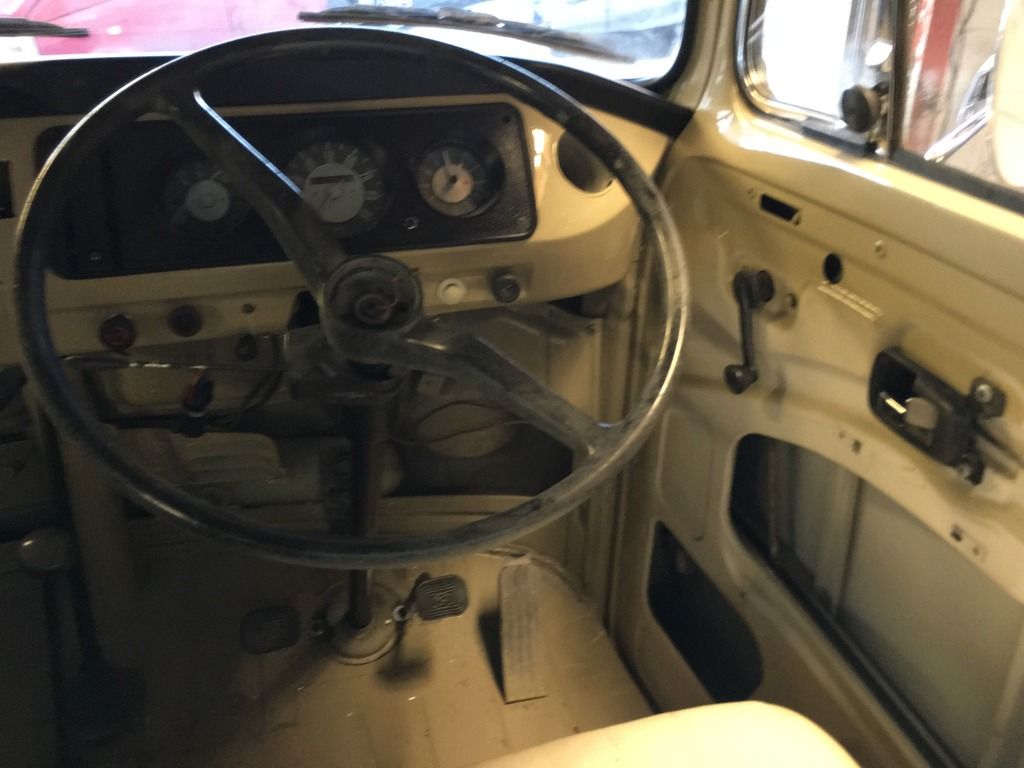
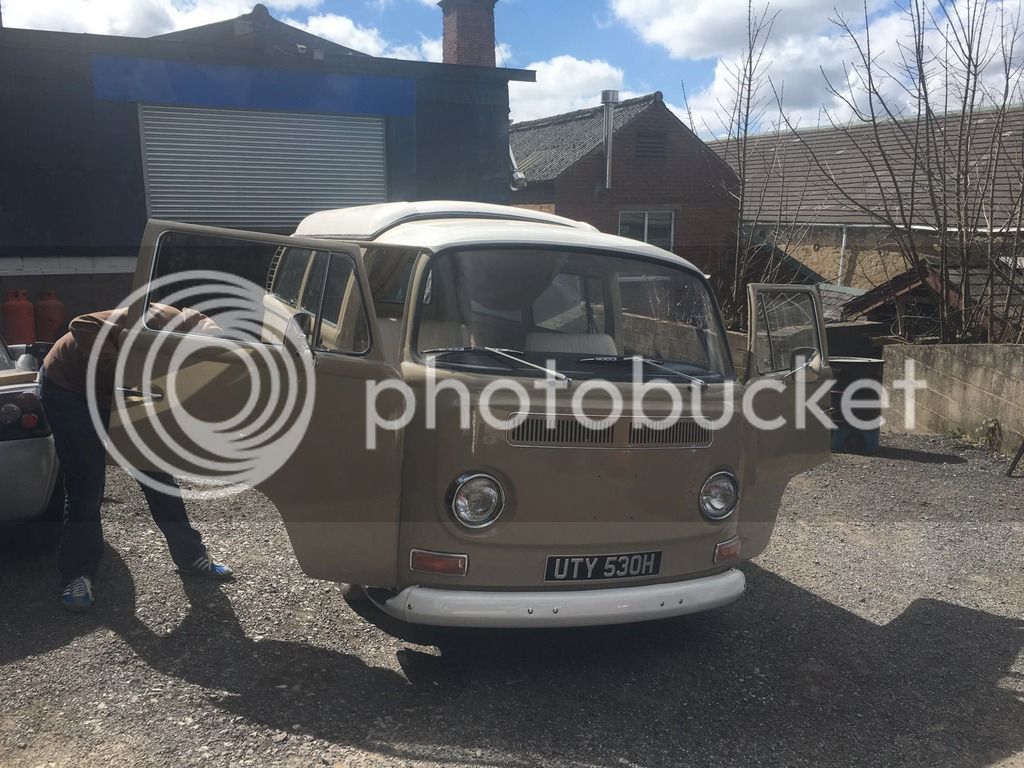
And so it begins ...
 
... First the strip down

Winnie had been insulated with polythene backed rockwool and had therefore sweated from the inside out, so it was pretty much going to be the replacement of every panel.

Front%20Panel%20Off_zpsmir35zb2.jpg


Complet%20Near%20Side%20Strip_zpsnzq3y7nc.jpg


Near%20Side%20Stripped_zps04kztxie.jpg


The good news was, she was rock solid underneath all the rotting panels

Arches%20Were%20Wrong_zpscstim1fc.jpg


Wrong%20Arch%20Fitted_zps35soicsy.jpg


She even had the wrong front arches fitted ... luckily they were going too
 
The wiring was an absolute nest

FuseBox%20Needs%20a%20Tidy_zpssjnczlhd.jpg


Luckily I know a bit about that kind of stuff, so a full rewire was already on the cards
 
... so we pretty much knew now that the only panels that would remain were the Sliding Door, The Engine Lid and the Rear Offside Corner ... oh and the roof, but we were cutting a big hole in that anyway :D

Old%20Panels%20Removed_zpsobmgvsks.jpg


Near%20Side%20Rear%20Corner_zps2jnyaa0y.jpg


This was the last piece of the jigsaw puzzle, thanks to Rick at Alan Schofield for having one

Replacement%20Rear%20Corner%20Fitted_zpsz9lgvehl.jpg


Rear corner fitted, reverse hole to be blanked, as i'm not keen on them on the rear corner
 
... Those rear arches are a bit of a pain aren't they?? Why doesn't anyone make a replacement panel up to the waistline ??


New%20Sides%20Before%20Arches%20Fitted_zpsmyhw77ff.jpg


New%20Sides%20After%20Arches%20fitted_zpsut0mnbrb.jpg


New%20Offside%20Just%20Fitted_zpswnwi4l4t.jpg


Luckily for me, my man Chris had a cunning plan :D
 
... things were gathering pace now and piece by piece she was being put back together.

Front%20Panel%20Welded_zpssjrjd9iu.jpg


Front panel done

Correct%20Front%20Arches%20Fitted_zpsbganxmp7.jpg


Correct arches fitted

Indicators%20Filled_zps8aagsmvi.jpg


Late Bay indicator holes filled

Doors%20Fit%20Perfect_zps0nvdhotz.jpg


Doors are a really good fit

New%20Panel%20Bare%20Metal_zpsaqgaaey9.jpg


Petrol flap nicely stitched in
 
... it was then time to cut the roof for the pop top :shock:

Box%20Section%20Clamped_zps8wdldbt9.jpg


Pop%20Top%20Cut_zpsbvbuufgd.jpg


Roof%20Welded_zpsuwofptdj.jpg


Measure twice and cut once as they say ... Chris welded it in place rather than using the pop rivets provided
 
... she was pretty much ready for priming now with new panels in place and the remaining few taken back to bare metal.

New%20Front%20Valance_zps2h4dsgl6.jpg


New%20Front%20Panel_zps4yecu8z7.jpg


New%20doors_zpsxqbr5sb8.jpg


Complete%20New%20OffSide_zpsa294wvf2.jpg


Smooth%20Panel%20II_zpsa6dipipl.jpg
 
... so then it was the great colour debate ... Originally Winnie was Lotus White, but I like shiny stuff but wanted to keep her totally 1970 ... It was a toss up between Kansas Beige and Savannah Beige, with Cloud White roof wheels and bumpers ... I'm happy to say that Savannah Beige won :D

Passenger%20Side_zps7r7rgfai.jpg


The pictures don't do the colour justice

Rear%20Section_zpsc2rark8o.jpg


Another brilliant idea from Chris was to create a fake seam where the rear arch meets the rear corner to make it weatherproof :D

Off%20Side%20Rear_zpswzkautan.jpg


Driver%20Door_zpsf8hluq9d.jpg


Front%20Lowered_zps827vnytp.jpg


Red9 Design 4" to 5.5" Drop Kit fitted

Passenger%20Door_zpss7dtm9td.jpg


Dash wiring was going to be re-done along with fusebox change to accommodate the dimmer relay correctly

Passenger%20Footwell_zpsnym8bbt2.jpg


We were so pleased with the finish, and that was before any flatting had been done
 
... It was then time to fit the roof ... UK POP TOPS very nice piece of kit

Roof%20Settling_zpsfi2ryruz.jpg


Great%20Rear%20End_zpsltctcfbw.jpg


Screwfix catalogue came in handy for allowing the roof to form into place ... oh engine was back in now too and stainless 4:1 header and J pipes fitted ... we're going propex route for heating
 
... so it was now time for rewire, glass and 2nd fix.

I'd won a front to back WolfsburgWest main loom some time ago on ebay for an absolute steal ... the dash loom wasn't too bad after all the years of add-on wiring was removed, so i'd just tidy that up and make all connections good, plus I was fitting a headlight uprgrade kit too so that pretty much took care of that.

Rewiring%20Dash%20Loom%203_zpsmv9dndkg.jpg


I ran in an additional wiring loom to pave the way for a heated front screen and to get my speaker cables into the bed area. Fusebox to be fixed in position once dash was back in place

Rewiring%20Dash%20Loom%202_zpspuun5zbc.jpg


Oh and wired in a real immobilizer while the dash was out

Rewiring%20Dash%20Loom%201_zpsx8fb4jfb.jpg


It was also my aim to get the horn back on the steering wheel

Camper%20Clock%20Installed_zpsw2vsflyl.jpg


Horn%20Working_zpsp8x0zdam.jpg


While we were sorting the horn we fixed the damaged ignition housing, repaired the ignition wiring and fitted a new ignition barrel to get everything to 1 key :D

Bosch%20Reverse%20and%20Fog%20Lights_zpseo5q1gc9.jpg


... and fit retro Bosch Fog and Reverse Lights ... what an absolute pain that reverse switch was :evil:

IMG_5516_zpsdoxqehes.jpg


But Well worth it

Lights%20On_zpsrvsd2wyw.png


Great timing to catch hazards on their on sequence too :D

Stainless%20Hubs_zpsi6nlulsj.png


Windows almost back in, new VeWib seals all round and 1/4 lights fully refurbished with aluminium frames and uprights glass to frame seals etc ...

Couldn't resist having a sneak peek of what the hubs would look like ... much to Chris's annoyance as he didn't have a puller
 
... When we got her outside we could finally raise the roof

Pop%20Top%20Up%20Canvas%20needs%20dressing_zpsgiezcejd.jpg


This will get dressed in properly when Anthony at Dubholstery works his magic.

Pop%20Top%20Front_zpsm7hxn2qt.jpg


So glad I paid the extra to get the canvas in beige too :D

Stainless%20Wipers_zpsjorbp9g5.jpg


Looks even better now that the stainless wipers are fitted and new handles all round#

1970's trainers are mandatory too :D
 
... so there's some bits & bobs to finish off before she goes to Dubholstery for new headlining, door cards and upholstery ... then off to Stewart at Vipertech for the kitchen fit ... pics of that to follow :D

Winnie%201970_zpsktabyktw.png


and here she is having passed her MOT, looking pretty fit if I do say so myself

Thanks for looking ... if you want more the full pics can be found here

http://s1305.photobucket.com/user/realdavemathews/library/Winnie%20Reborn" onclick="window.open(this.href);return false;

Cheers :anim_19:
 
Excellent work and fair play to you! 8)


I'm moving the thread to 'Gallery', hope that's ok. :D
 
Cheers ... and thanks for moving the thread, i'd realised after posting it that i'd put it in the wrong section d'oh
 
Stunning build mate, I will be well happy if I can get something put together as nice a this. Well done :anim_19:
 

Latest posts

Top